Welcome back to our Blazer Bound blog series, where we give you a behind-the-scenes, real-time look at the development of our curve-friendly blazer sewing pattern.
Last time, we looked at the research we’d done into different types of blazers, and we narrowed in on our general requirements and features. Today, we’ll talk about briefing our pattern drafter and take a look at the first draft of the pattern. So let’s get started!
Okay, so here’s where we ended up after our research process: we’re going for a single-breasted, fitted knit blazer—at least, that’s our starting point.
We’re fortunate to be working with a phenomenal freelance pattern drafter who is highly experienced in all things curvy sewing. Having an external pattern drafter means we can be working on several patterns simultaneously, and it frees up our small-but-mighty team to focus on designing new patterns and getting patterns out to you, so it’s a win-win all around!
The Specs
In addition to those basic requirements—fitted, single-breasted, intended for stable knits like ponte (and potentially stretch wovens)—we also asked our drafter to include the following features:
- Princess seams in the front and back for a better fit over curves, potentially exploring double princess seams for more shaping
- A two-part sleeve with a vent for a better fit and more comfortable sleeve
- A faced neckline and classic notched collar
- Back hem vent for extra room when sitting
- A single button closure—we’ll see if this is enough or if we want a more substantial closure
At this stage, we are just looking to get the proportions, fit and major features right, so we leave off all the details, like pockets, or a potential lining. Once we have the overall garment working well, then we dig into refining all the style features.
The First Draft
Our pattern drafter got back to us with a first draft very quickly. She uses a pattern drafting software called Opitex, and sends us the pattern draft as an Adobe Illustrator file with a single size (our base size, 18 G/H).
We have a large format printer in our studio that we use to print drafts of patterns, so that’s the first thing we’ll do when we get this draft. (Before we had this printer, we were printing our drafts on 8 1/2” x 11” pages or bankrupting ourselves at Staples—this was before the days of pdfplotting.com!)
Here’s a quick timelapse of the blazer draft printing out (it took 20 minutes in total):
Here’s how it looks printed out:
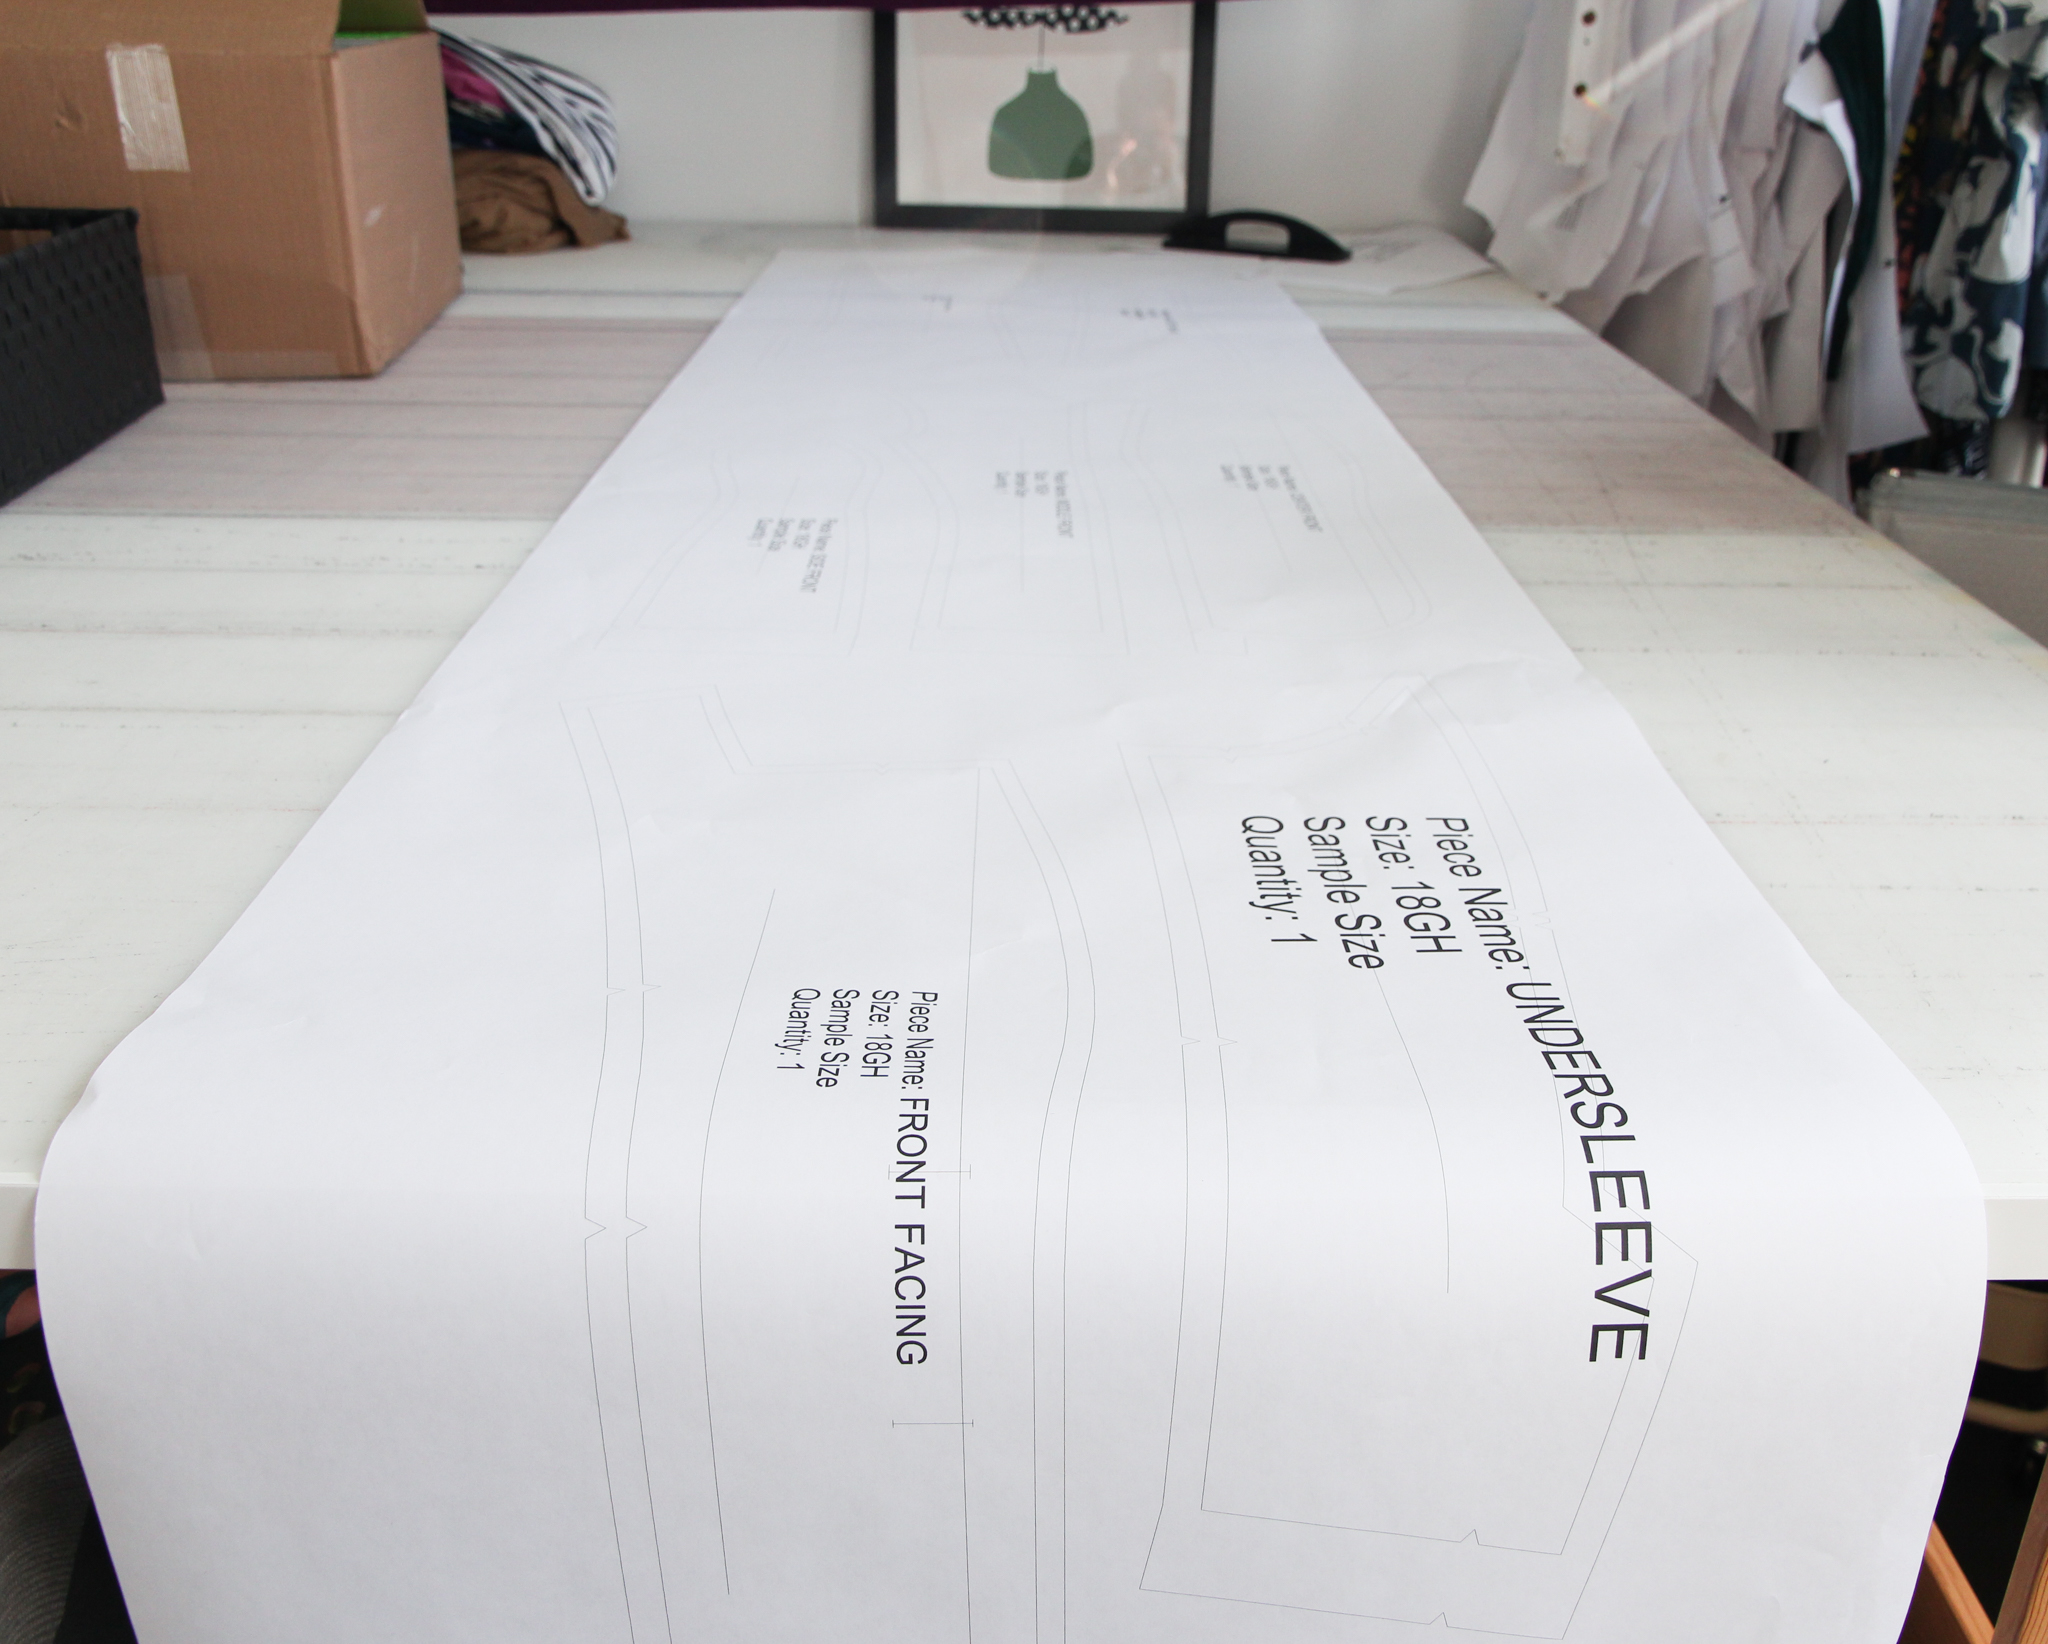
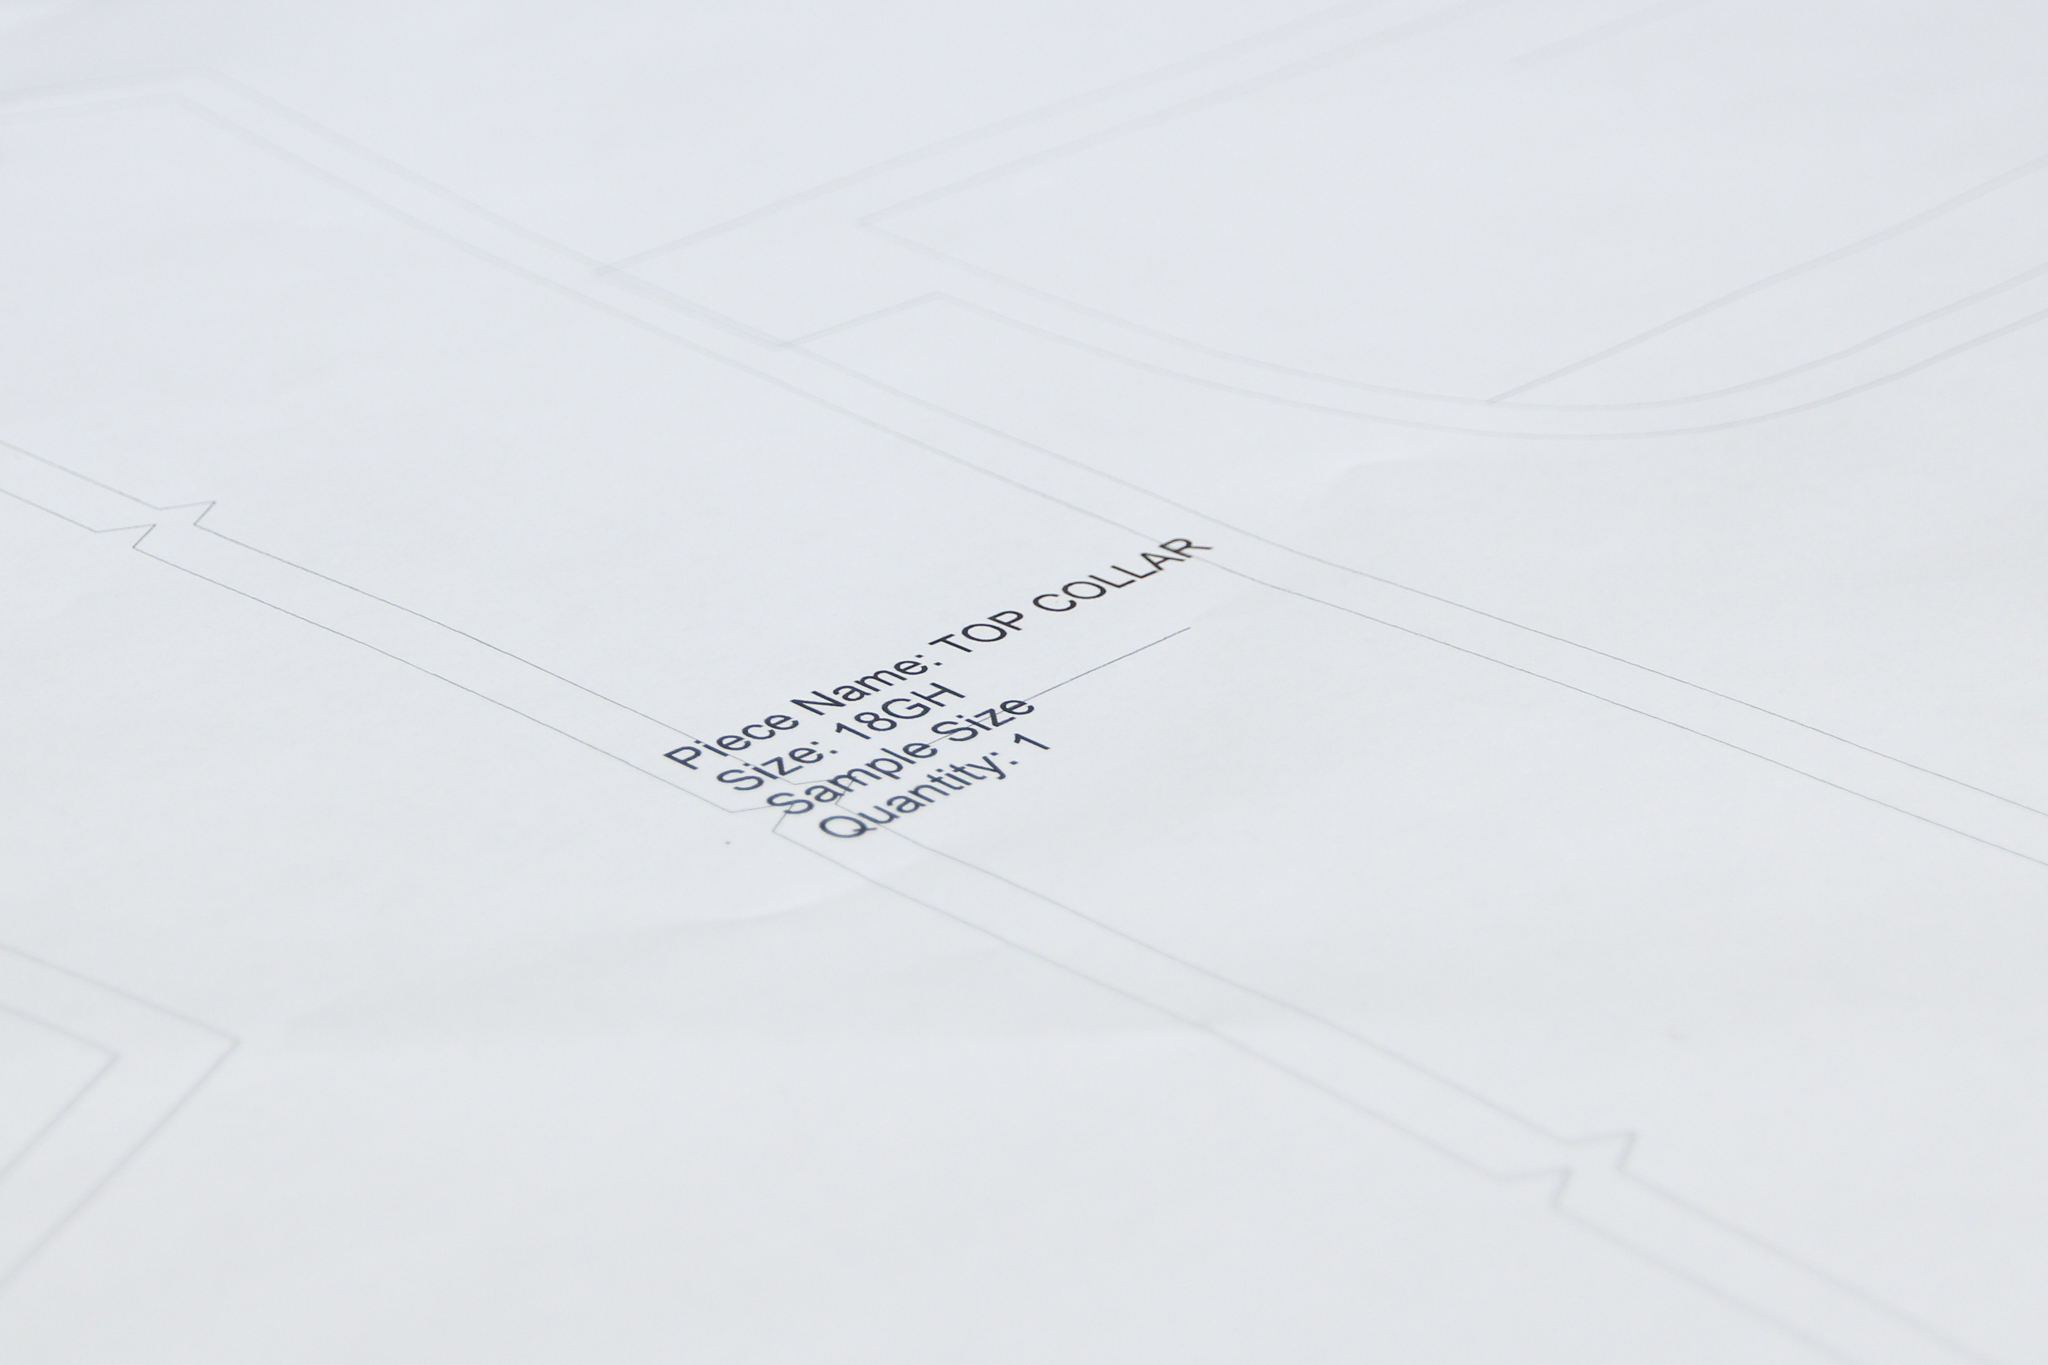
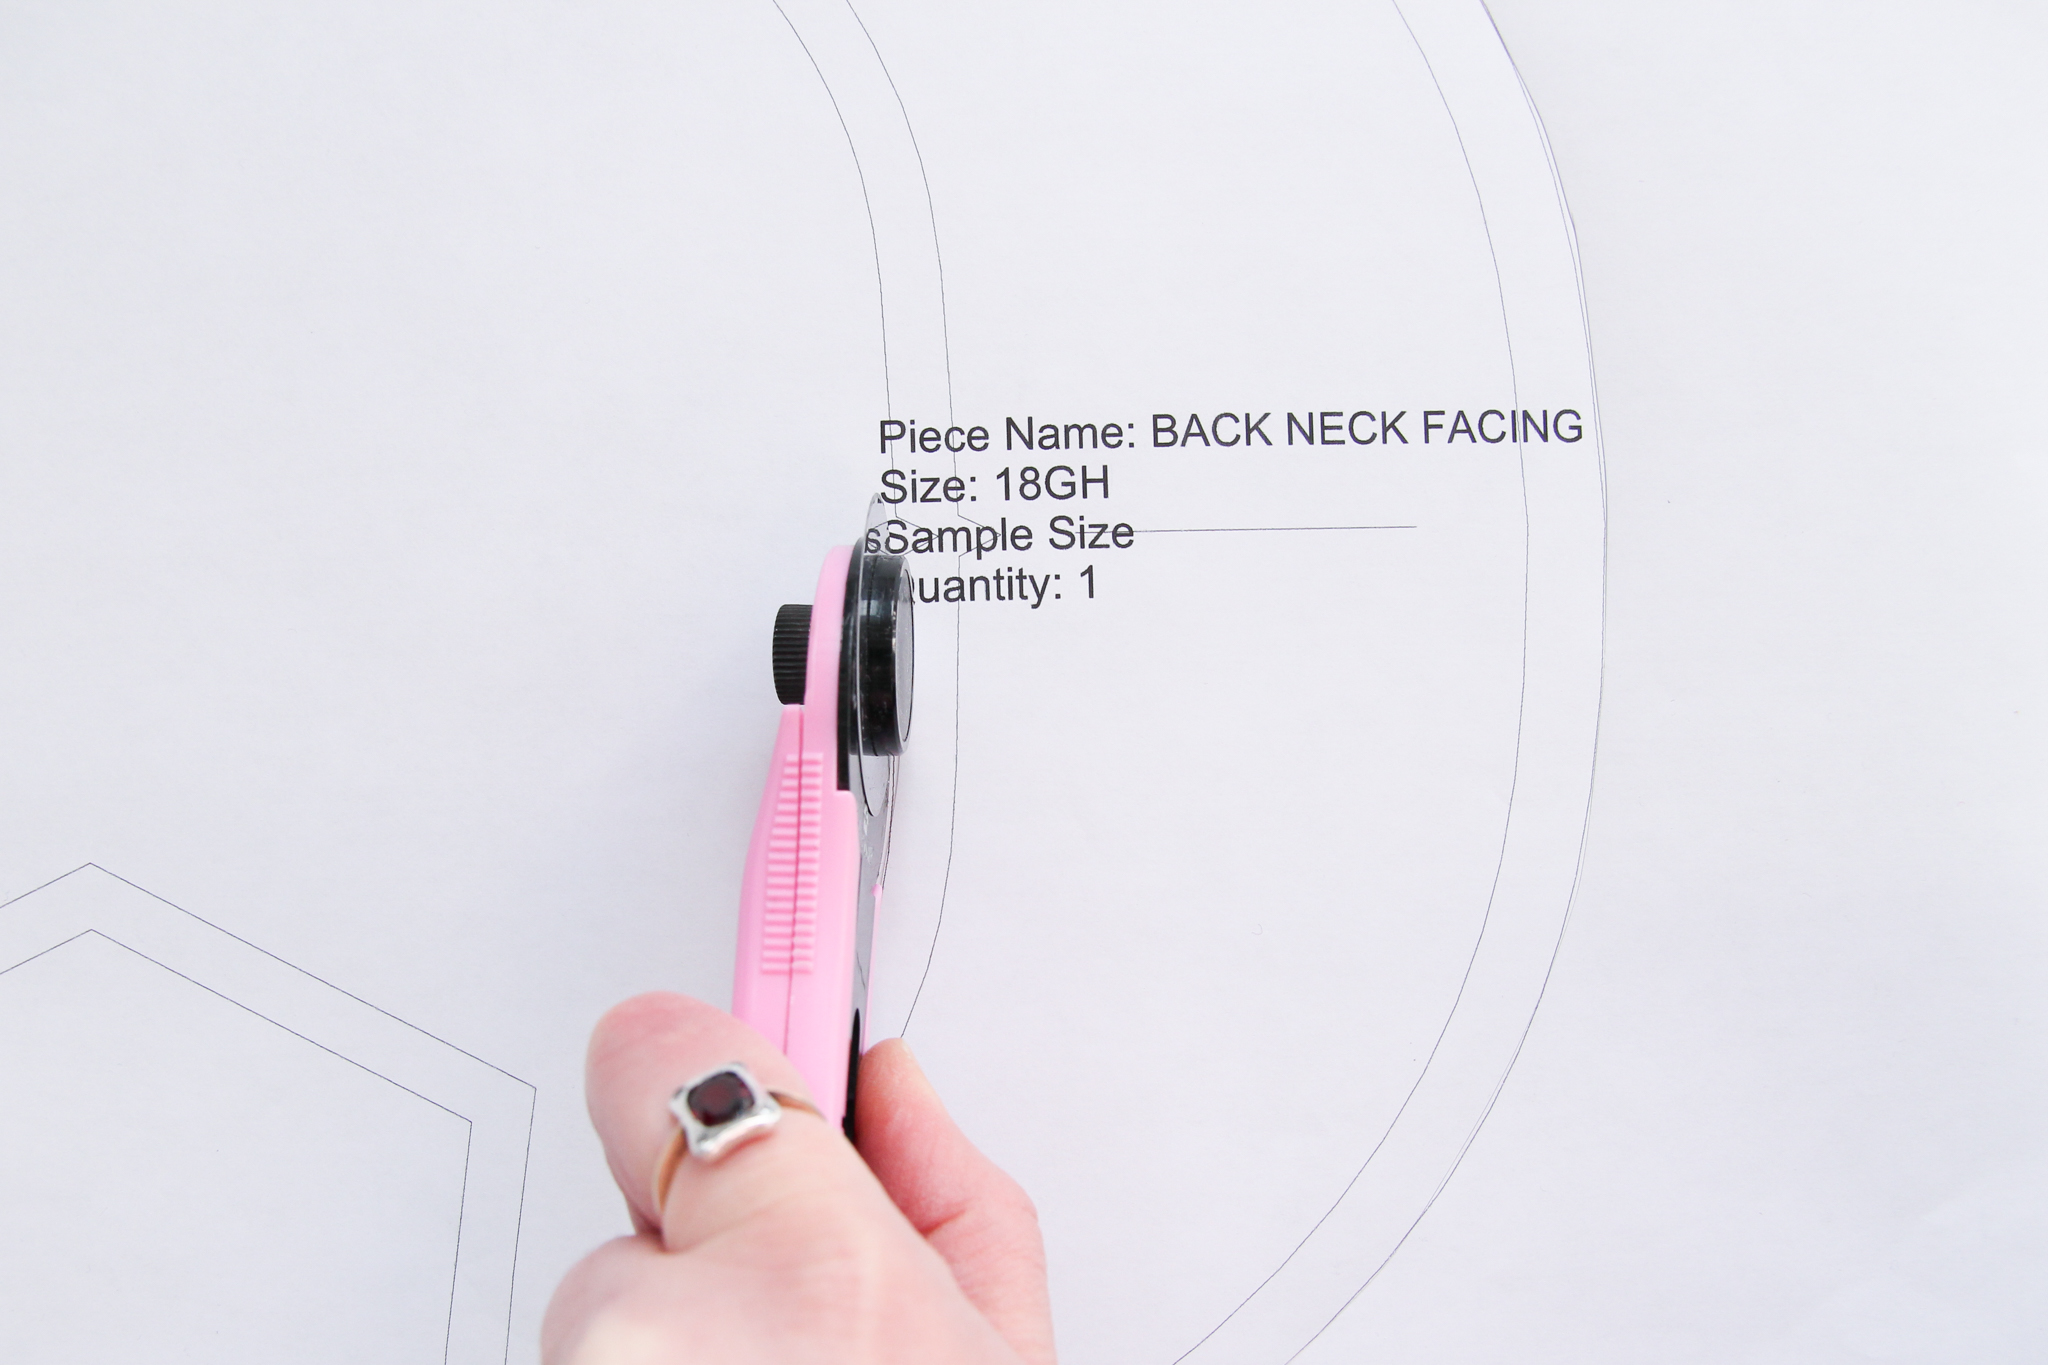
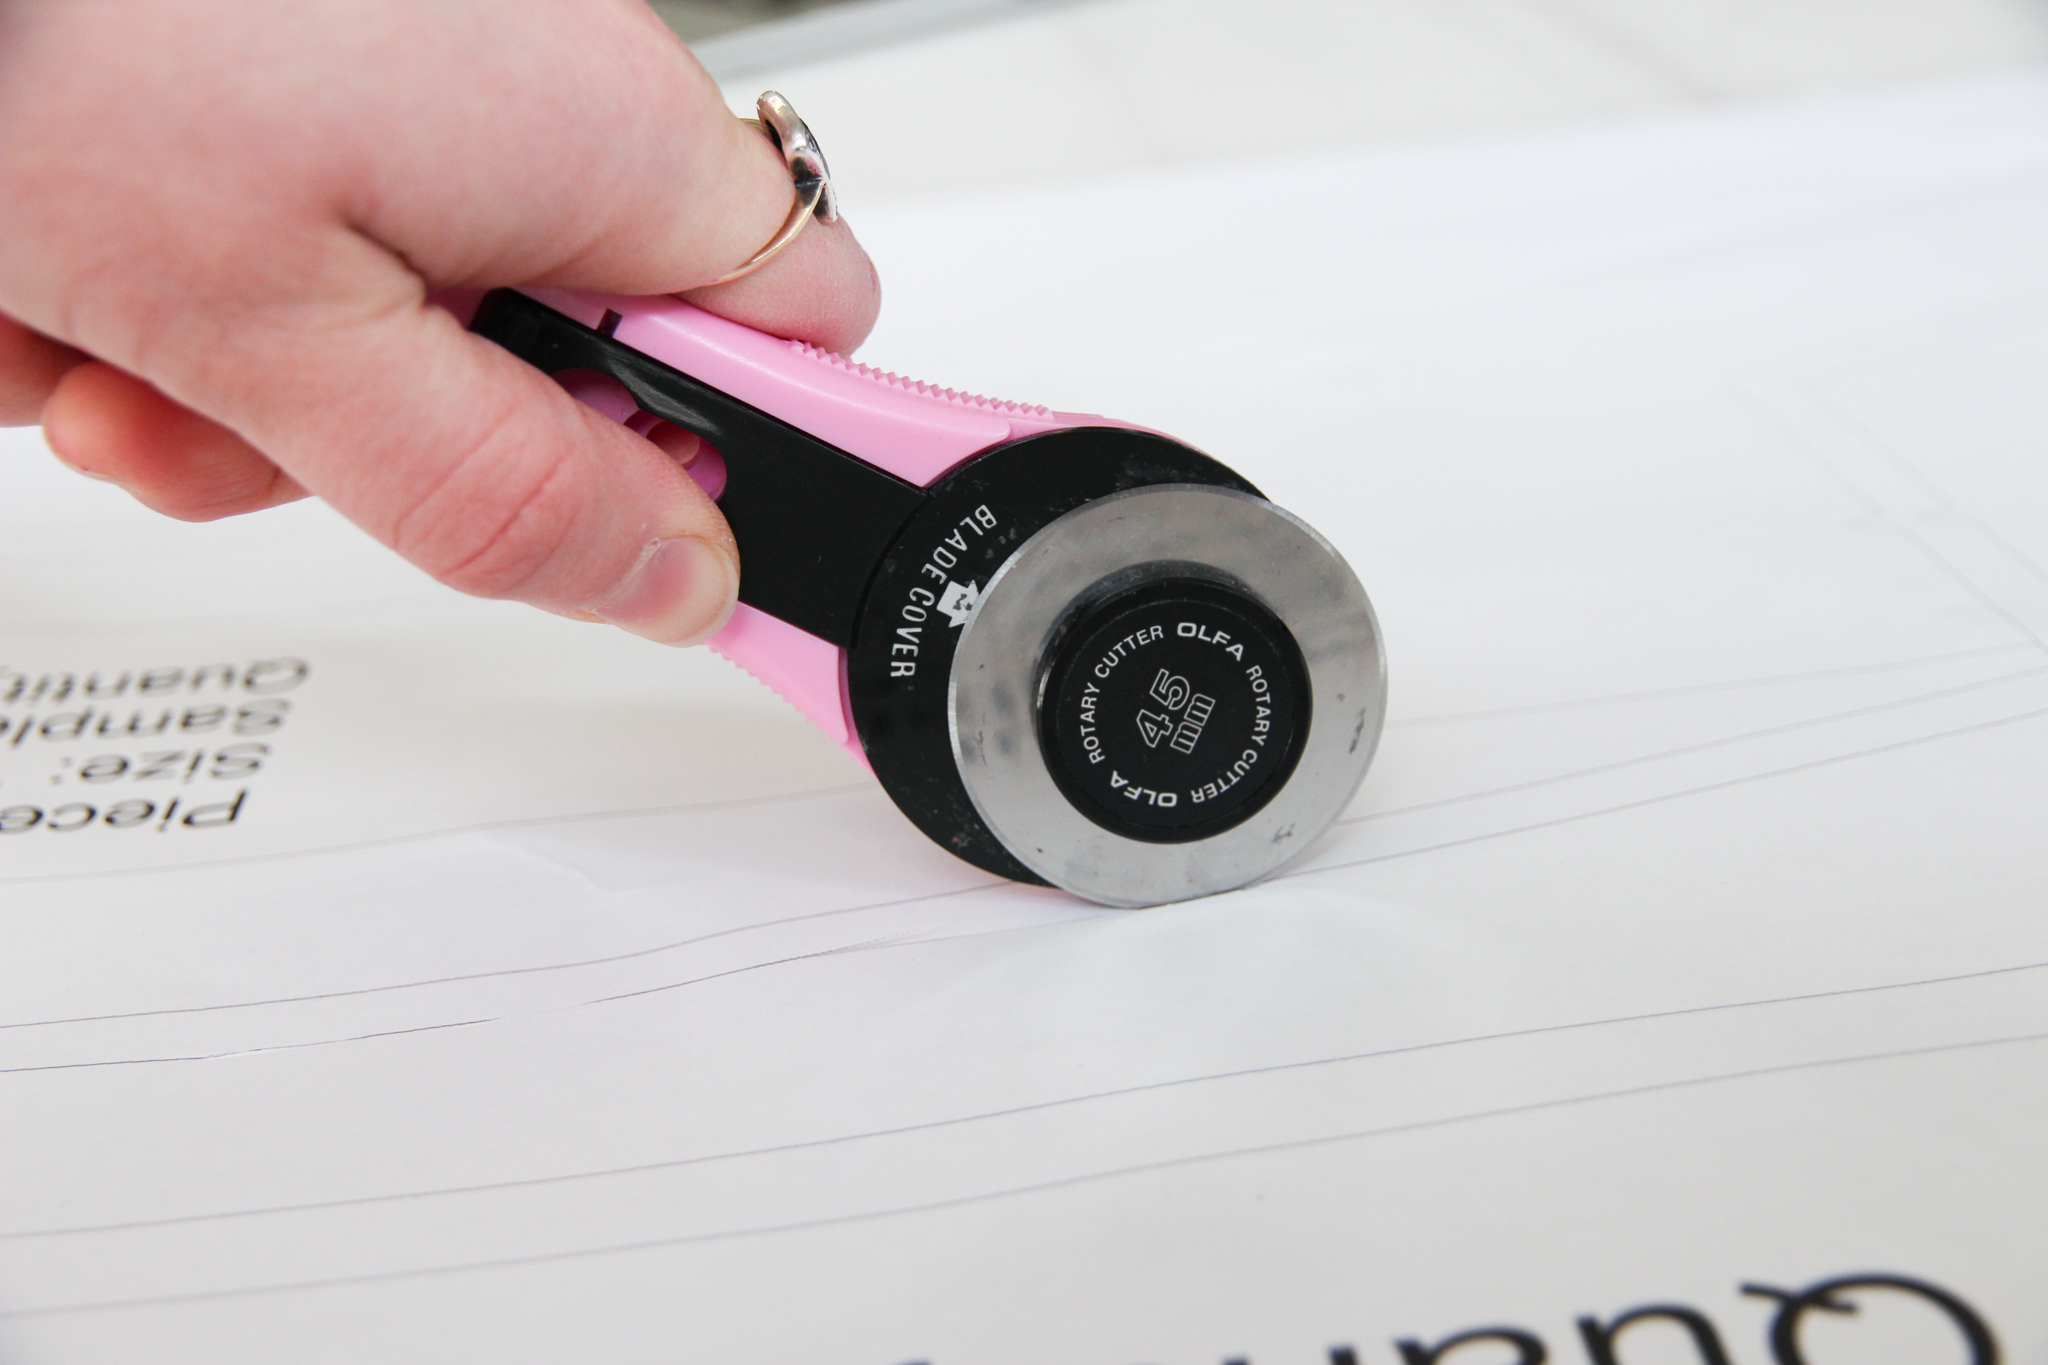
Time to cut out the pieces! Since our worktable is covered with a large cutting mat, we can use a rotary cutter and cut directly on the table. (Don’t worry, this is a paper-specific rotary cutter that gets the old, dull blades from the fabric rotary cutter.)
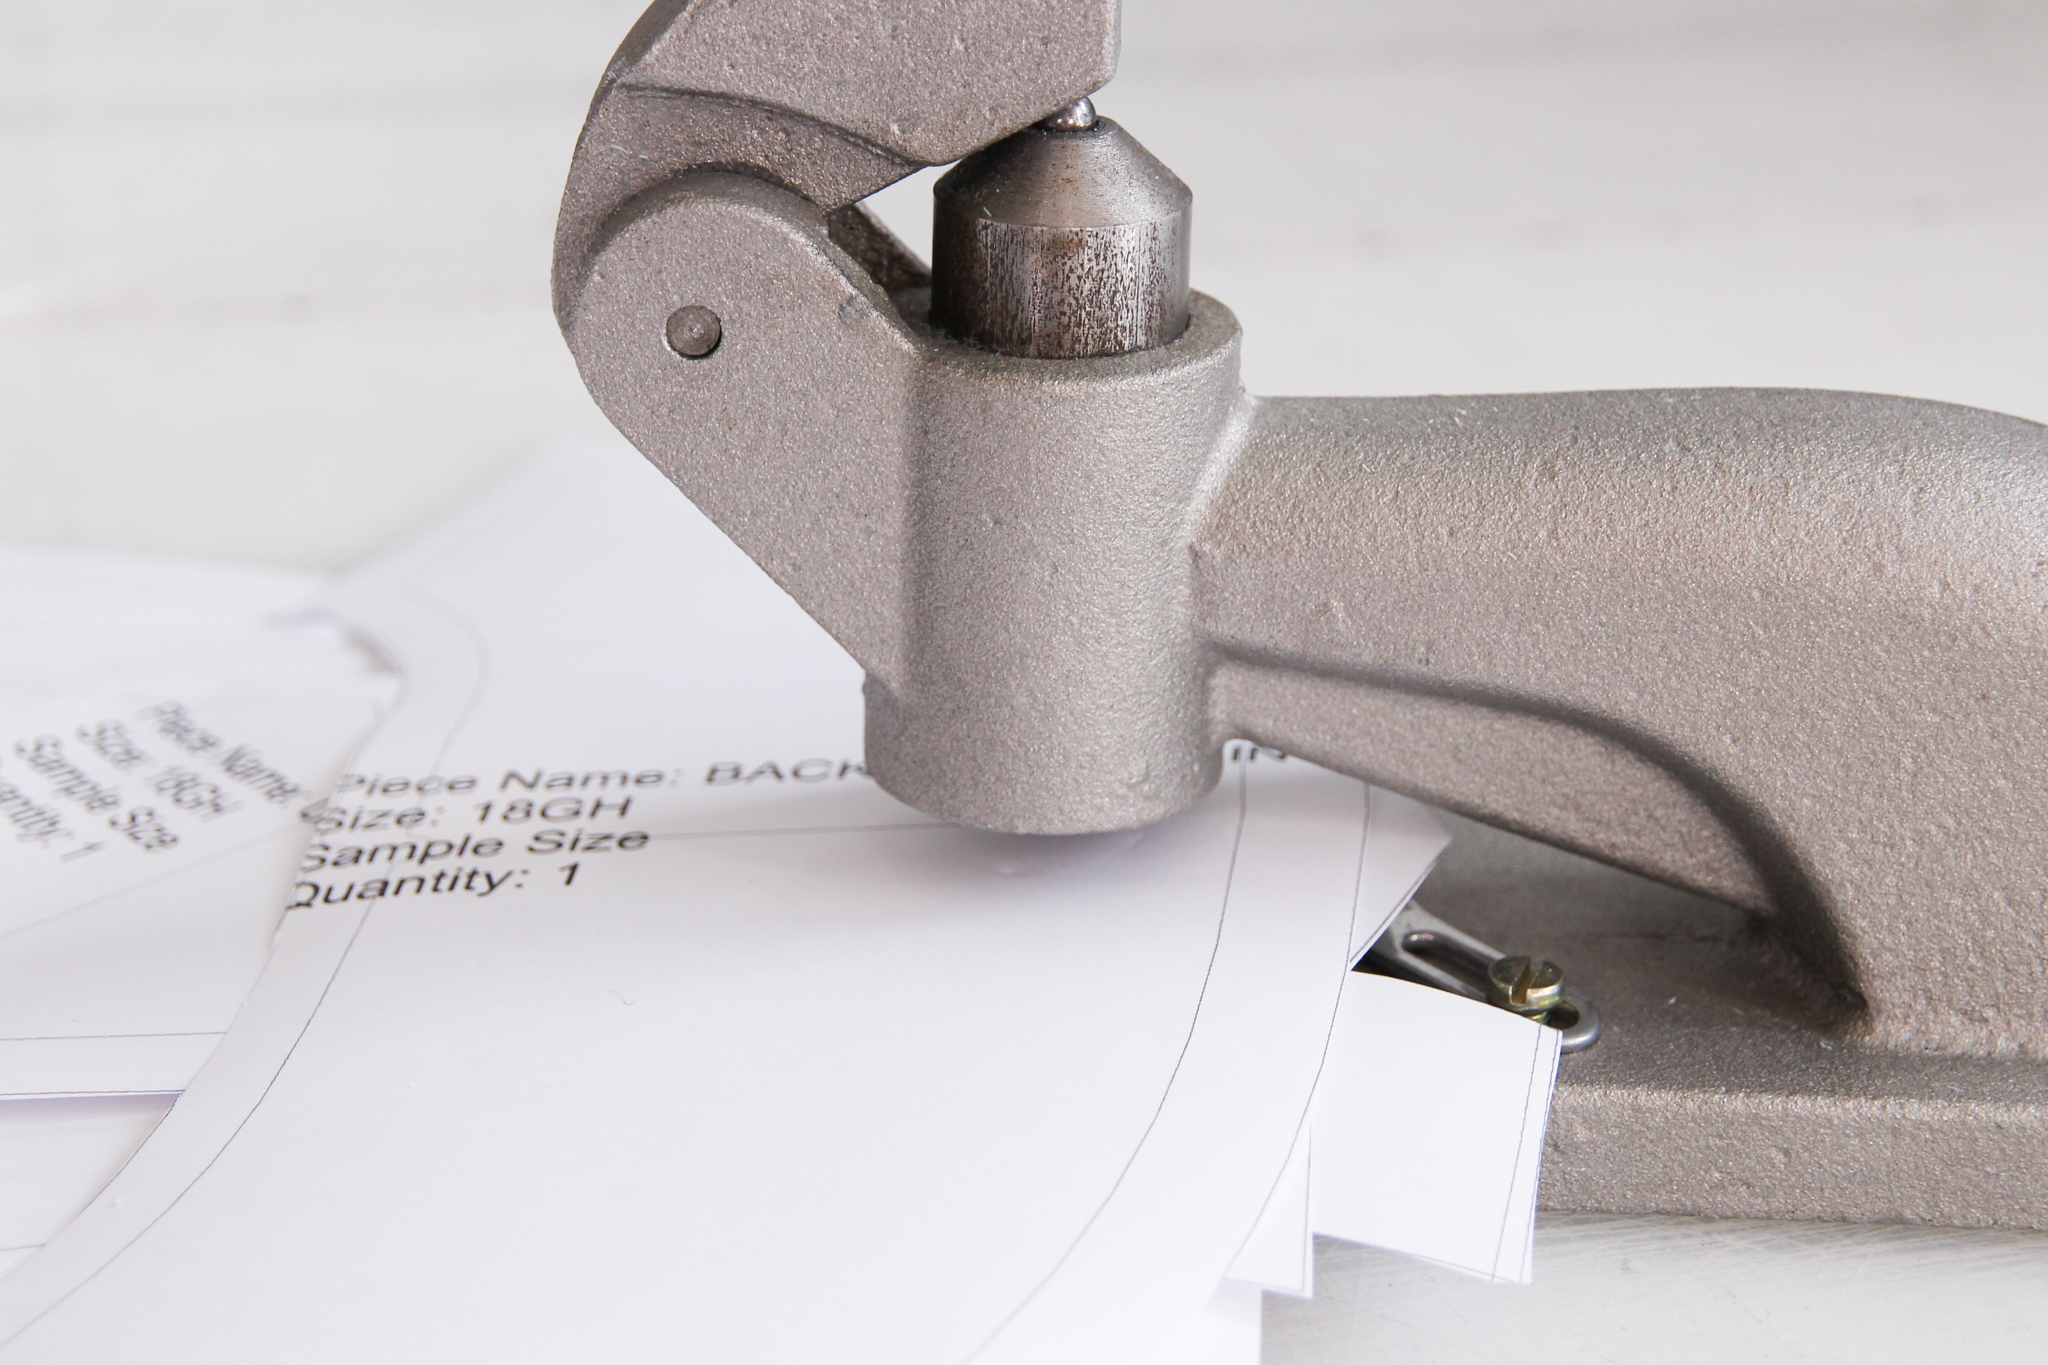
We often have several patterns being muslined at the same time, so to keep our pattern drafts organized, we use this large hole puncher.
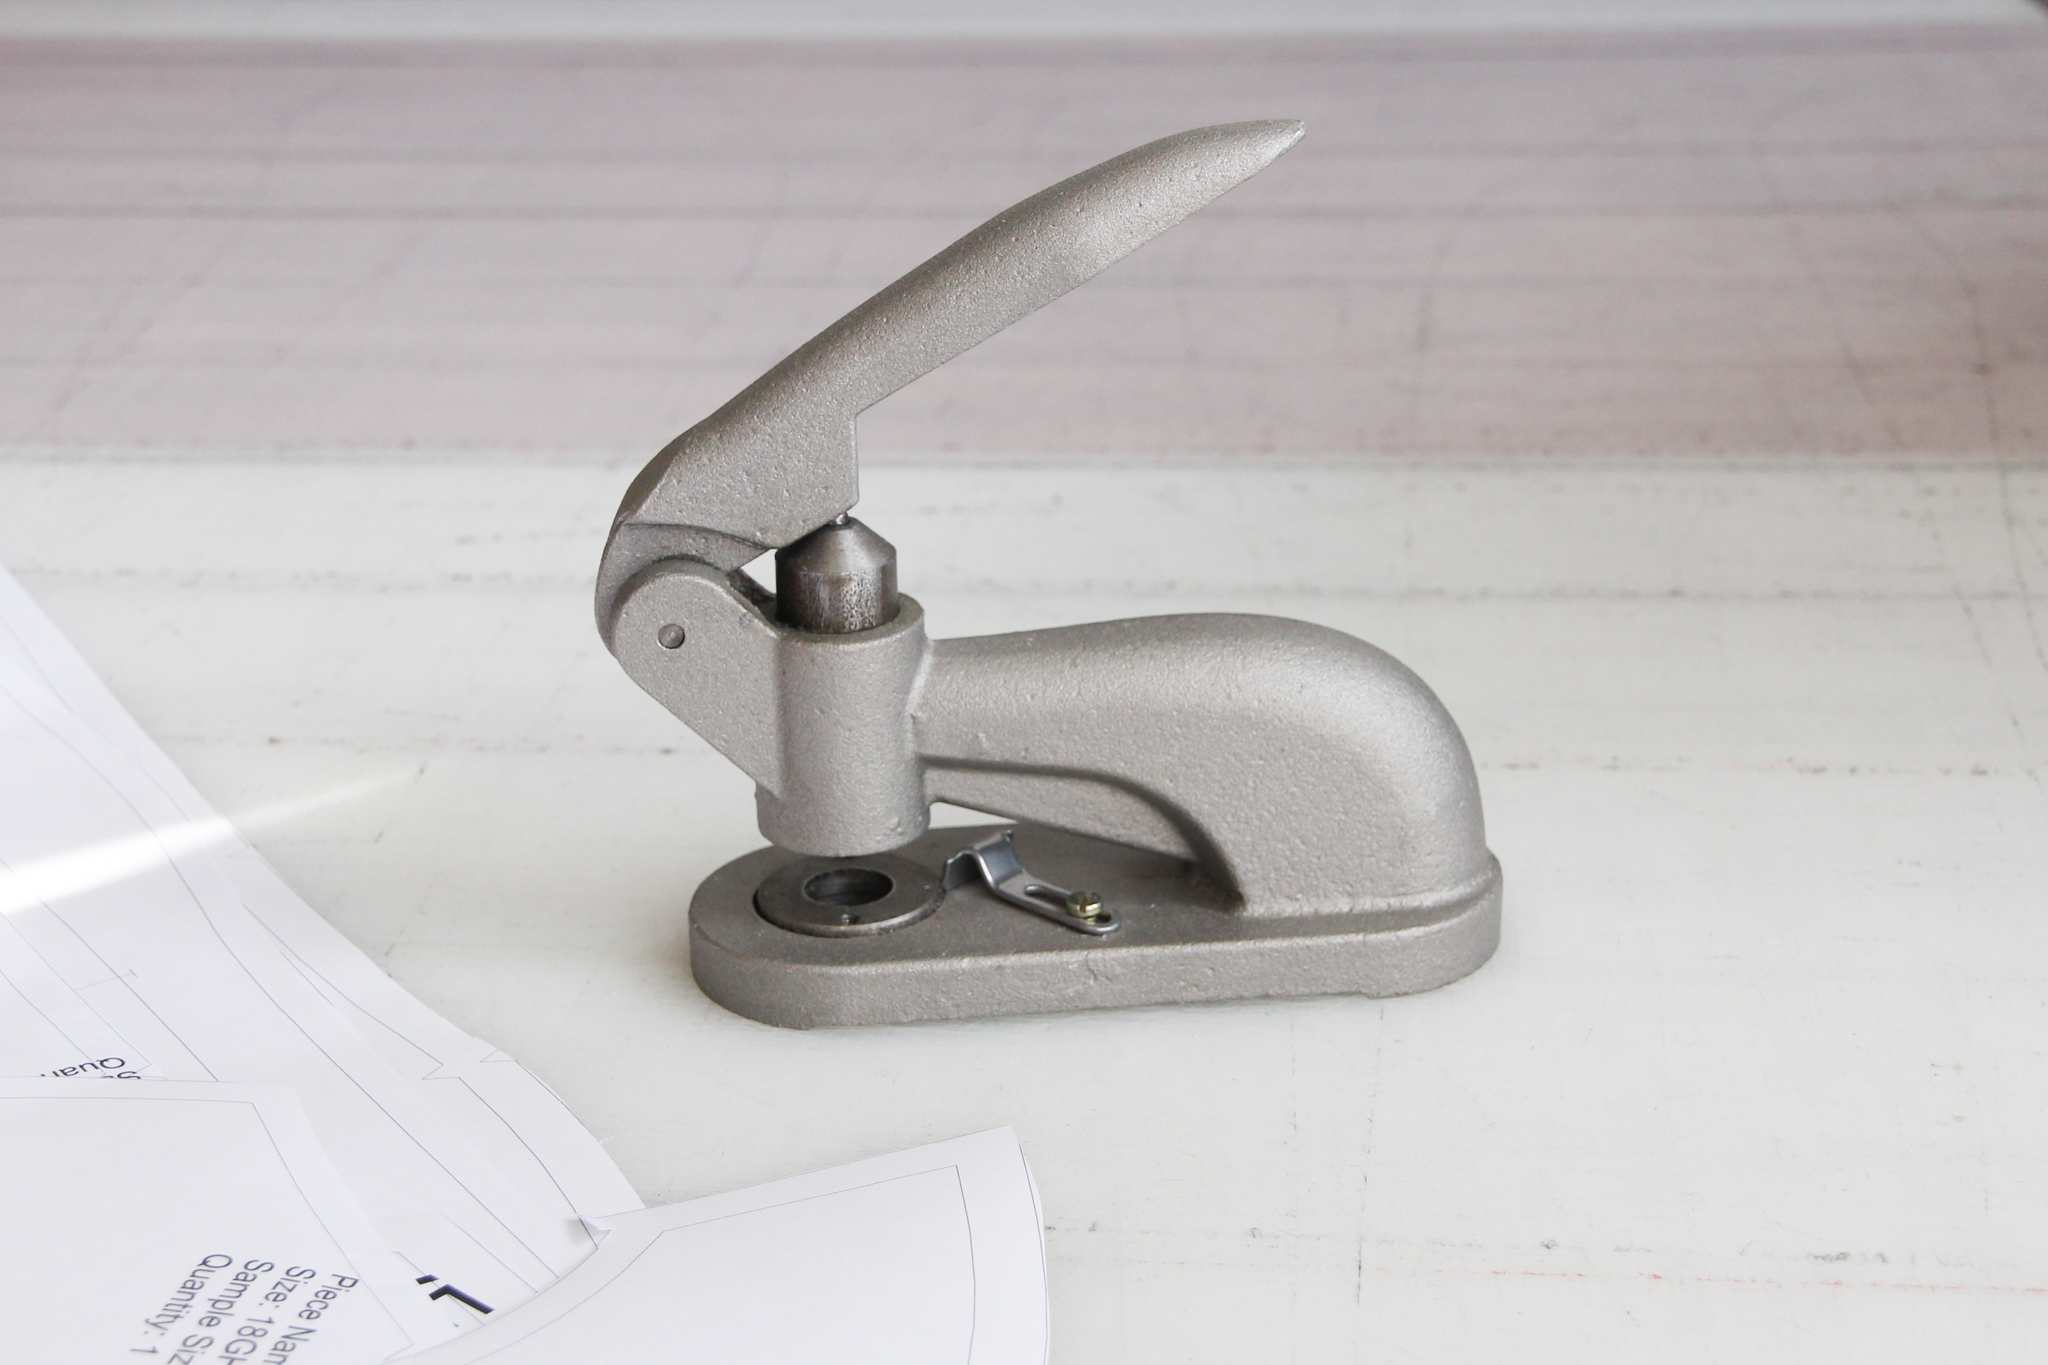
It’s quite handy, and you can punch through all of the pieces together at the same time.
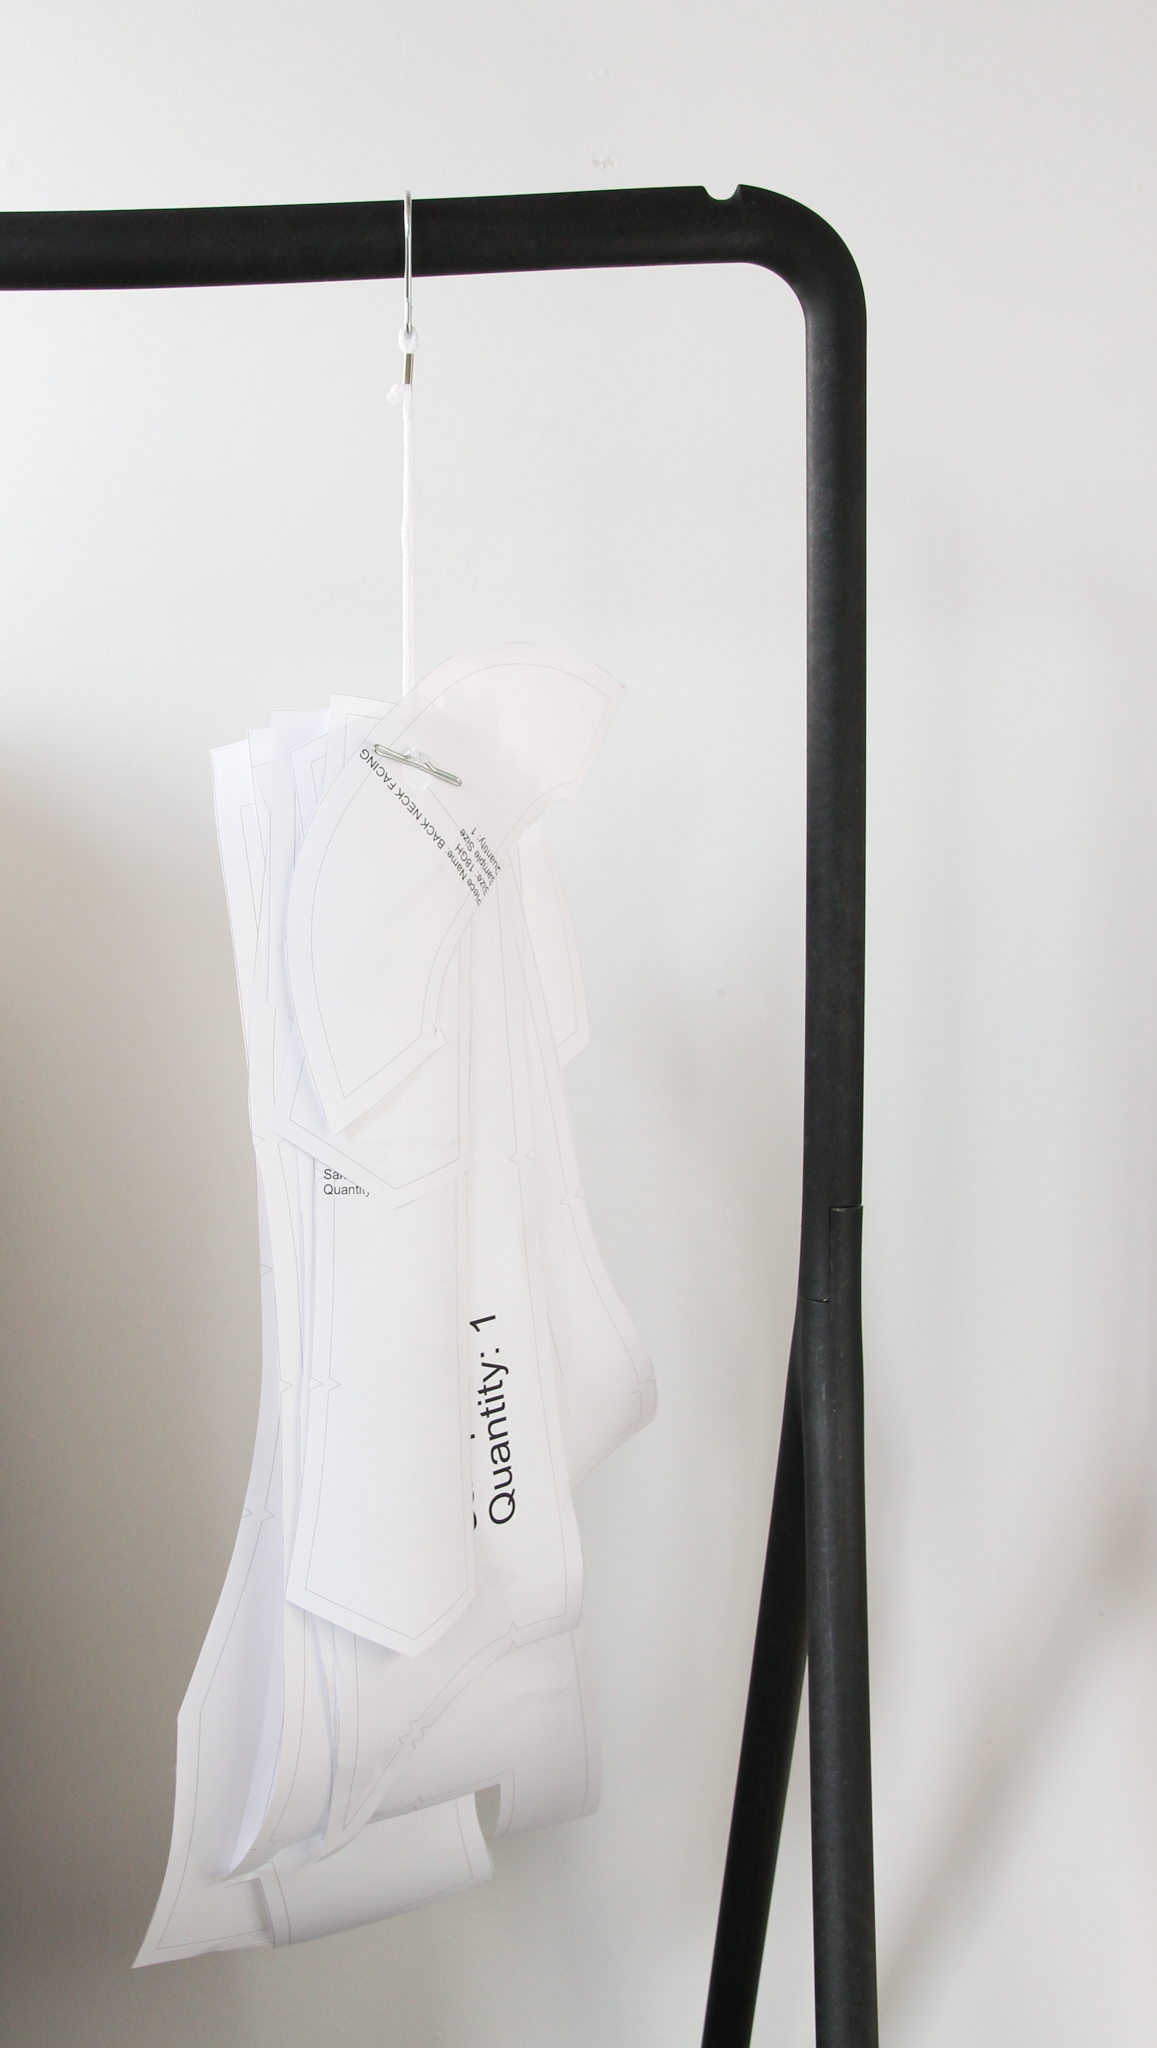
And there we have it, draft #1 of the blazer with its pattern pieces all cut and ready to go.
Up Next: Sewing Muslin #1
Next time, we’ll be sewing up this first muslin and taking a look at how it fits on Jenny and our Alvaform mannequin. Since this is just a muslin, we’re going to skip seam finishes and take other shortcuts where we can. And we’ll be using leftover fabric we have on hand, since this won’t be a blazer that sees the light of day.
There are also no instructions for how to assemble it (that’s our job!) so as we prepare to sew the first muslin, we’ll be strategizing about the order of operations. Sewing up the first muslin allows us to test that order and make revisions as we find better ways to do things.
If you got a blazer pattern without instructions, do you think you could sew it up? It’s a fun challenge for more advanced sewists, but could be a head-scratching puzzle for newbies! Let us know in the comments below whether you would enjoy that challenge—but don’t worry, there will definitely be labels and instructions (and maybe even a workshop) by the time this pattern gets to you.

I think I’ve sewn enough jackets that I could sew one without instructions, but every pattern company has a different way of doing things….. Especially the indie patterns! So , yes, instructions would be welcome, though I may not always follow them to the letter.
This is so much fun. I just got caught up on your earlier blog. My favorite blazer that has stuck with me through a WIDE swing of sizes is a woven knit from GAP. It is lined so easy to get off and on, but has a nice amount of ease to allow for weight changes. Looking forward to the muslin!
Loving the insight into the pattern design process and looking forward to making a great jacket for work and play.
Love that printer 😉 I dont think I could sew it without instructions – I made a coat once many moons ago but nothing since. Im really hoping this will tend towards the casual end of smart casual or maybe options – maybe a collarless option but I realise lots of curvy sewists need something smart for work. (I am lucky to be retired)
I have always wanted a single breasted one- button blazer that fits. Never been able to find one or even a pattern for one that fits me. Your patterns fit me! I can’t wait! I rarely read pattern instructions, but yours are good, so I do read them to pick up new ideas.
I’m so excited for this pattern! I work in a field that requires a certain level of dress, and this will be a fantastic addition to my wardrobe. Knits travel really well, too, so I can wear or pack this when I’m on the road without worry!
One thing that would be a great addition to the pattern (or perhaps to a sew-along or other add-on) would be tips for pattern matching. With a more complex garment with two piece sleeves, princess seams, etc., what are the considerations for how you should cut the pattern pieces for optimal pattern matching? I could see this as a fab wardrobe piece in a windowpane or buffalo plaid, but I’d want to make sure I don’t end up with an awkward pattern placement. It’s easy to pattern match stripes at the side of a tee shirt or skirt, but harder for me to visualize how to layout the pattern pieces on a plaid or other bold pattern in a way that takes into account seam allowances and pieced construction in a blazer. These are the kind of details that can take a garment to the next level!!
I agree, especially if it is going to have double princess seams (which I have to say I hope it doesn’t). Print matching is harder on double princess seams. But mostly, double princess seams is a very gendered design element, and I would love to have a jacket that I can make look less femme. A single princess seam isn’t so bad, and you can even convert it to darts, but I feel like two really makes it look like a capital W women’s garment in a way that’s harder to change with fabric choices, etc.
I think I could probably manage without instructions, having a fair amount of sewing experience, but certainly wouldn’t do it as efficiently as with you telling me what to do! Looking forward to seeing how this progresses. I’d love to have some jackets to go with all my nice Harrison Shirts!
Will this be a lined jacket?
I’ve been sewing for so many years that instructions aren’t really necessary, but I won’t turn them down.
What I would really, really appreciate are cutting layouts that are set up for 56” wide fabrics and 43” fabrics. Most layouts are designed for 45” and 60” wide fabrics, and I have found that fabric manufacturers are getting skimpy on their widths.
Ditto!!! I also sew on some Japanese fabrics that are only 40″ wide. Good thing I have over 56 years of sewing experience.
Looking really forward to seeing the first muslin sewn up! I could probably get by without instructions unless there was some unique detail that threw off my usual order of construction. For things like welt pockets, different collar types, etc, there are always online tutorials if I need a memory refresher.
I think that I could sew it fine without instructions as I have had a lot of experience and even making patterns. I find that often I know a way I like better to sew different areas but instructions are always welcome! I have been very interested in how you are choosing the style etc. so it has been fun to read this blog. Thank you so much for including all of us!!! This sounds fun, I would love to be involved in getting the pattern and sewing it up. Thanks again.
I could probably muddle through without instructions but would prefer to have them. I must admit that I often sew things in different order. Most patterns start with the bodice then go on to do things like sleeves, collars later. I tend to assemble subordinate units first so that when I start building the garment you can just reach for the next element to attach instead of having to stop and build it.
I’ve sewn enough jackets that I could do it without instructions.
I might need a refresher for the notched collar (it has been a very long while)
However, I love princess seams
This is one of the best blog posts I have read in a while
Thanks for the glimpse inside
Where can you find the, hanger thingys that hold your cut pattern pieces, please?
Search for “pattern hooks”–they’re readily available on Amazon and elsewhere.
-Ayelet at Cashmerette
This is so exciting. I’ve never, ever worn blazers because I’ve never found one that fit me properly. I’ve been all sizes between 12 and 28 but at each point, I had an H+ cup bust and narrow shoulders, so you can understand why blazers were a no-go. Fit is everything in a blazer. But since your patterns fit me great with very minimal altering, this is my dream come true! 🙂
Also, it’ll give people a break from seeing me in cardigans.
I just found this post and I’m doing a happy dance in my heart. I love a good, edgy, FITTED blazer and I’ve been researching blazer patterns for months without finding anything promising. I’m already envisioning fabrics and hacks! (Ruffled peplum anyone?) If this turns out like I think it will, I’ll be buying this baby as soon as it’s available.
As for directions, I think I could probably figure it out. Cashmerette patterns have decent instructions and good illustrations, but I generally find most sewing instructions are not well written and I’ve gotten into the habit of avoiding them if at all possible. If I get confused, I usually try to find a video sew-along, or I call my mom.