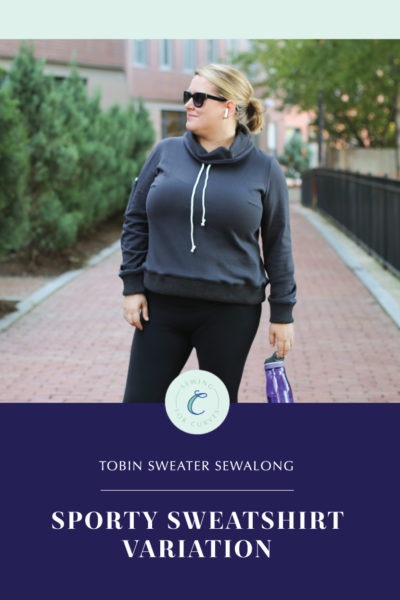
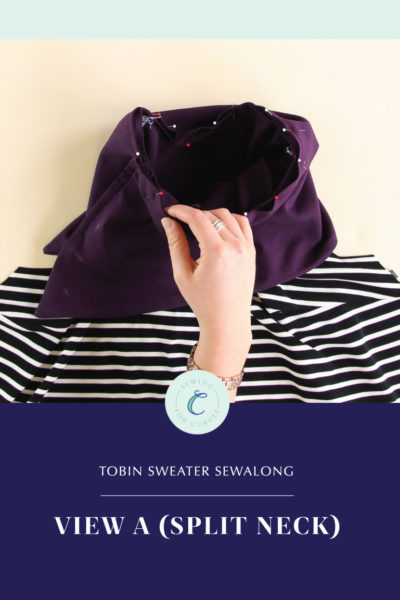
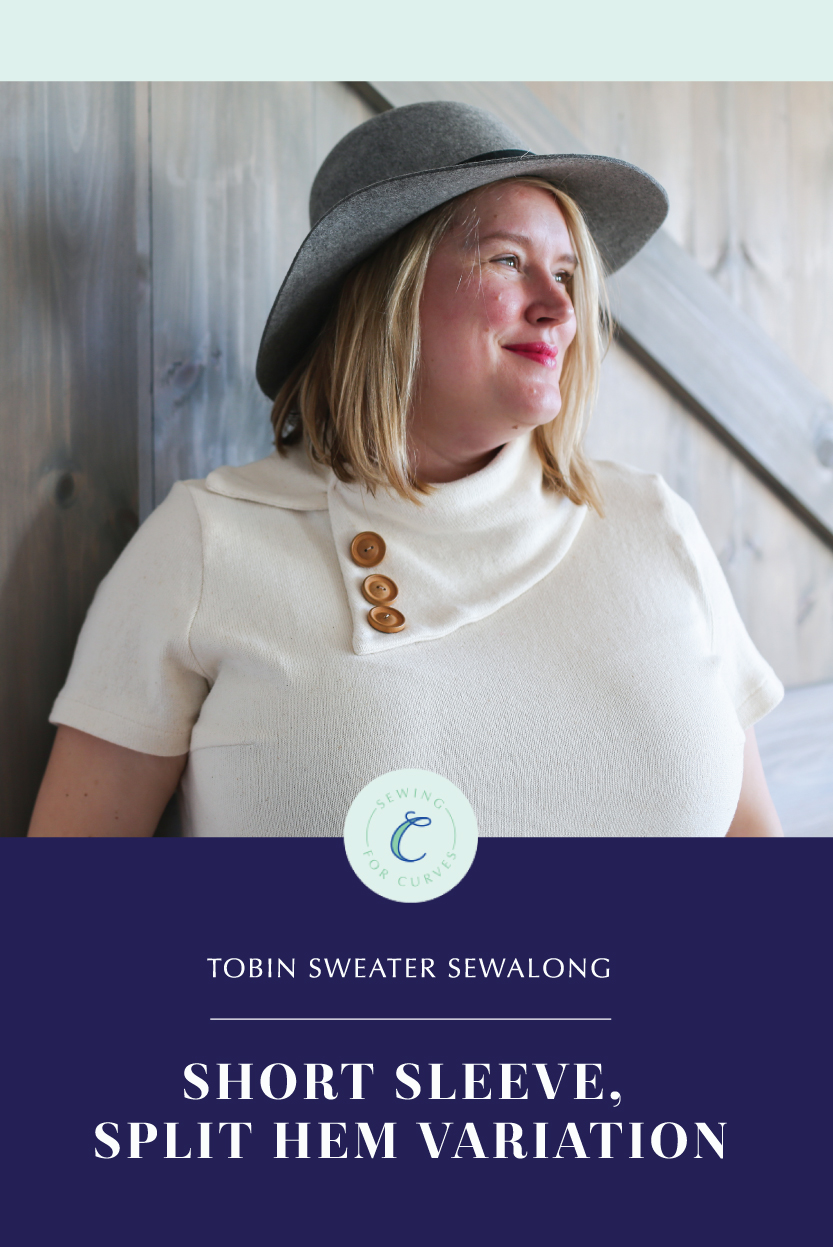
Hey, Ayelet here with another Tobin Sweater hack! When I first saw the design for View A of the Tobin, I was smitten. How cute is that split funnel neck with the oversized buttons?! But I know not everyone likes the look of color blocking, and sometimes pairing fabrics can be tricky. So I’m going to show you how to combine your pattern pieces to make a single-color View A. And we’ll throw in two other hacks just for kicks: a short sleeve sweater hack and a split hem hack.
(Just joining us? Head over to the main Tobin Sweater sewalong page for step-by-step photo instructions, recommendations for choosing your size, and loads of inspiration!)
Read to get started? Let’s do it!
We’re going to start by preparing our pattern pieces. Take the lower front piece for your cup size (#2A/2B/2C), and the upper front piece for View A & C (#1A). It’s important not to use the upper front for View B (#1B), since the split neck will not line up correctly with the neckline.
To combine the upper and lower pieces, we need to remove the seam allowance. On the lower piece, this is the line marked “Cut here for View B…”. On the upper piece, we’ll need to draw it in. Draw a straight line 3/8” (1 cm) up from the bottom, parallel to bottom edge. Overlap the upper piece over the lower piece so that the line you just drew is aligned with the “Cut here for View B…” line. I’ve marked this line in red below so you can see:
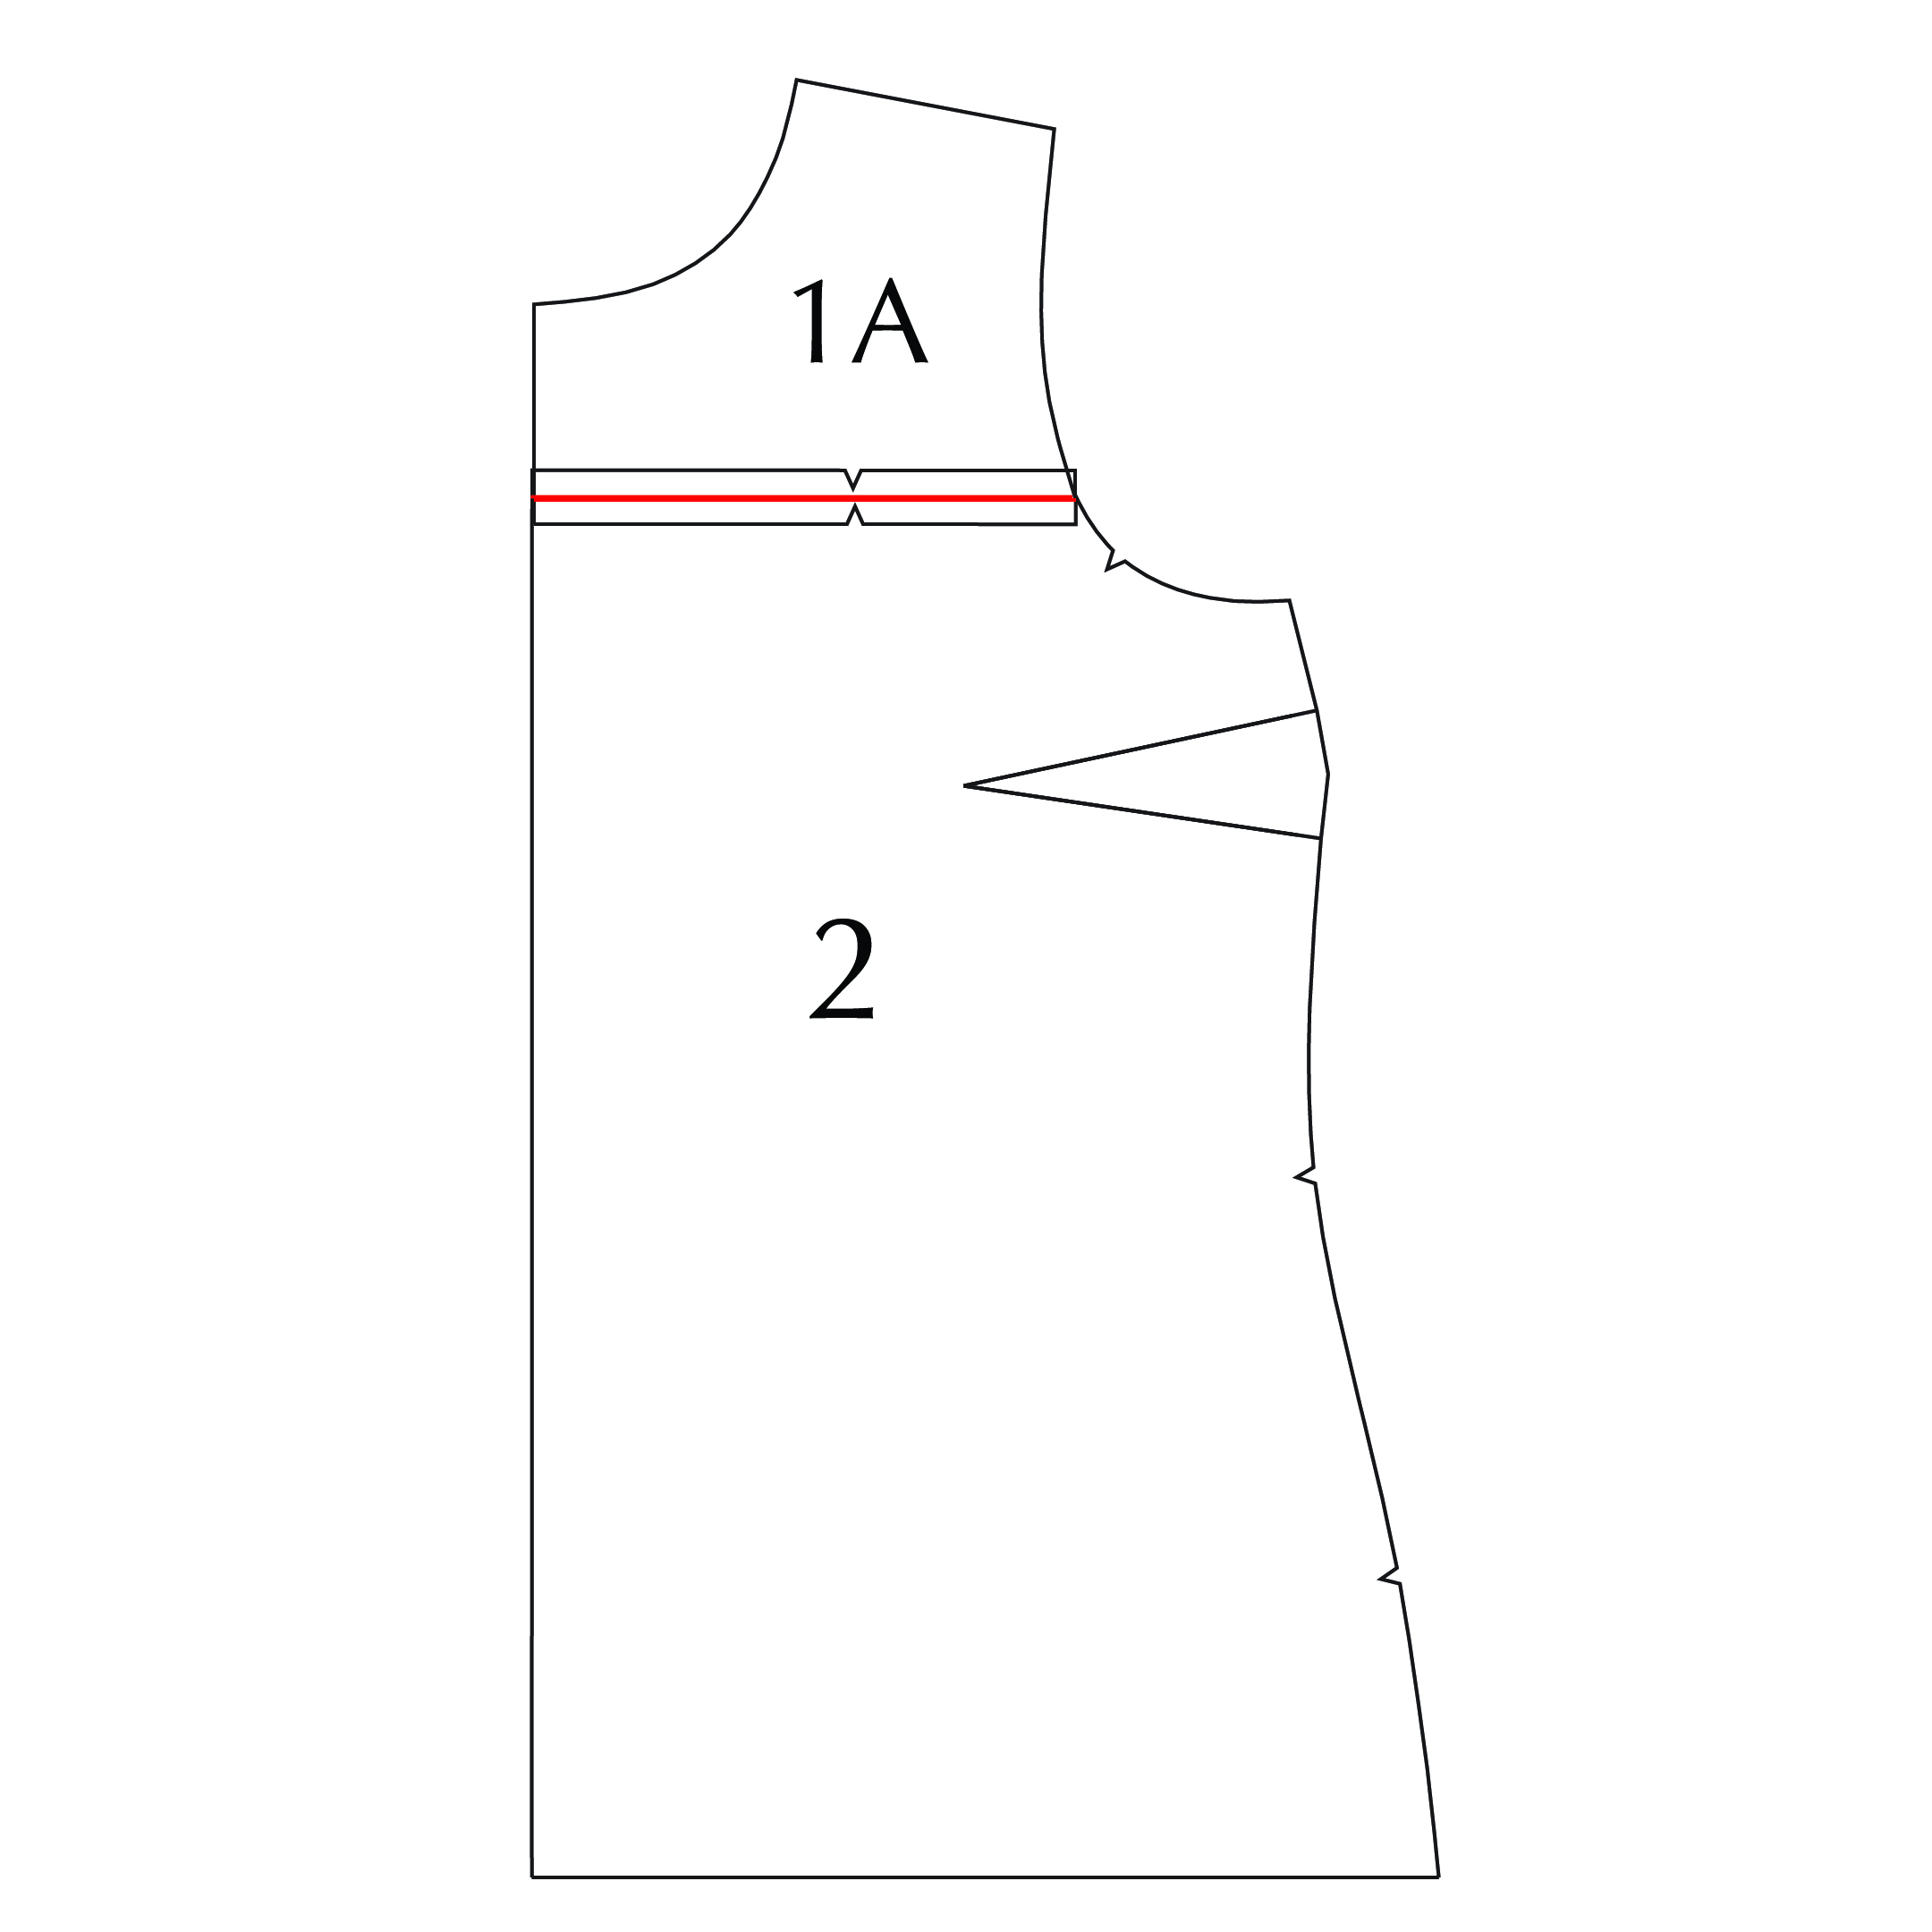
Tape that down, and now we have a solid front piece.
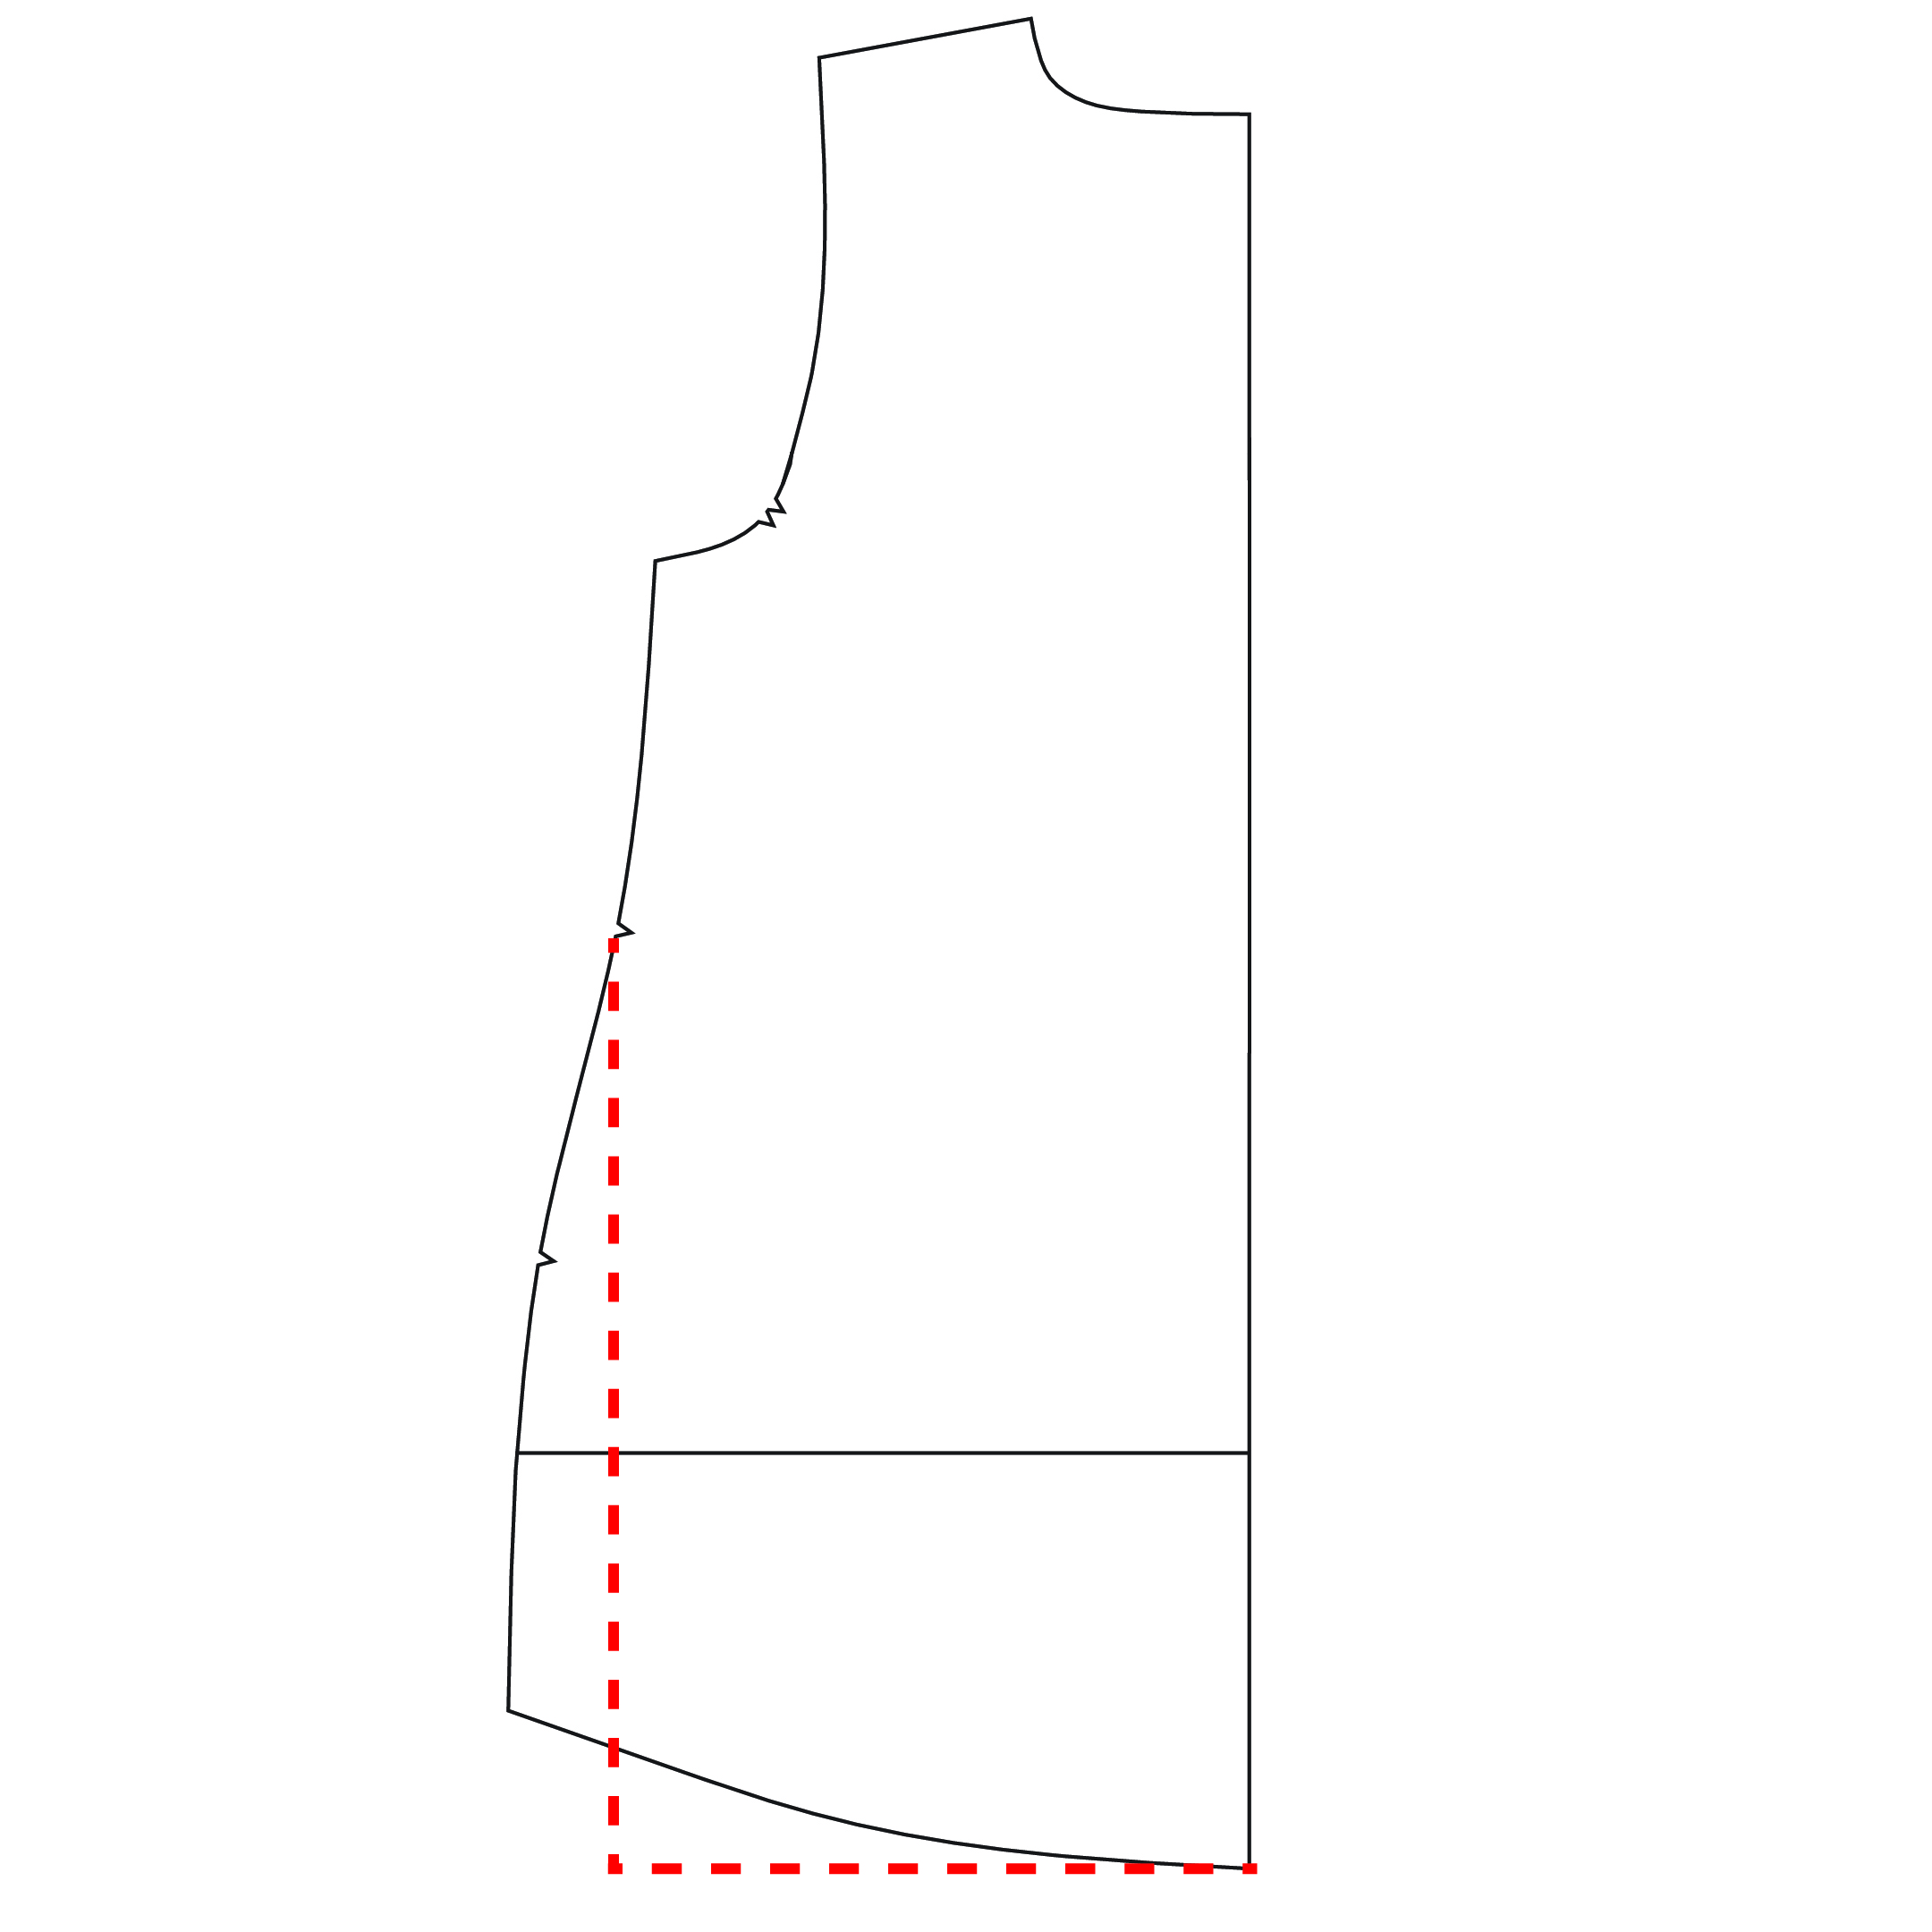
Next, we’re doing to adjust the piece for the split hem. I chose to have the slit start at the waist notch, since I was going for an exaggerated hi-low hem. You can choose to have your slit start wherever you wish.
Starting at that waist notch, I’m going to draw a line directly down to the bottom of the piece, intersecting with the cut line for Views A & C (the straight hem). You can choose to keep the hip curve as is, but I found that the fabric naturally curled inward and created a straight line anyway, so I removed the curve to have less bulk there.

Now on to our back piece. We’re going to tape the upper back and lower back pieces following the instructions for View B. Then, let’s adjust our hem. Again, I was going for a dramatic boxy hi-low hem, so I used the bottom edge of the View B hem and drew a straight line out to the side seam. Then I drew a straight line down from the waist notch to create a right angle.
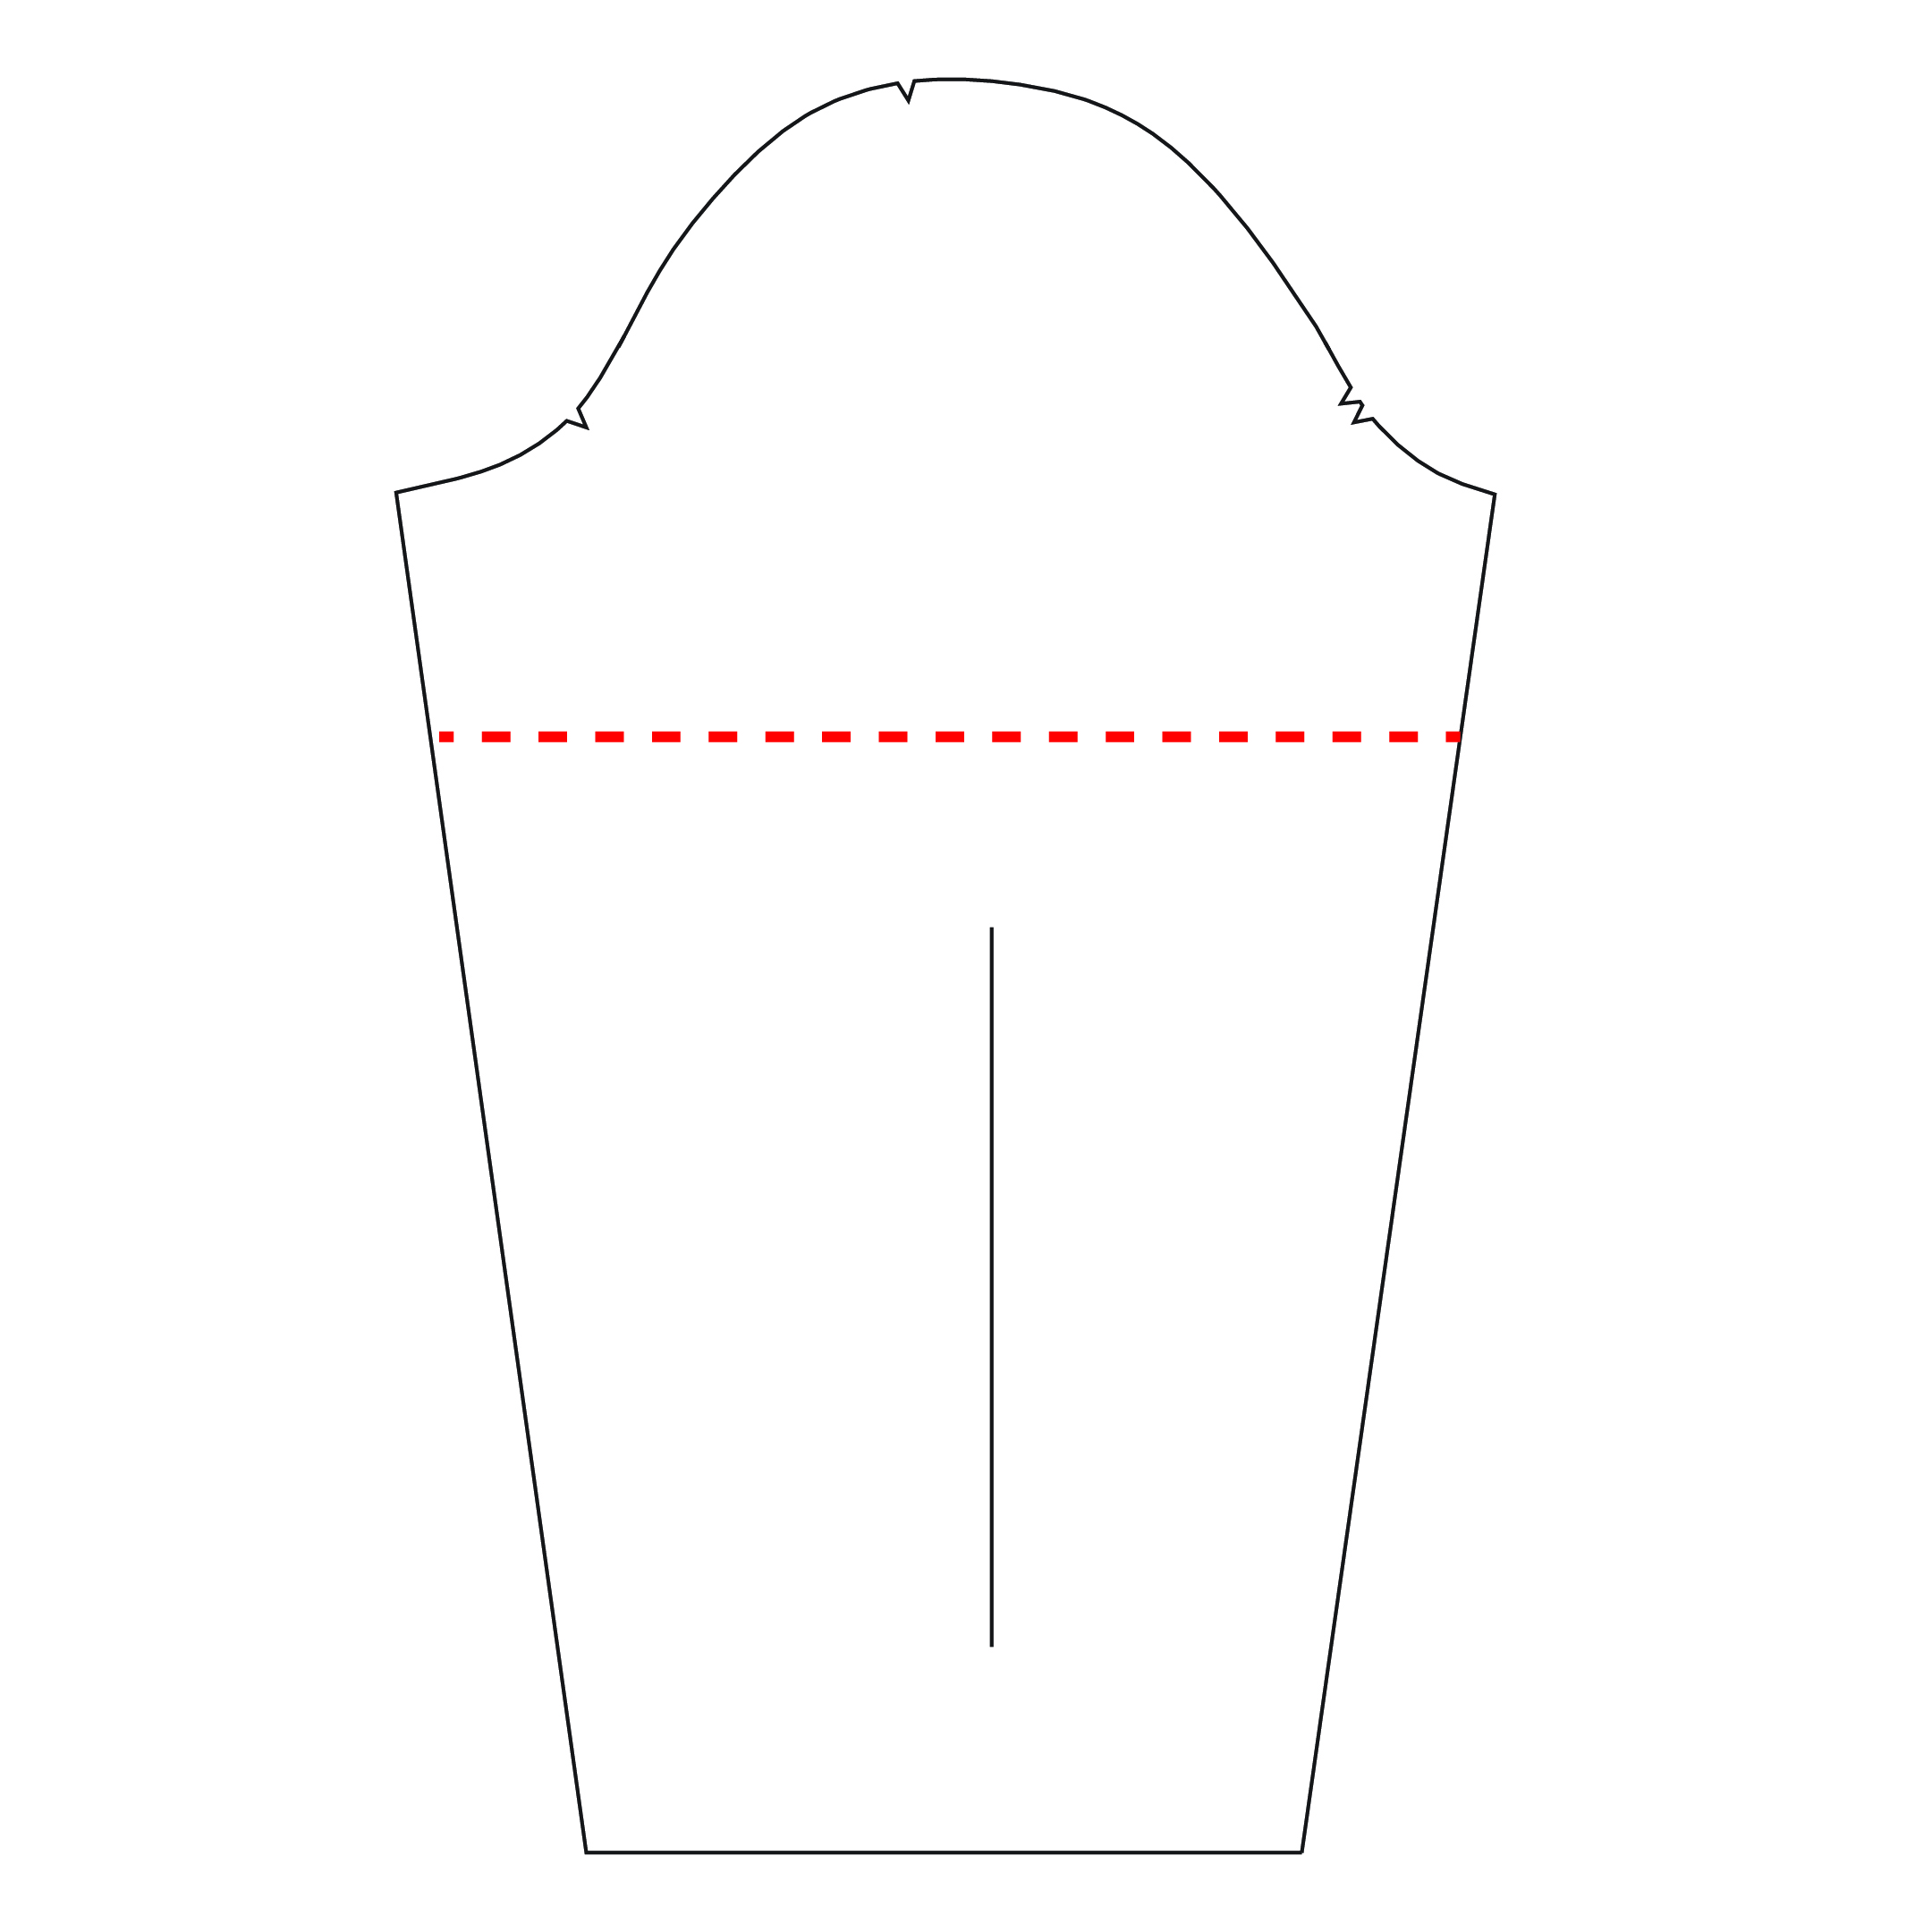
Finally, we’re going to shorten our sleeve. How much you shorten by is completely your choice—we all have difference preferences for how long we like our sleeves to be. I measured about 2” (5 cm) below the end of the armscye and drew a straight line across there.
Prepare the rest of your pattern pieces and cut your fabric following the instructions for View A, but don’t forget that you can skip the cuffs. And then it’s time to sew!
We have a great sewalong where you can see step-by-step photos of how to construct View A. We can of course skip the step where we’re assembling our front, back, and sleeve pieces, since we’re not doing the color blocking.
I recommend finishing your side seams separately and pressing them open—this will help when we hem the bottom edge.
After sewing your side seams, try the sweater on and check the length of the sleeves. If they’re to your liking, you can hem them by folding the edge over to the wrong side by 5/8” (1.5 cm) and topstitching from the right side.
For the hem, I folded the bottom edges to the wrong side by 5/8” (1.5 cm) and topstitched across. Then I folded the side seams to the wrong side by 5/8” (1.5 cm) and topstitched those in one go, starting at one hem, working up to the sewn side seam, pivoting, and working back down to the other hem. You can pin and sew your entire front and back hem in one go if you’d like (and do mitered corners if you want to get real fancy), but I found it easier to do it in separate steps.

Finally, sew your buttons on your split funnel neck, put on a cute hat and show off your new make!


What variations on the Tobin Sweater pattern do you have up your sleeve? Tag your photos with #TobinSweater so we can marvel at the creative hacks YOU come up with!