Hey there, Ayelet here with a fun Tobin Sweater variation I’ve been super excited to share with you. I’m going to take View B of the Tobin and show you how to sew a workout sweatshirt, complete with a pocket for your phone or mp3 player!
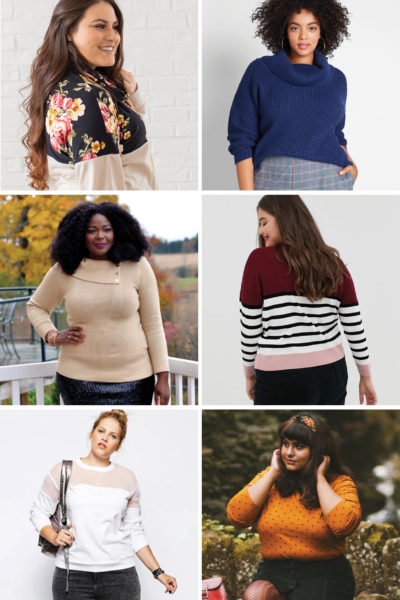
(Just joining us? Head over to the main Tobin Sweater sewalong page for step-by-step photo instructions, recommendations for choosing your size, and loads of inspiration!)
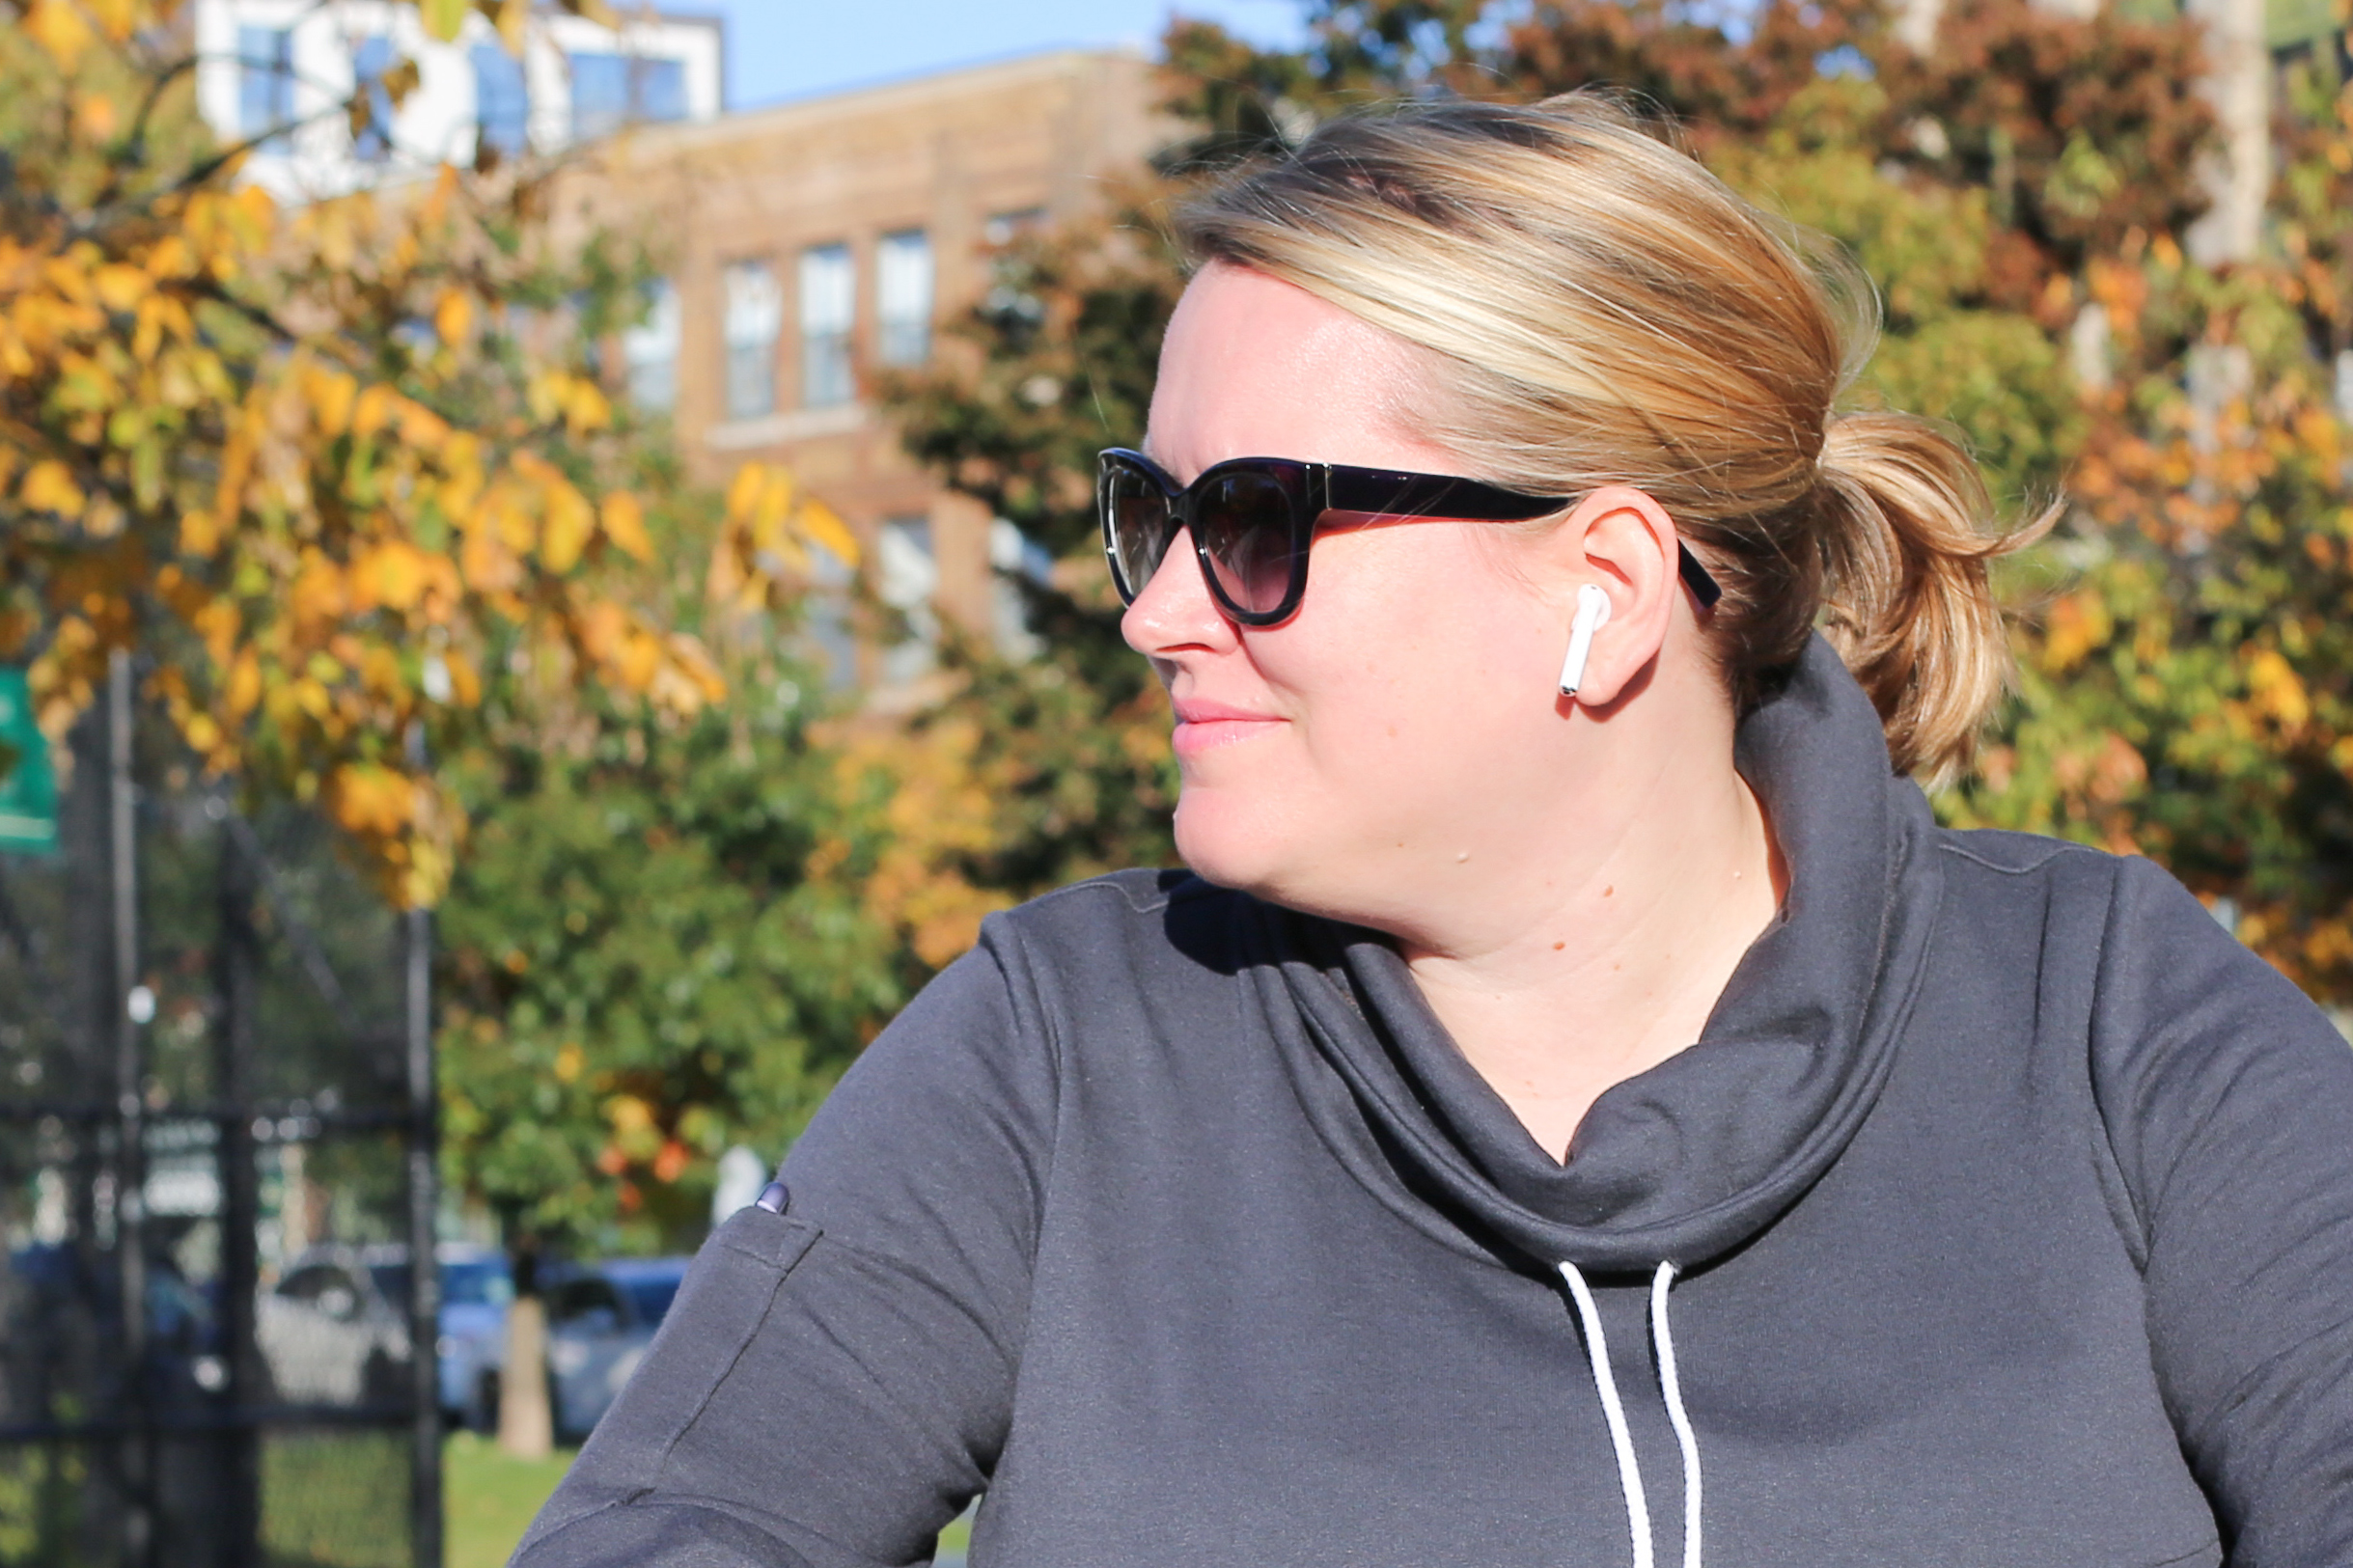
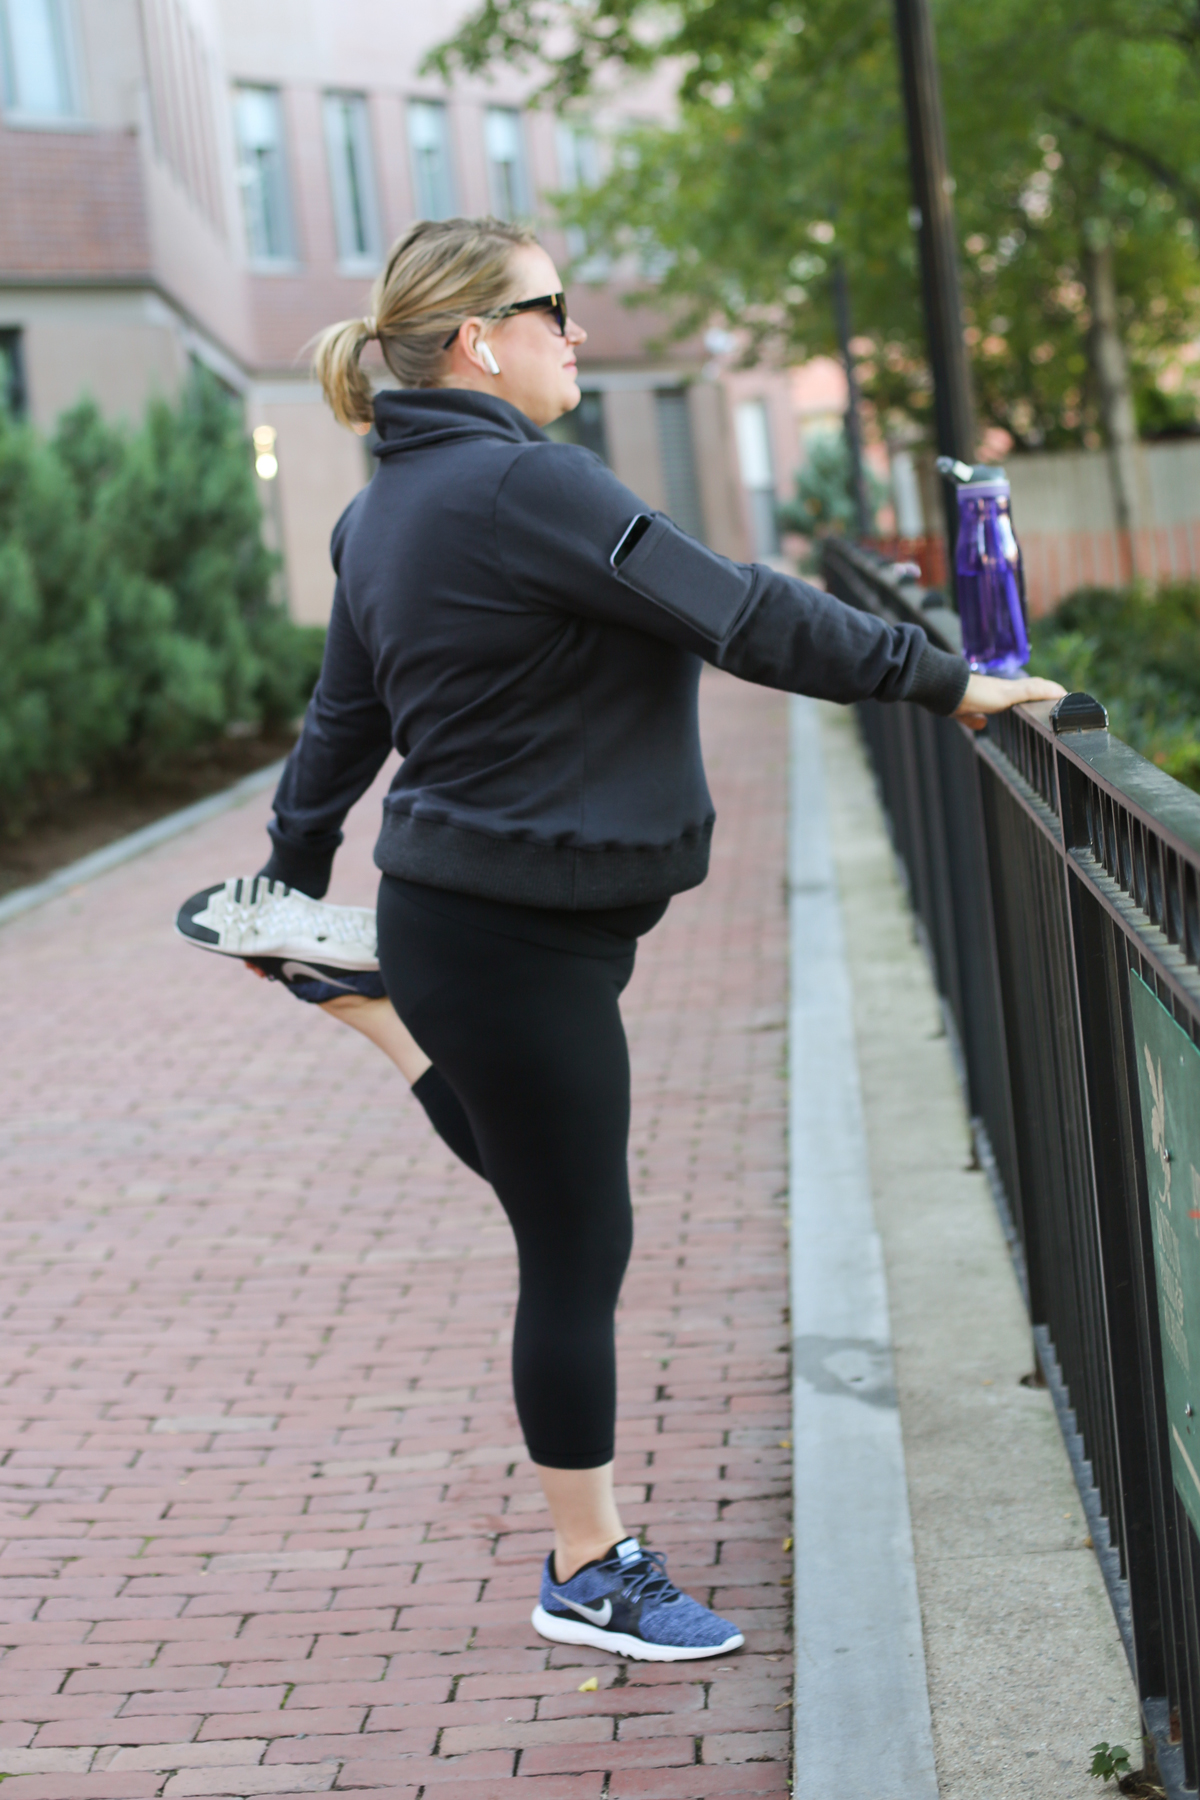
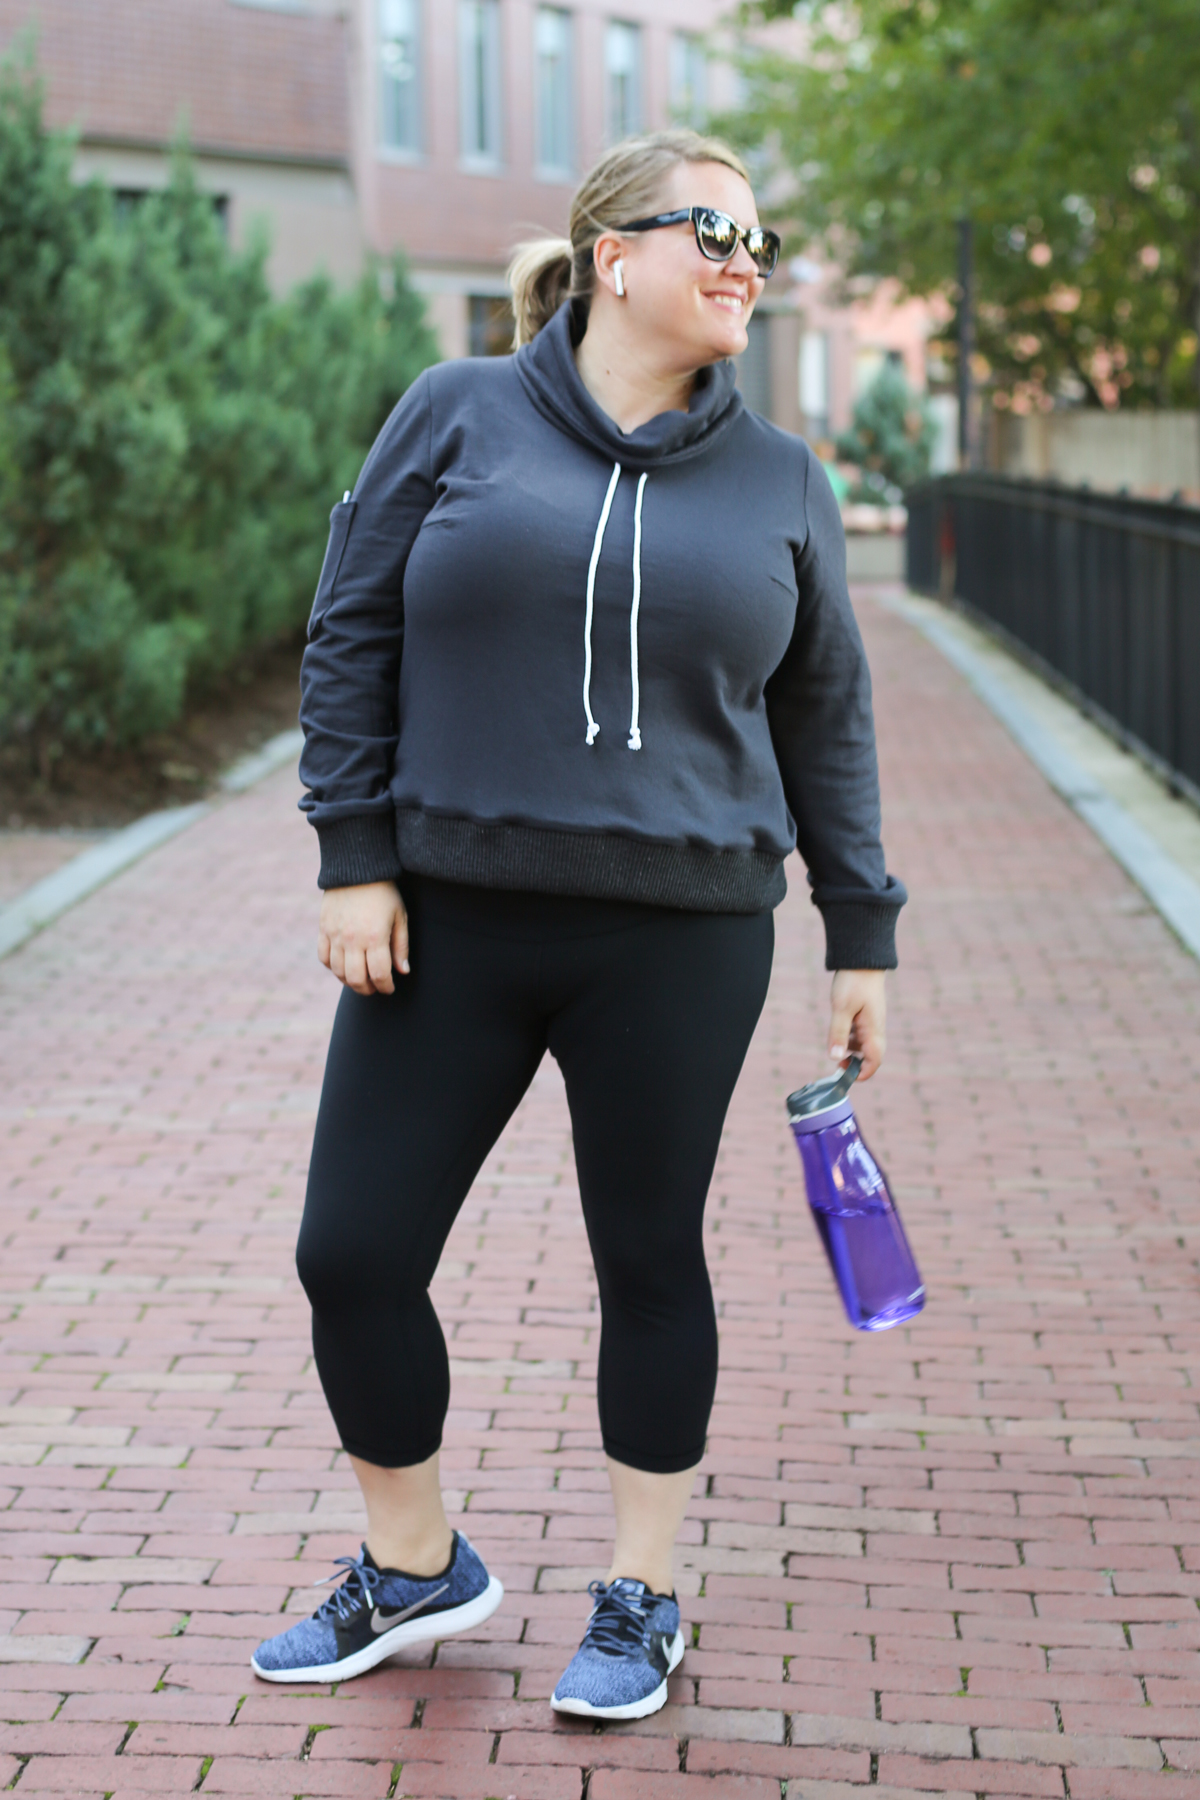
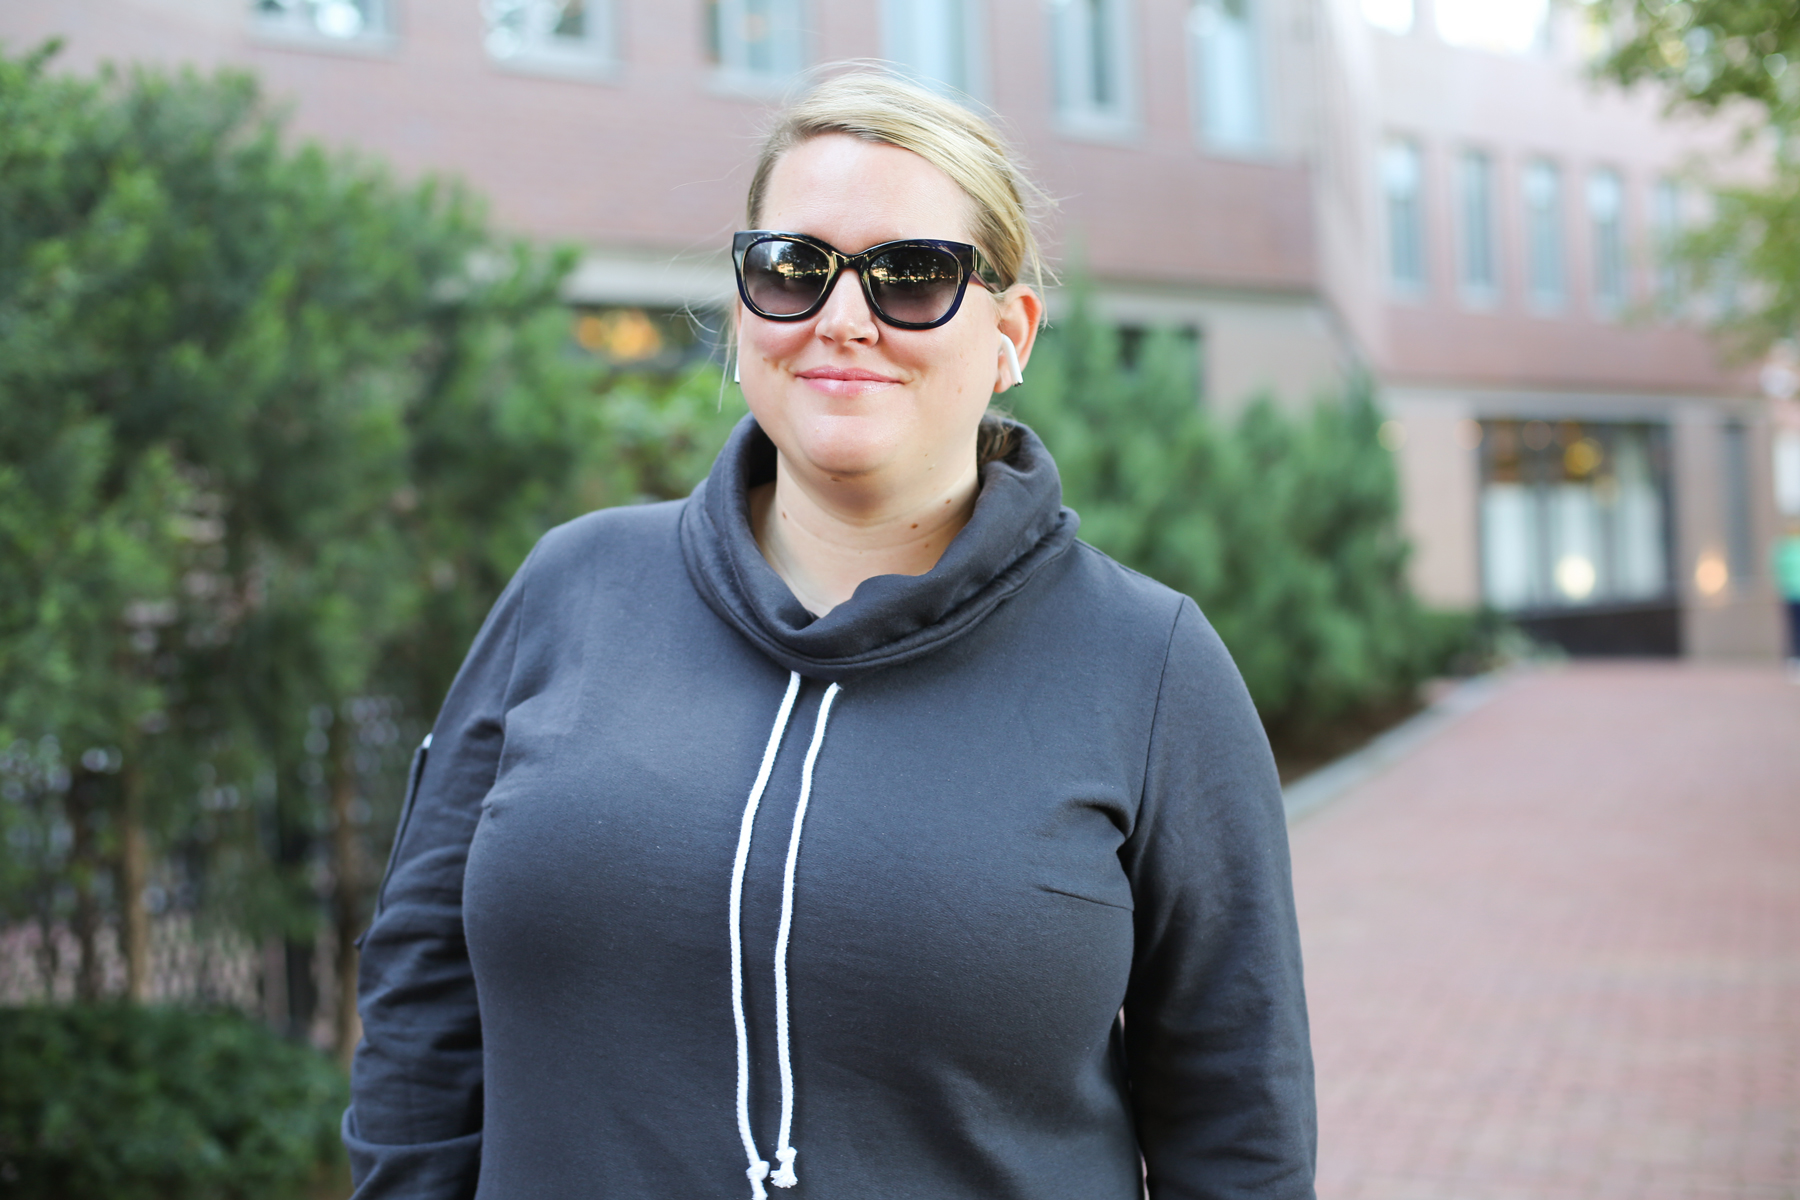
Here’s Jenny modeling this workout sweatshirt variation. We had a hilarious time taking this hack out to park and doing sporty poses.
We can achieve this sporty look with just a few small tweaks to our pattern pieces. So let’s get started!
This variation includes three separate hacks that you can mix and match to create your dream sweatshirt. We’re going to:
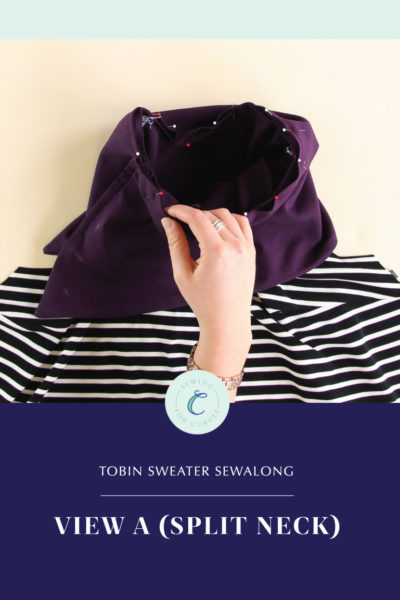
- Turn the cowl neck into a slouchy drawstring collar neck
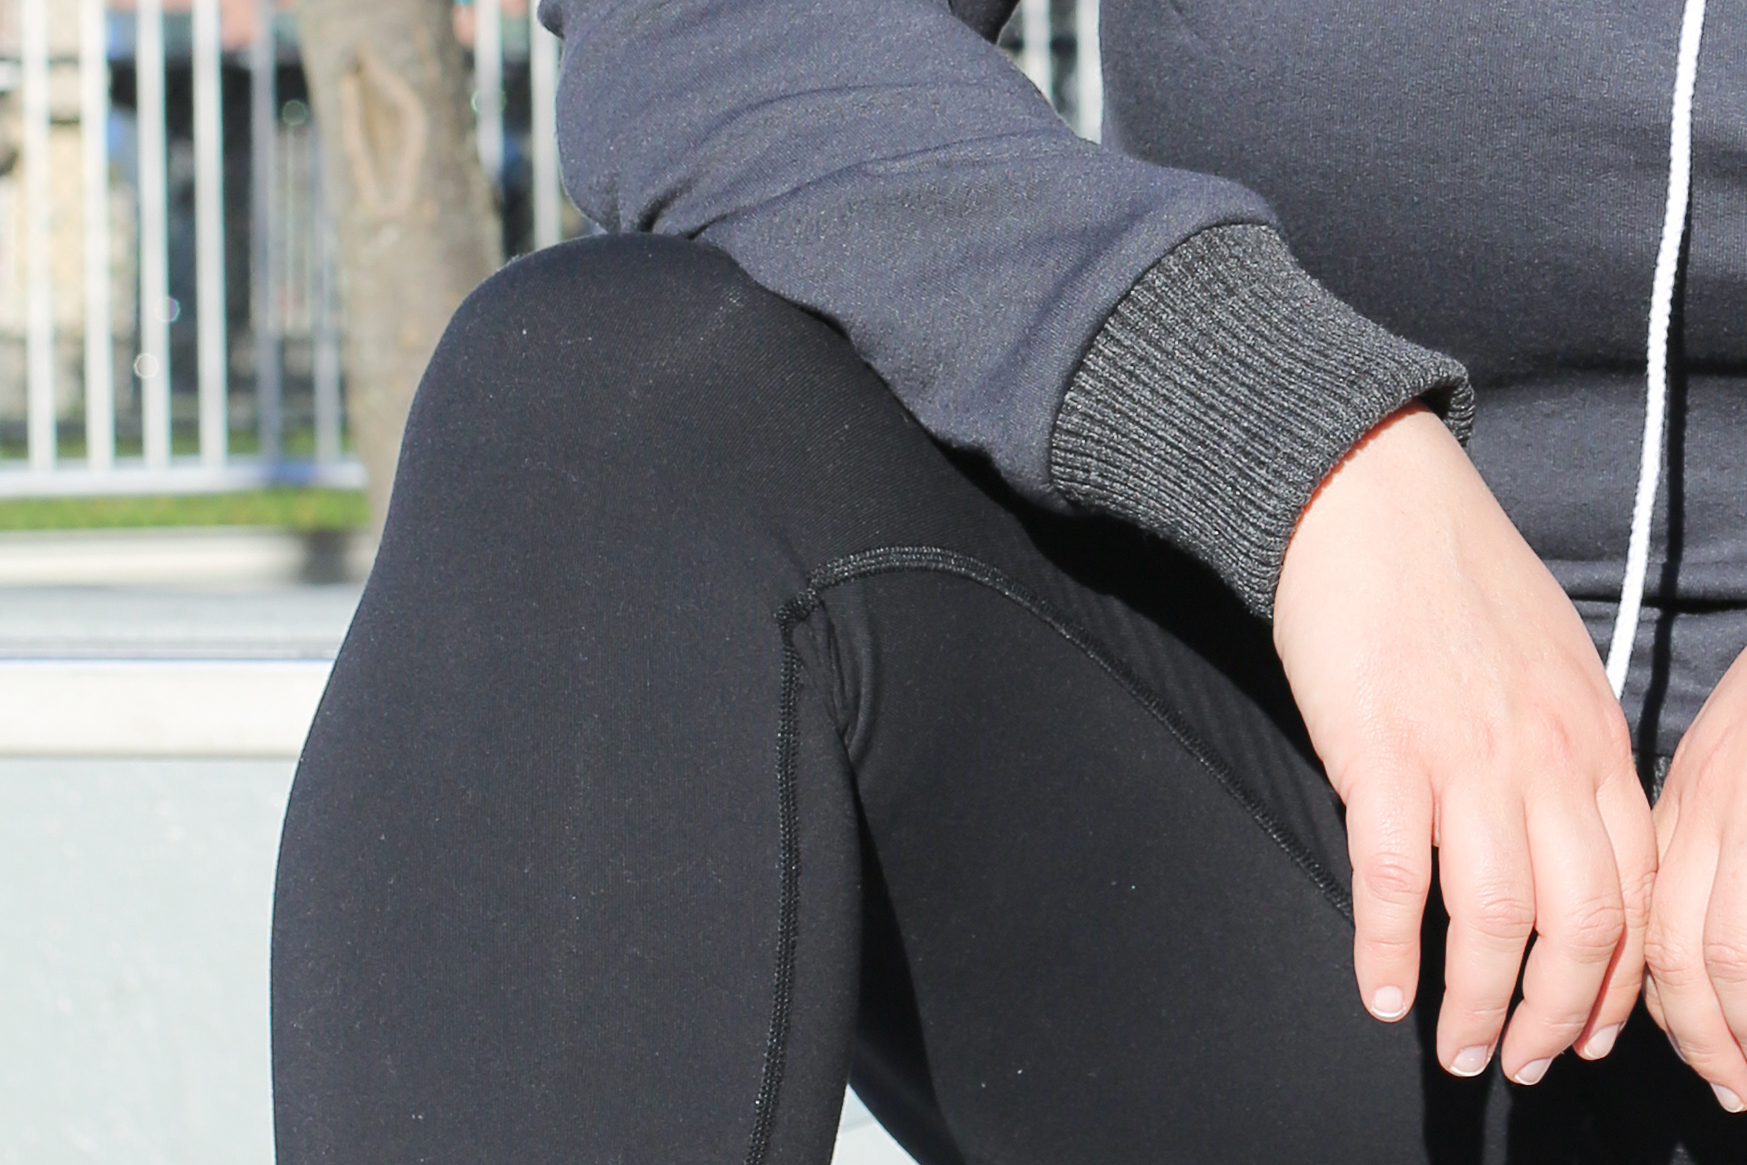
- Add ribbing to the hem and sleeves
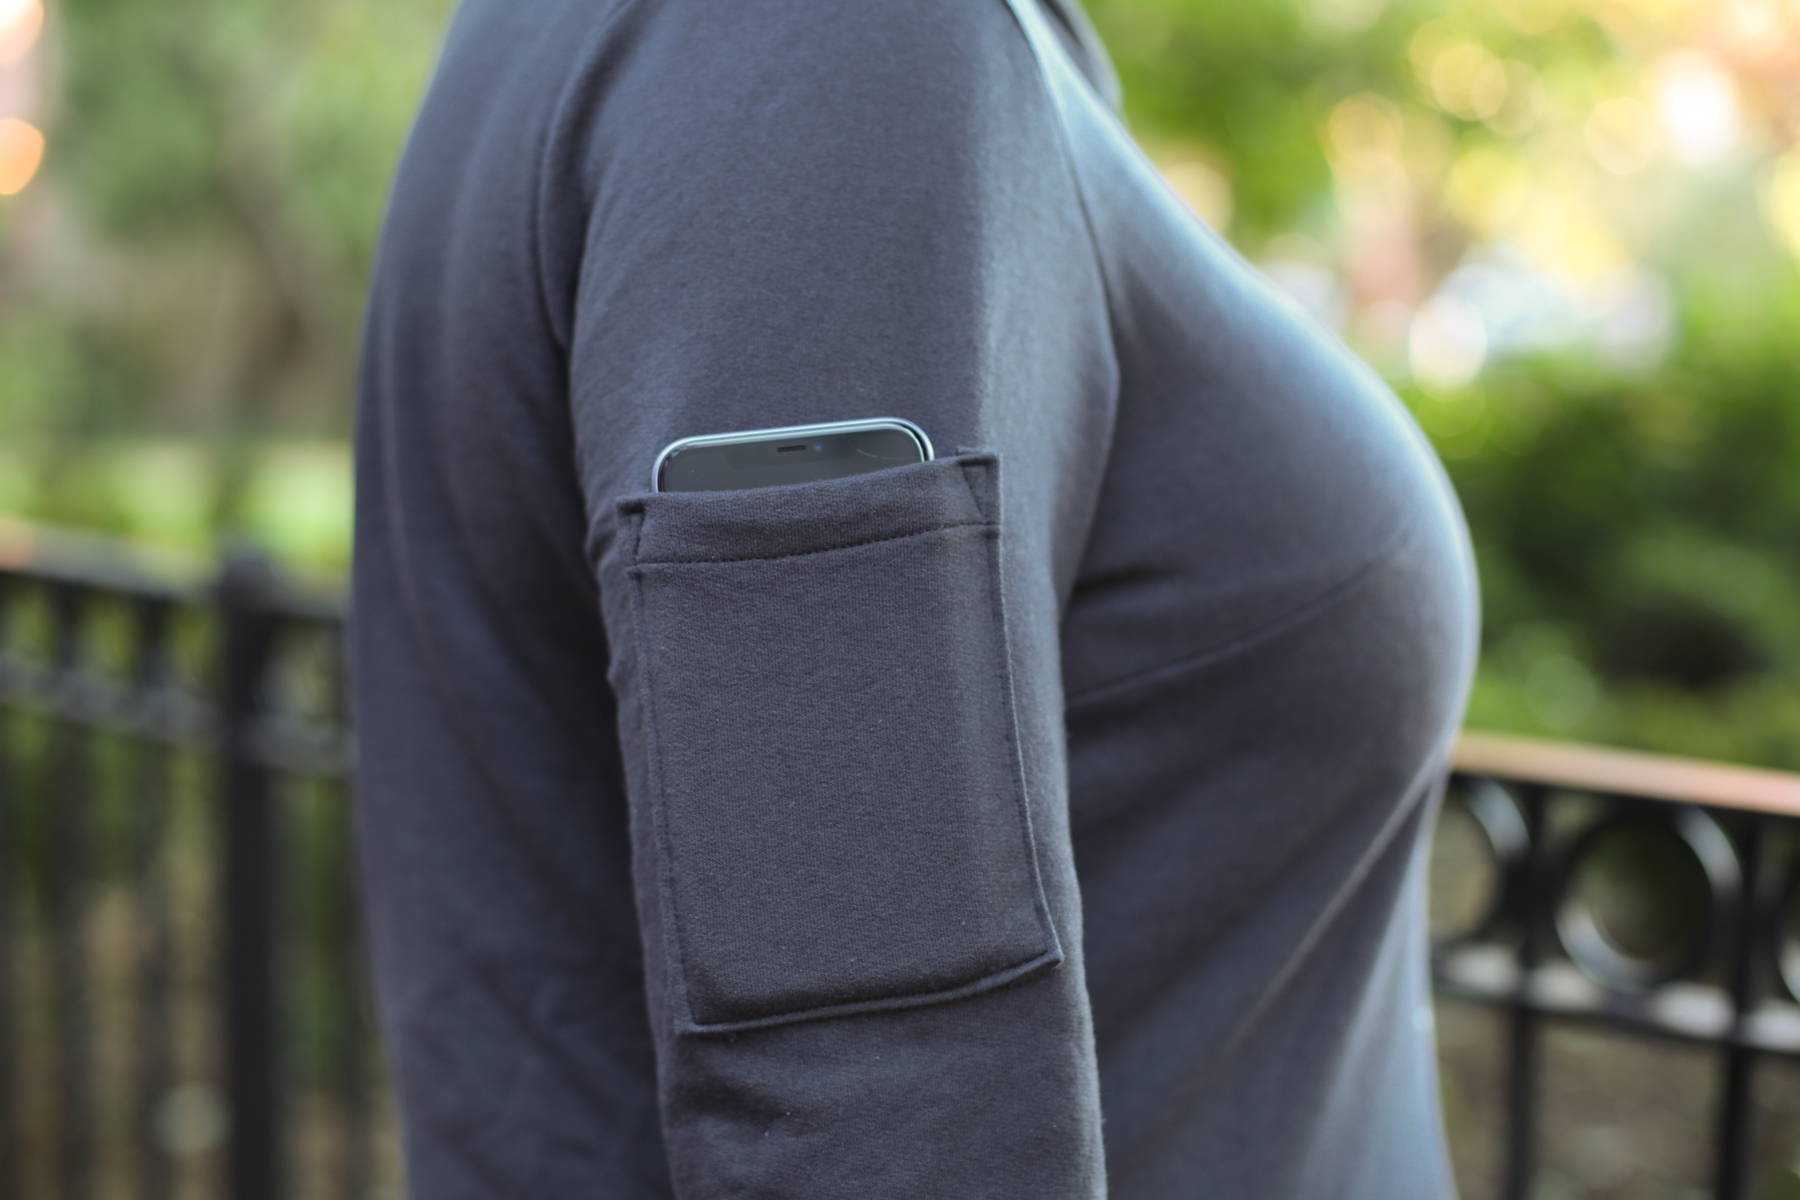
- Add a patch pocket on one sleeve
First of all, when sewing View B, don’t forget to tape the upper front to the lower front pattern piece first, and same goes for the upper/lower back, and upper/lower sleeve pieces.
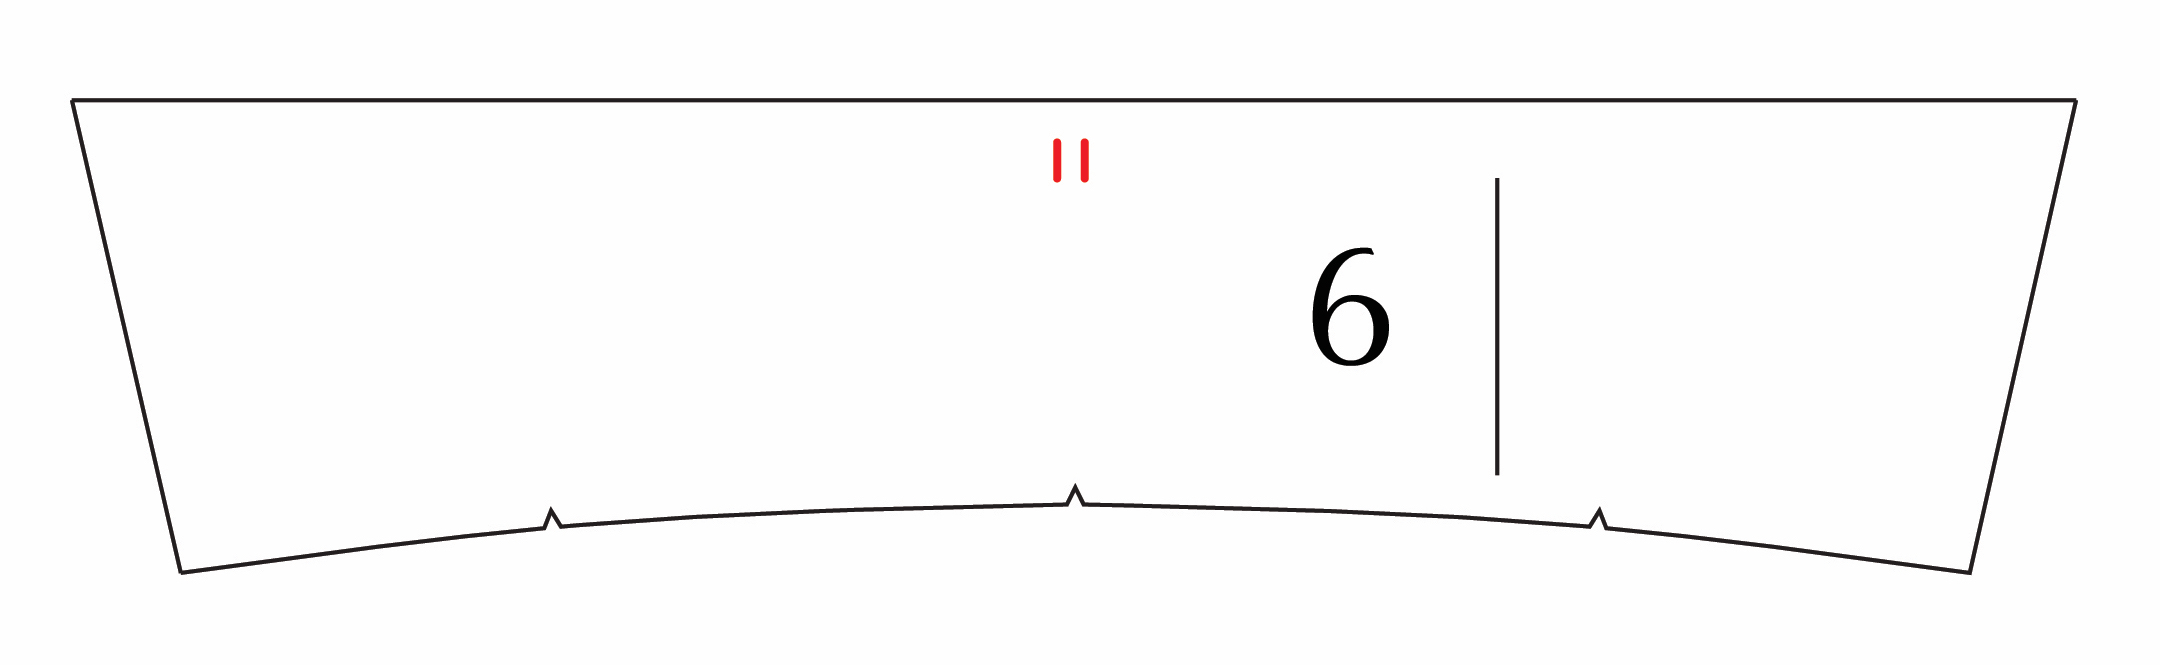
Time to start pattern hacking! Let’s begin with the cowl (#6). We’re going to shorten the cowl to make it more slouchy, and then we’ll add a drawstring.
Make a mark 2” (5 cm) down on each end of the cowl piece, and draw a line straight across.
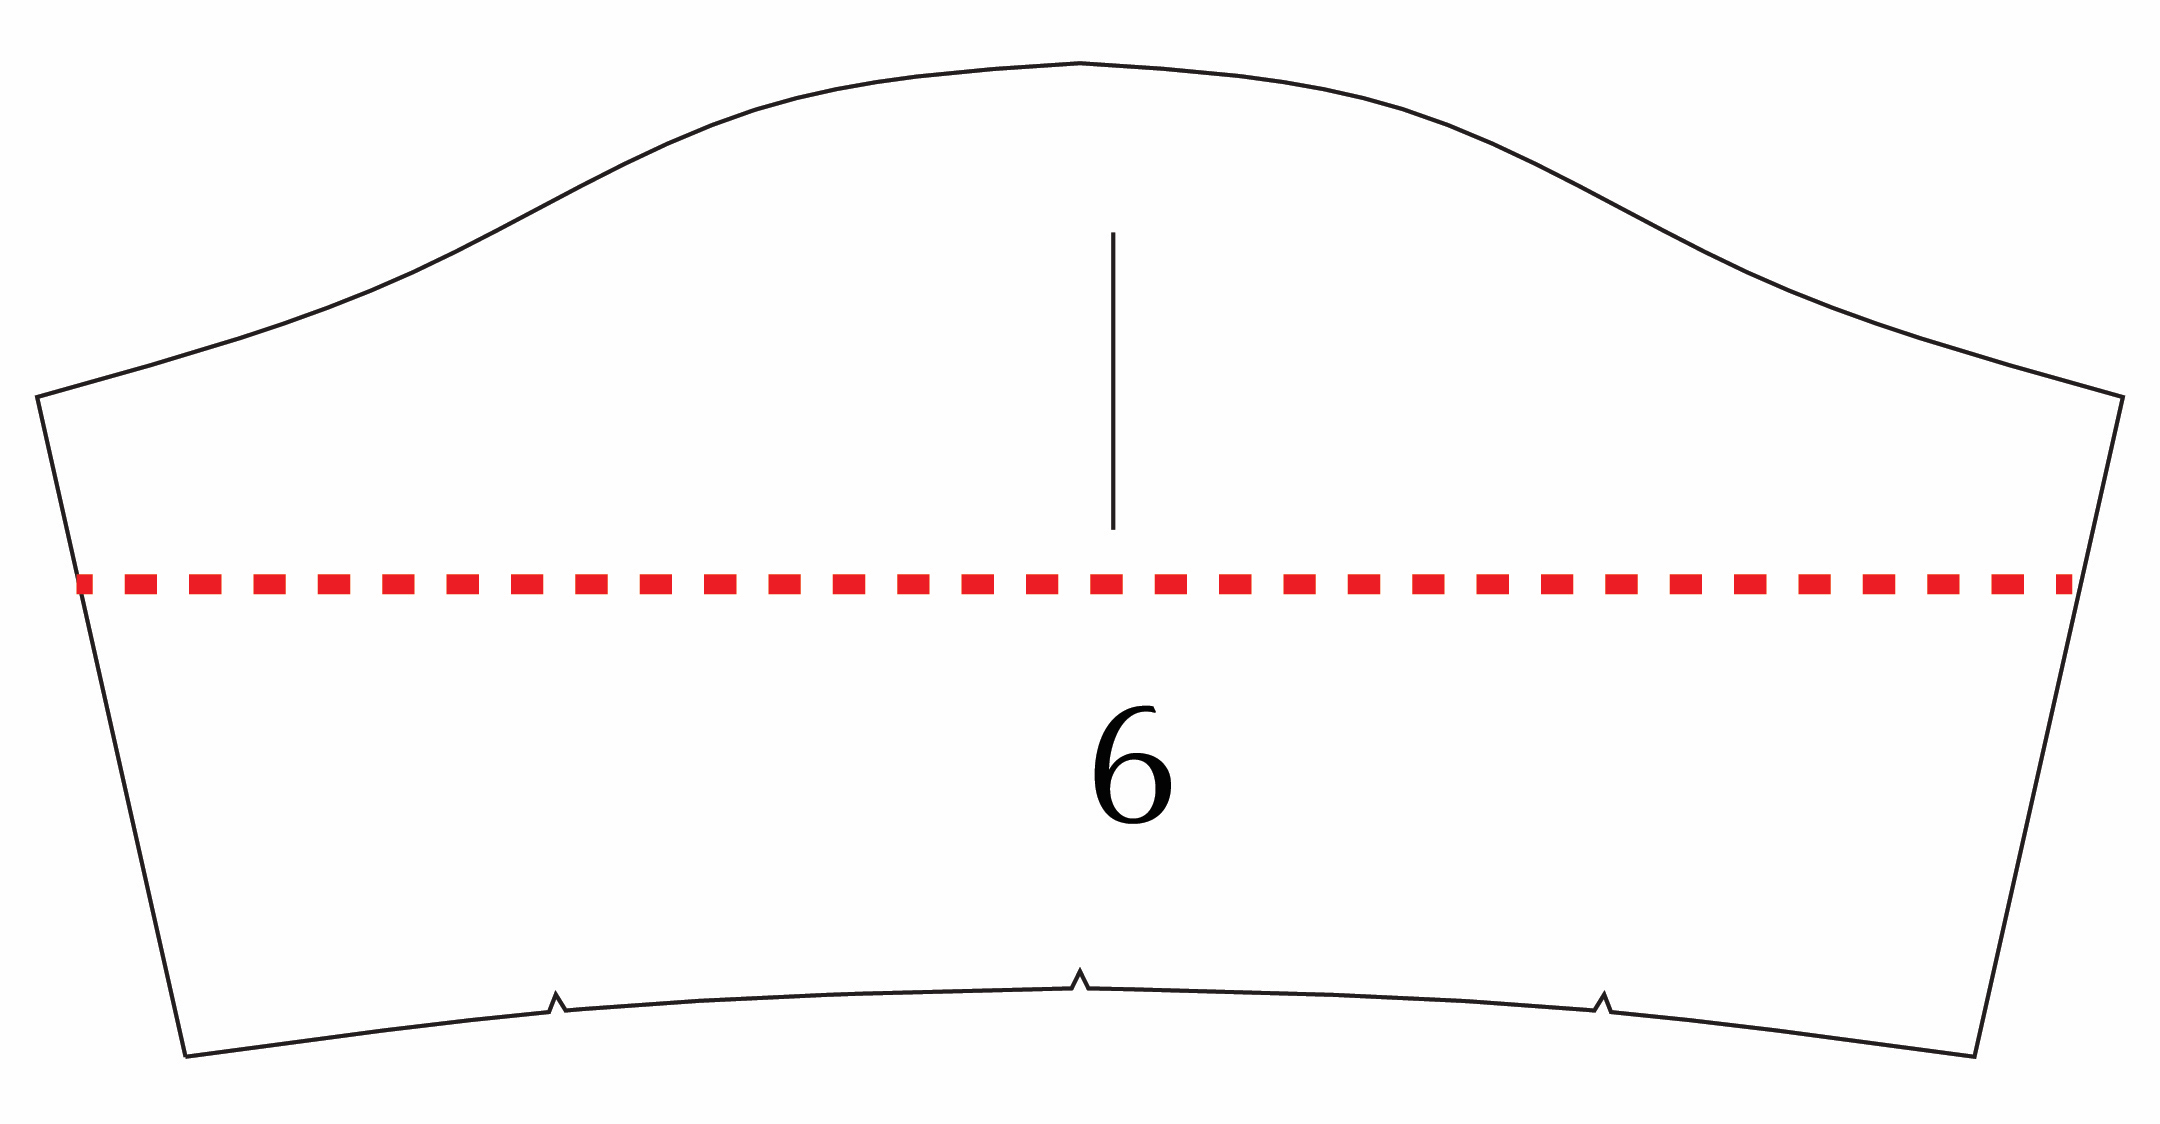
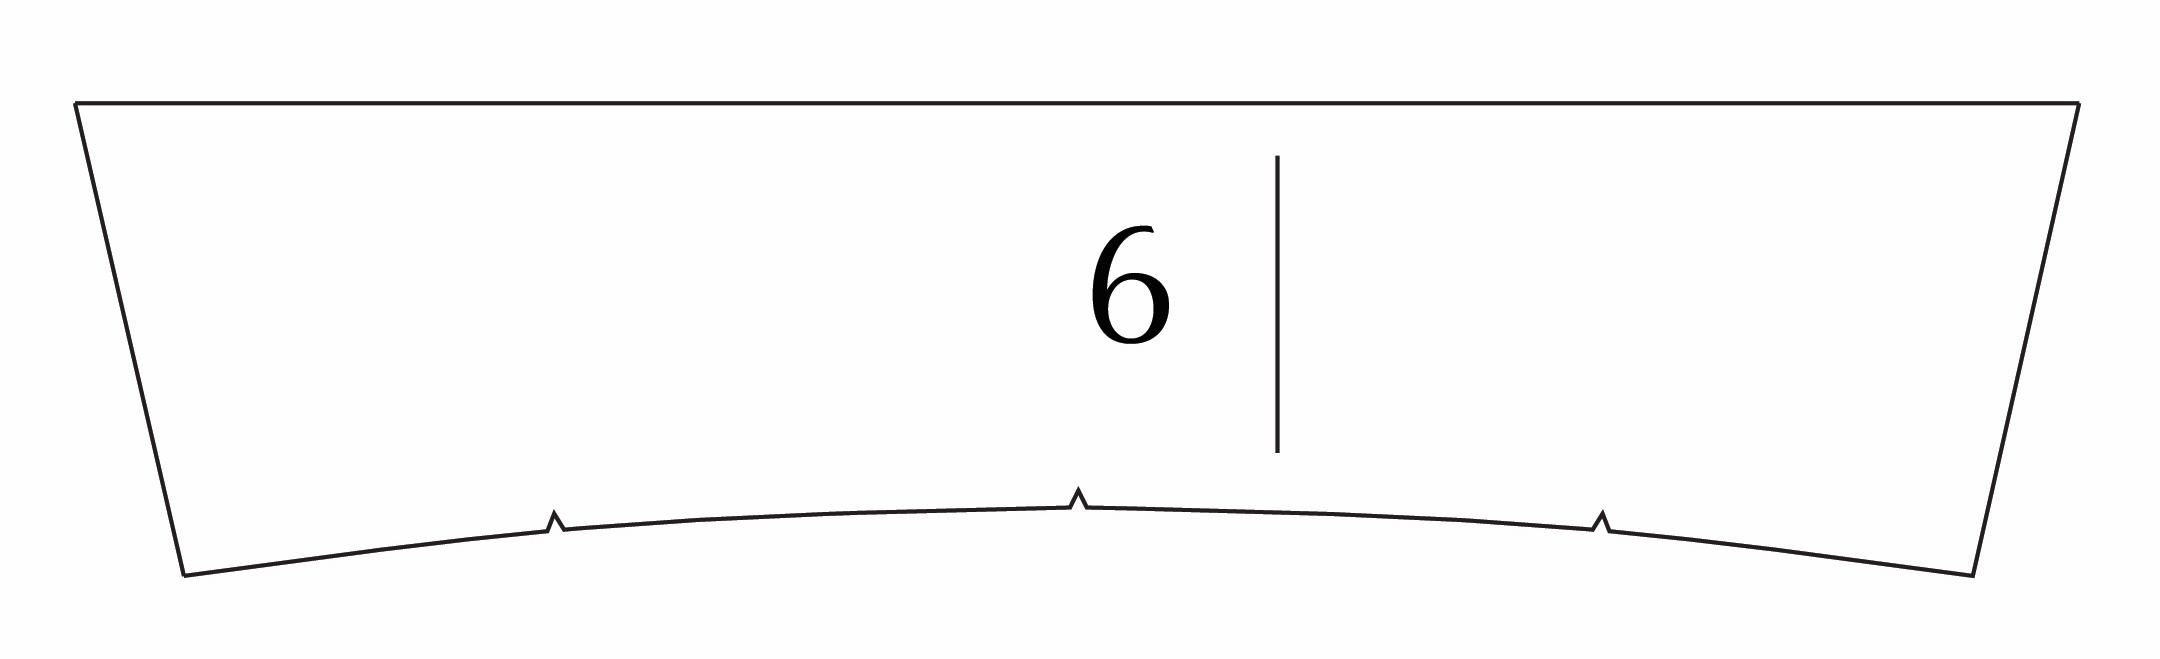
Cut the off the curved part—this is our new collar!
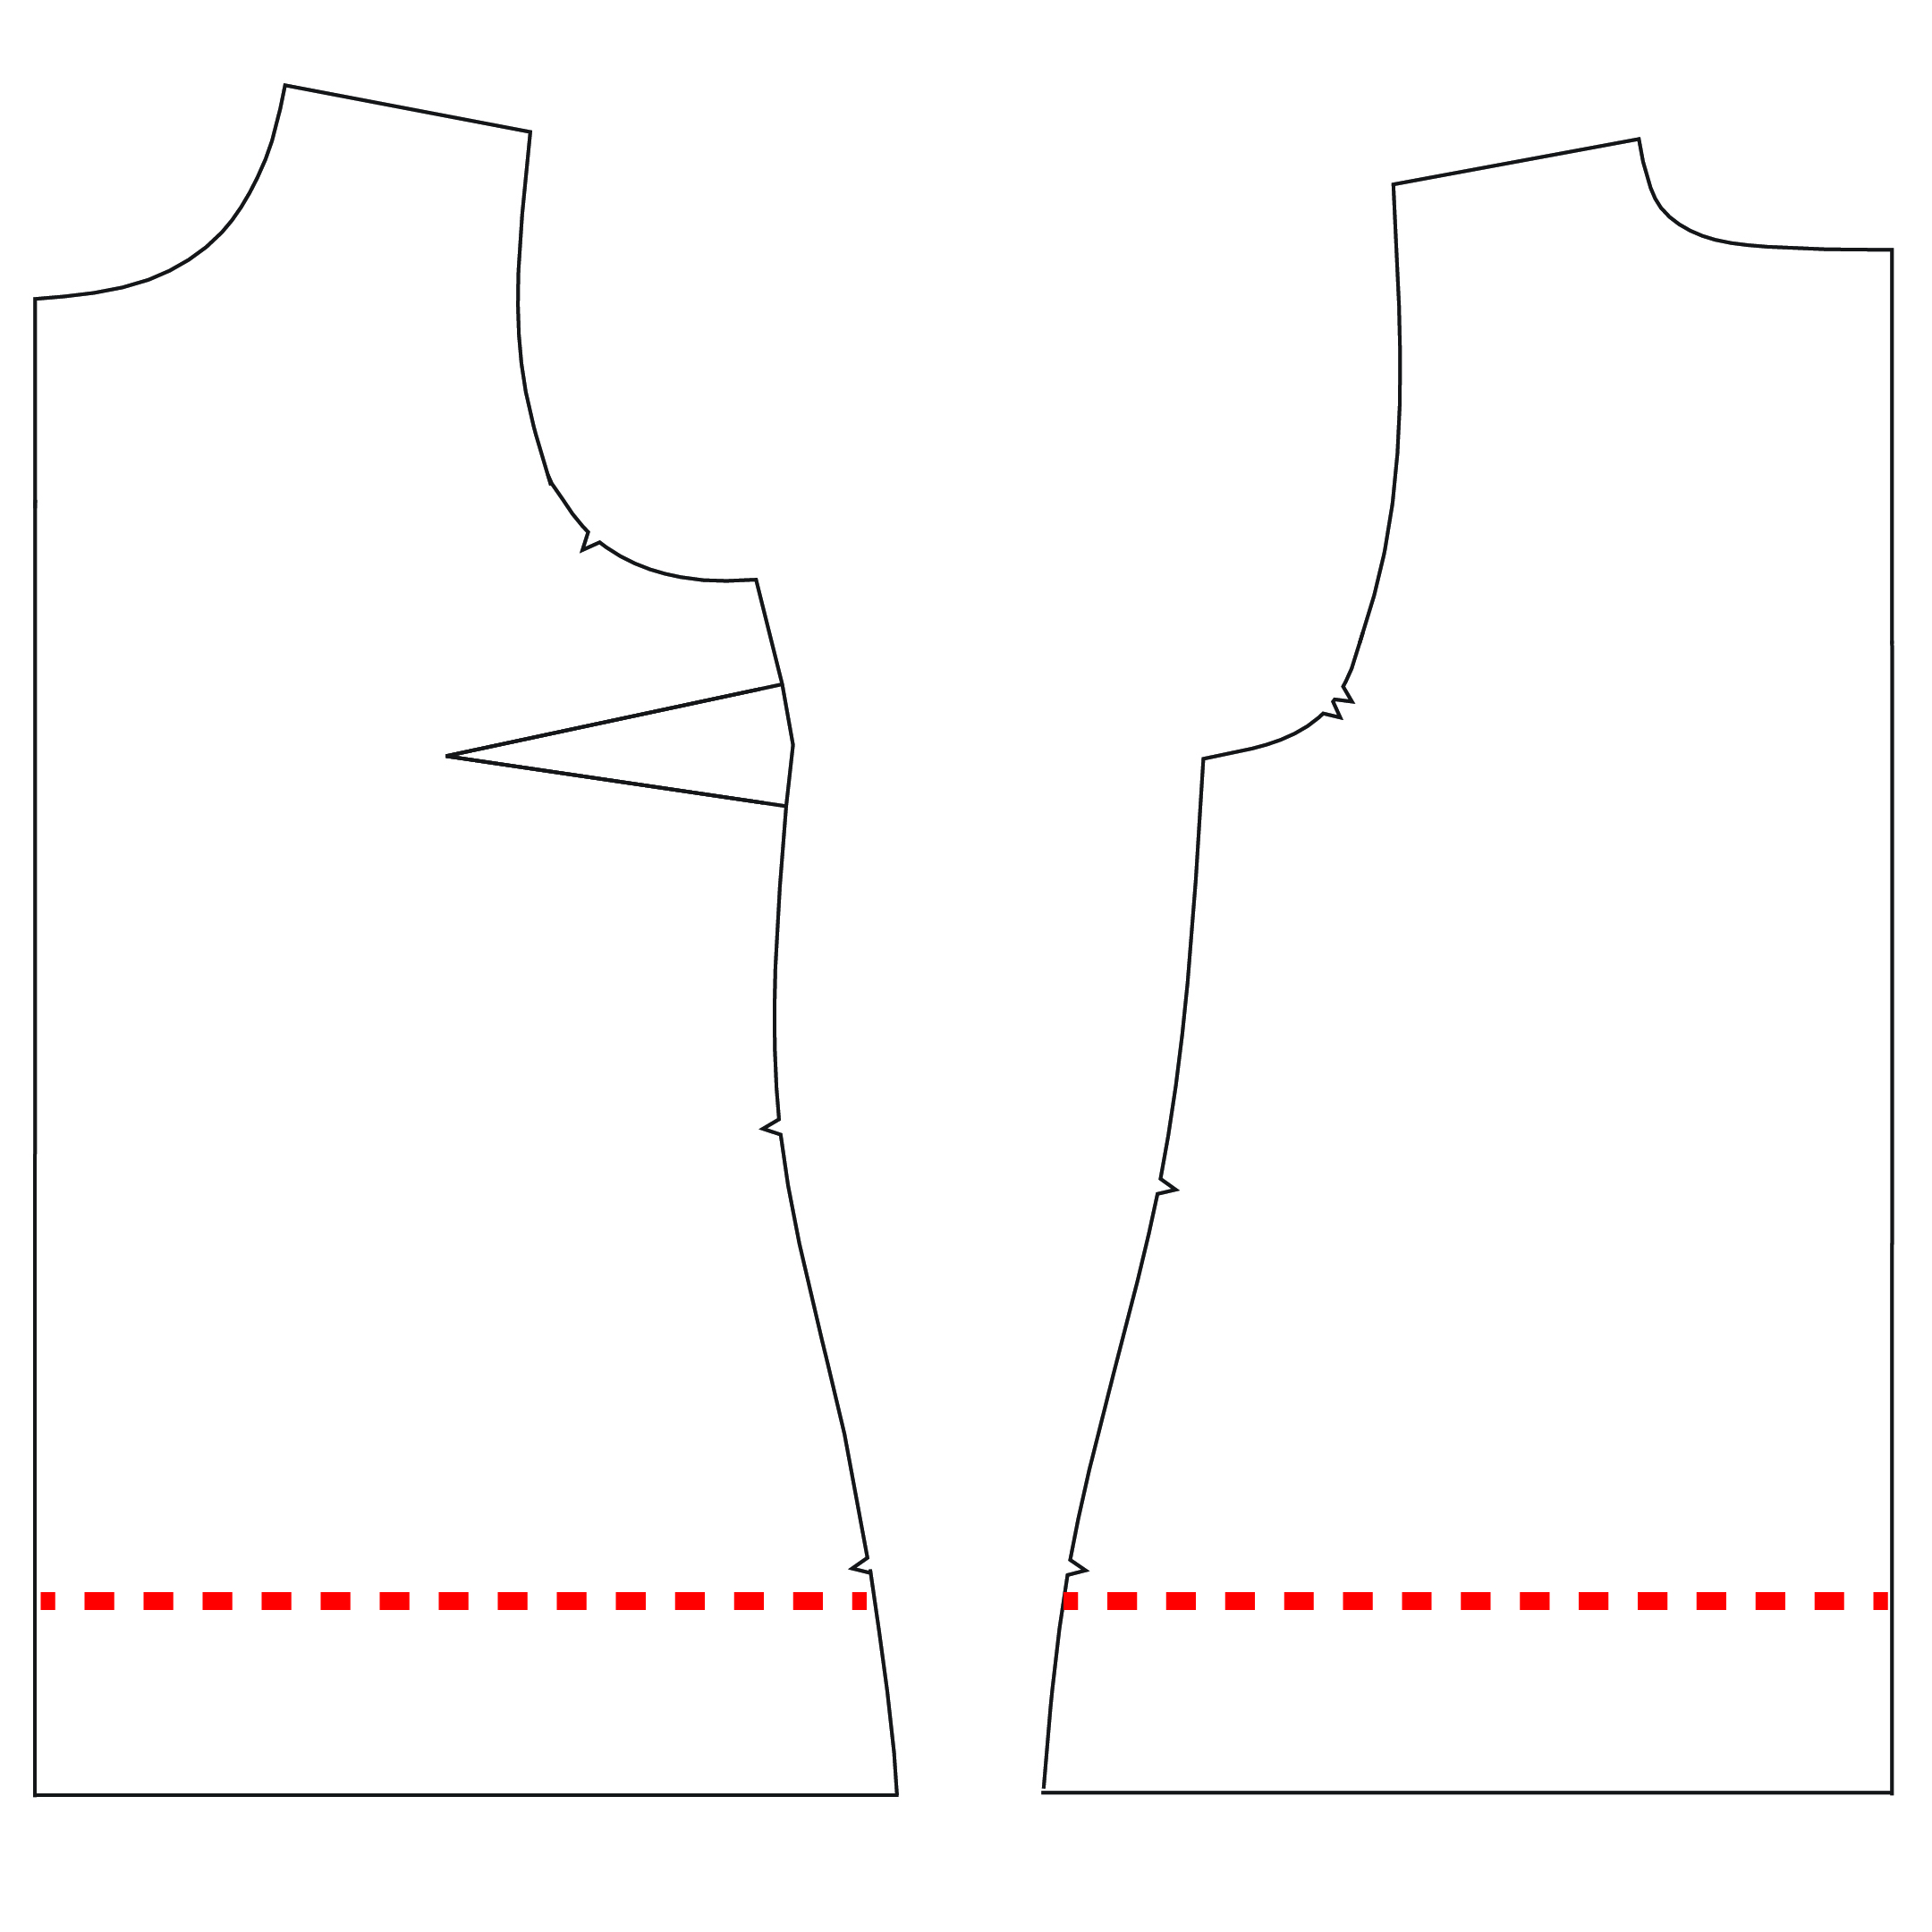
Now, measure the height of your ribbing. Mine was 6” (15 cm) high. Folded in half, this will be 3” (7.5 cm). And subtracting the 3/8” seam allowance, we get 2 5/8” (6.7 cm). We need to shorten the front, back, and sleeve pieces to account for this (measuring up from the View A & C straight hem line rather than the View B hi-low hem).
Front and back pieces have a 5/8” (1.5 cm) hem, so let’s remove that, and also subtract our 2 5/8” (6.7 cm) that will be the ribbing. But we need to account for a 3/8” seam allowance, so that means we actually need to reduce it by 2 7/8” (7.3 cm). This is dependent on the height of your ribbing of course, so if yours is a slightly different height, you’ll have to tweak these numbers a bit.
We need to shorten the sleeve piece as well, but the sleeve has a hem of 1 1/2” (3.8 cm), plus our 2 5/8” (6.7 cm), minus the 3/8” (1 cm) seam allowance means we ultimately have to shorten it by 3 3/4” (9.5 cm).
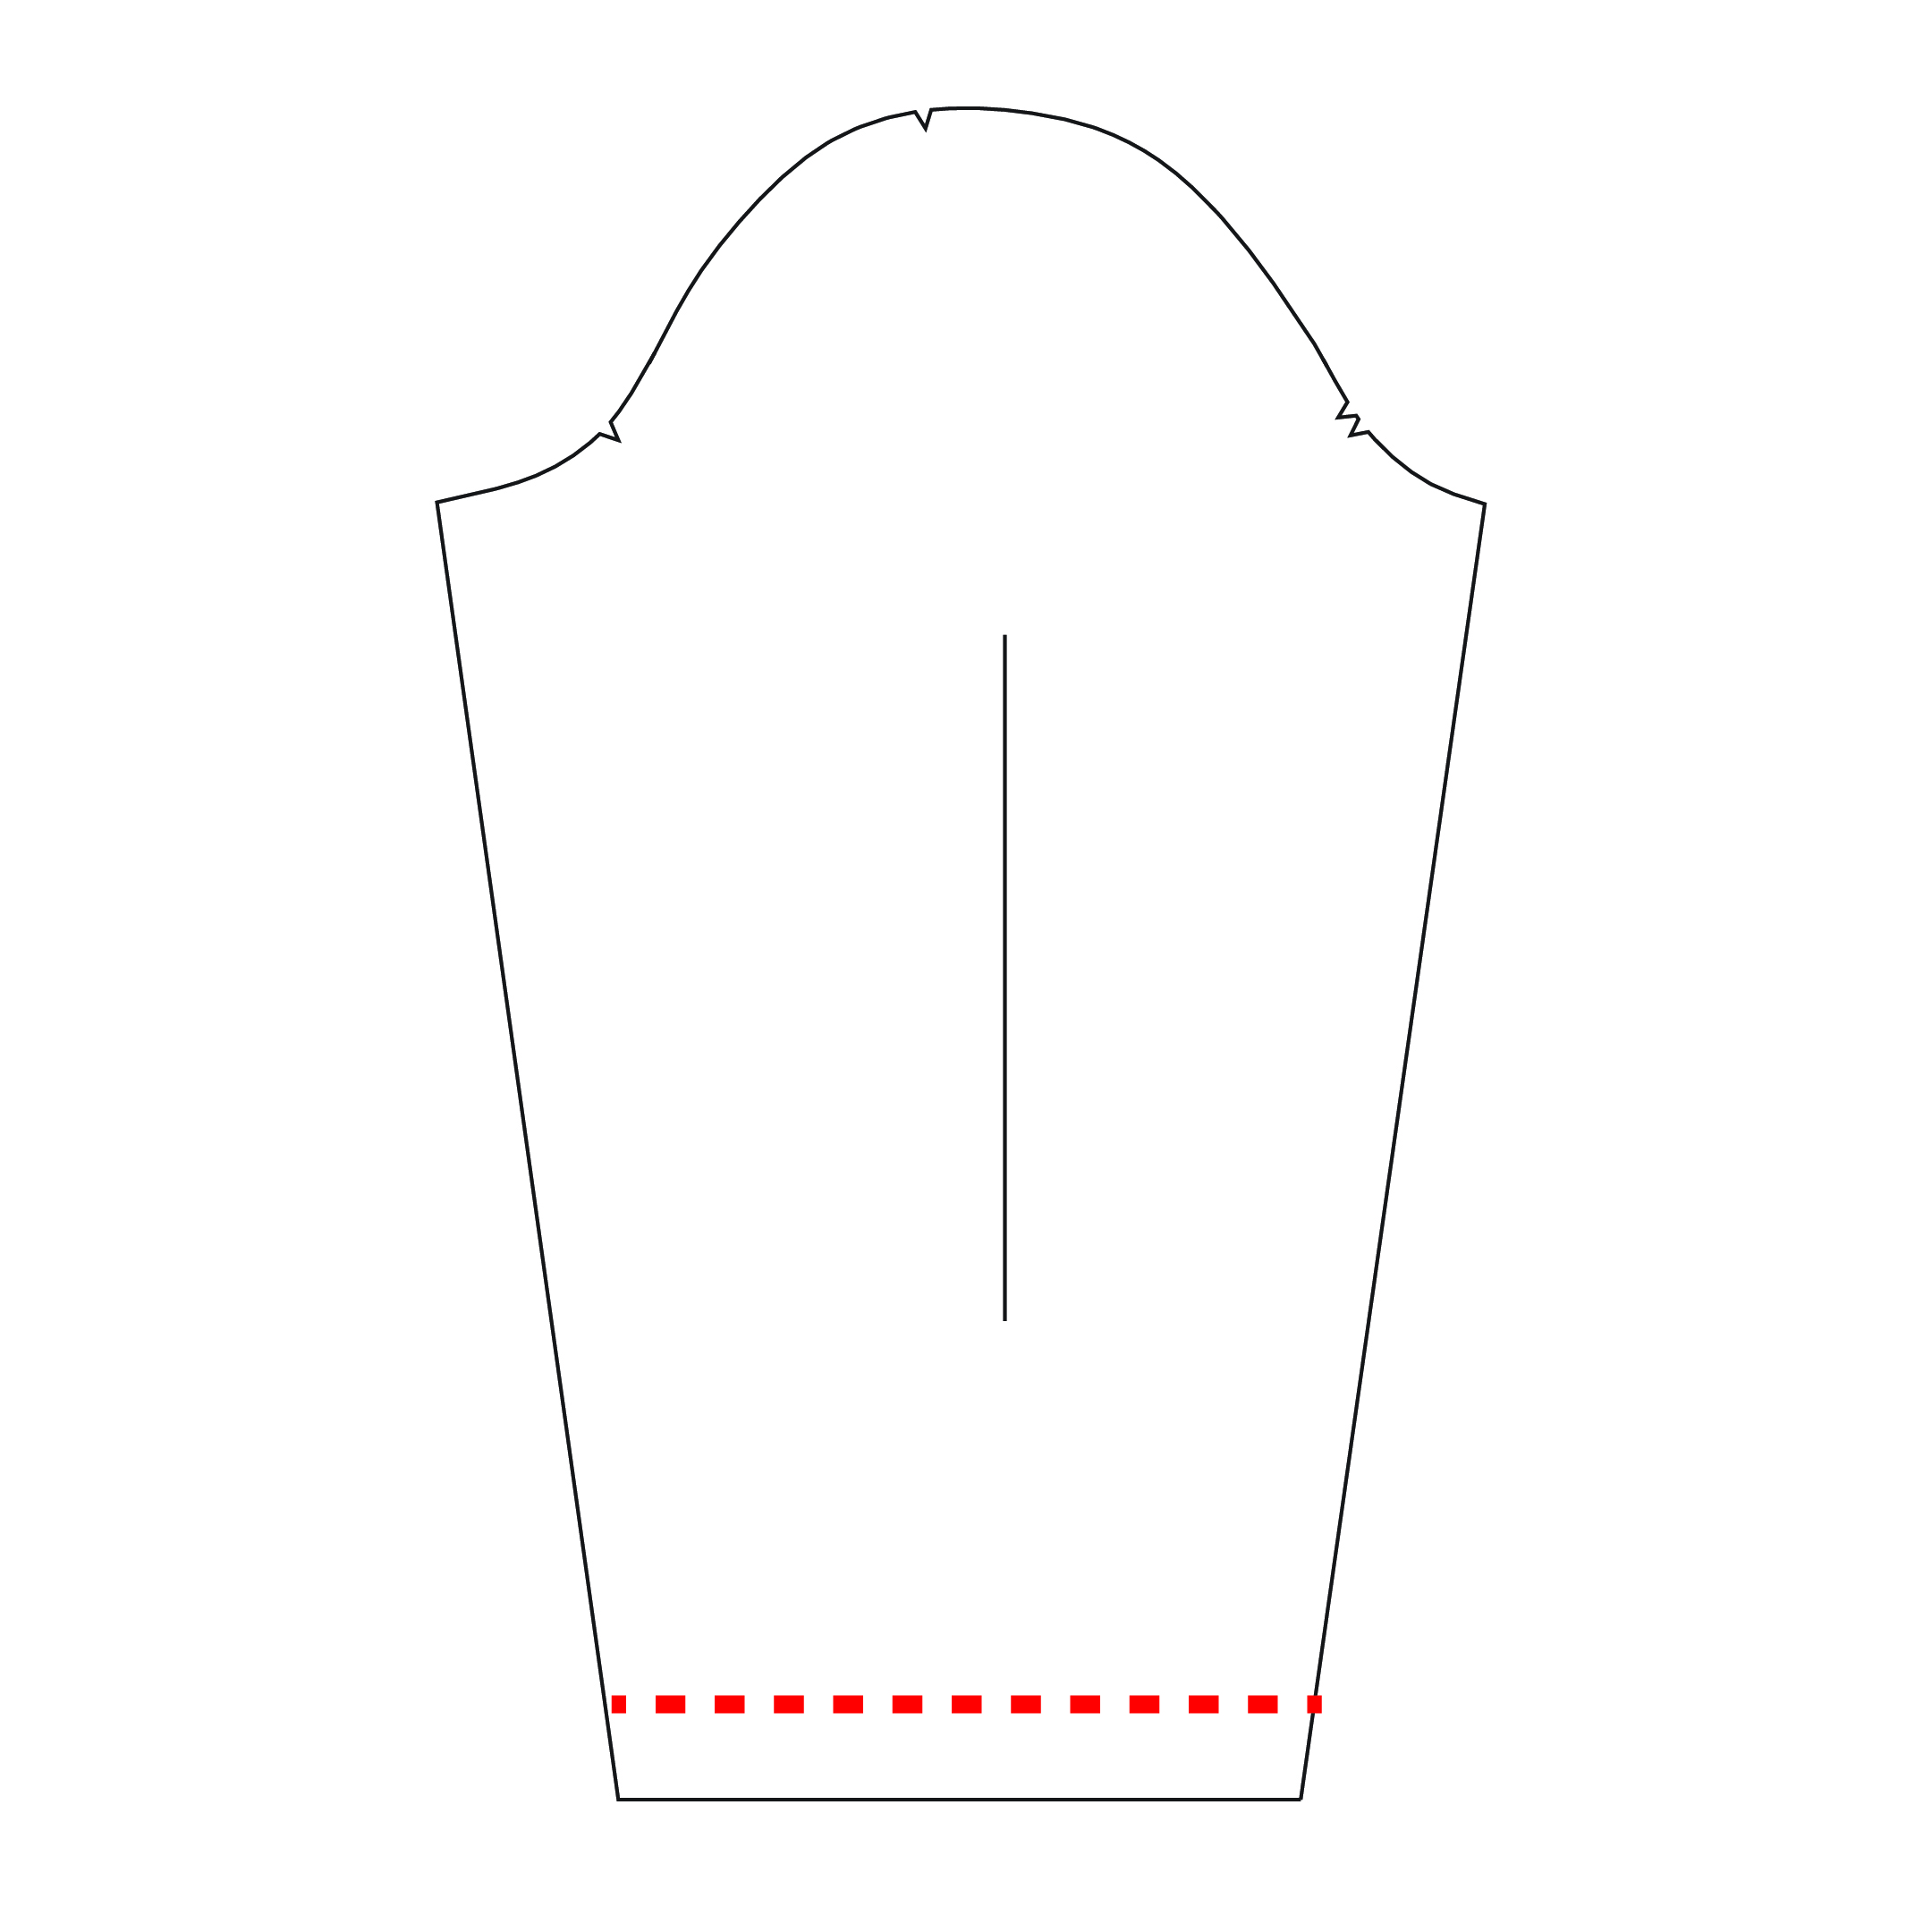
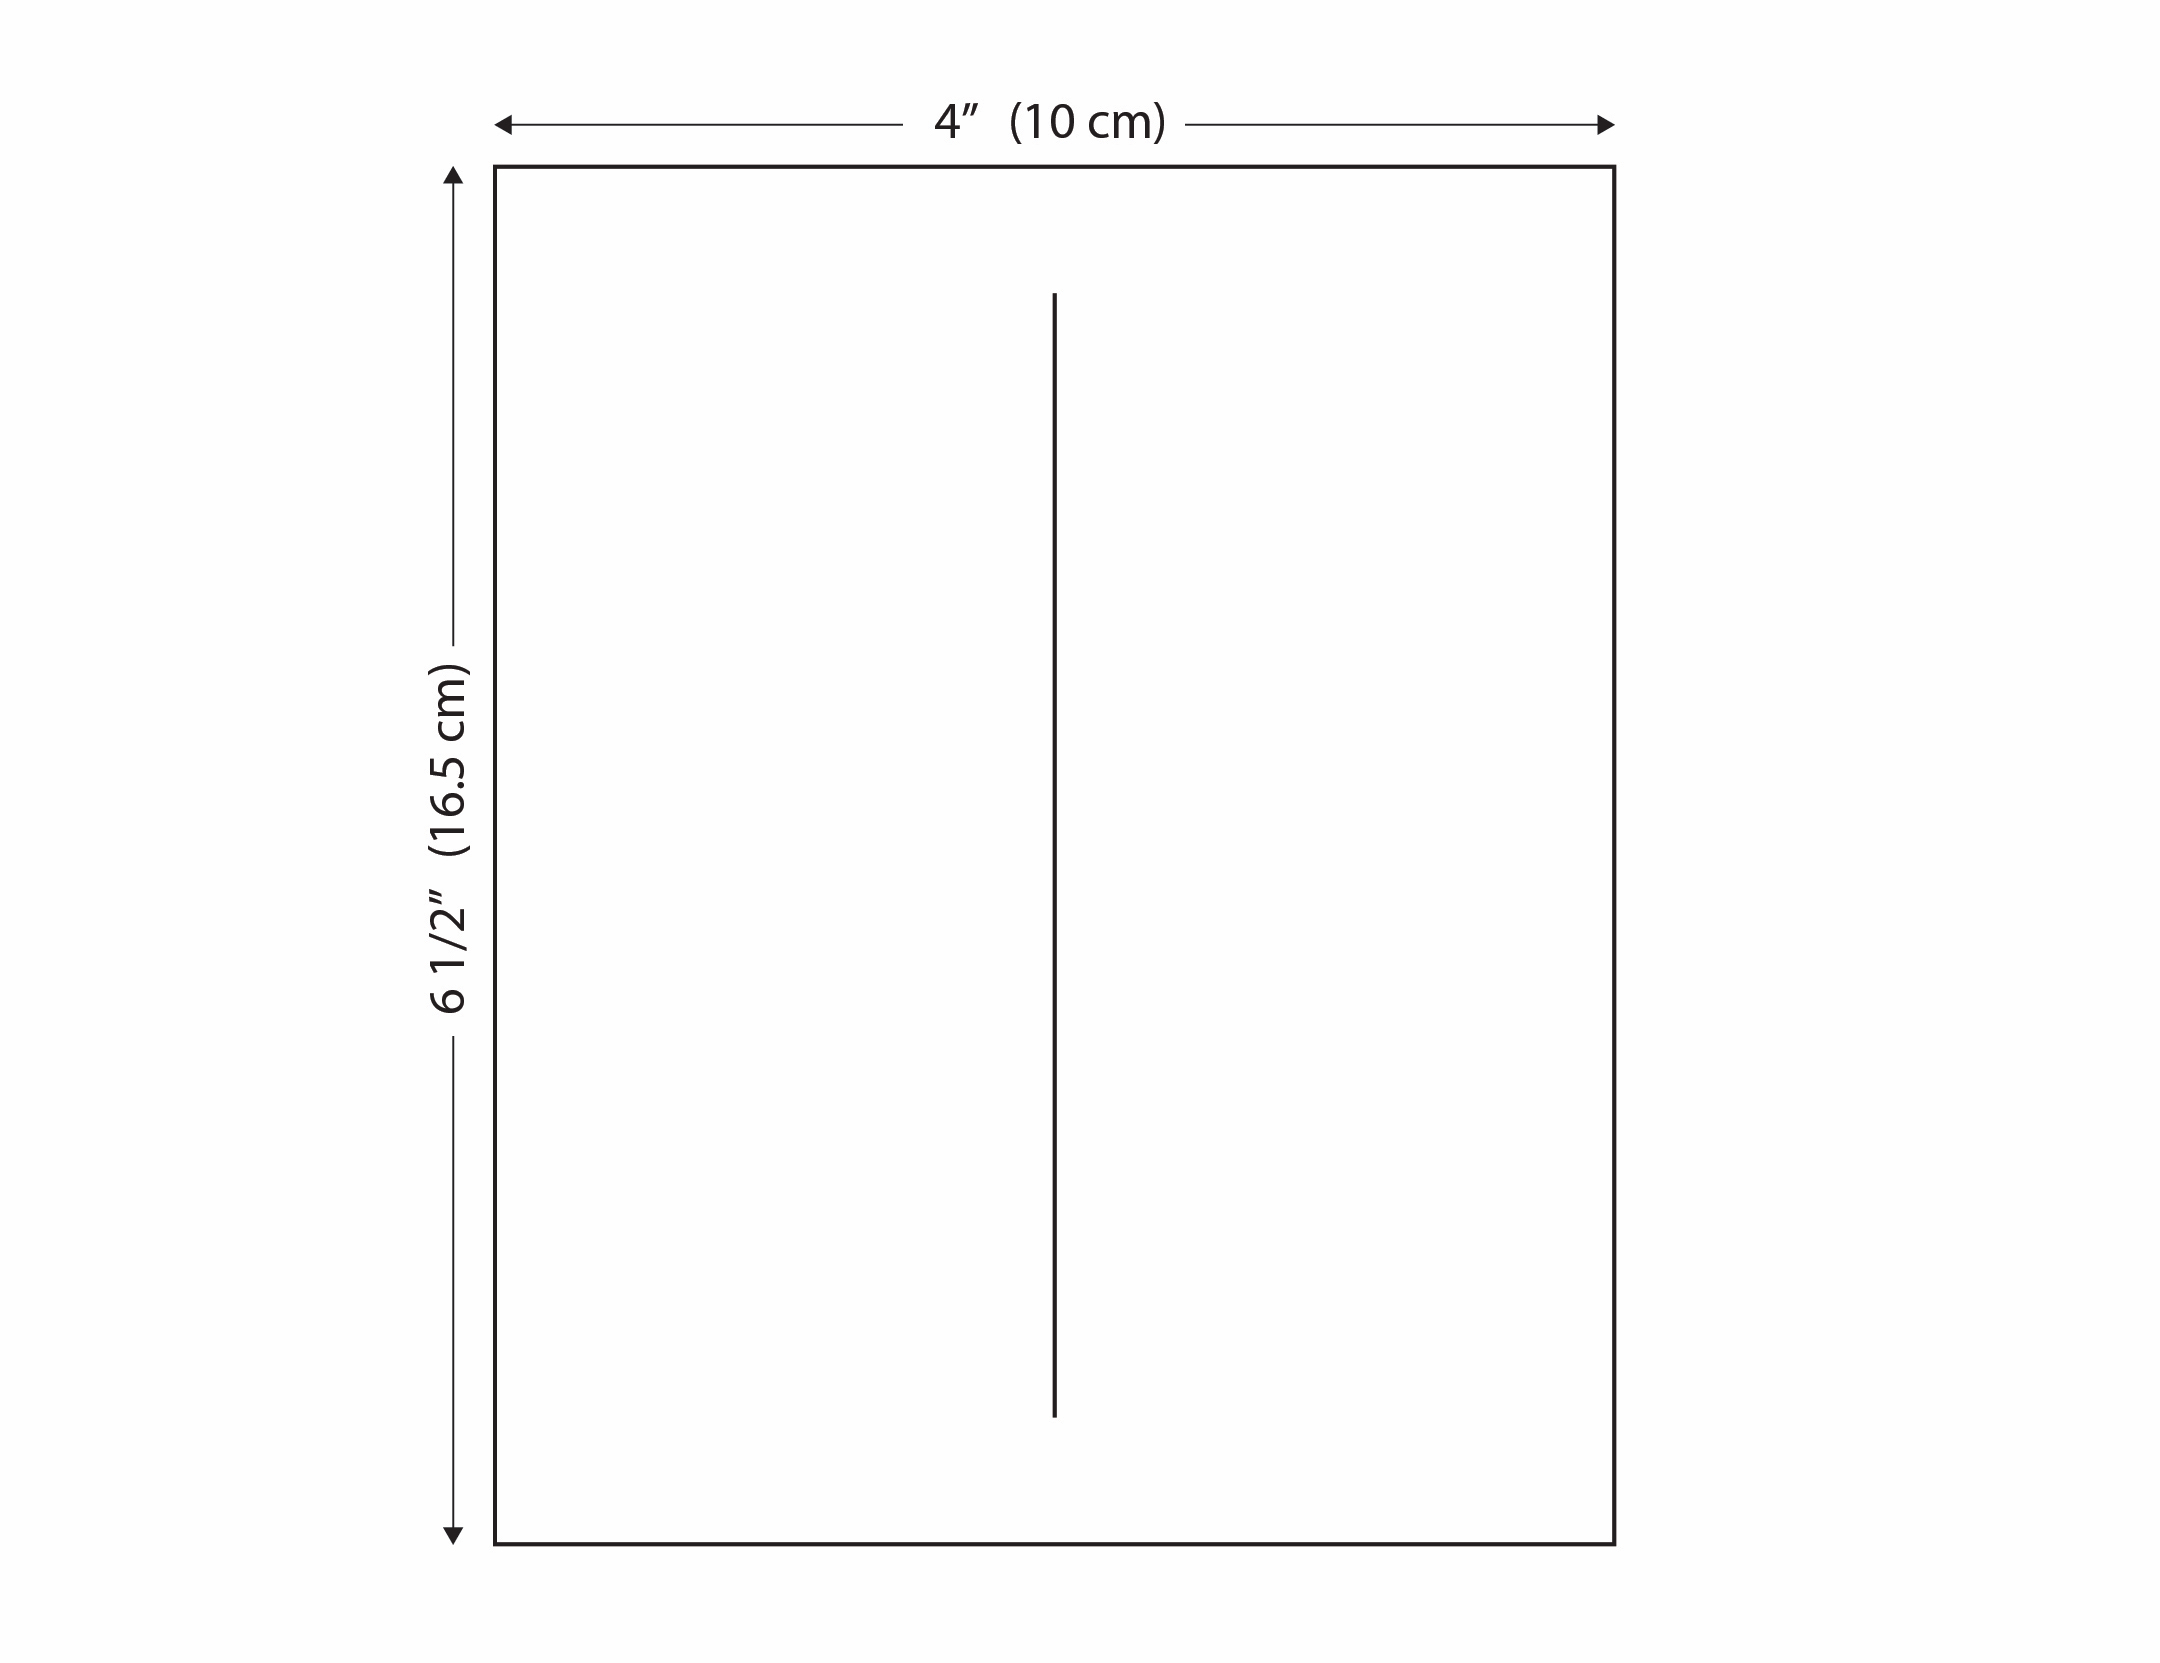
Finally, let’s make our patch pocket piece. I wanted a phone to be able to fit in the pocket fairly snugly, so that it wouldn’t fall out while exercising. I measured my phone and it’s about 5” by 3” (12.7 cm by 7.6 cm). Adding a 1/2” (1.3 cm) seam allowance on the two sides and bottom, and a 1” (2.5 cm) seam allowance at the top, my pocket piece ended up being 6 1/2” (16.5 cm) tall and 4” (10.2 cm) wide.
Now we’re ready to cut into our fabric! I used a gorgeous charcoal fleece from our stash.
Follow the cutting instructions for View B, making sure to only cut one pocket piece (unless you want pockets on both sleeves).
When cutting your ribbing: ribbing is meant to expand and contact, and we want it to sit pretty snugly at the hips and wrists. I cut the ribbing to Jenny’s hip measurements, 48” (122 cm). (This is her actual measurement, not the finished garment measurement.) If your ribbing isn’t long enough to cut this as a continuous piece (mine was only 36”/91 cm long), you can divide this measurement in half, add seam allowance, and cut two separate pieces.
For the cuffs, cut two pieces of ribbing that are about 85% of the width of the bottom edge of the sleeve. My cuff pieces ended up being about 10” (25.4 cm) long. As you can see this, is not an exact science, but thankfully ribbing is fairly forgiving since it expands and contracts!
Okay, now that all of our pieces are cut, it’s time to sew. Follow the instruction booklet or our sewalong to attach the front and back pieces at the shoulders.
Before we sew our modified cowl pieces together, we’re going to make two small buttonholes in one of the pieces. This will be about 3/4” (1.9 cm) down from the top edge at the center.
Sew the two cowl pieces together along the top (what used to be the curved edge) right sides together, then open and fold it in half along the short ends. Sew those together as well.
Before attaching the collar to the neckline, cut a piece of drawstring and insert it into one buttonhole, sliding it around the top of the collar and out the other buttonhole. Pin the drawstring so that it stays as close to the top seam as possible, and topstitch close to the drawstring to create a channel (making sure not to sew through the drawstring). Alternatively, you can sew your channel and then insert your drawstring later.
Now our collar is ready to attach to the neckline! Unlike the pattern instructions, which say to have the cowl right side out (with the wrong side against the right side of the bodice), we’re going to sew the cowl right sides together with the bodice, so that the drawstring openings are up against the bodice.
Before attaching the sleeves, we’re going to add our patch pocket. Fold the top edge of the pocket over by 1” (2.5 cm) and press. Topstitch this fold down, then fold and press the other three sides by 1/2” (1.3 cm).
Choose which sleeve you’d like your pocket to be on. I lined up the pocket so that the top edge lined up with the end of the armscye, but you can place it wherever you’d like. Just make sure to pick a fairly flat part of your arm (so don’t go all the way up the sleeve cap).
Topstitch around the three sides. You can sew little triangles at the top corners for a bit of extra security.
A quick note about patch pockets with knits: these can be a bit fiddly to sew. A walking foot definitely helps, and I’ve found that placing tissue paper underneath the fabric (up against the feed dogs) also helps as well. After you sew, you simply tear the tissue paper away!
Now our sleeves can be attached and we can sew the side seams. You can follow the instructions for View A or View C to attach your cuffs.
And we’re actually going to sew our hem ribbing the same way: create a loop by sewing along one end (or two ends, if you’re using two separate pieces) and fold in half, wrong sides together. Line up the raw edges of the ribbing with the raw edge of the hem. (It may help to baste the two edges of the ribbing together first.) Sew that seam, and you’re done!
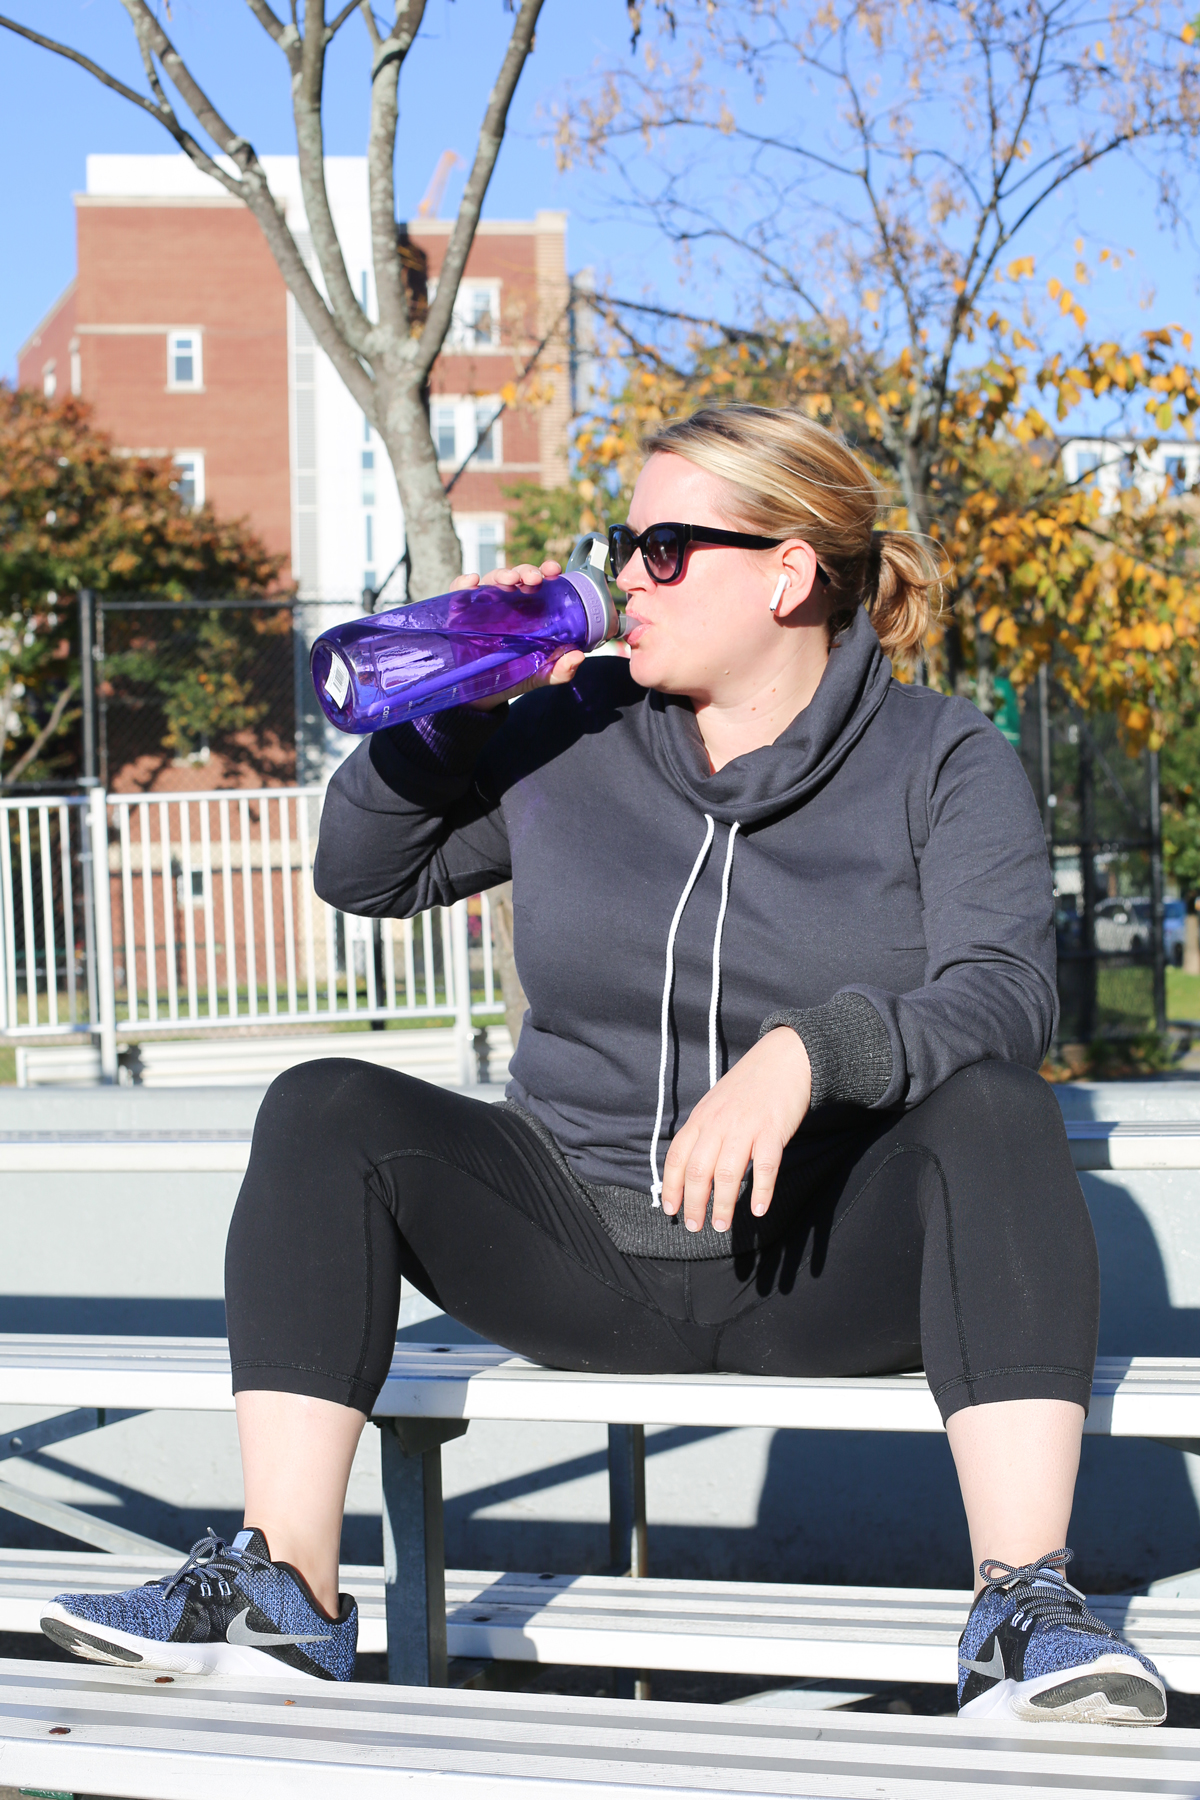
Time to go for a run, shall we? Or perhaps just some walking—that’s more our vibe around here.
 \
\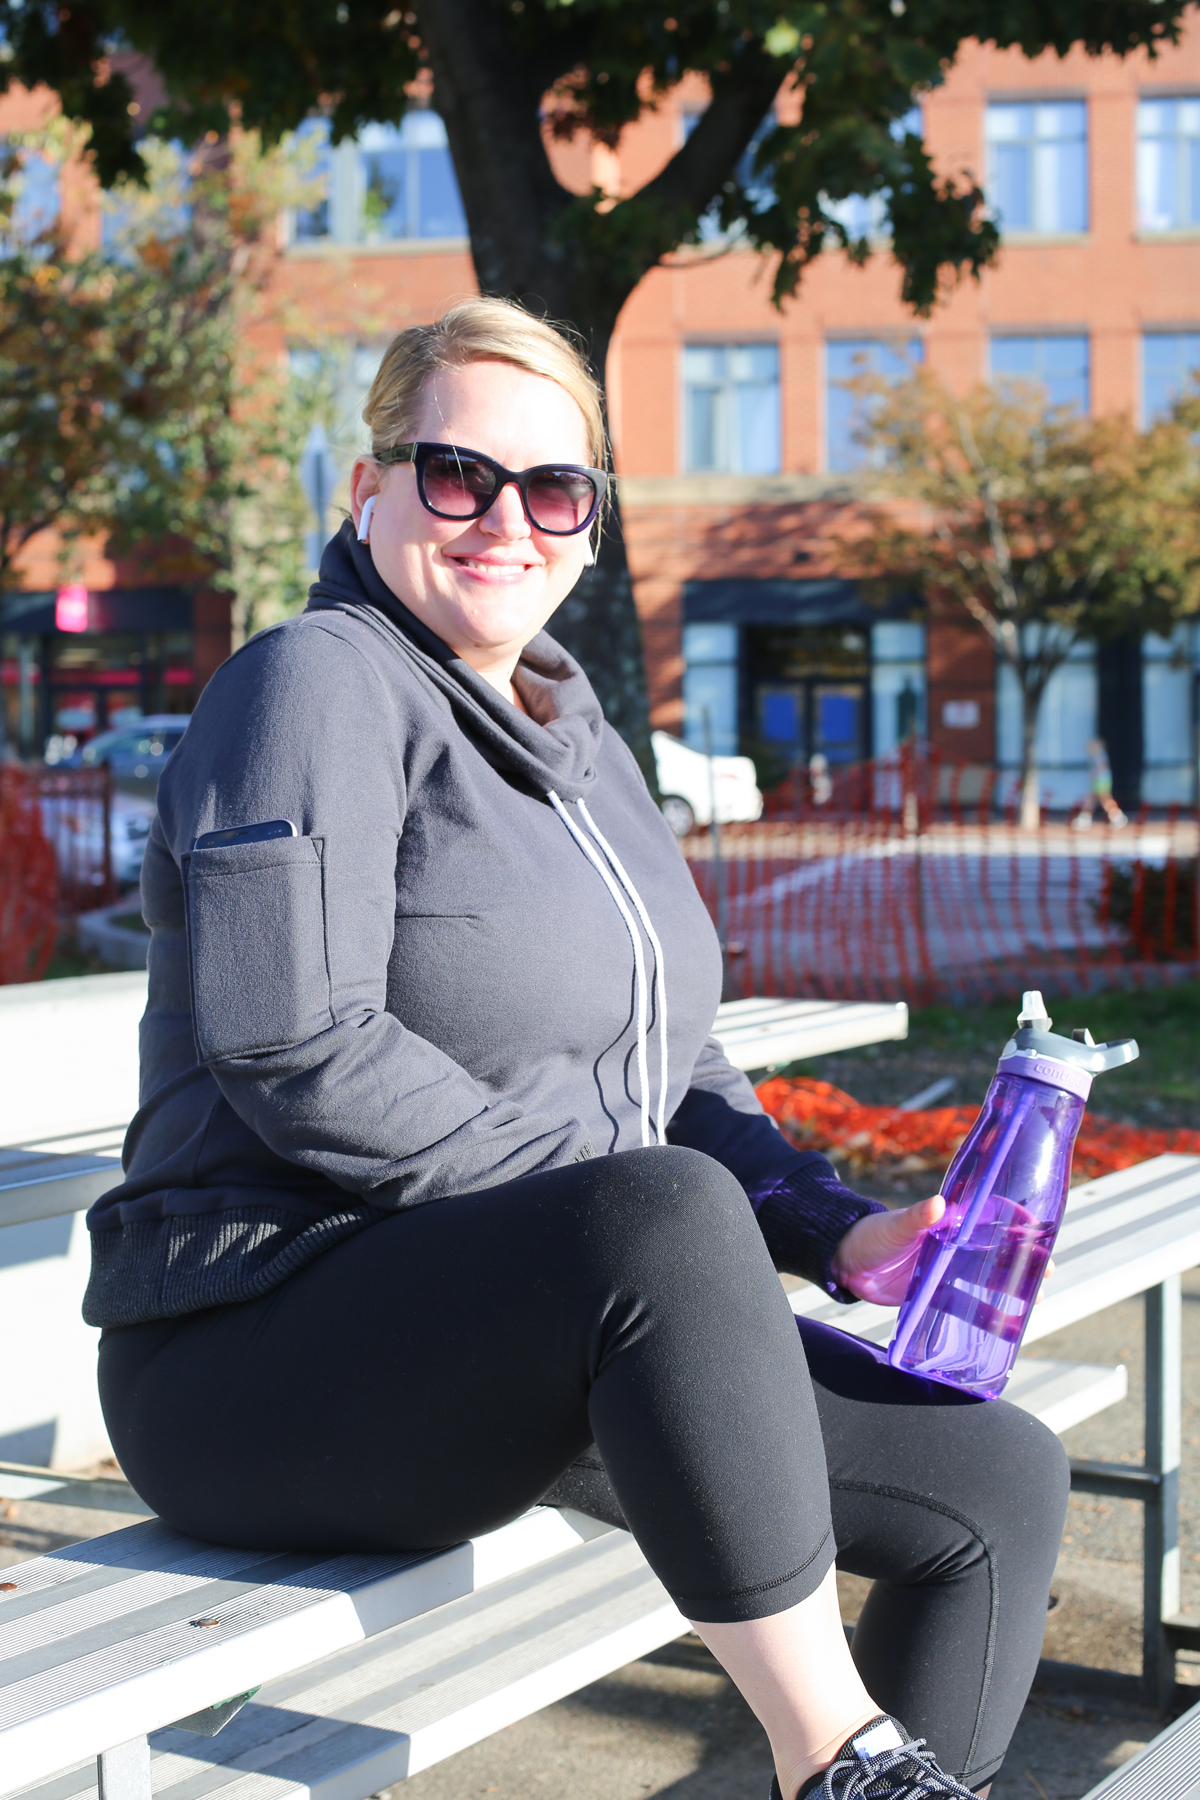
Don’t forget to stay hydrated out there, folks.
Wherever you wear your Tobin, we’d love to see it! Tag your photos with #TobinSweater so we can marvel at the creative hacks YOU come up with!
I love this hack…I need more ‘walking the dog in a wet and muddy rural area’ clothing.
When you make it, make sure to show us. And include the dog please. I personally can never get enough dog pictures. 🙂
– Becca at Cashmerette