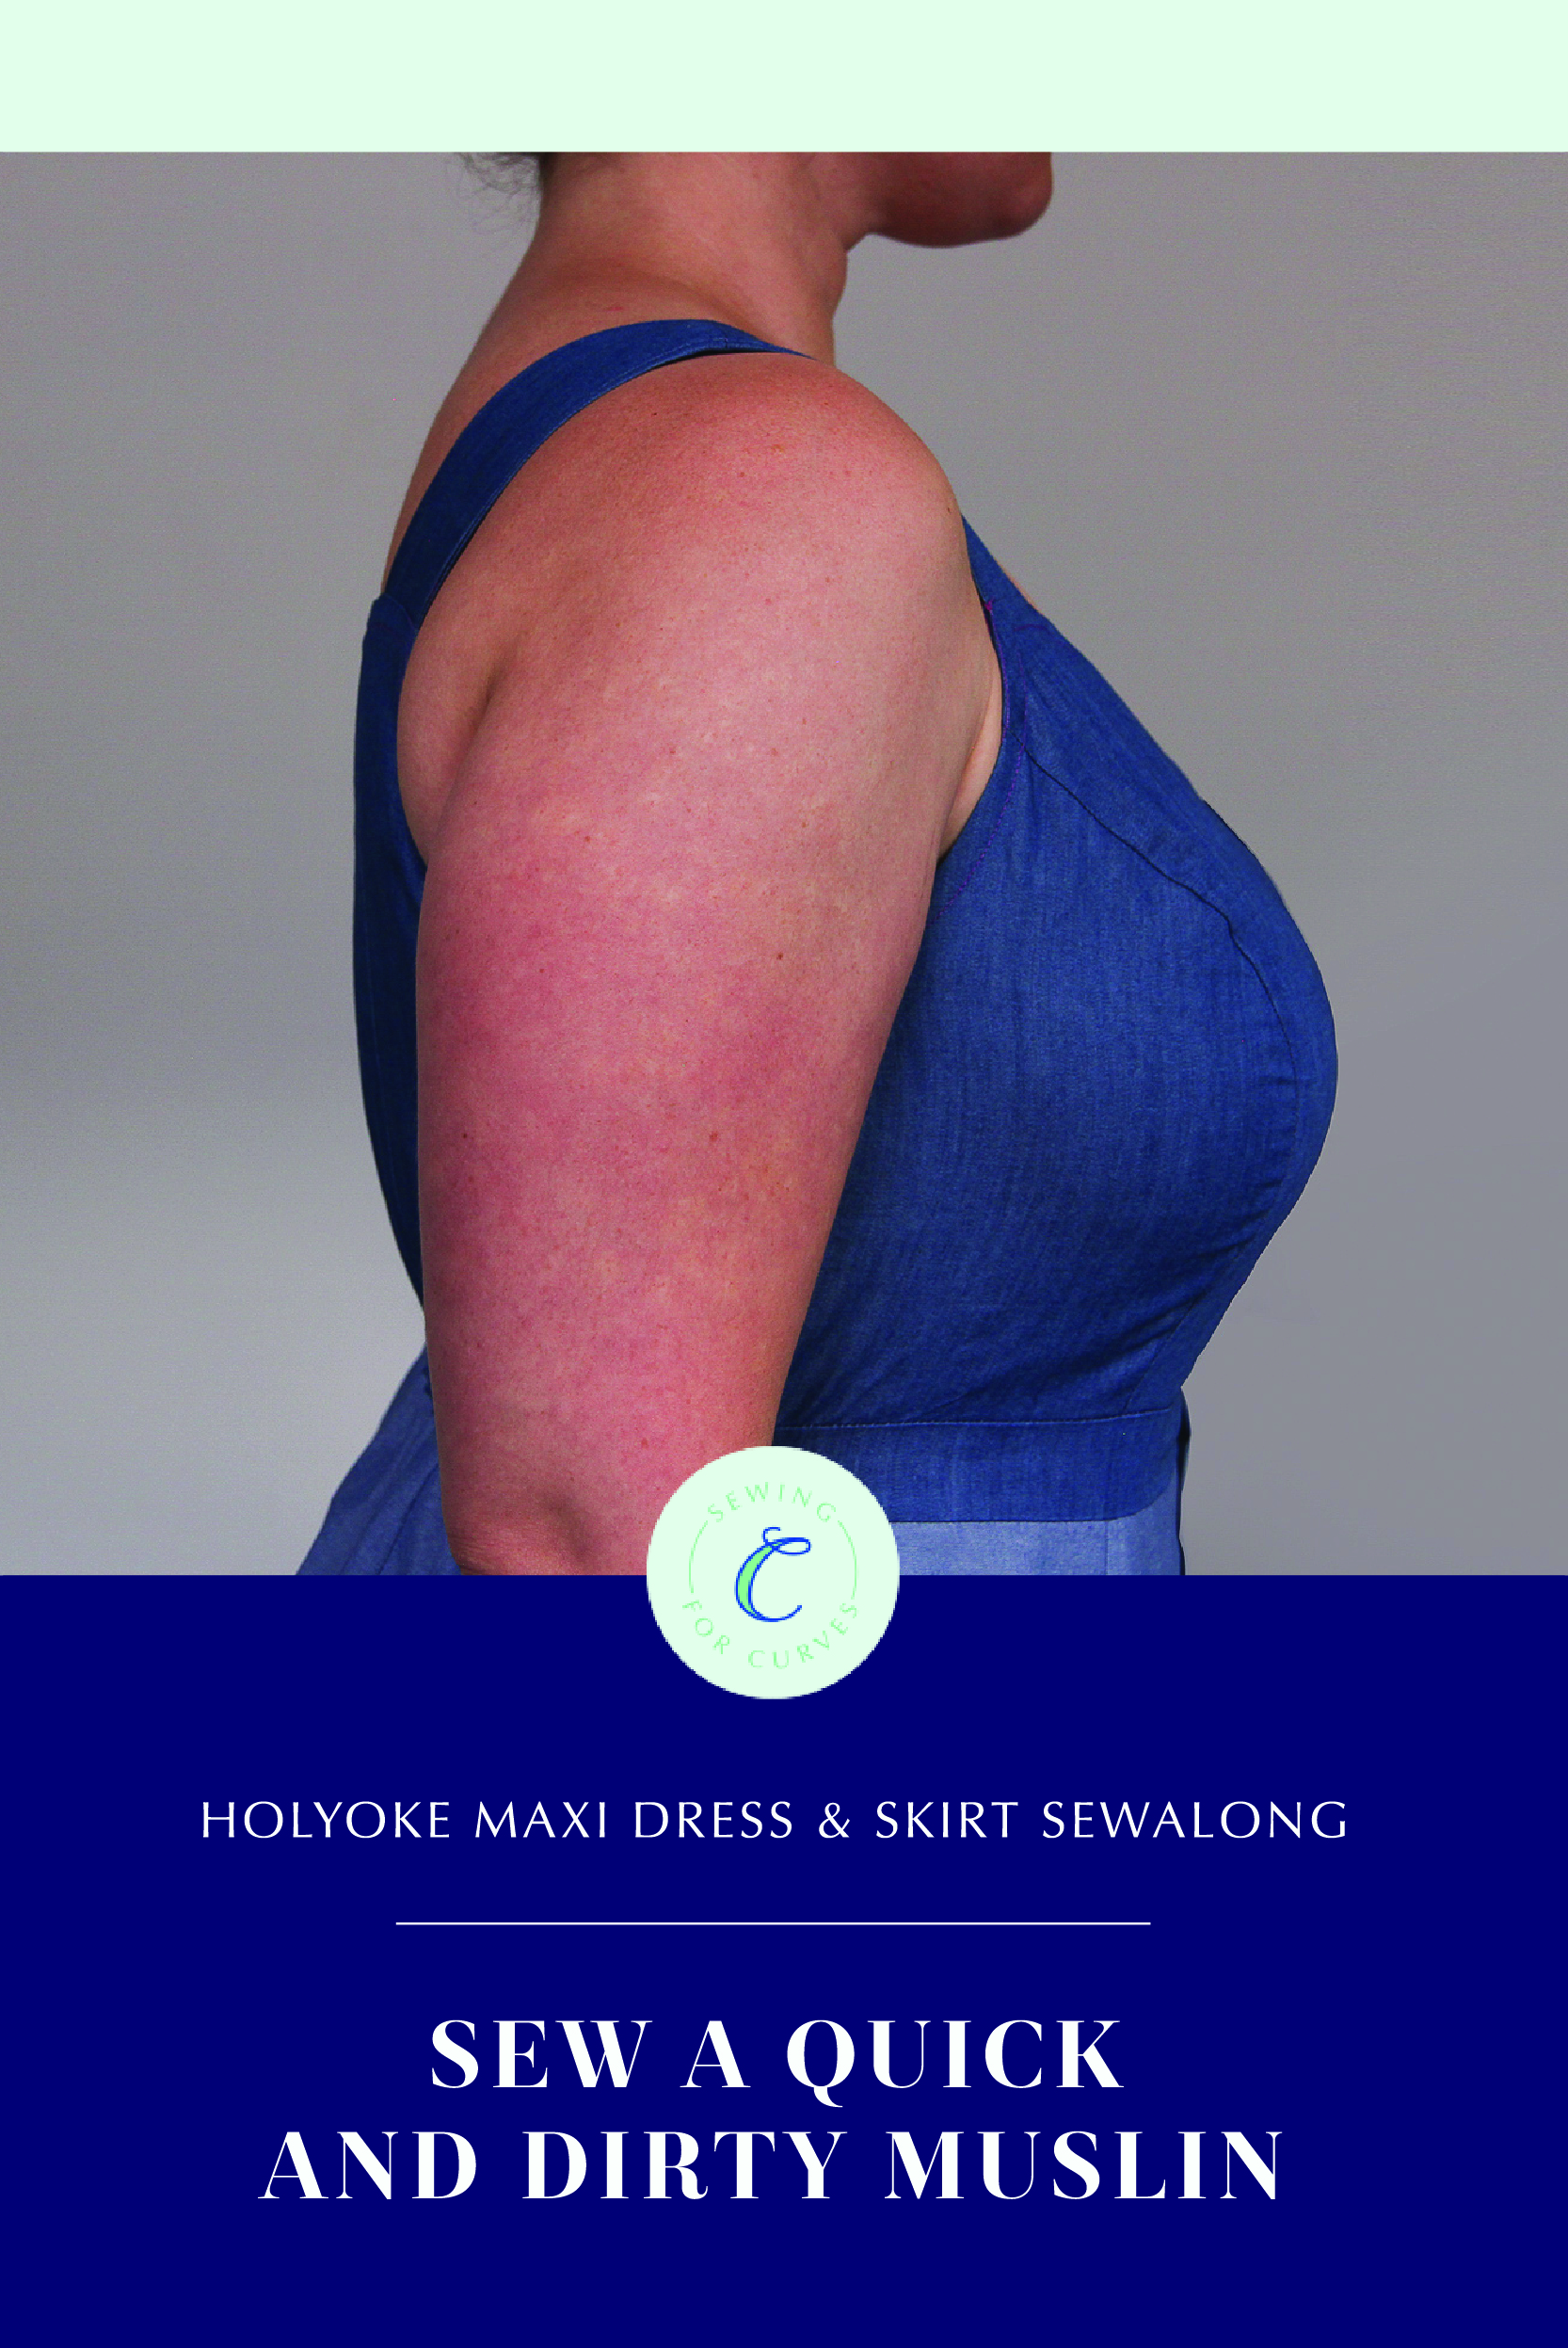
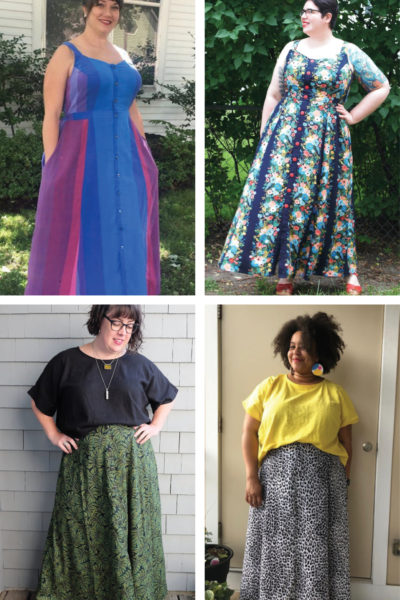
Summer is all about swishy sundresses, and there’s no better dress for swishing around than the Holyoke Maxi Dress! Today, we’re going to be showing you how to sew up a quick and dirty muslin (a test garment, also called a toile) to check the fit of the Holyoke before you cut into your precious fabric.
First, a few important notes: we’re going to make a fast, non-wearable muslin, taking as many shortcuts as we can (and pointing out where not to take shortcuts!) so that you can check your fit as quickly as possible and get on to the real dress! You should not follow this tutorial if you’d like to have an actual wearable Holyoke, or if you intend to make a wearable muslin. For that, we recommend following the Holyoke Dress step-by-step sewalong.
Do you HAVE to muslin the Holyoke before making your final garment? Of course not. But SHOULD you? Probably. We all have different bodies with slightly different proportions, and although the Holyoke is drafted for curvy bodies with three different cup size options, it would be impossible for a pattern to fit every body right out of the envelope. You might find that a small adjustment you make to the pattern after trying on your muslin makes your final dress so much more wearable, and that’s worth the couple bit of time in the sewing room, isn’t it? But if you’re strongly in the no-muslin camp, you do you gurl!
Should you use actual muslin fabric to muslin out your Holyoke? We wouldn’t recommend it. Instead, grab a fabric that’s similar in weight and stretch to the fabric you intend to use for your final garment. This is a great way to use up extra fabric left over from another project! I’m going to use up some leftover chambray of similar weights from two past projects.
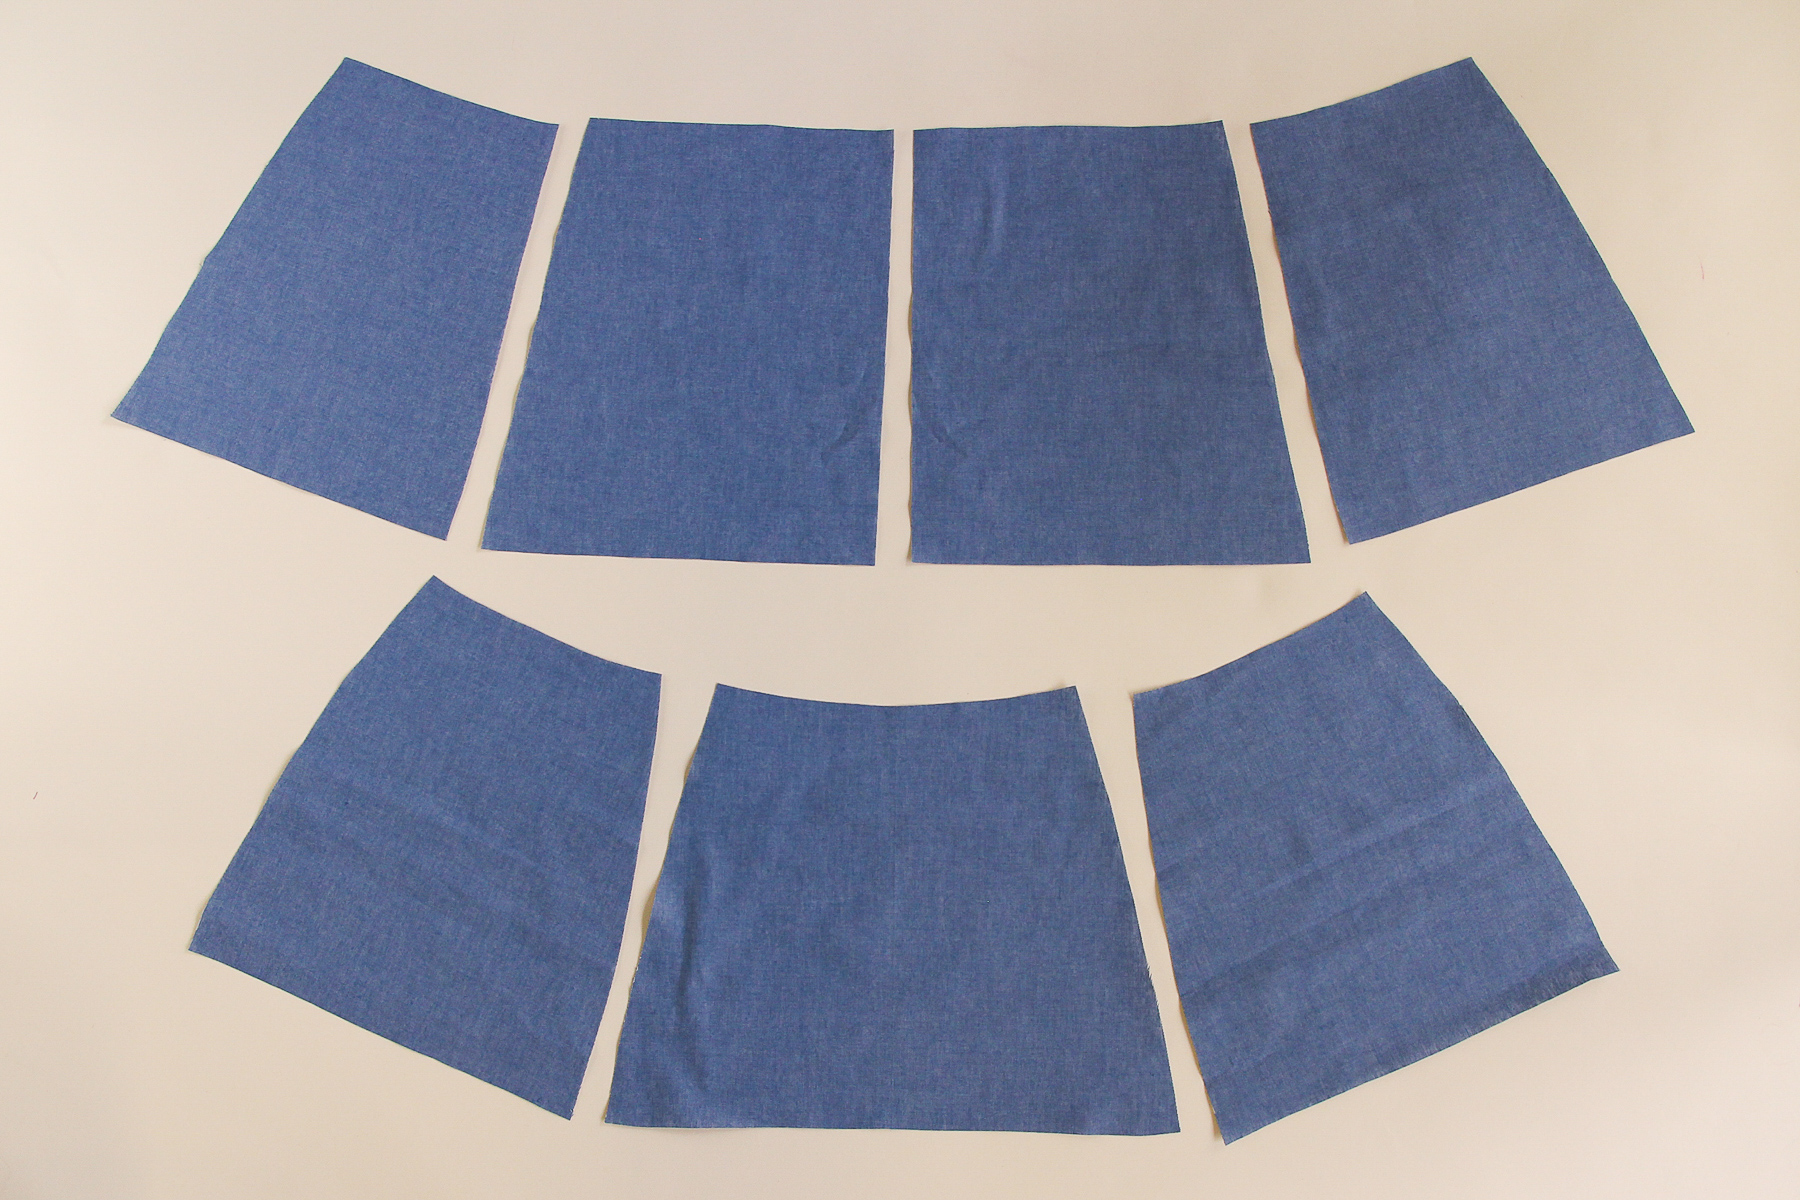
Okay, so it might be a bit misleading to call this a “quick” muslin—it will probably take a couple of hours (or less if you’re extra speedy!). But it will definitely be faster than sewing the full garment! We’re going to sew up this muslin with only the most essential elements, skipping over seam finishings, interfacing, facings, hemming, and buttons. We’re also going to cut a much shorter skirt—For mine, I drew a line about 10 inches (25 cm) below the waist edge on my pattern pieces. (Since this is a test garment, you don’t need to worry about getting the curve of the hem, but do mark the notches to help you line the pieces up properly.) This is so that we can check that the waistband is sitting in the right place (the skirt weighs the waistband down a bit) and that the skirt fits over our hips.
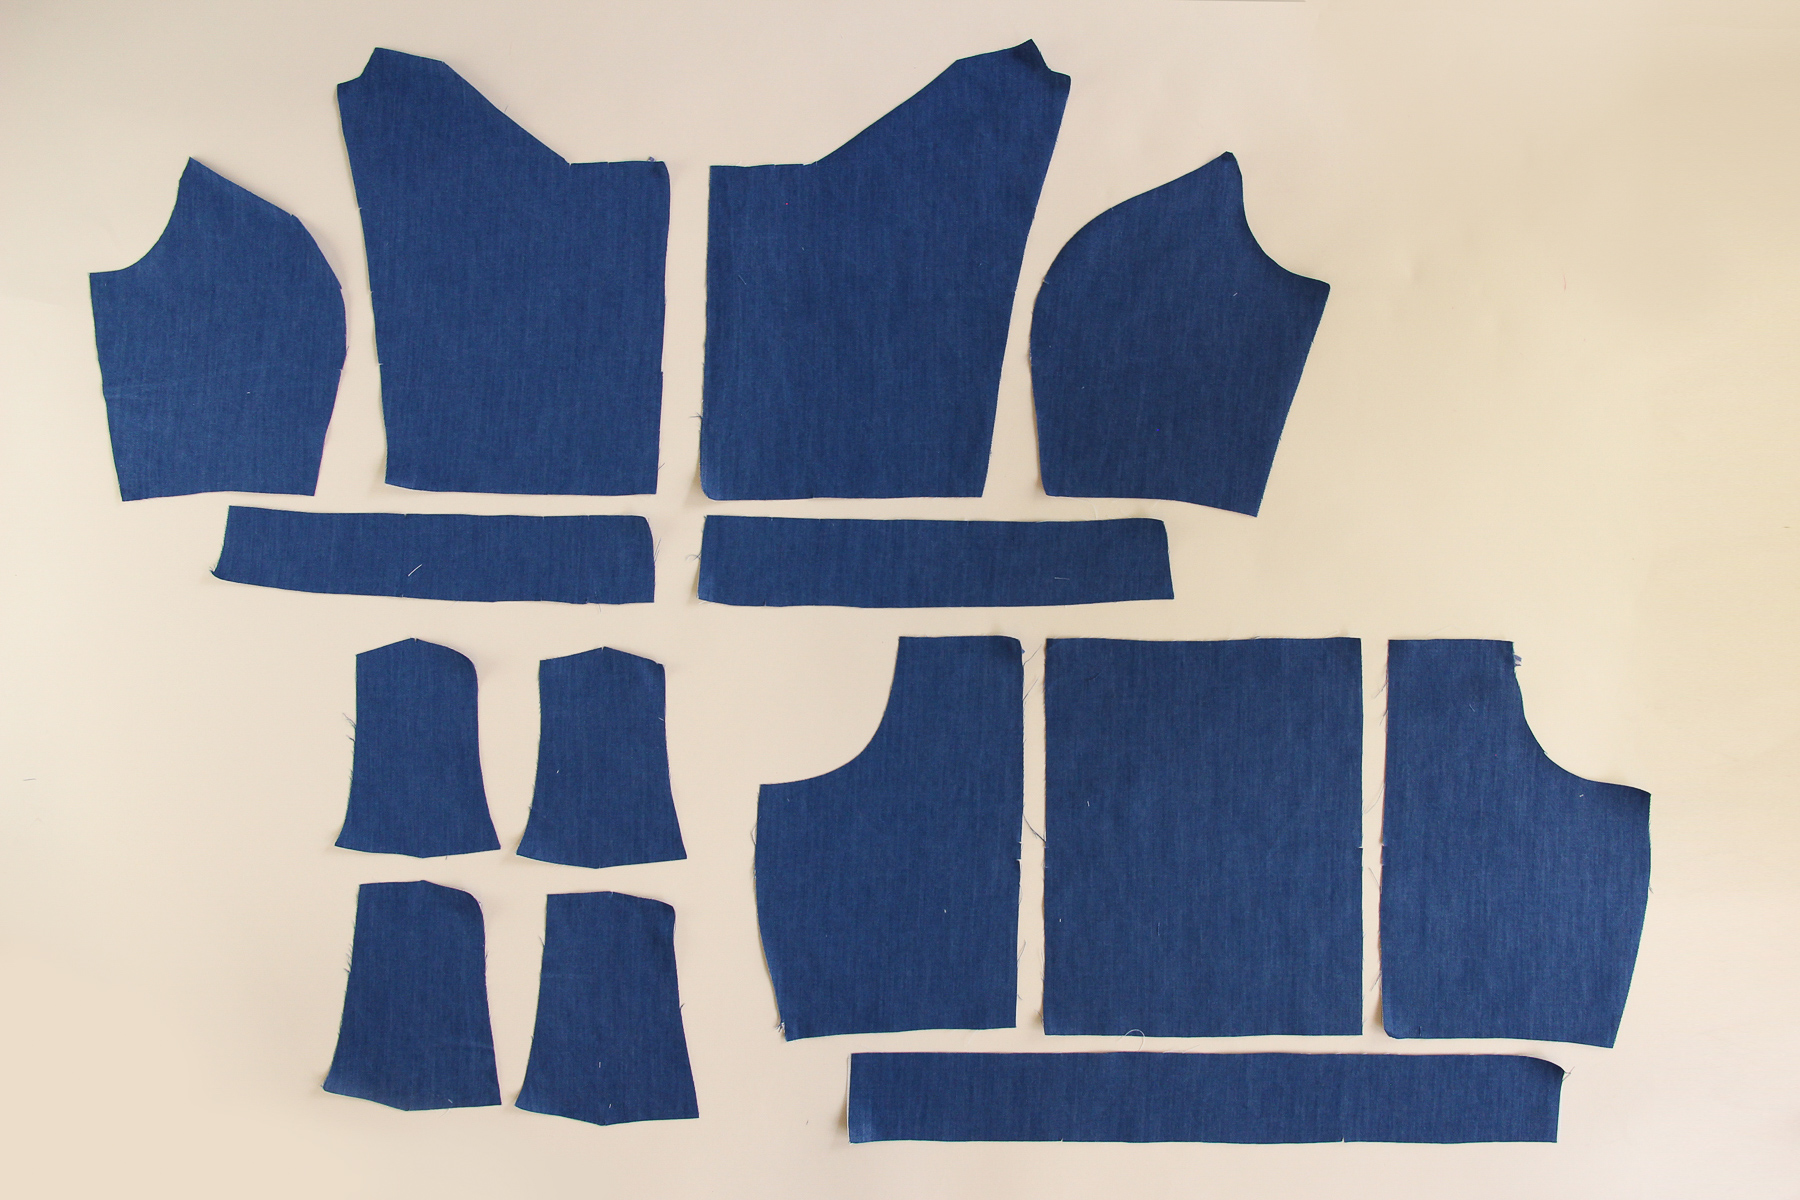
Start by reading through our recommendations for selecting your size and grading between sizes on the Holyoke. Once you’ve selected your size(s) and traced or cut out your pieces, here’s what you should cut out of the fabric you’ll be using for your muslin:
- Front bodice: 2 bodice center front (pattern piece #1), 2 bodice side front (#2A/2B/2C), 2 front waistbands (#3).
- Skip the bodice interfacing (#INT1), front facing and front facing interfacing (#9A/9B/9C), and third and fourth front waistband and interfacing.
- Back bodice: 2 bodice side back (#10), 1 bodice center back (#11), 1 back waistband (#12).
- Skip the back facing and interfacing (#15) and second back waistband.
- Straps: 2 front strap (#7), 2 back strap (#8).
- Skip the strap interfacing.
- Skirt: cut about 10 inches down from the waistband edge of all of the skirt pieces: 2 skirt center front (#4), 2 skirt side front (#5), 1 skirt center back (#13), 2 skirt side back (#14).
- Skip the skirt interfacing (#INT2) and pockets (#6).
Once you have all of your pieces cut, it’s time to sew! Again, we’re going to be taking some shortcuts, so if you would like to follow along with the actual Holyoke Dress sewalong, go here.
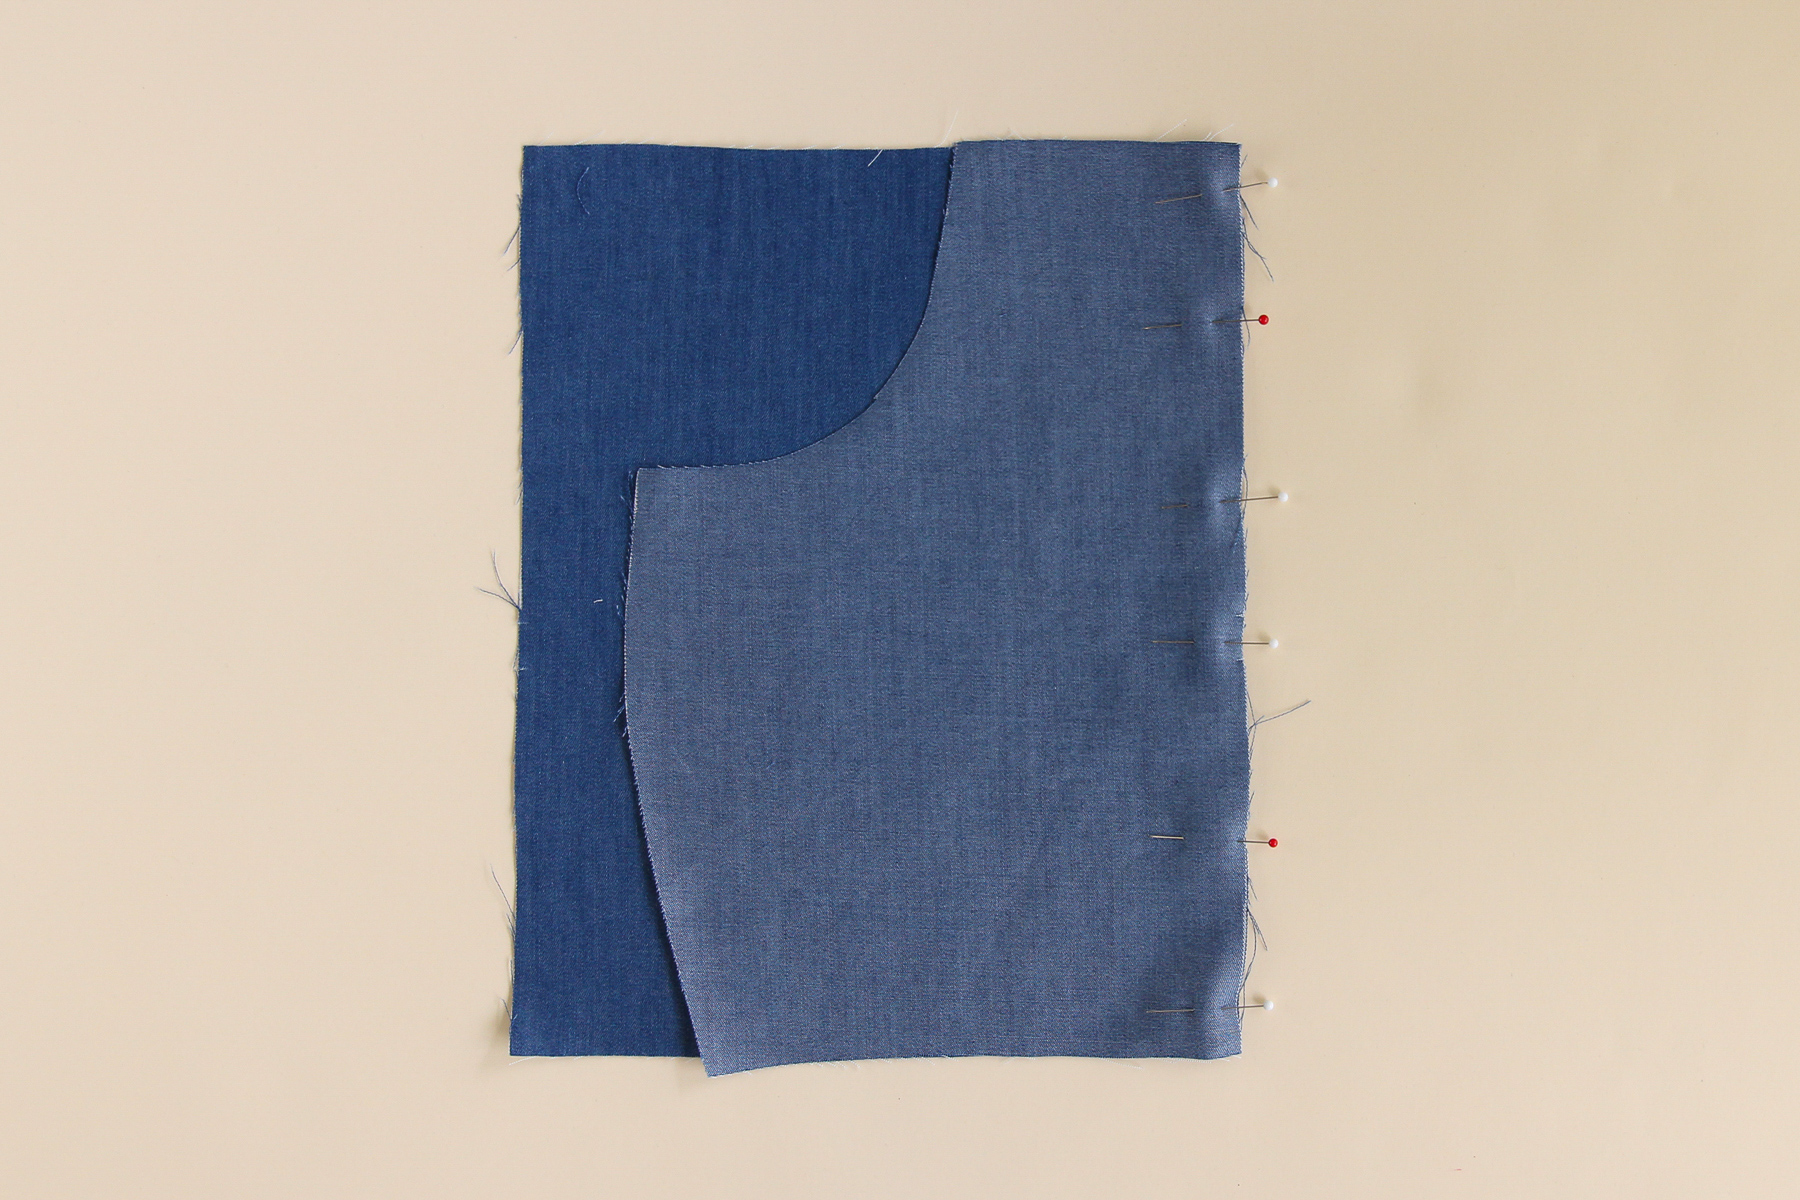
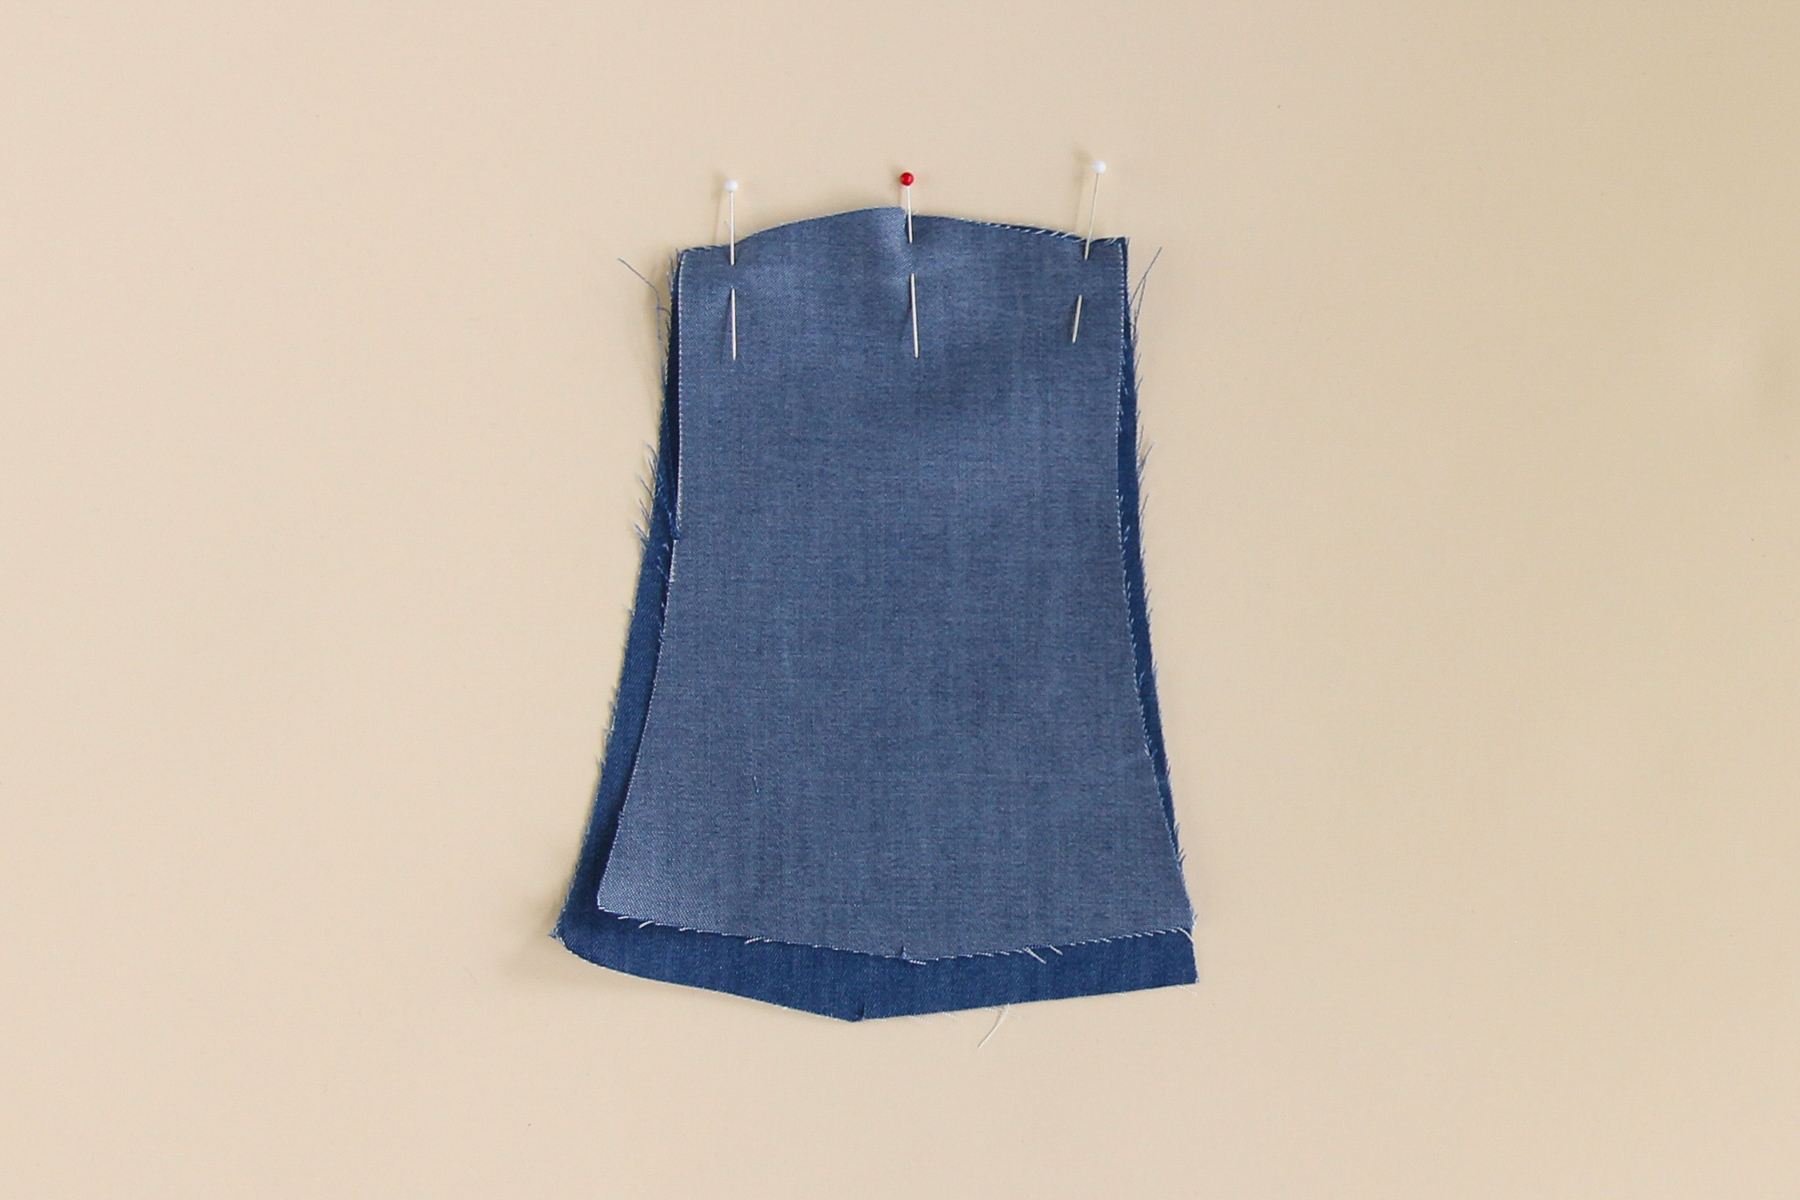
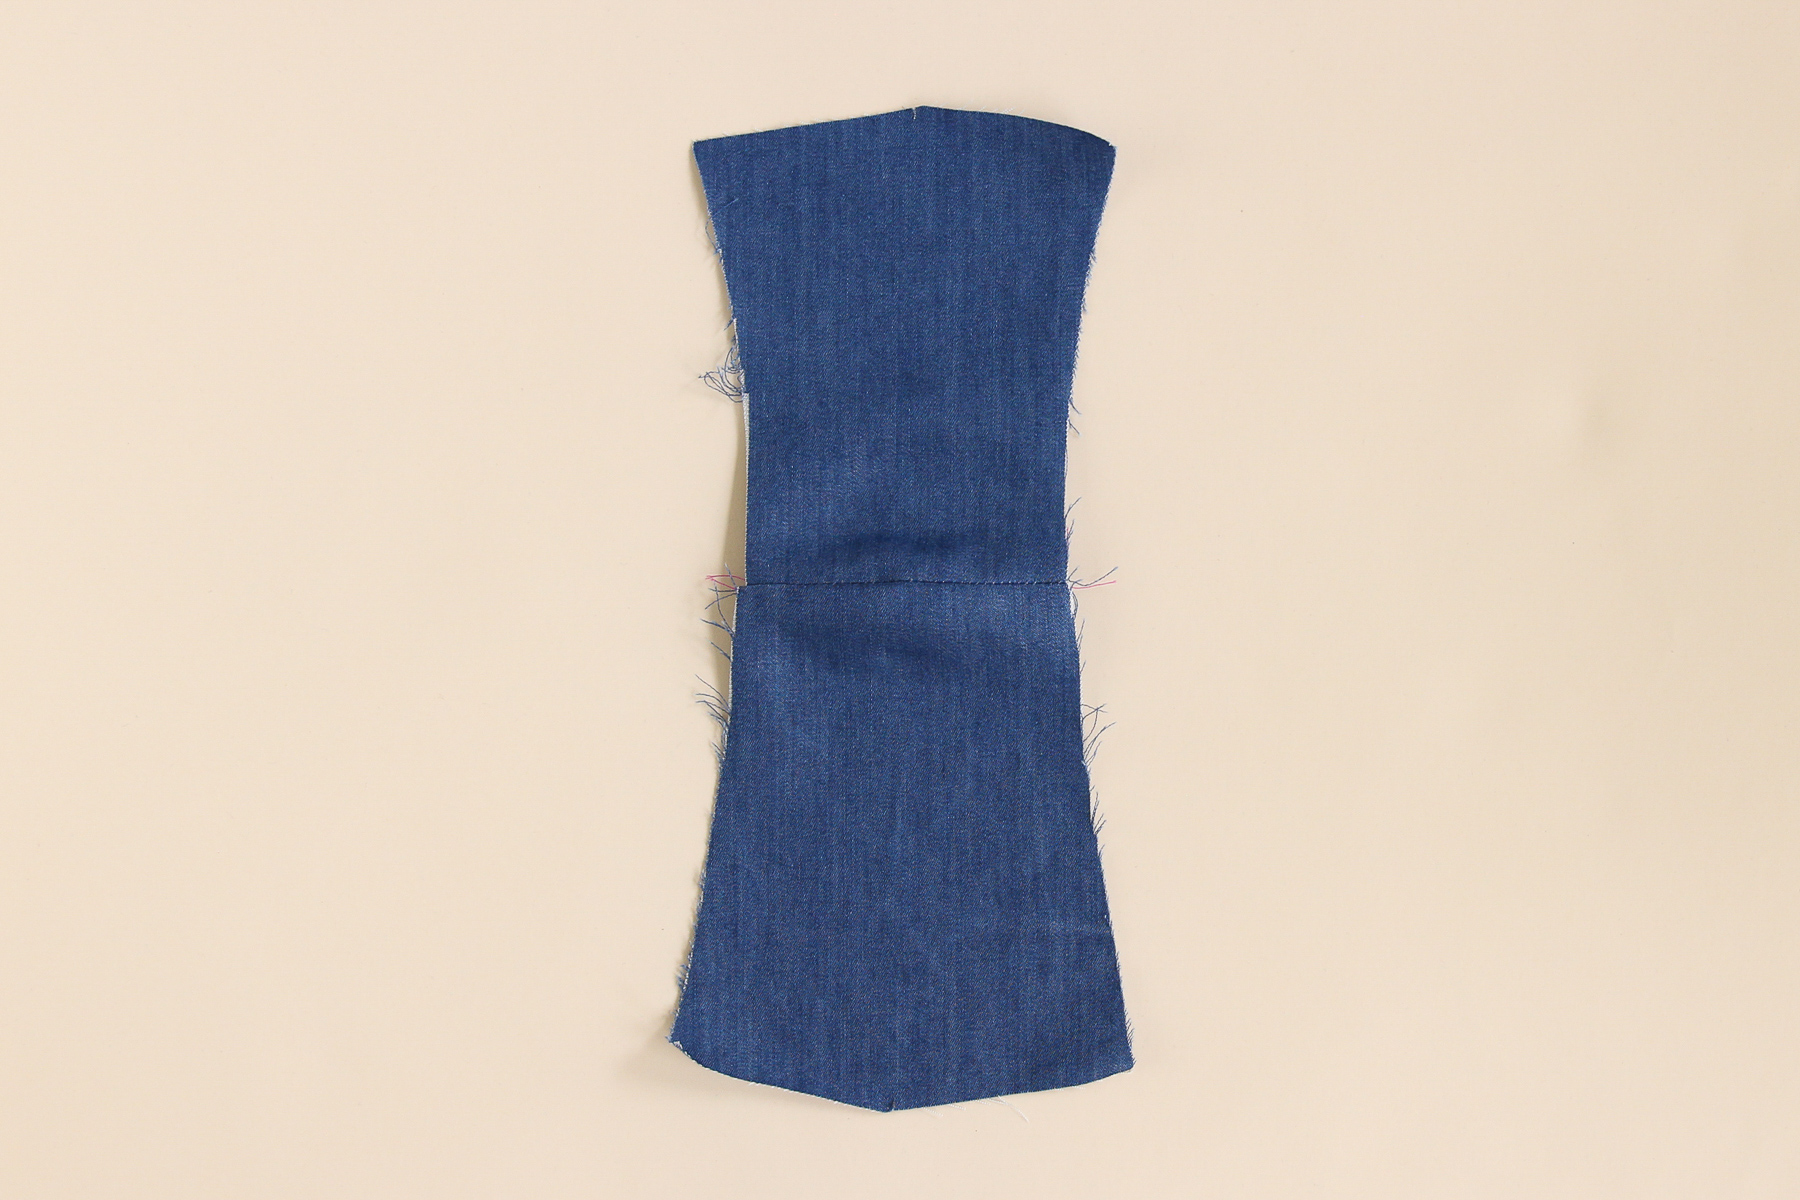
Start by pinning one of the bodice side fronts to one of the bodice center fronts, matching the notches. Sew at a 1/2” (12 mm) seam allowance and press the seam allowance towards the center. (No need to finish the seam, since this is just a muslin.)

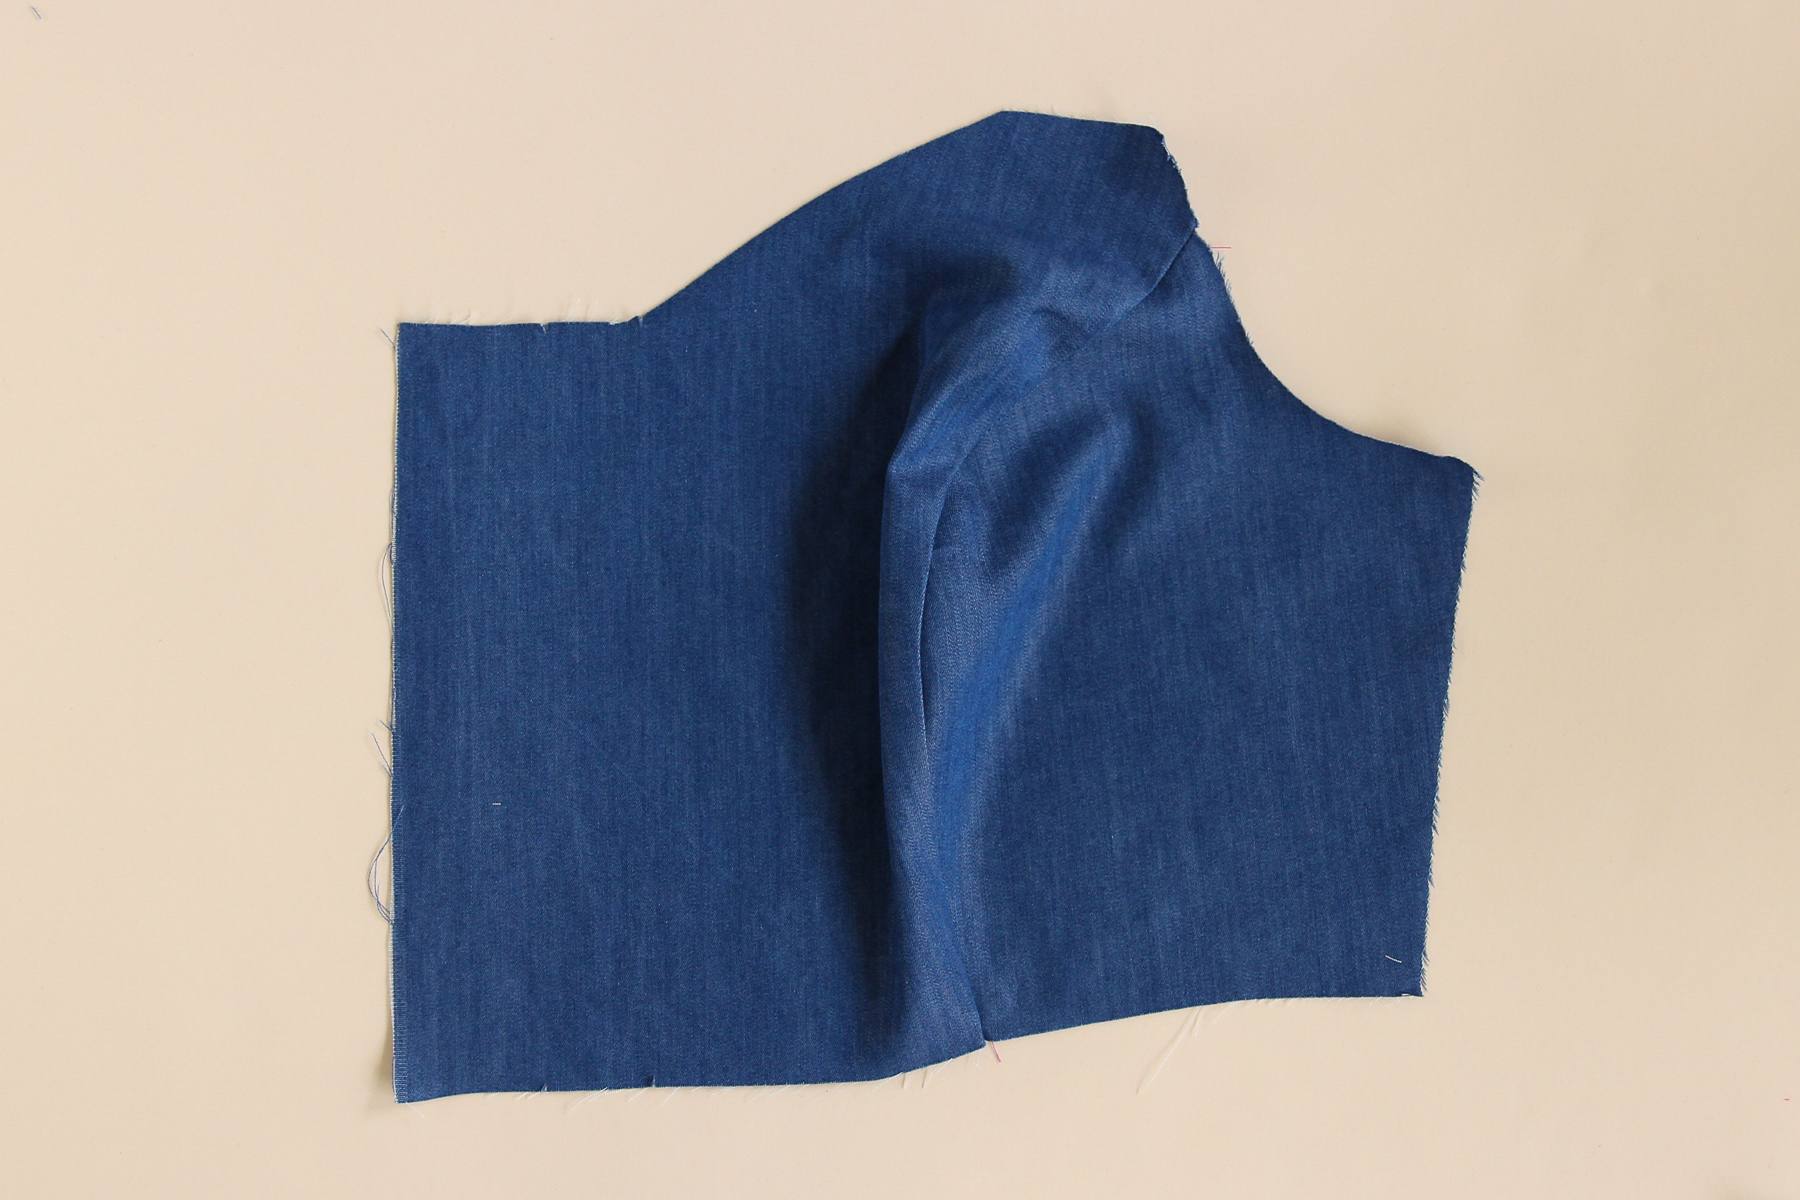
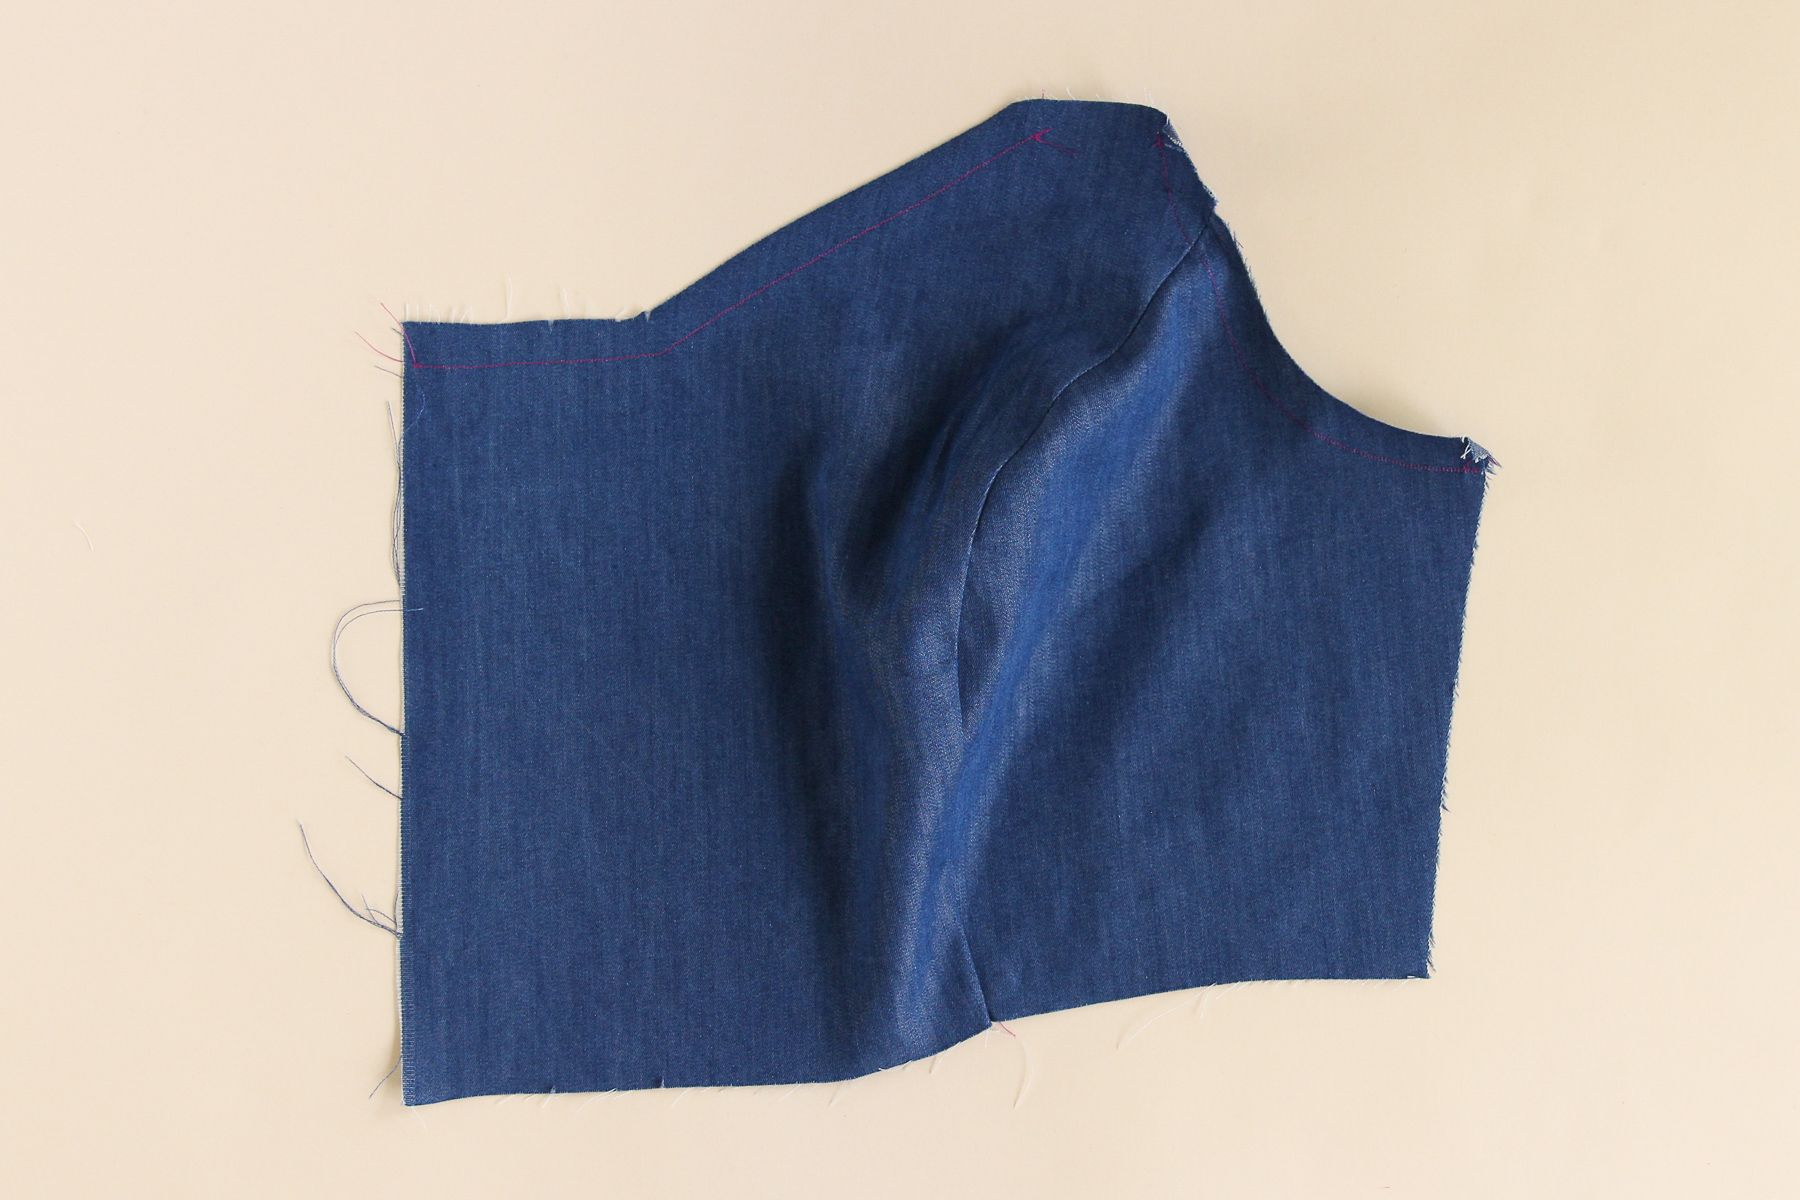
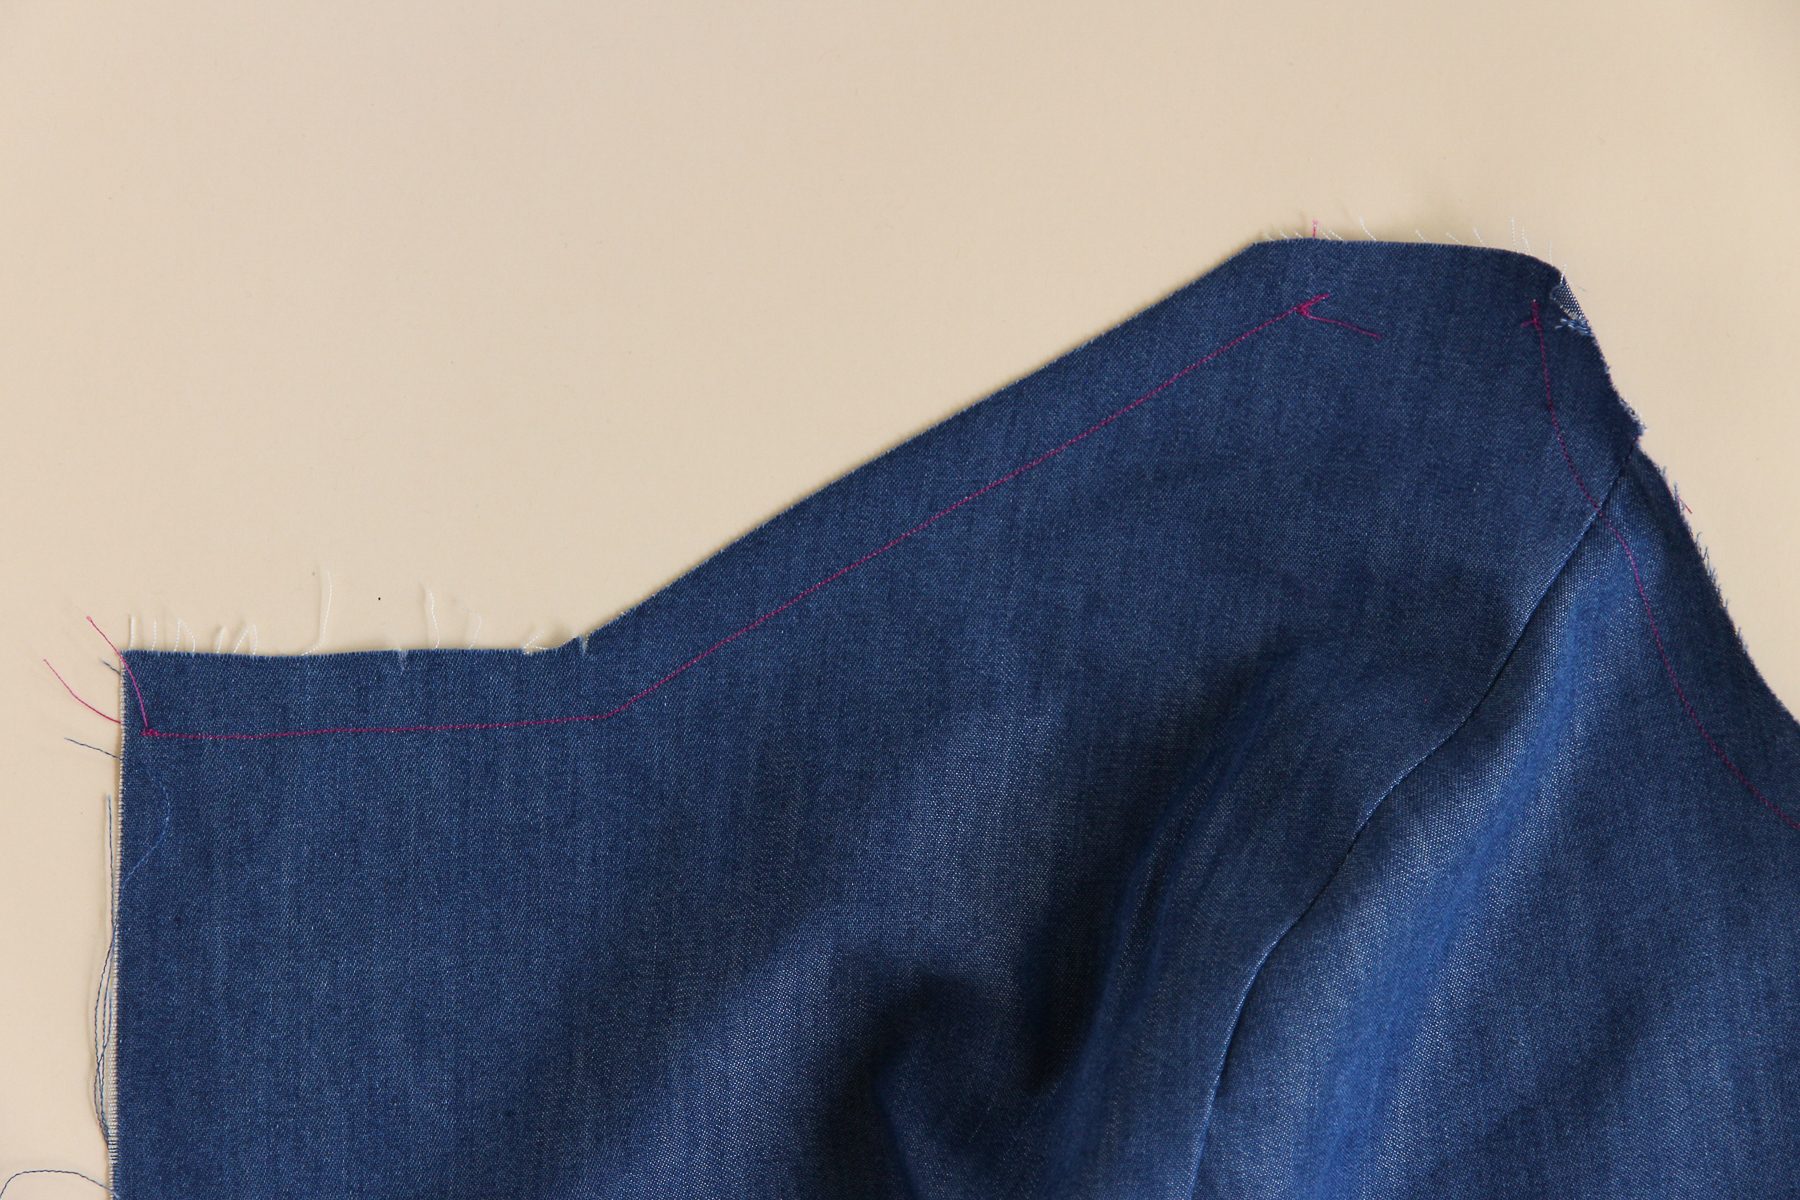
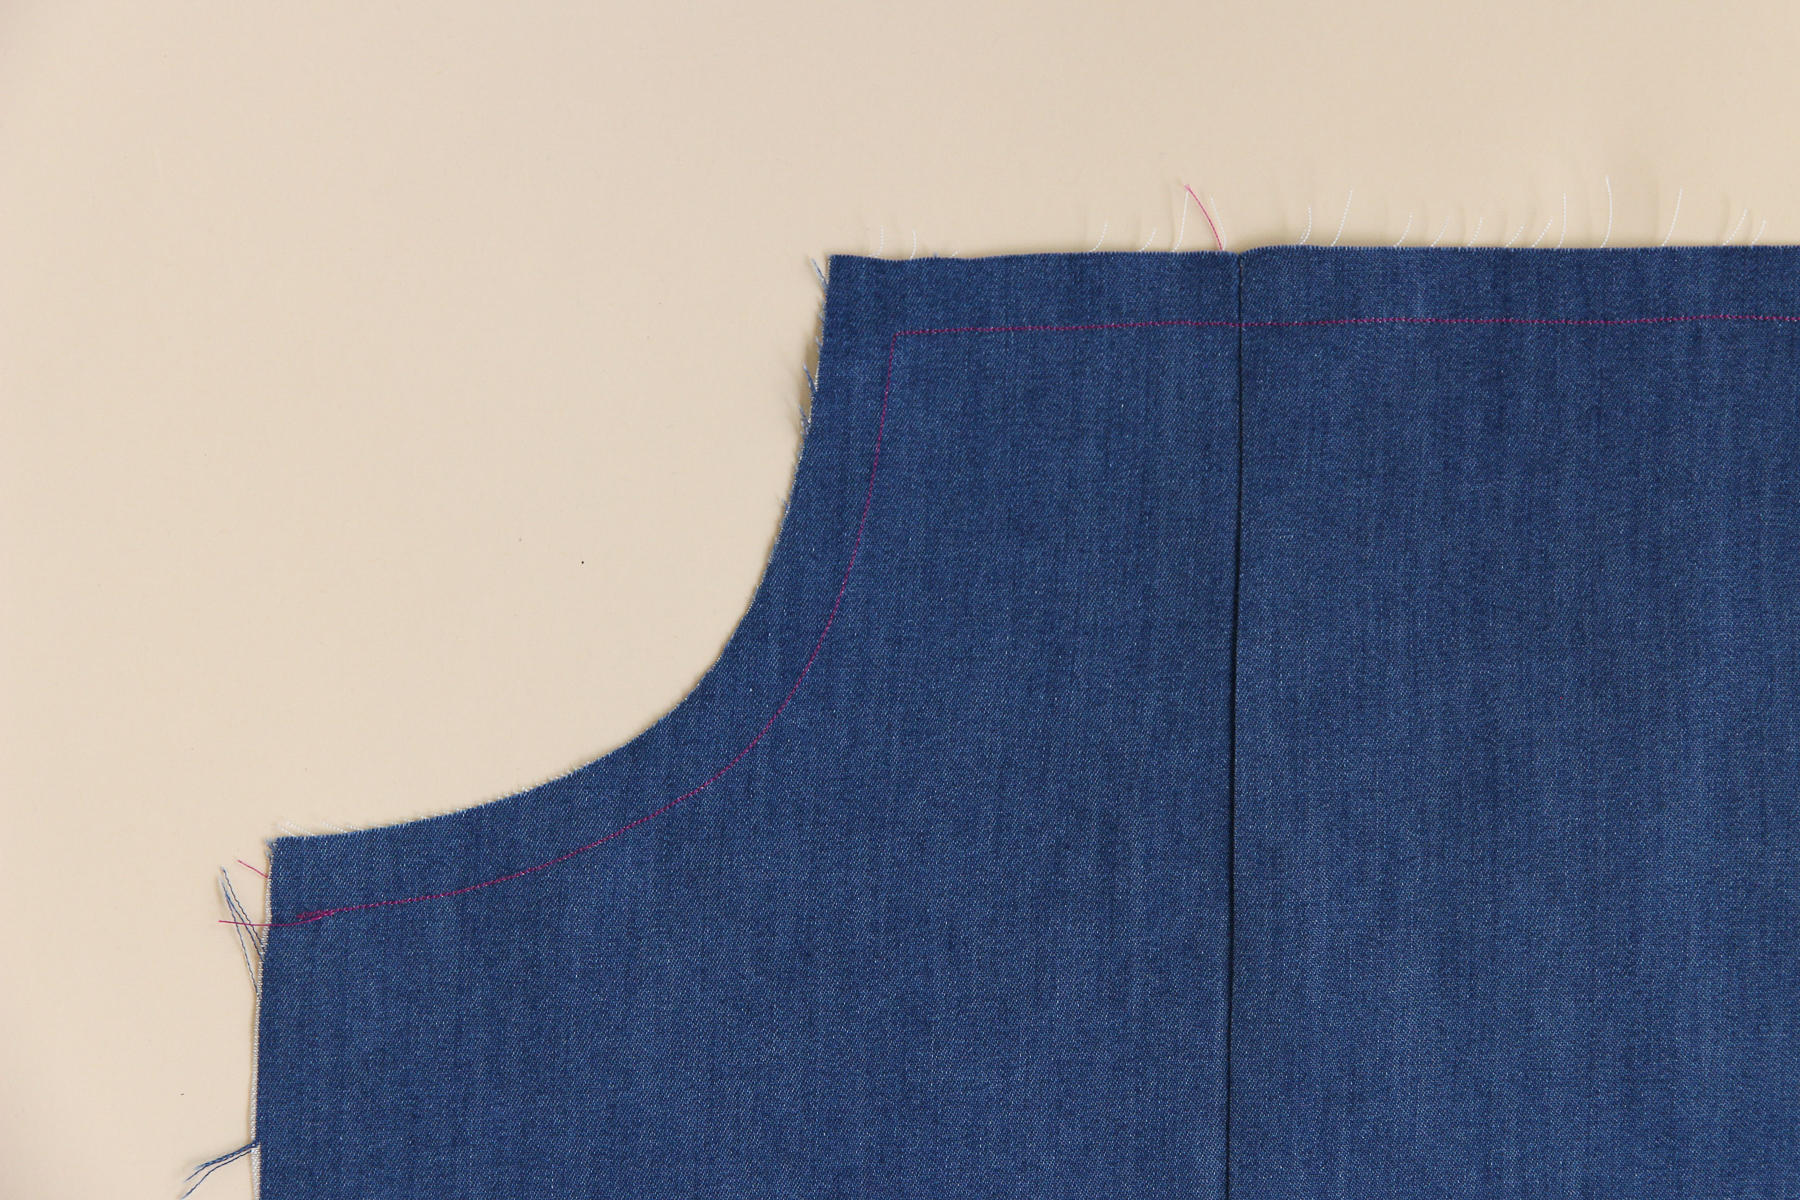
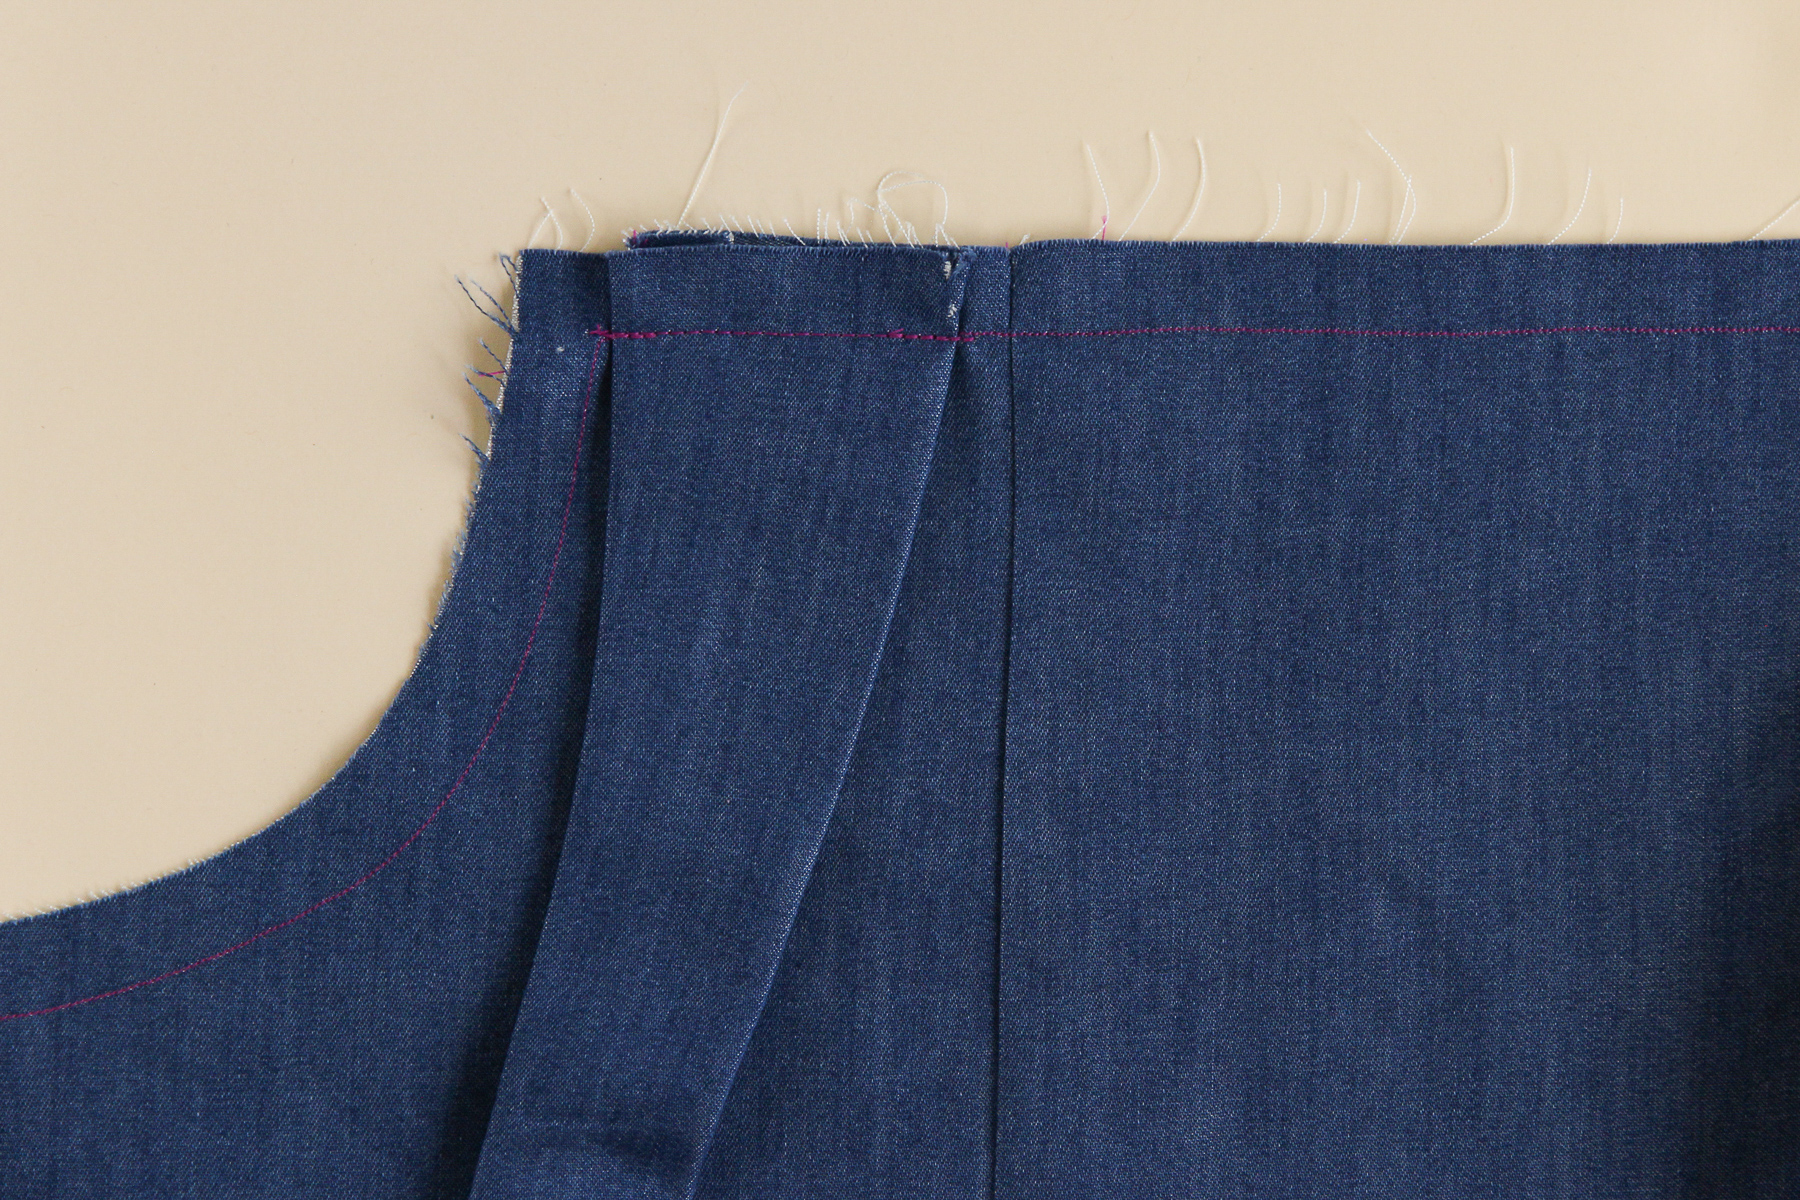
Now we need to staystitch along the neckline and armscye using a short stitch. This is actually quite important with this muslin, since we won’t be sewing on the front facing and this area could get stretched out unintentionally. Sew your staystitching lines at the seam line, 1/2” (12 mm) in from the edge.
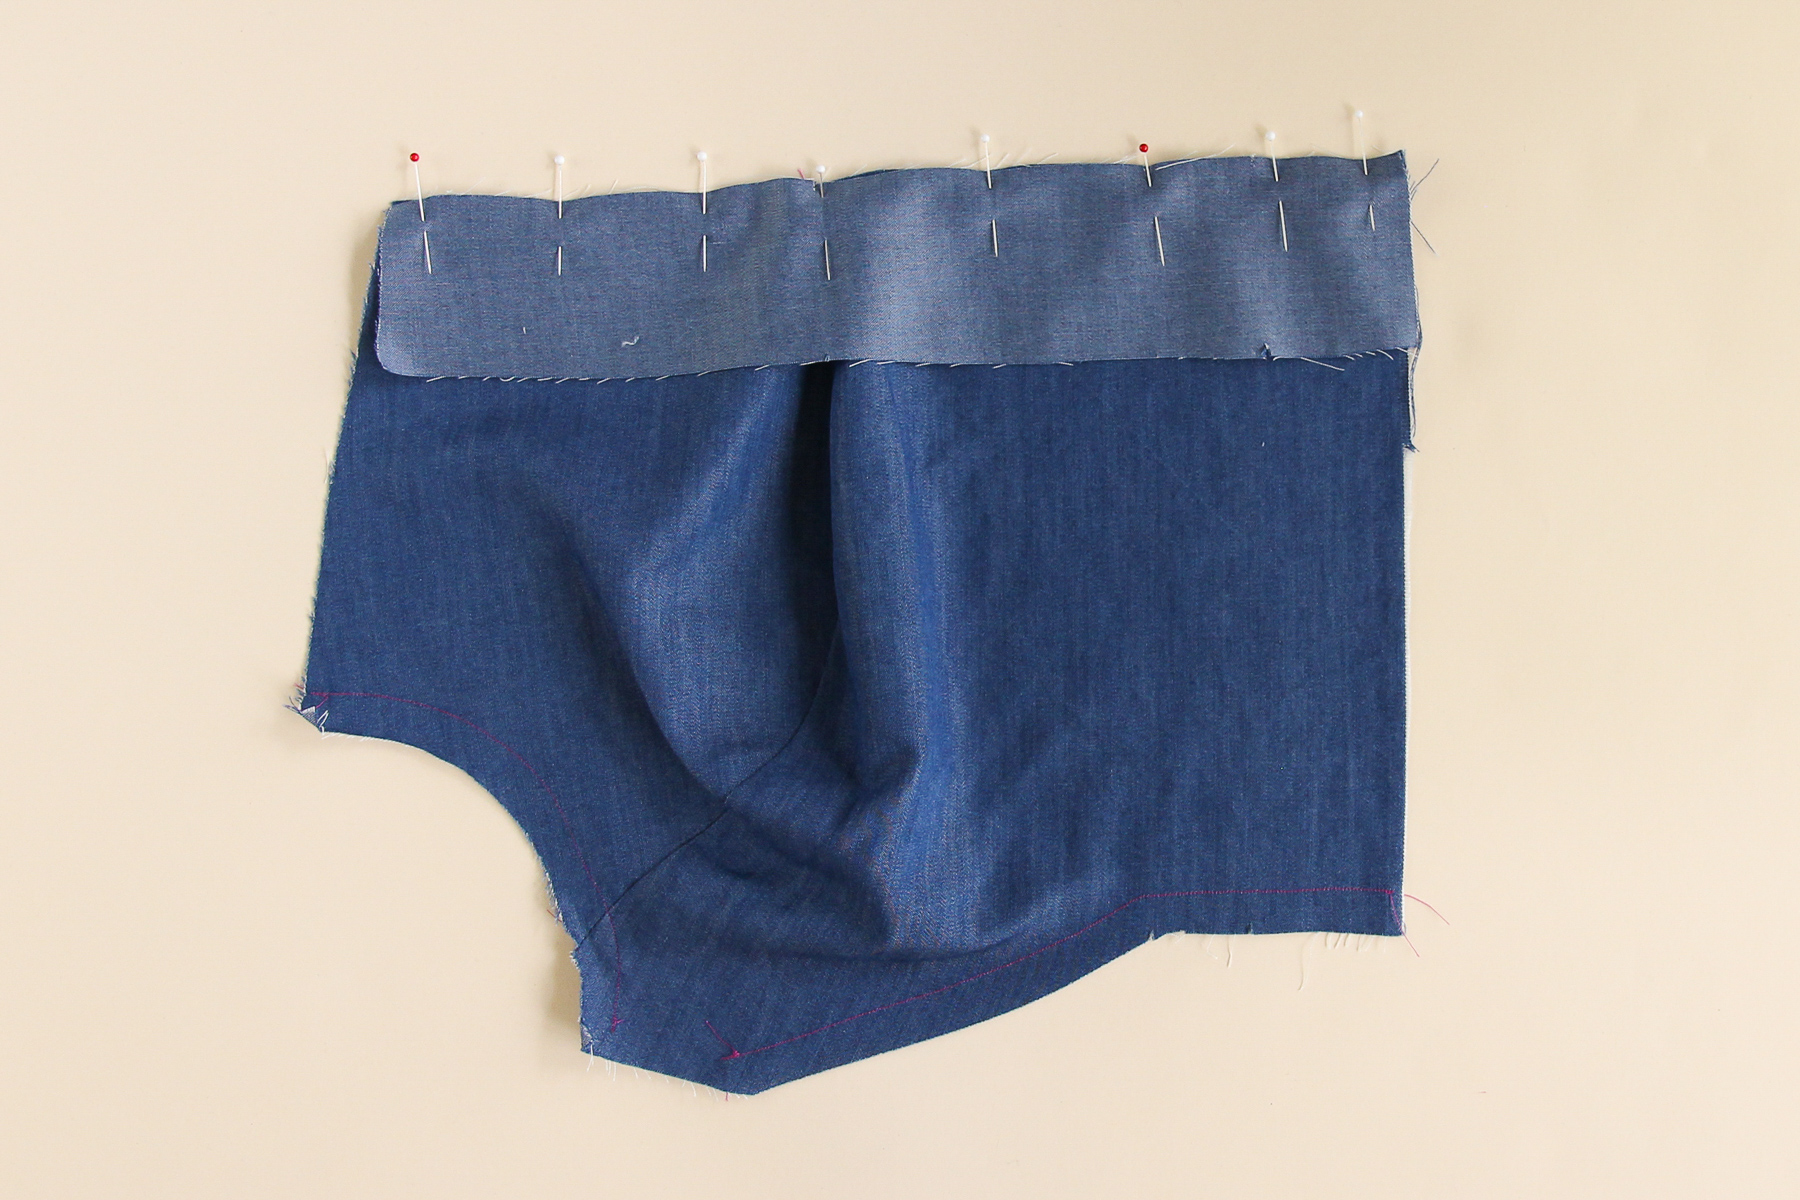
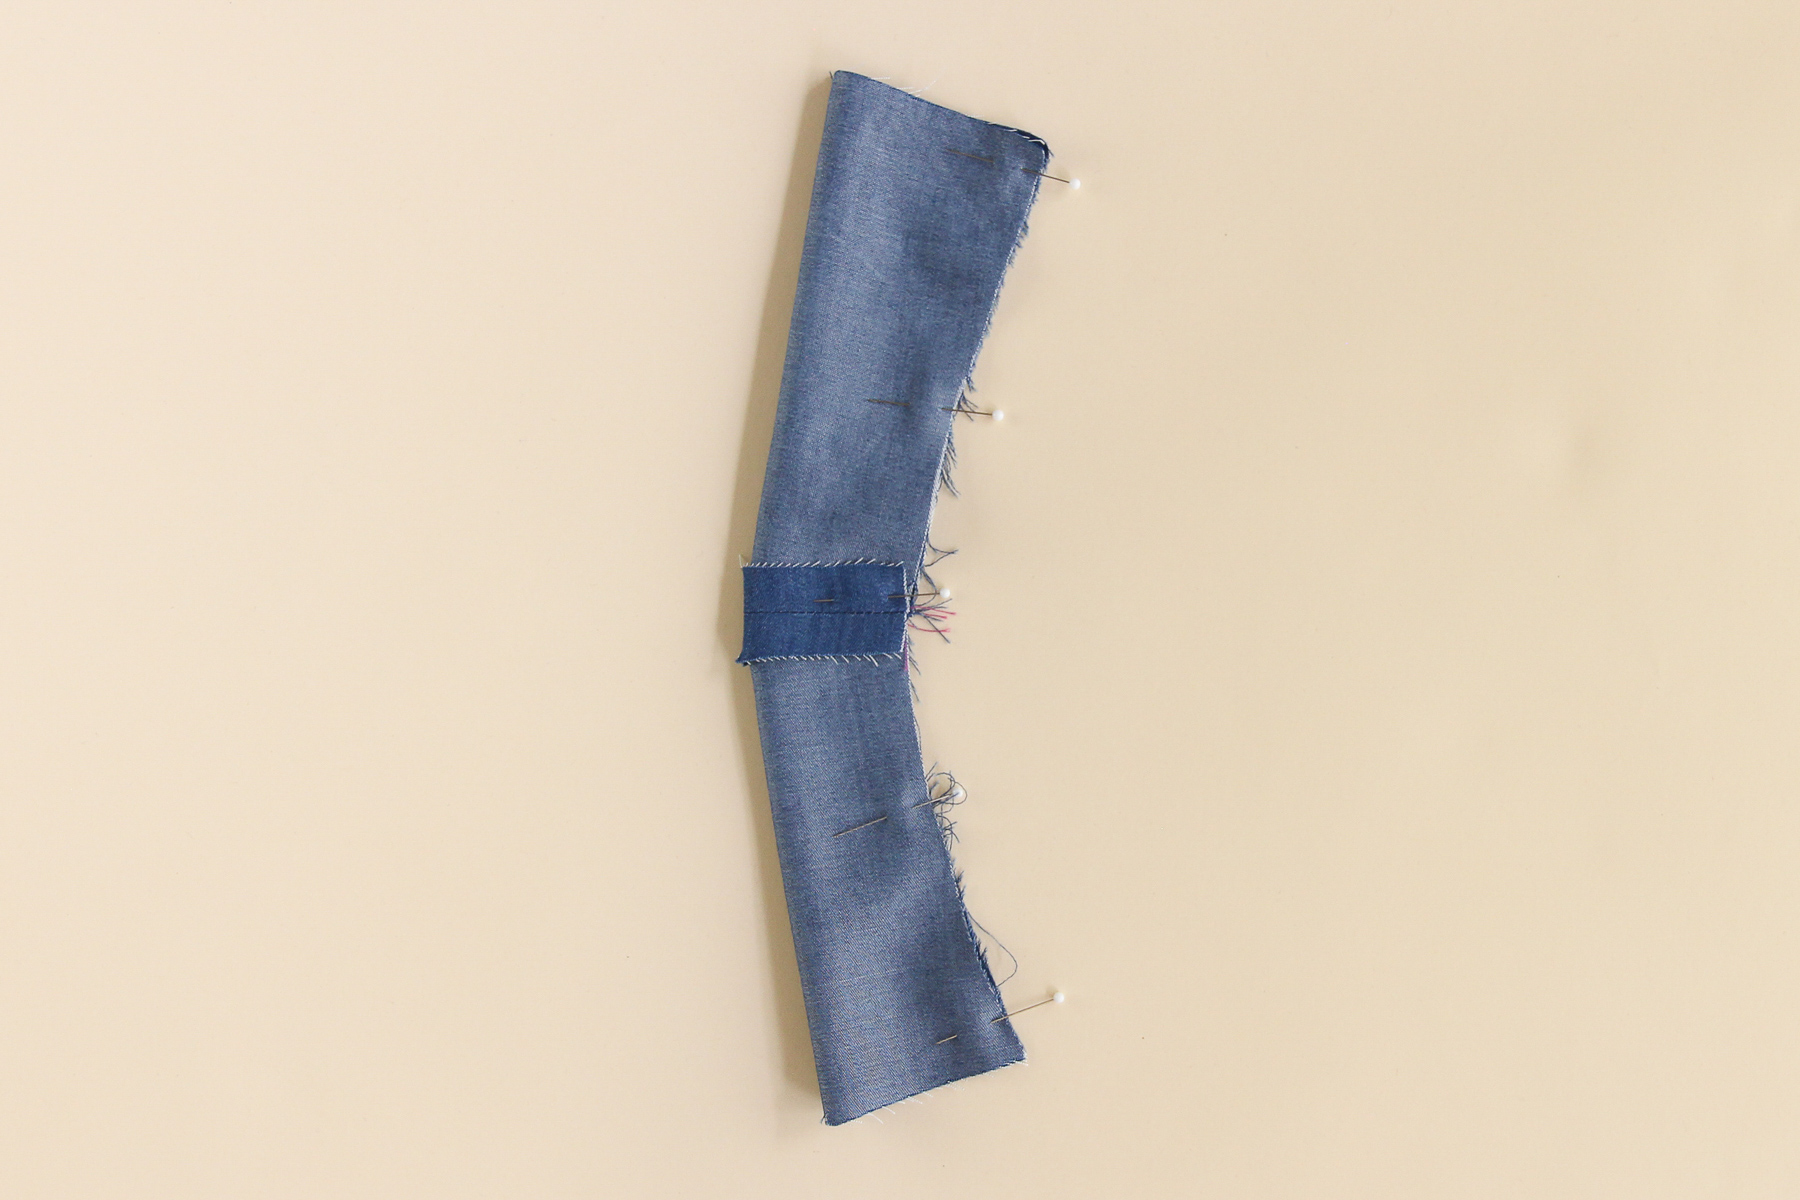
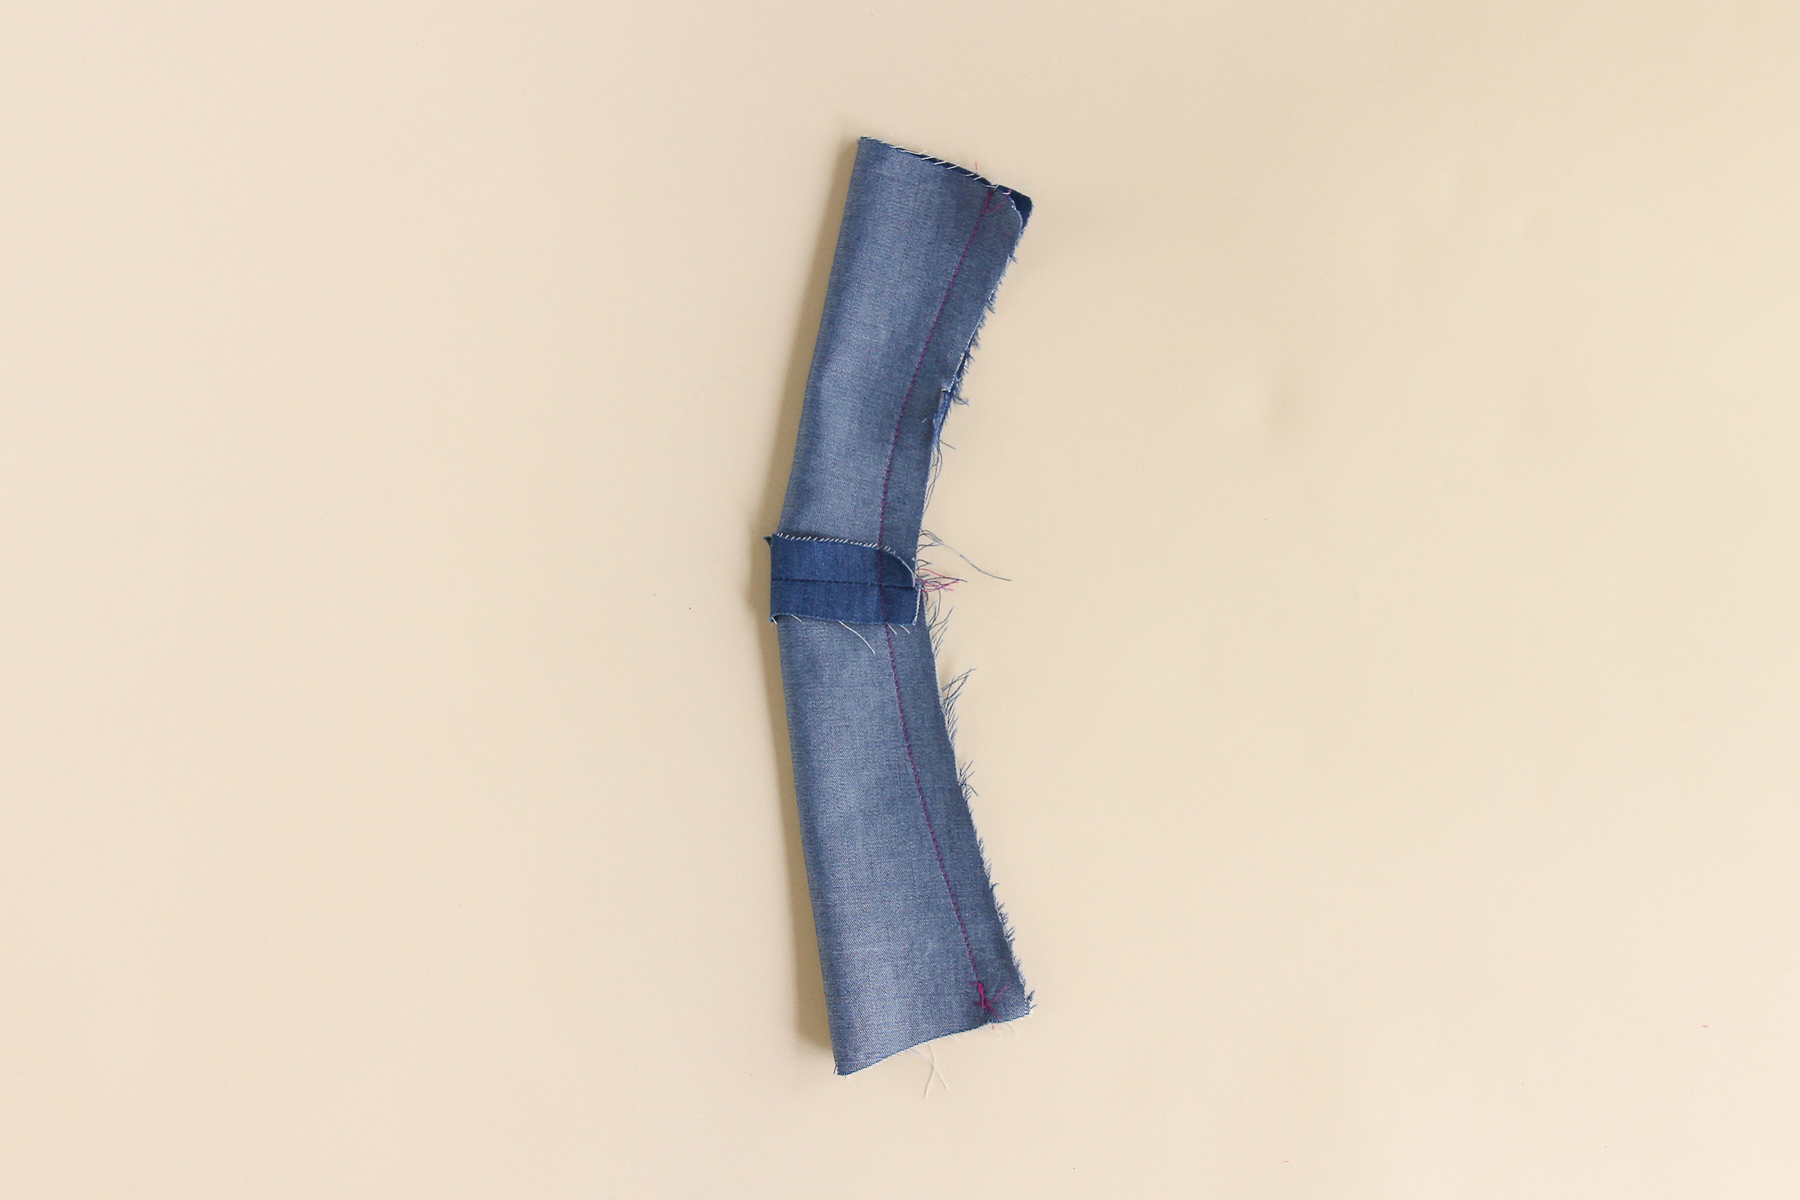
Now we can pin one of the front waistbands to the front bodice, lining up the notches. Sew this seam at 1/2” (12 mm) and press the seam allowance towards the waistband.
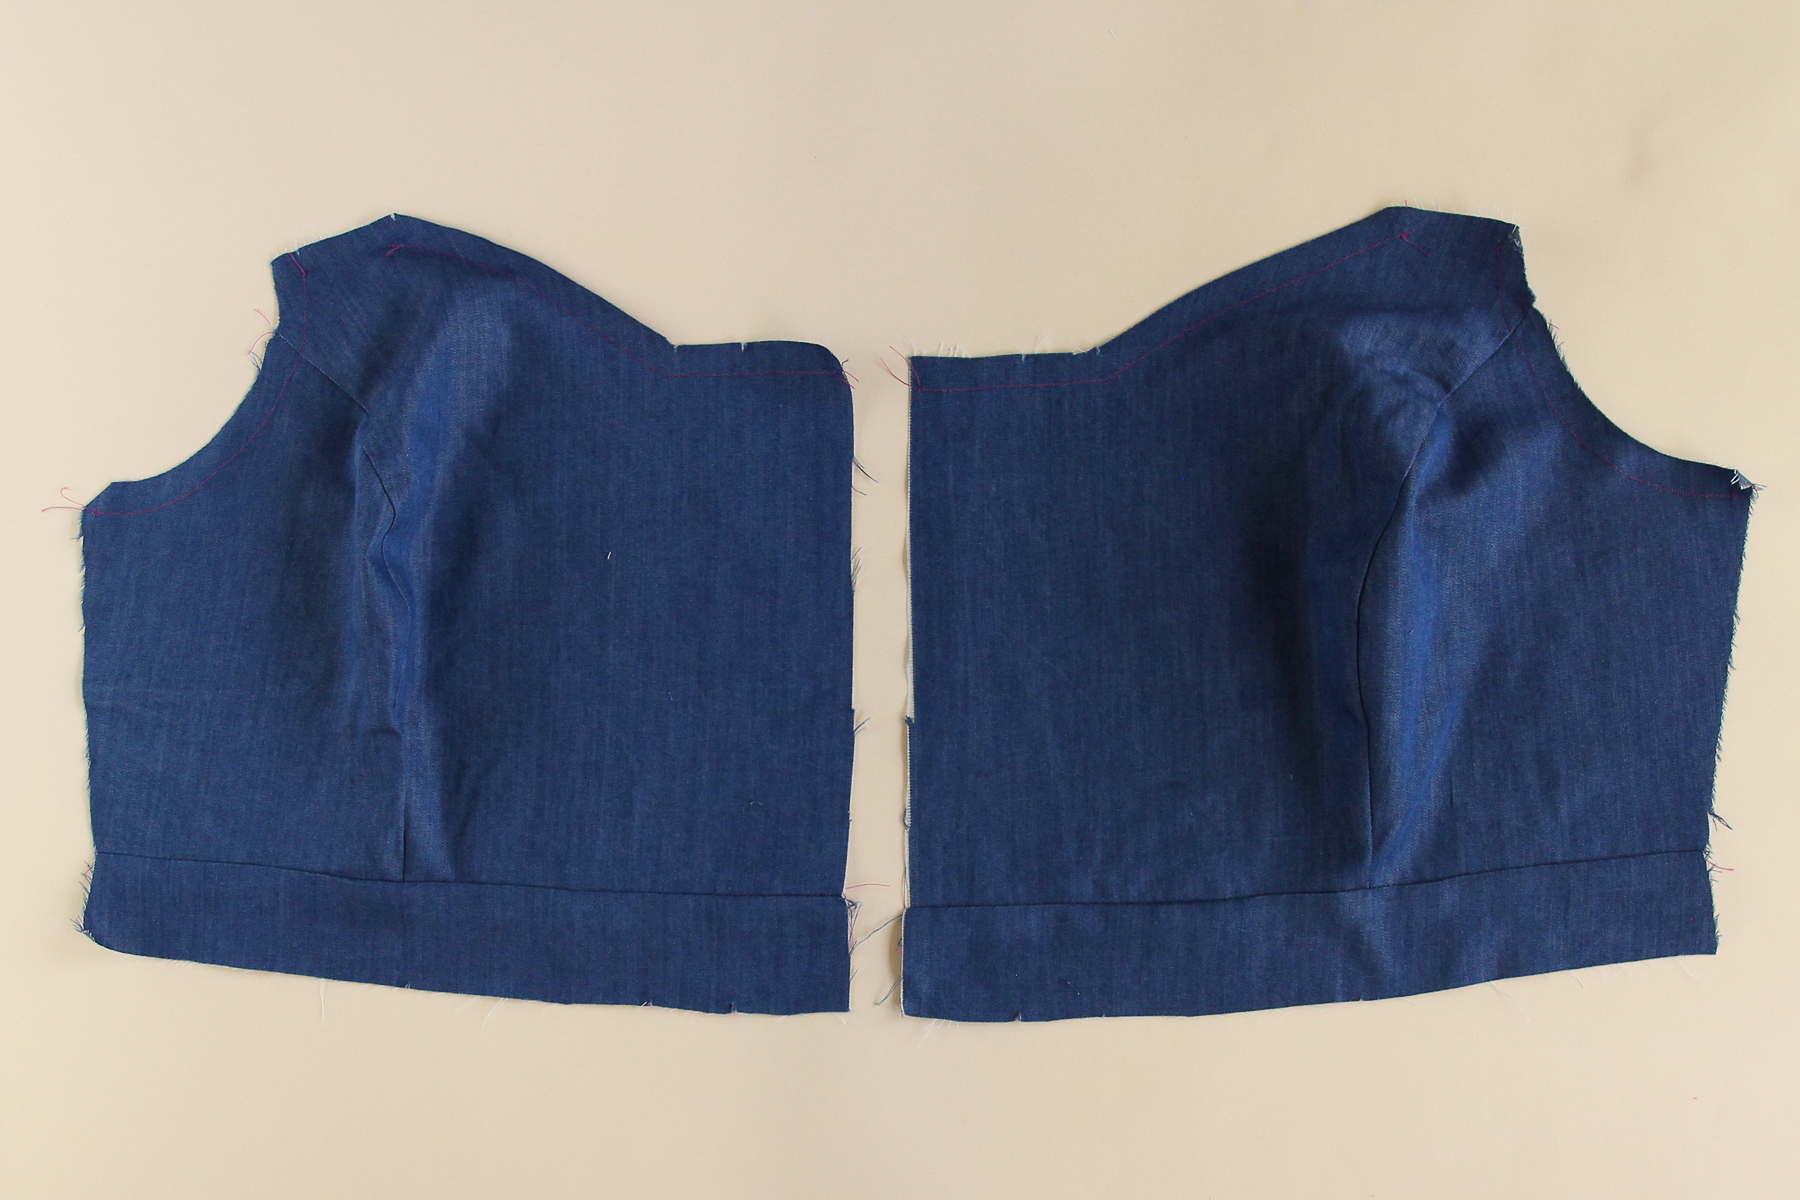
Let’s repeat these same steps with the other bodice front.
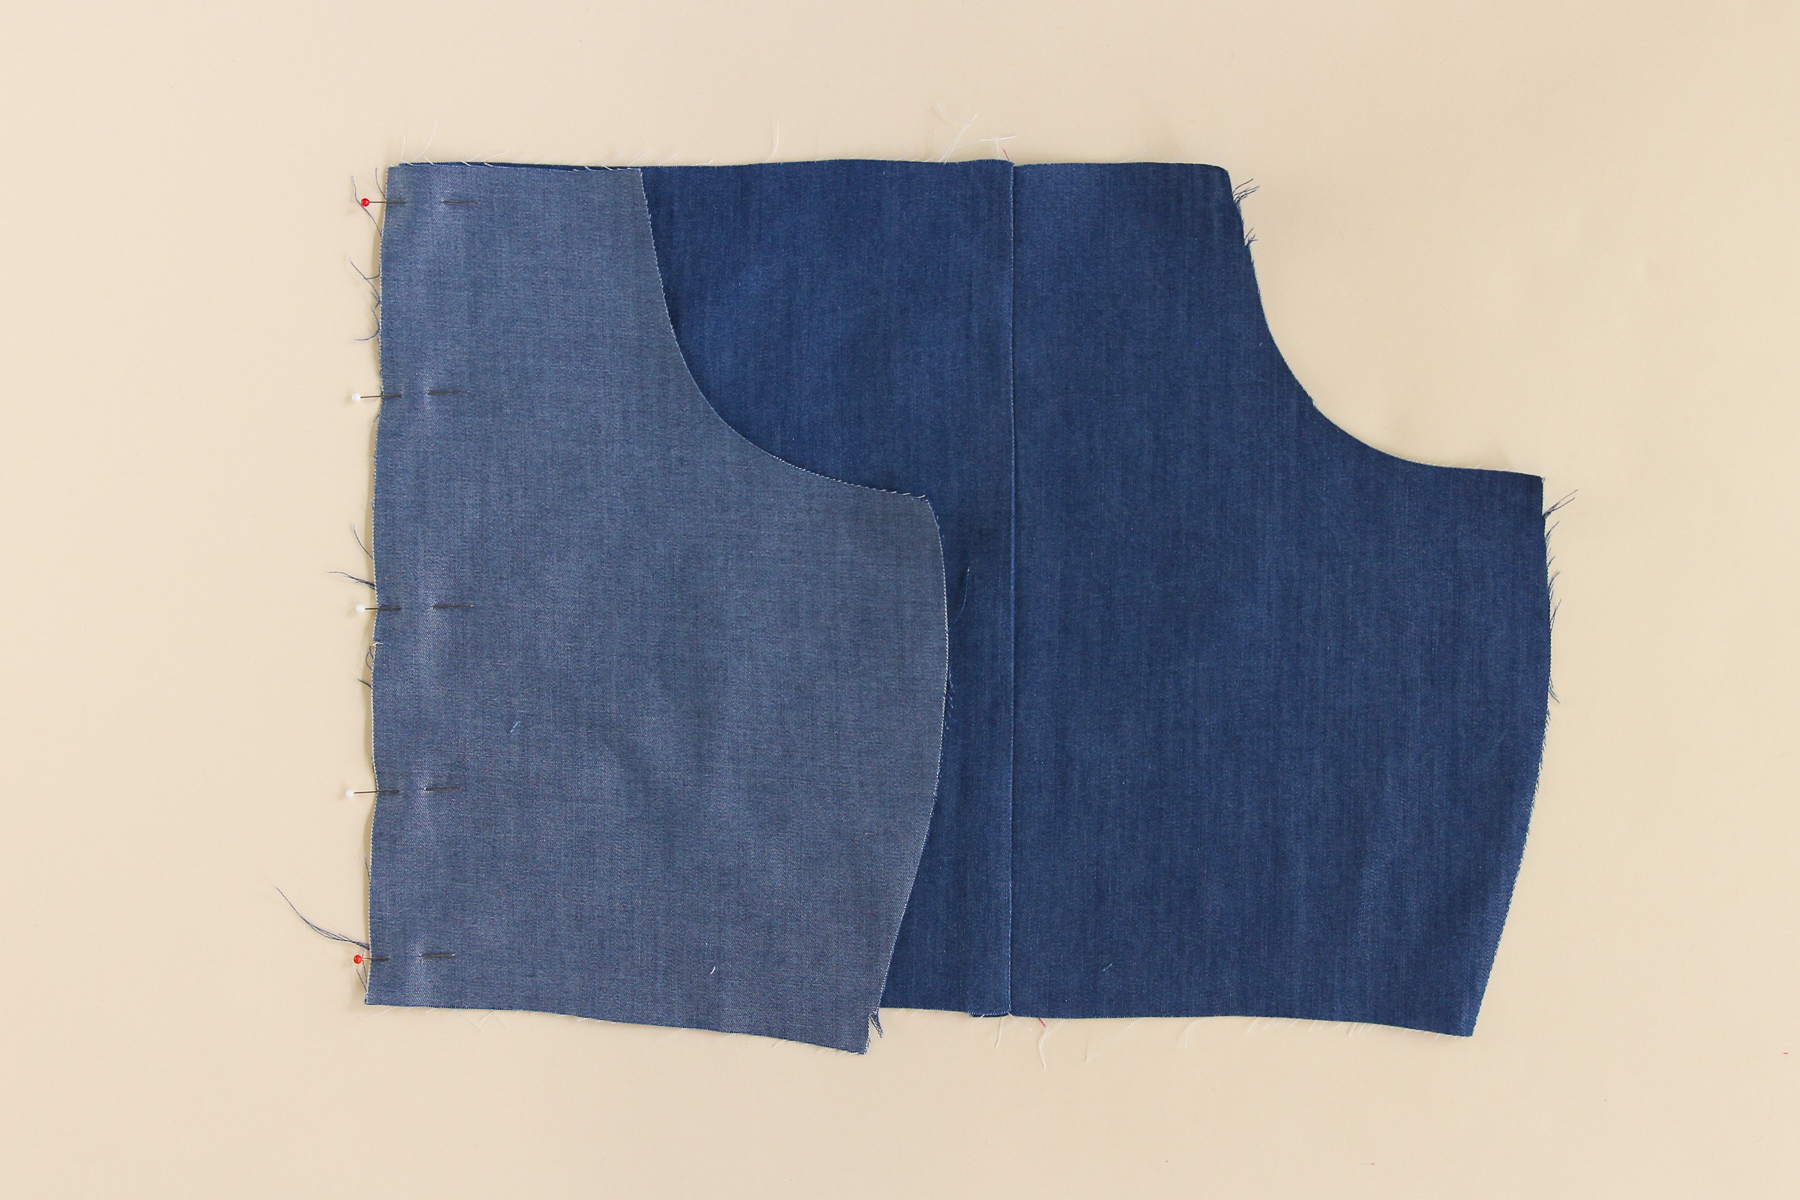
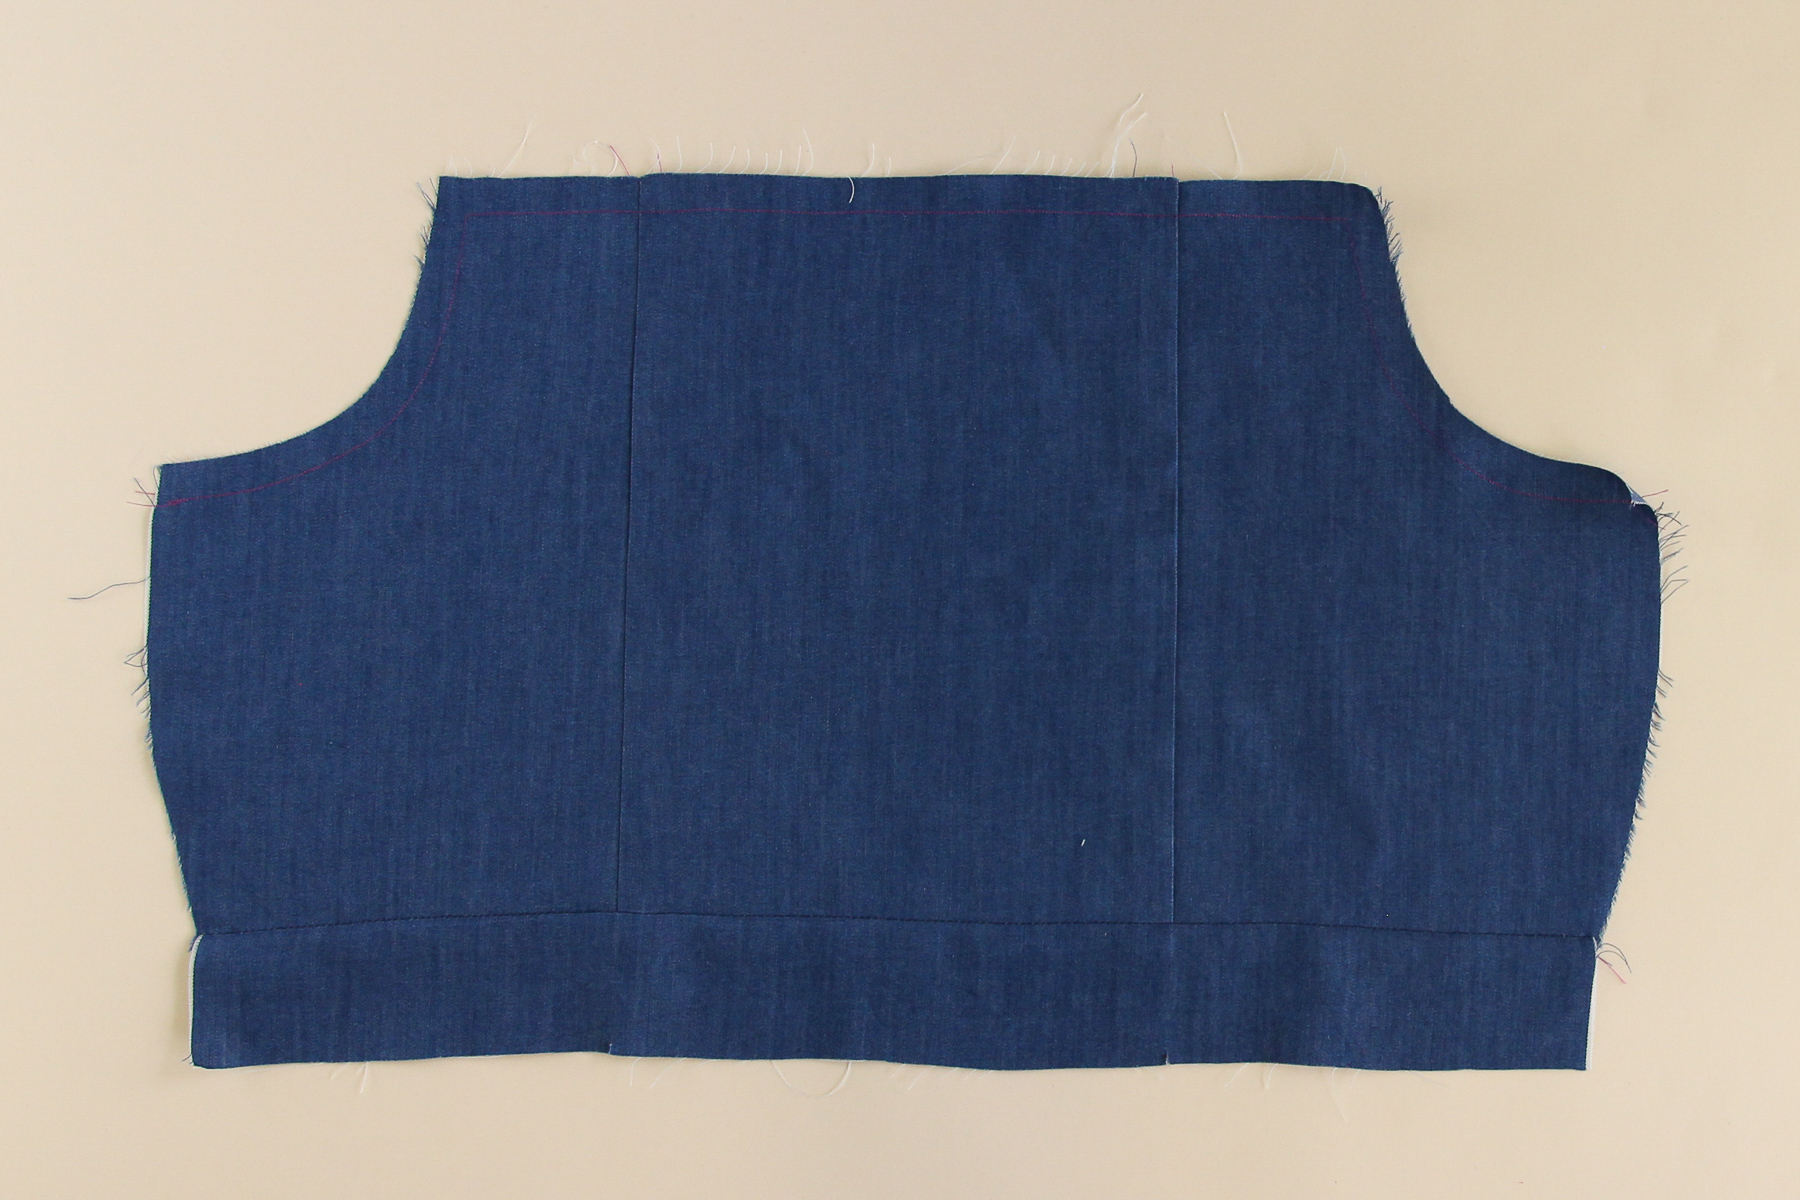
Setting those aside for the moment, we’re going to sew our back bodice. Pin one of the back side bodices to the center back bodice, matching the notches. Sew at 1/2” seam allowance and press towards center.
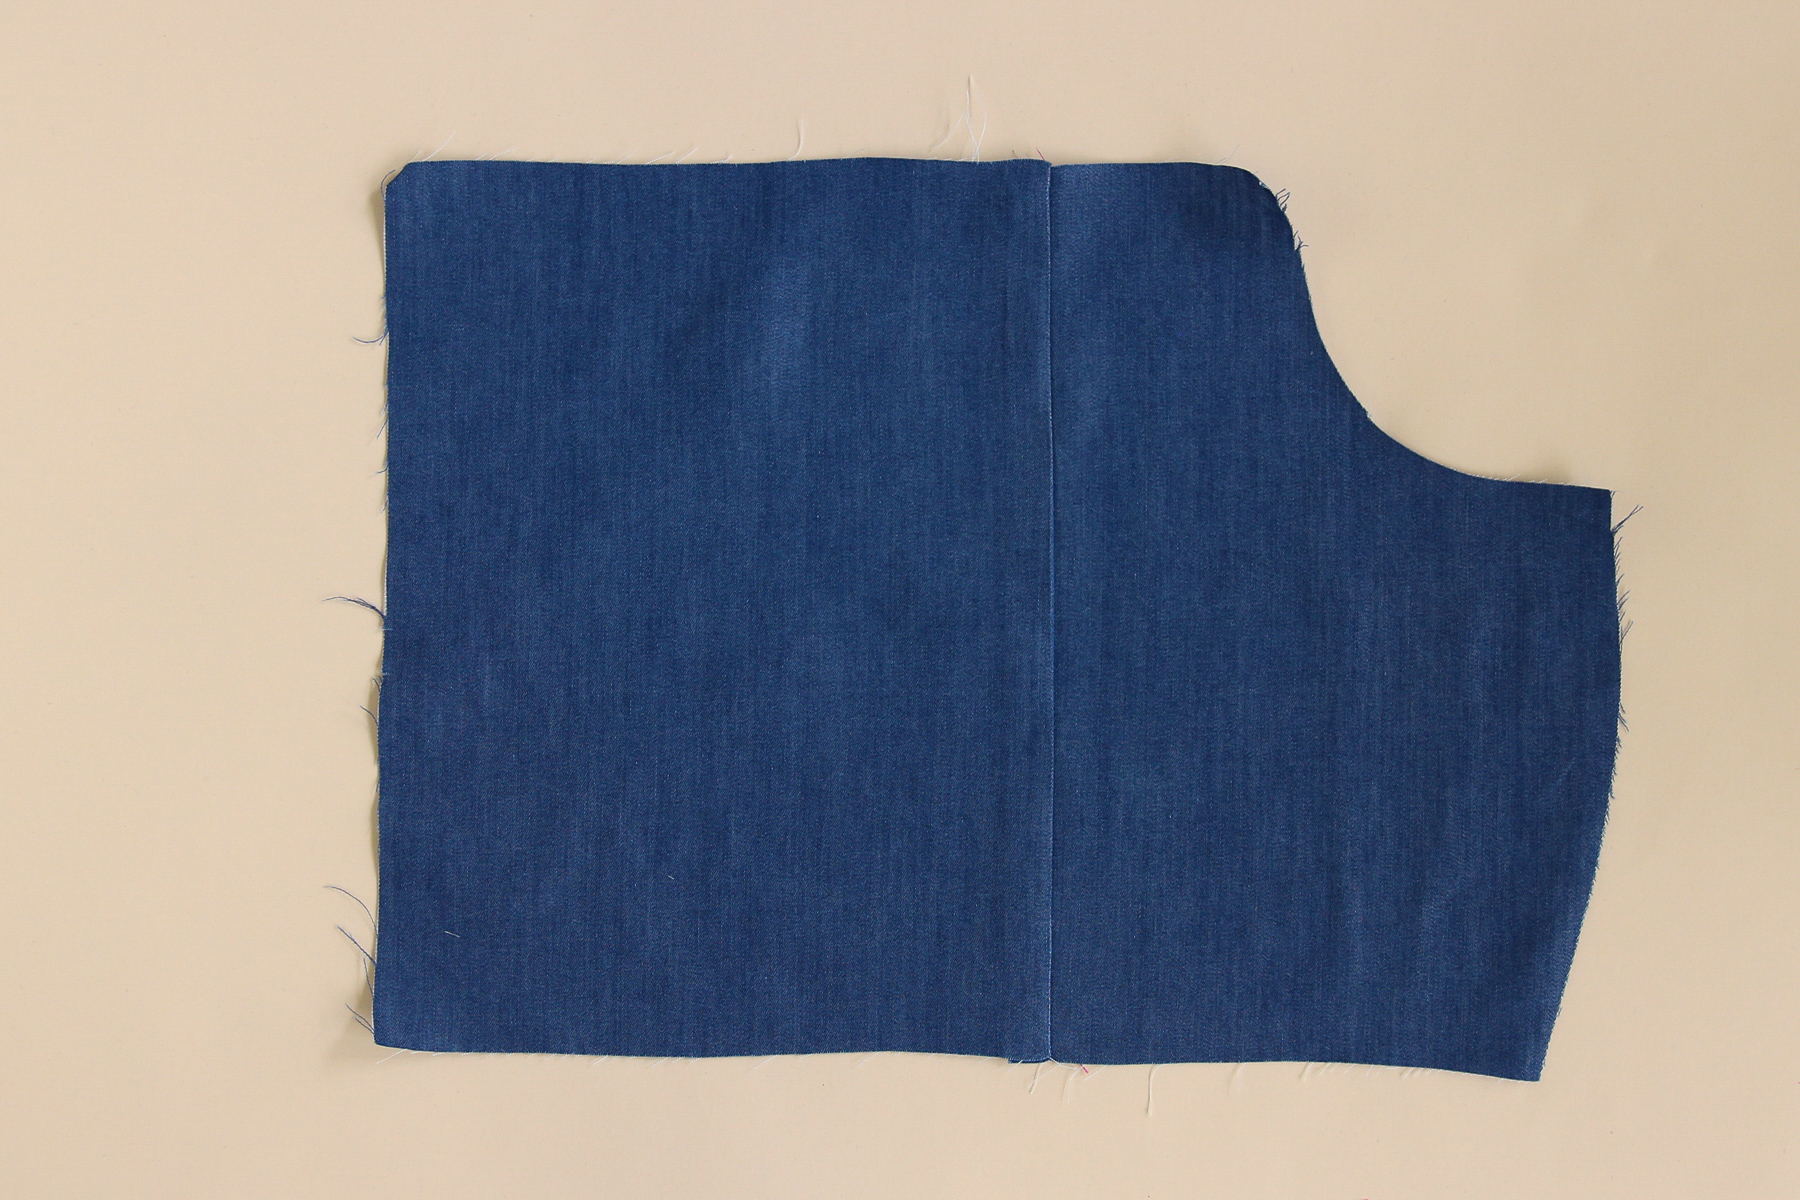
Let’s do the same thing with the other bodice side back.
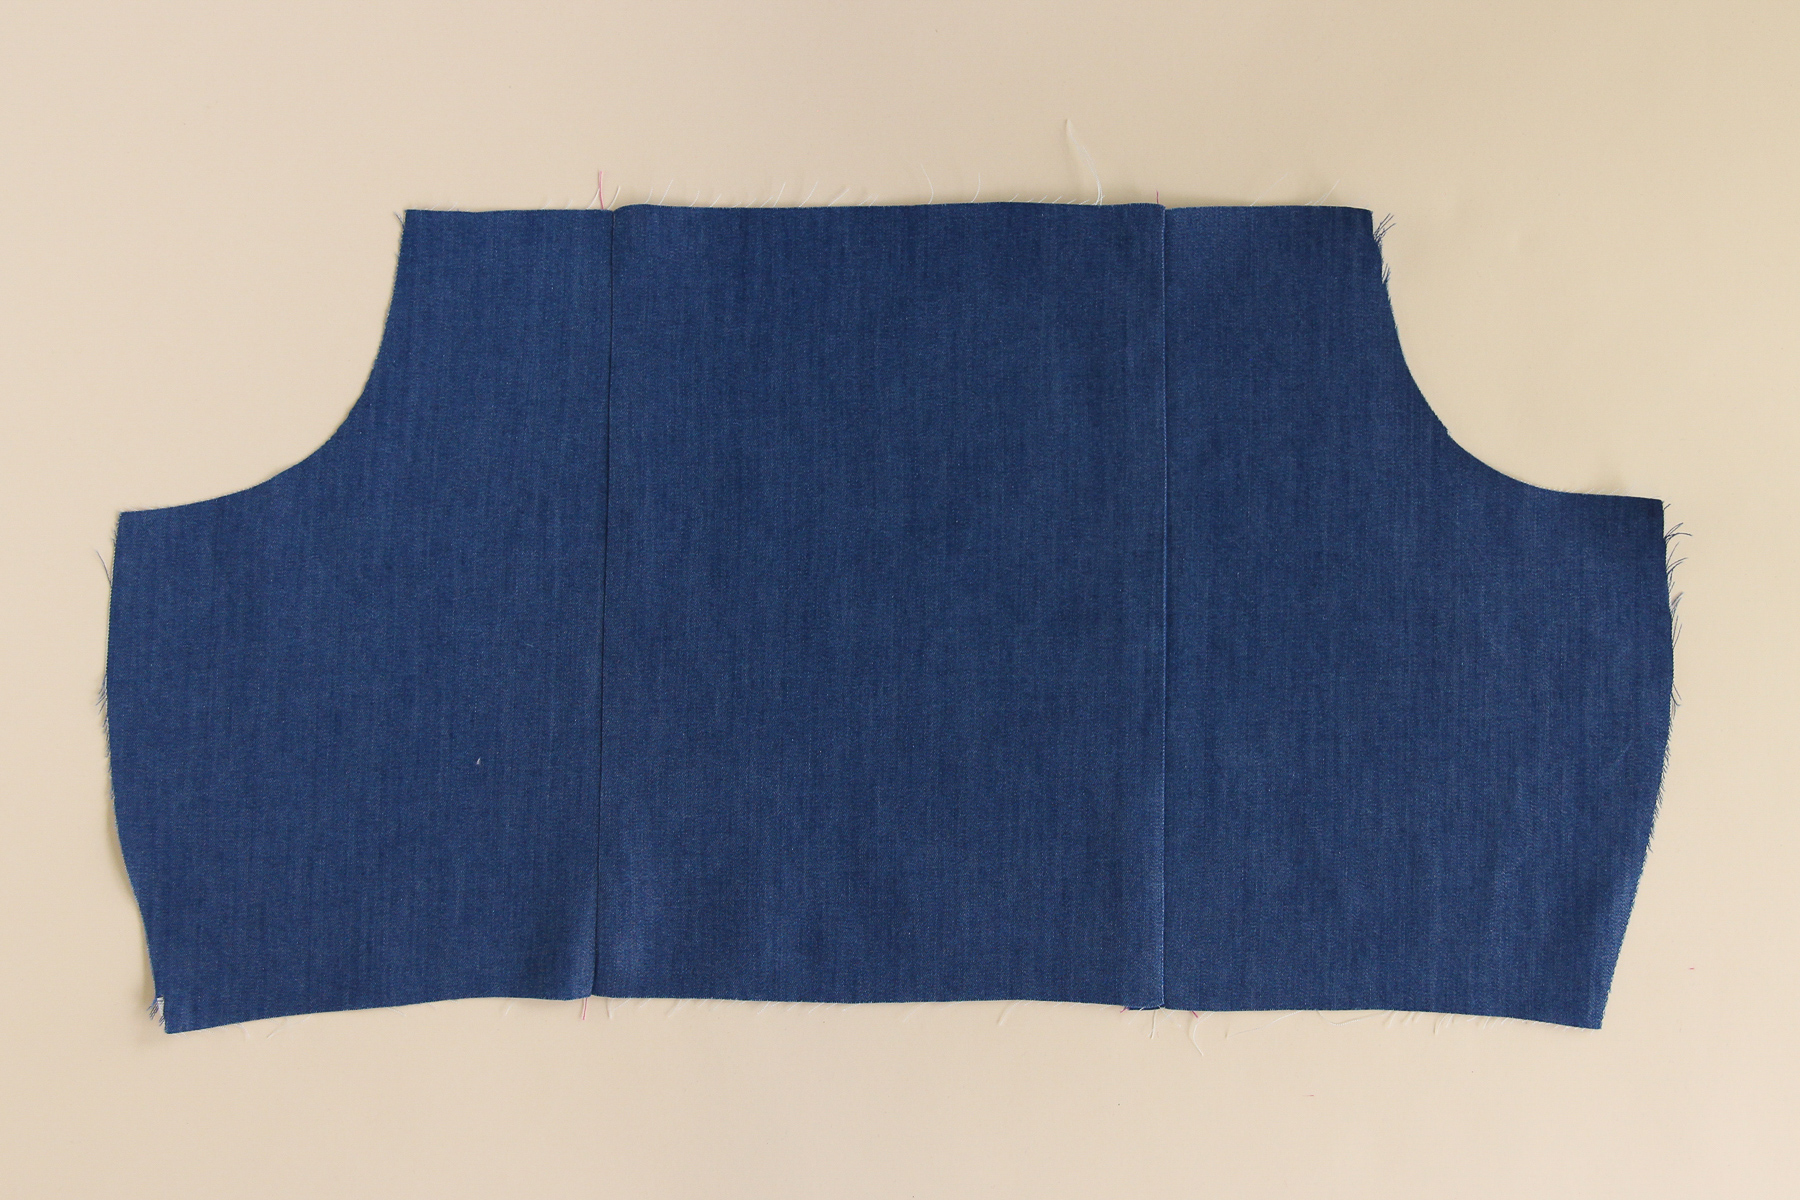
Again, we’re going to staystitch across the top of the back bodice, starting at one armscye and sewing all the way across the top of the back and down the other armscye. Do this at 1/2” (12 mm) seam allowance and remember to use a short stitch.
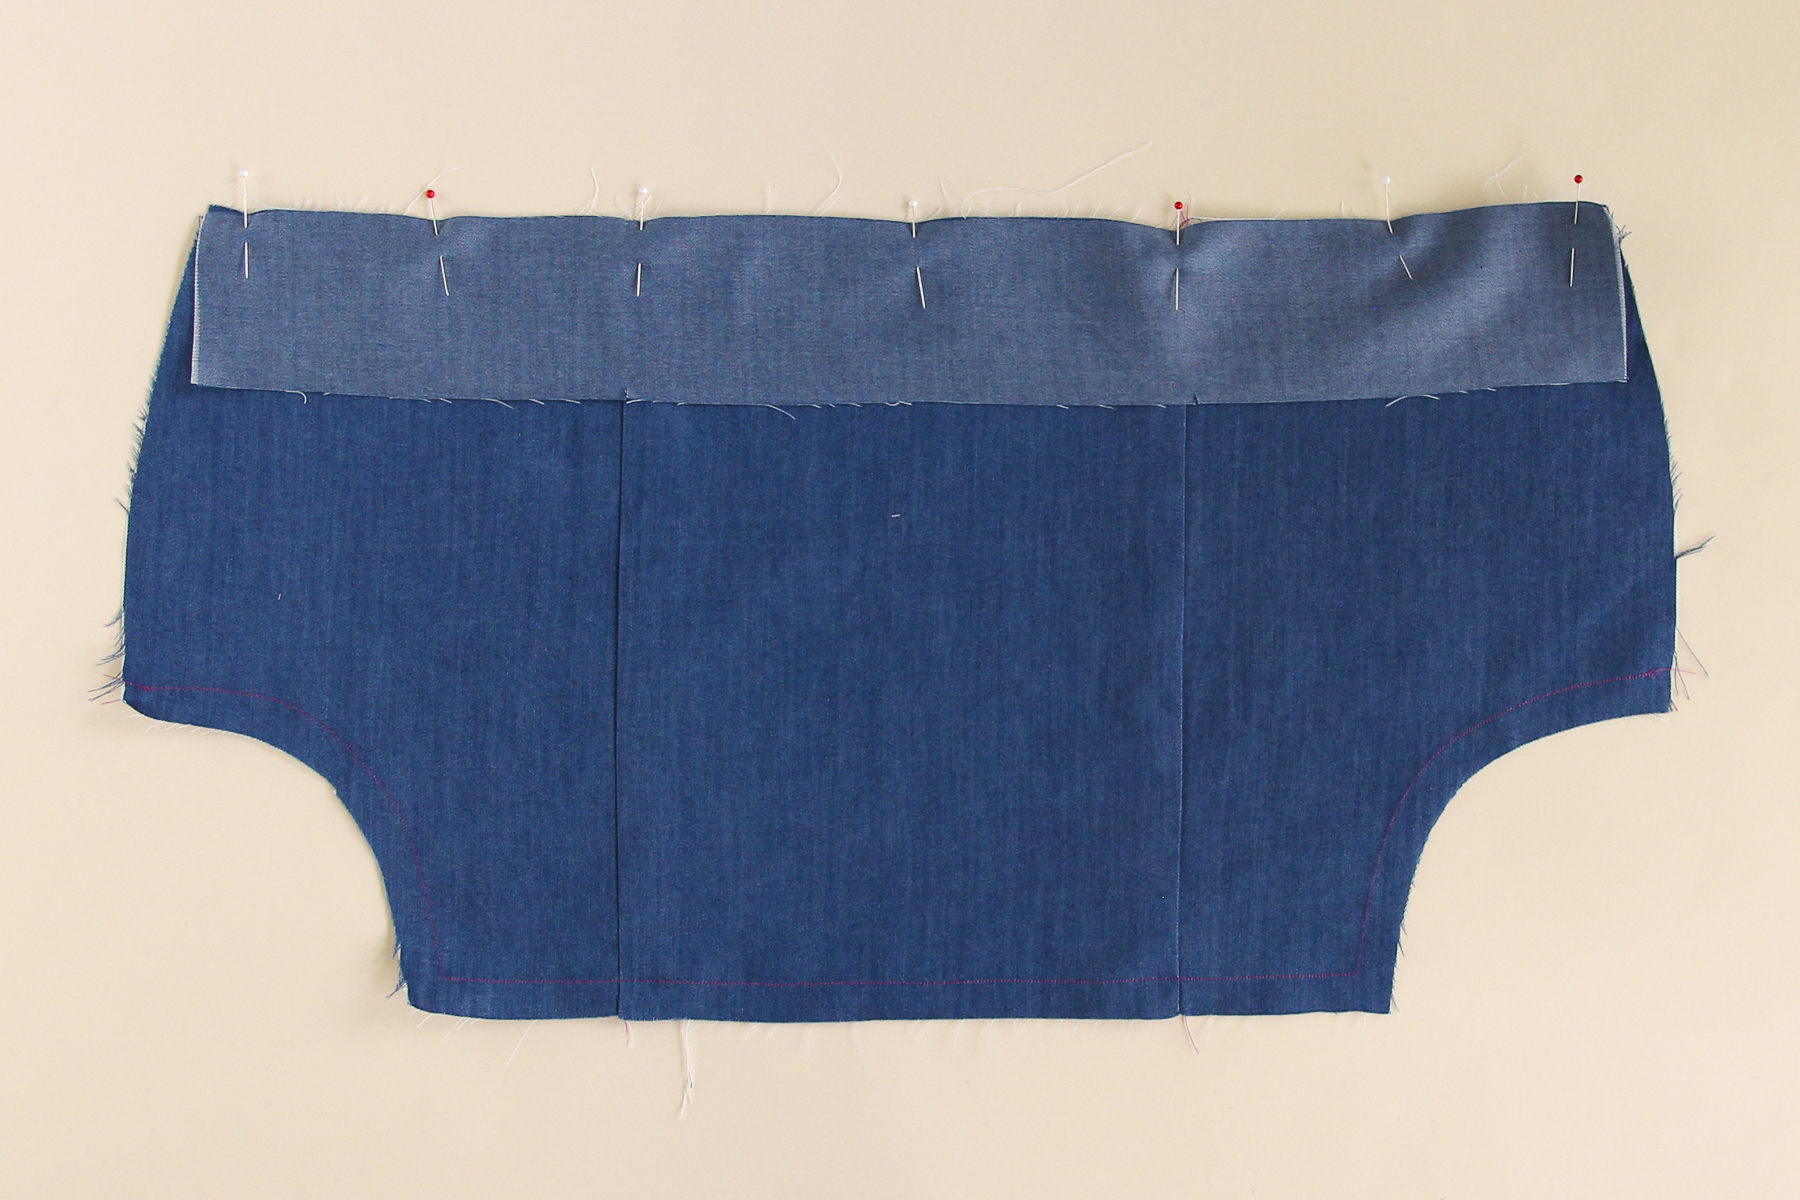
Now we’re going to pin our back waistband to the bottom of the back bodice and sew at 1/2” (12 mm) seam allowance. Press seam allowance towards the waistband.
Setting the back bodice aside, it’s time to construct our skirt.
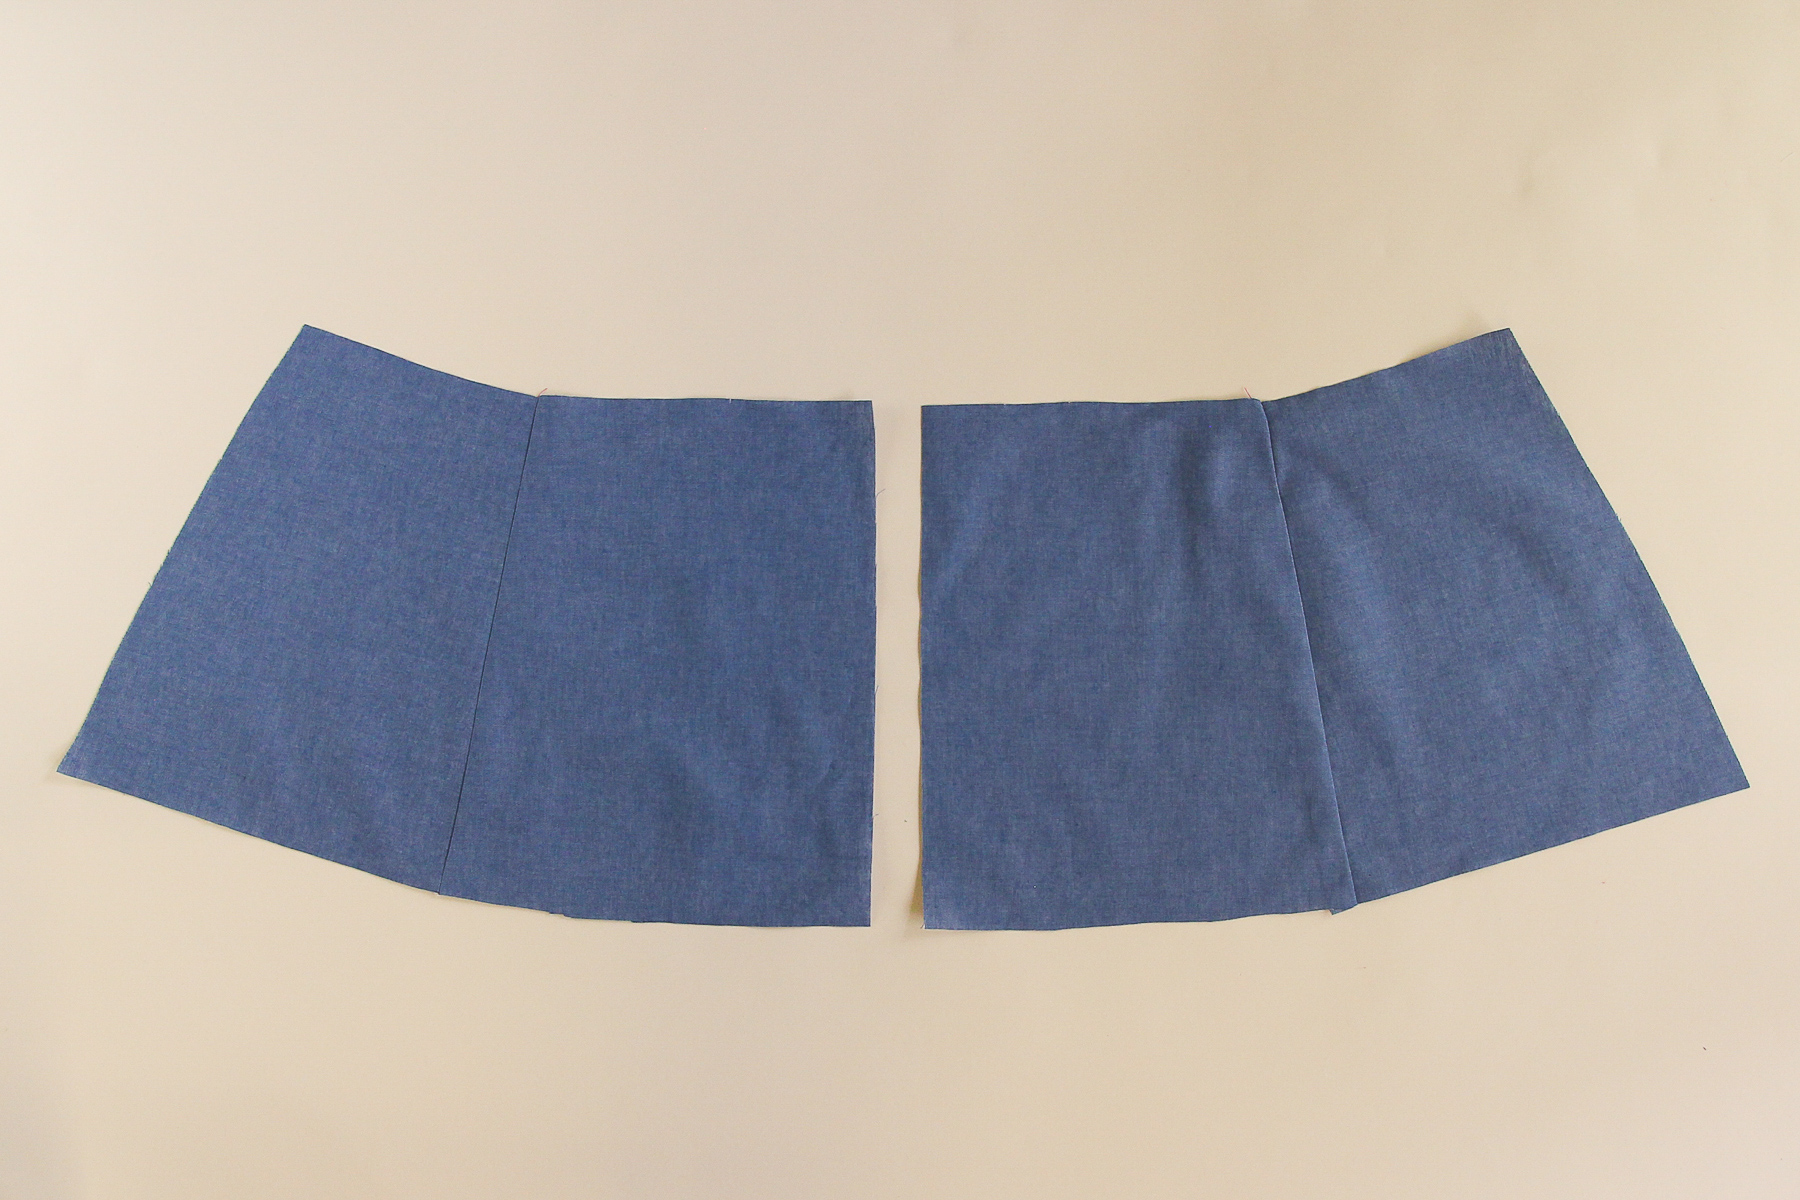
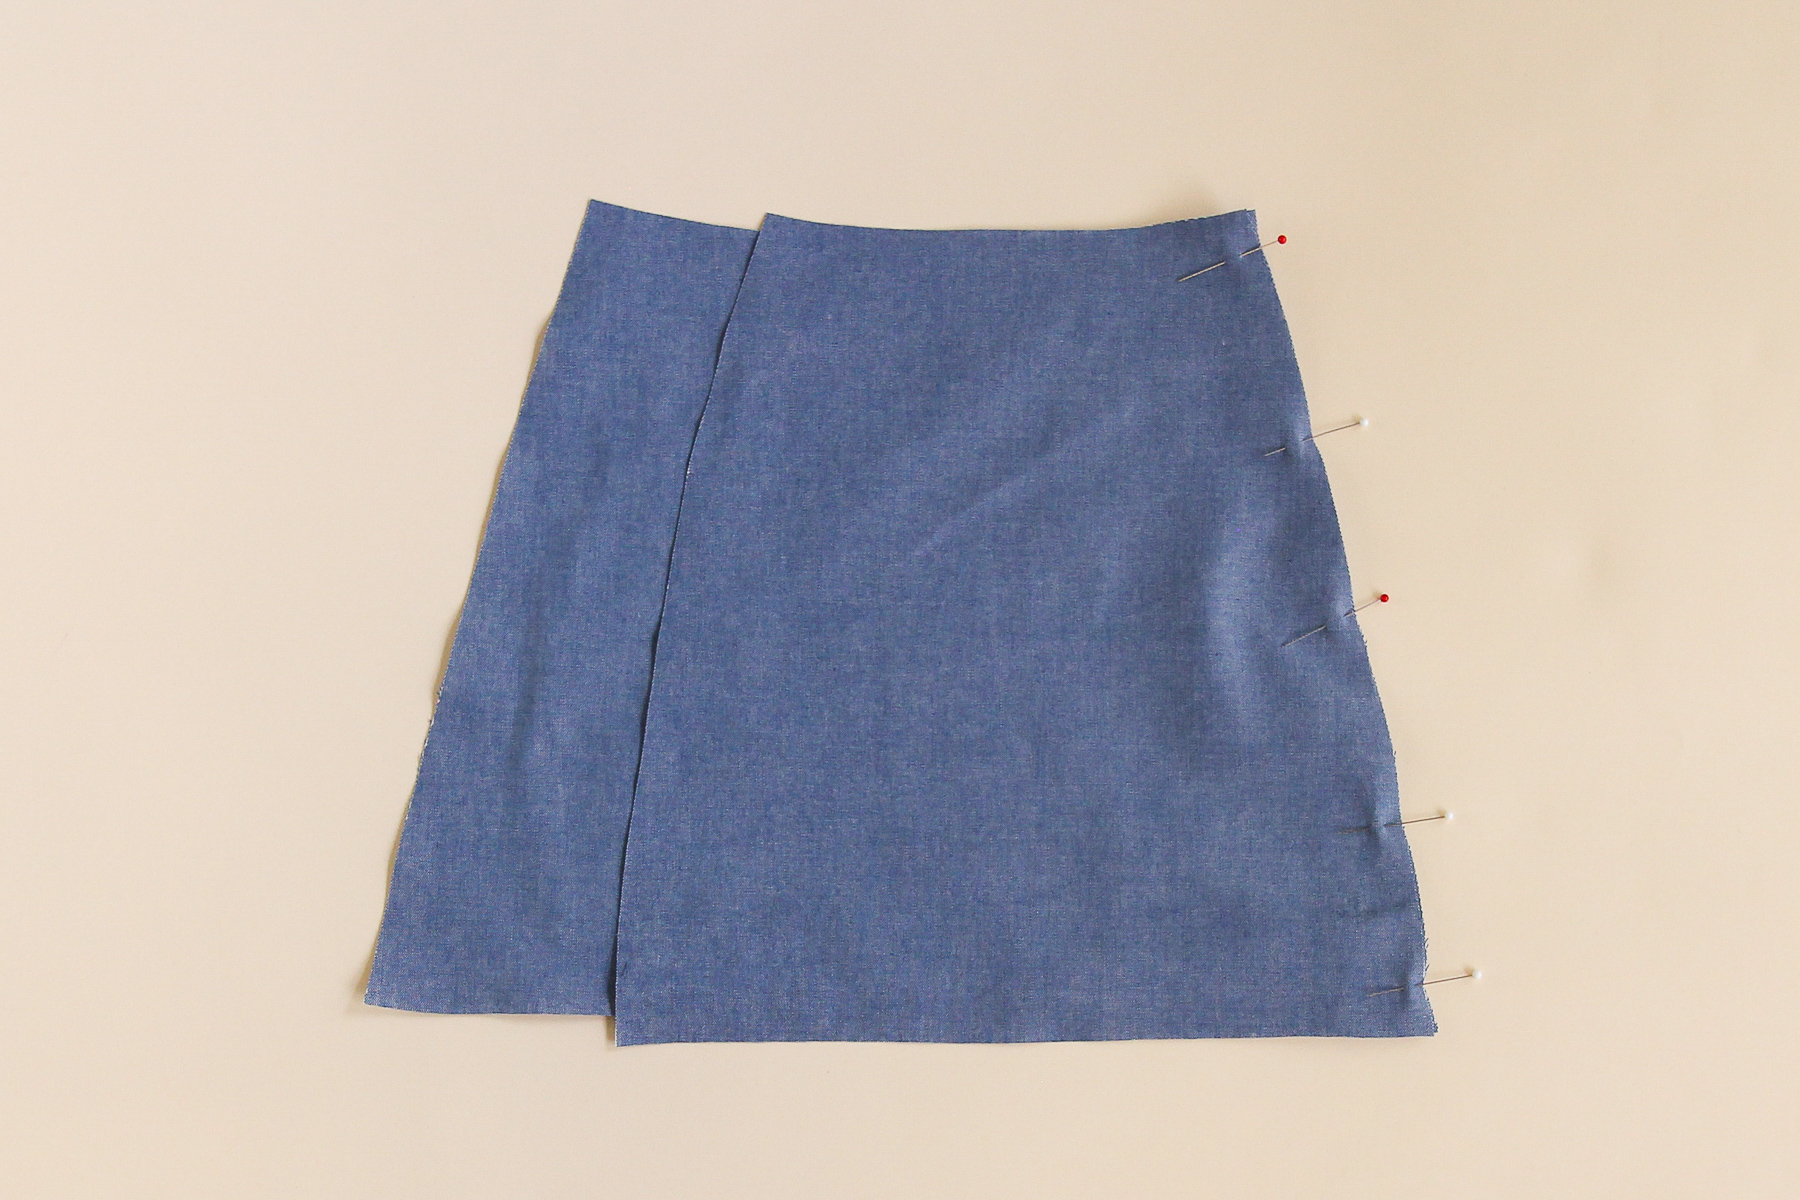
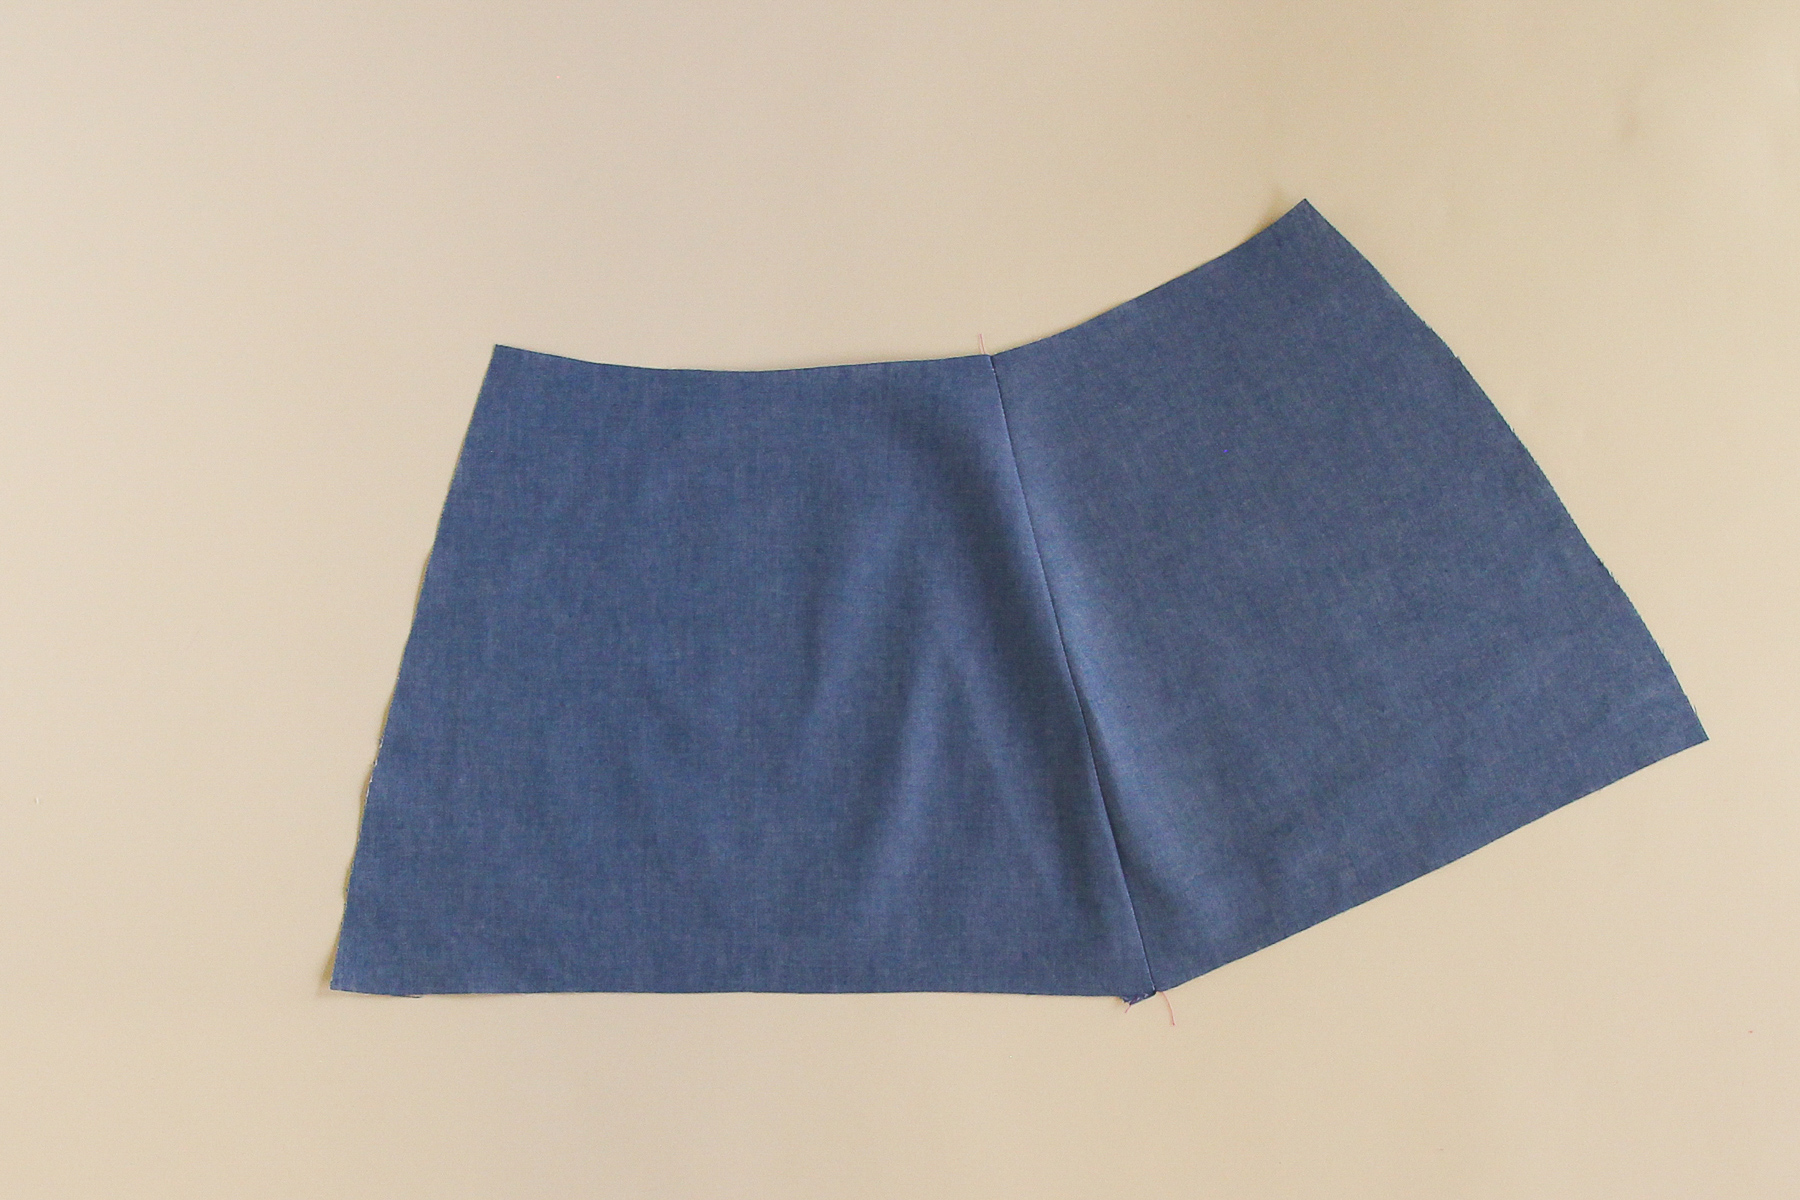
Pin one of the front side skirts to one of the front center skirts. Sew and press towards center.

Repeat with the other skirt front.
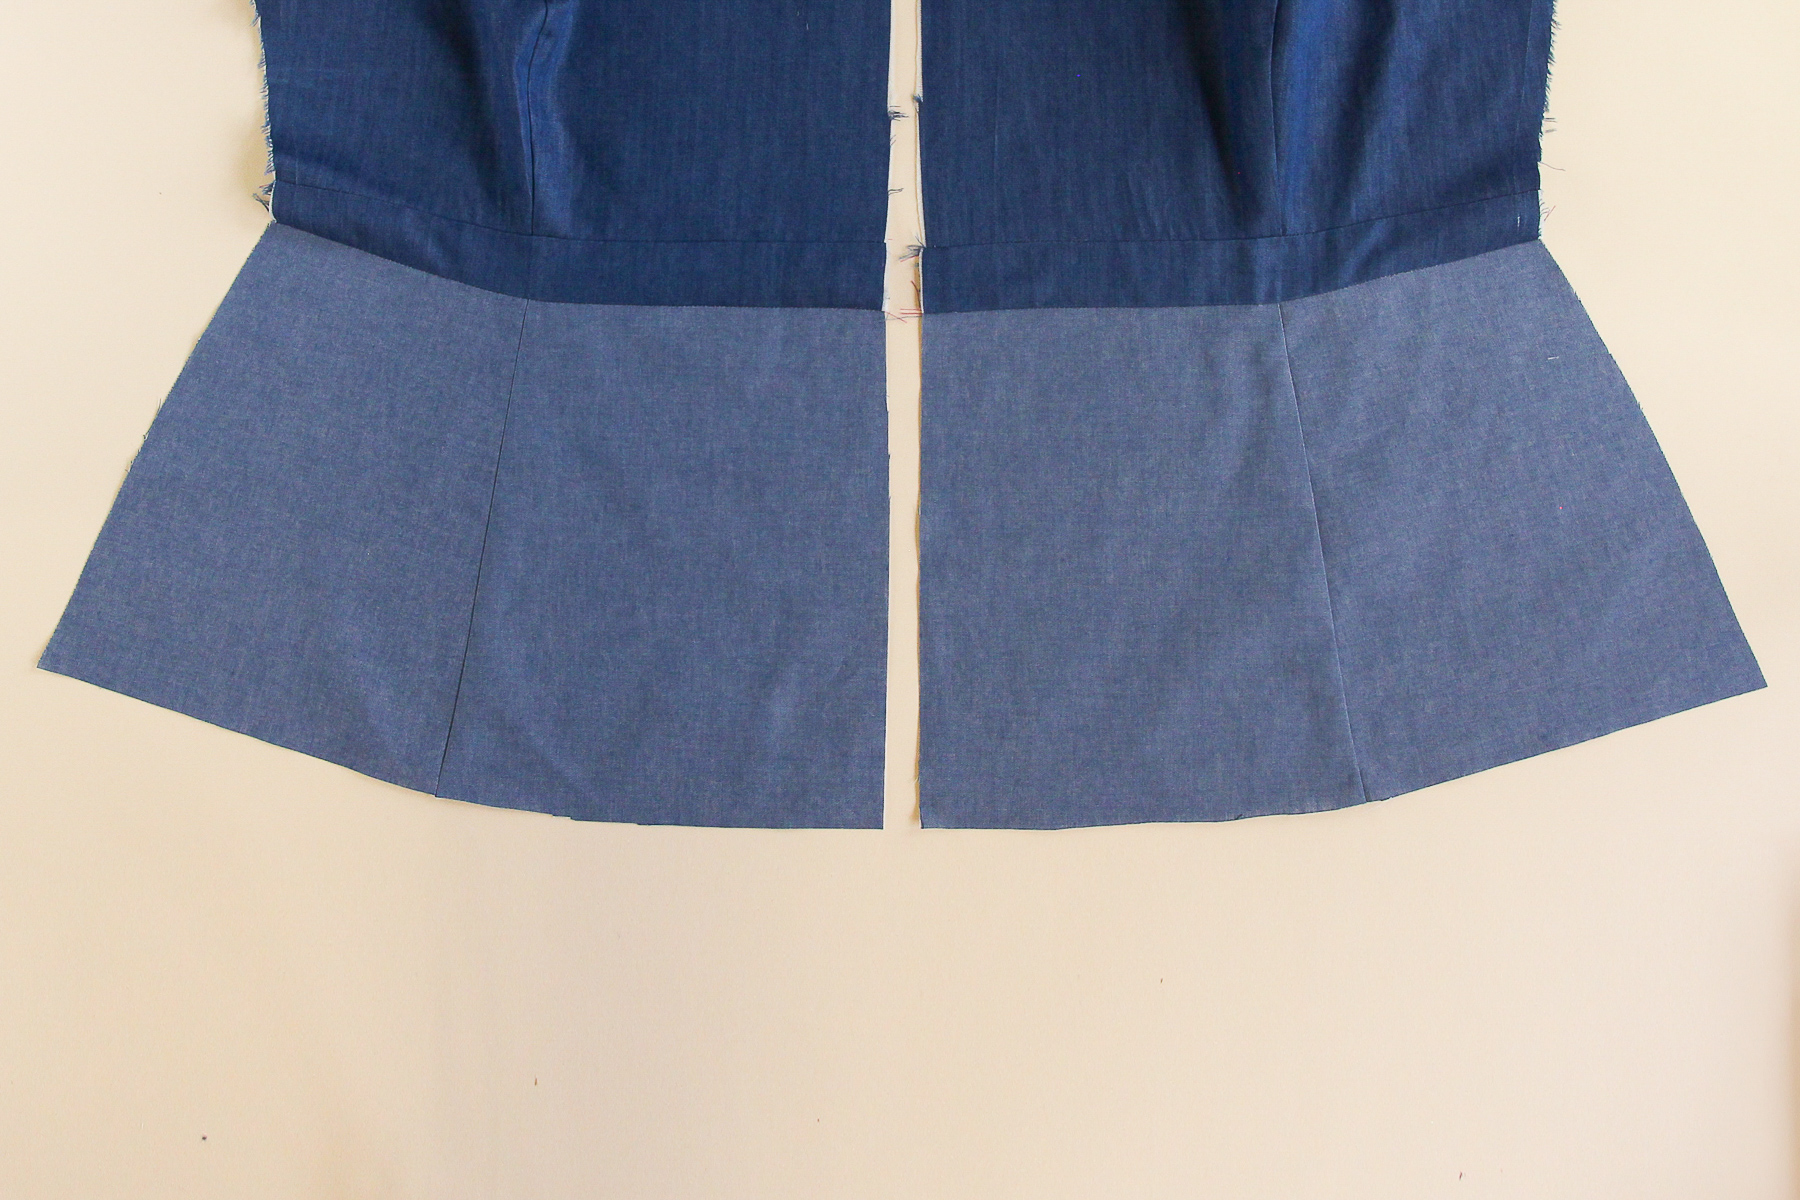
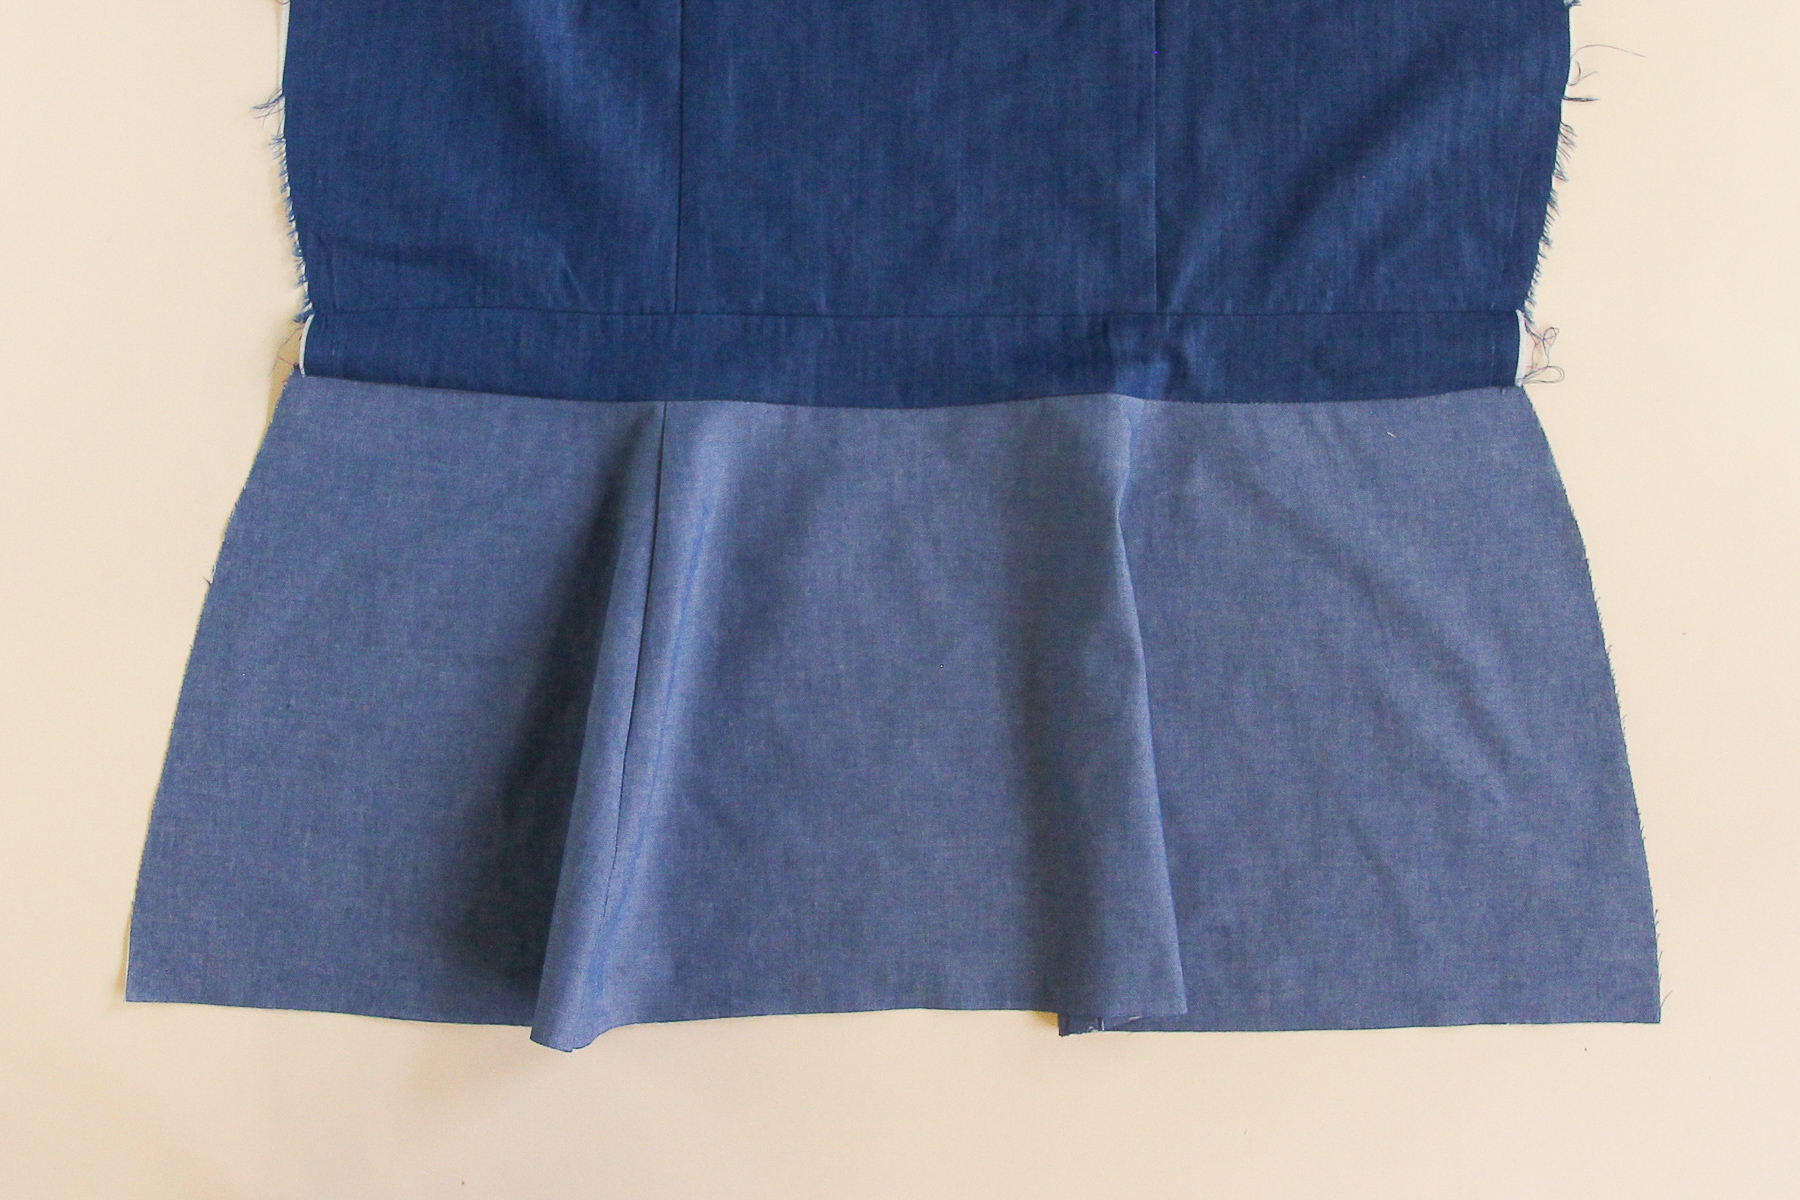
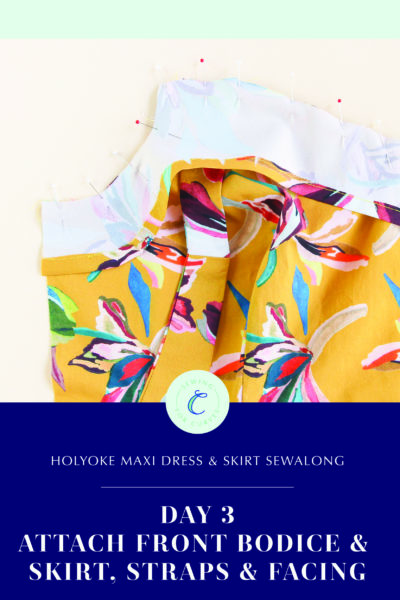
Let’s grab our front bodices again. We’re going to pin one of the front skirts to one of the front bodices at the waistband, lining up the notches. Sew at 1/2” seam allowance and press the seam allowance up towards the waistband.
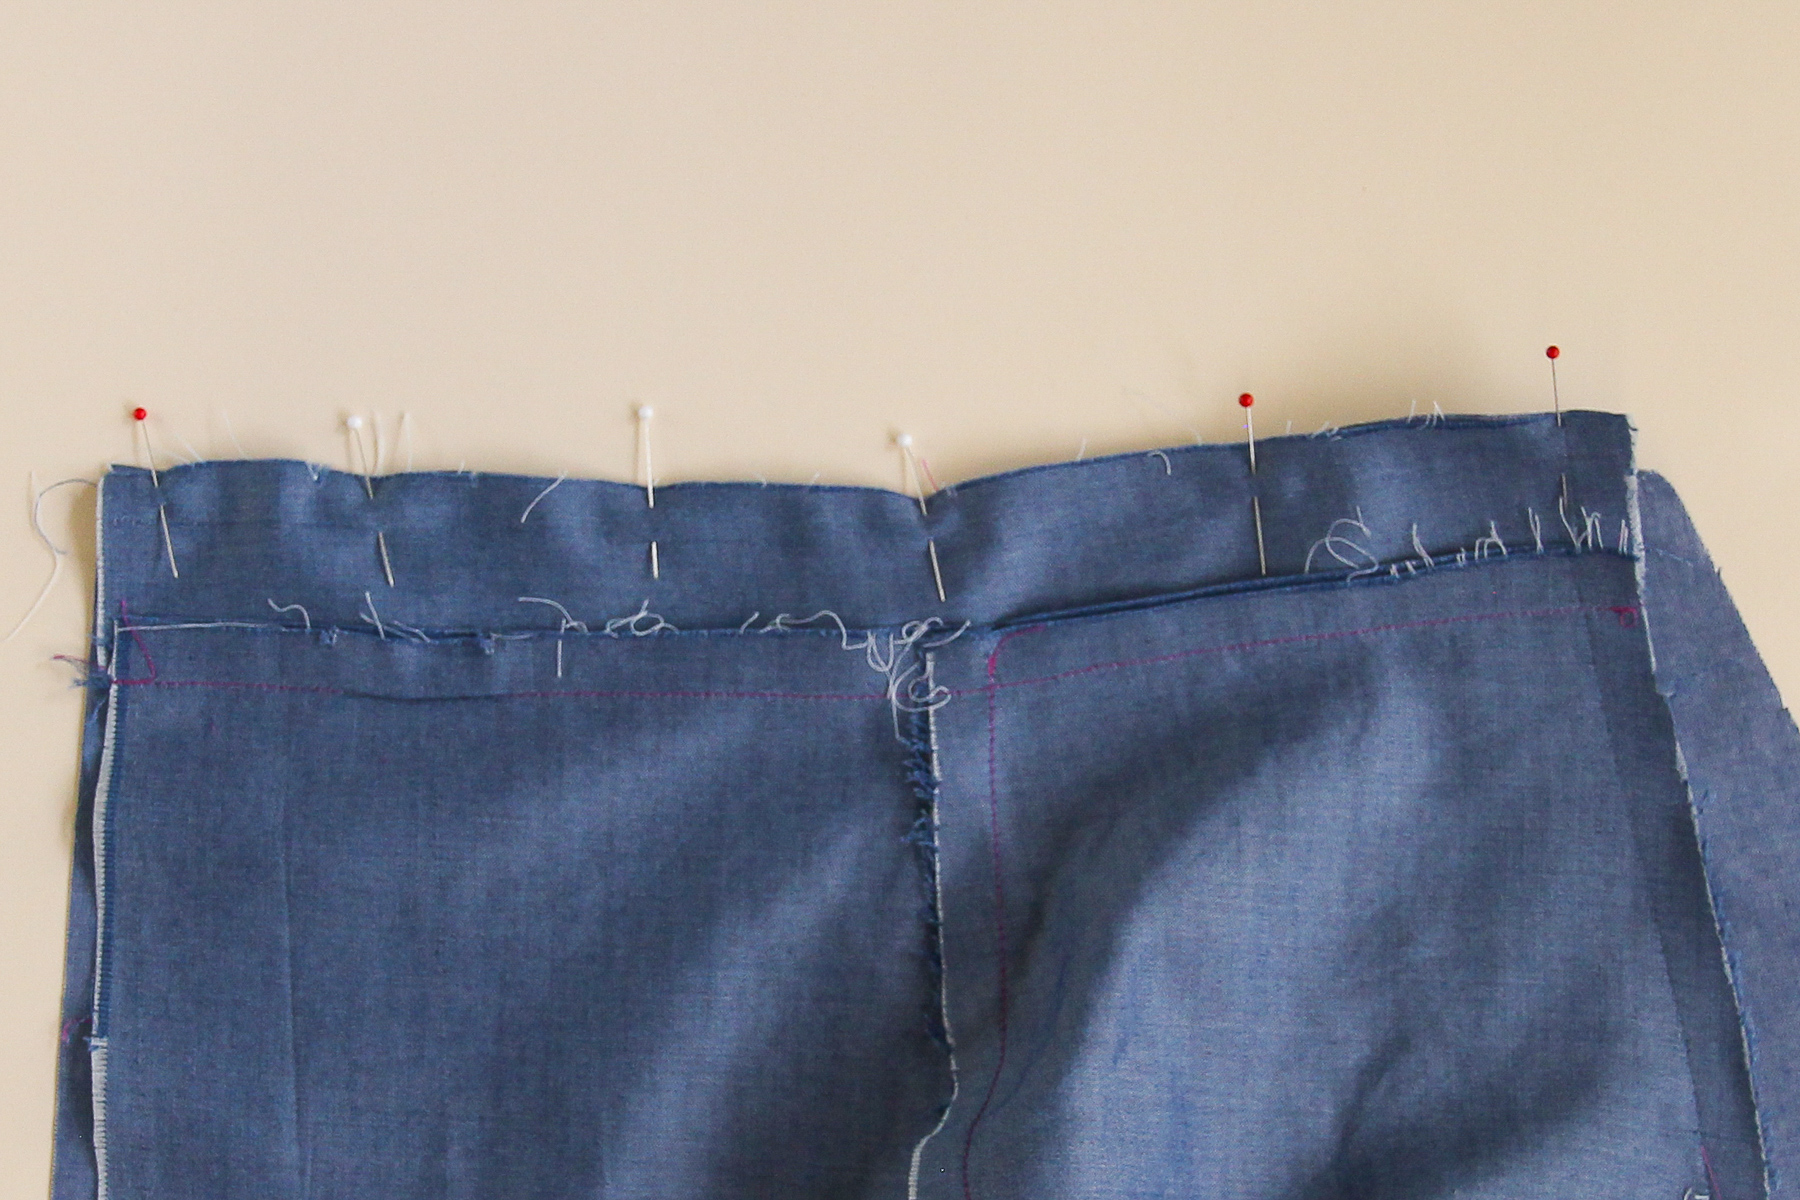
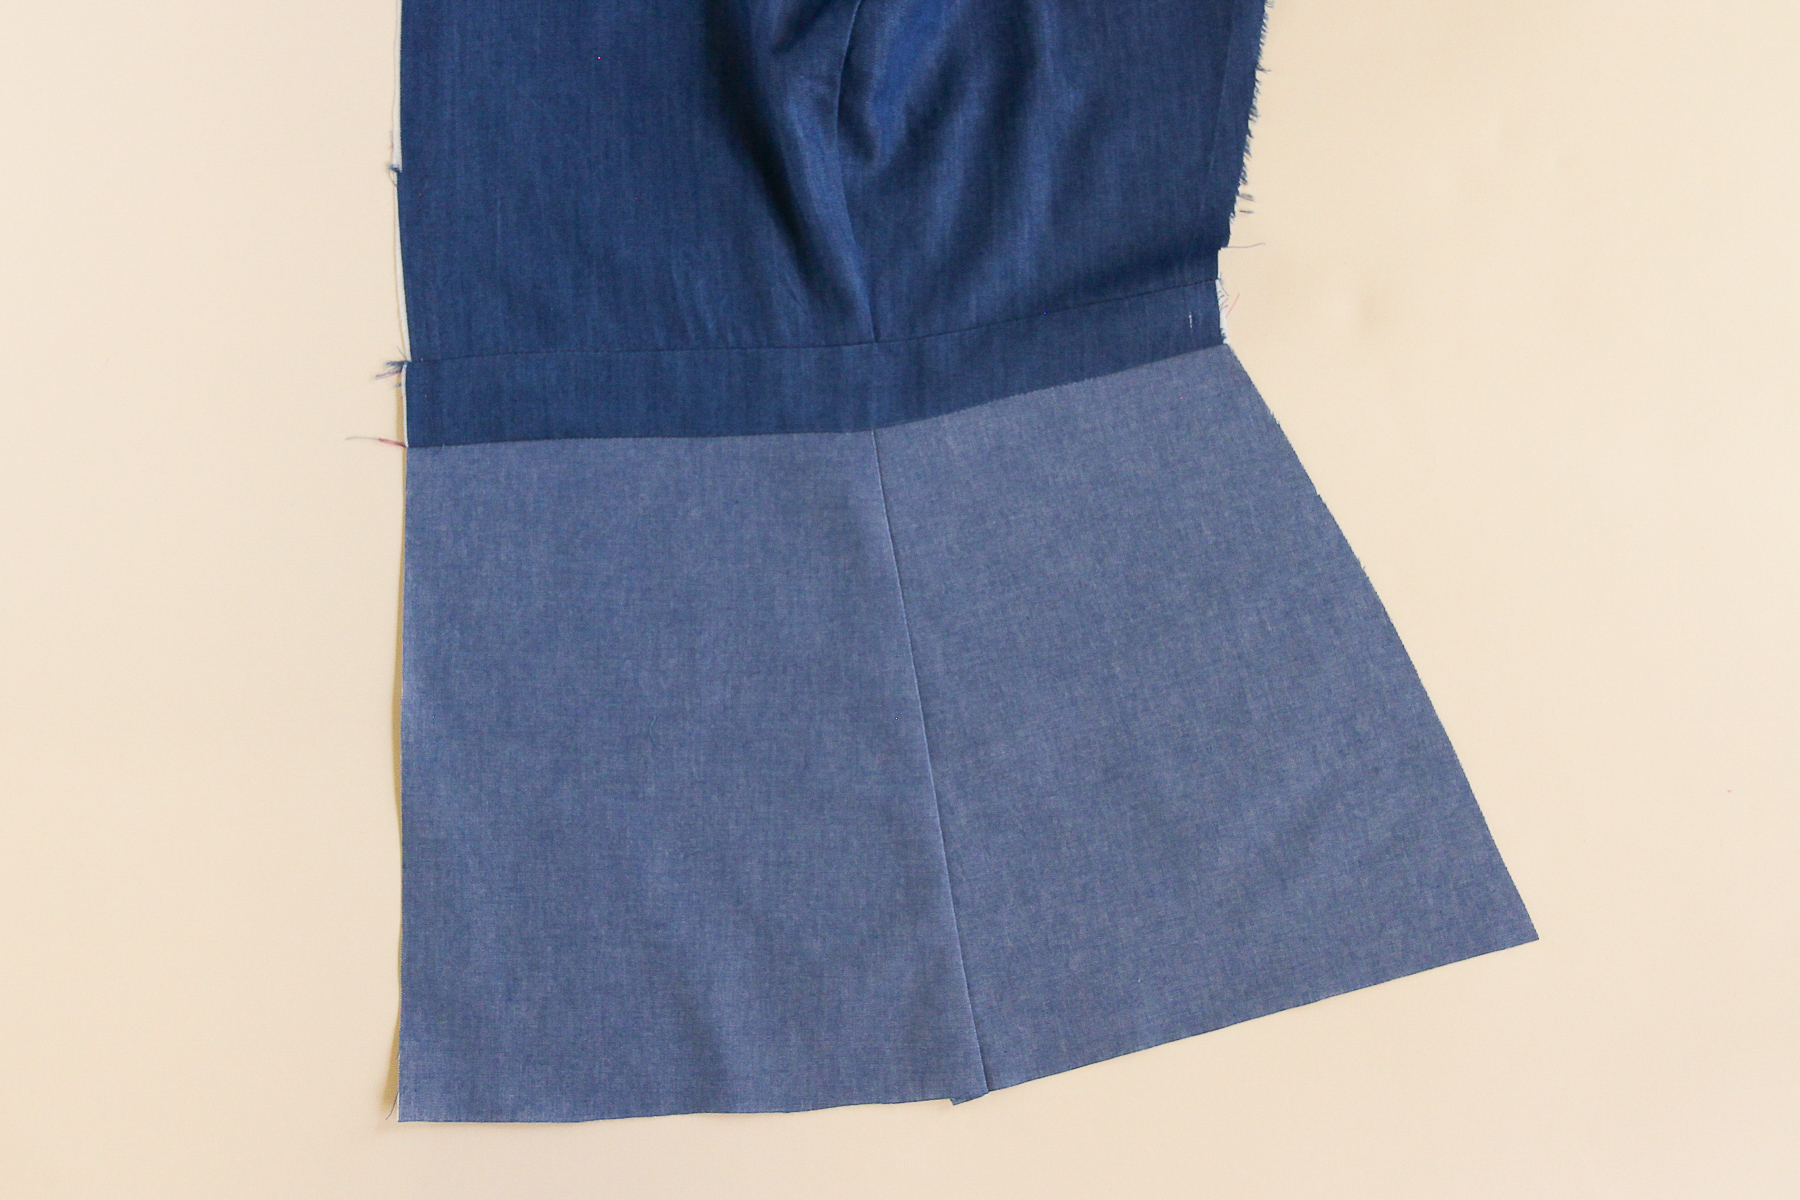
Repeat with the other front bodice and skirt.
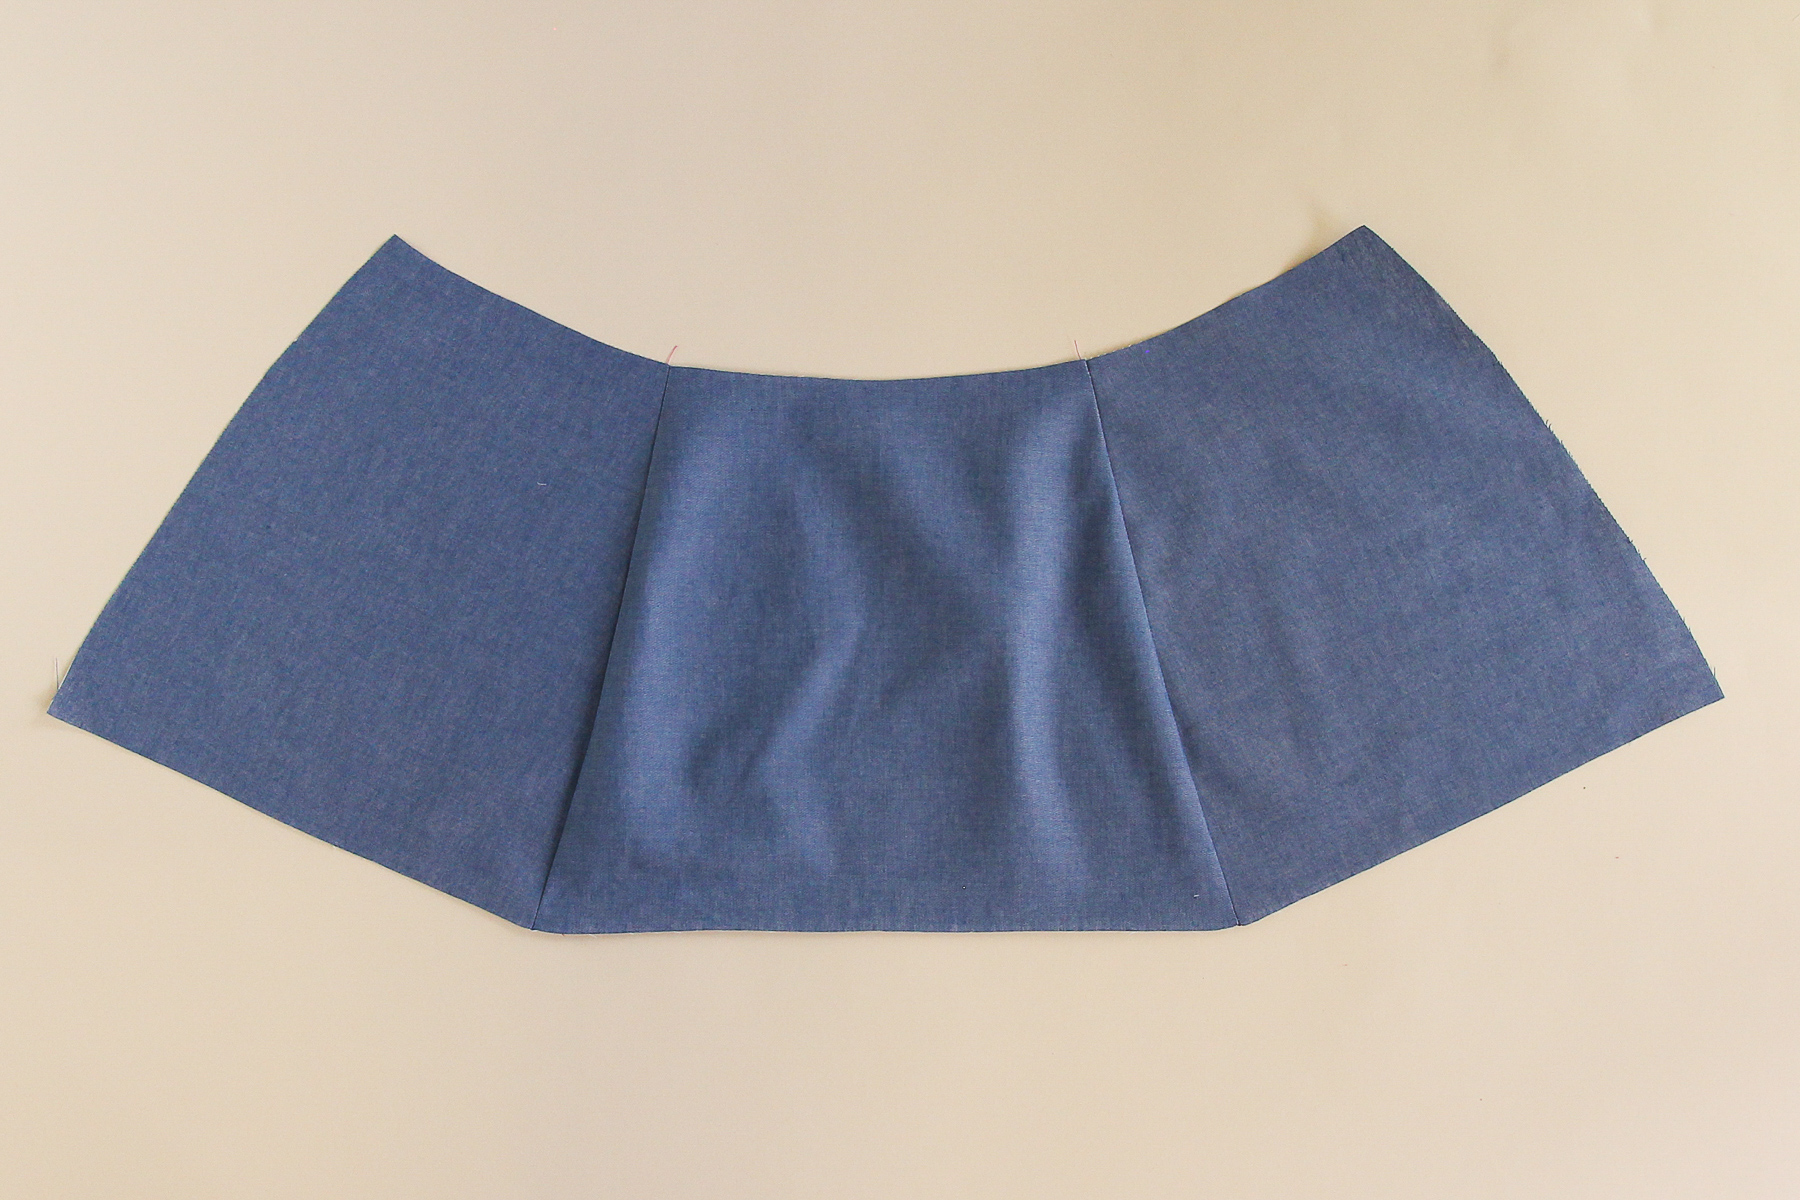
Time to sew the back skirt. Pin one of the back side skirts to the center back skirt. Sew and press towards center.
Repeat with the other skirt side back.
Grab the back bodice, and pin the back skirt to the back bodice at the waistband. Sew at a 1/2” seam allowance and press the seam allowance up towards the waistband.
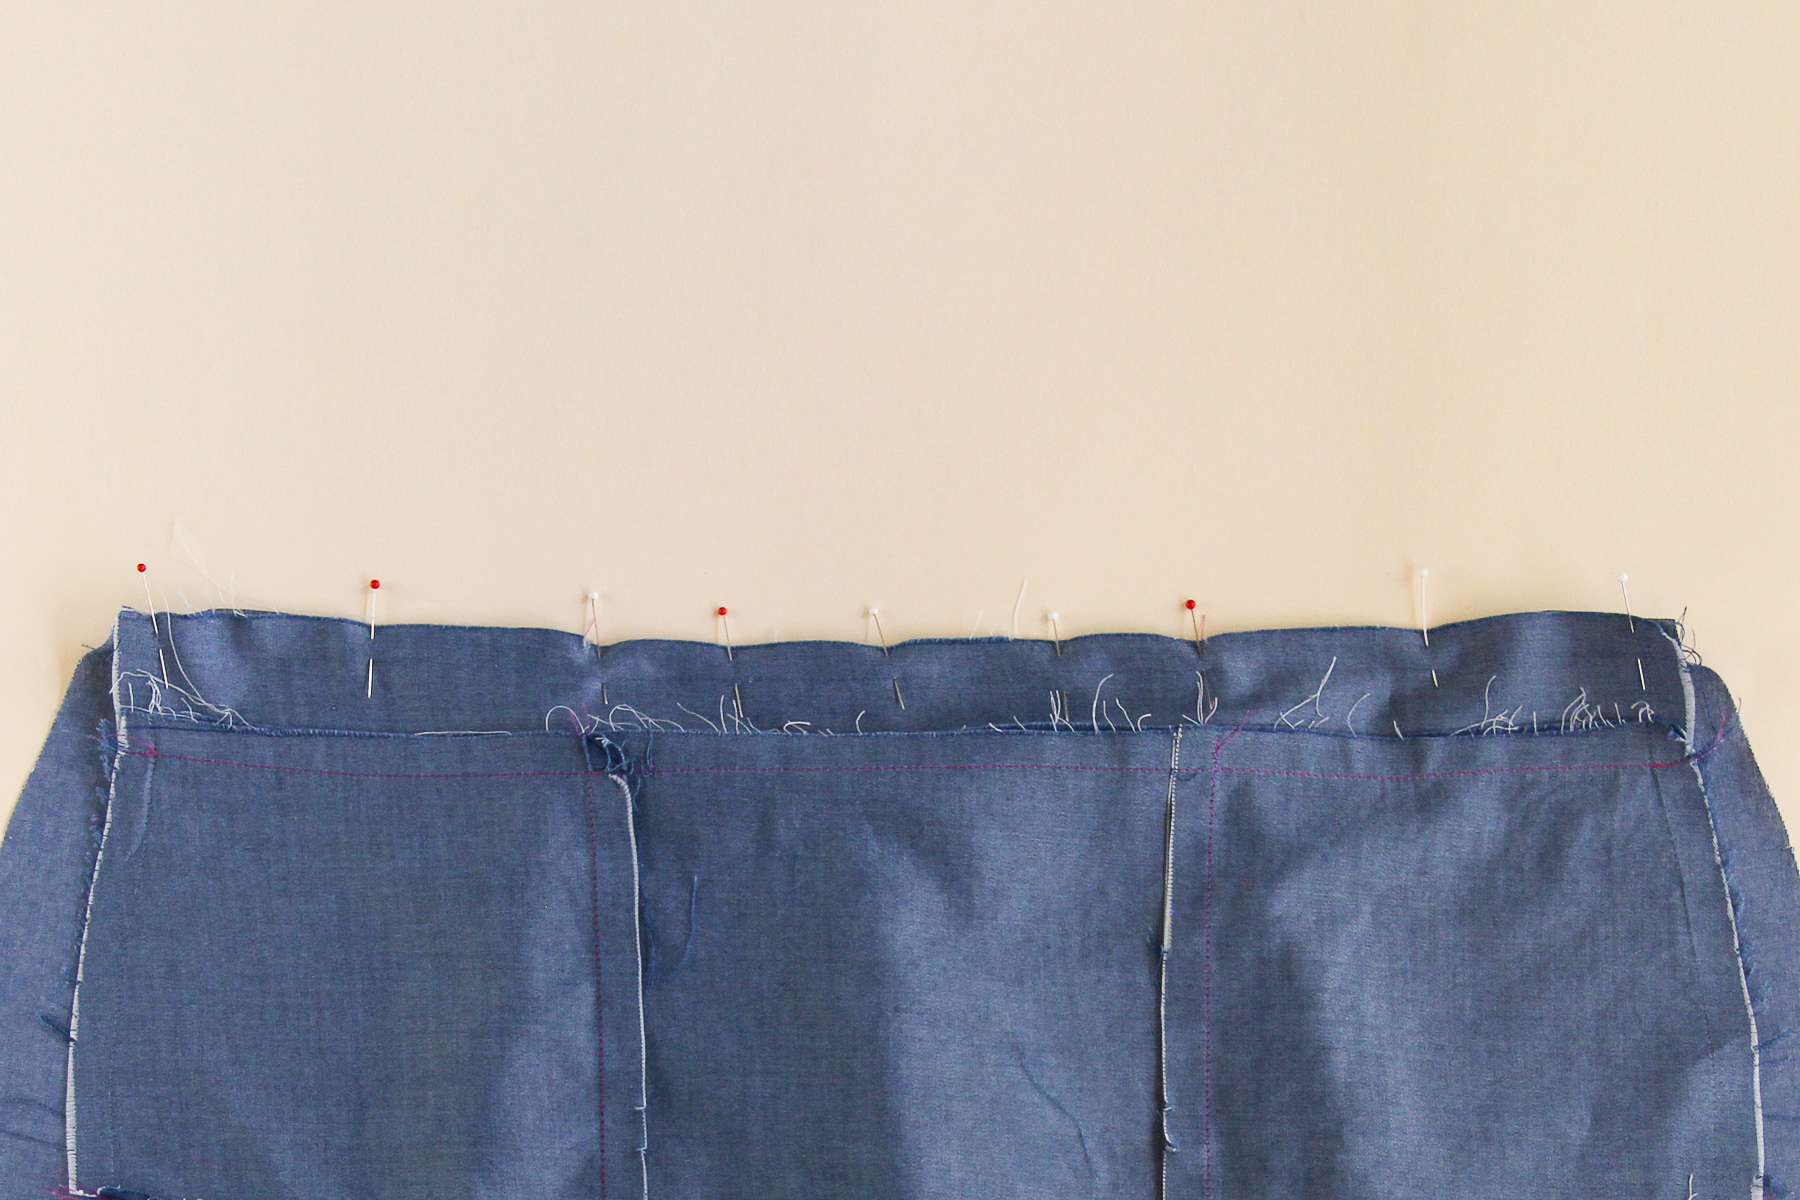
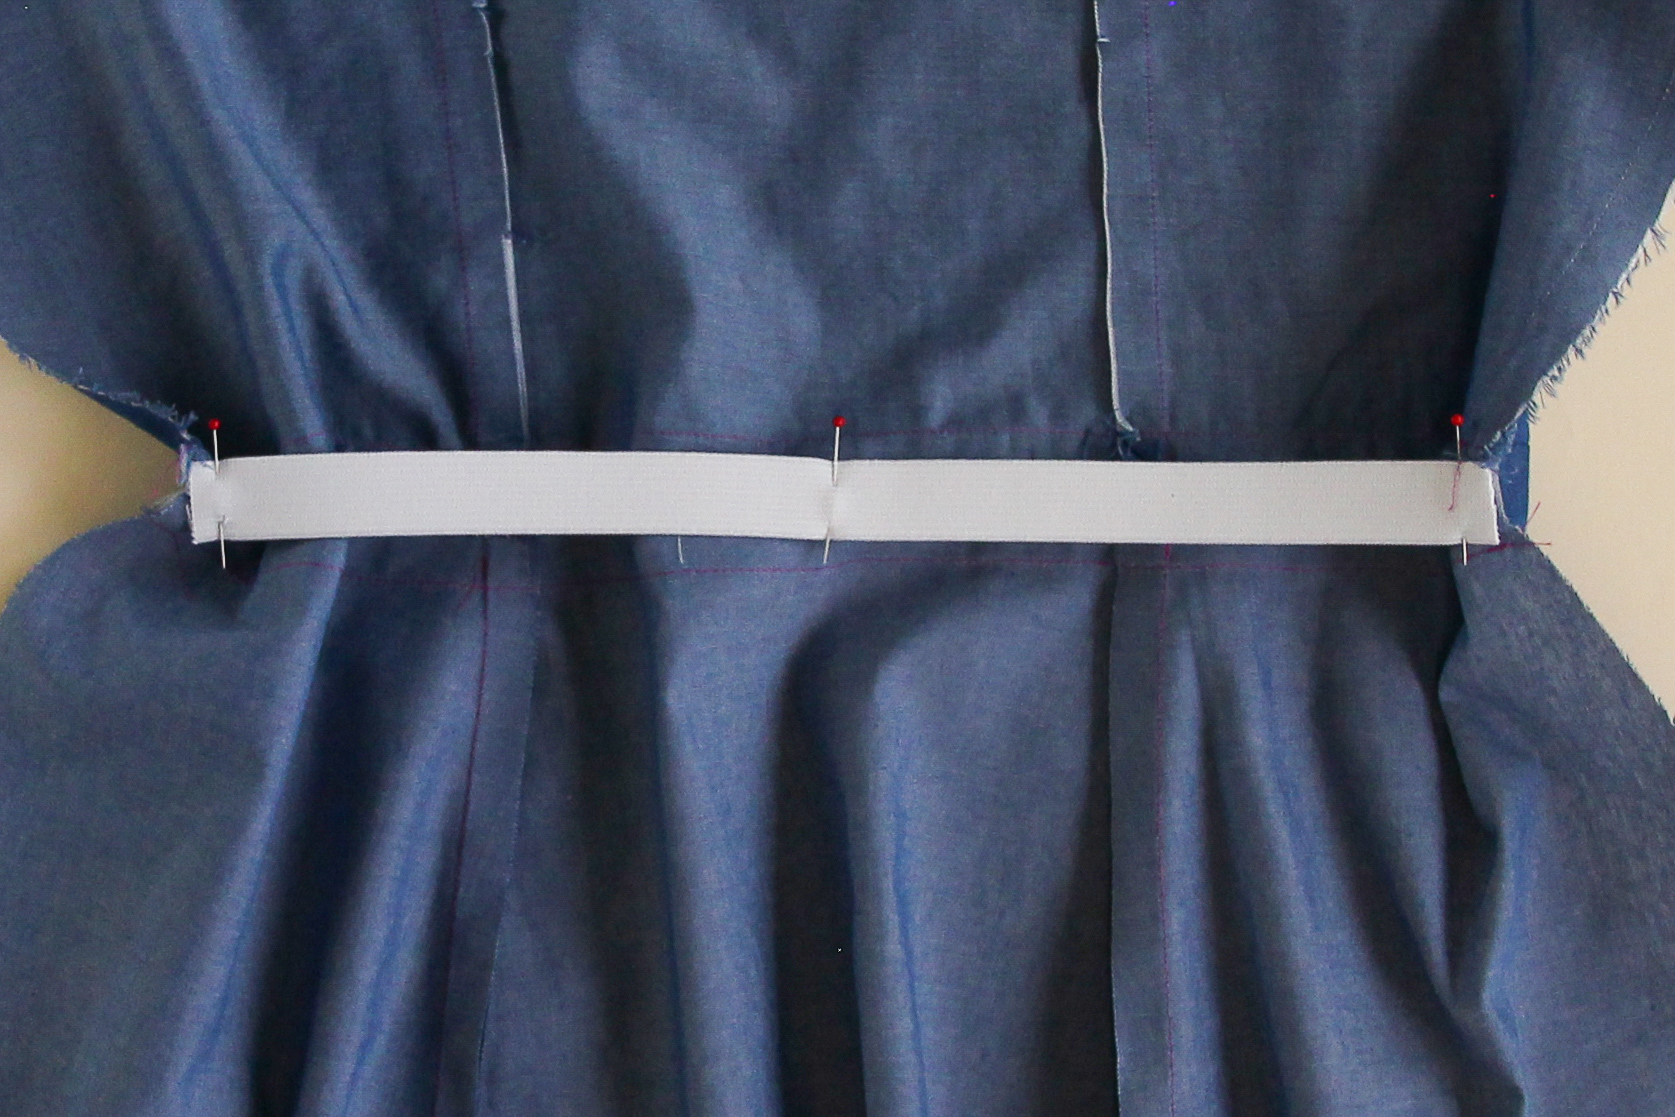
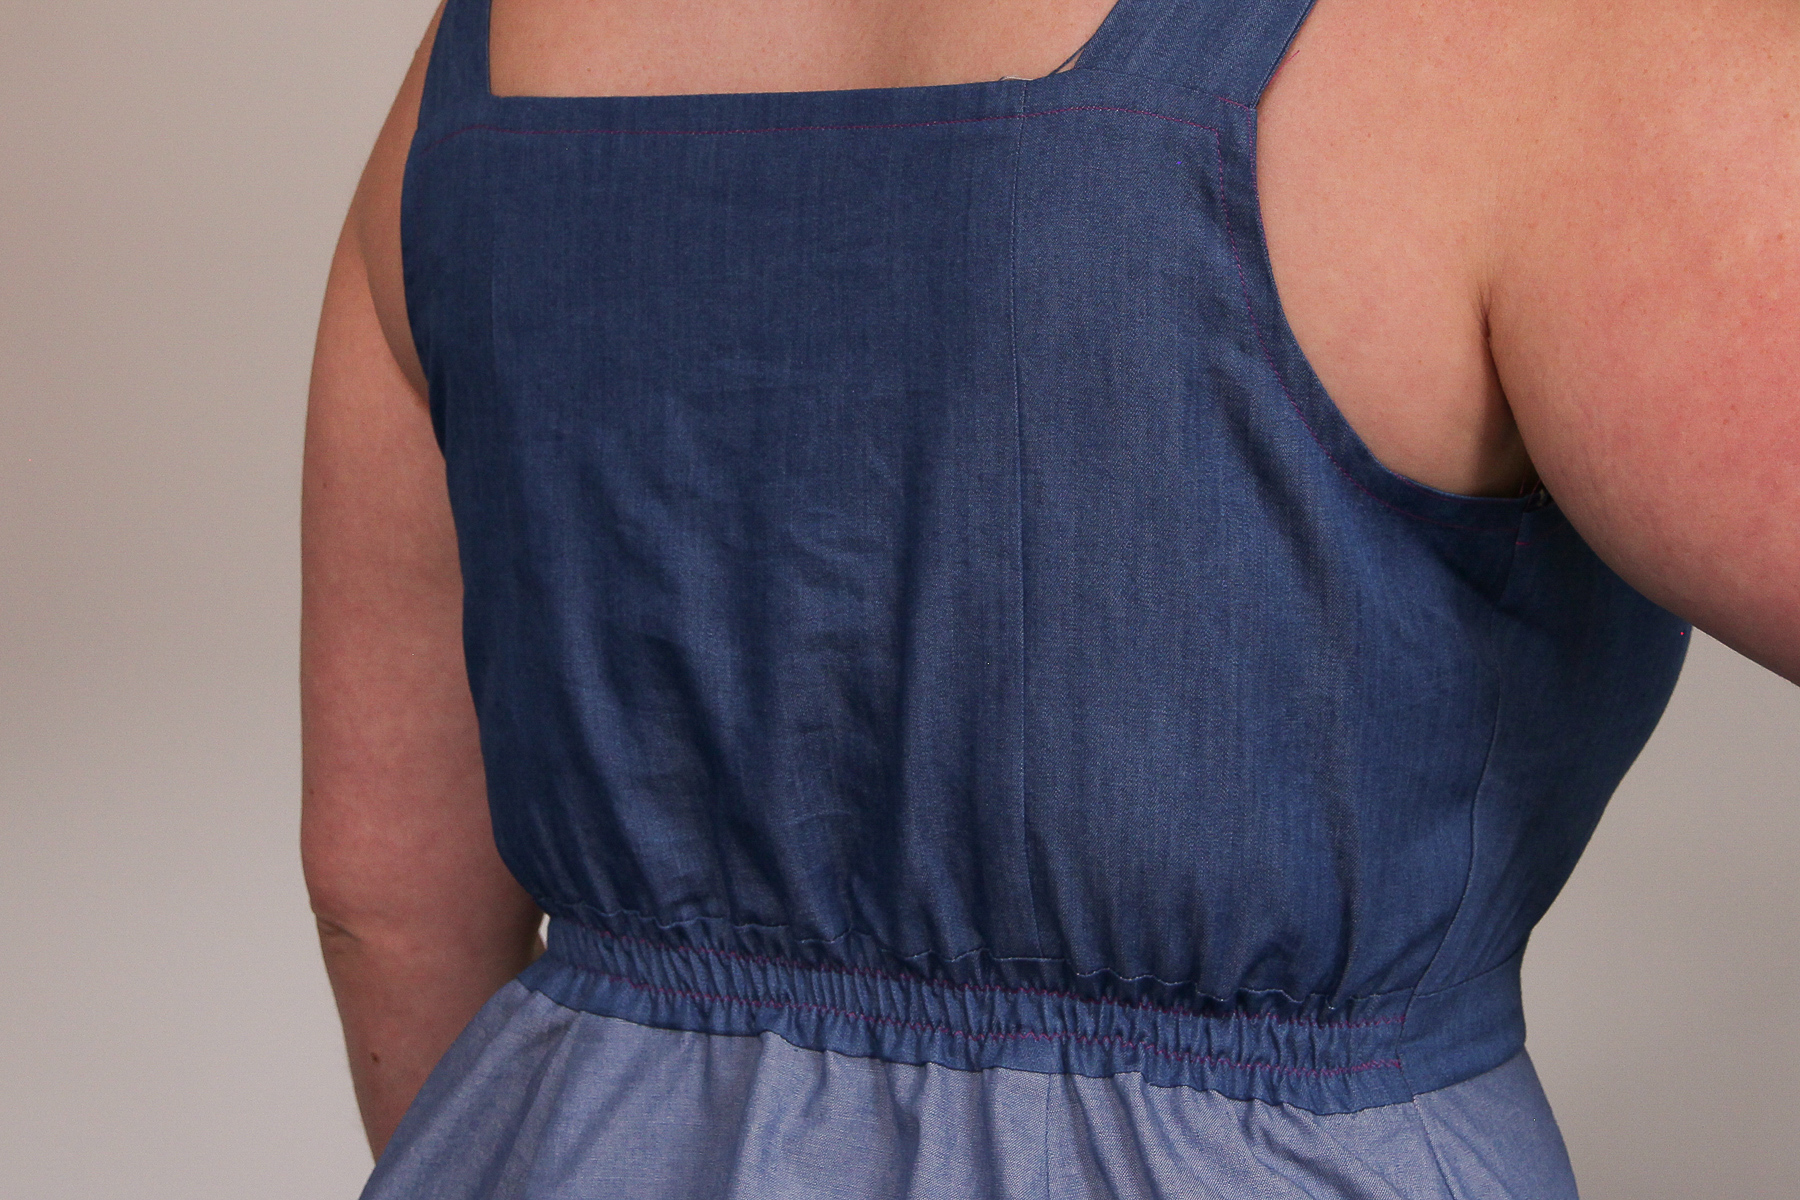
Now we need to insert our elastic. The back elastic is what pulls the waistband in and gives a great fit in the waist, so you don’t want to skip this step. This is also a good opportunity to check that your elastic stays stretchy even after it’s topstitched!
Cut the length of elastic that you need based on the chart in the instruction booklet. Line and pin the two ends of the elastic at the two ends of the back waistband, and then stretch the waistband out and pin the elastic down in the middle.
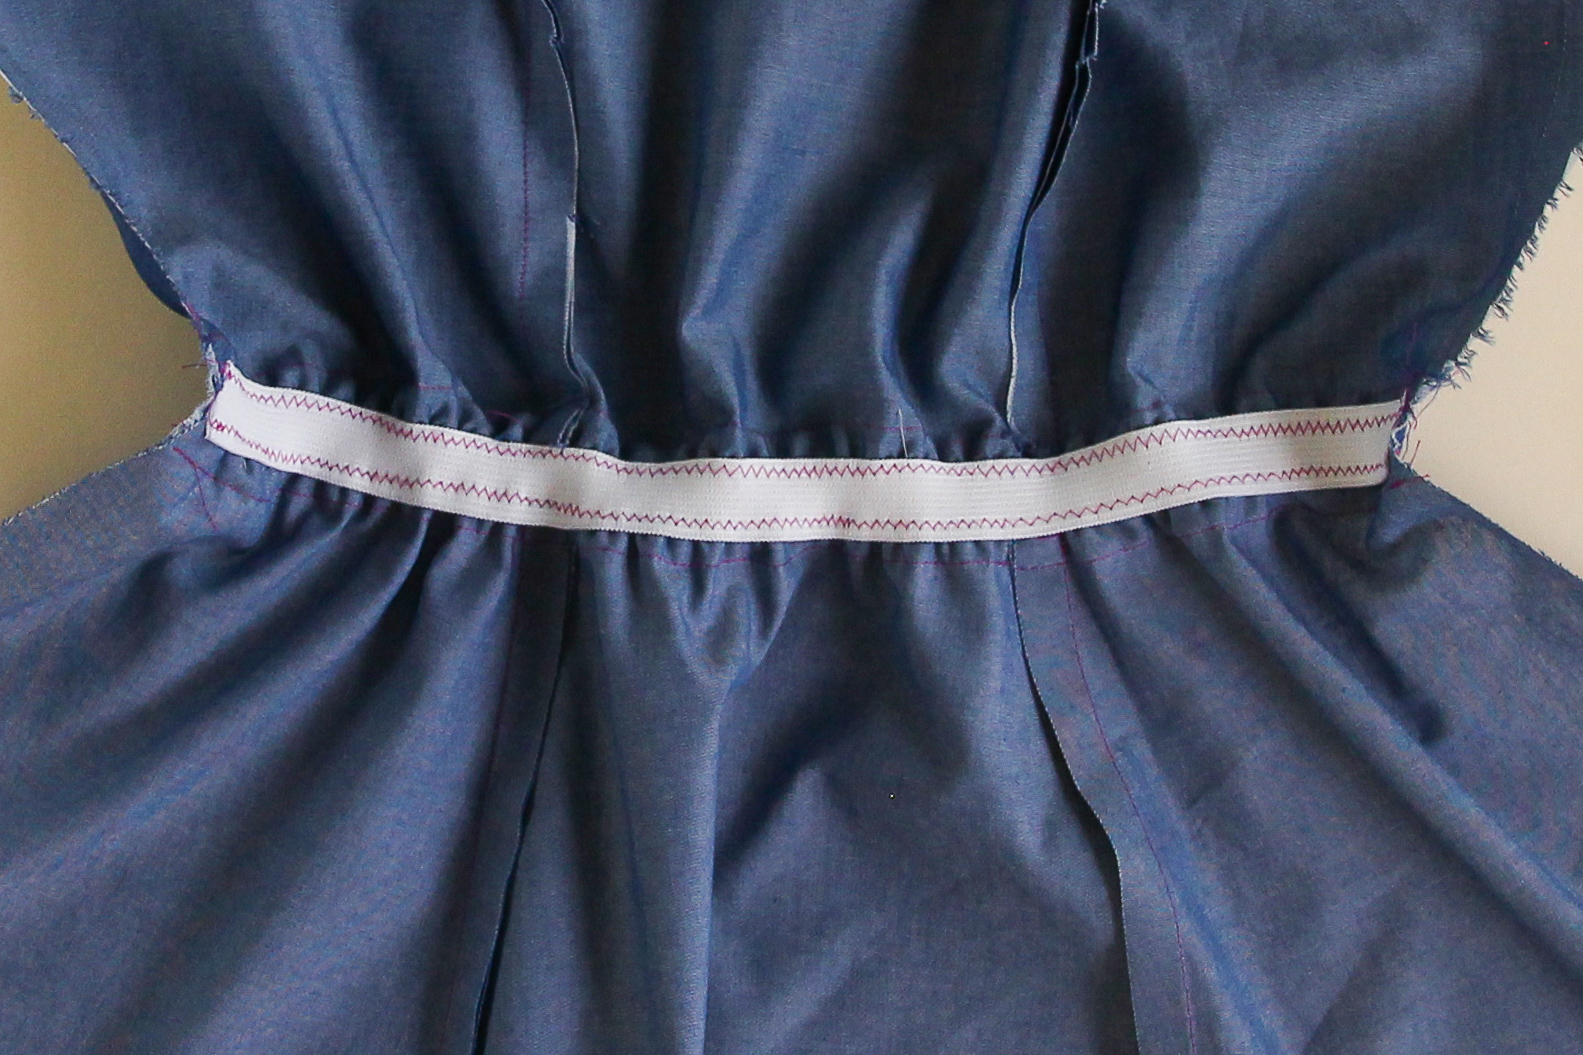
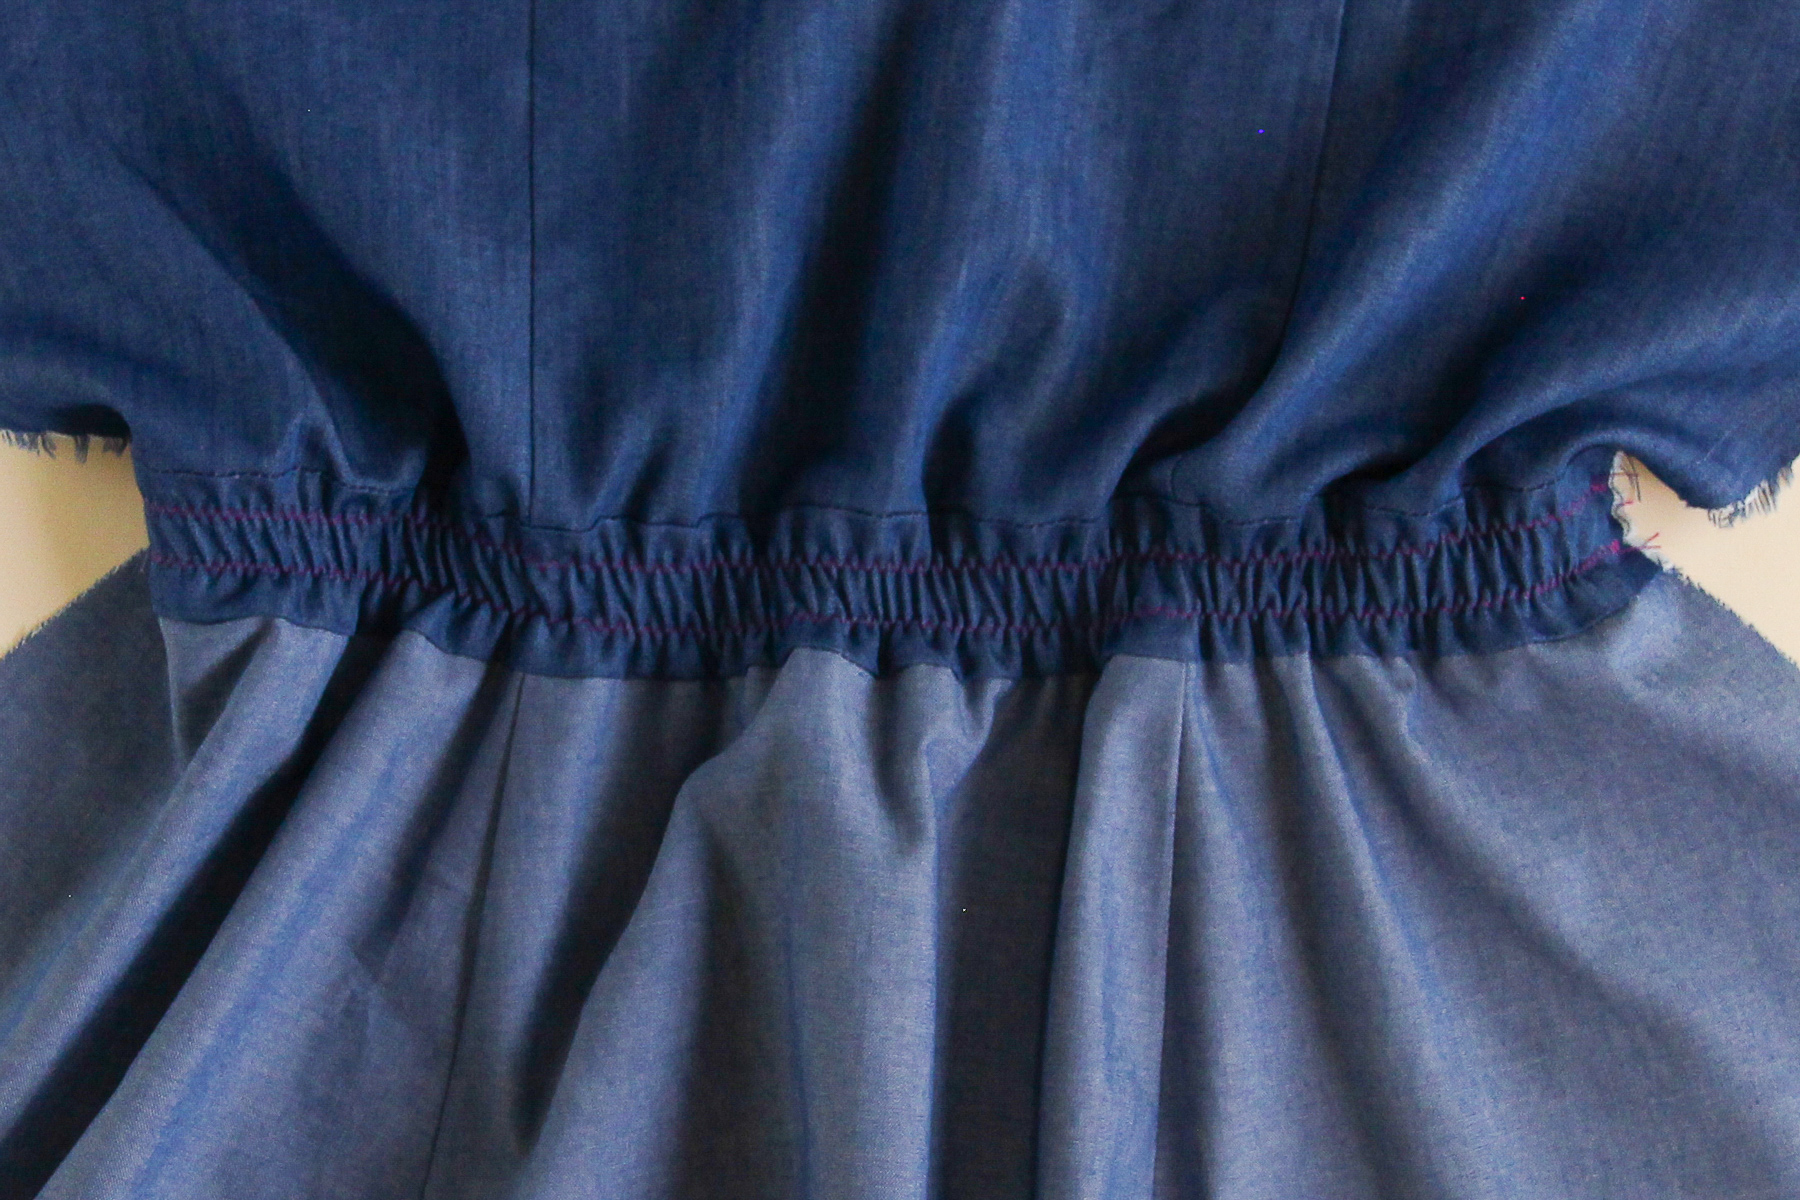
Sew two parallel lines of topstitching with the wrong side up so you can be sure you’re stitching through the elastic. Use a zigzag stitch (3 mm wide x 2 mm long). Be sure to stretch the elastic until the fabric lies flat, pulling gently with one hand in front and one hand behind your sewing machine.
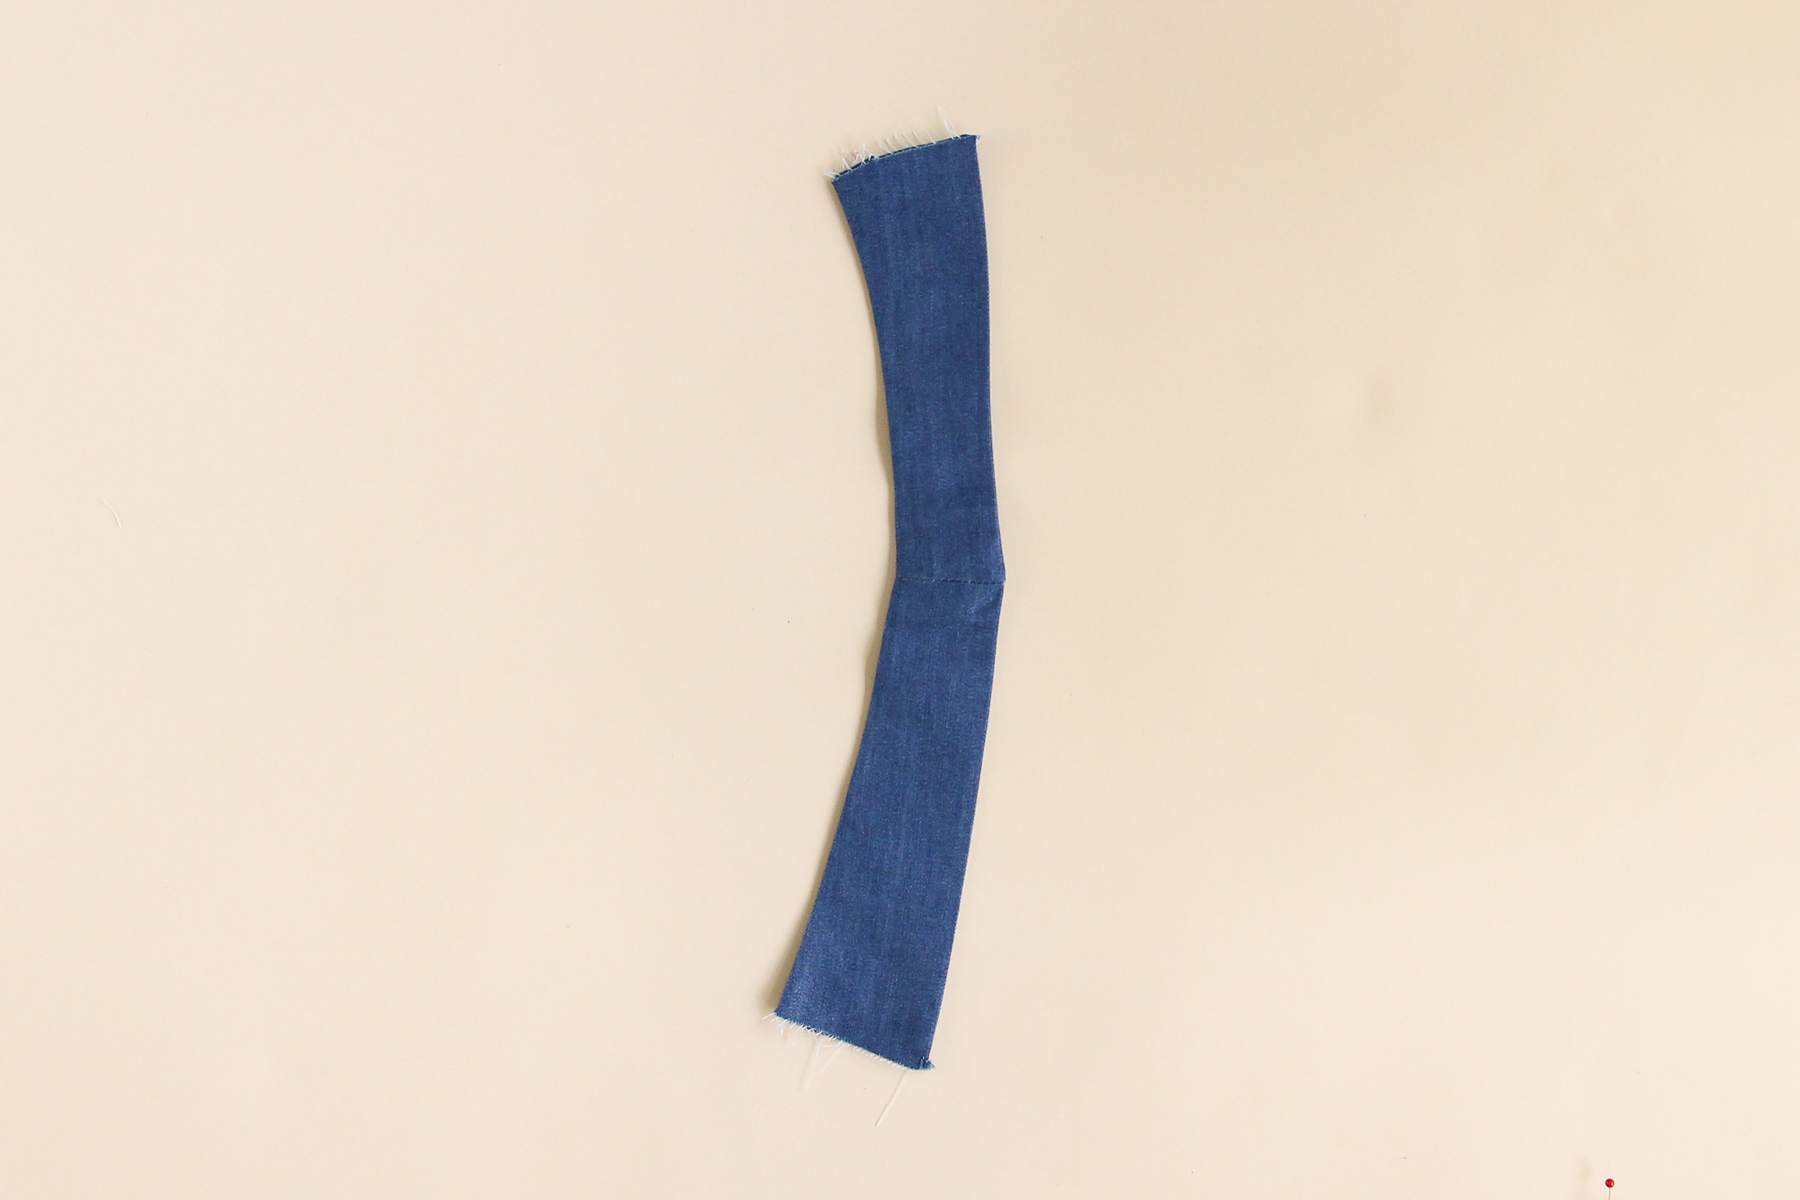
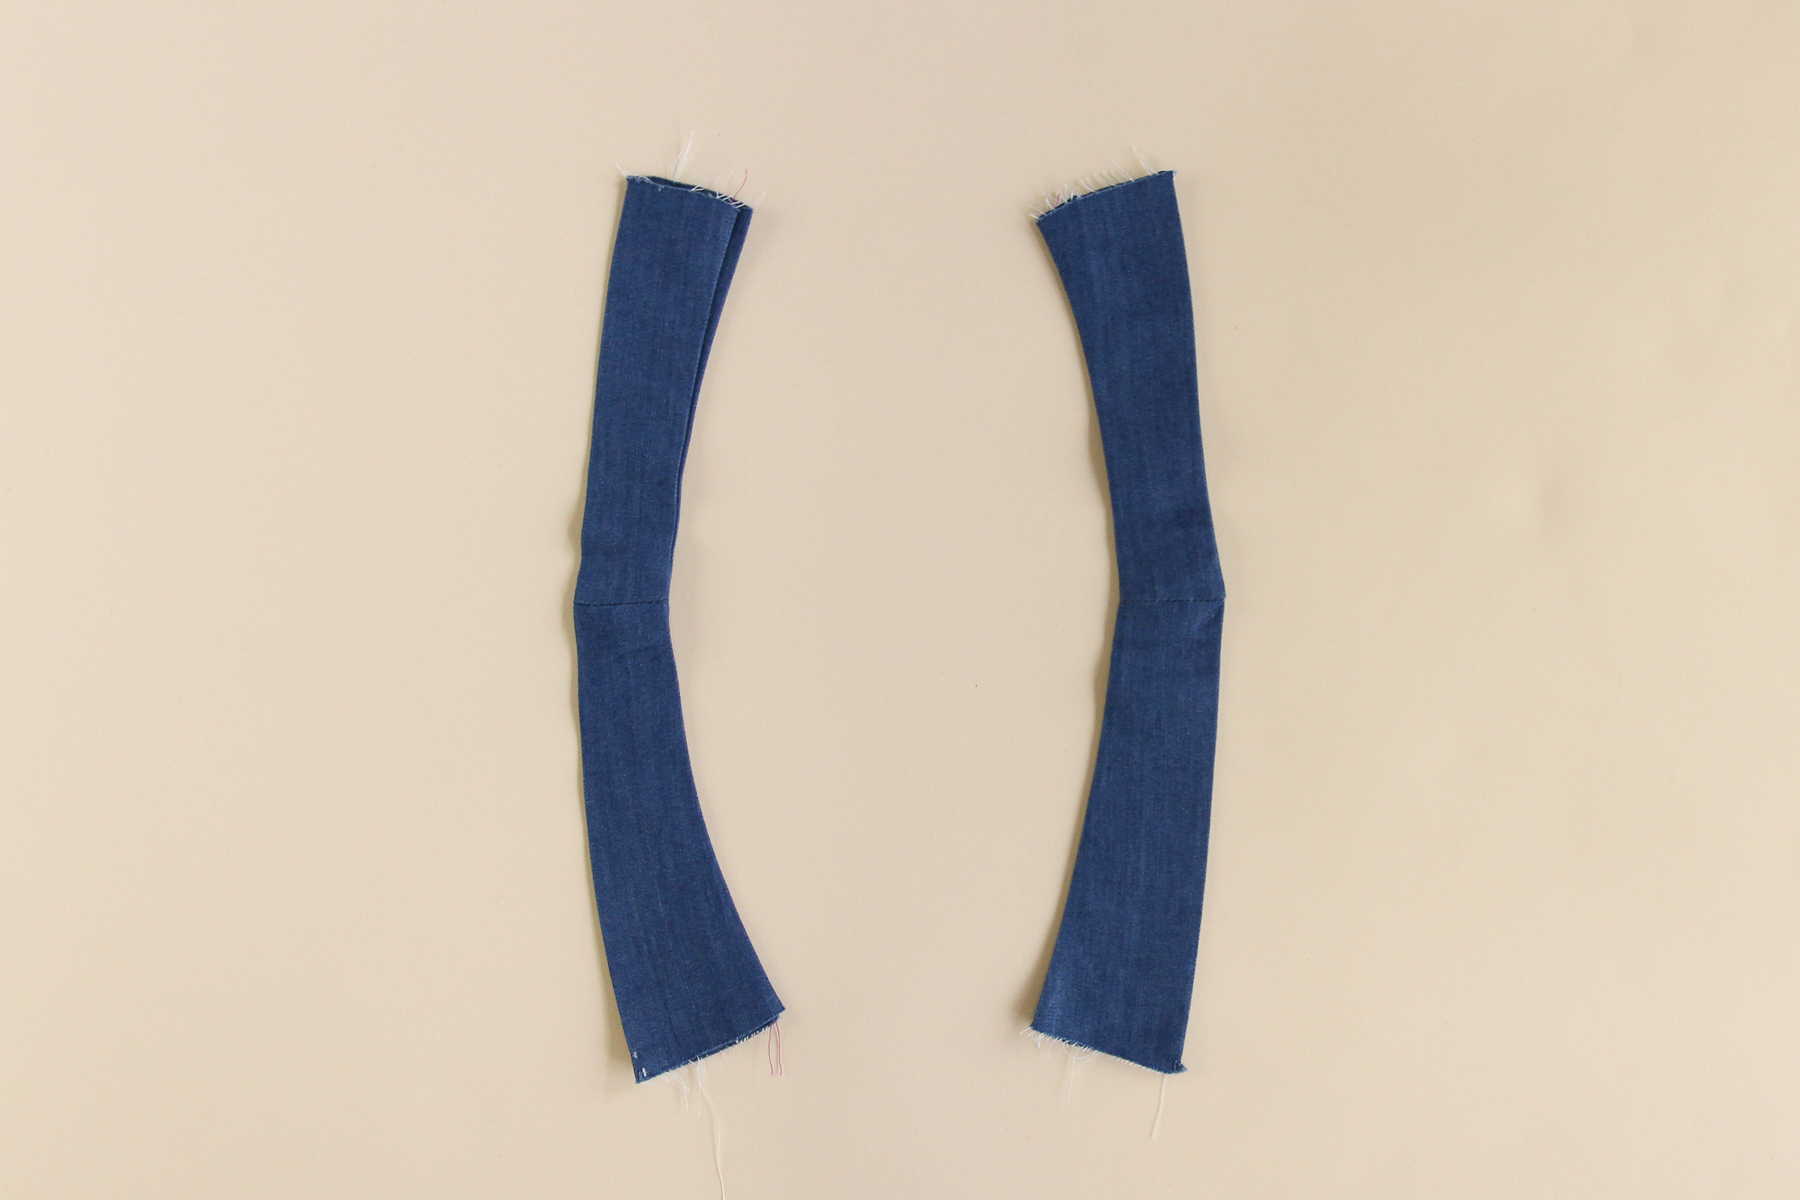
Now we’re going to sew the straps. Pin one of the strap fronts (the slightly smaller strap piece) to one of the strap backs at the shoulder seam. Sew at 1/2” (12 mm) seam allowance and press open.
Fold the strap in half the long way, right sides together, and pin down the long open end. Sew at 1/2” (12 mm) seam allowance.
Now we’re going to flip the strap right side out and press it flat.
Let’s do the same with the other strap.
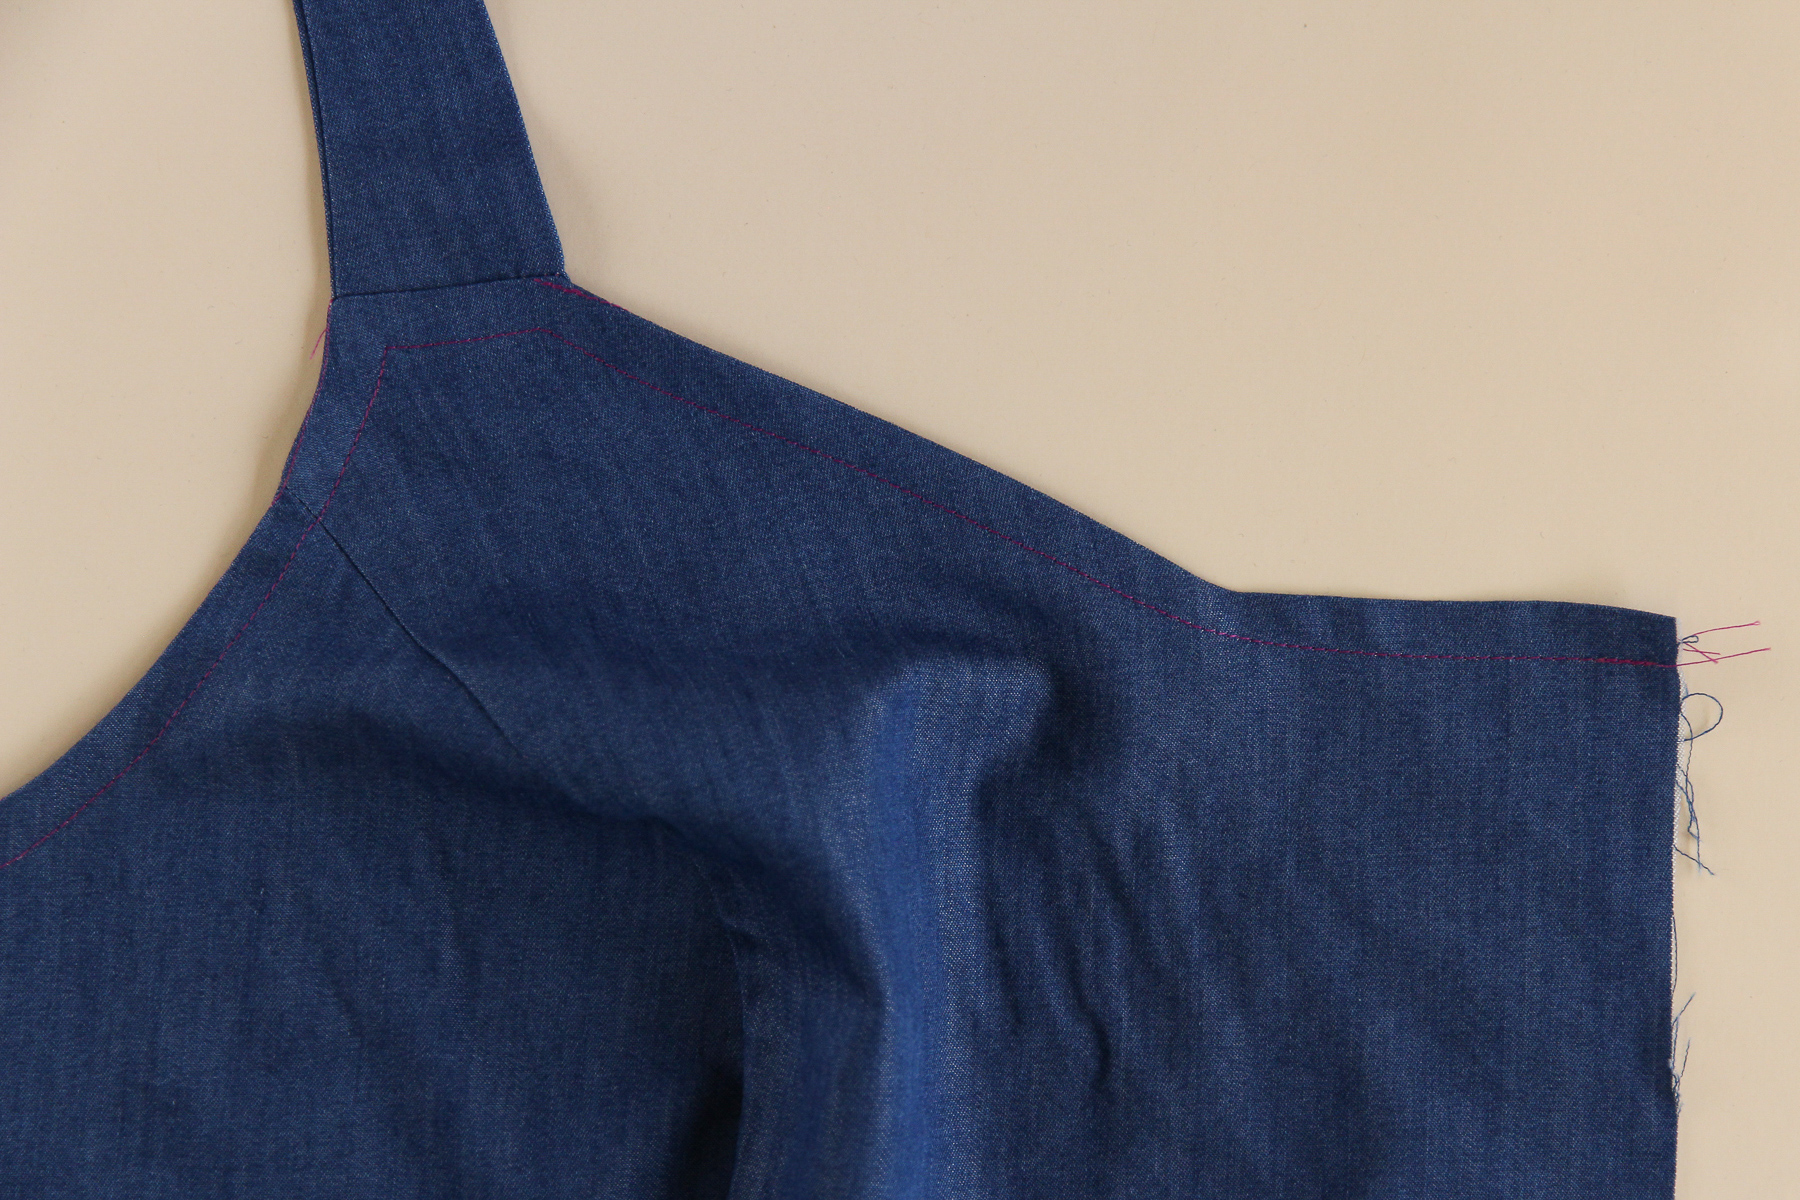
Taking one of the straps and one of the bodice fronts, we’re going to pin the strap to the right side of the bodice at the shoulder edge, lining up the strap with the notch. Sew the strap at 1/2” (12 mm) seam allowance.
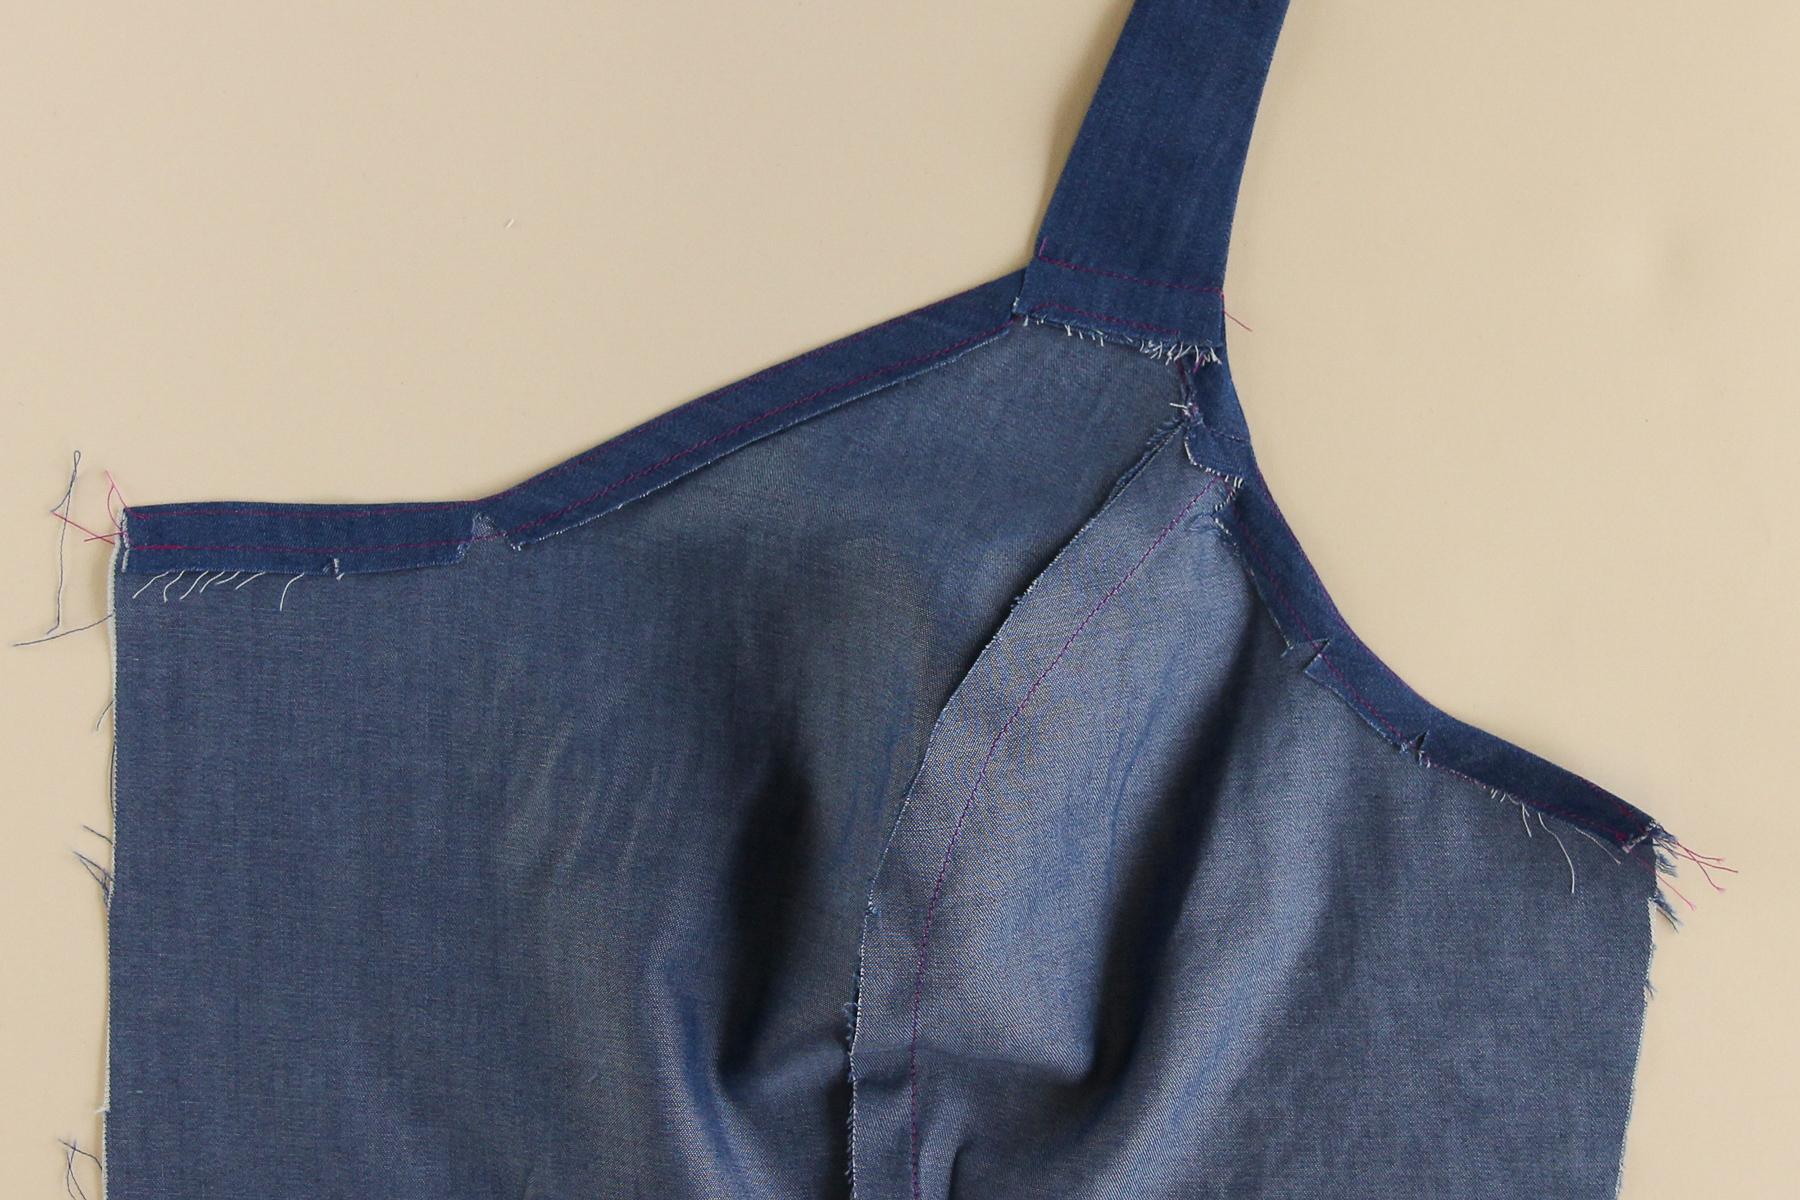
Flip the strap up and press the seam allowance down towards the bodice. The rest of the seam allowance will start to fold over—this is good. Going along the armscye and down the neckline, fold over the seam allowance at the staystitching line and press down. Clip into the curve to get it to lie flat.
Optionally, you can topstitch the seam allowance down to keep it in place.
Let’s do the same with the other bodice front
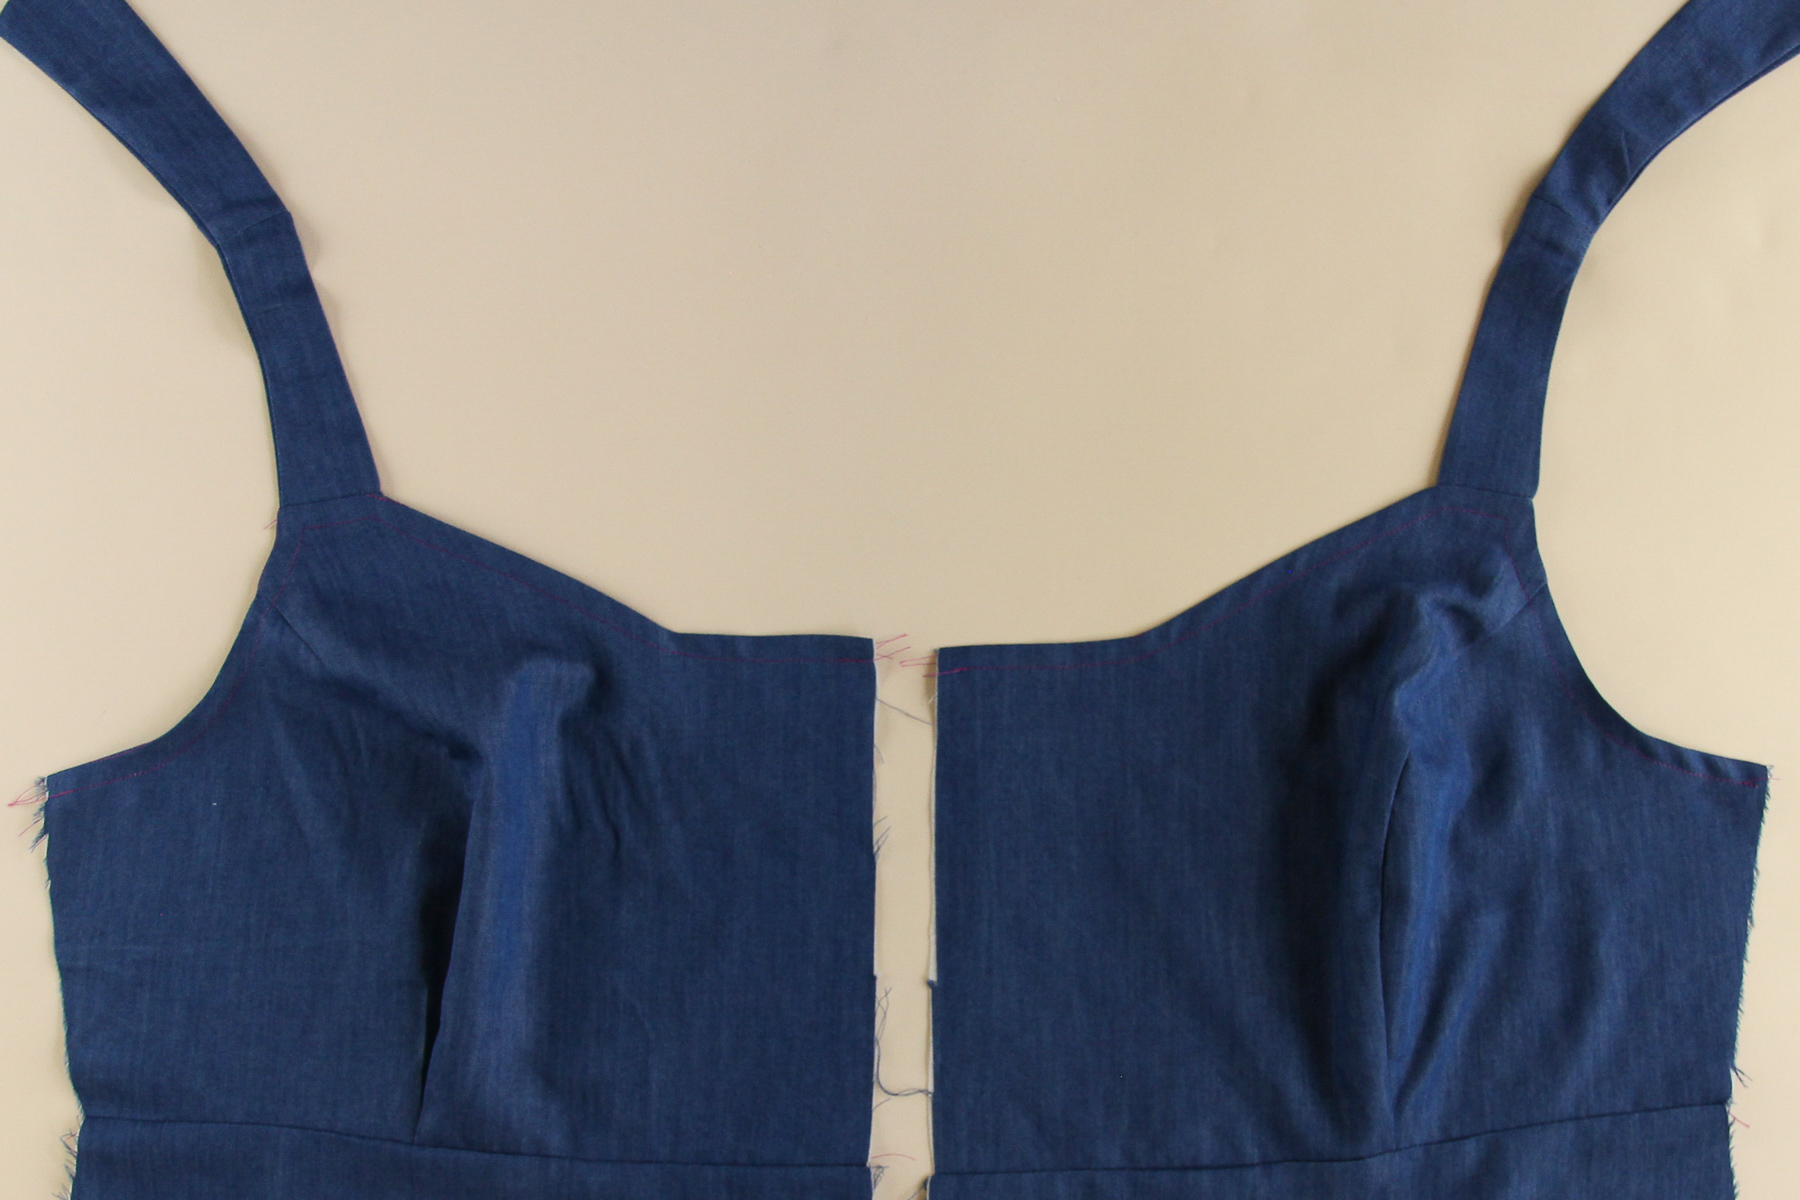
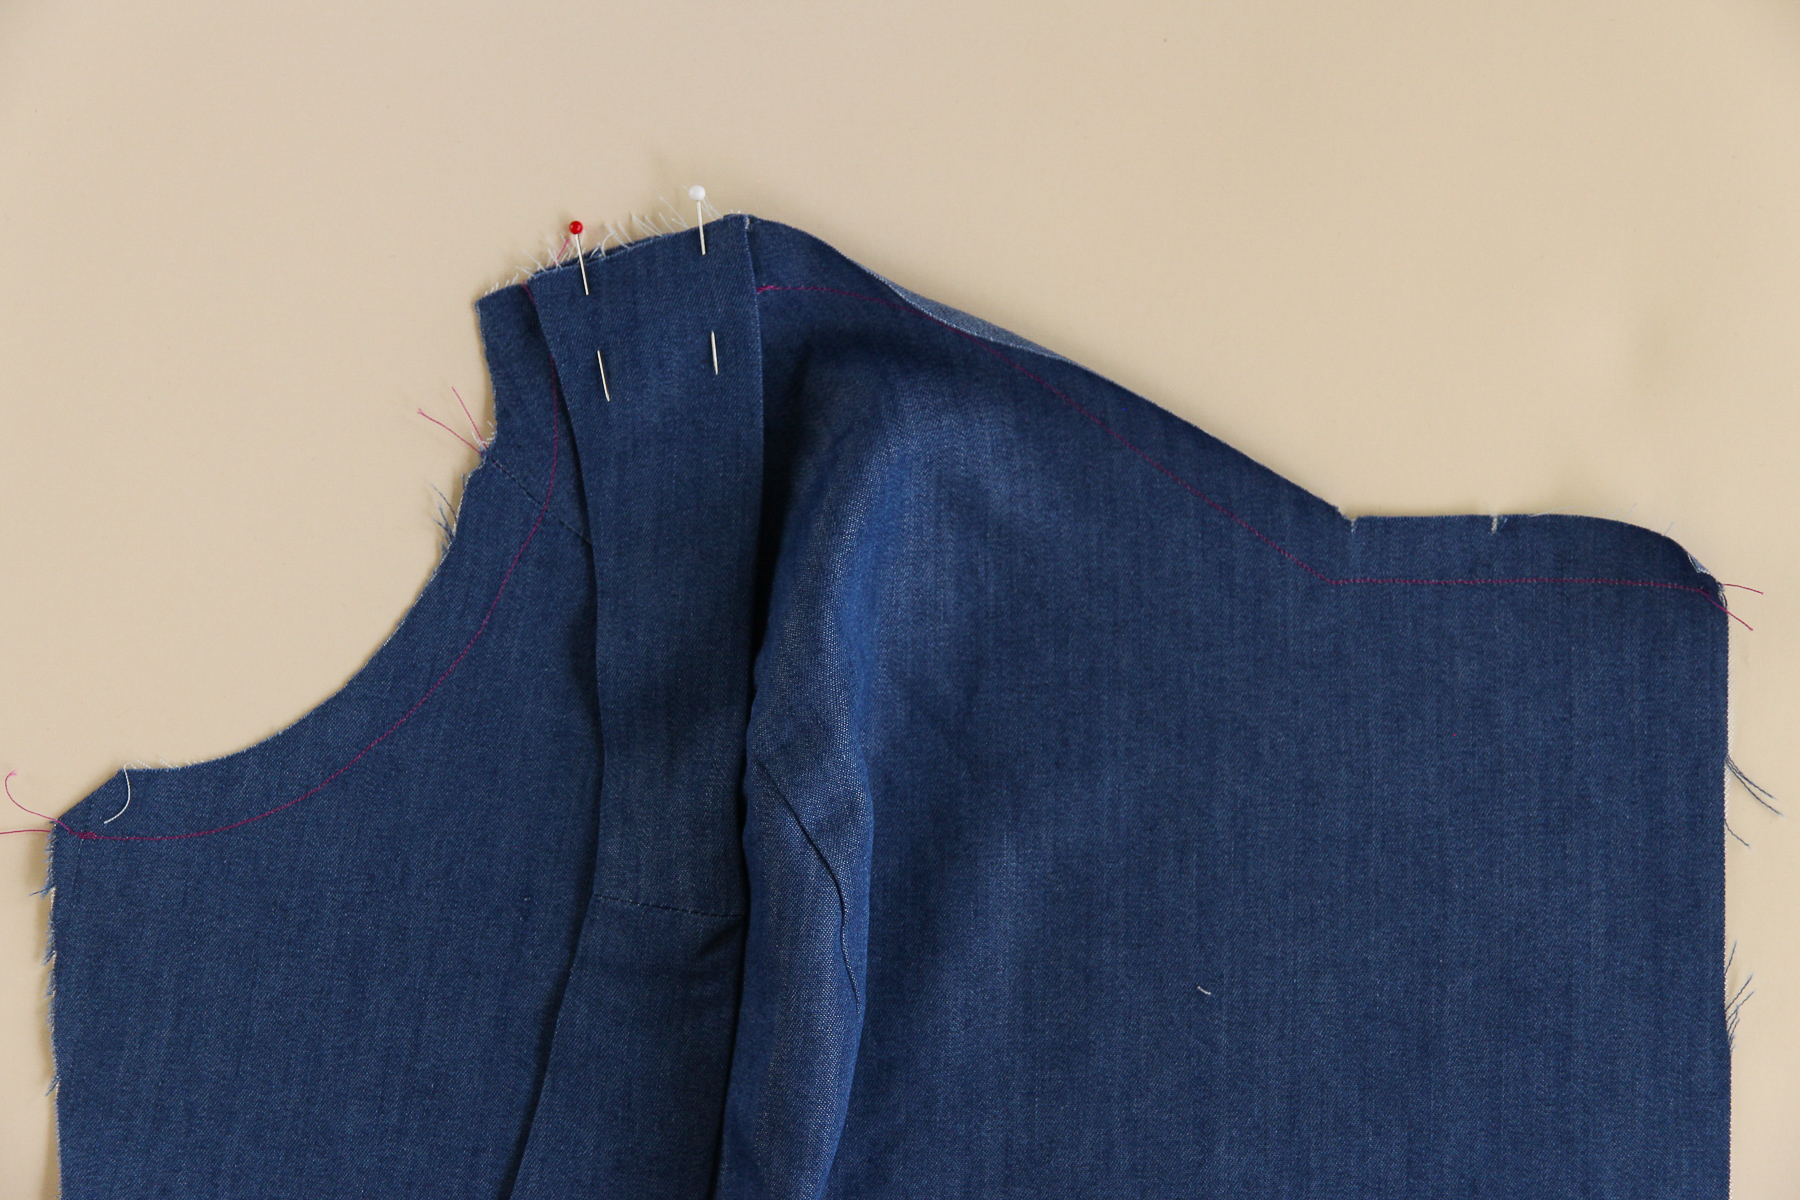
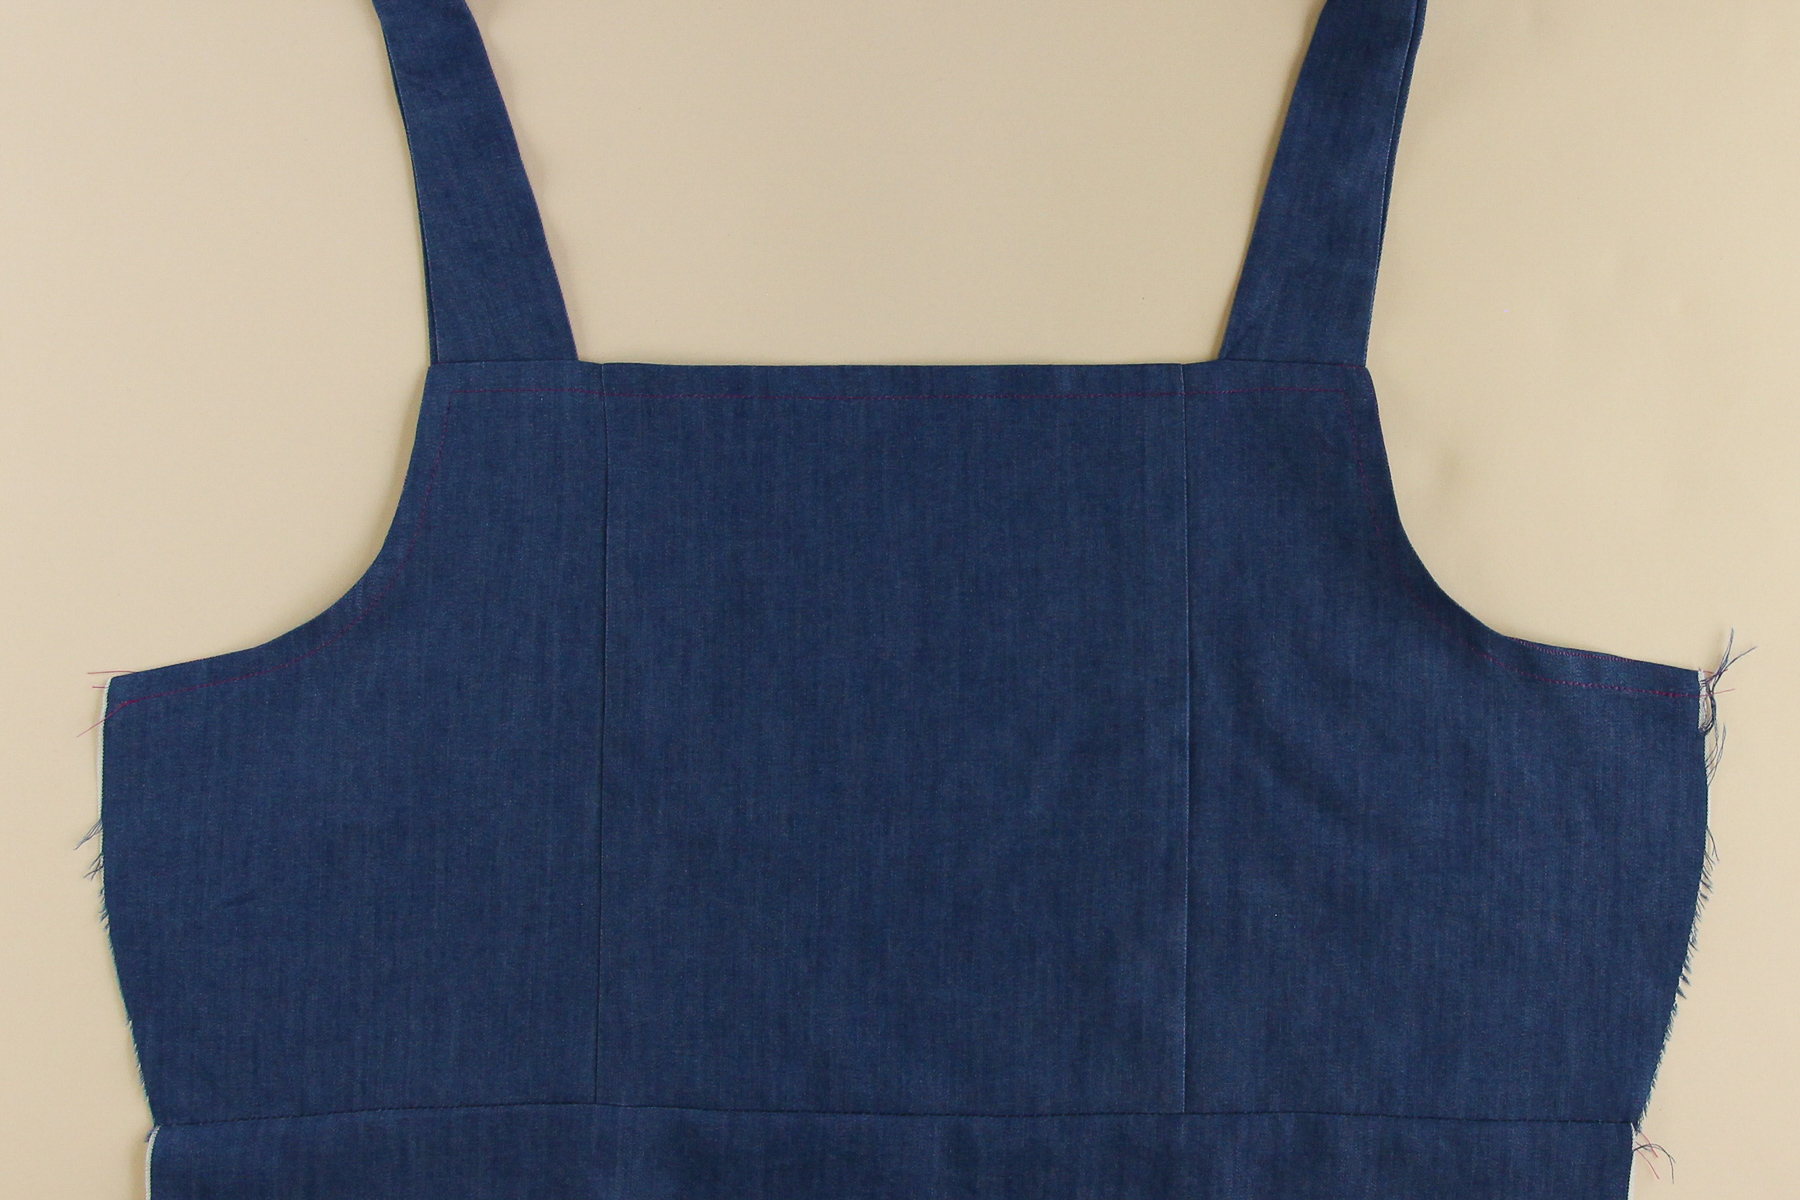
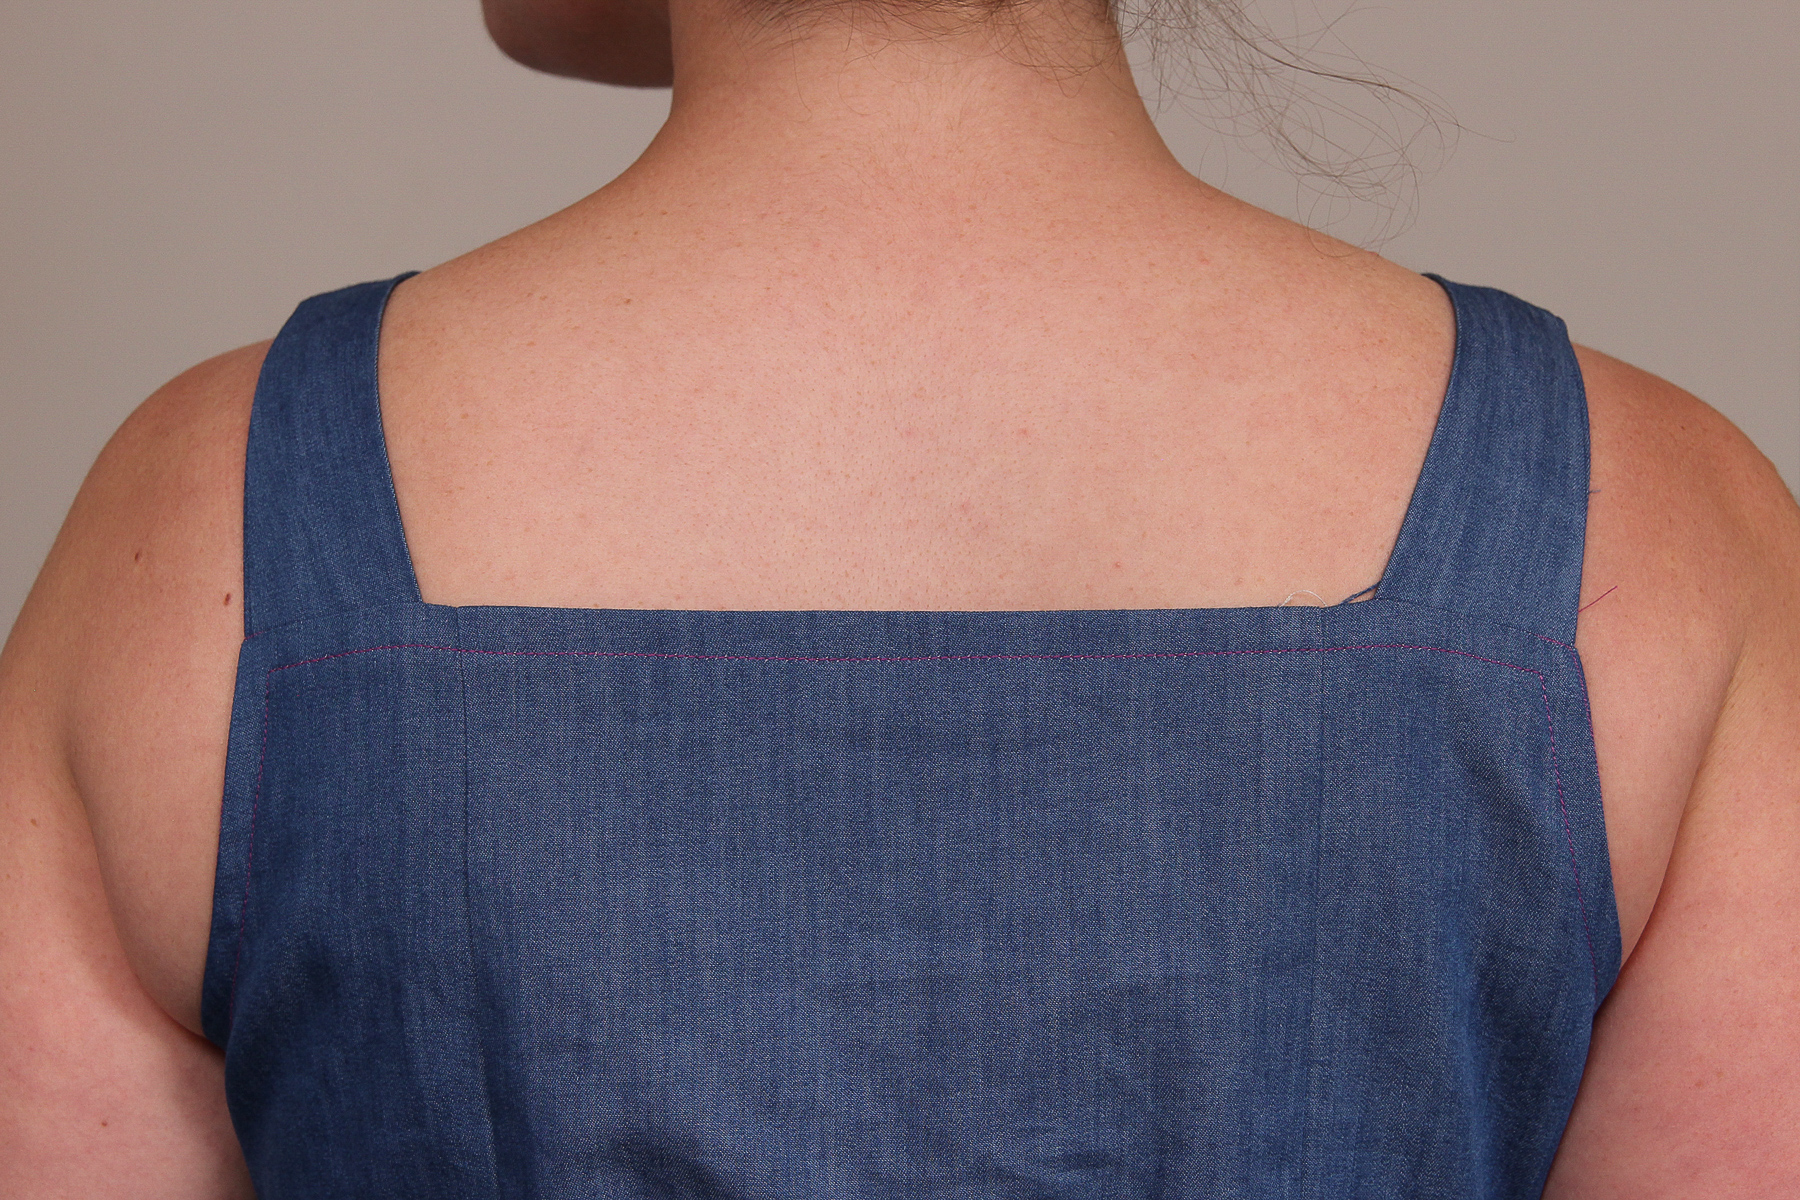
Now we’re going to pin the straps to the back bodice. Pin the straps on the top edge of back bodice, right sides together, making sure the straps are 1/2” (12 mm) away from the armscye. Sew at 1/2” (12 mm) seam allowance.
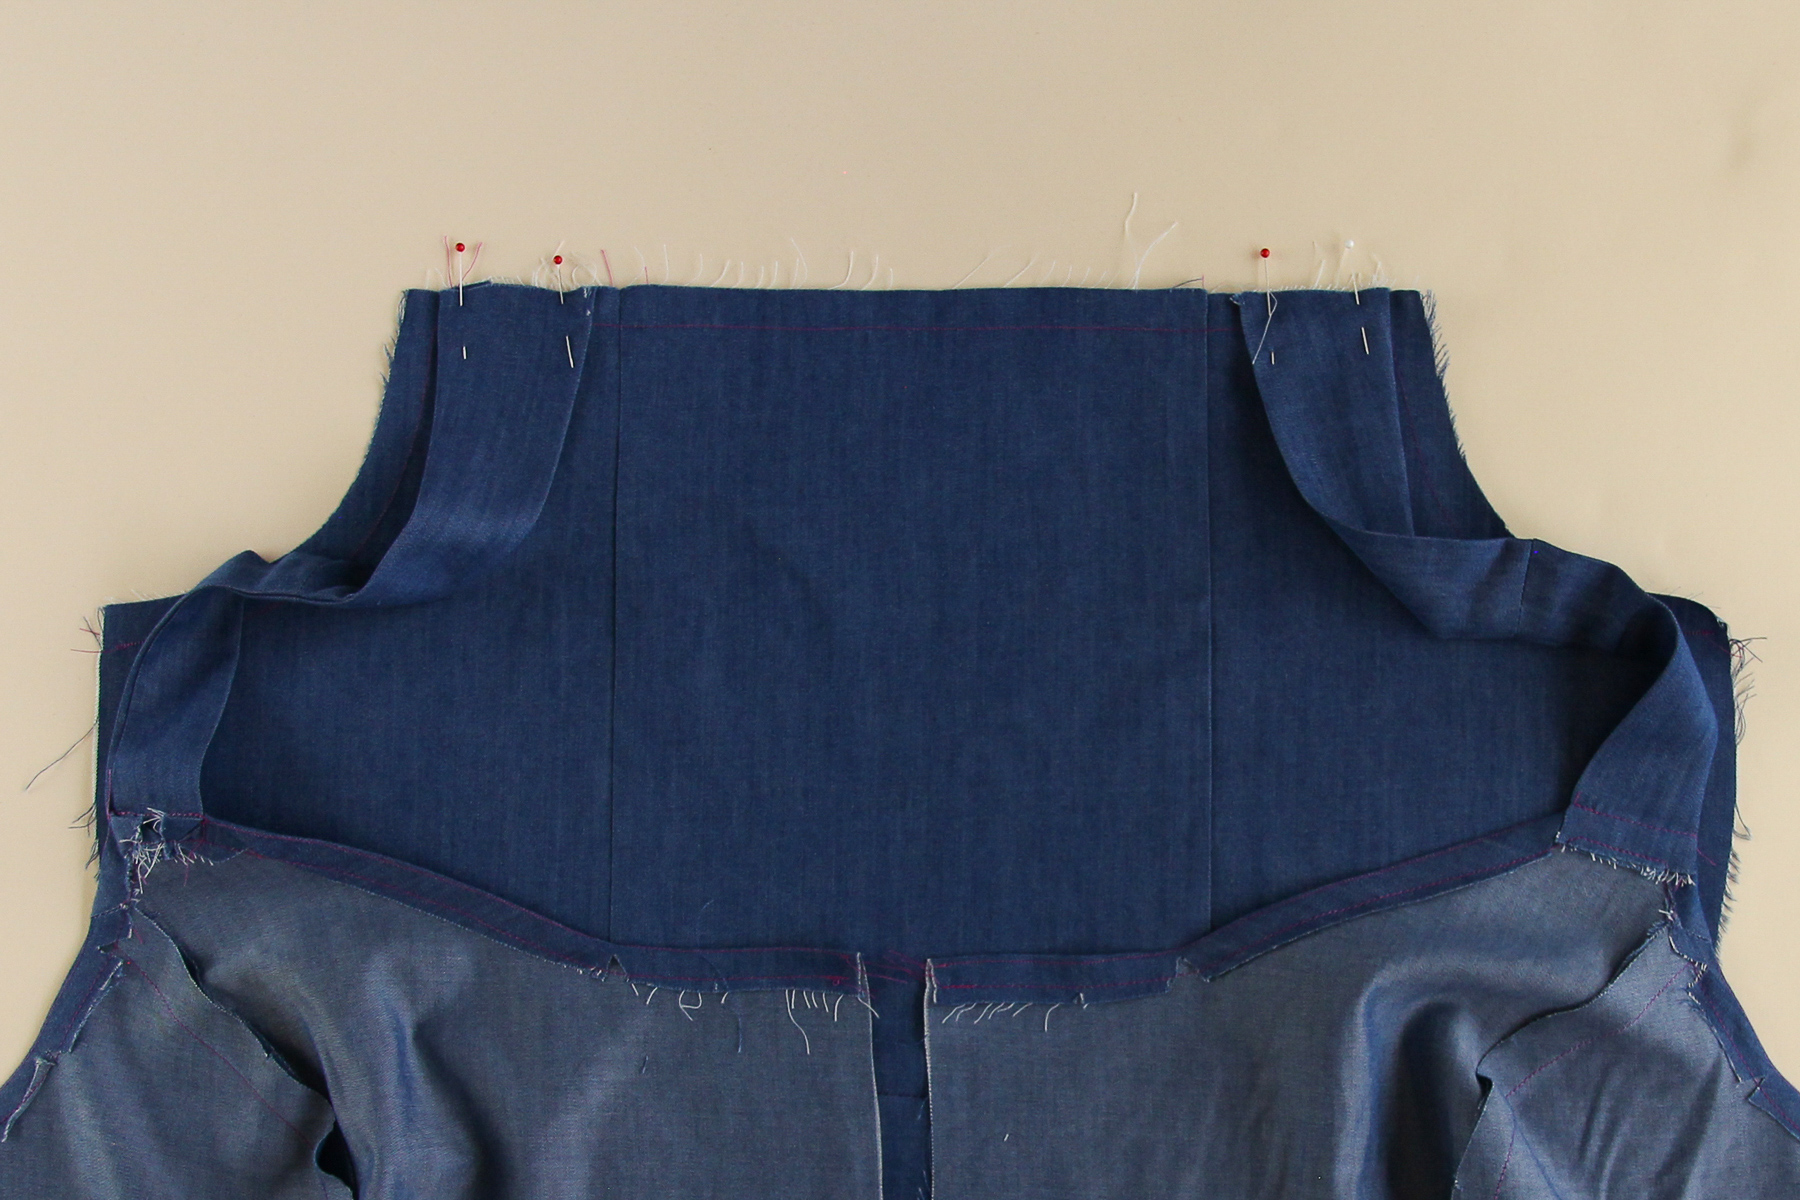
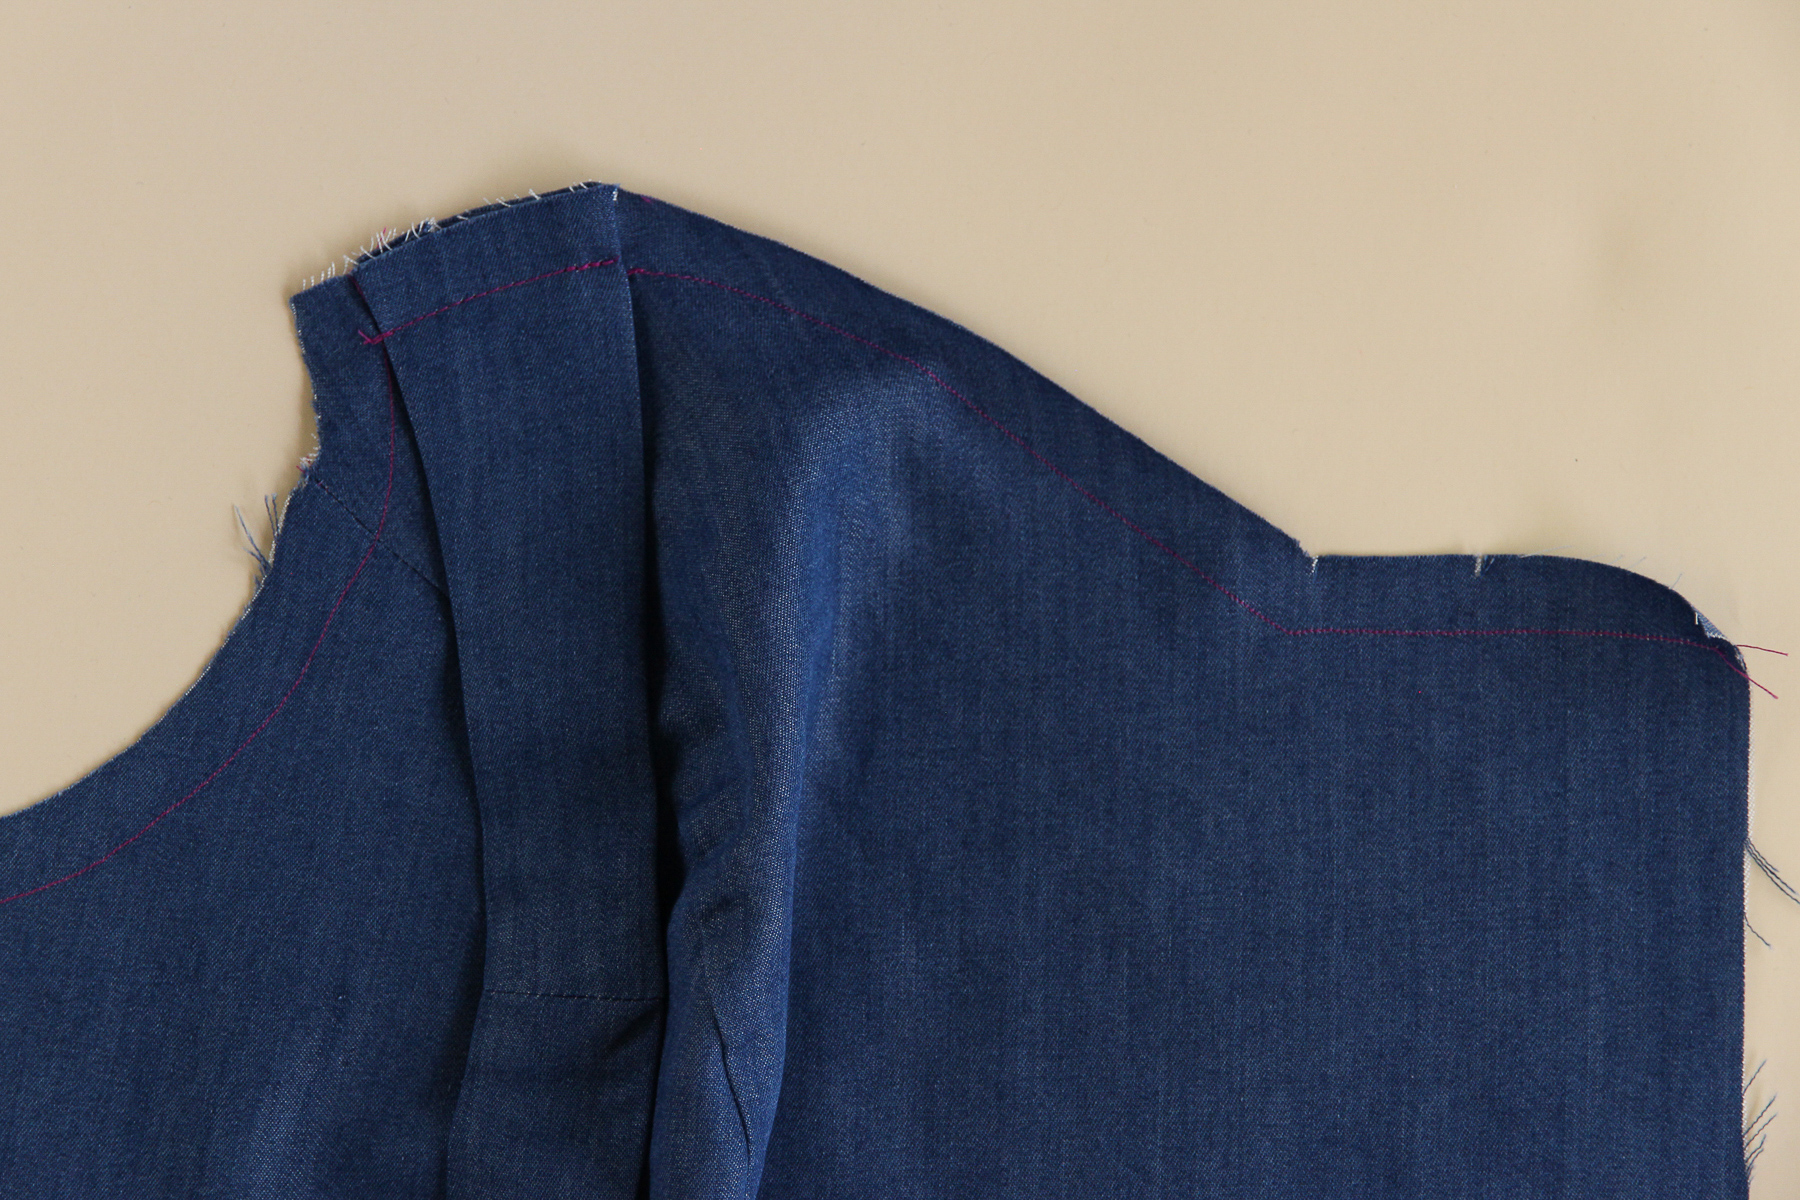
Flip the straps up and press the seam allowance down towards the bodice. Again, fold the seam allowance at the staystitching line towards the wrong side from armscye to armscye and press, clipping the curves. You can topstitch this down as well.
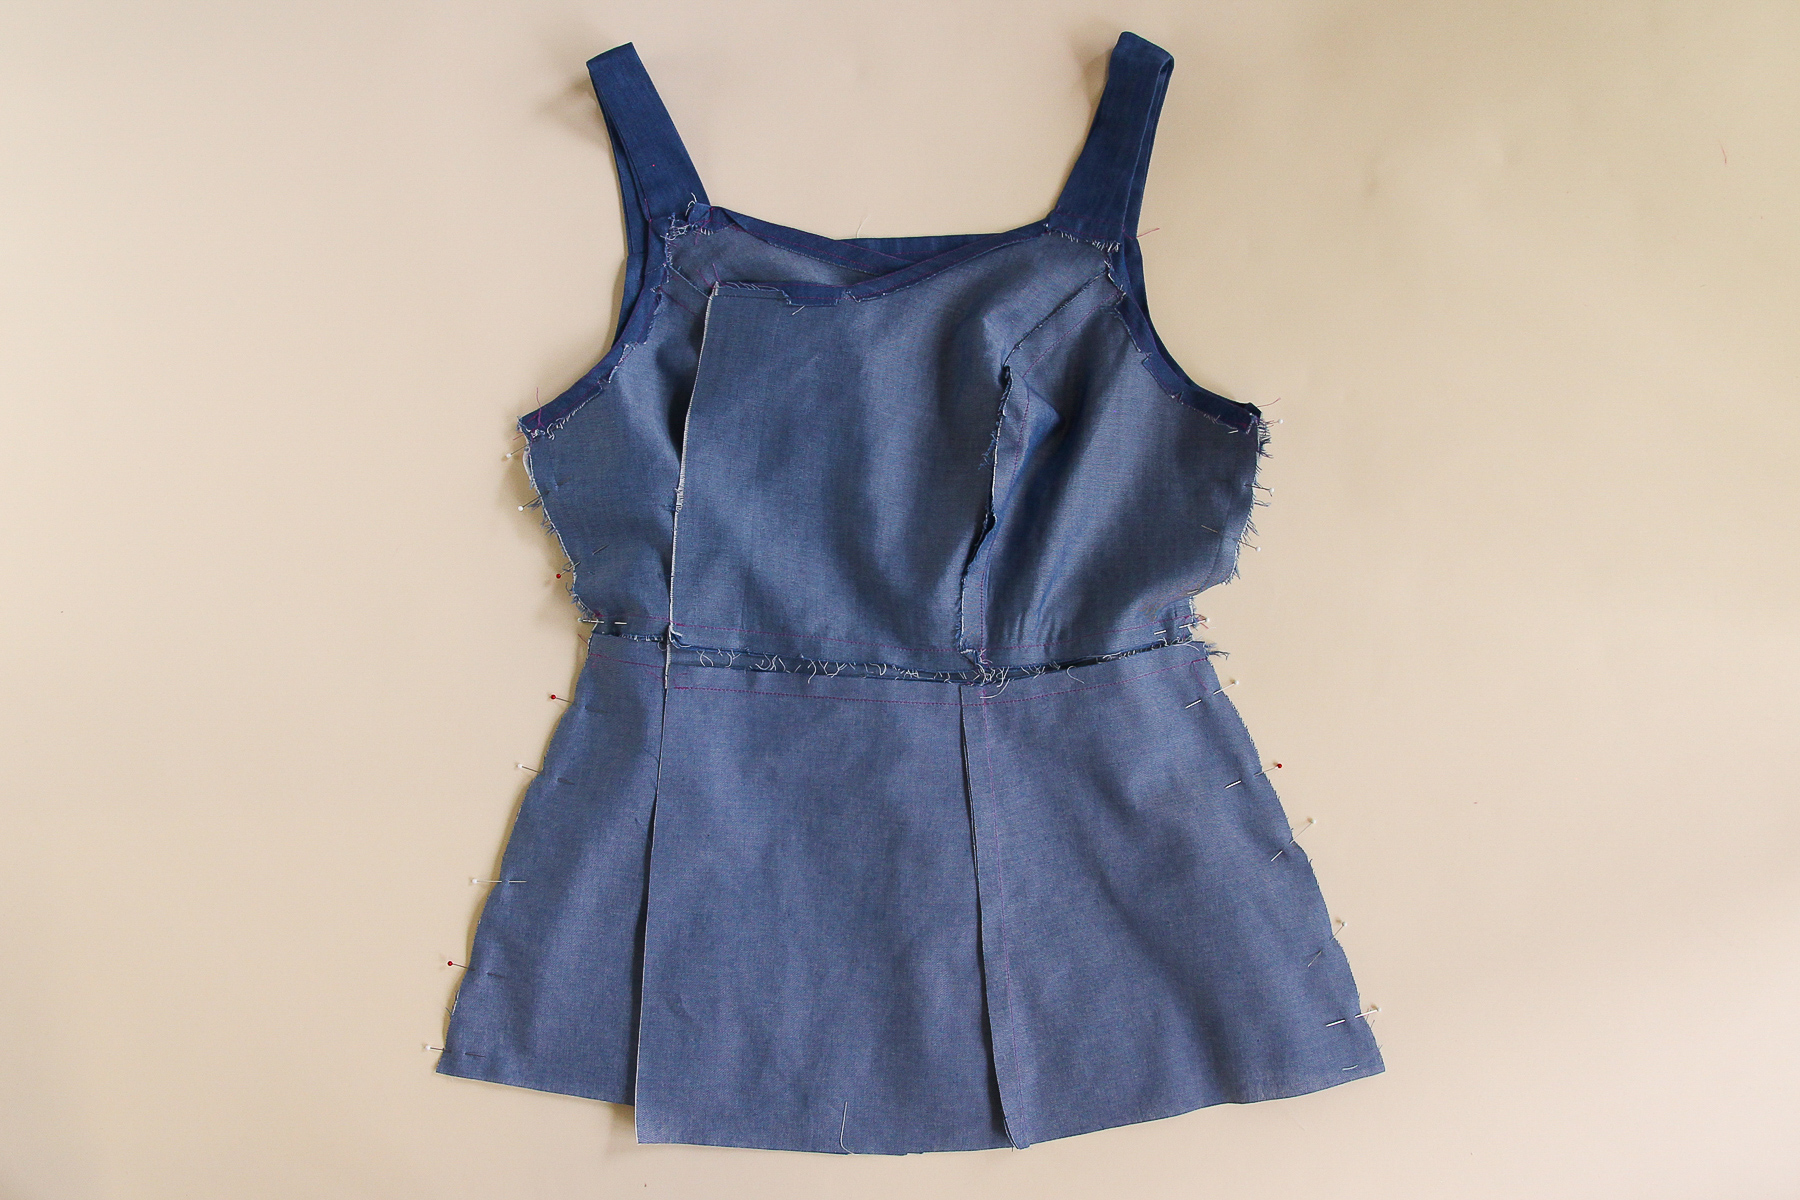
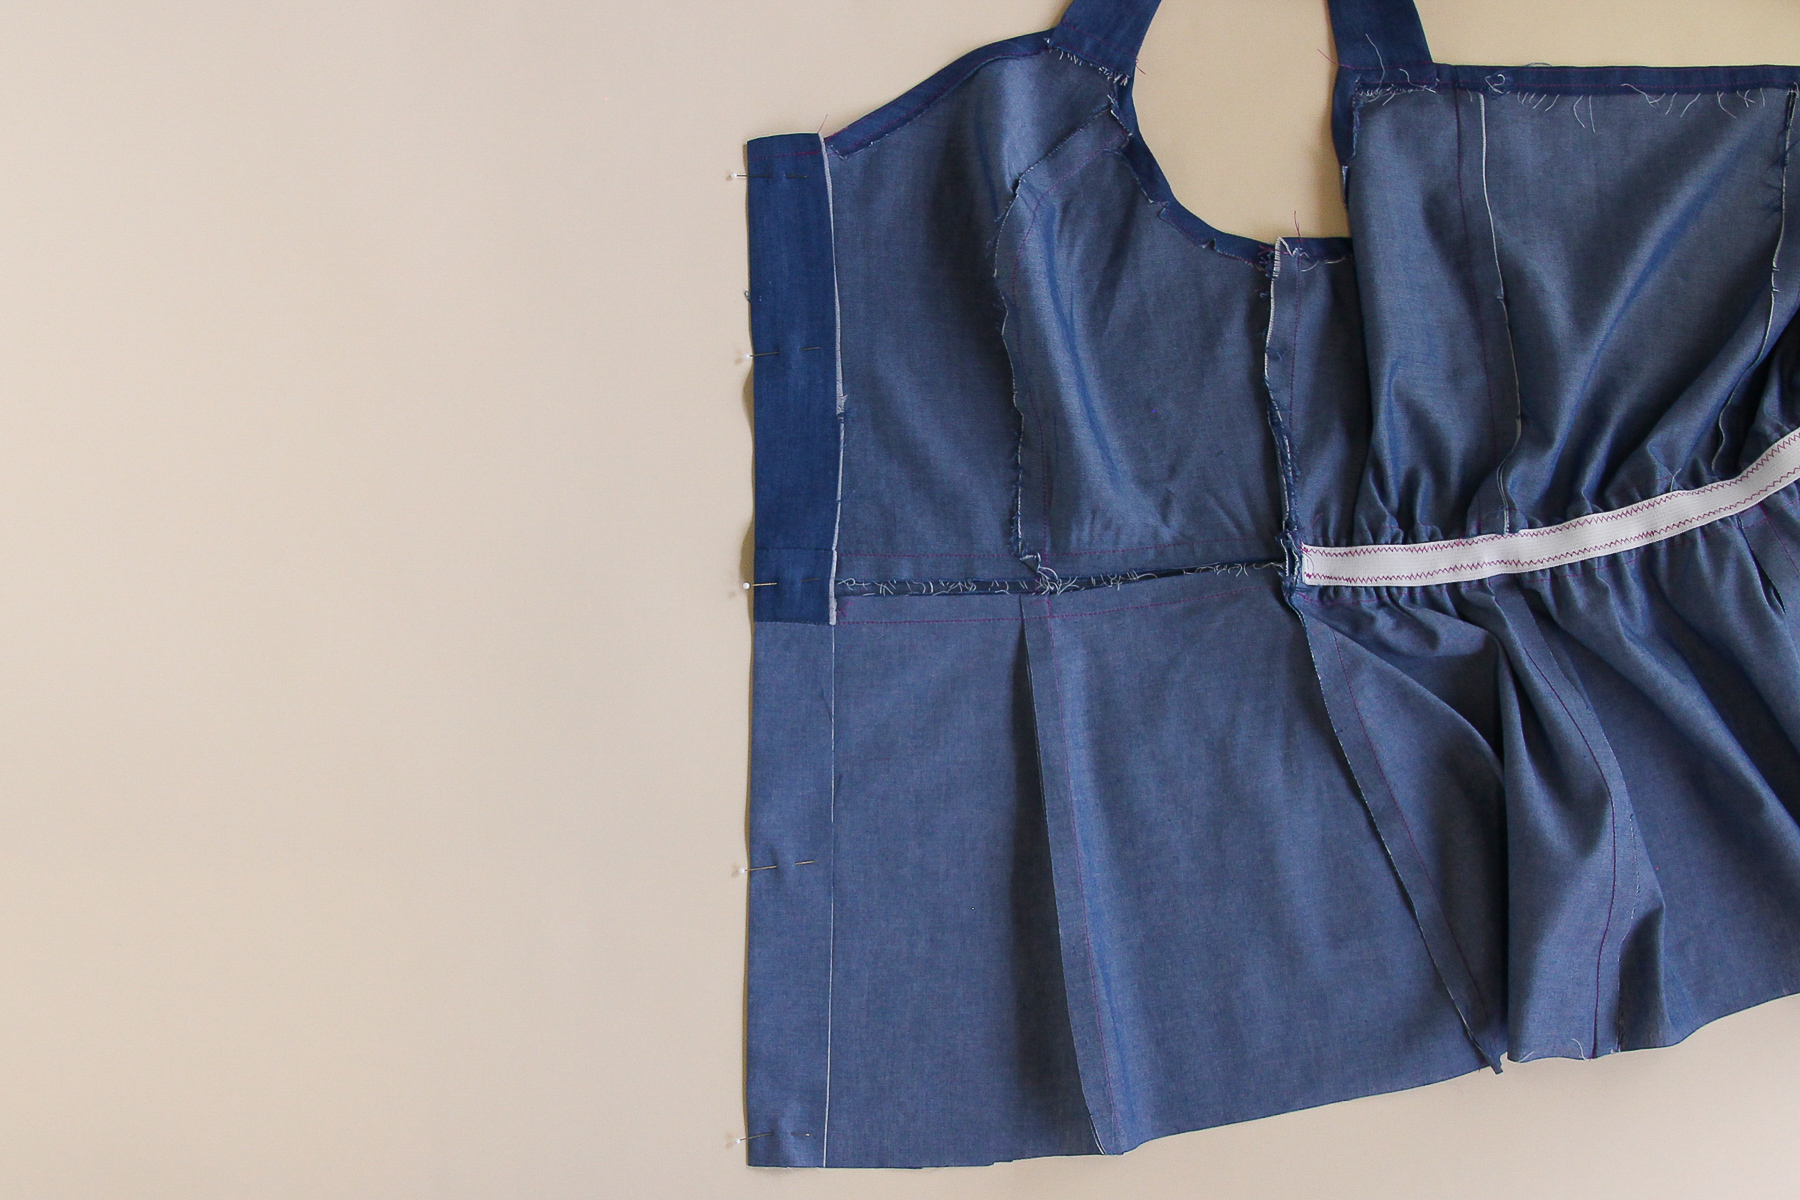
Alright, we’re making good progress! Time to sew the side seams.
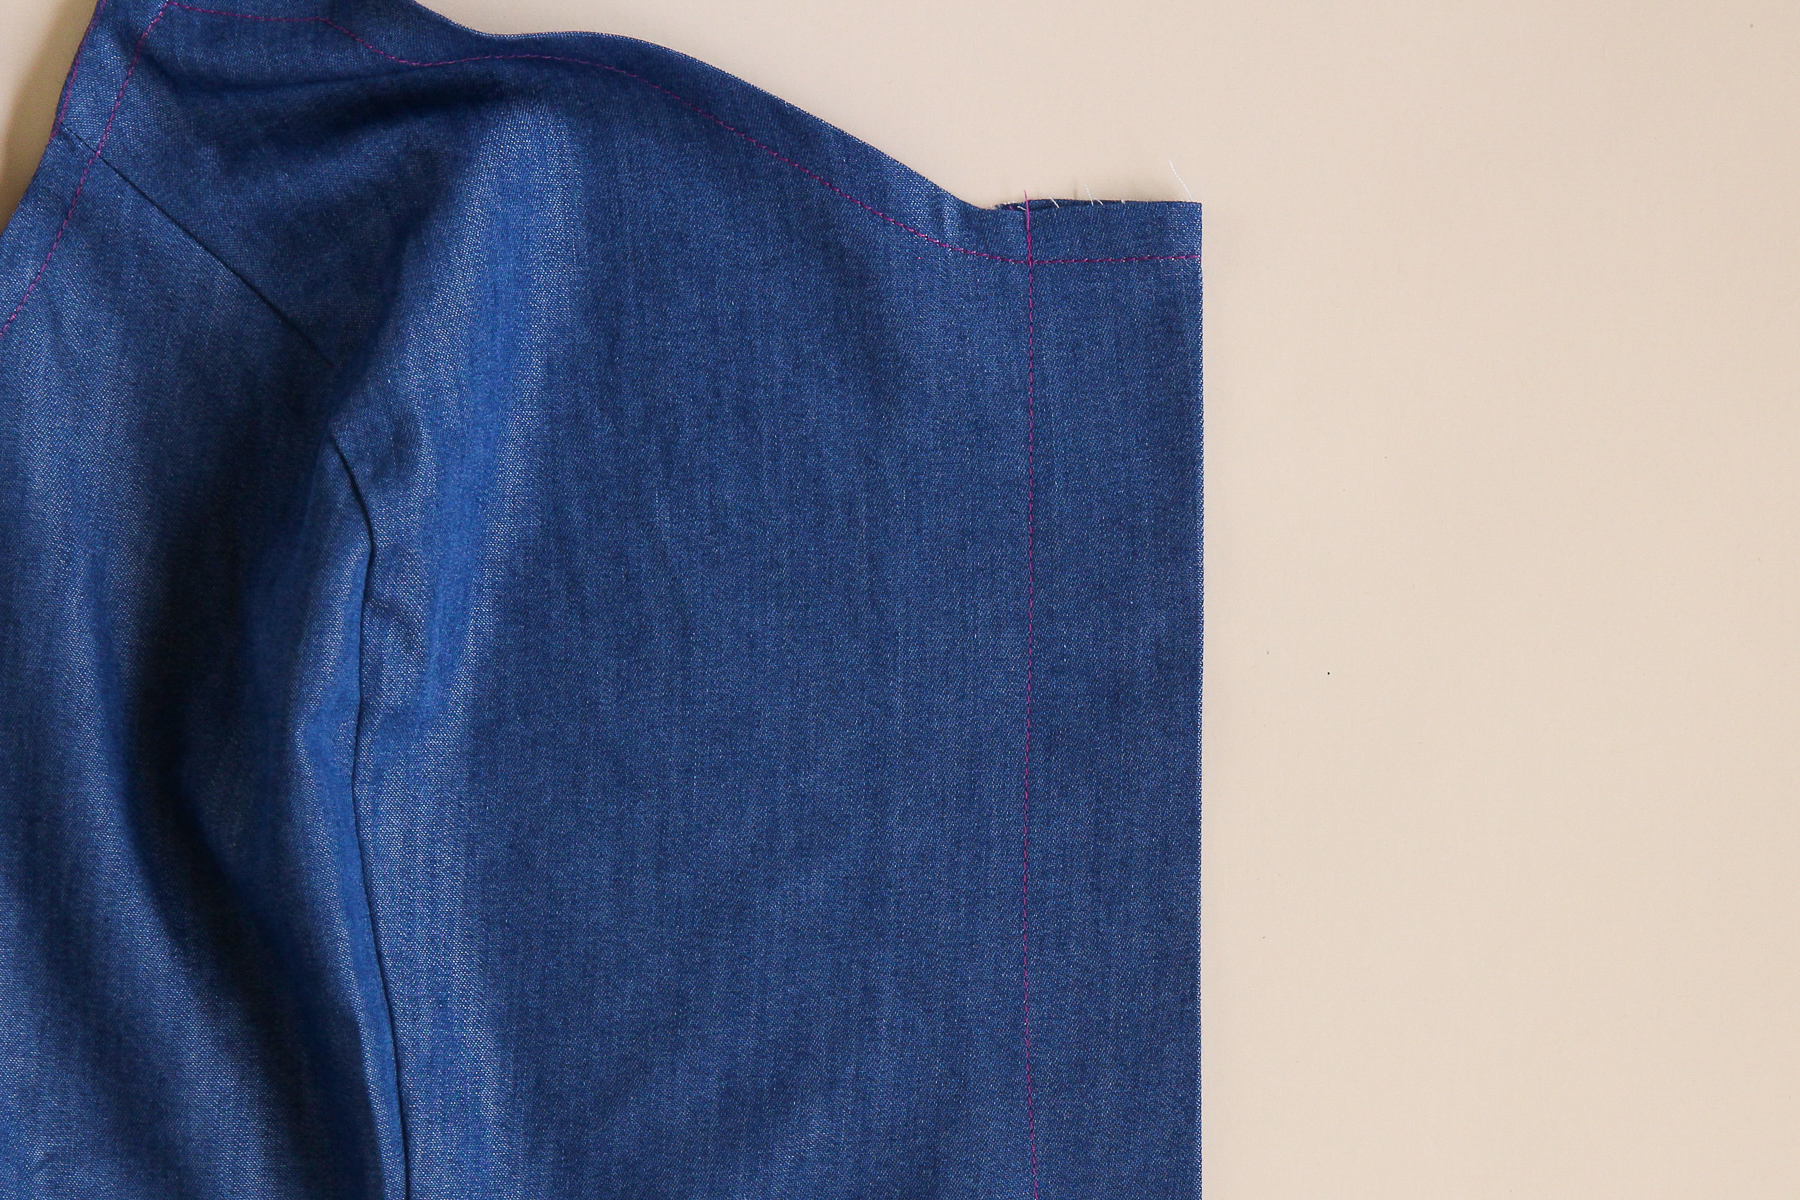
Line up the side seams at both sides and sew at 1/2” seam allowance.
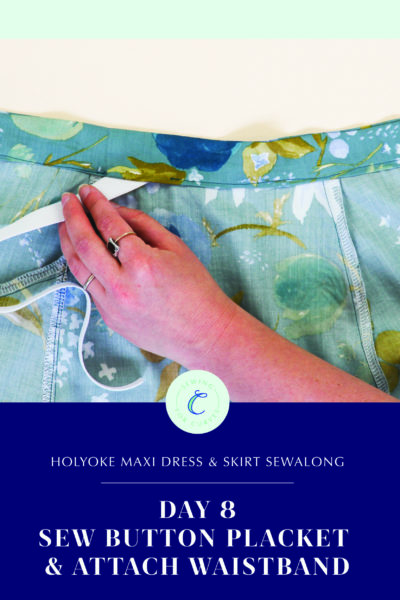
Now all we need to do is make our plackets and sew them closed.
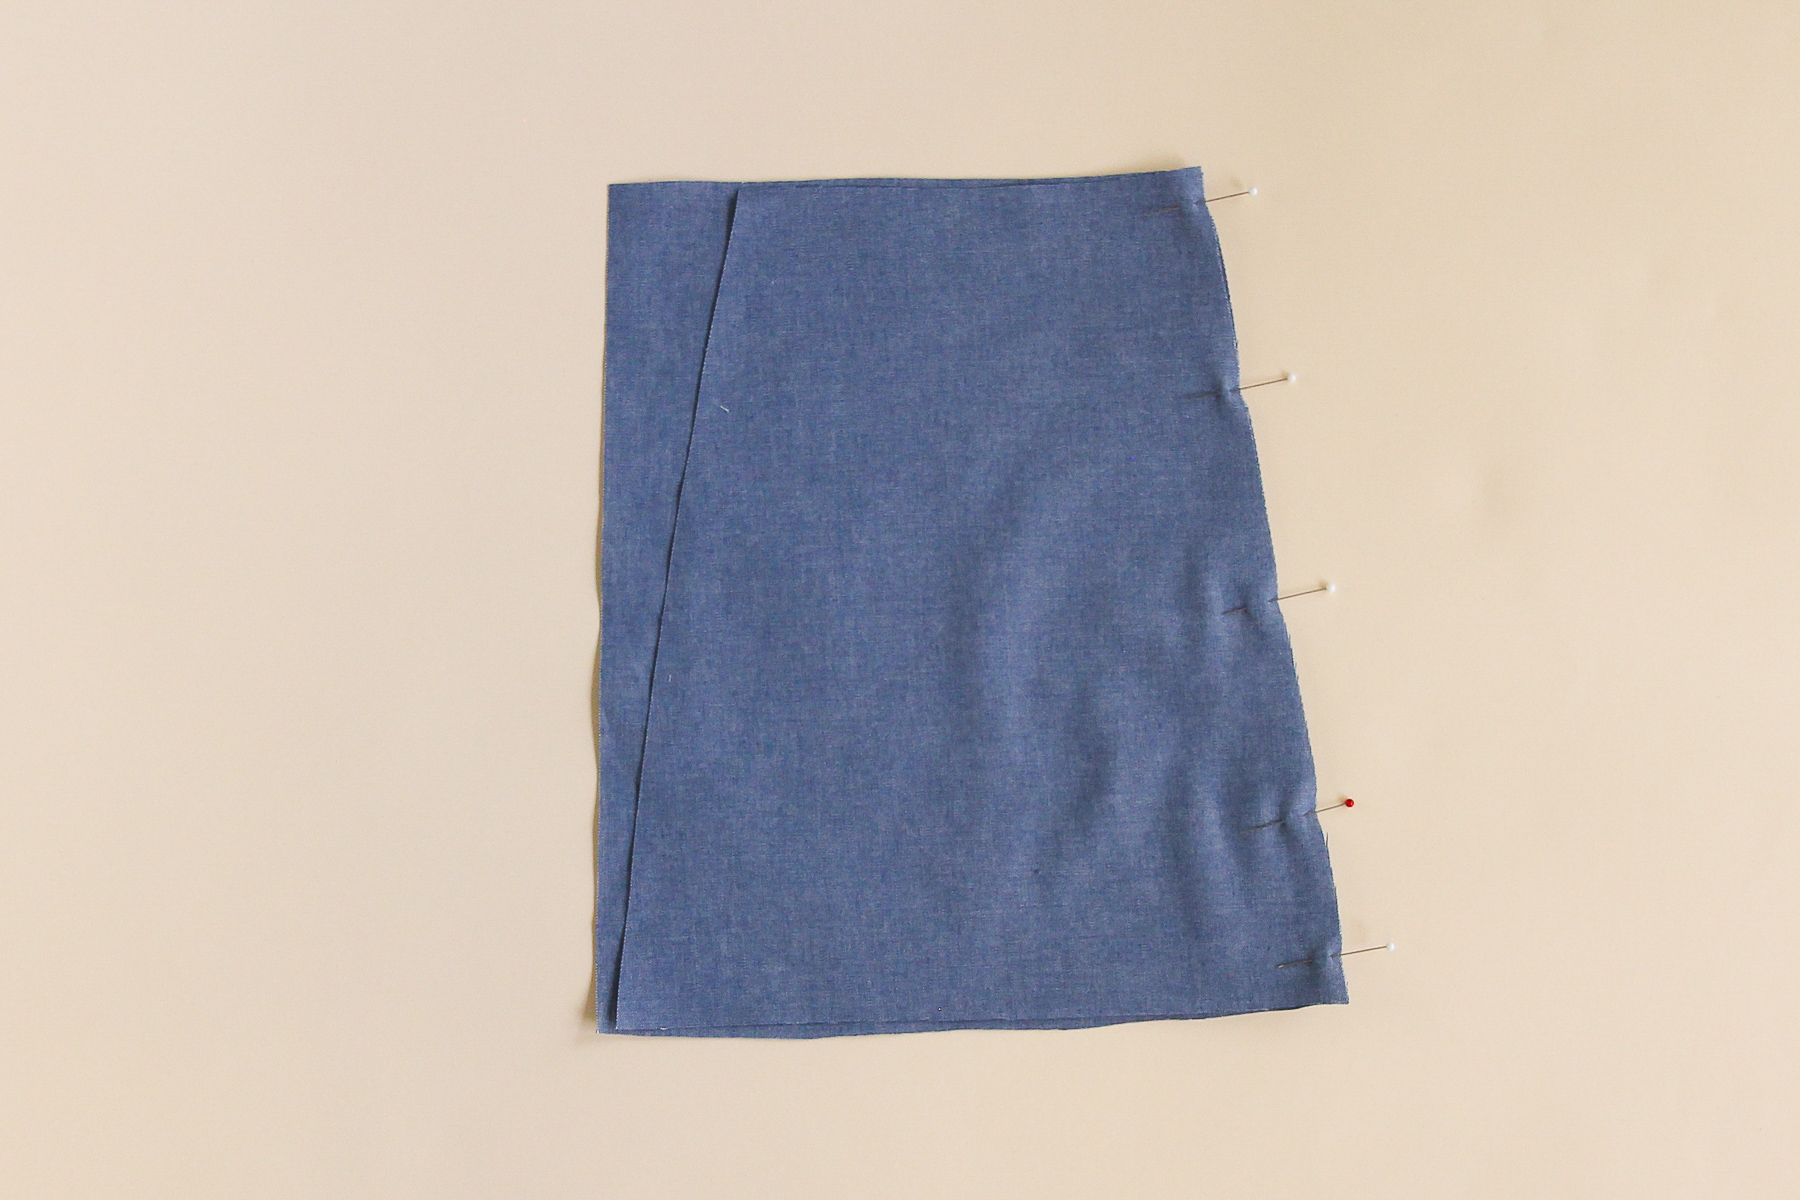
Start by folding the center edge of the right side (as worn) towards the wrong side by 1 3/4” (4.5 cm). Press and pin down. Topstitch from the right side, 1 1/4” (3 cm) from the edge.

Fold the center edge of the left button placket (as worn) towards the wrong side by 1 3/4” (4.5 cm) and press.
Layer the left button placket over the right placket and pin closed. Sew a line of topstitching down the length of the button placket, making sure you’re sewing both plackets closed.
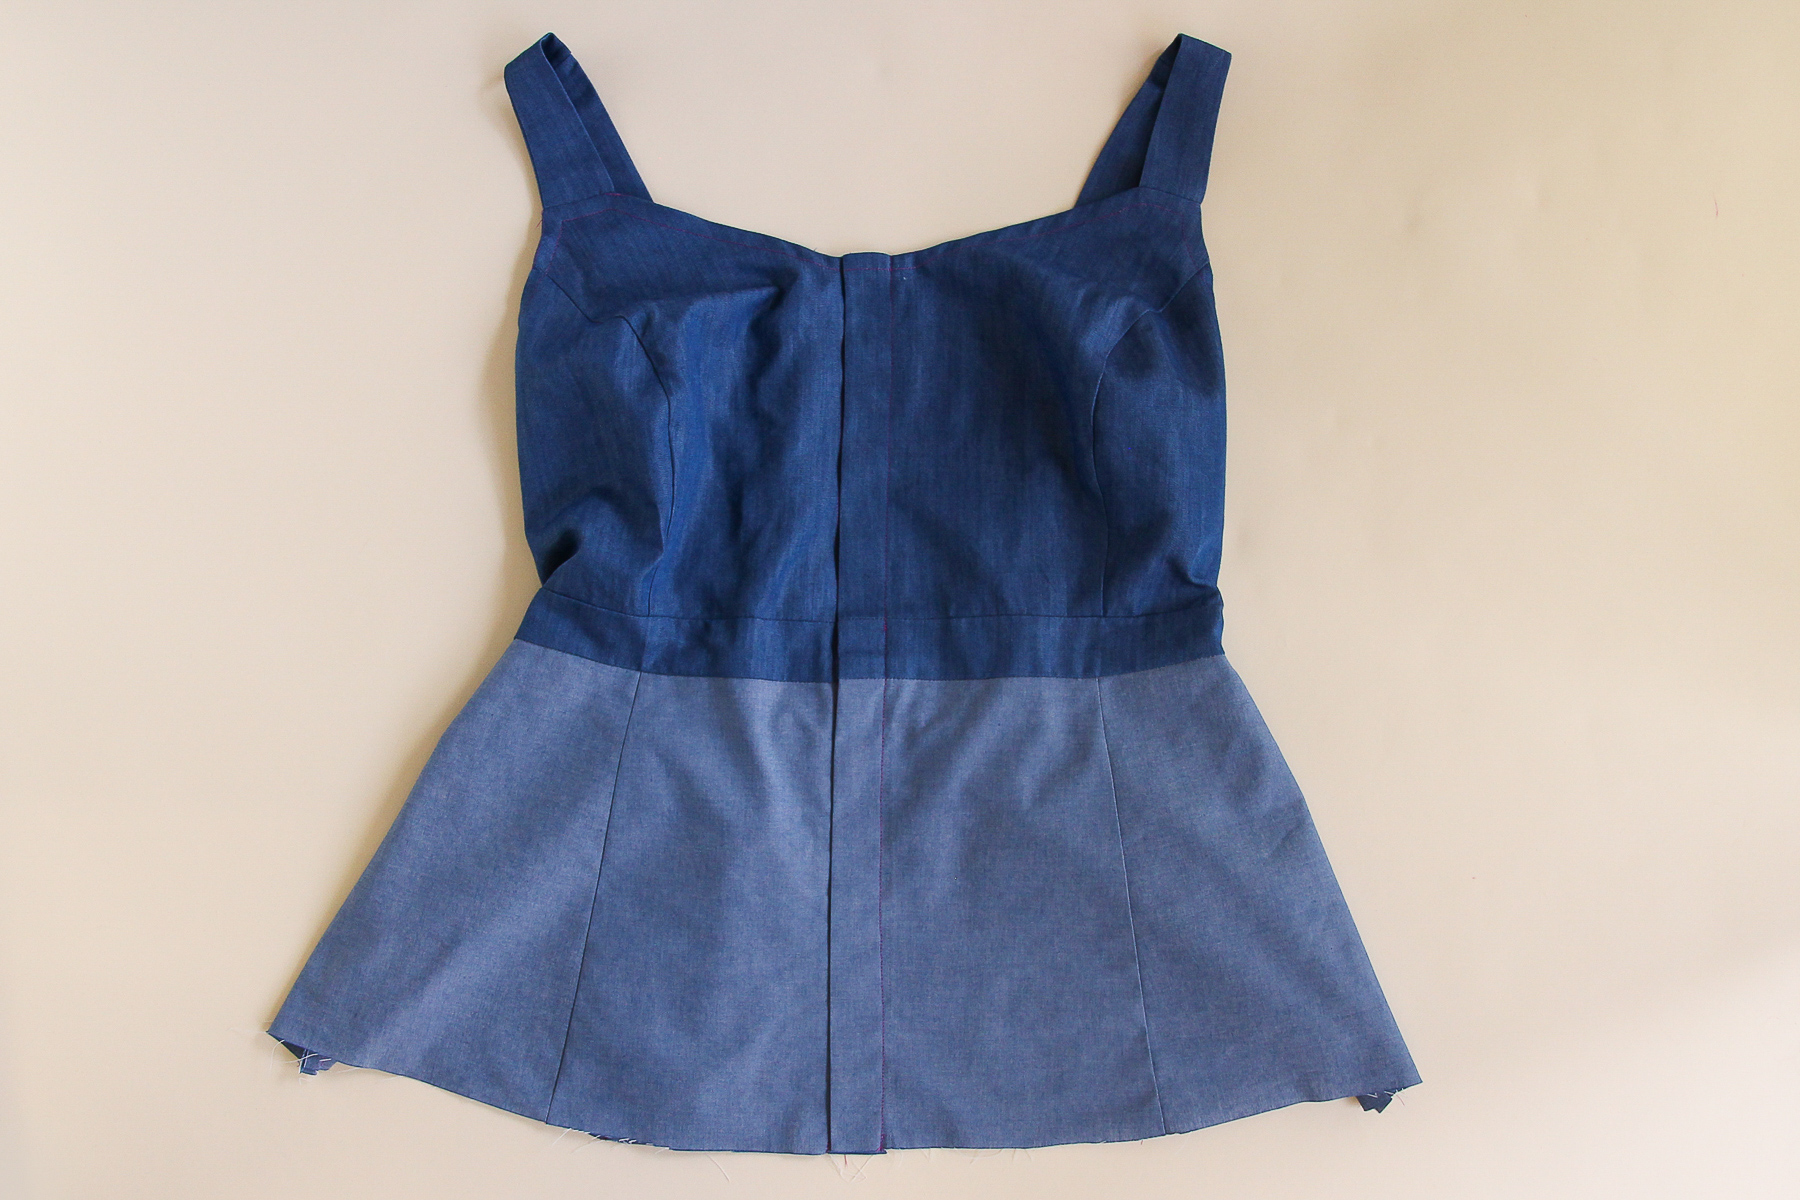
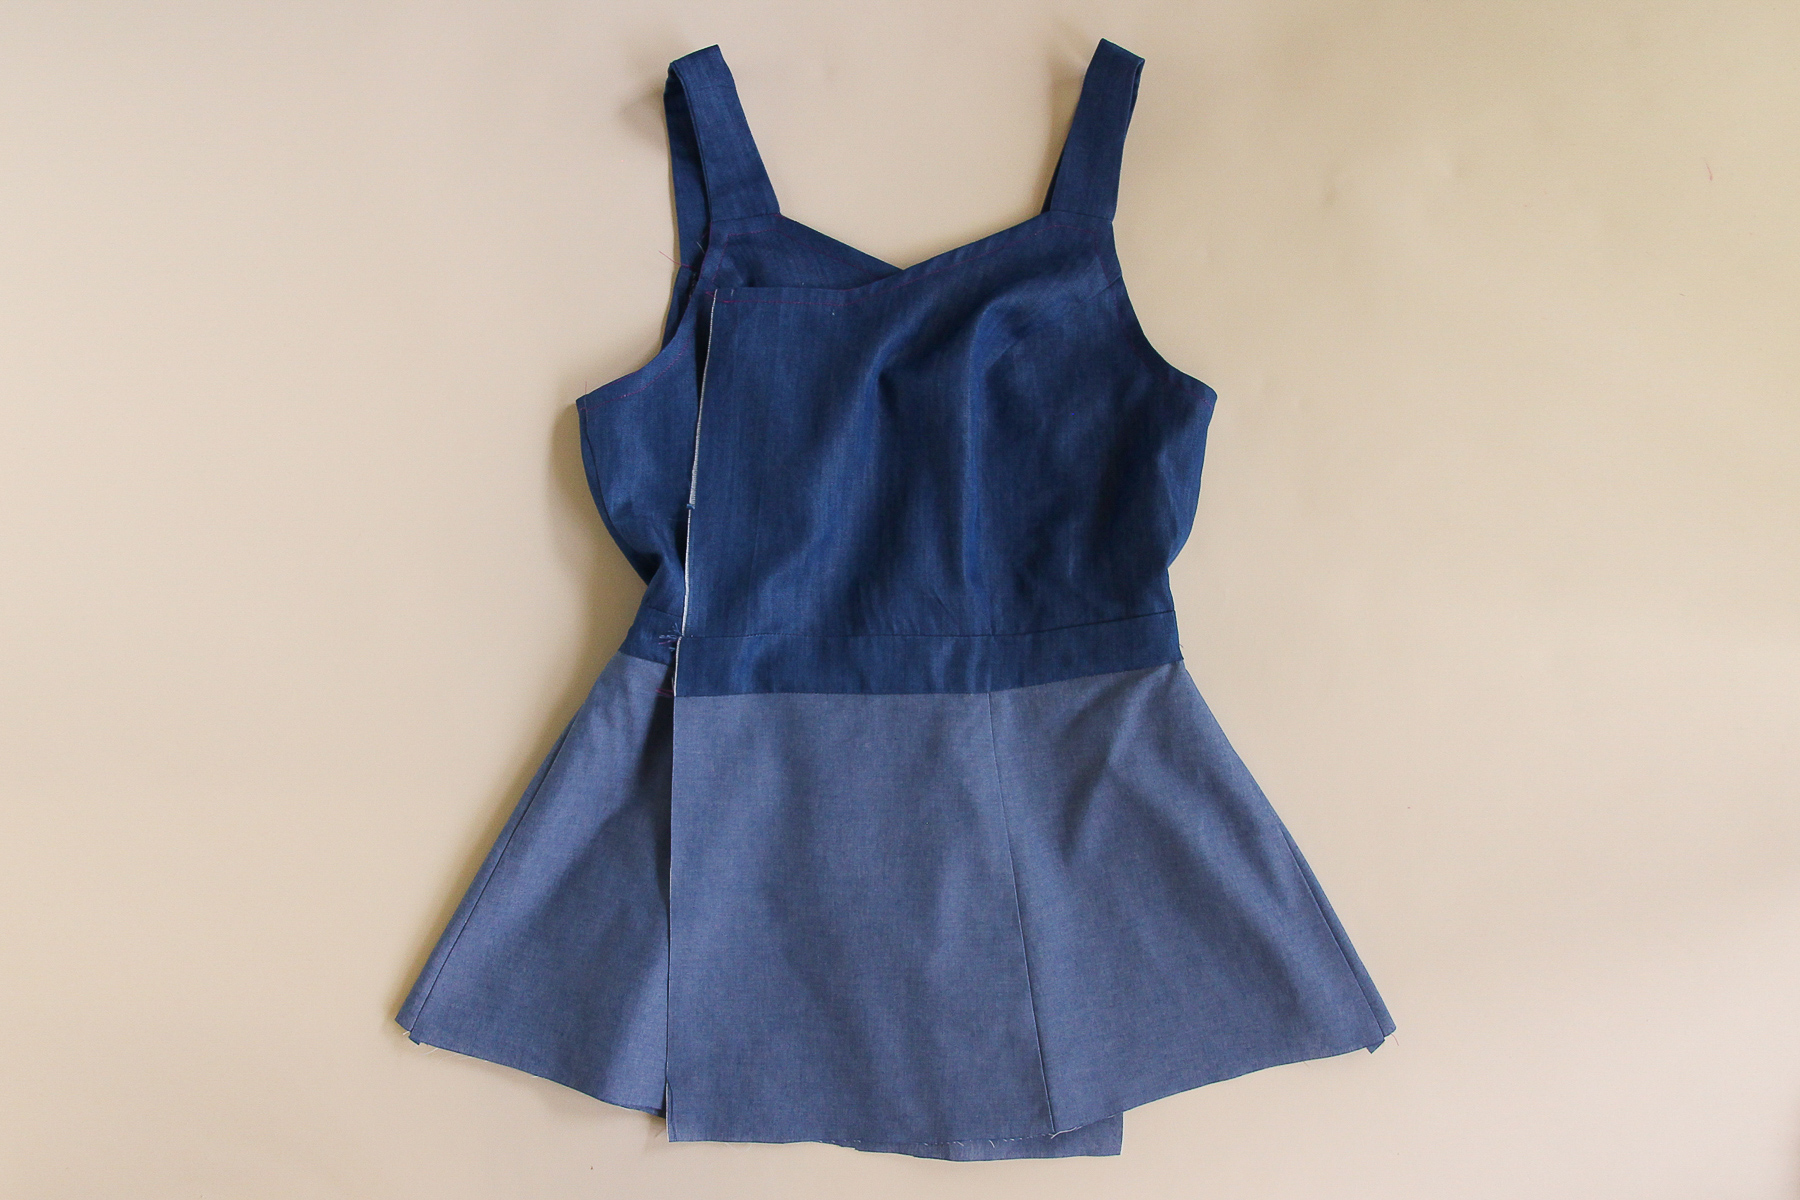
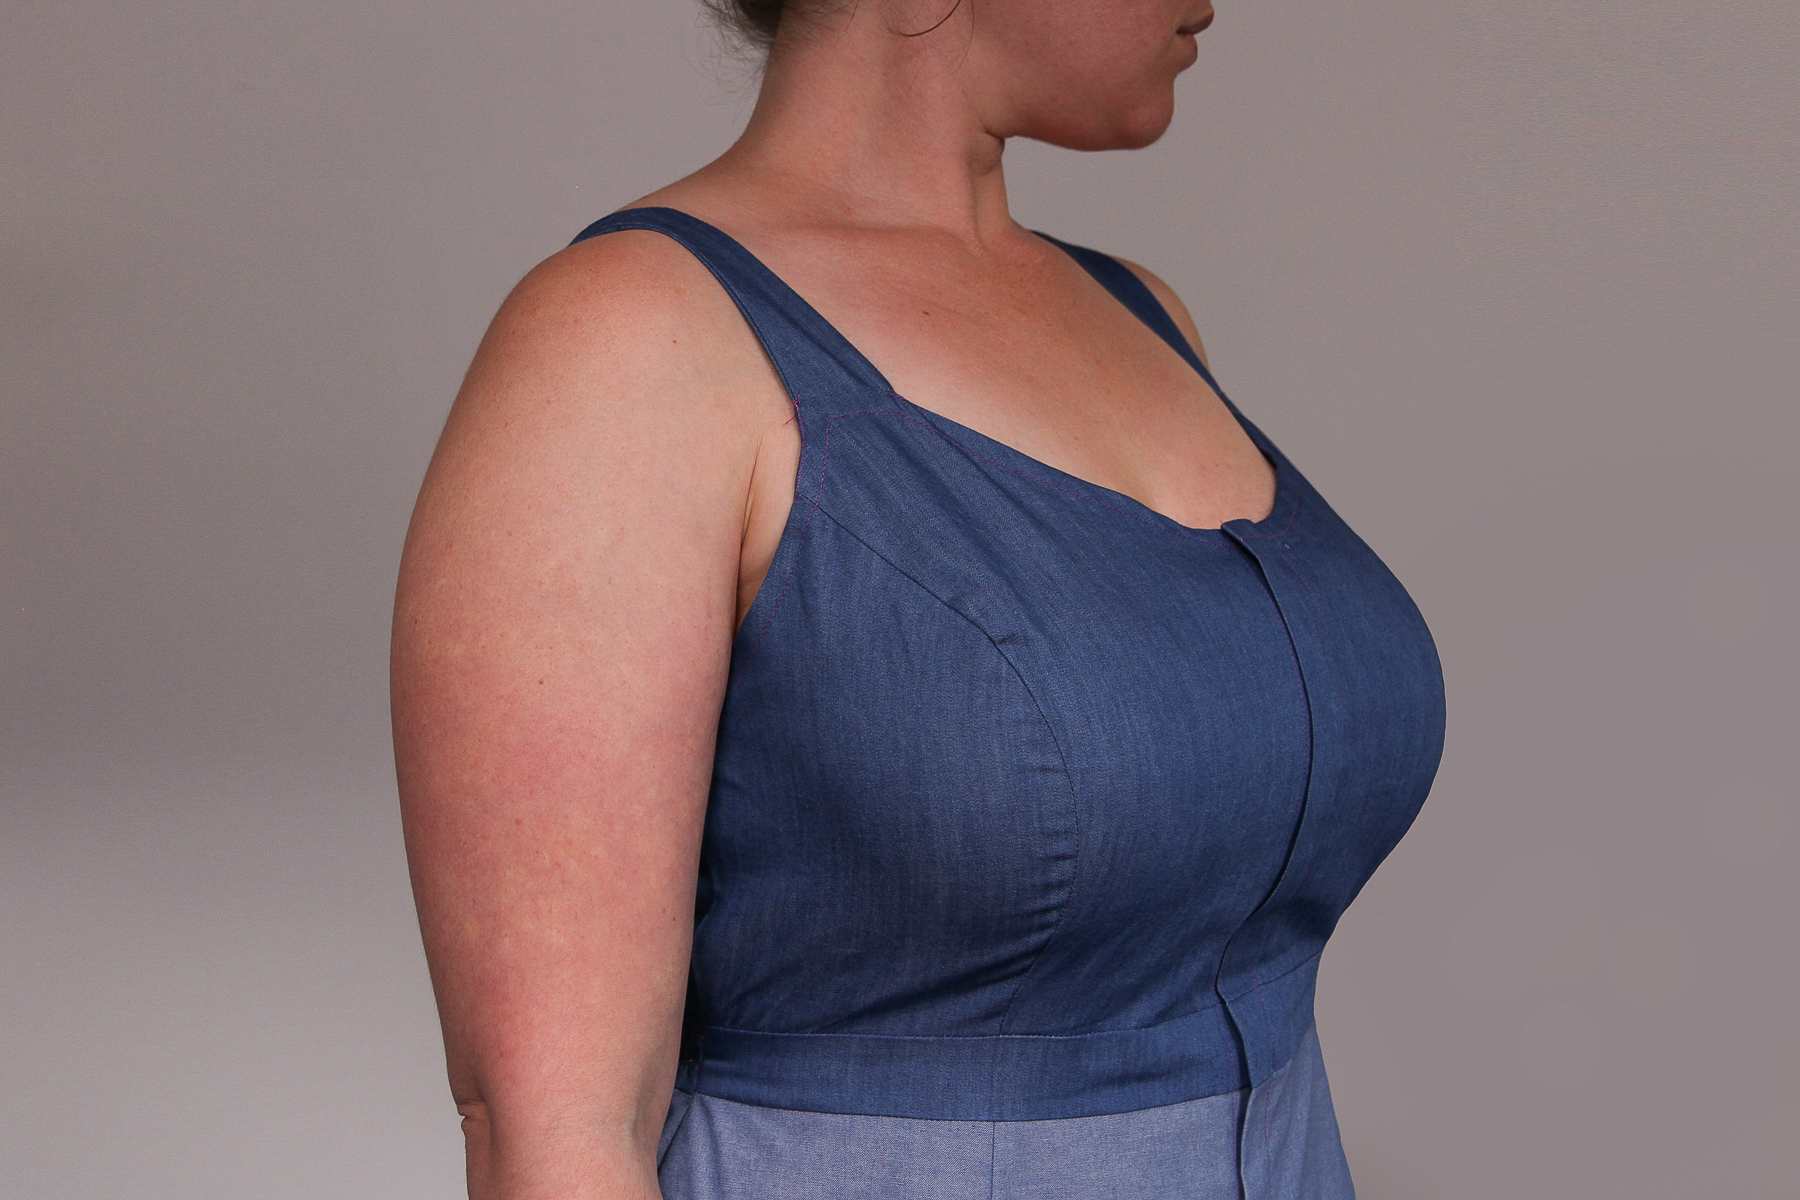
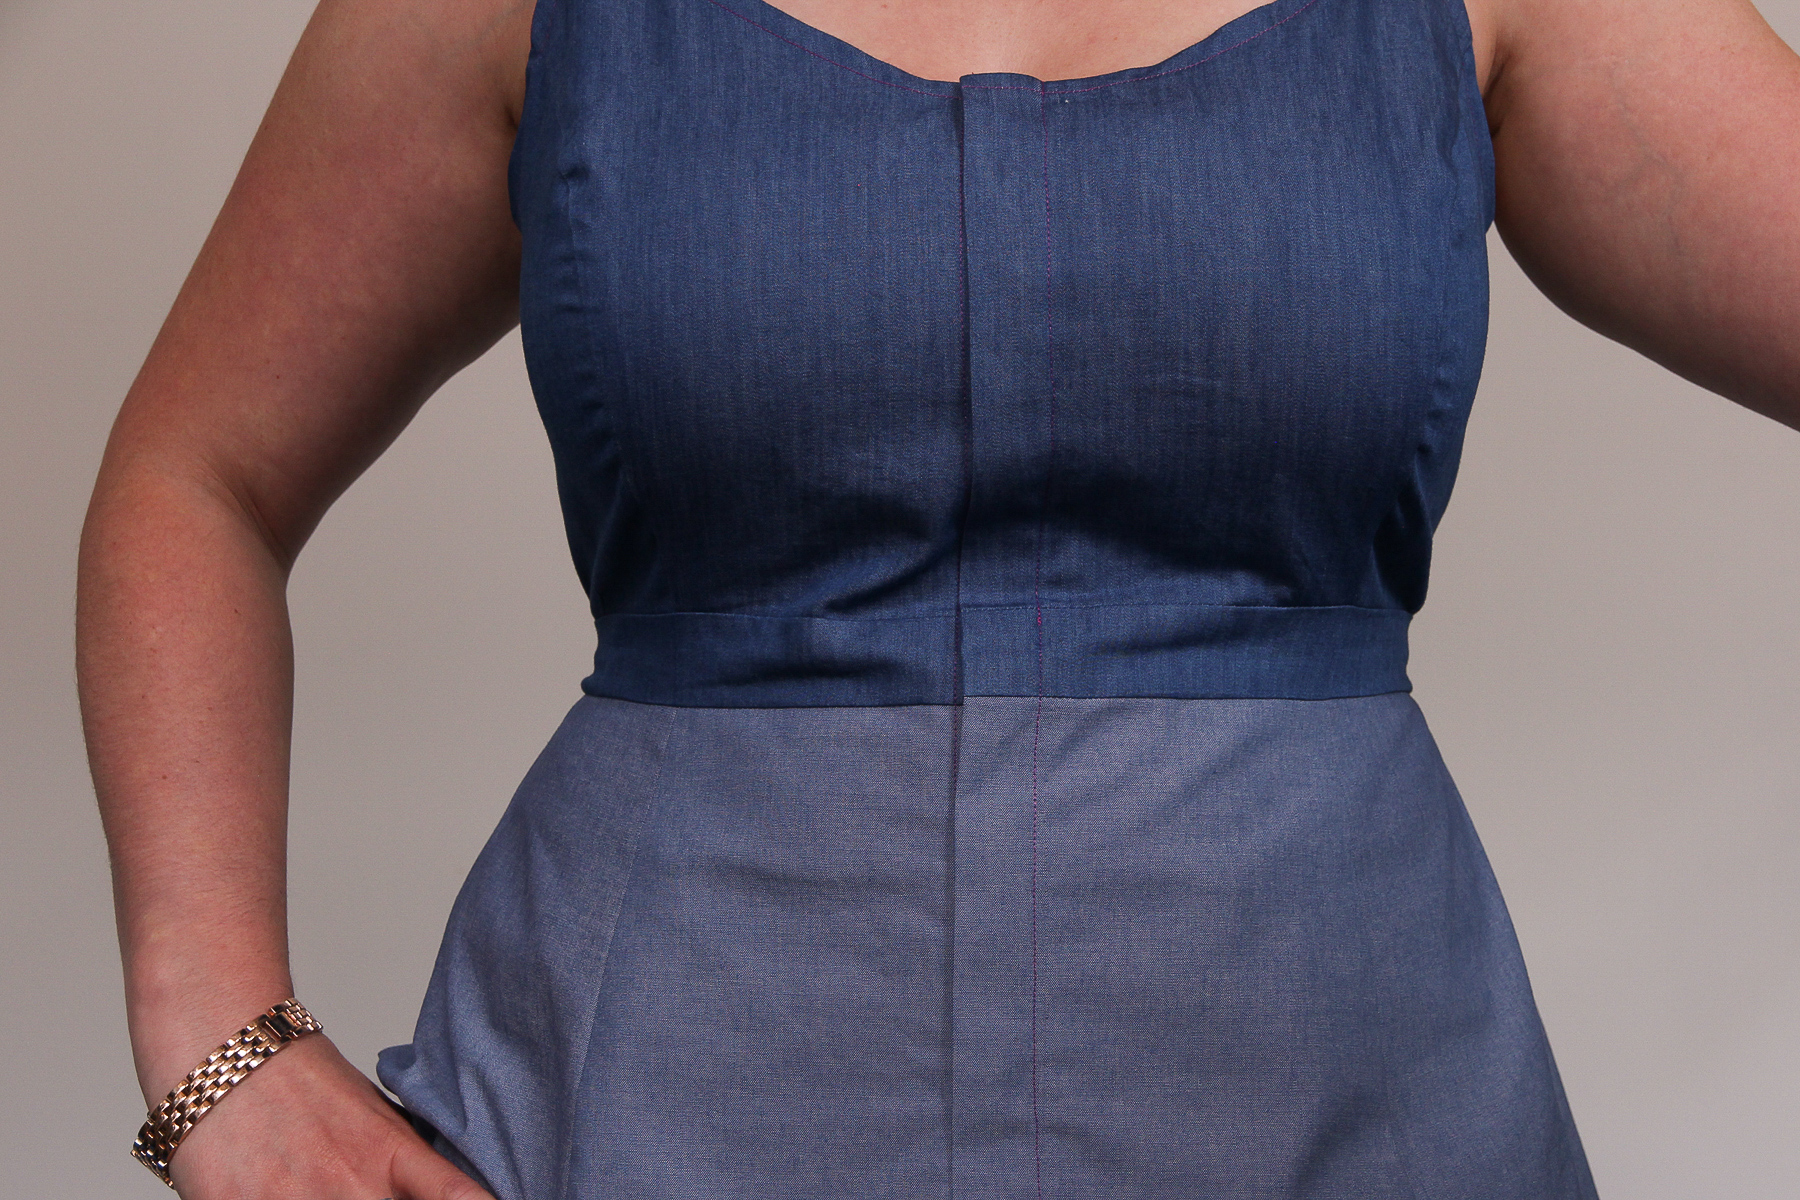
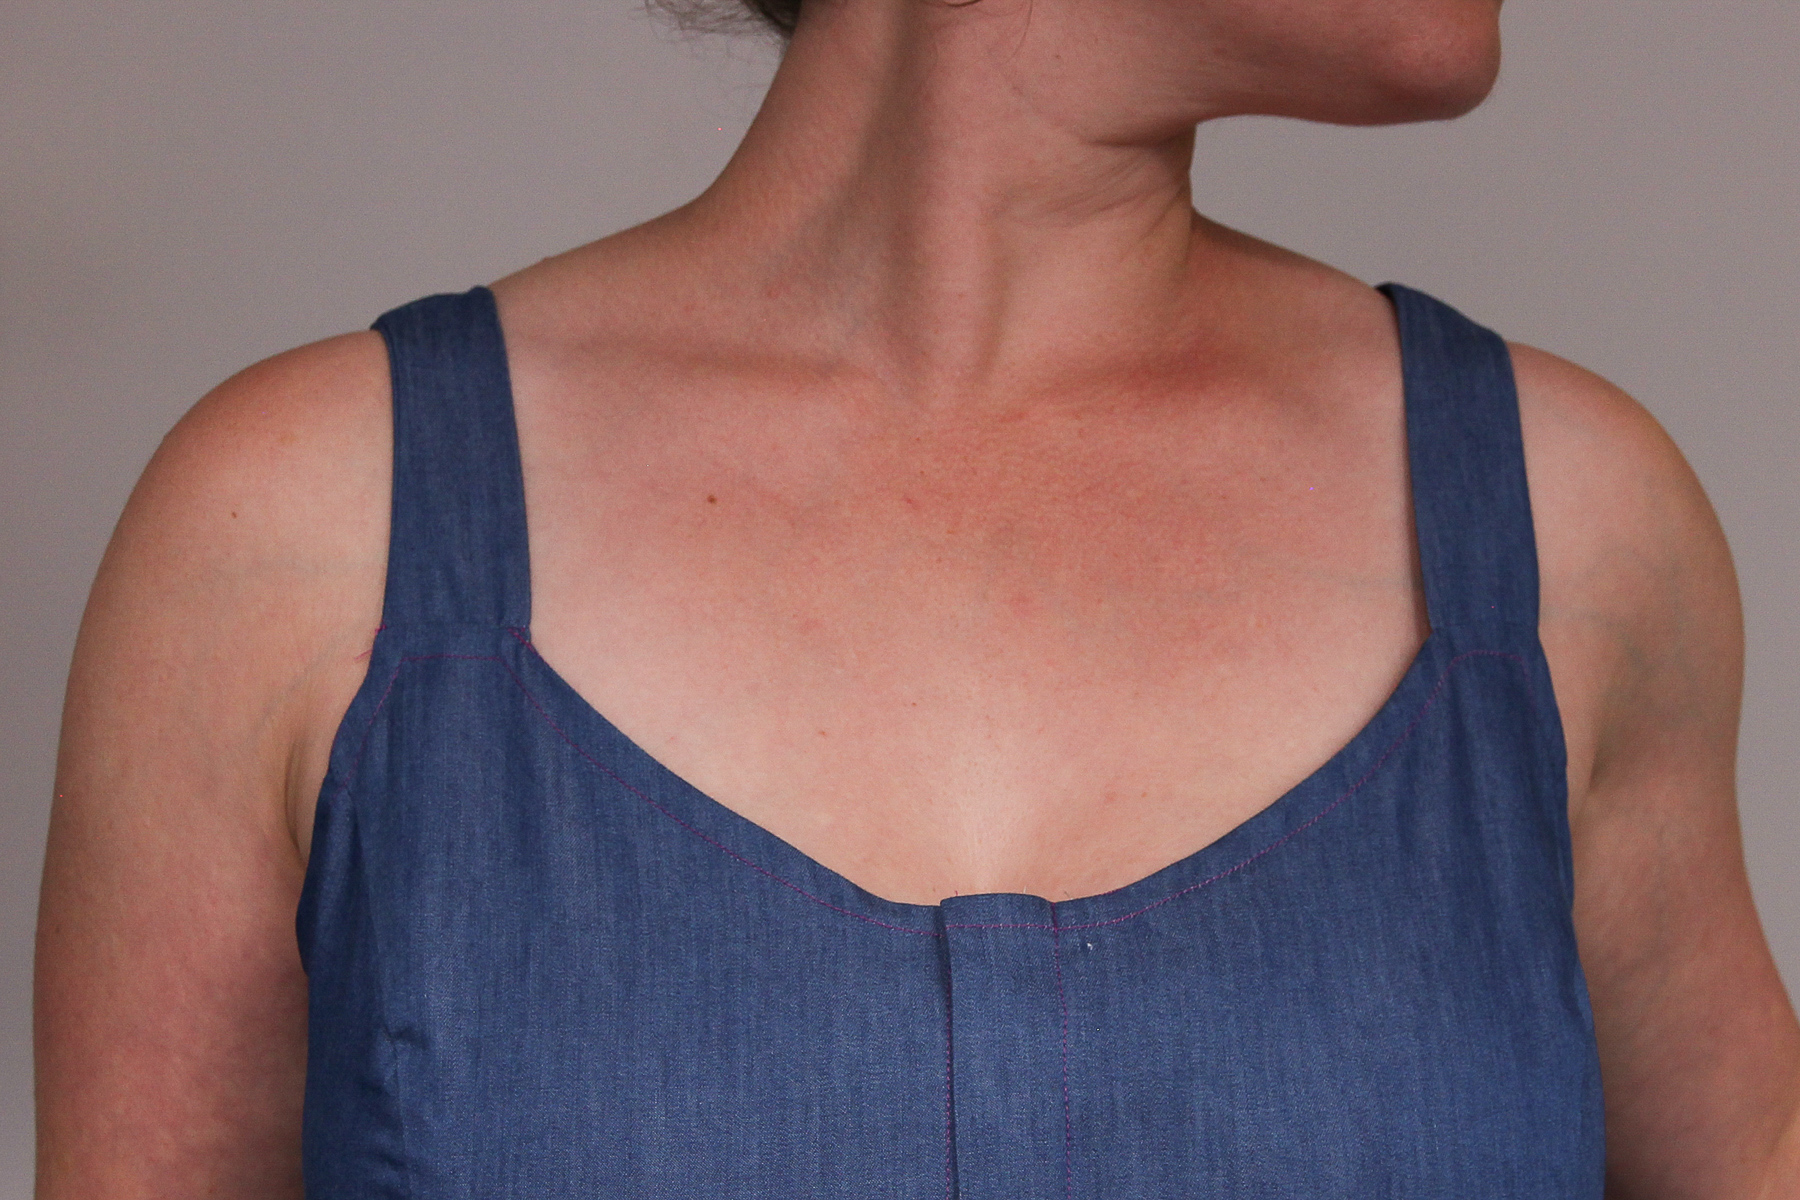
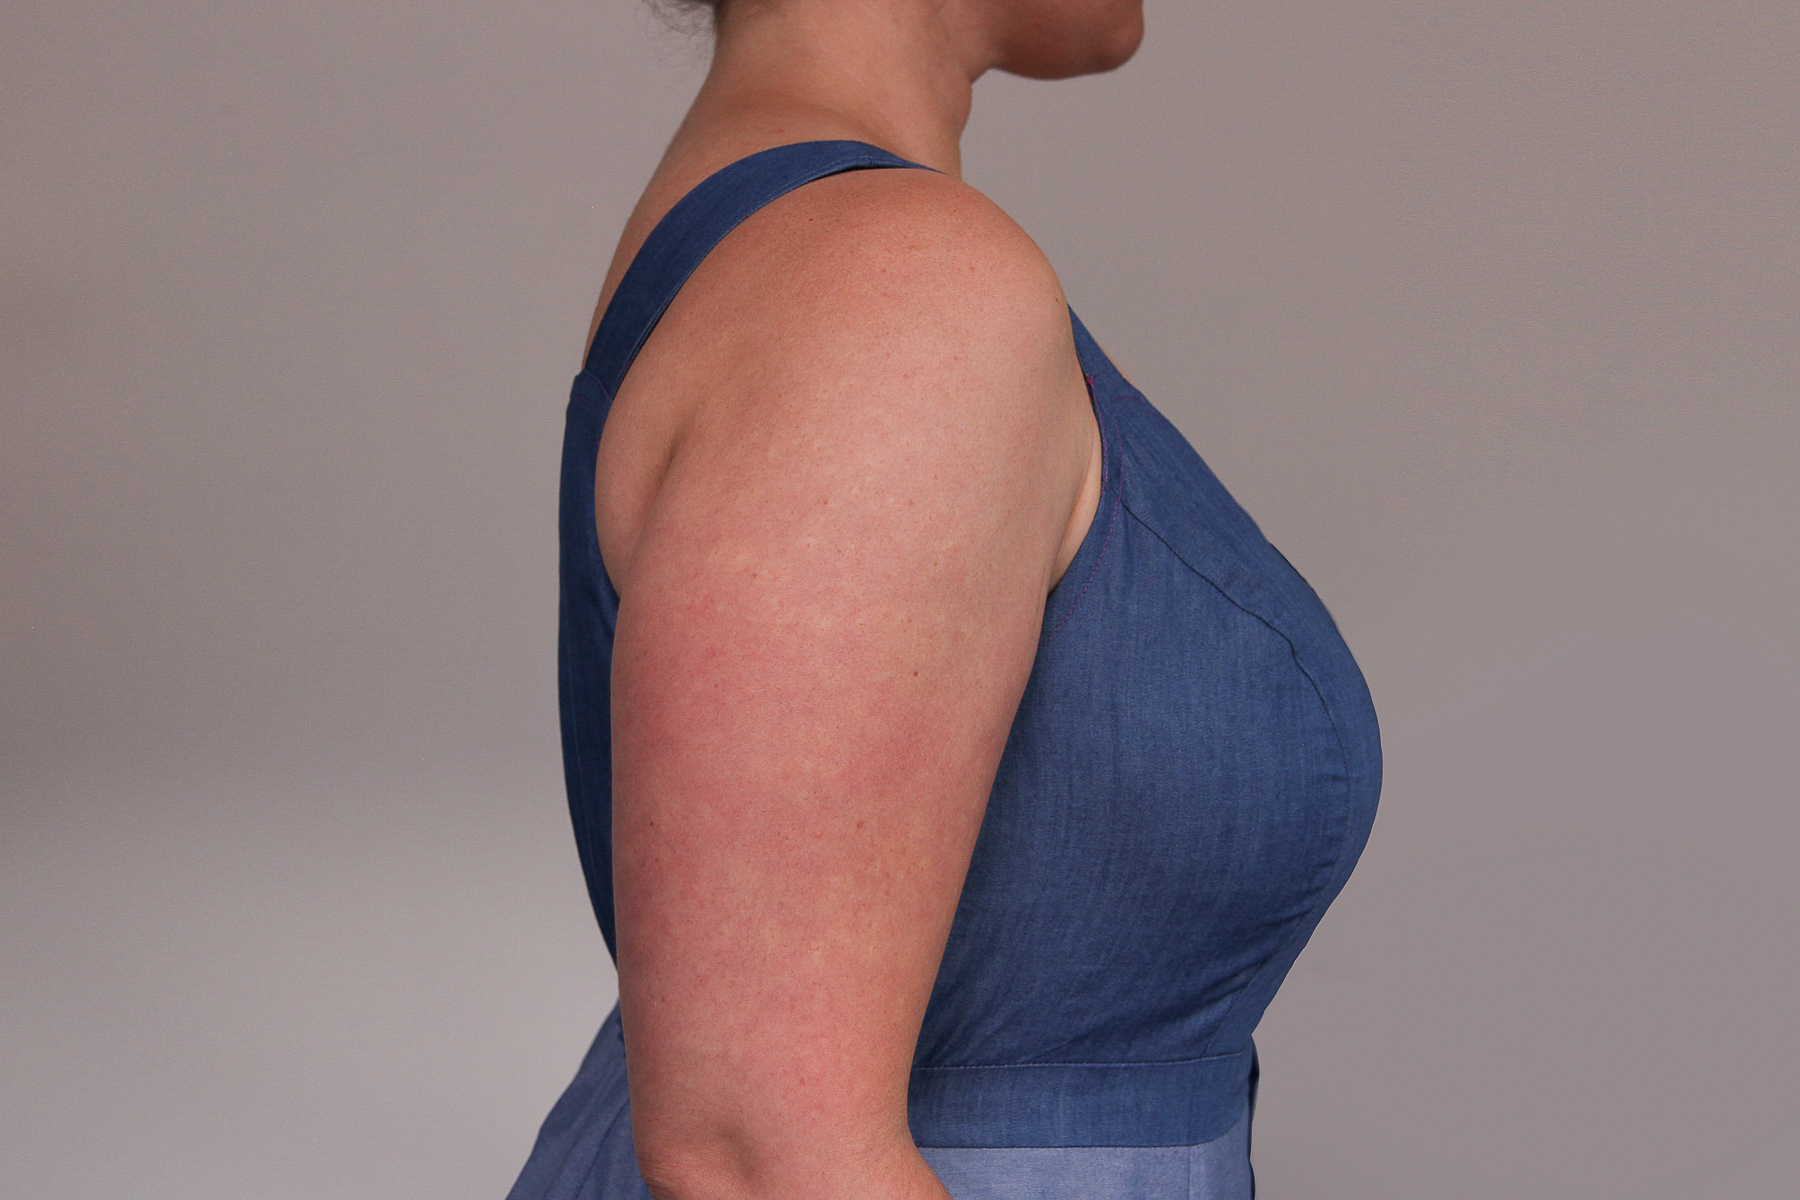
And there you have it! A Holyoke muslin ready to try on. Put it on and check your fit at the neckline, bust, waist, and hips.
Need a bit of fitting support? You can tap into a network of thousands of curvy sewists by joining the Cashmerette Pattern Facebook Group, or consider signing up for our online Fit Clinic. And you can always email us at hello@cashmerette with questions!
Aced the fit of the Holyoke? The only thing left to do is to start sewing your final Holyoke! We can wait to see what you make!

Haha, it looks VERY wearable! Obviously you’d want to sew the placket closed…. but looks very wearable!!
Thanks for sharing directions for this nice-looking dress, though I would never, never show my soft & flabby upper arms by wearing sleeveless. I would need to fit on some kind of sleeves.
“Fold the strap in half the long way, wrong sides together, and pin down the long open end. Sew at 1/2” (12 mm) seam allowance.”
Do you mean right sides together, as shown in the photo?
Oops yes! I meant right sides together. Thank you for bringing this to my attention! I’ve corrected the error.
-Ayelet at Cashmerette
Would it be possible to get a similar blog post for the Auburn blazer? I’m planning to make a true muslin (and then a hopefully wearable muslin!) and I’ve love to know what I can skip for such a complicated garment.
Hello, working on my Holyoke toile and I have a few questions. Q1: When grading up 2 sizes from bust to waist, are the waist notches supposed to still match or should they be moved? And if so what is the formula? I’ve watched the video and read the tutorial but missed this info somehow. Q2: I would like the straps to be 2 inches wide instead of 1.25″. How can I do that? And Q3: How would one go about lining the skirt of the sundress? Thank you.
Hi Louise,
We recommend grading patterns with princess seams at the side seam, which means that the actual princess seams and waist notches don’t need to move (and therefore stay aligned). Here is a tutorial for that: https://blog.cashmerette.com/grading-between-sizes-top-or-dress-with-princess-seams
You can adjust the straps to be wider if you’d like, and adjust the neckline/armhole to accommodate the wider straps.
There are different ways to line a skirt, and you can find lots of tutorials online. One way would be to use the same skirt pieces to create a skirt lining and then baste them at the waist edge, then treat it as one fabric when attaching the waistband.
-Ayelet at Cashmerette
I’m usually late to realize help, and so here I am. I want to put buttonholes down the front, but I don’t know whether to put them horizontal or perpendicular to the edge of front. Thanks for helping me!
Generally, those types of buttonholes would run vertically.
-Ayelet at Cashmerette
Hi there. I have made a toile of the bodice in a size 4 grading to a size 6. I believe the toile indicates that I need to lower the bust apex and I have followed your blog instructions for this and will recut today. However I also found that having closed the button placket ( which is a fab idea to stop the gaping) I was really tricky trying to get the size 6 with elastic over size 4 C cup boobs. I have made the toile in calico so there is no give whatsoever but wondered if you had another tips.
You can grade out the back piece at the waist to either an 8 or 10, depending on how much extra room you need, but use the same size elastic to gather it back in – this will just result in a more gathered back. Hope that helps!