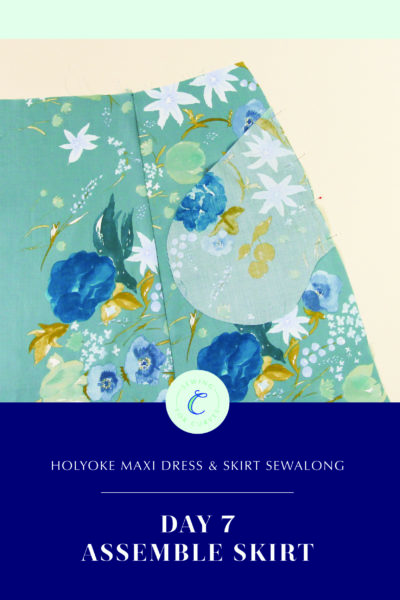
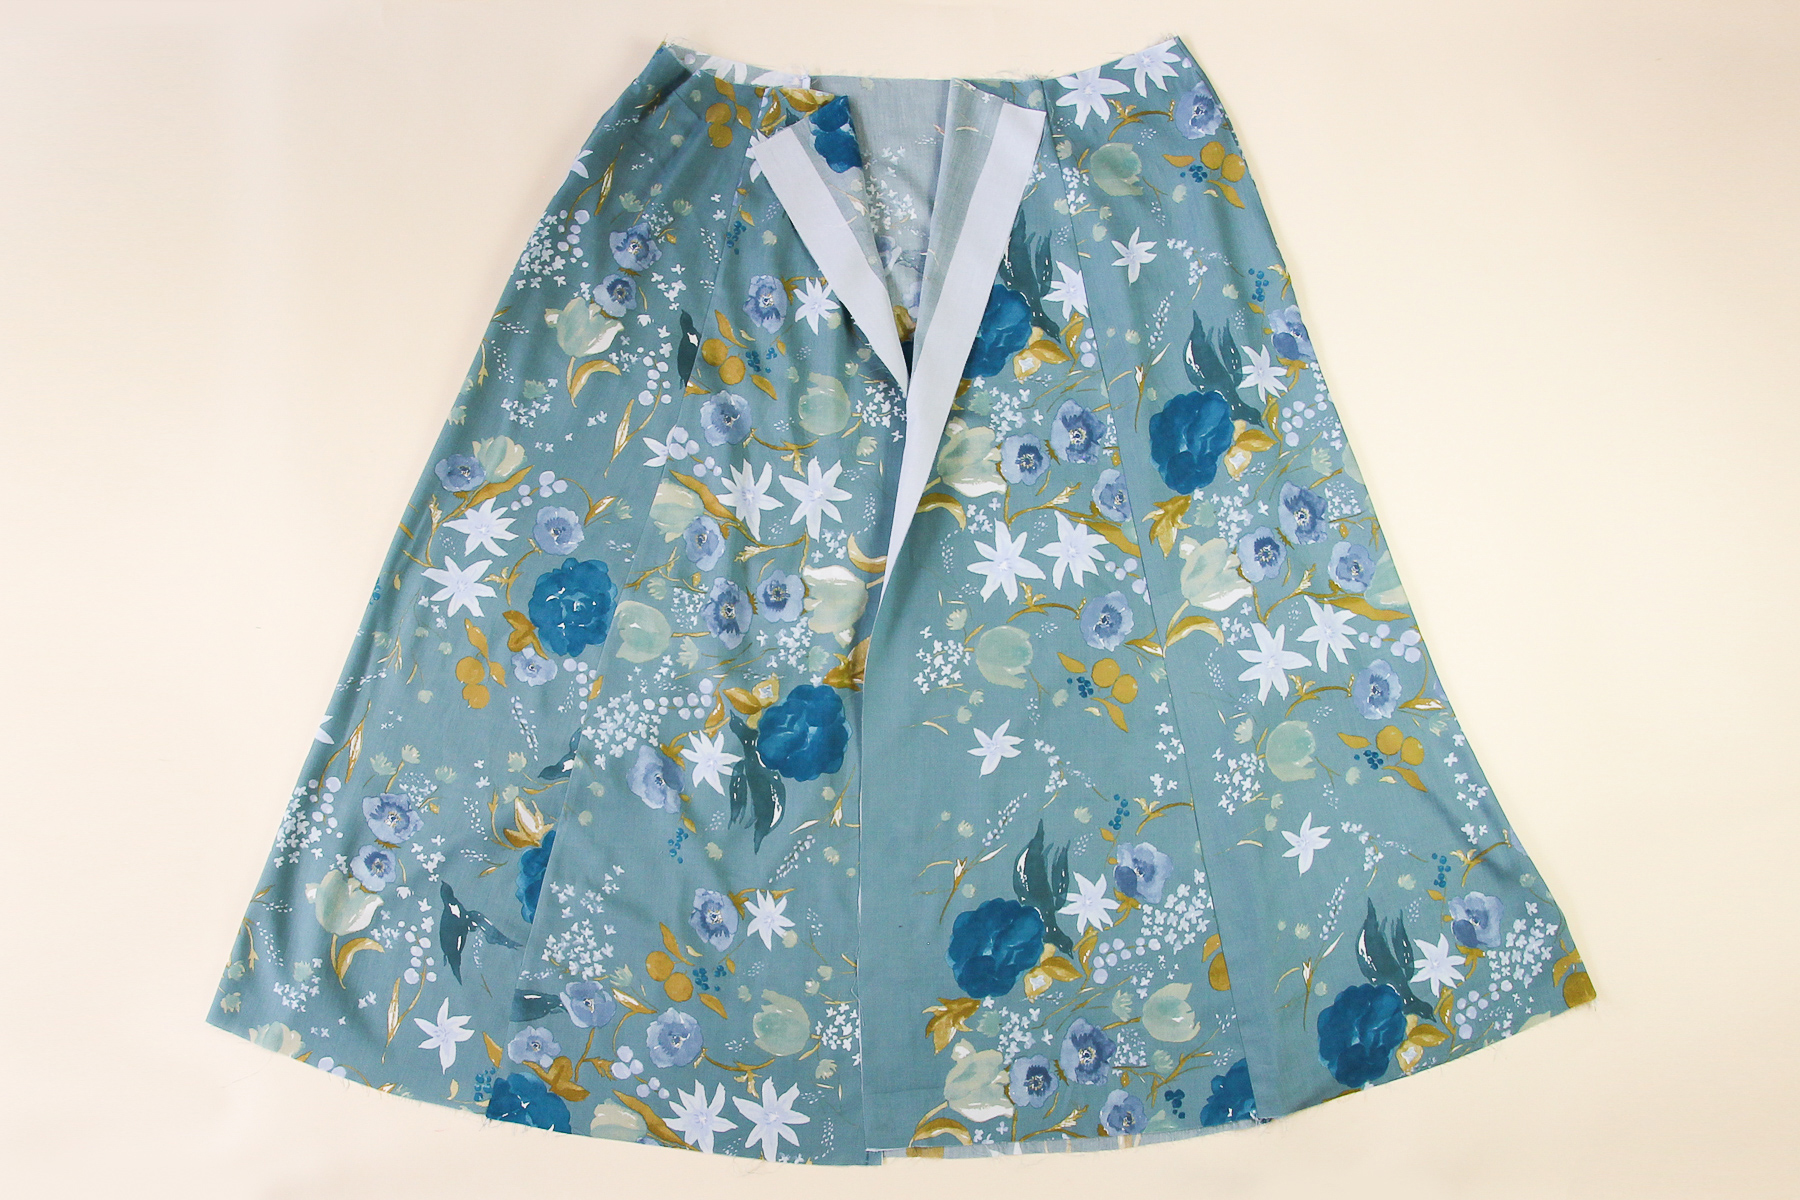
Welcome back to the Holyoke Maxi Dress and Skirt sewalong! Last time, we assembled the skirt. Today, we’re going to be sewing the button plackets and attaching the waistband!
(Need to jump to a different day? Head over to the main Holyoke Maxi Dress and Skirt sewalong page.)
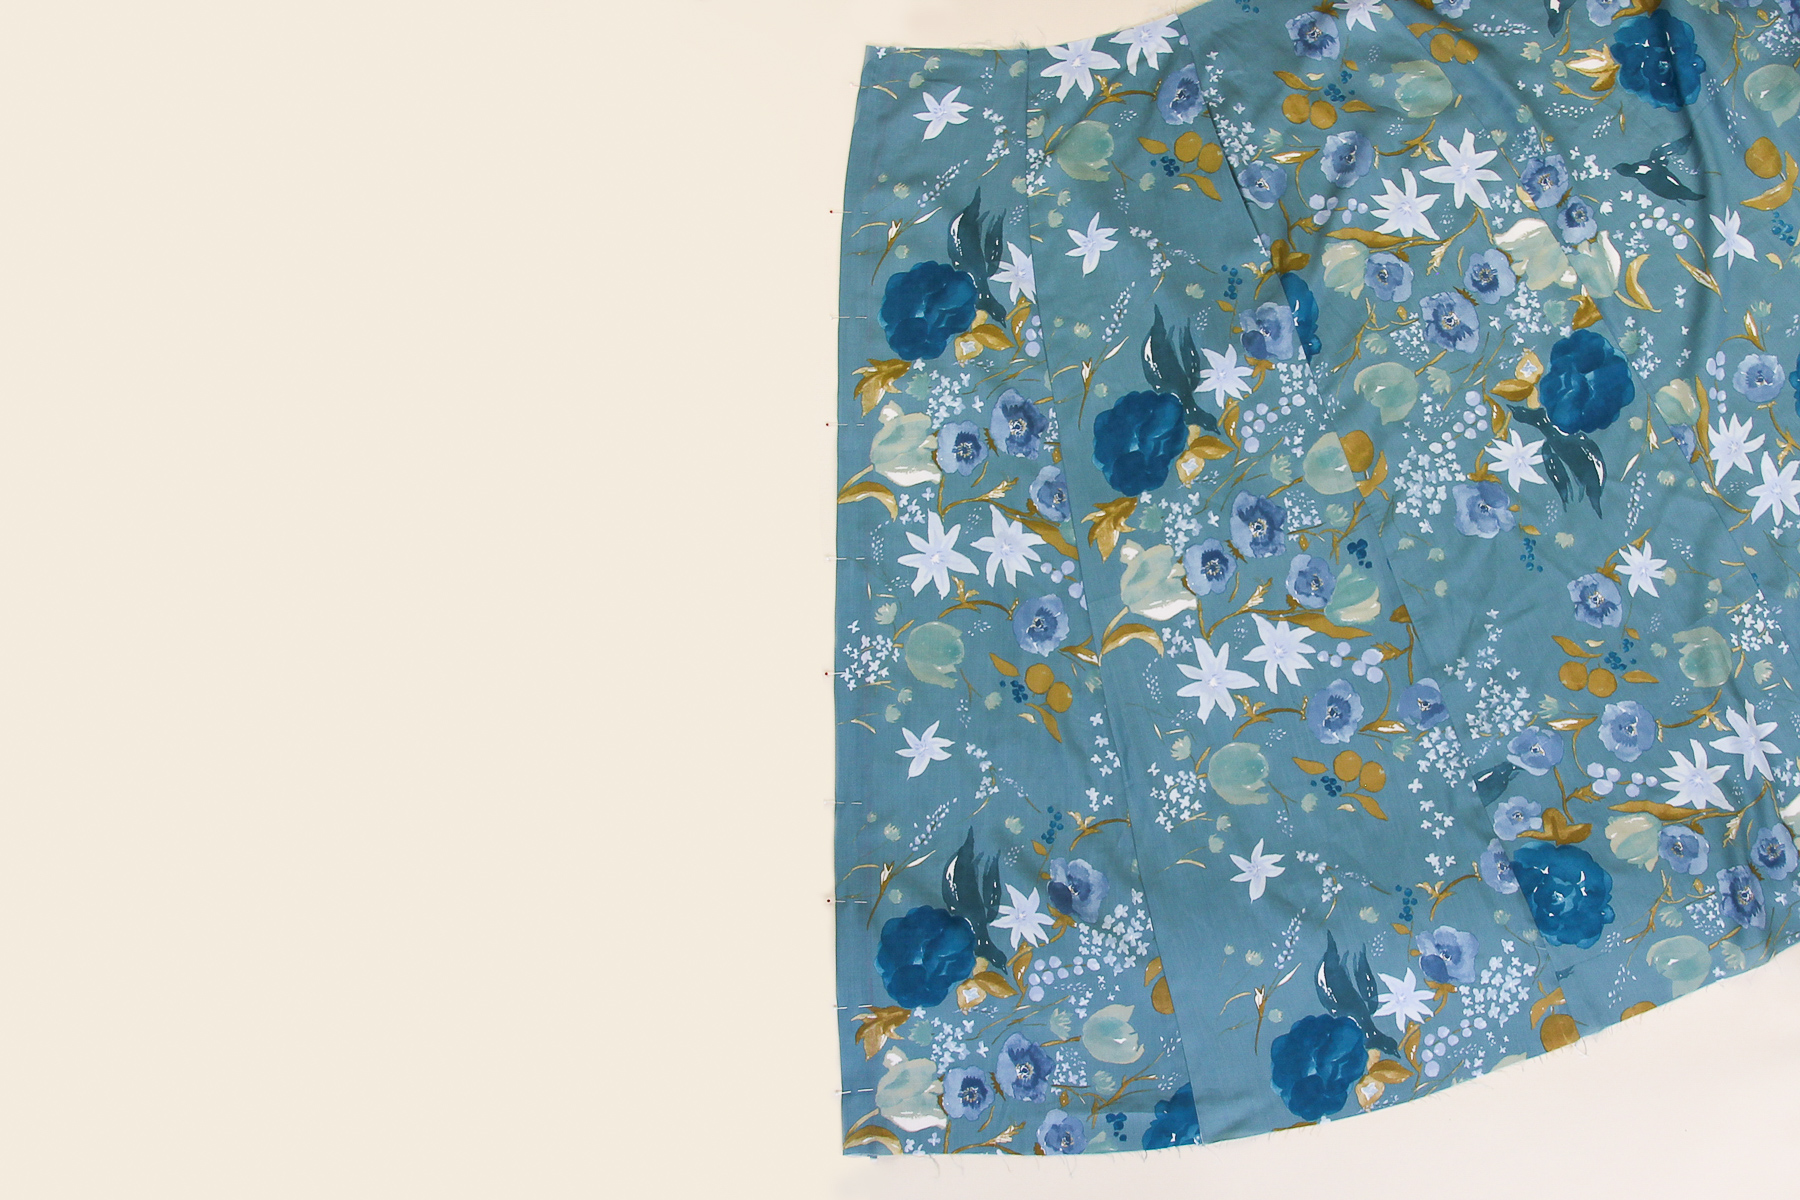
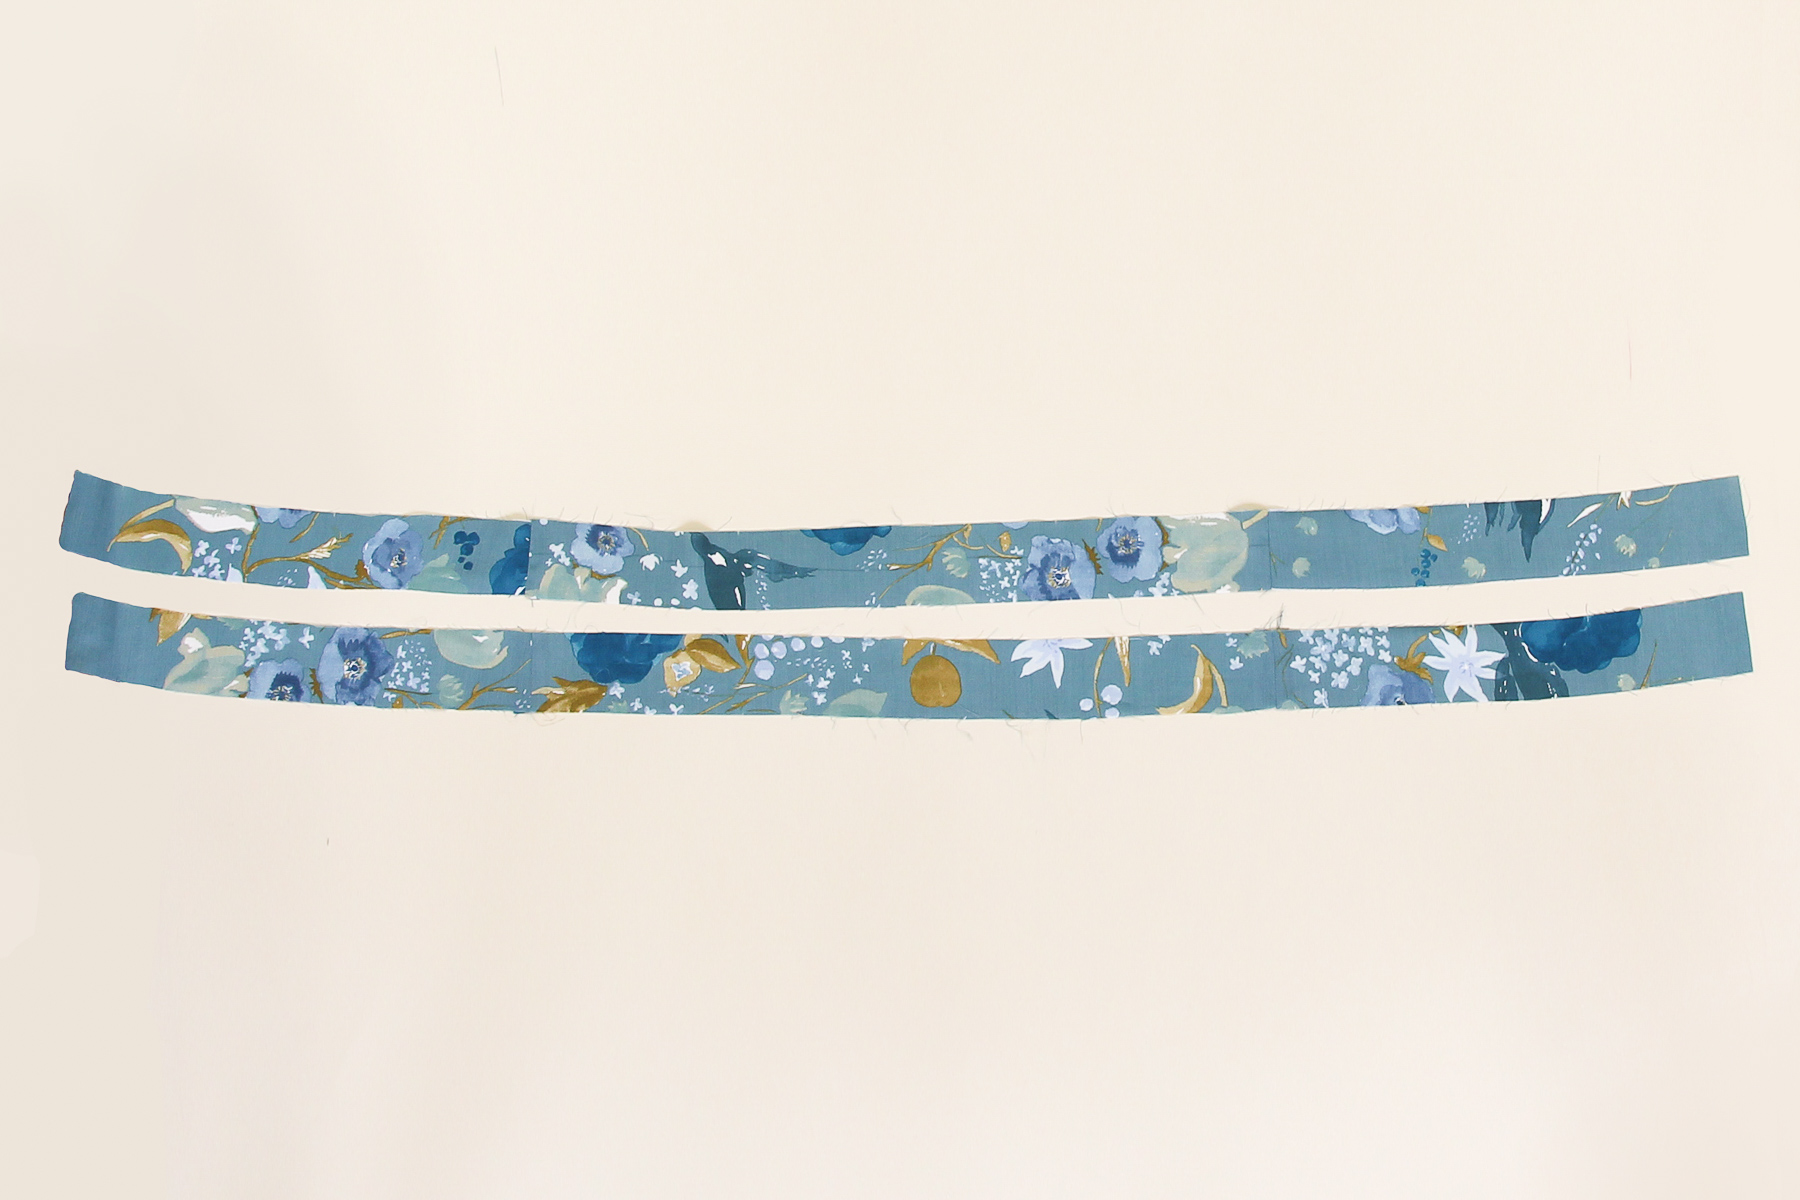
Let’s start by folding one of the button plackets over by 1/2” (12 mm). Press that down.
Now we’re going to fold the placket over again, this time by 1 1/4” (3 cm). Press that fold down as well.

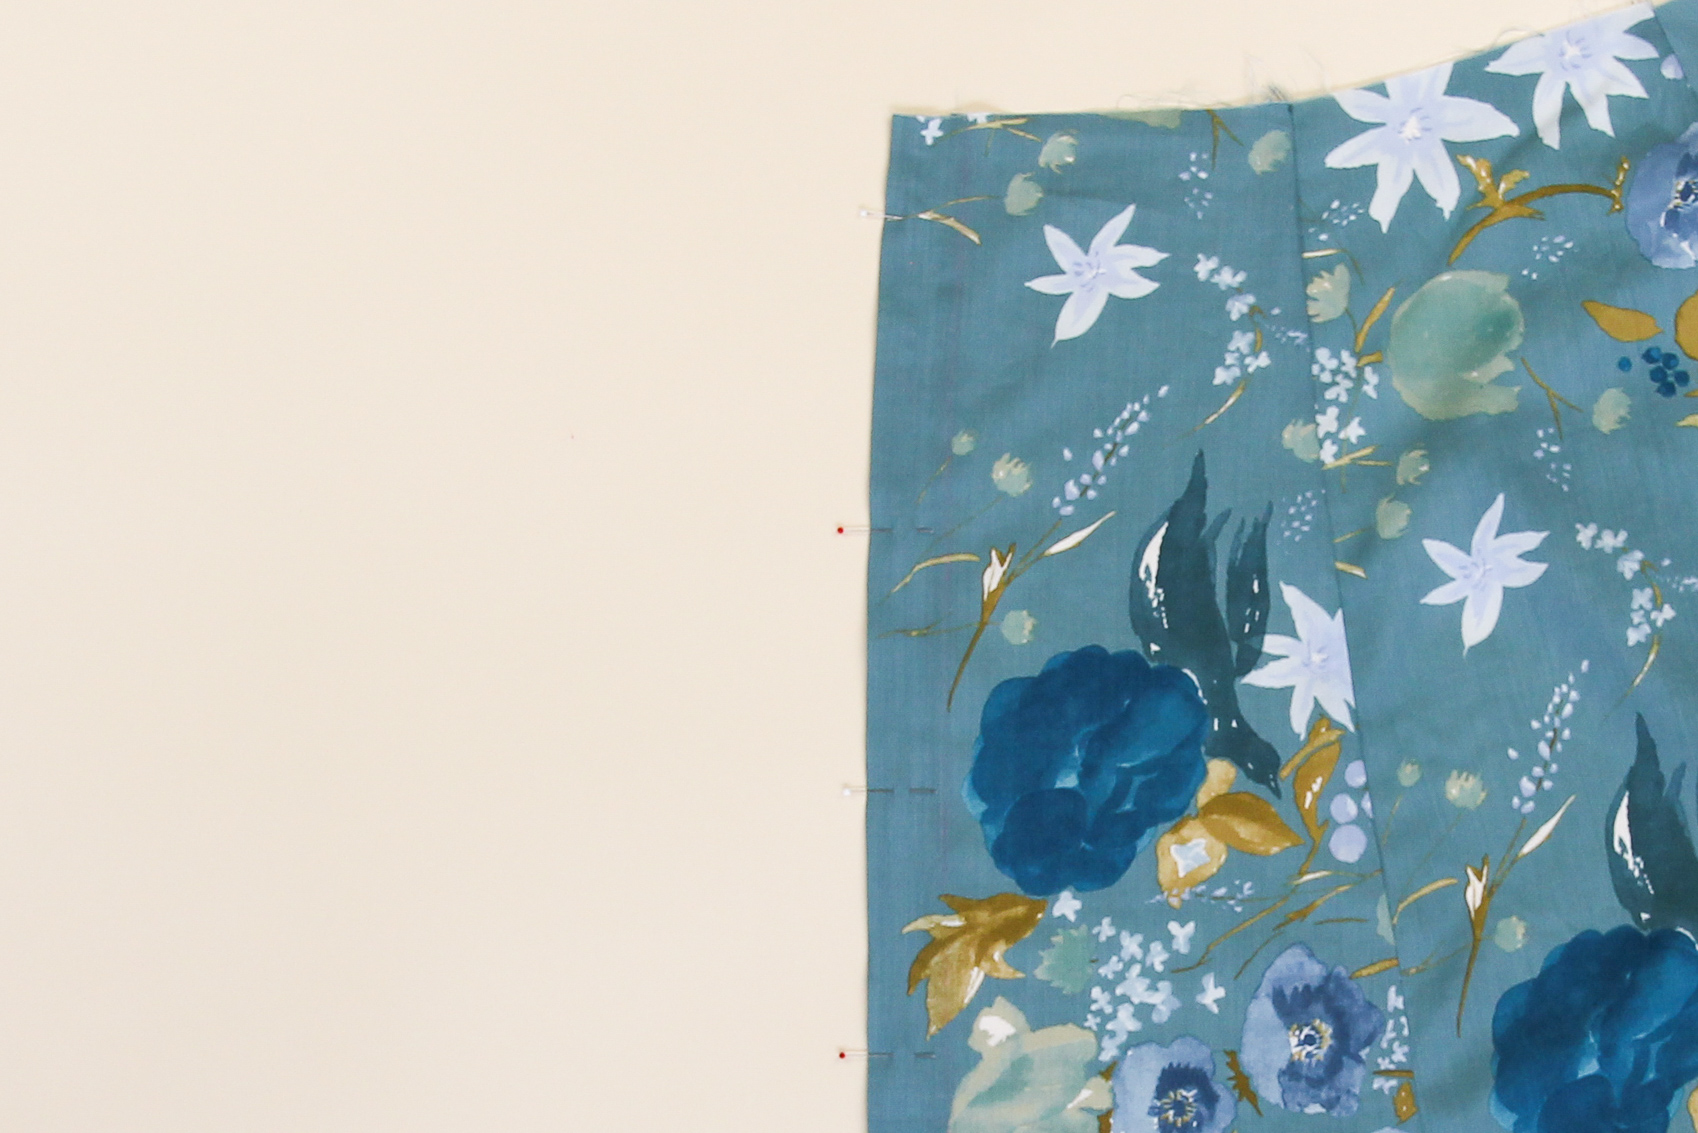
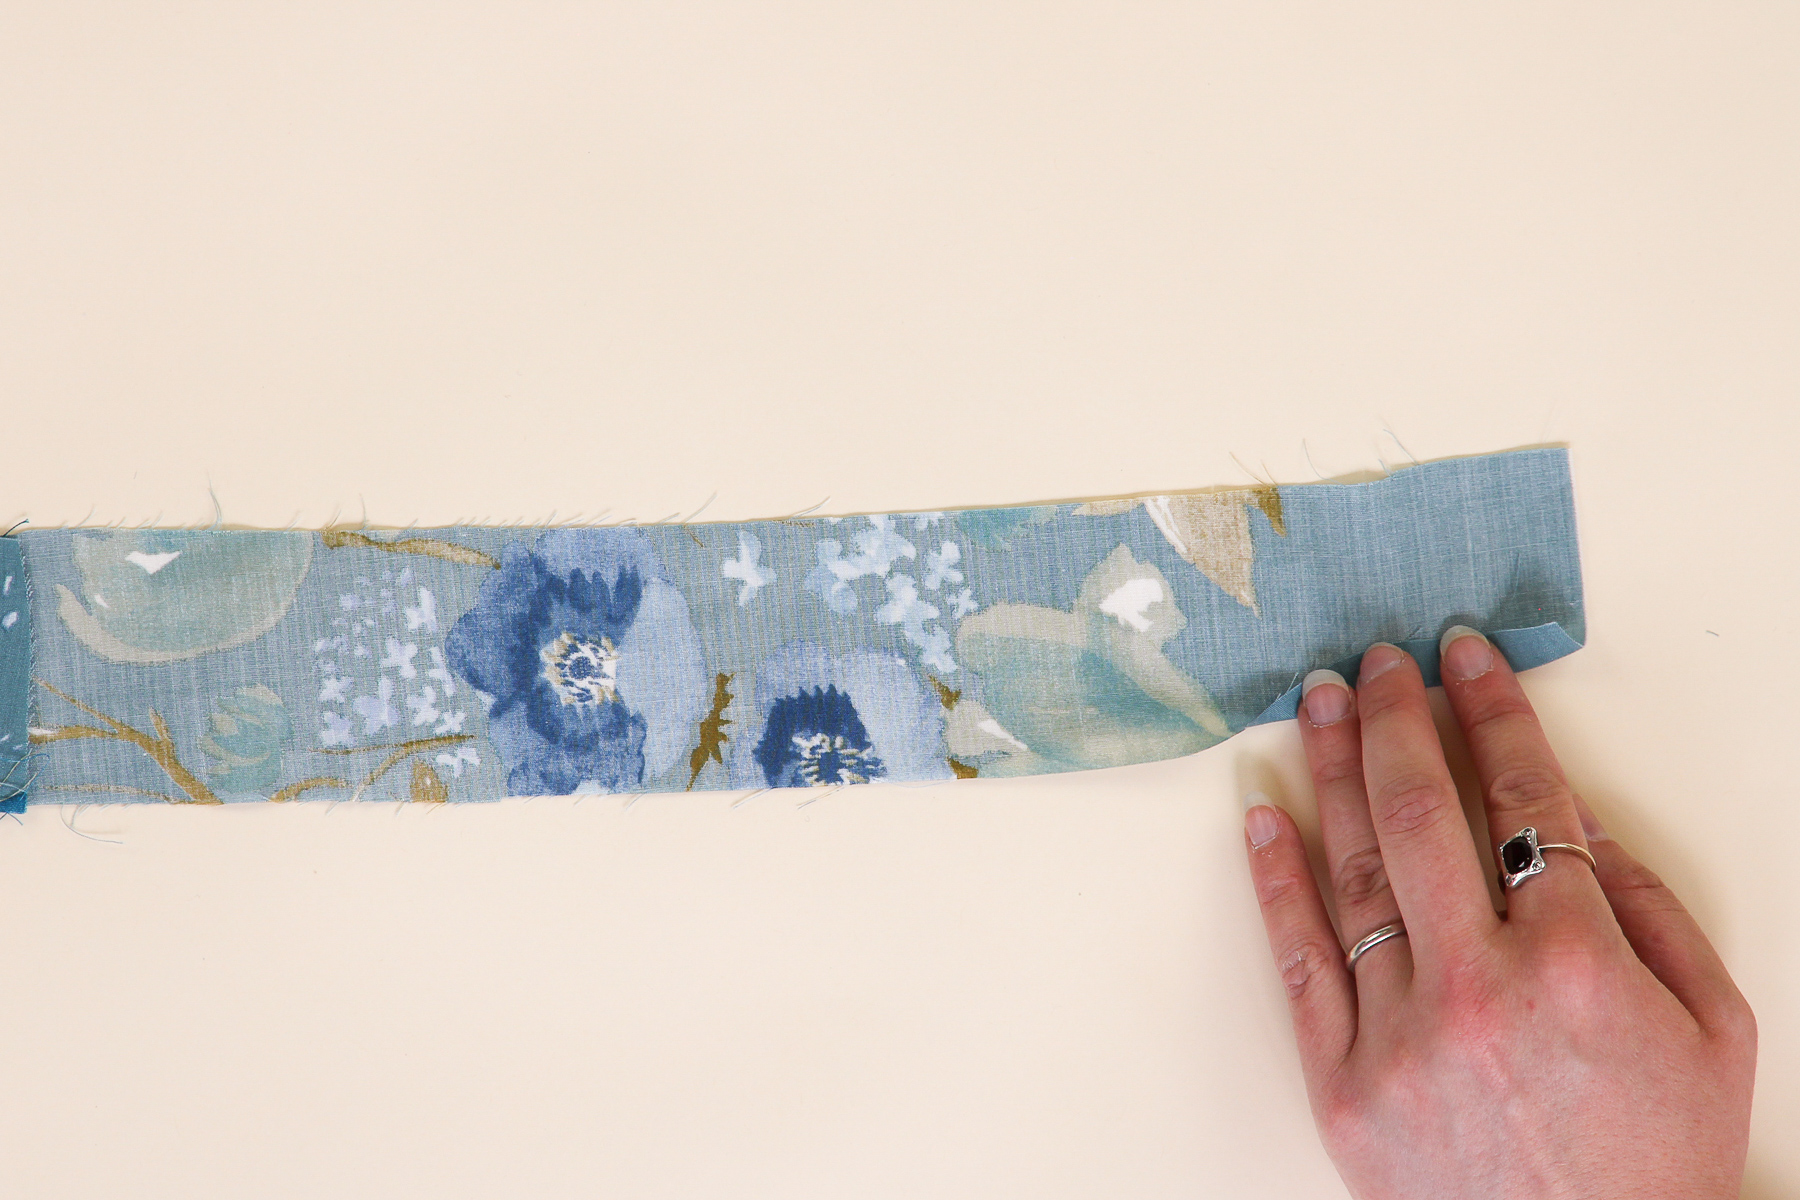
I’m going to go ahead and chalk the line where my topstitching will be. This will help me make sure the topstitching is straight.
Using some pins (and Wonder Tape!), I’m going to get that placket in place and ready to sew.
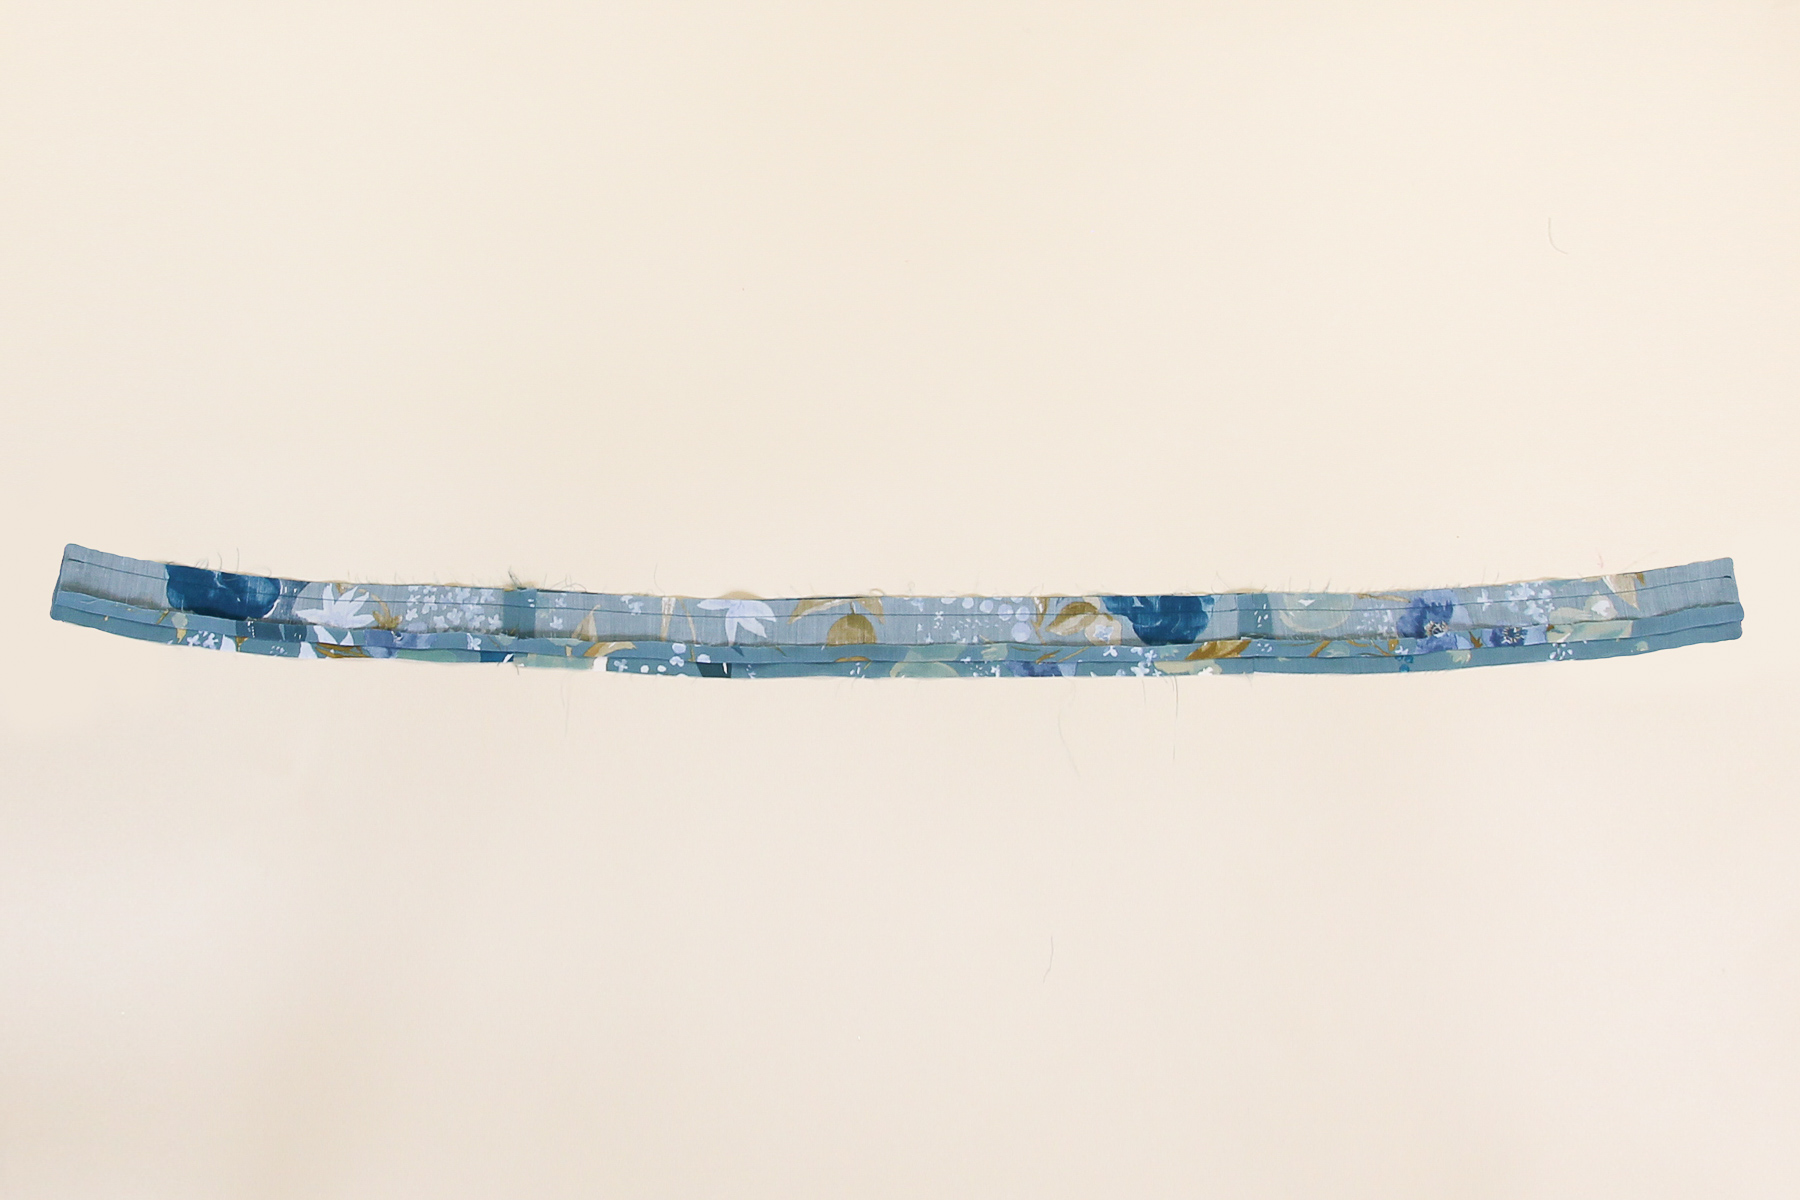
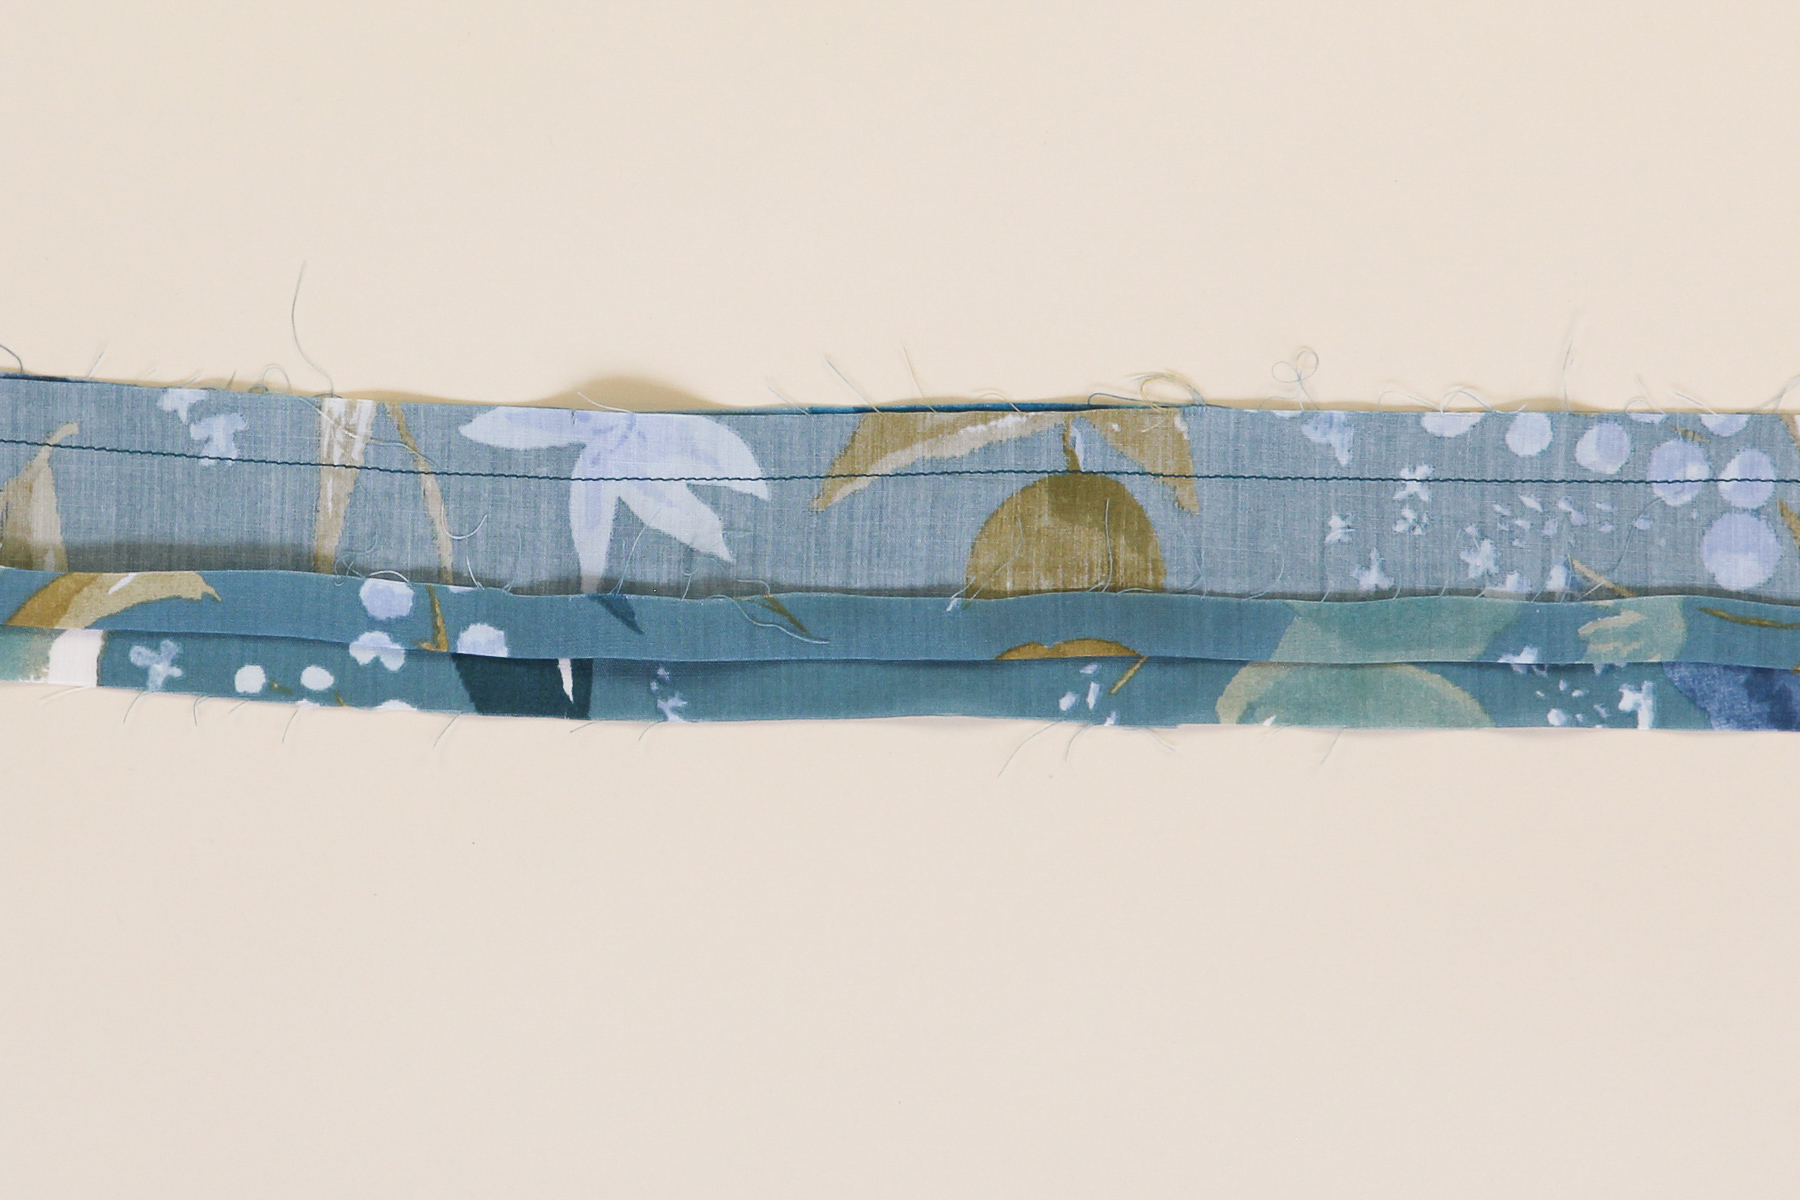
From the right side, let’s sew that placket down.
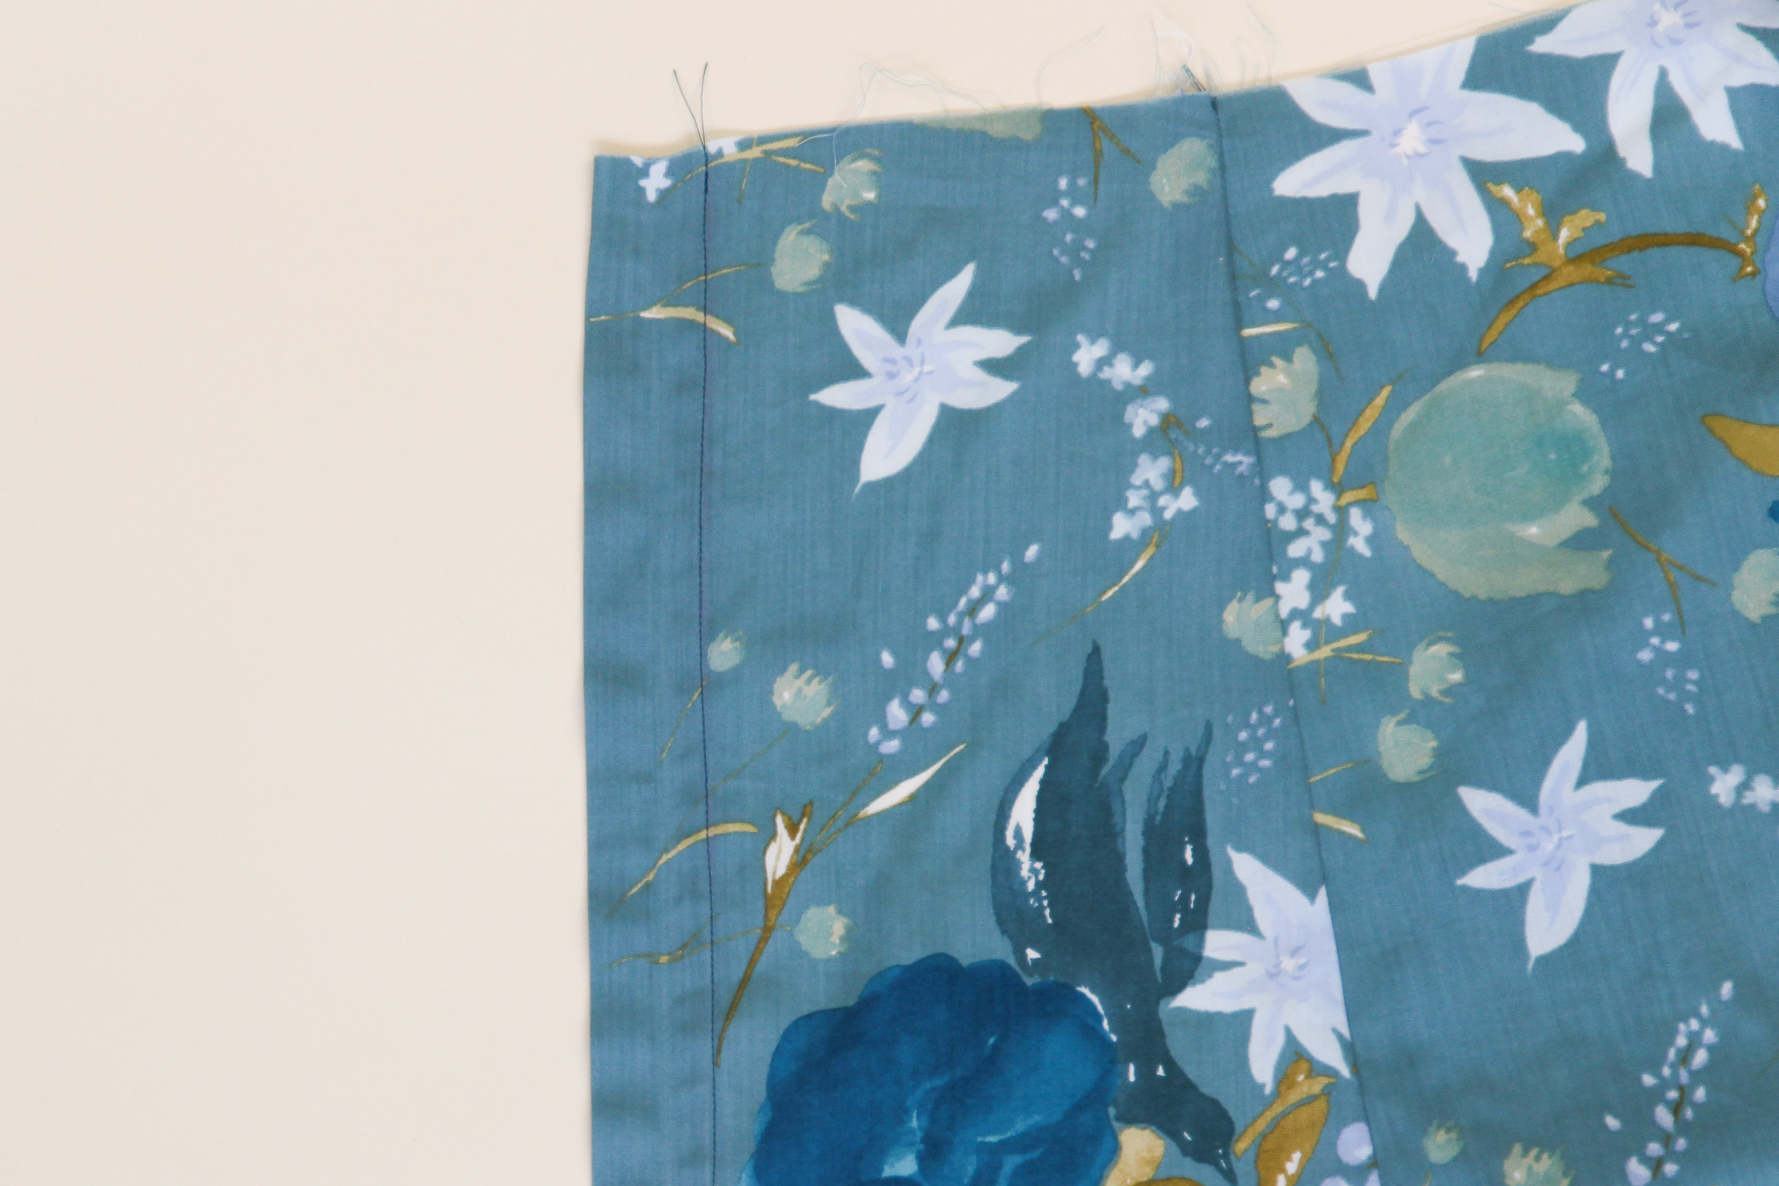
Nice work! Let’s do the same thing on the other side.
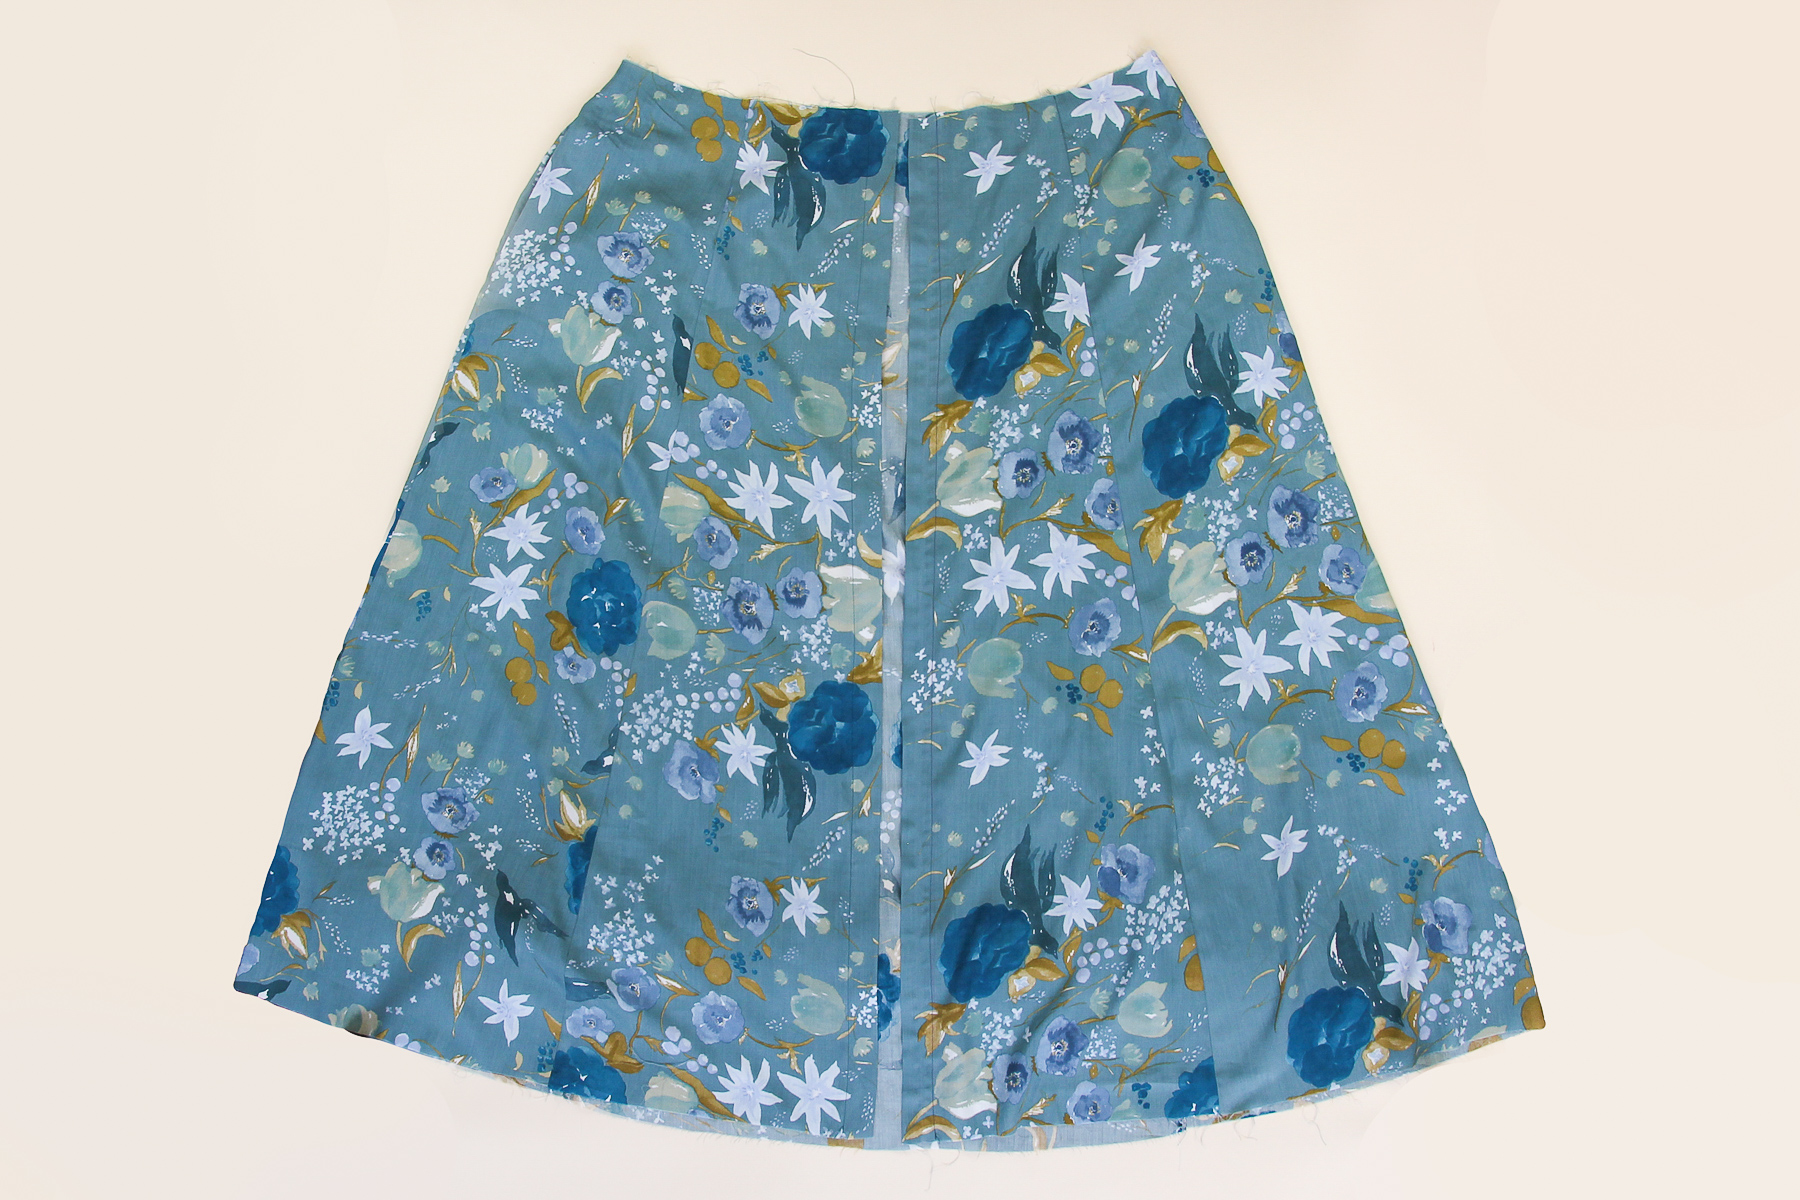
Okay great! Now let’s put the skirt aside as we assemble our waistband.
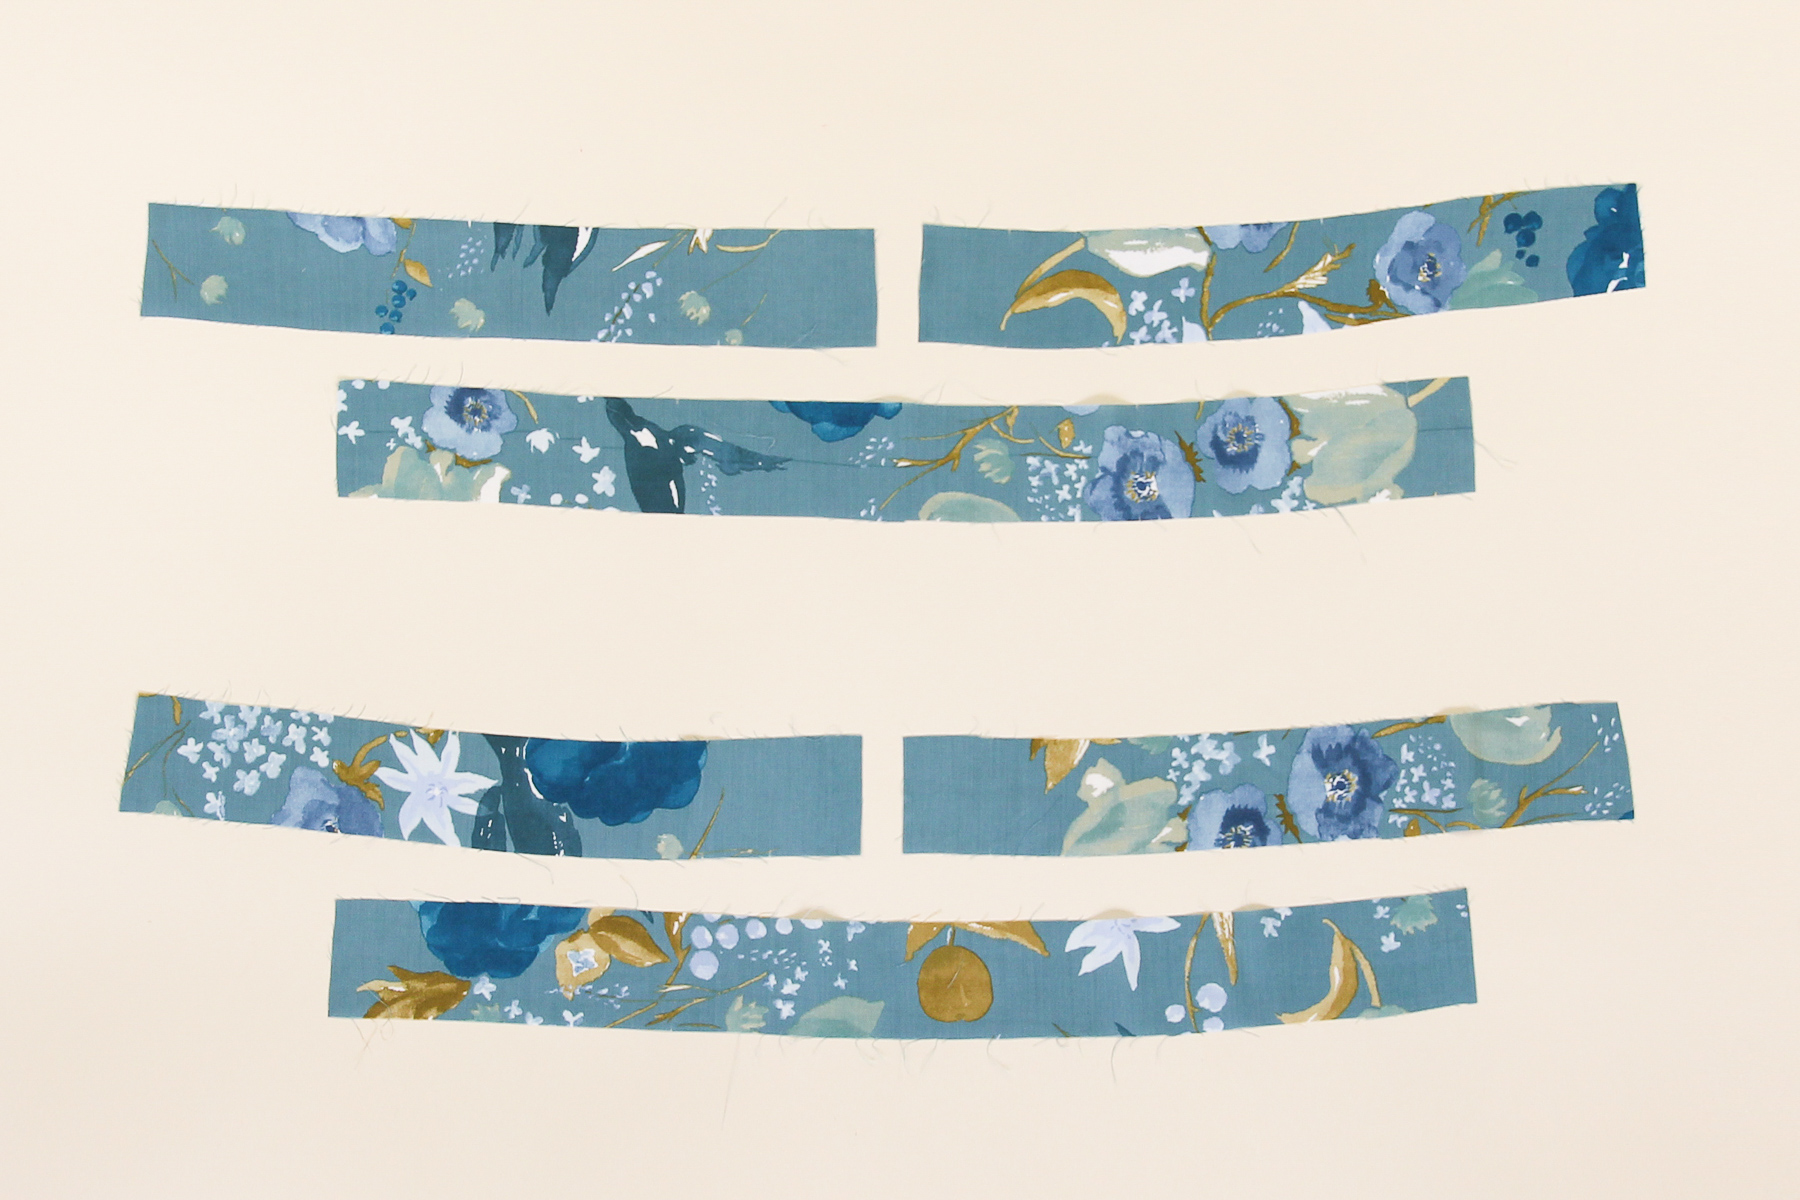
Start by pinning one of the interfaced front waistband pieces to one of the back waistband pieces at the side seam.
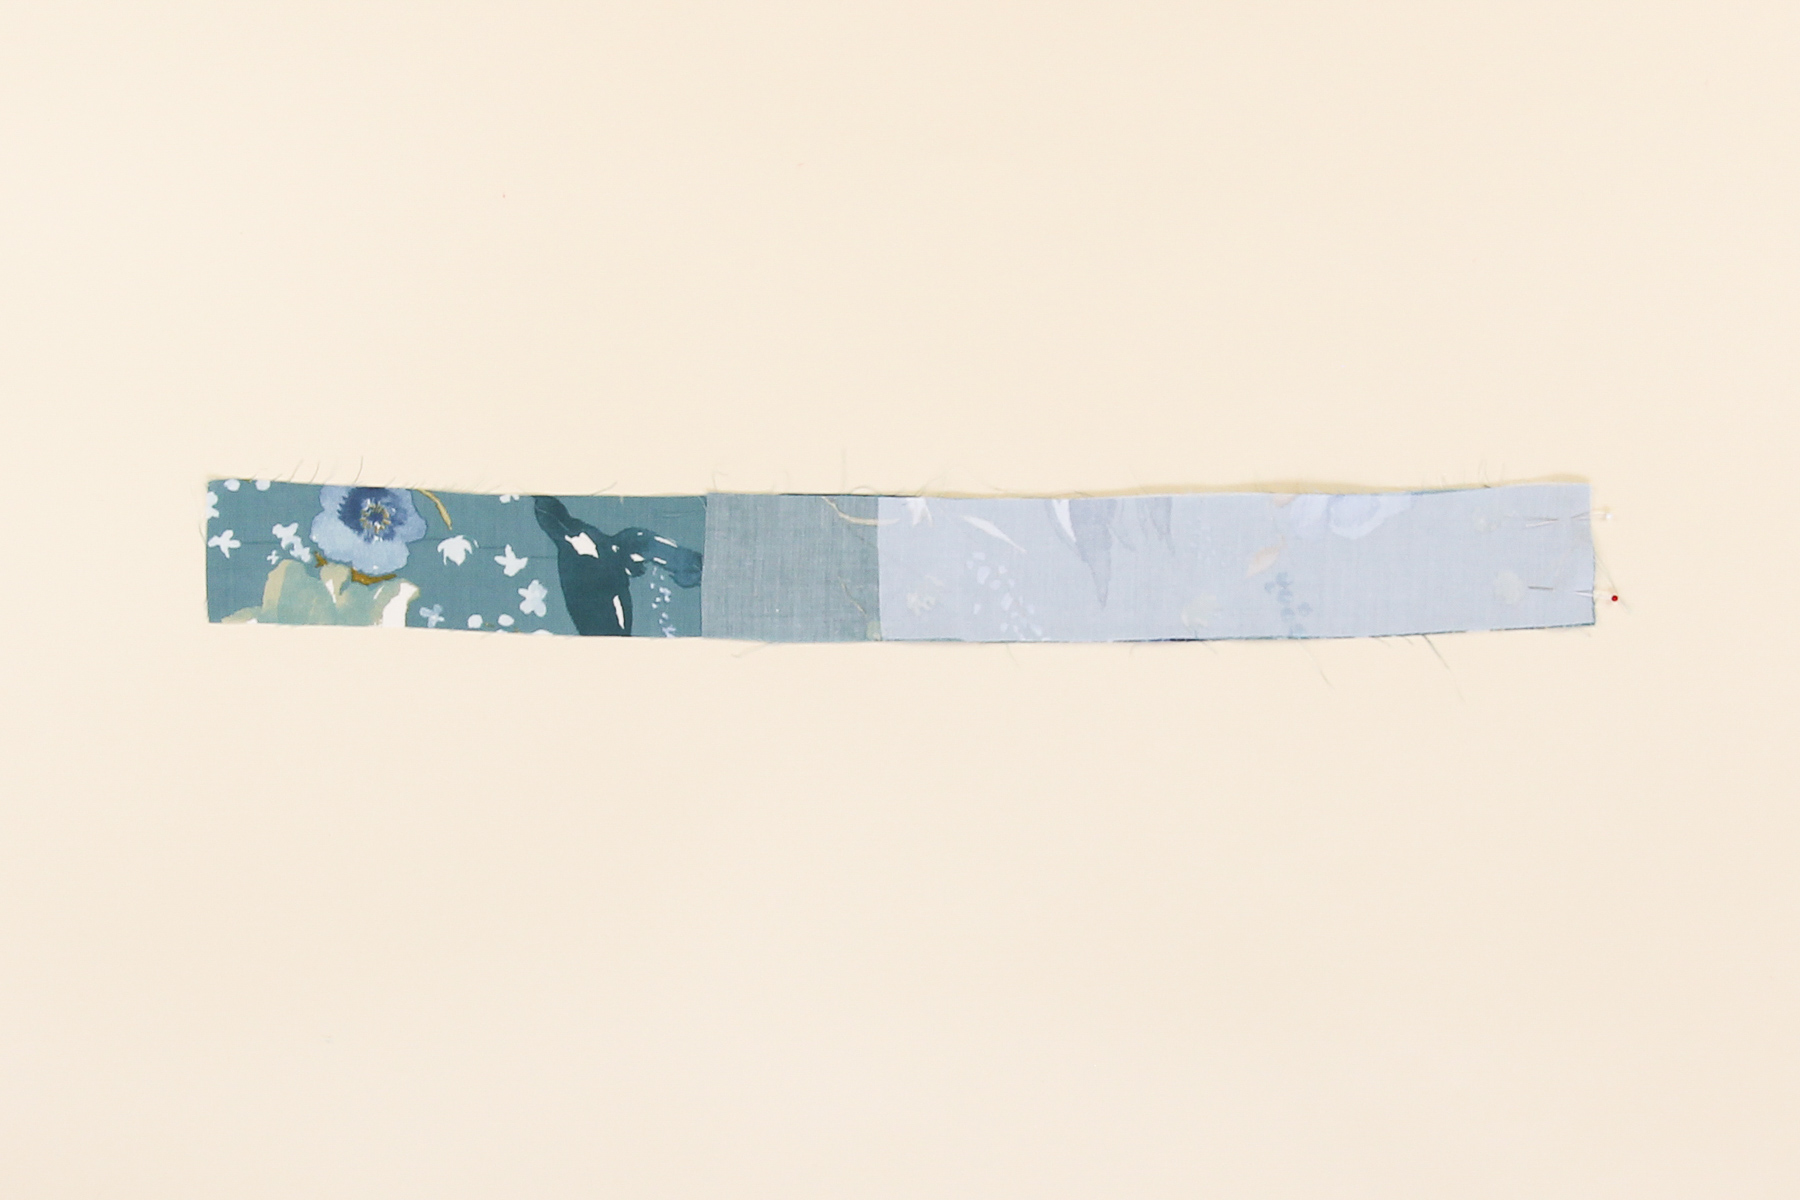
Sew that seam at 1/2” (12 mm) and press it open.
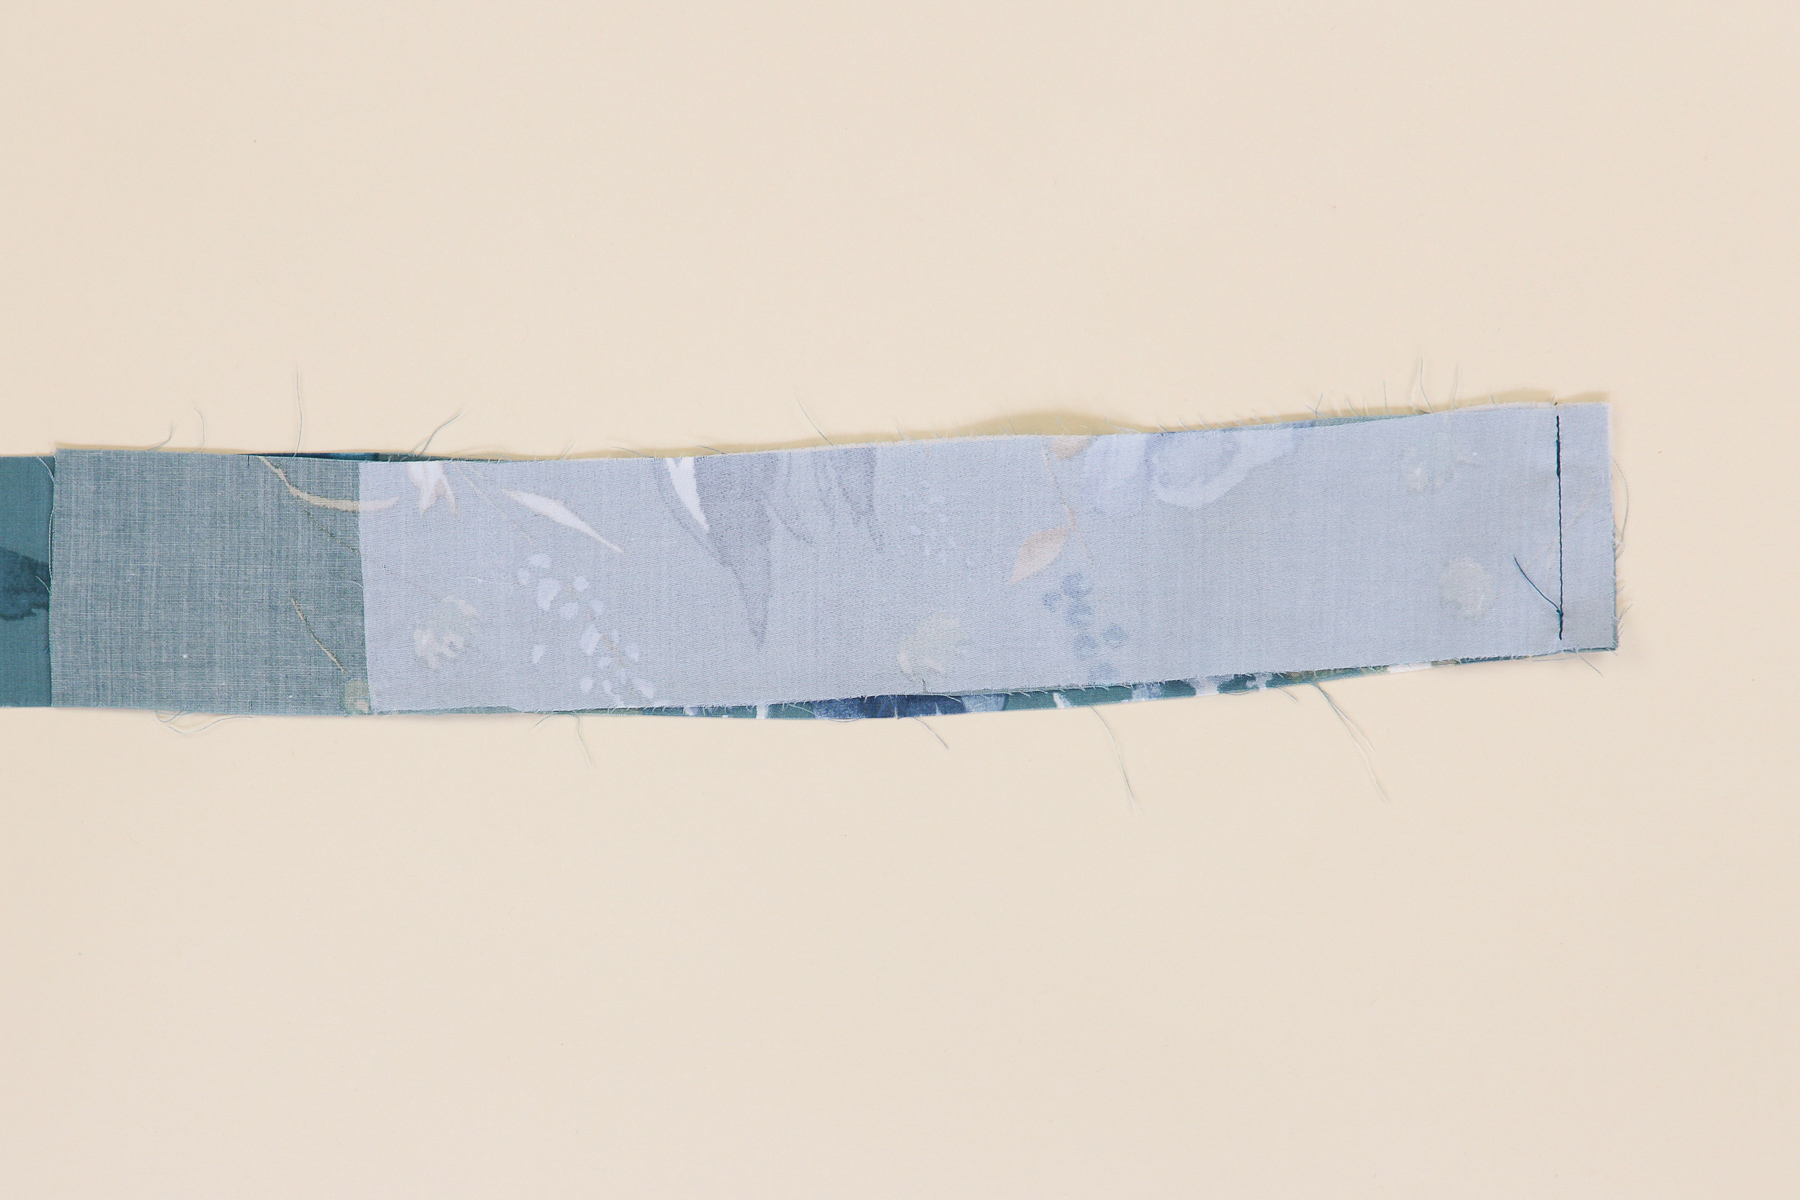

Let’s take the other interfaced front waistband and pin it to the back waistband at the other side seam.
Sew that seam at 1/2” (12 mm) and press it open as well.

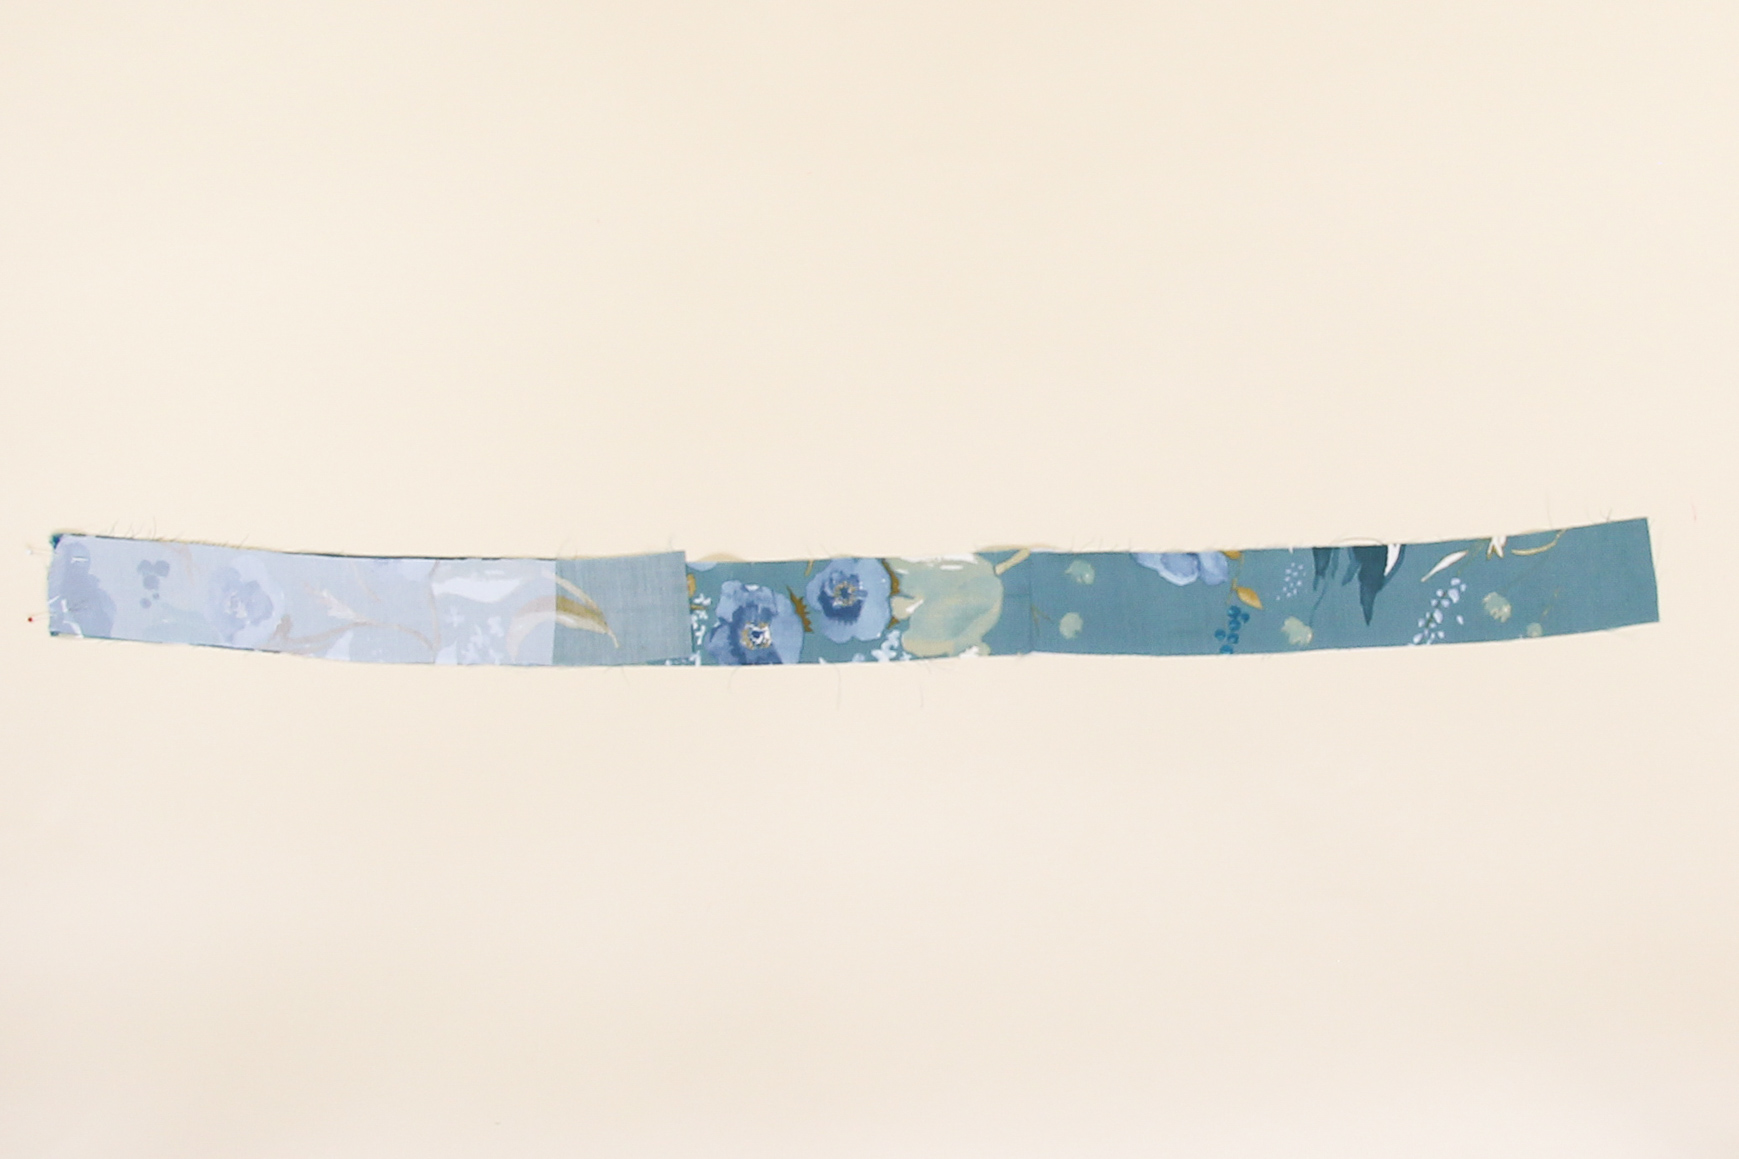
Let’s do the same thing with the other two front waistband pieces and back waistband piece. This will be our waistband facing.
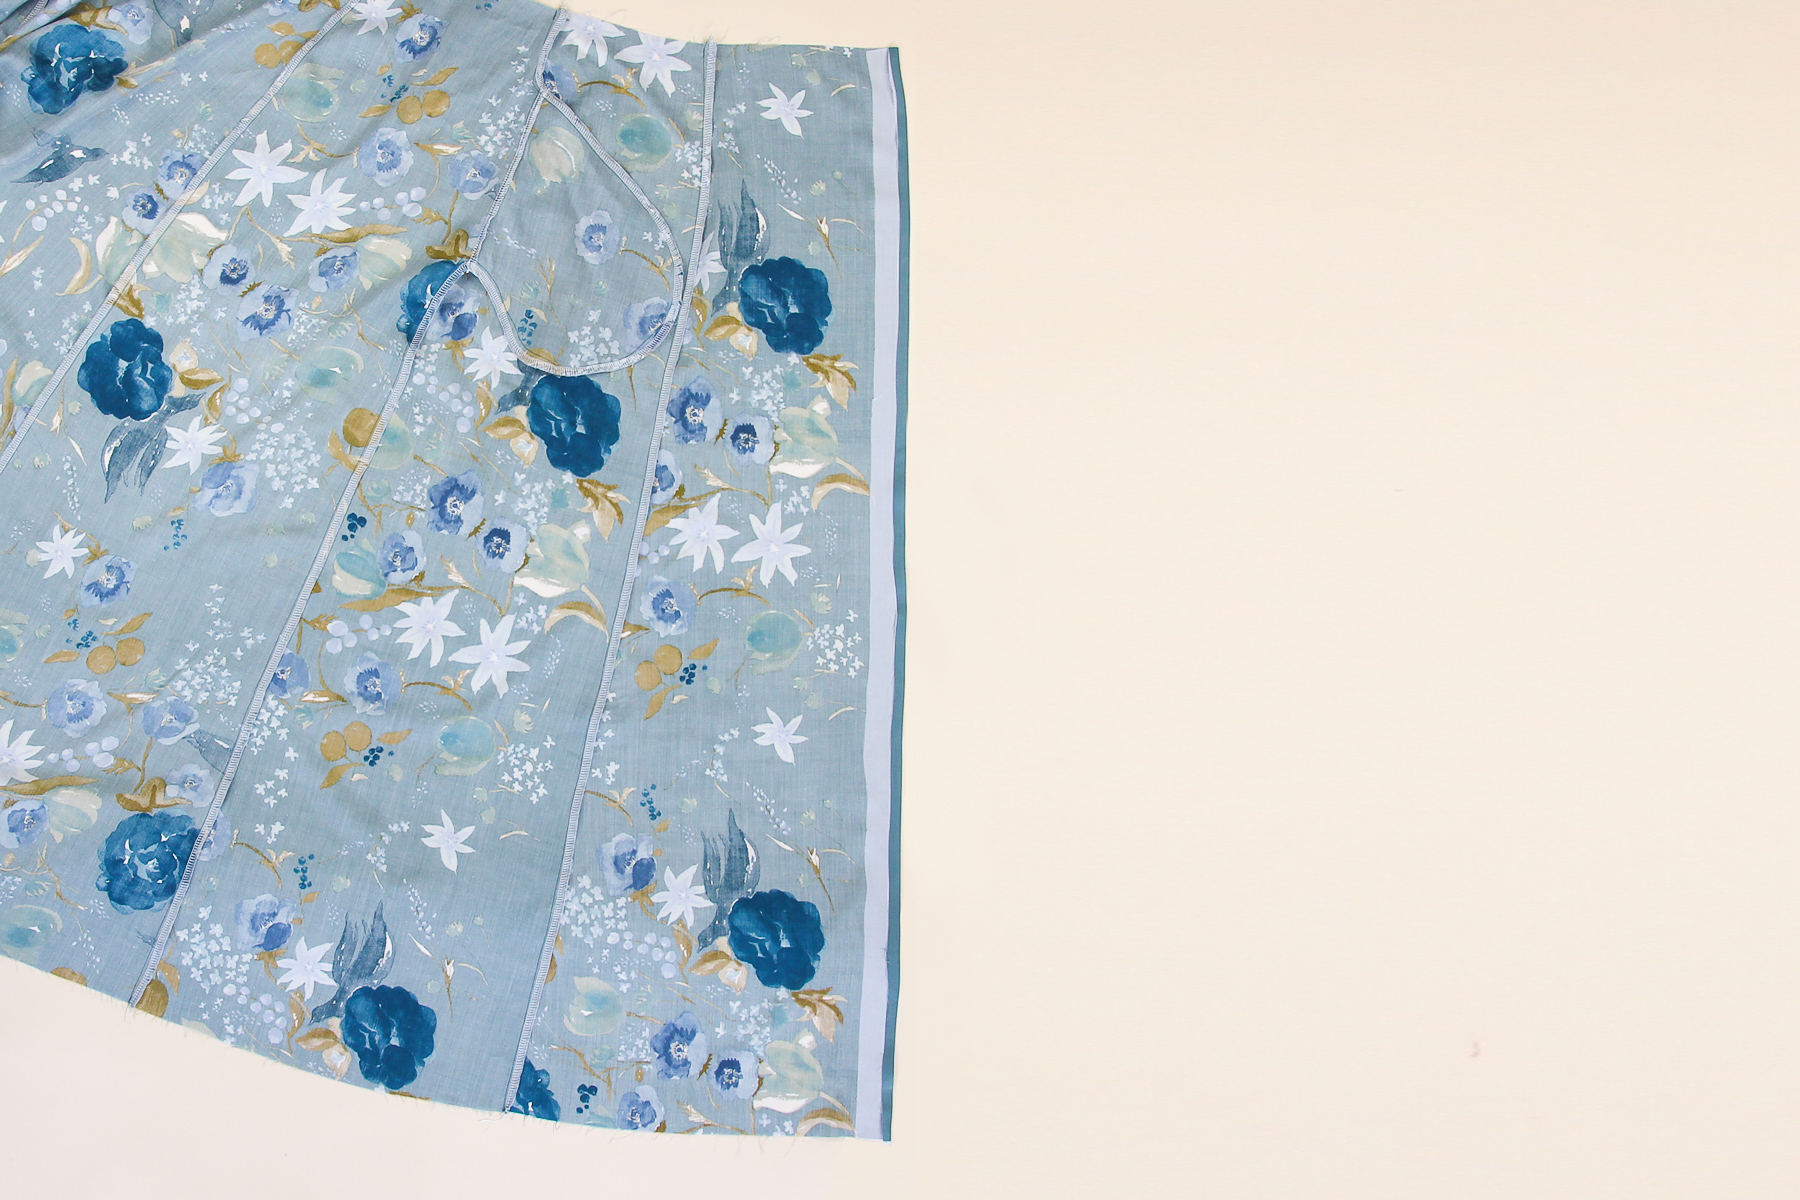
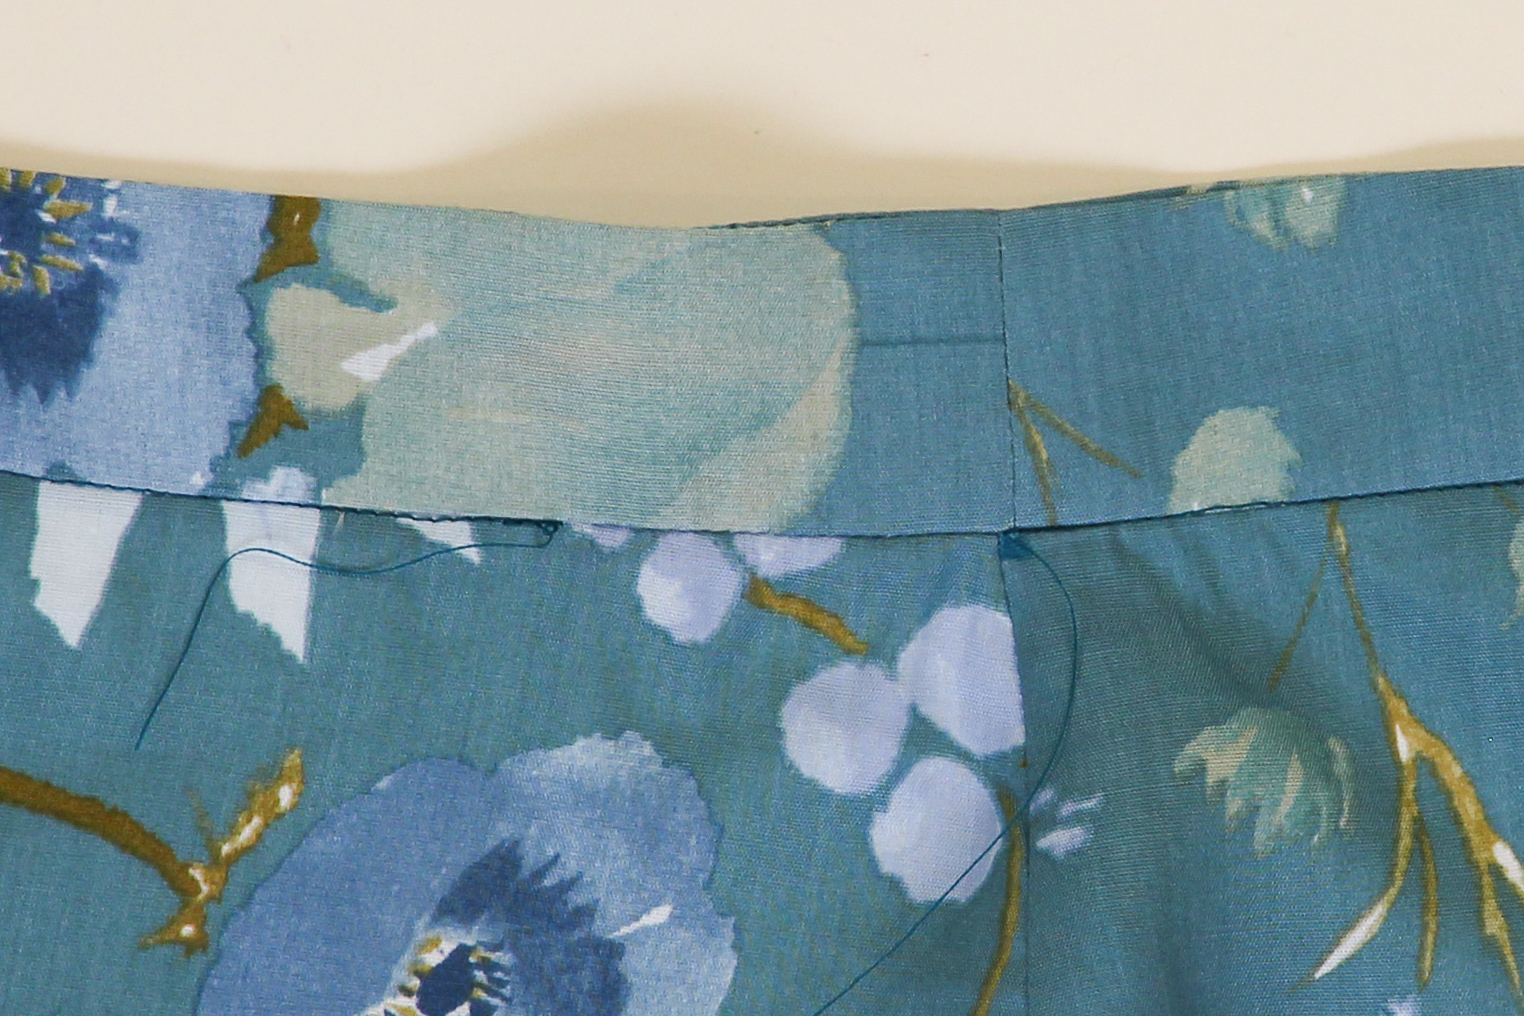
Here are our two constructed waistbands:
Take the waistband facing and flip it over to the wrong side. Fold and press the bottom seam allowance up towards the wrong side.

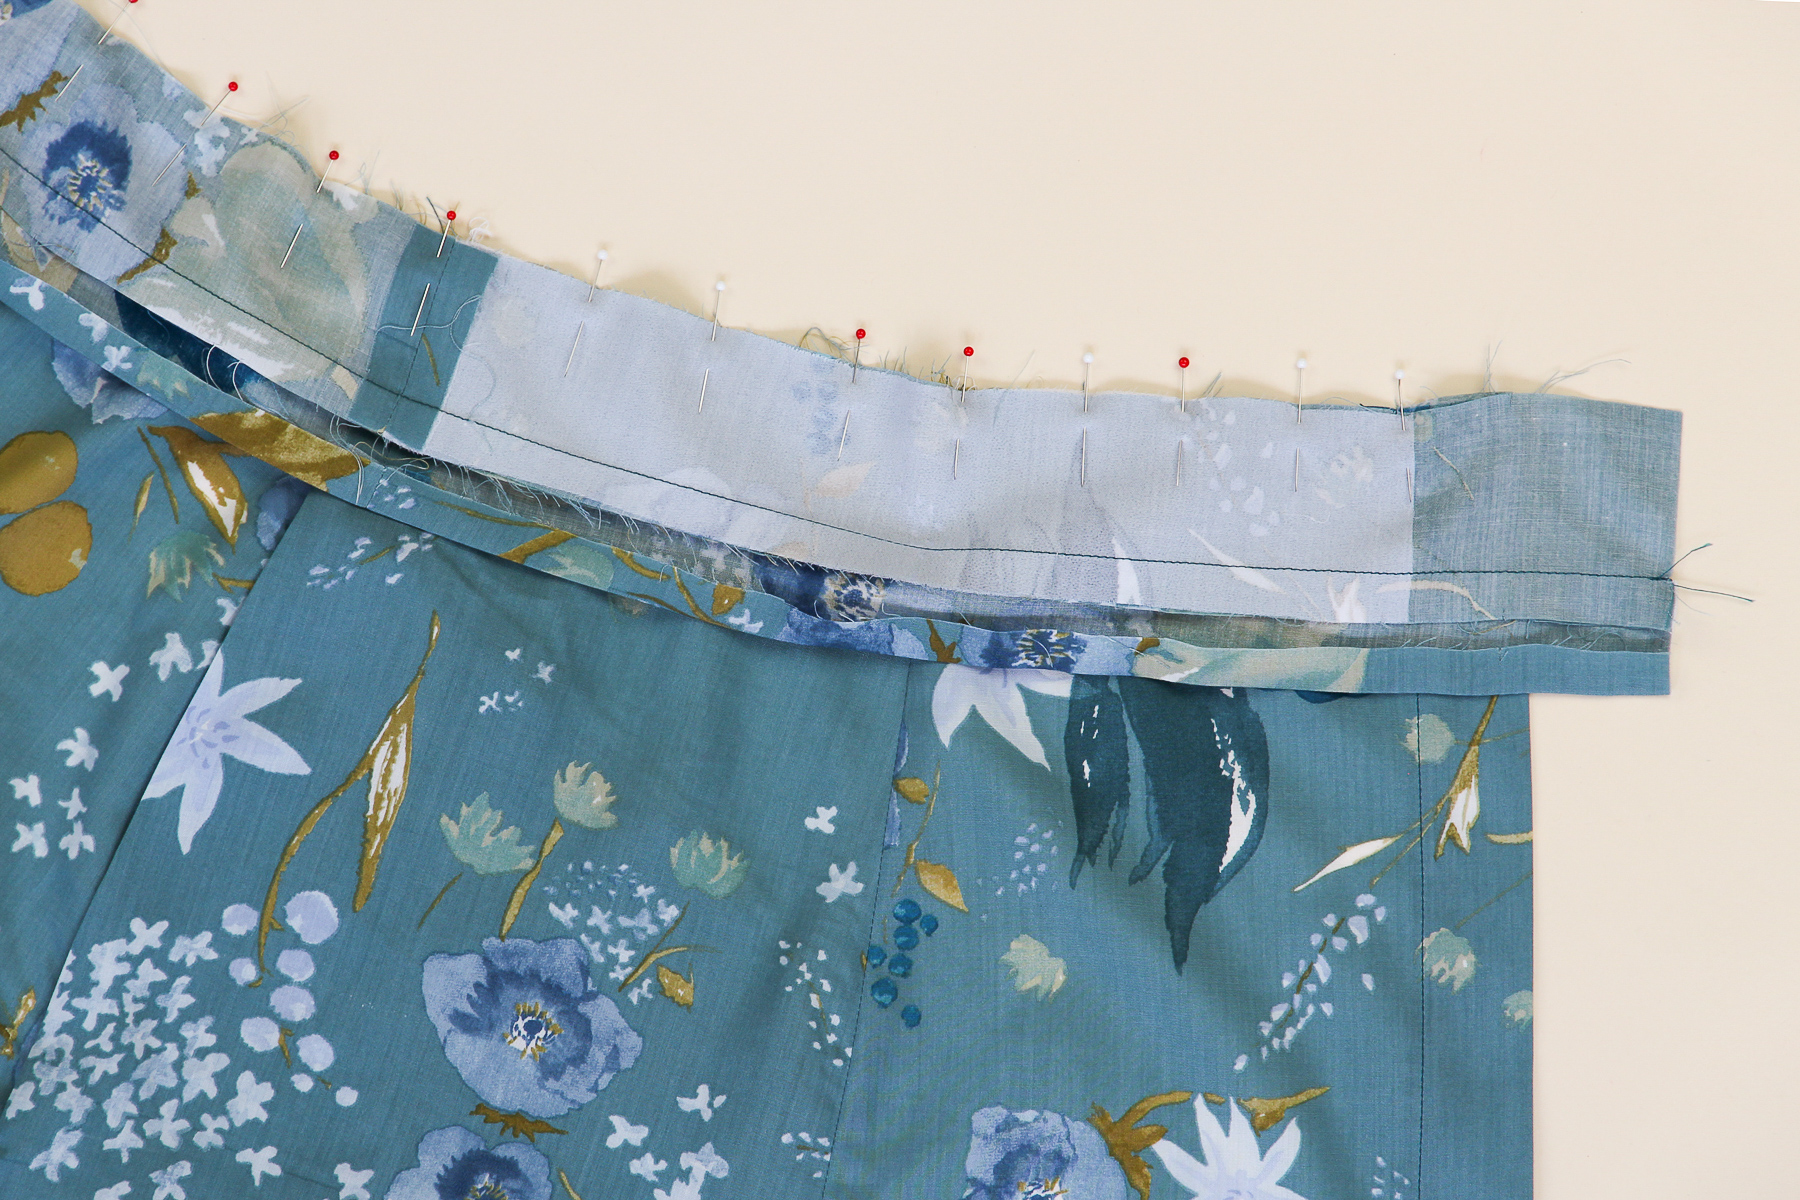
Now we need to pin the two waistbands together along the top seam.

Sew that seam at 1/2” (12 mm) and press flat.
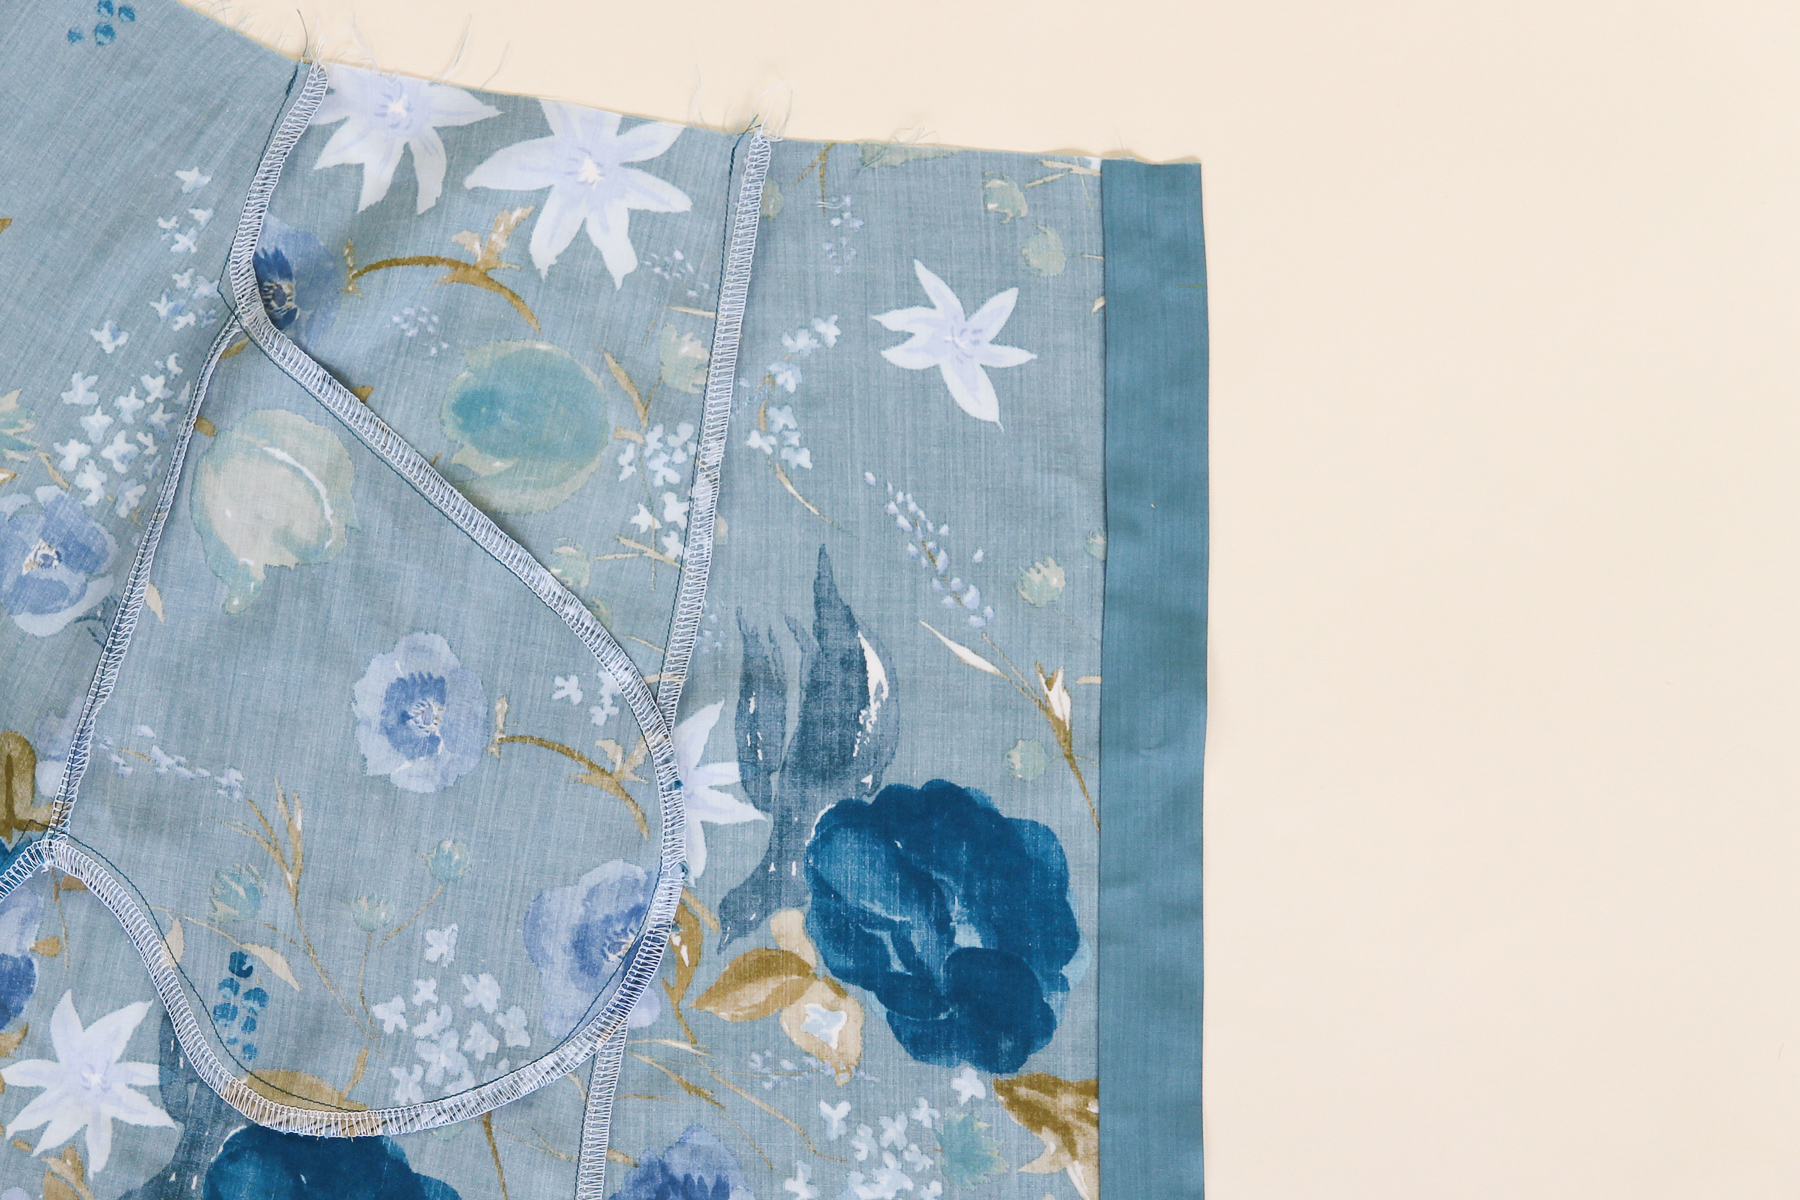
Flipping the waistband around, we’re going to pin the outer waistband to the top of the skirt, right sides together. Make sure to flip the waistband facing away so it doesn’t get caught in the seam.
Align the notches along waistband/top of the skirt. Note that the waistband will extend 1 3/4″ (4.5 cm) past the skirt at both ends. The notch closest to the end of the waistband will align with the edge of the skirt placket.
Time to sew that seam!
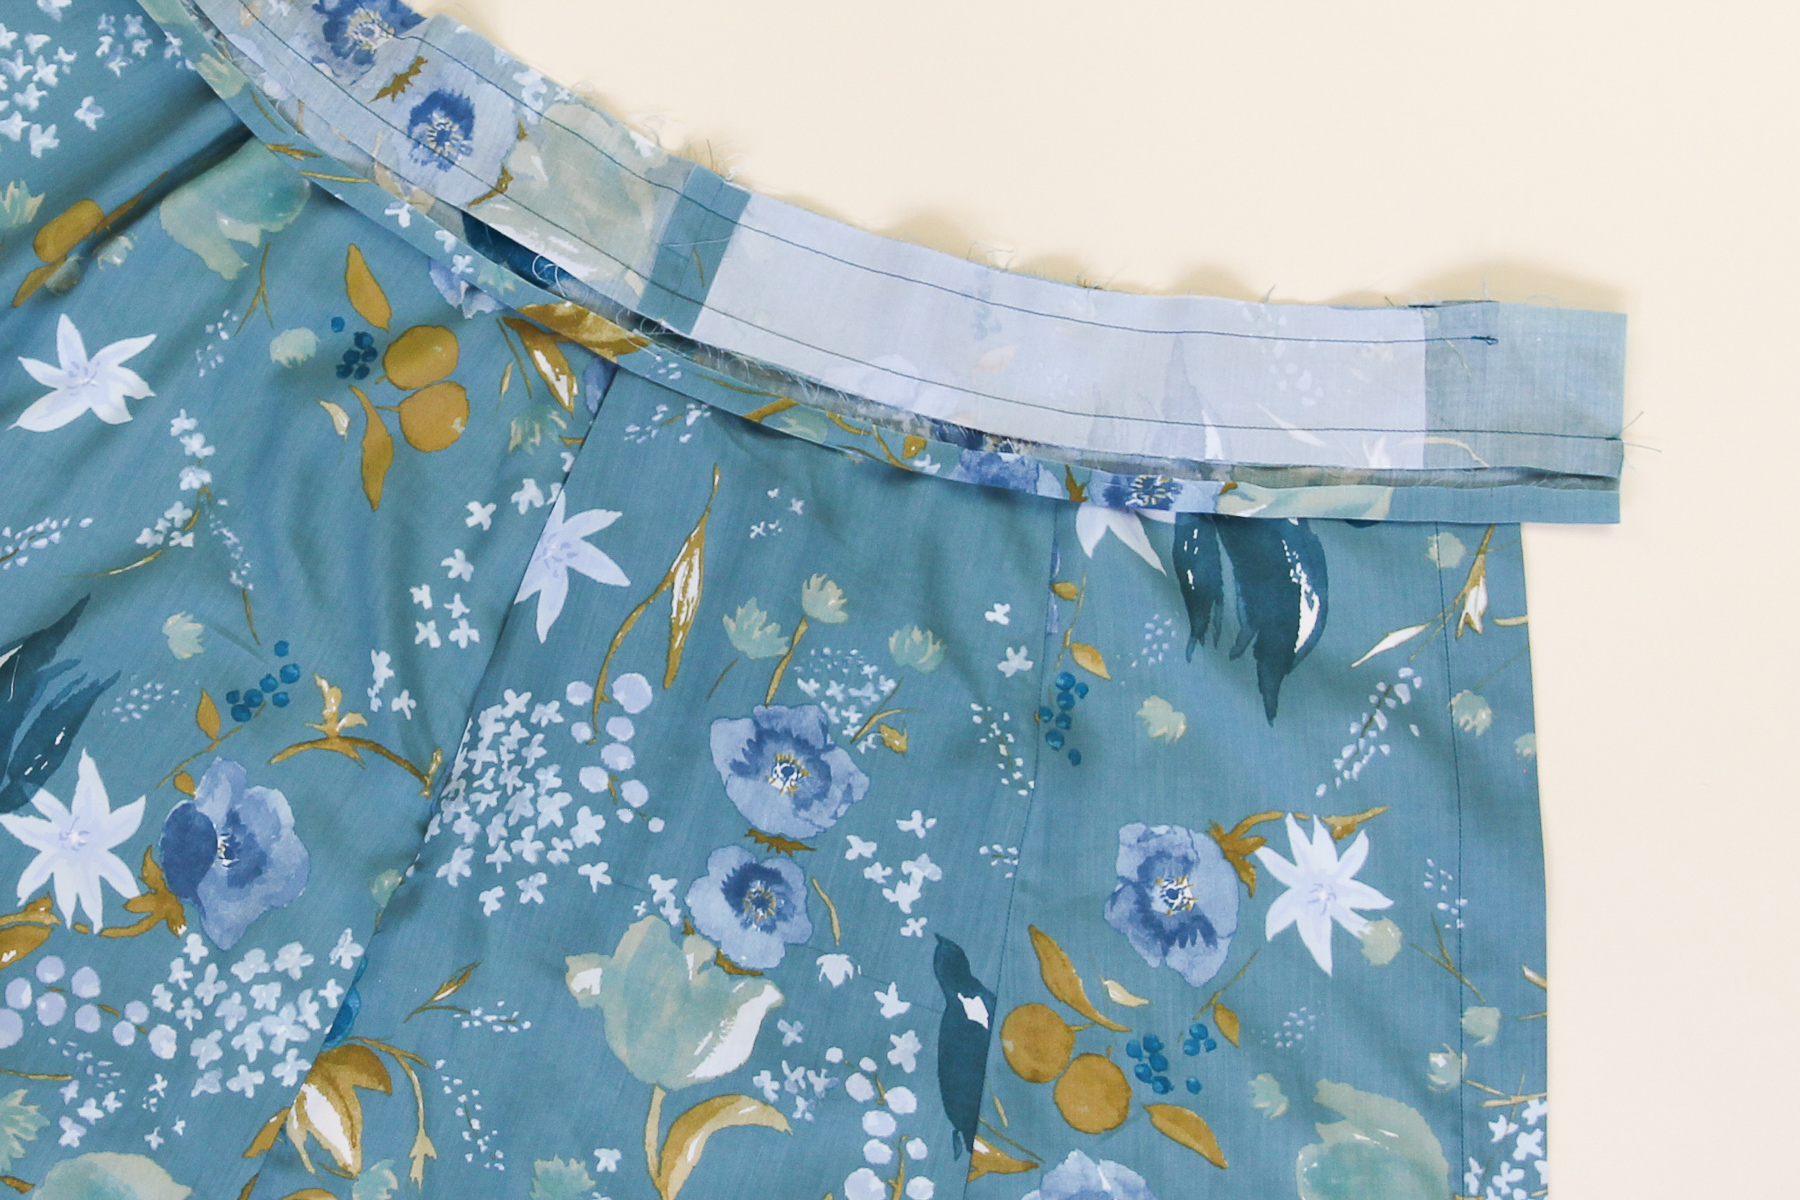
Now let’s press the seam allowance of the seam we just sewed up towards the waistband.

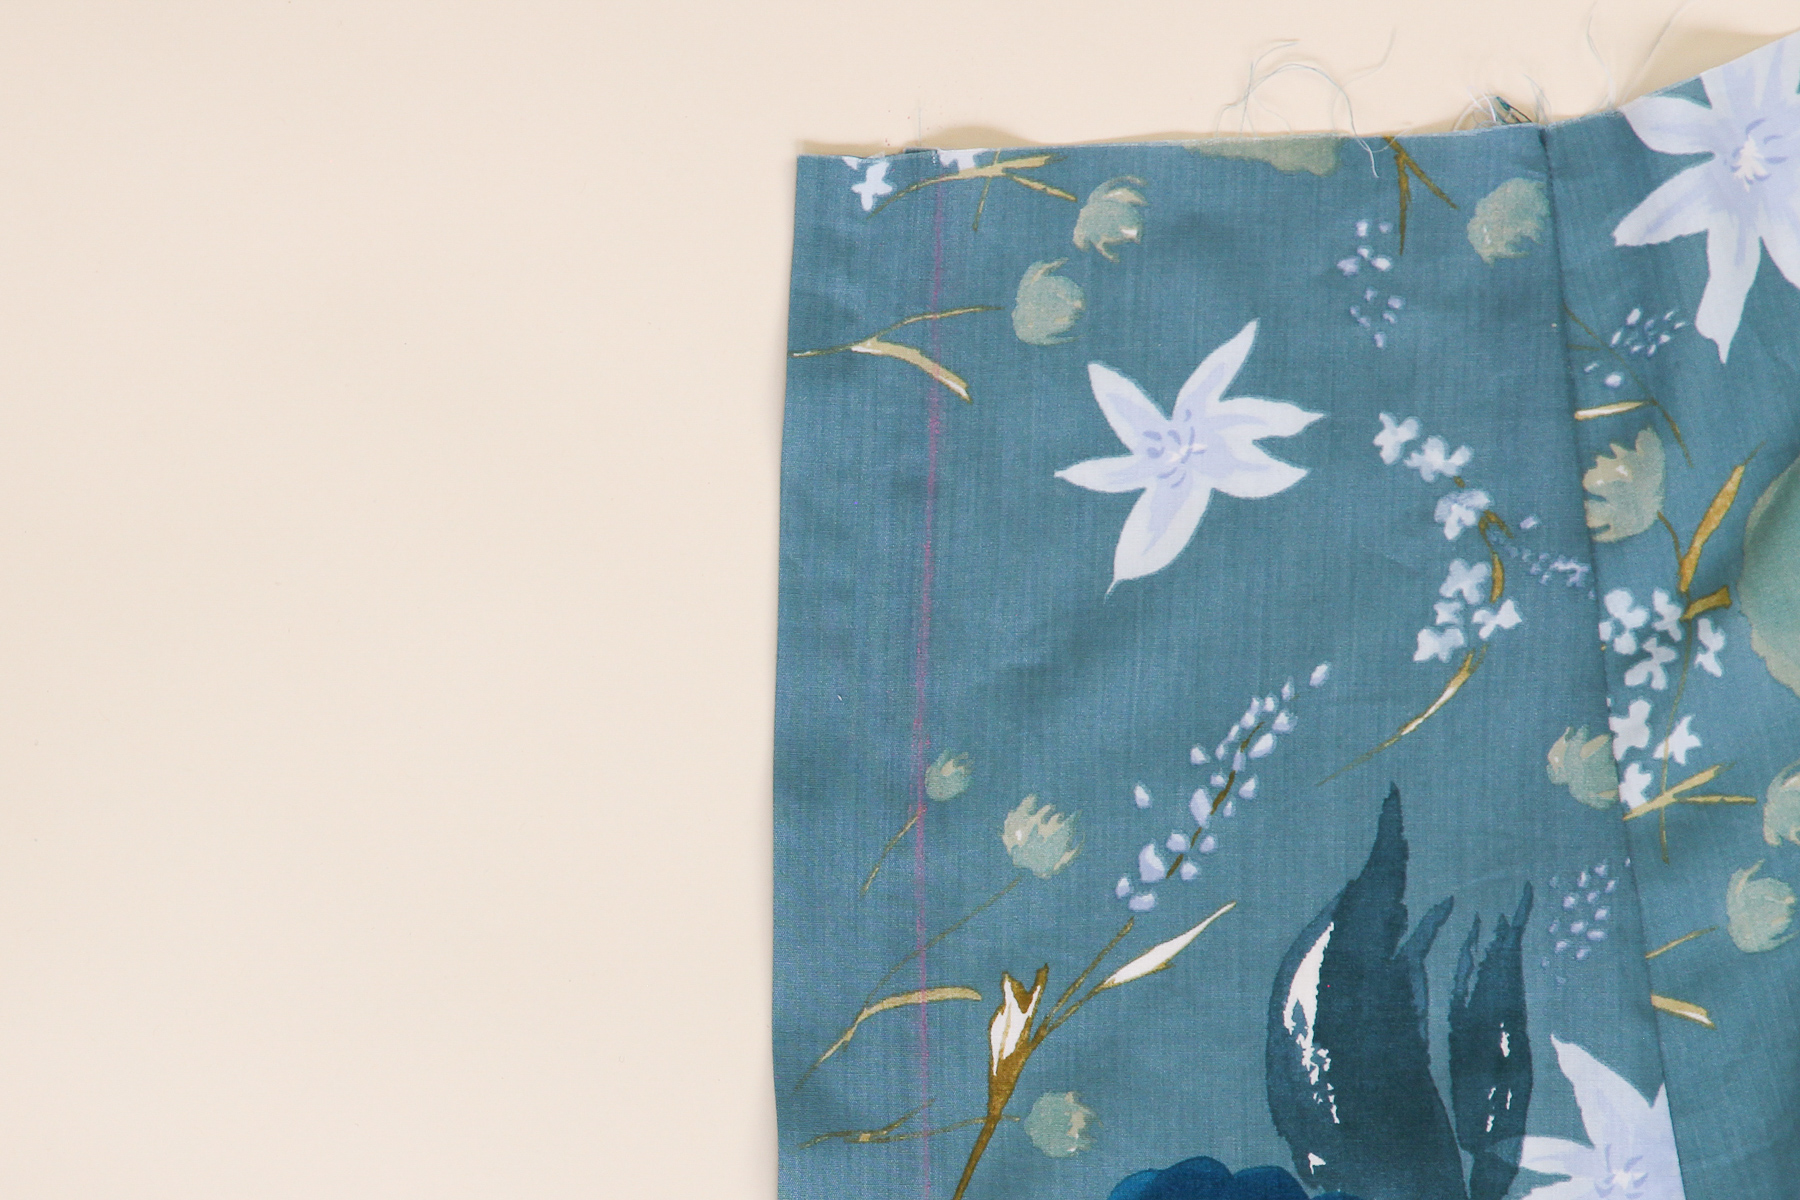
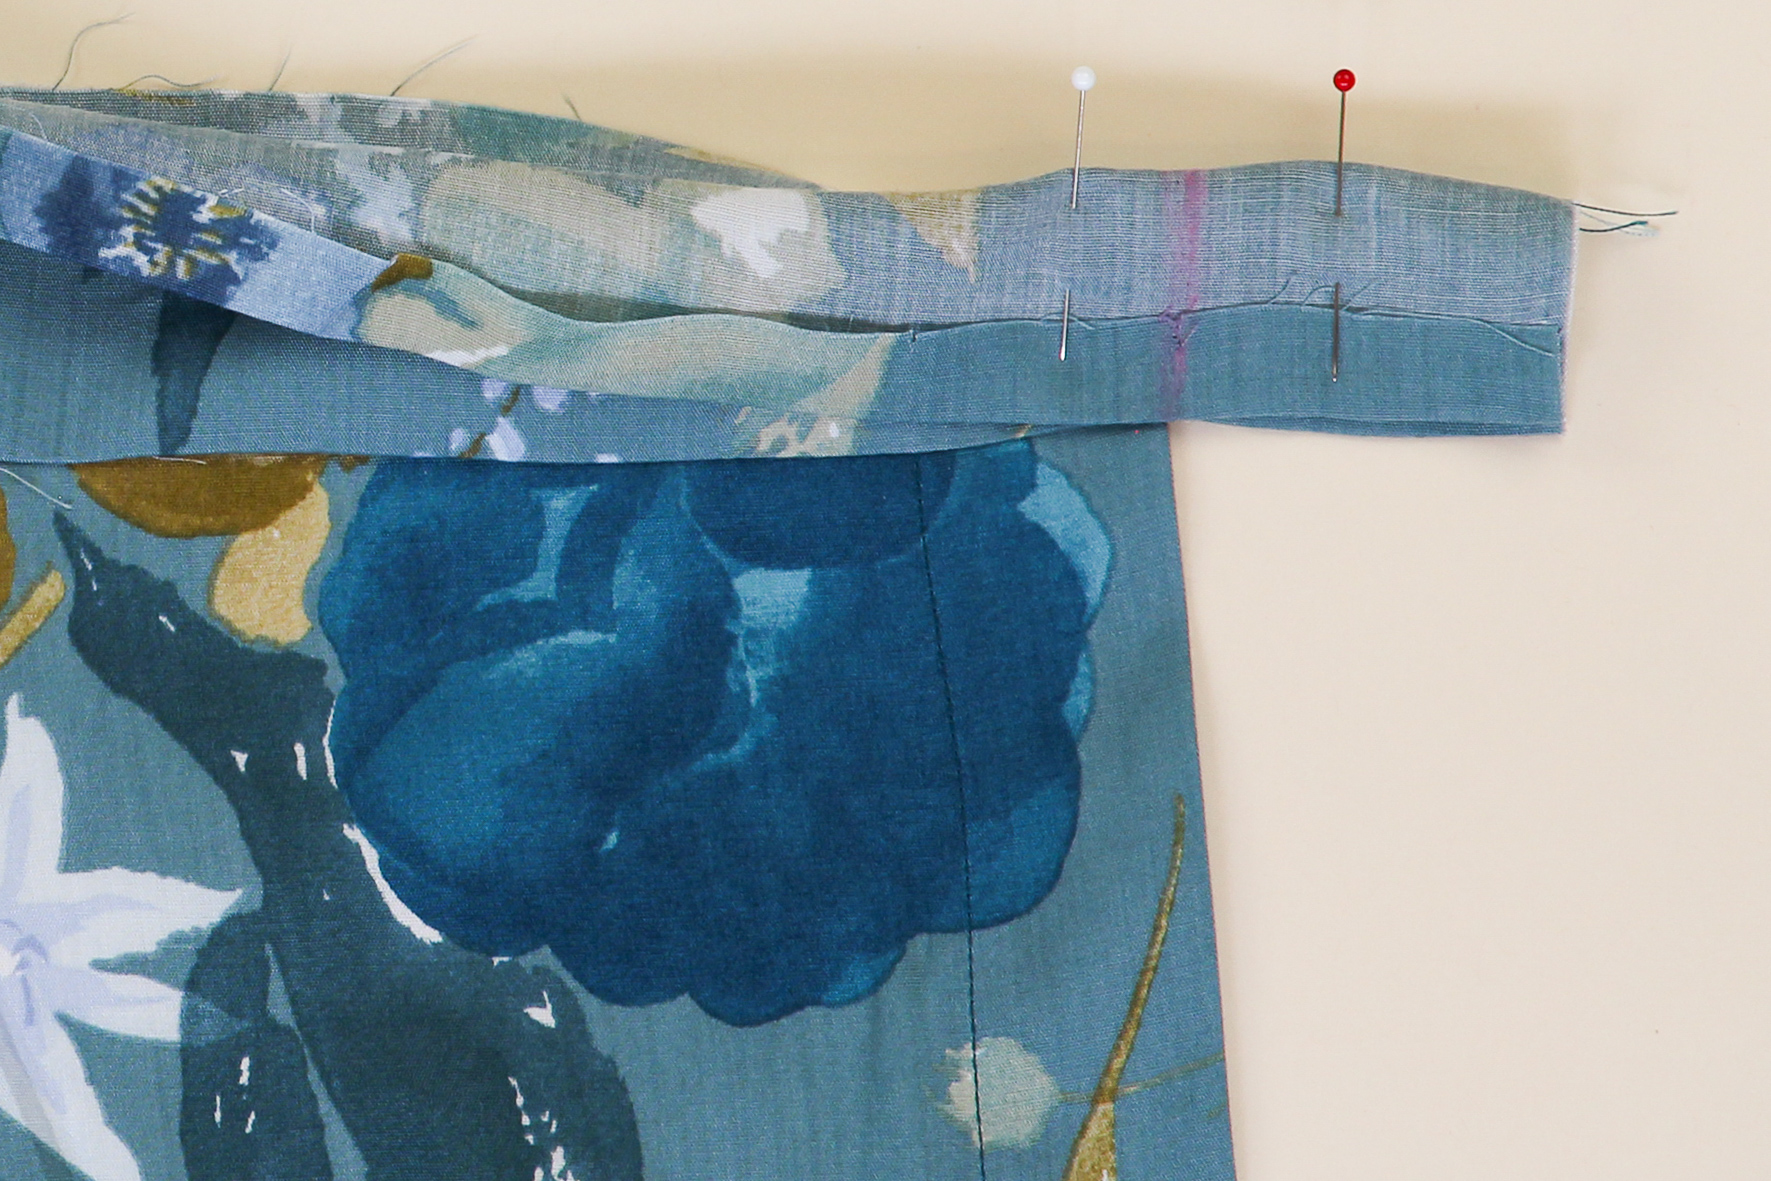
Okay, now we’re going to finish the ends of the waistband. At one of the front openings, fold the waistband in half back on itself, right sides together, with the outer waistband hidden behind and the seam allowance connecting the two waistbands folded back towards the outer waistband
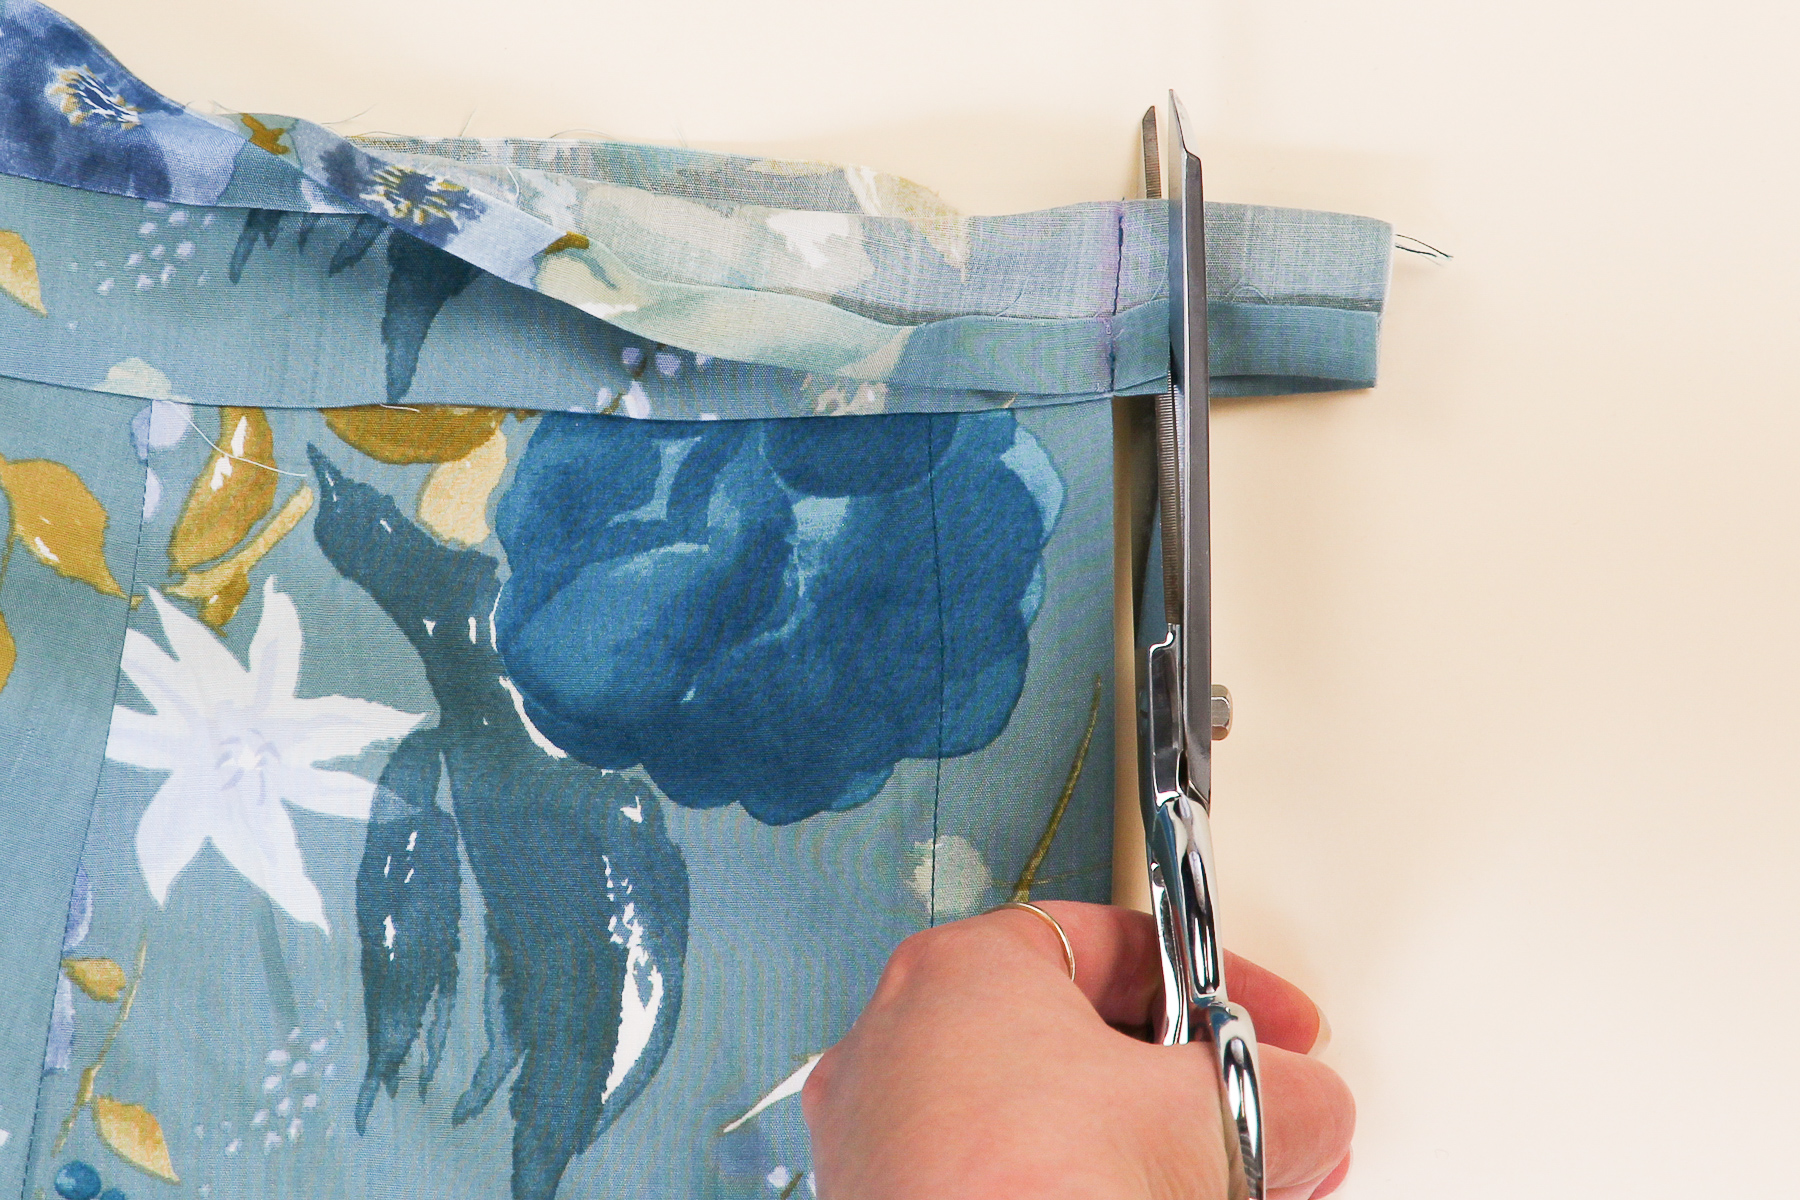
We’re going to pin this waistband closed and sew along the edge of the skirt. It helps to draw this line in with chalk to make sure it’s straight and flush with the edge of the skirt. (My line looks a little crooked here because the waistband is pulling it open—I promise it’s straight! 🙂 )
Let’s sew that down.
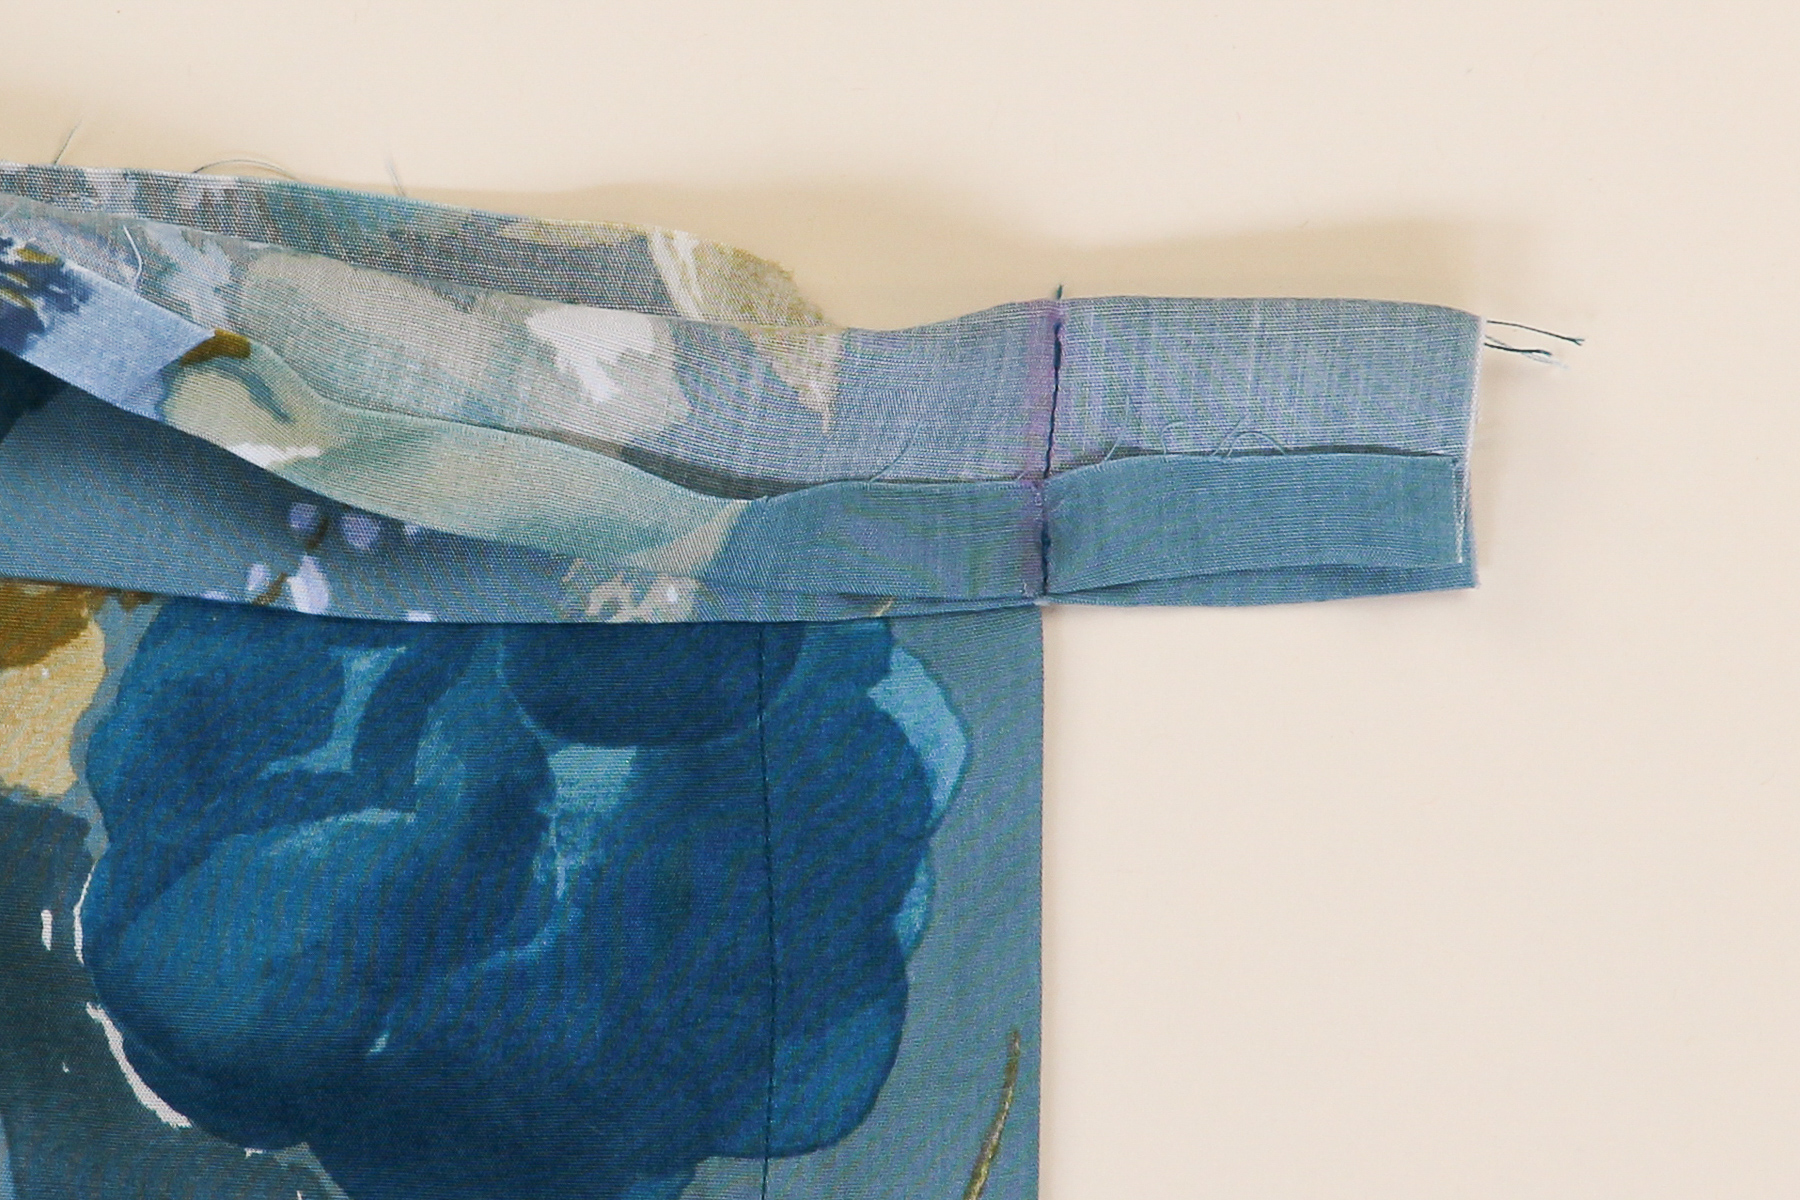
Now you can trim the seam allowance down to 1/4” (6 mm). Be sure to also clip the corner.
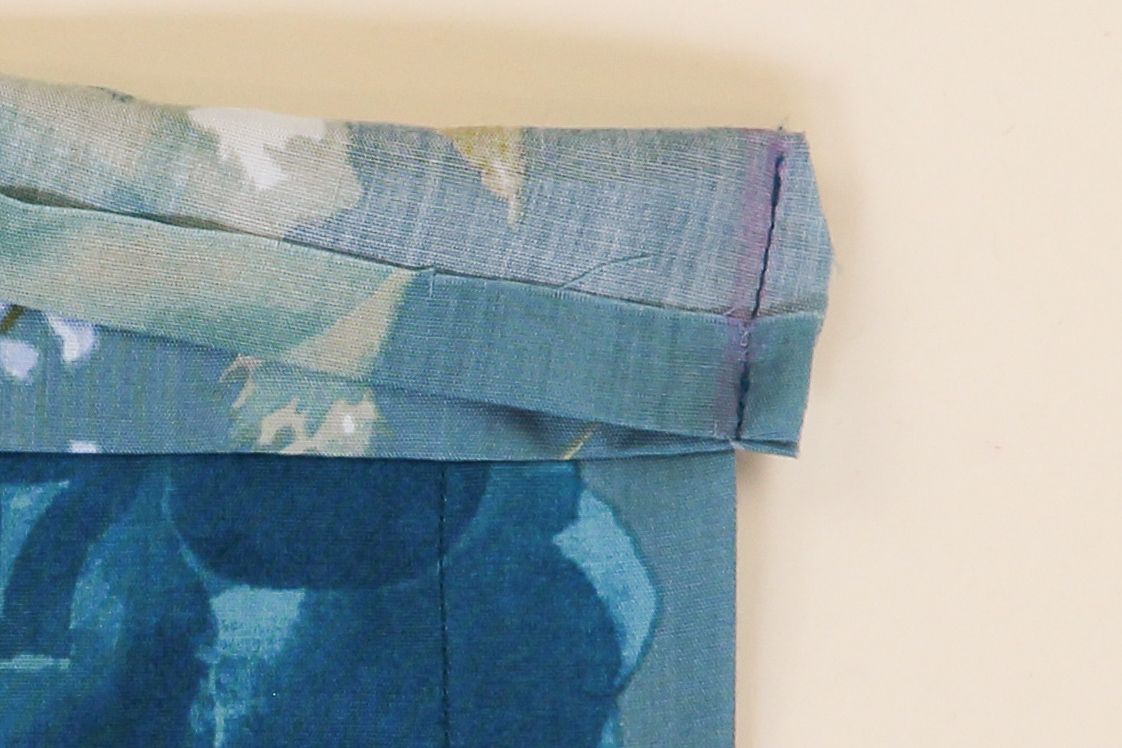
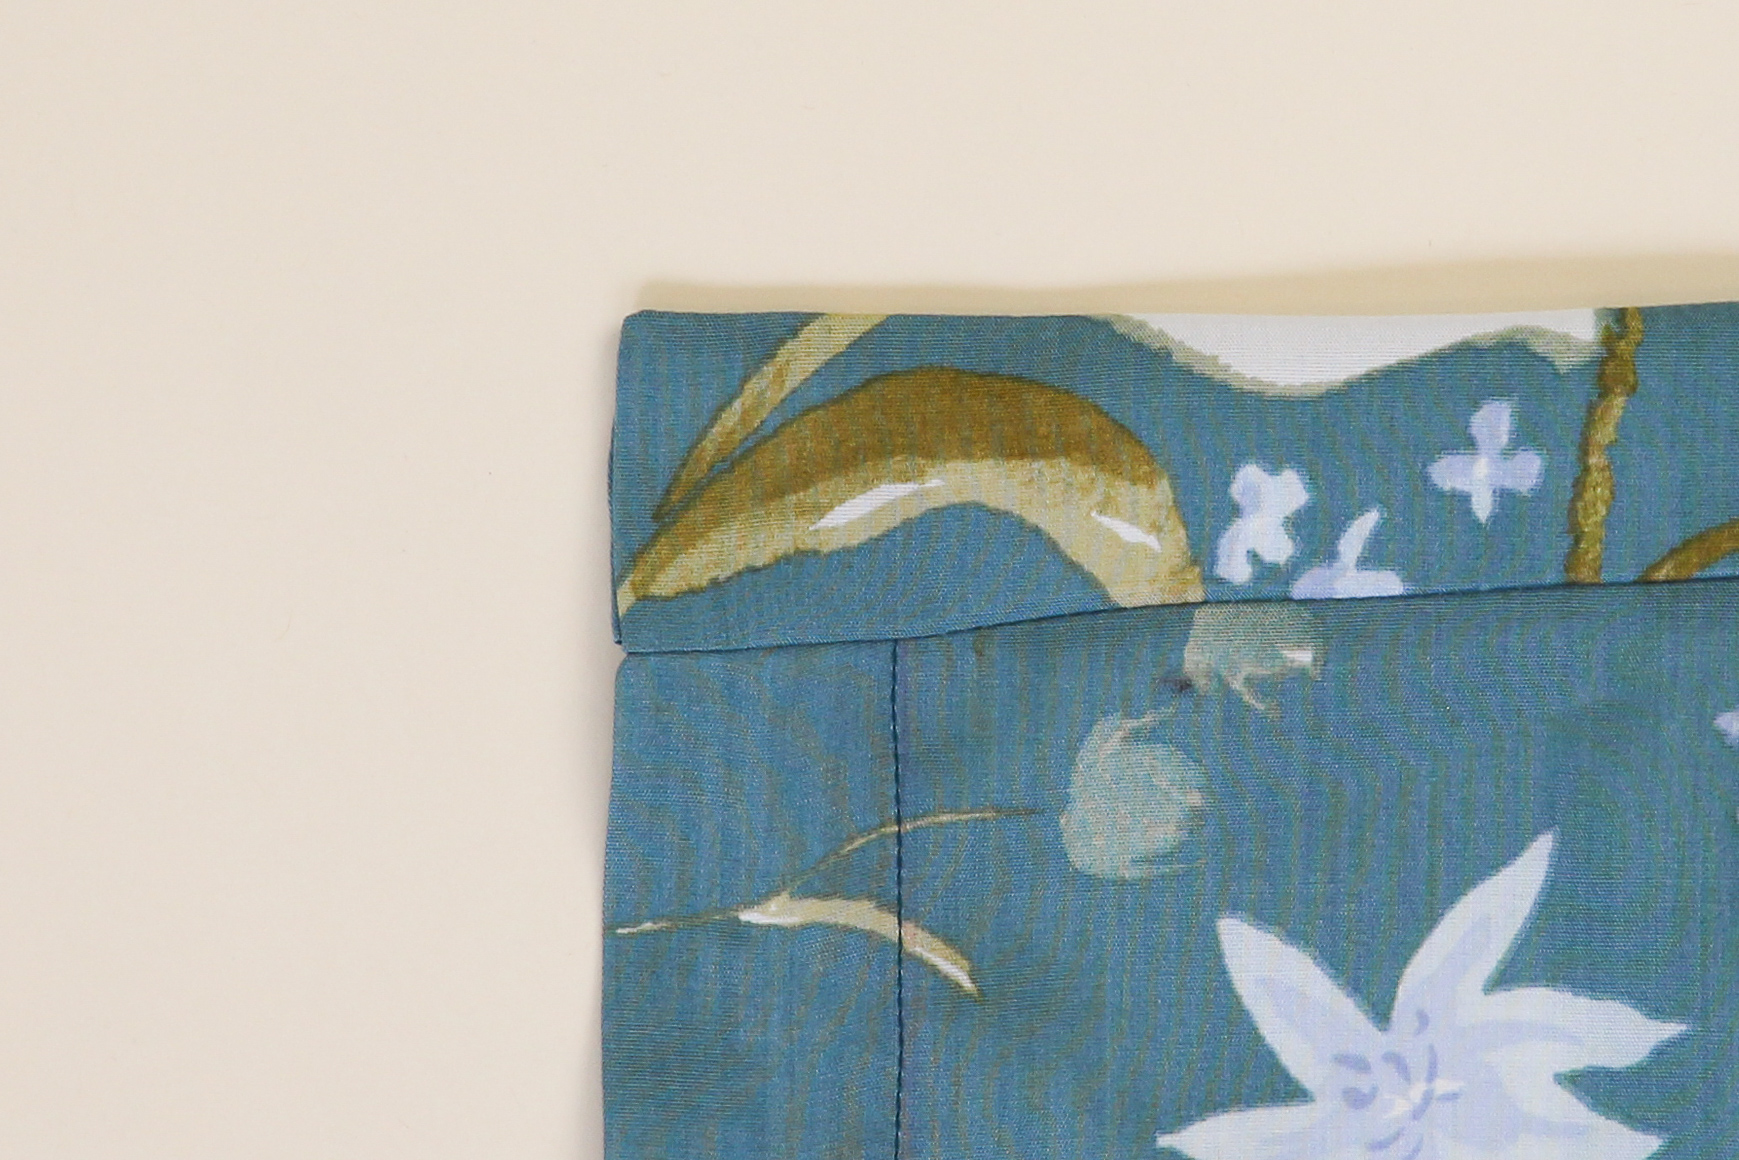
Let’s flip that right side out, and voila!

Time to do the same thing with the other front opening of the skirt.
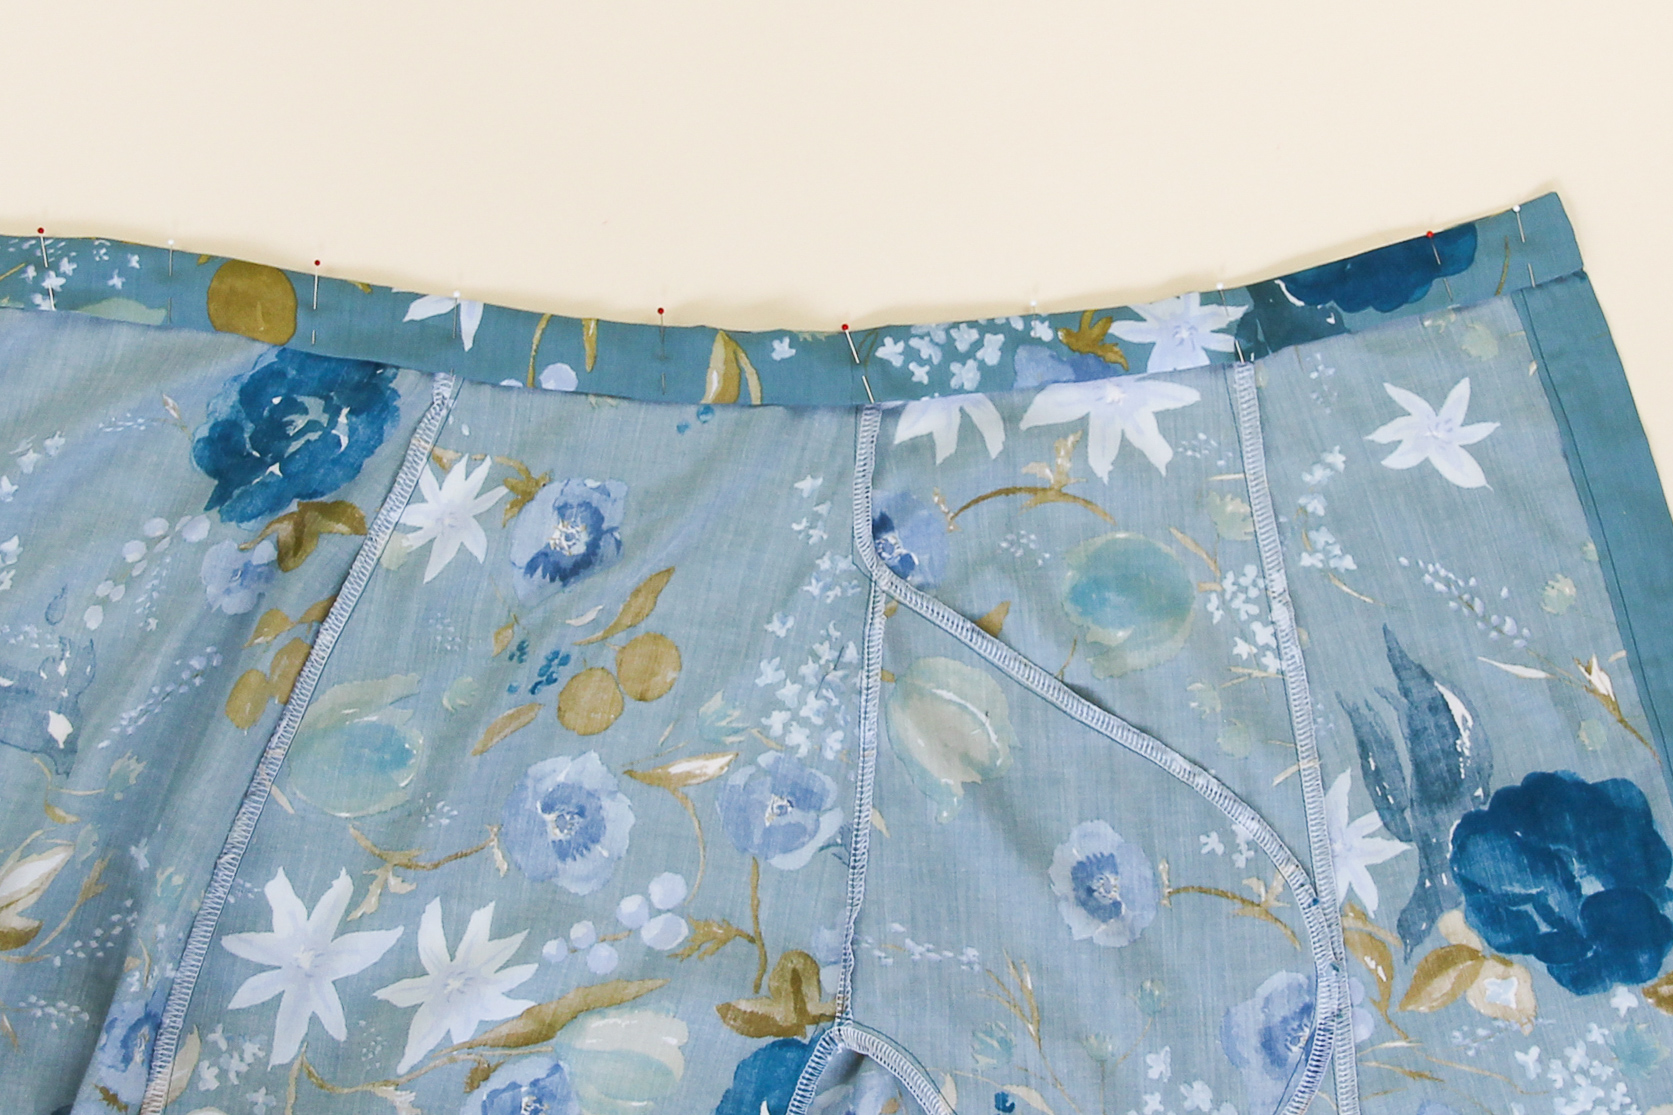
Now we need to sew down the rest of the waistband facing down. Flip the facing closed, and pin all the way along the waistband. Use Wonder Tape here for a bit of extra help.
You can then stitch in the ditch from the right side to close the waistband, or hand sew it for an invisible finish. But don’t forget: we need to leave two gaps about 3” (about 7.5 cm) at either end of the back waistband so that we can insert the elastic.
I’ve stitched in the ditch to close my waistband, leaving the two gaps at the back waistband.
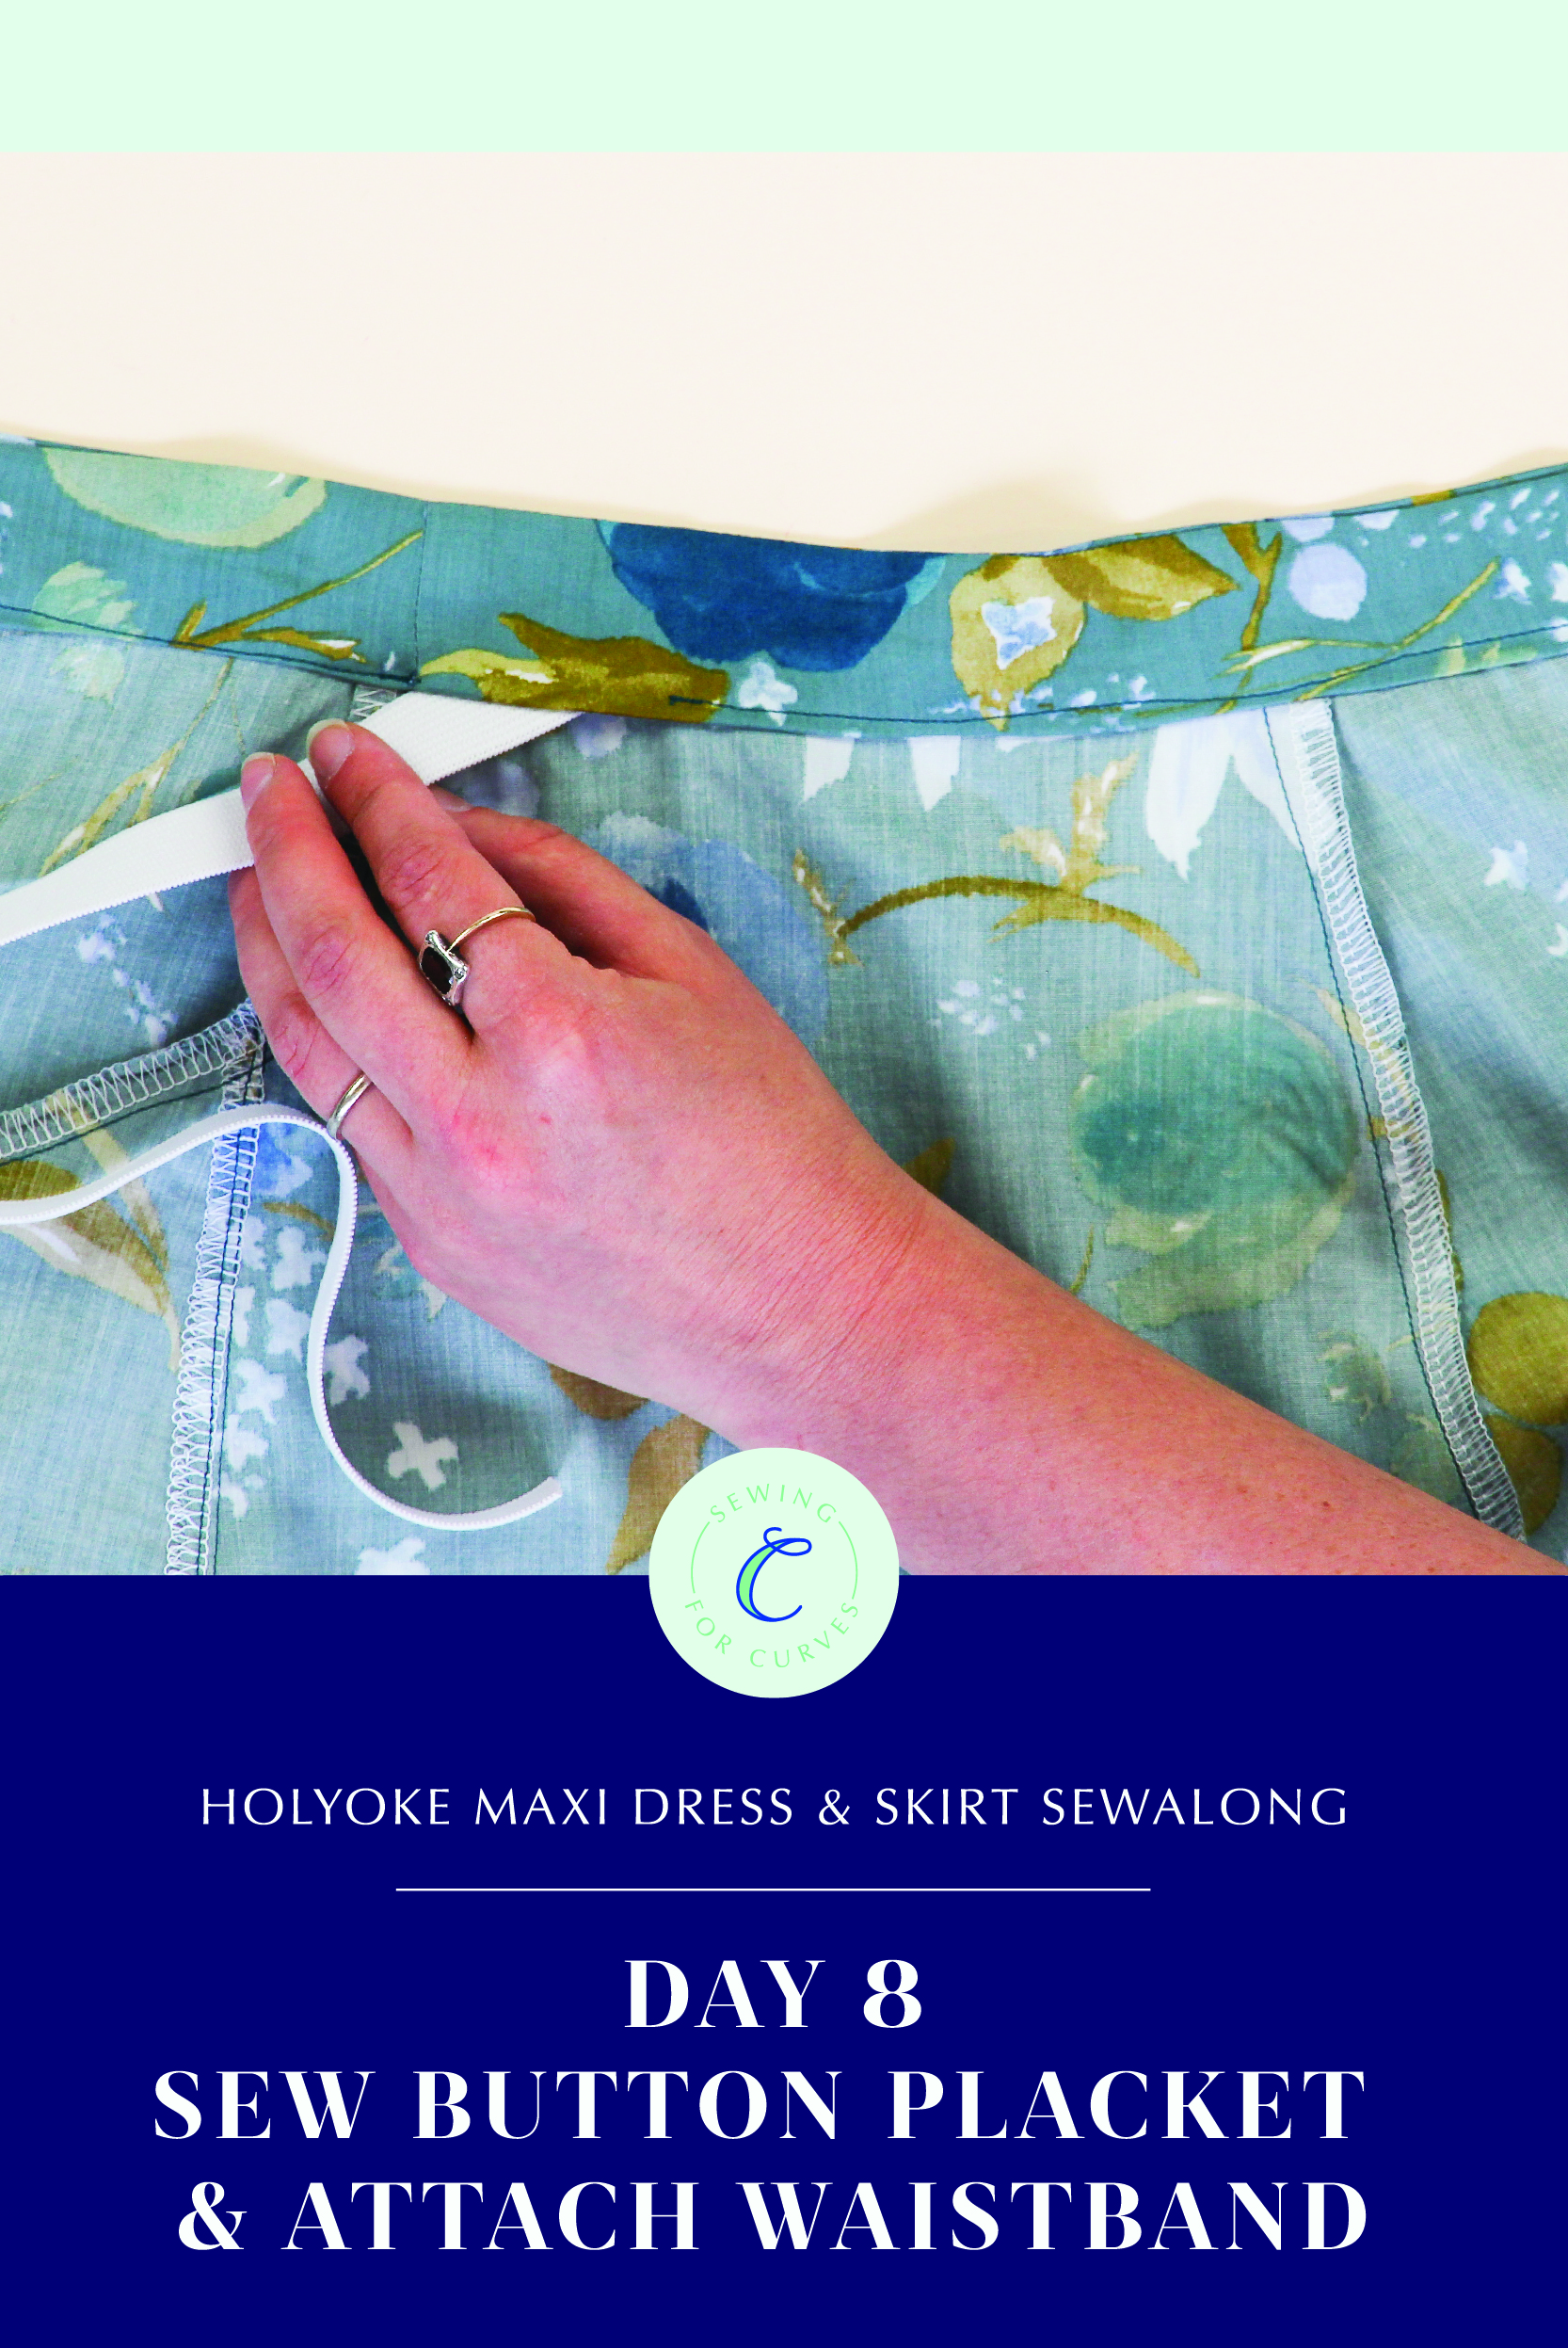
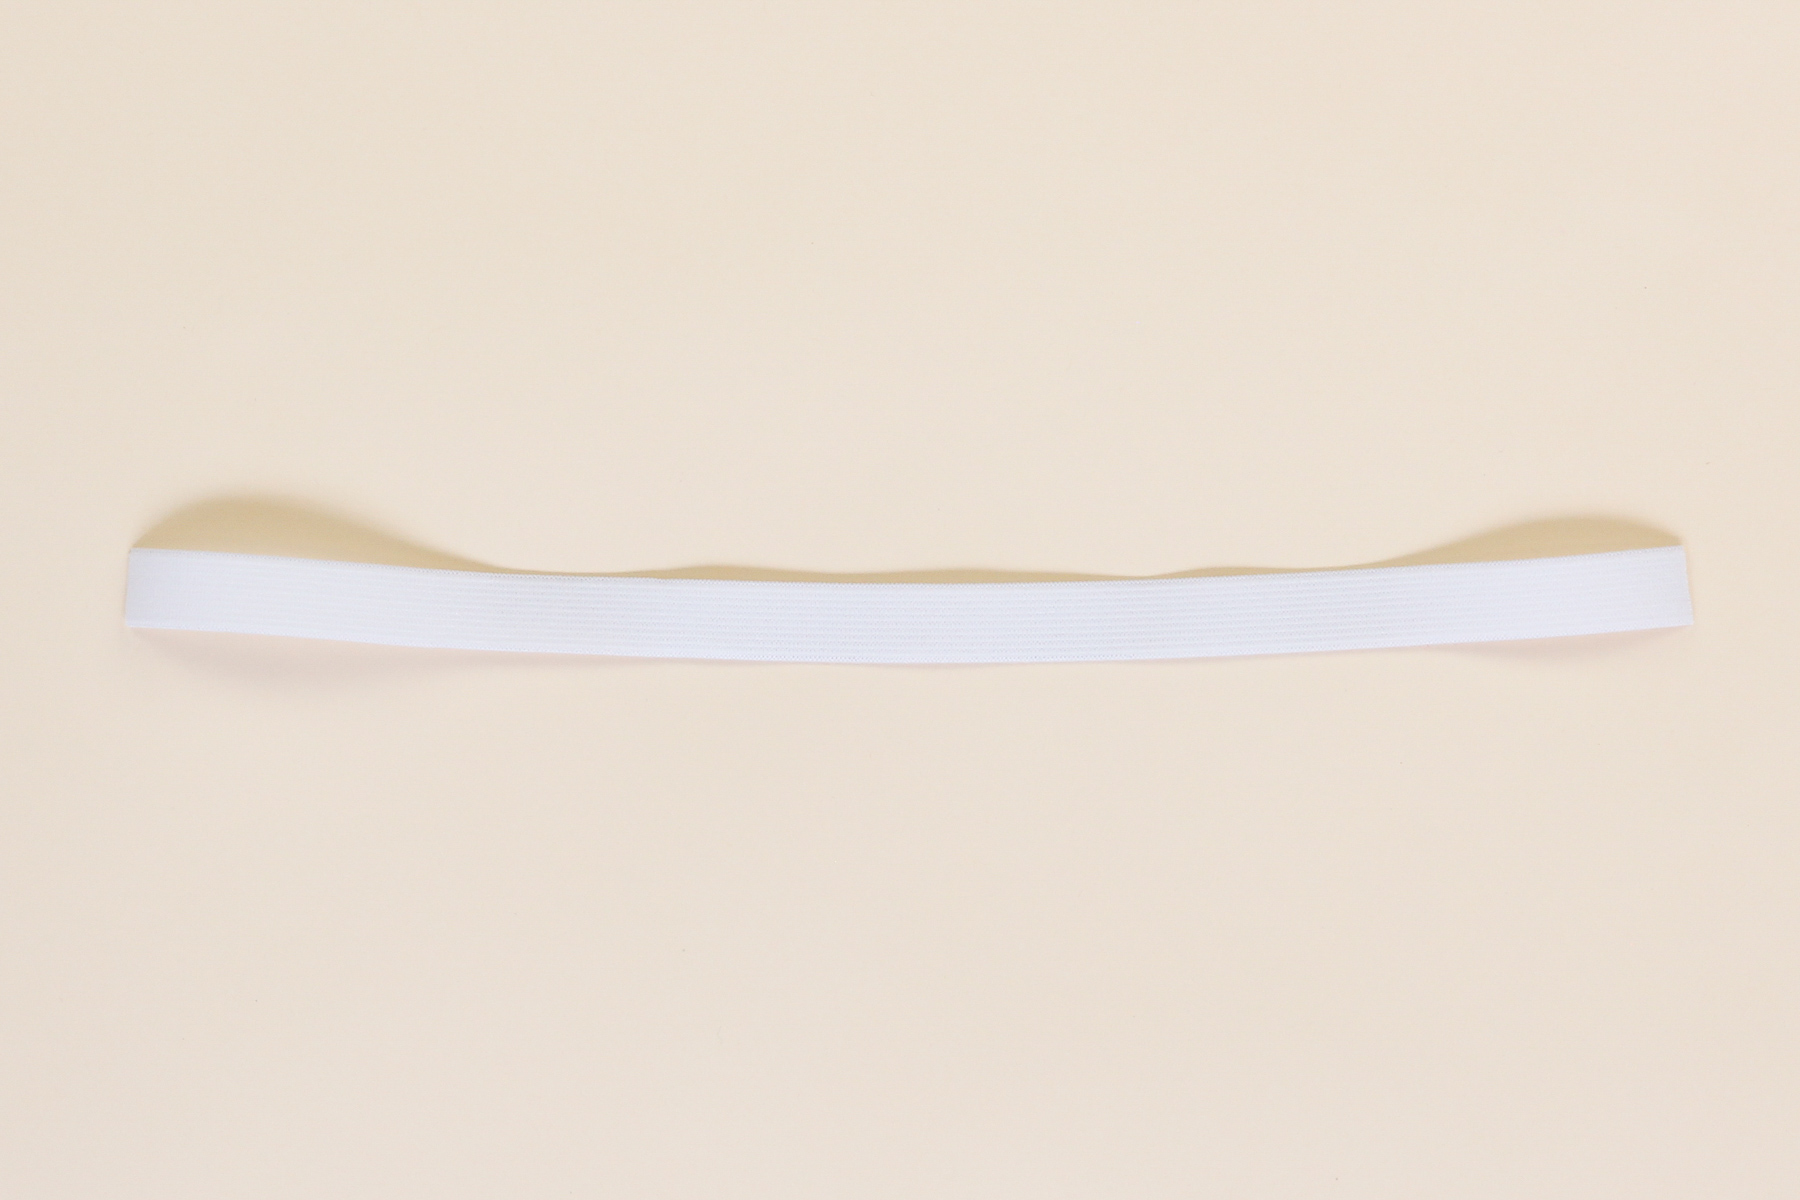
Time to insert our elastic! Find your size in the chart in the instruction booklet, and then cut a length of elastic accordingly.
We did a little experimenting and found that knit elastic works best here. Both woven and braided elastic tend to loose their stretchiness when stitched through in the way that we’ll be doing. If you have any concerns about whether your elastic will stay elasticy after you’ve sewn through it and all those layers of fabric, cut a small test piece of elastic and fabric and test how stretchy it is after its sewn. If the elastic has lost its stretchiness, try adjusting the stitch width and/or length until you find a stitch that allows the elastic to stretch.
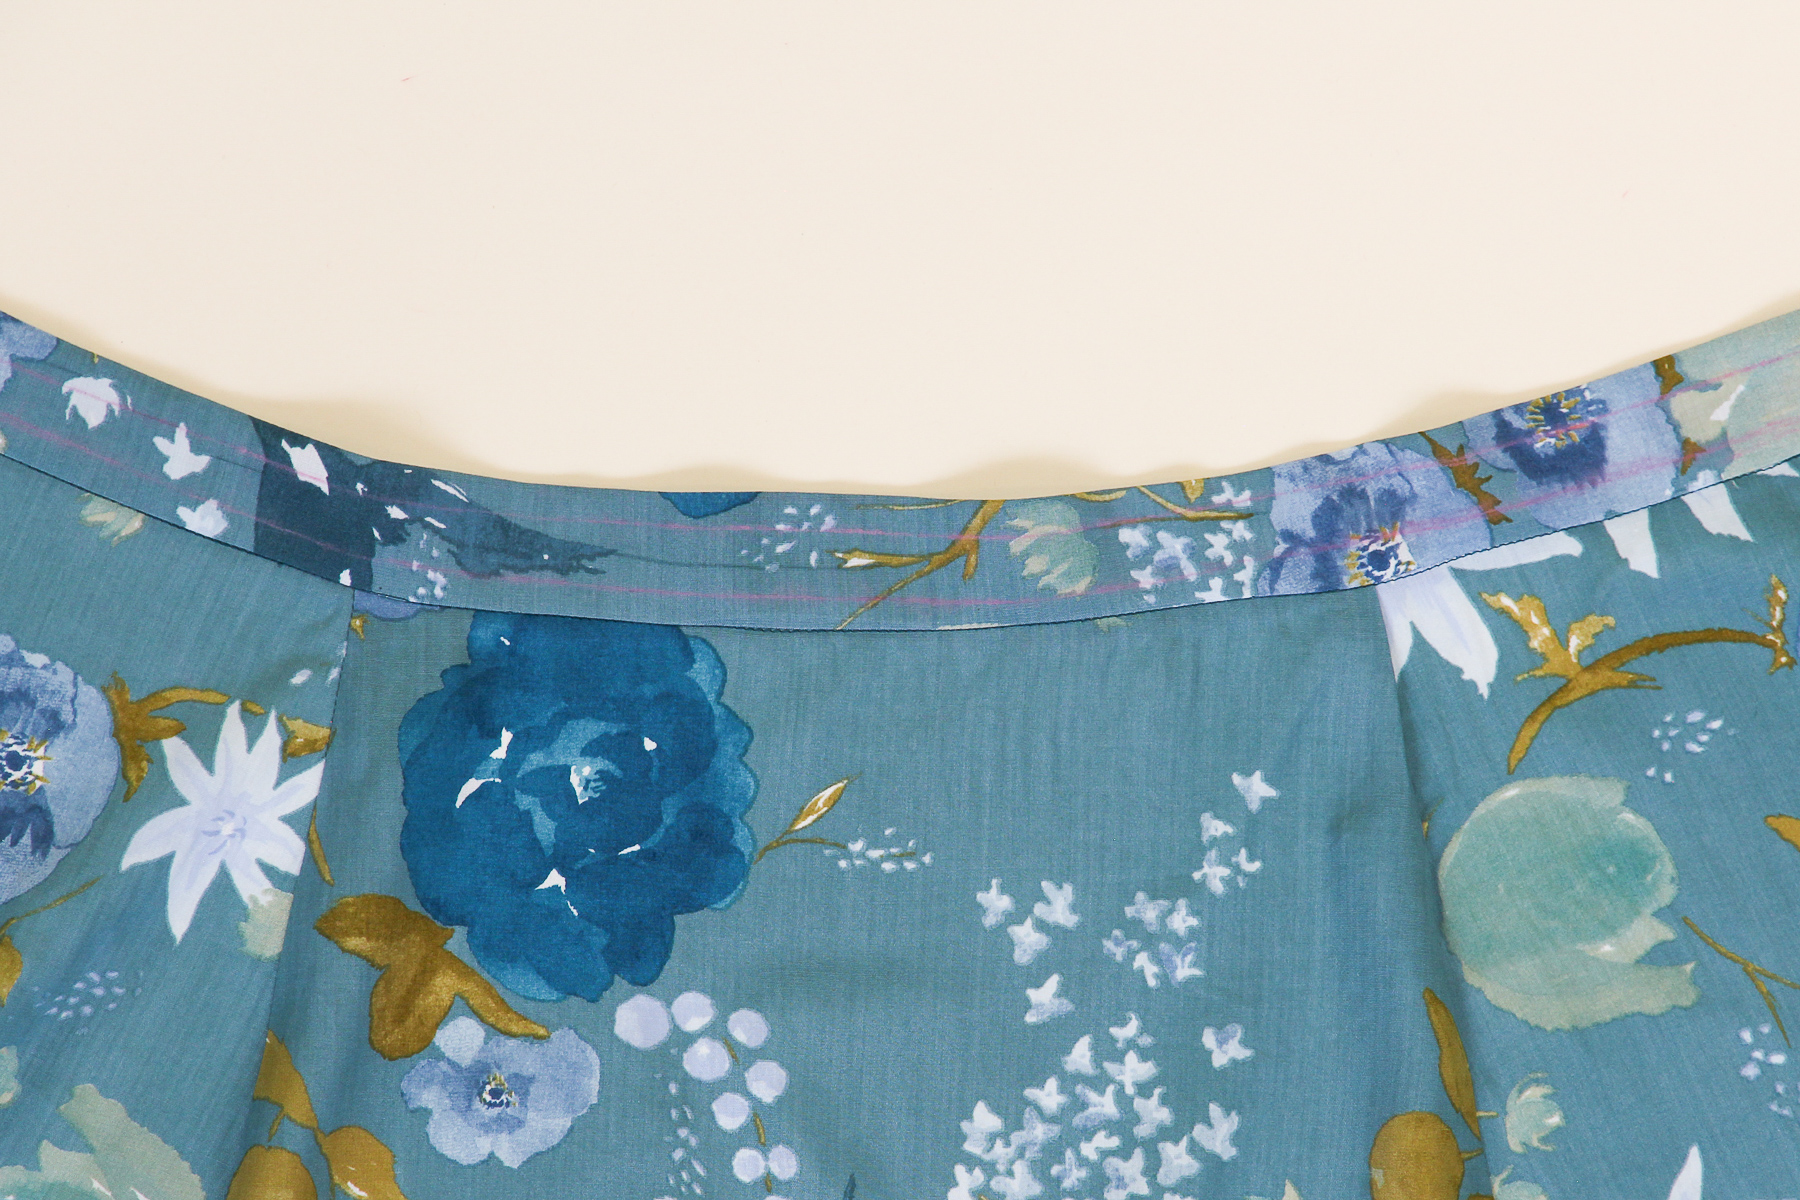
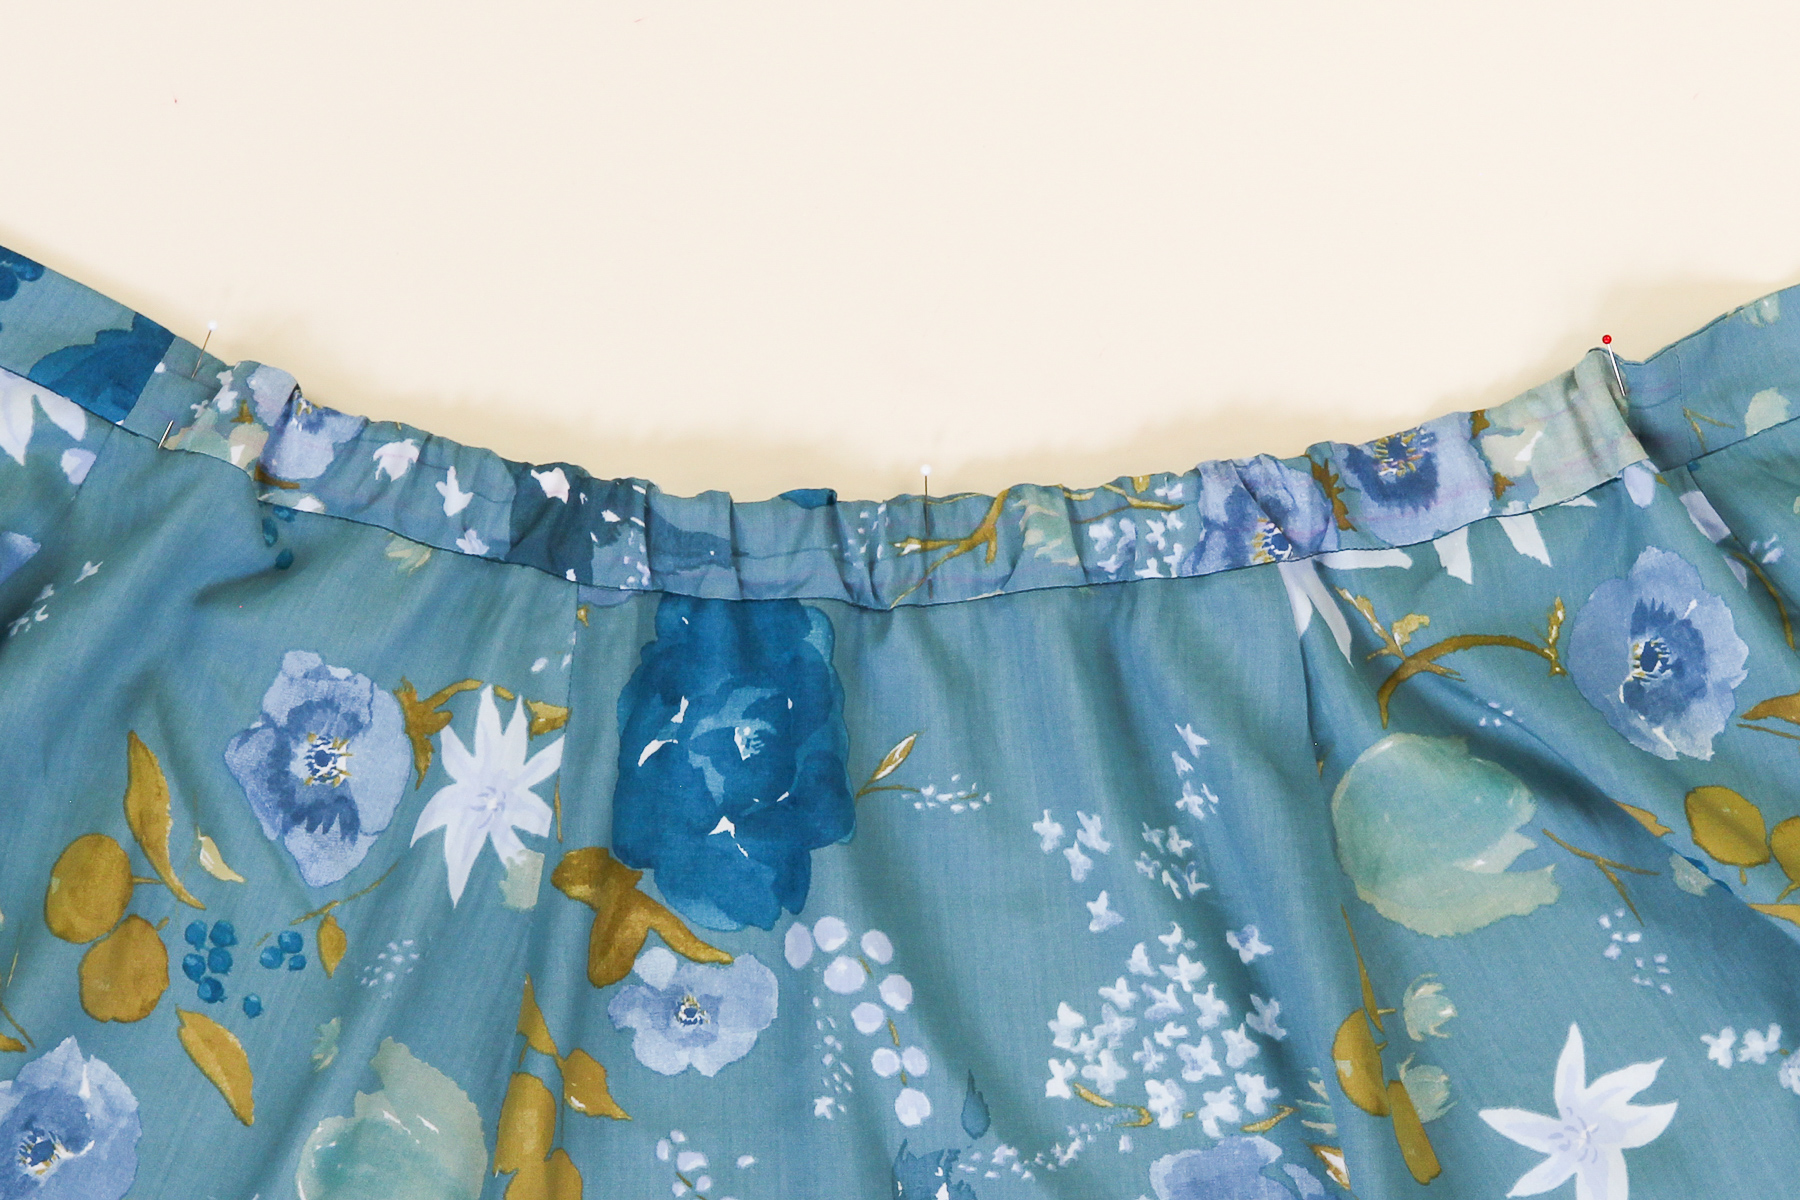
Before I insert my elastic, I’m going to chalk my two parallel topstitching lines on the right side. It helps to do this before putting in the elastic, because once the elastic is in, the skirt won’t lie flat and you won’t be able to draw the lines straight. Or you can simply freehand it—it’s your choice!
Flipping the skirt back over to the wrong side, I’m going to insert the elastic in through one of the openings in the back waistband.
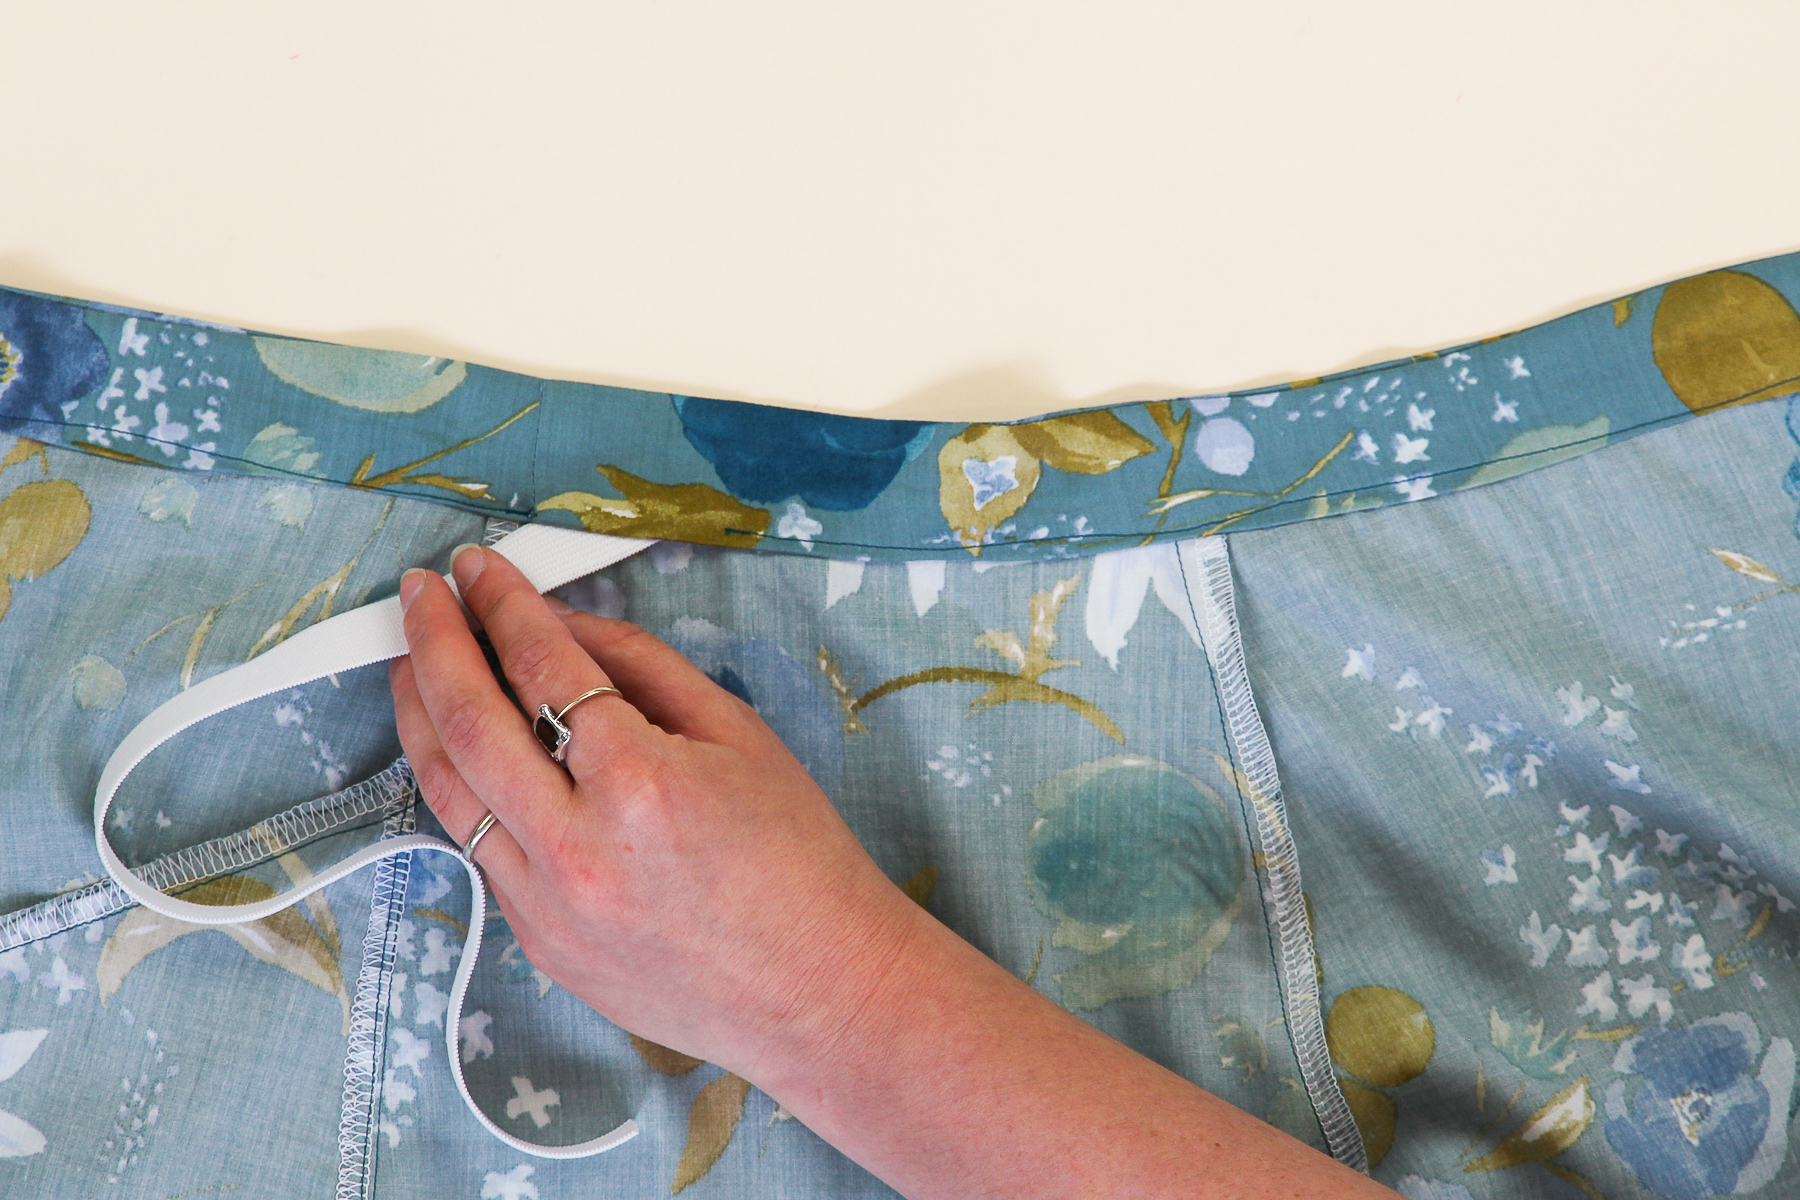
Once you’ve inserted your elastic, pin it on either ends of the back waistband and once in the middle. If you want a bit of extra support as you’re topstitching the elastic, you can baste the two ends down and then remove the basting stitches later.
Now we’re going to sew those two parallel lines from one end of the waistband to the other. We’re going to use a 3 mm wide by 2 mm long zigzag stitch for this, and we’re going to hold the fabric on either side of the machine and stretch it as we sew, making sure the fabric is flat and the elastic is taut. It’s ok if the topstitching isn’t flawless—this area will get bunched up and hide any topstitching imperfections.
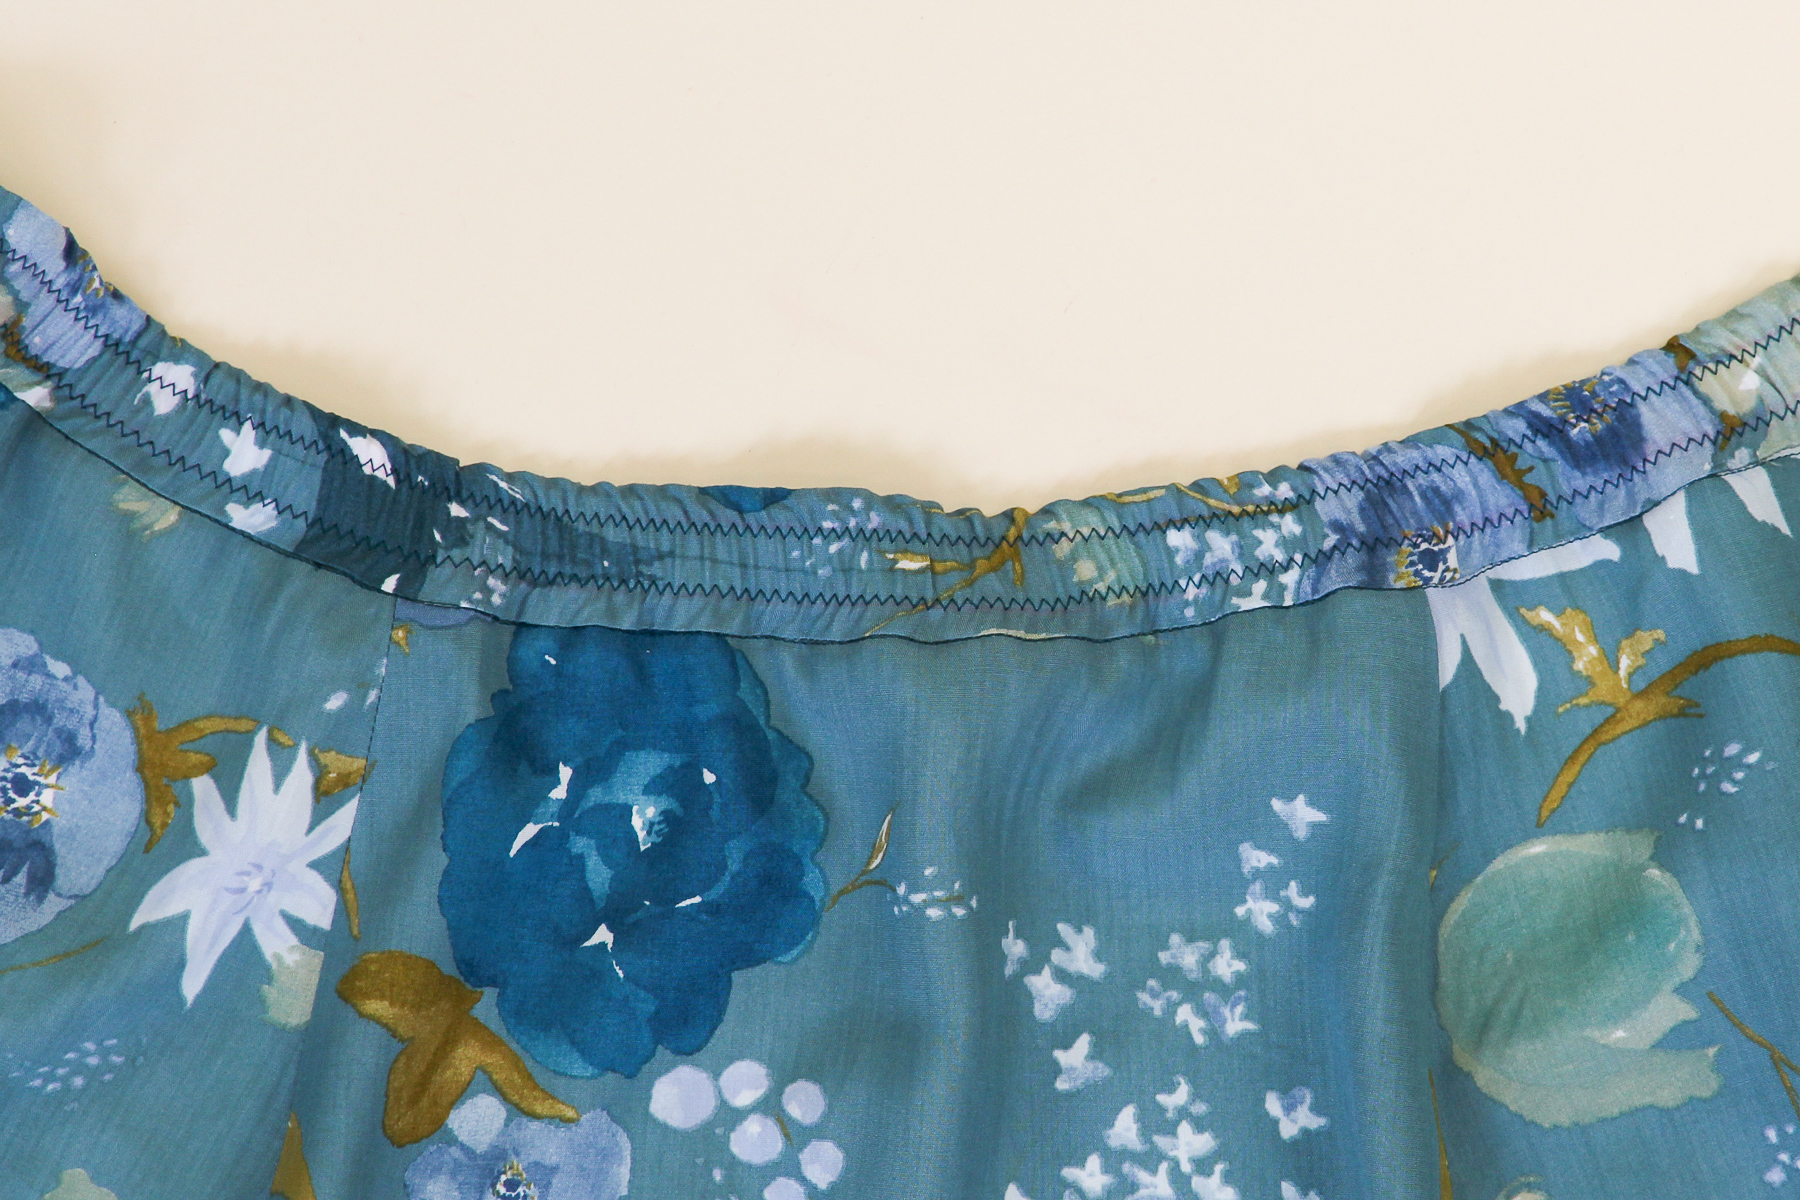
Now that our elastic is inserted, we can close up the two openings in the back waistband, either by stitching in the ditch or hand sewing them closed.
And there you have it! Our waistband is completed!
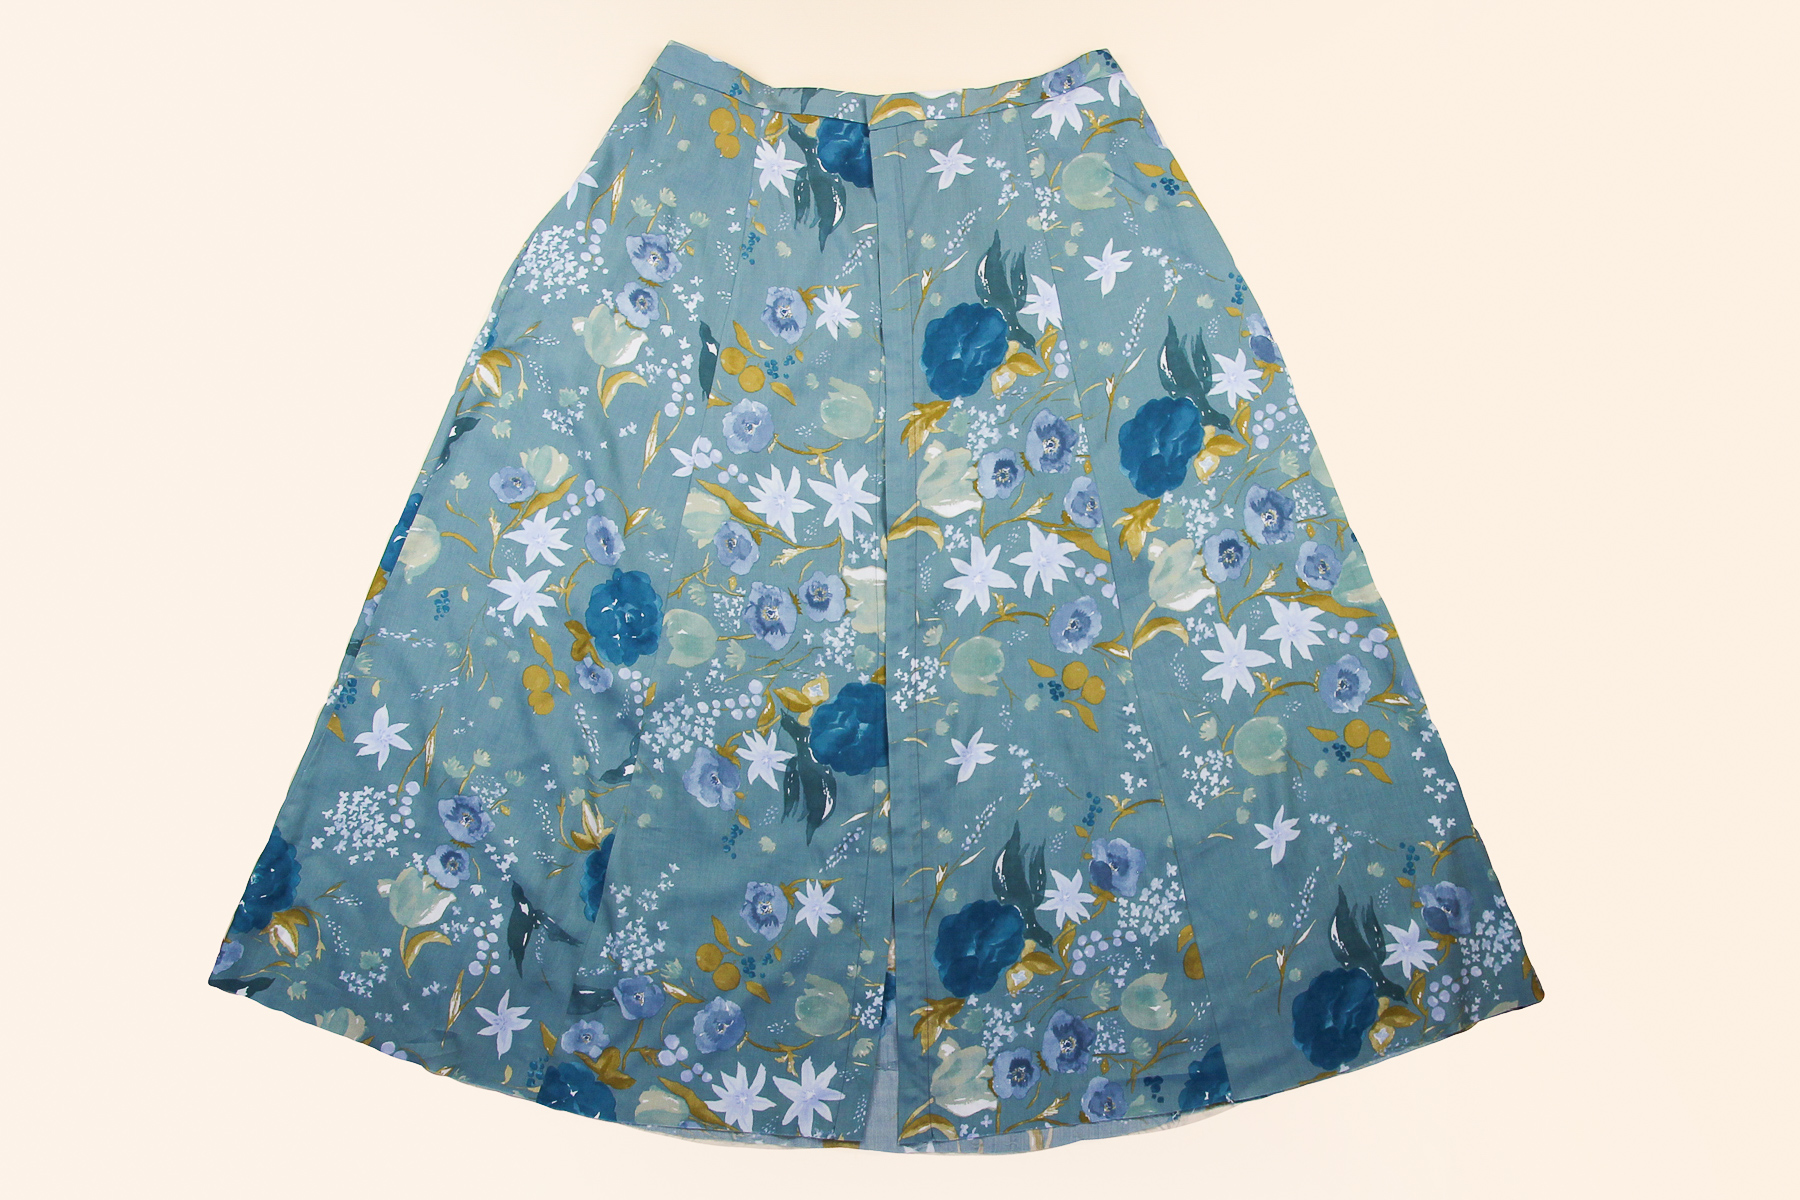
All that’s left to do is to hem the skirt and sew on our buttons—easy peasy, right? Come back next time to finish off your Holyoke Skirt with us, and then all the twirling can commence!
We want to see your creations, whatever stage of the process you’re at! Tag your makes with #HolyokeDress or #HolyokeSkirt on social media so we (and the whole sewing community) can cheer you on to the finish line!