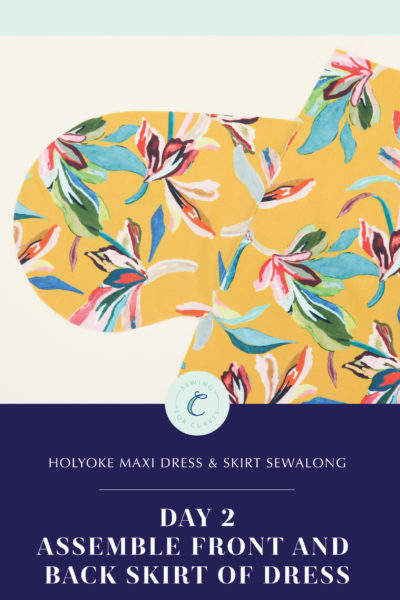
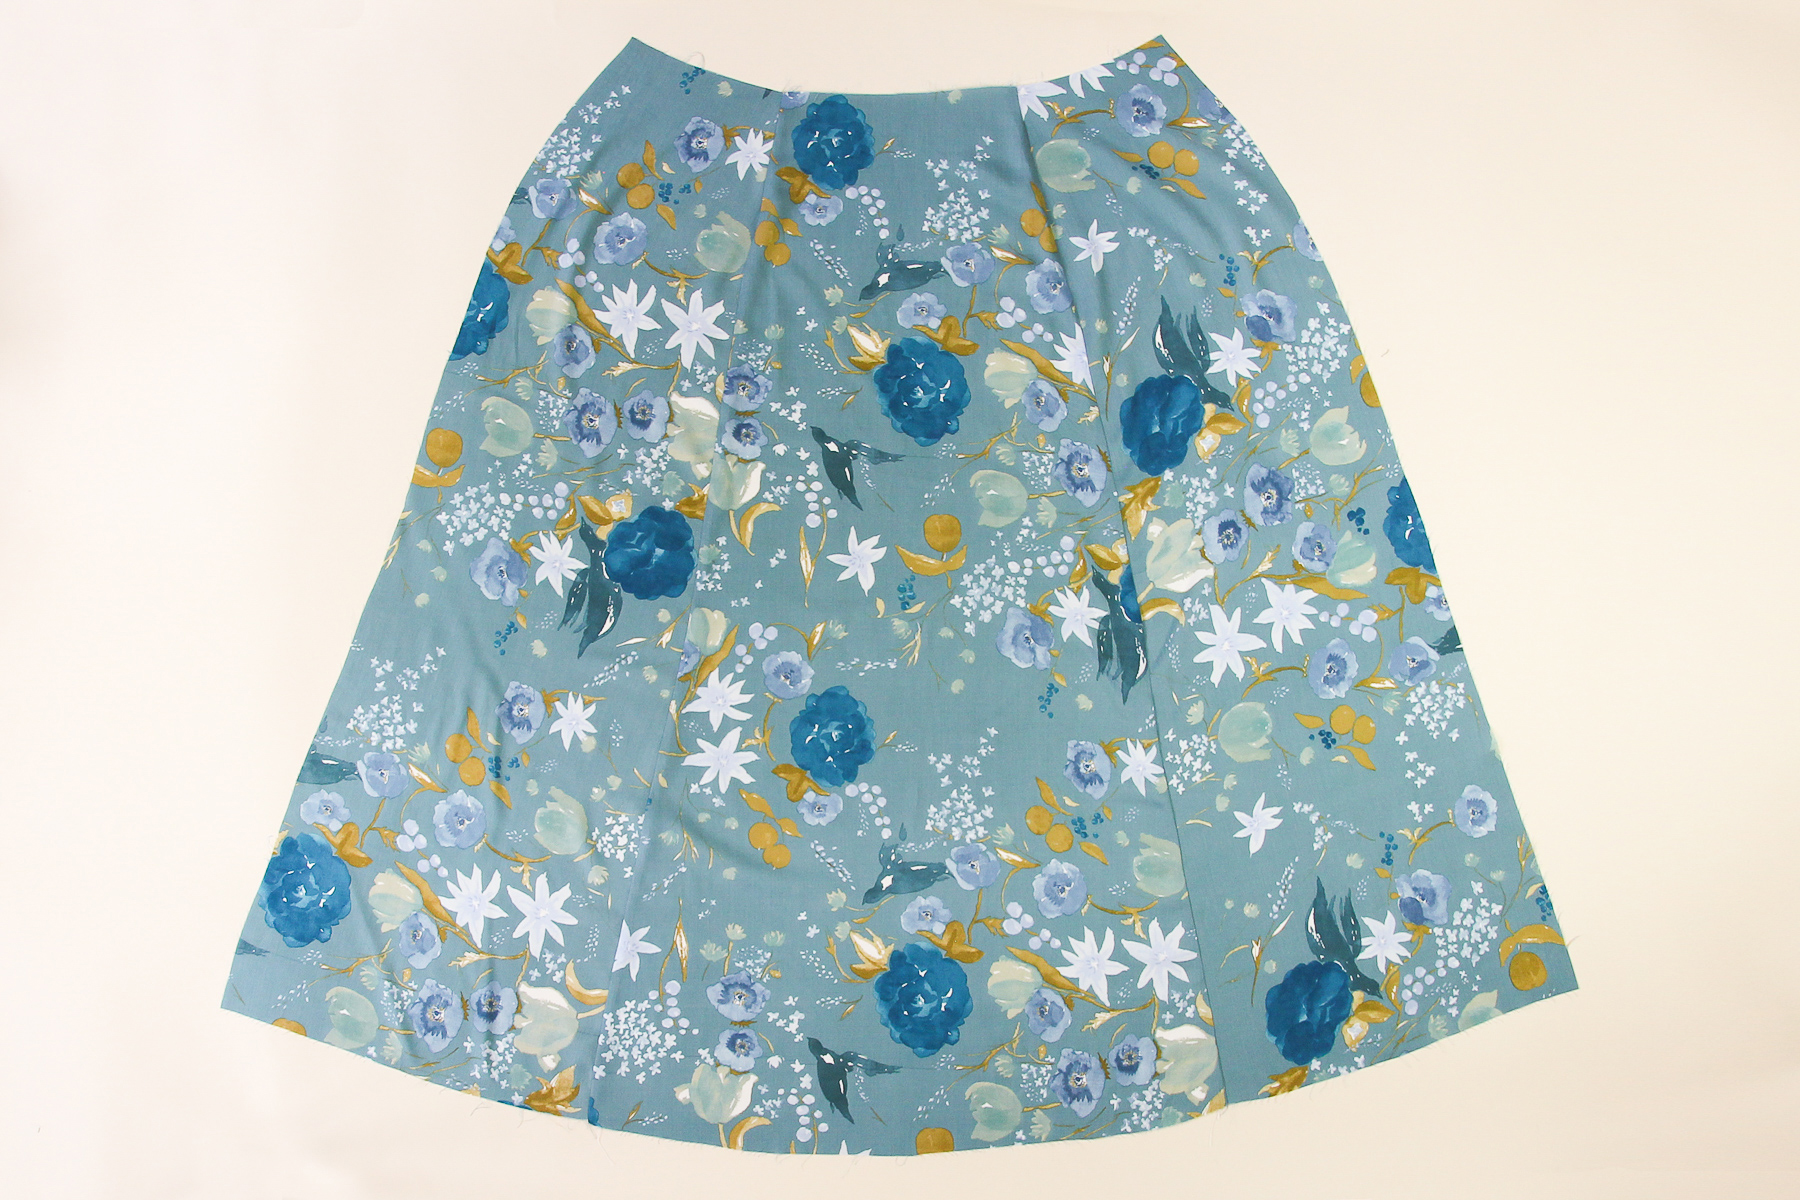
Welcome back to the Holyoke Maxi Dress and Skirt sewalong! We recently wrapped up sewing the Holyoke Maxi Dress, and now it’s time to turn our attention to the Holyoke Maxi Skirt!
In need of a bit of inspiration before you get started? We’ve rounded up our favorite looks from ready -to-wear and some gorgeous fabrics you can use for this pattern. And if you need help choosing your size and preparing your fabric, we’ve got you covered there too!
Ready to get started? So are we!
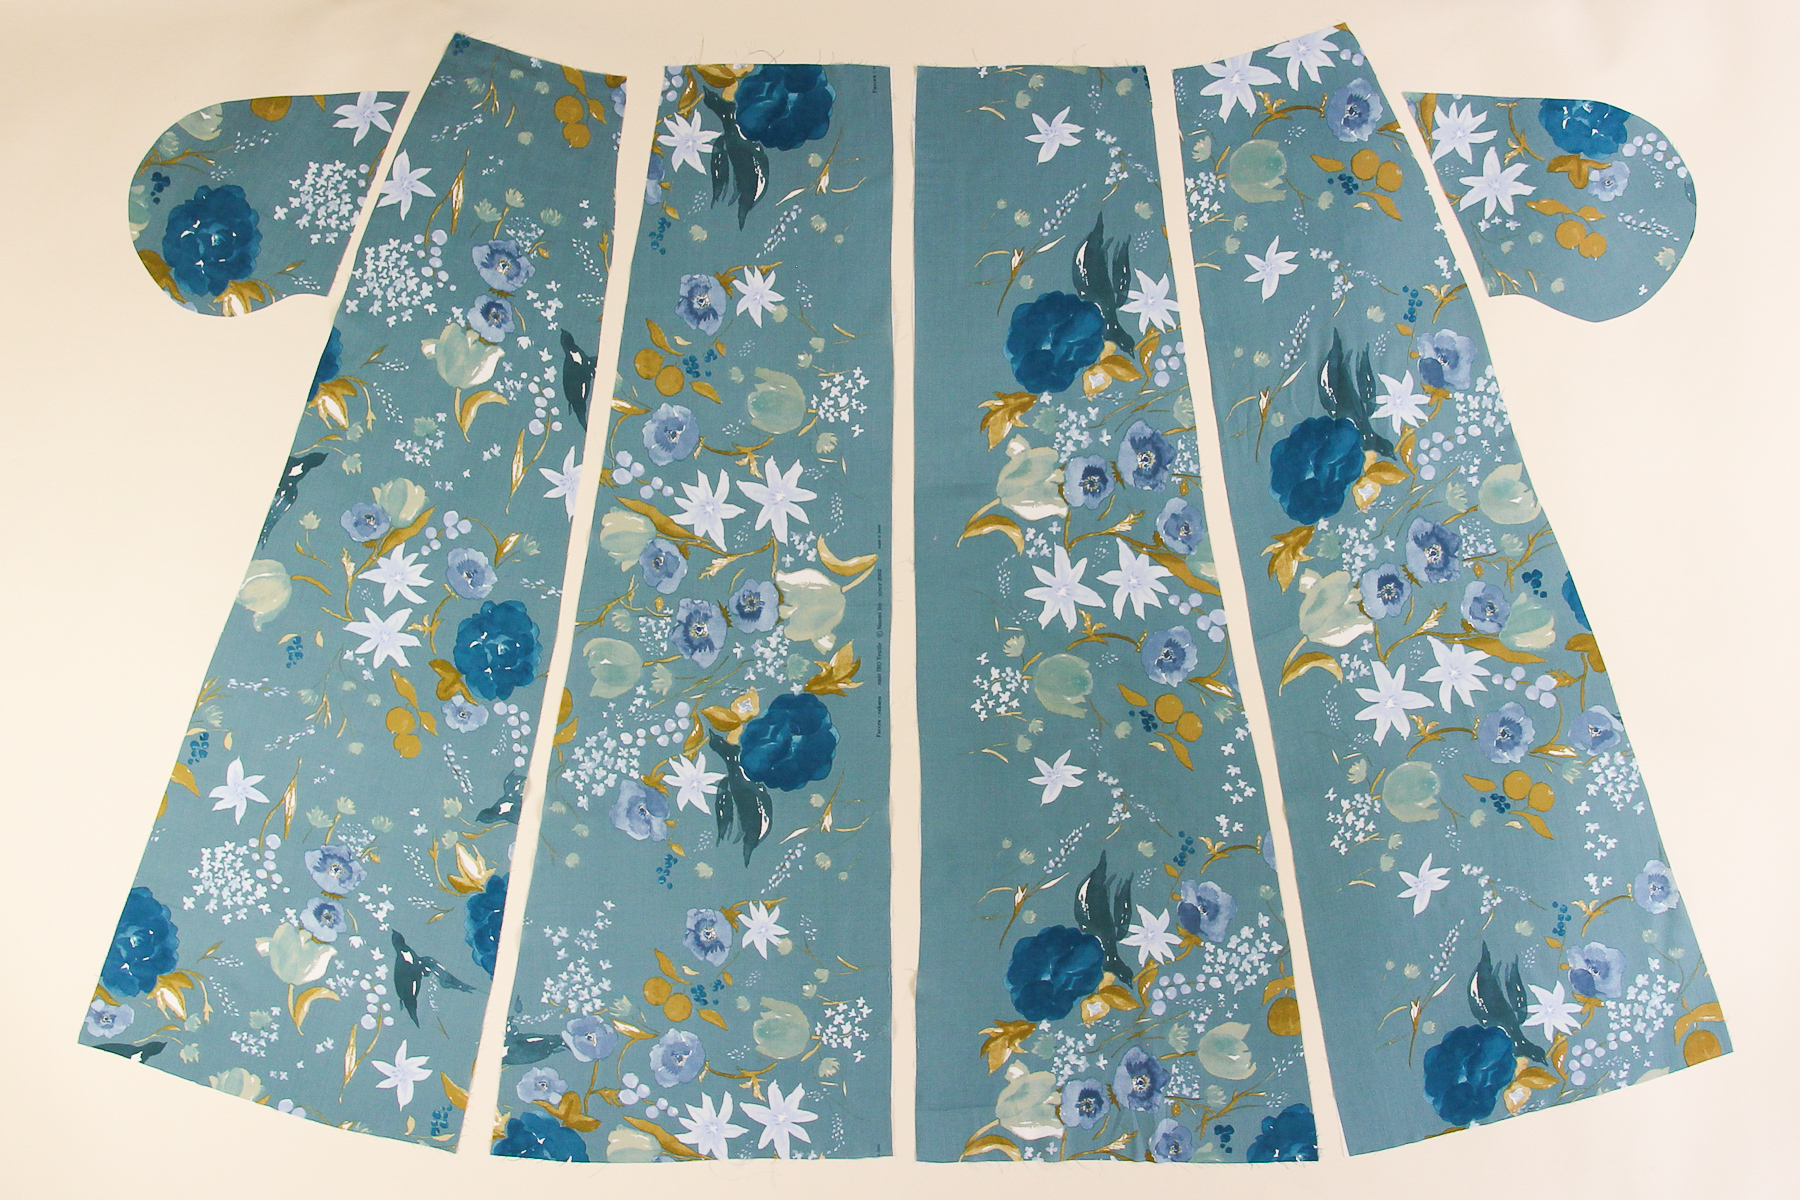
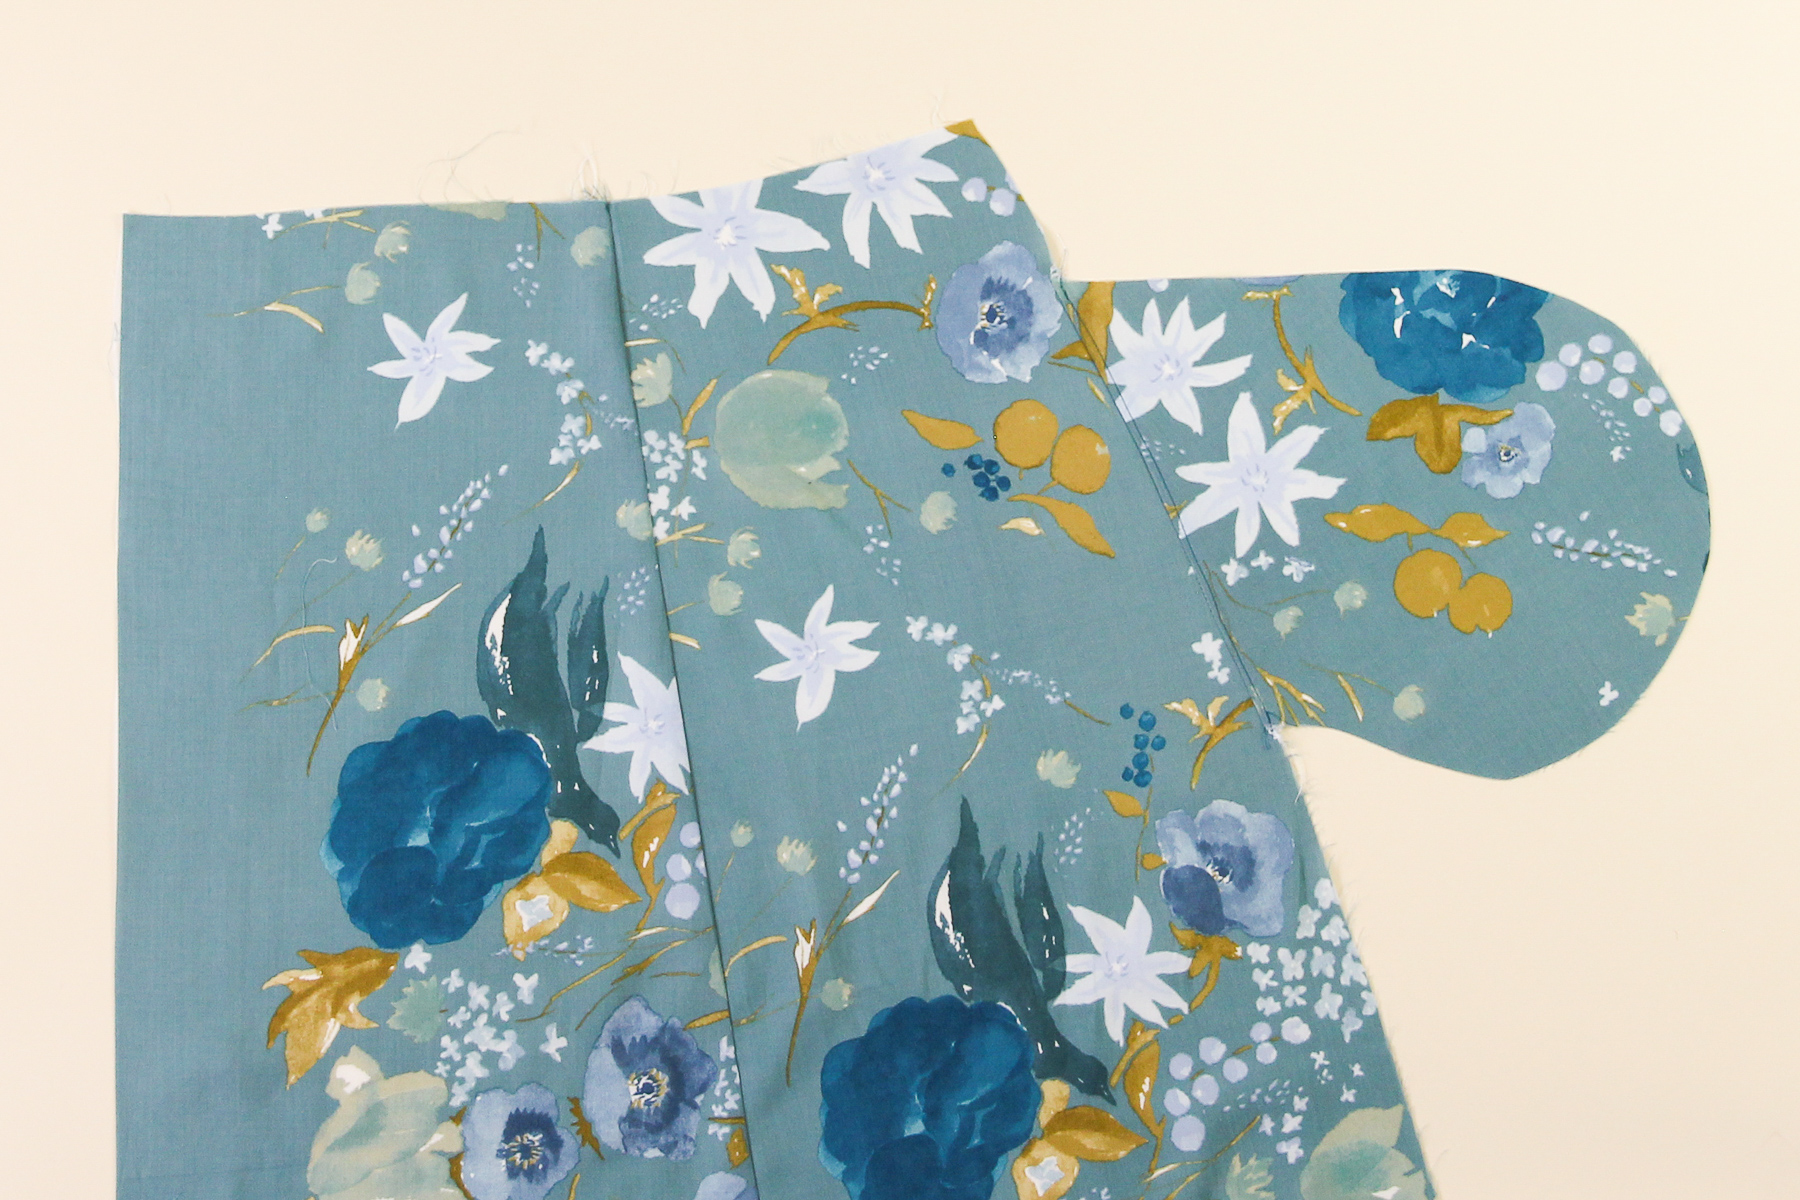
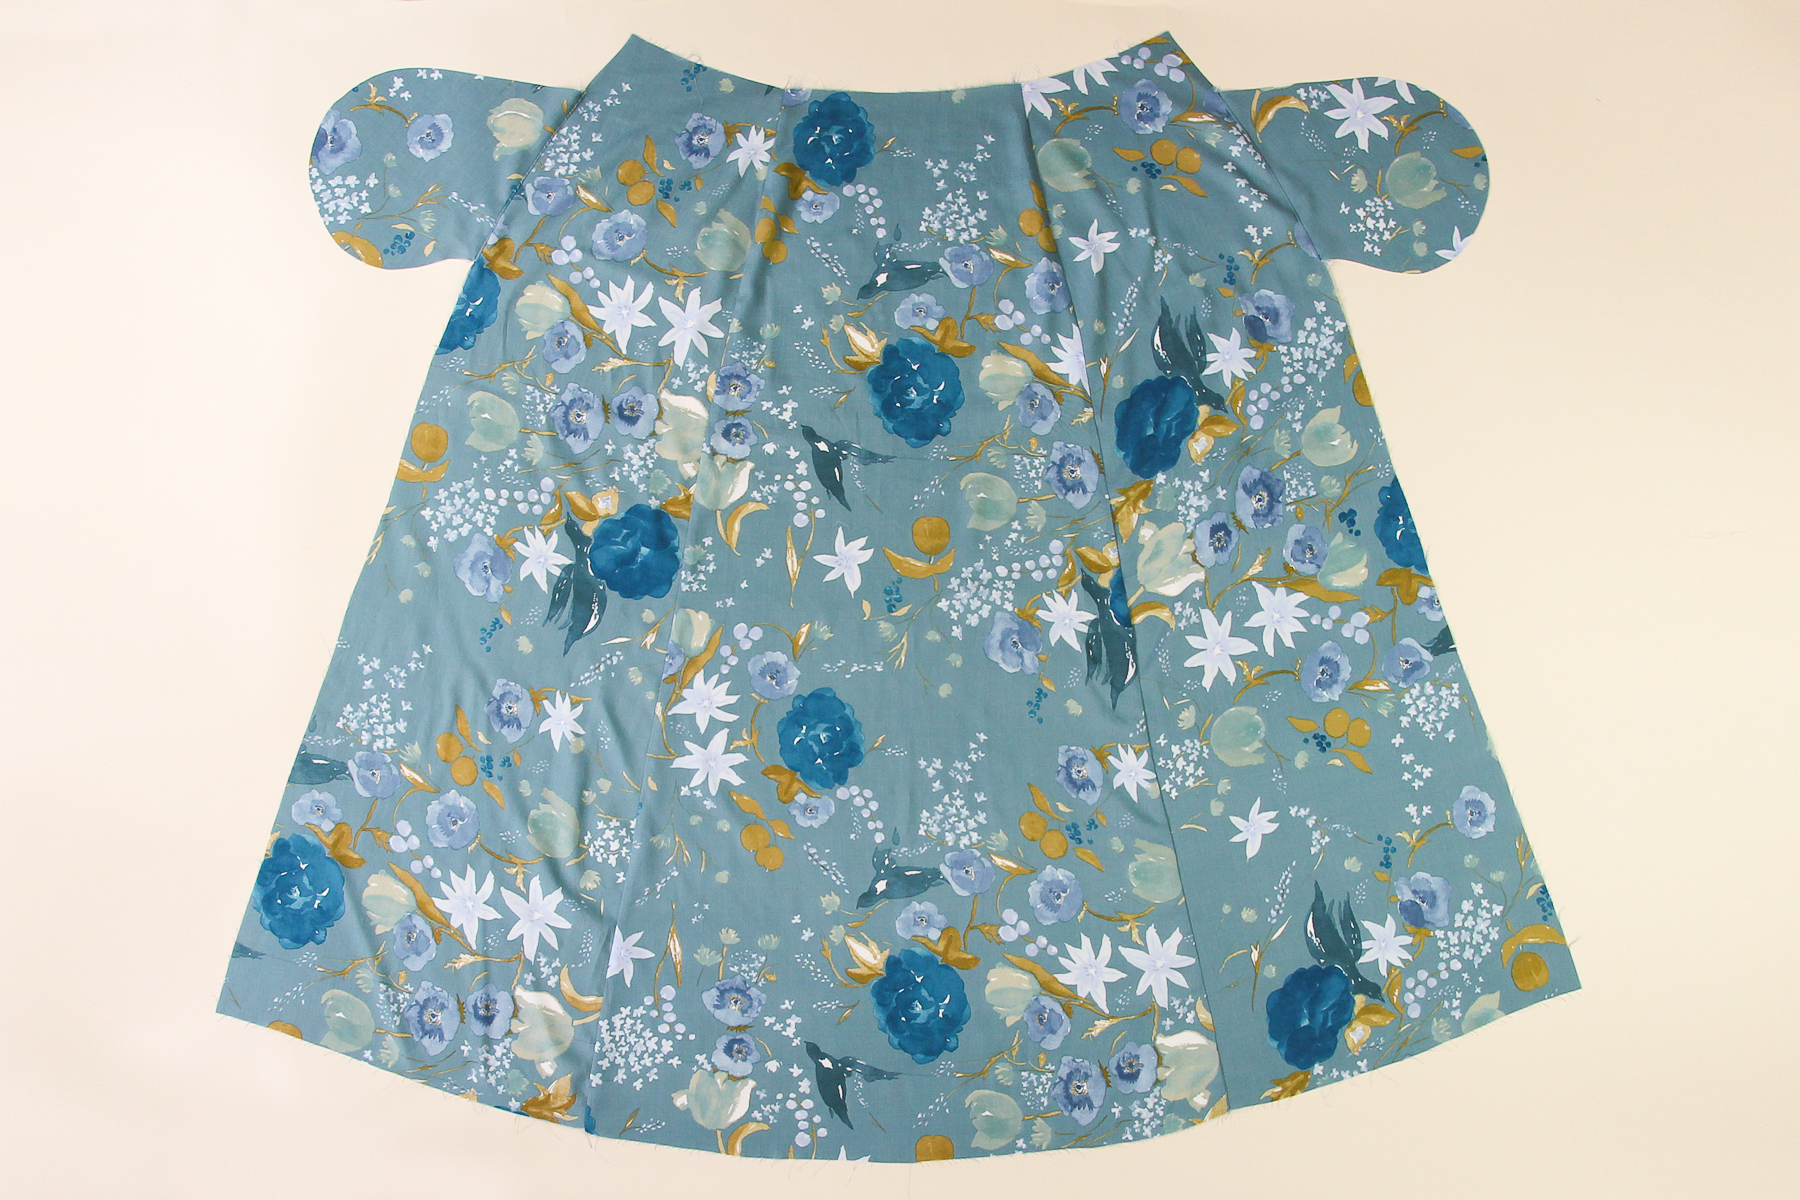
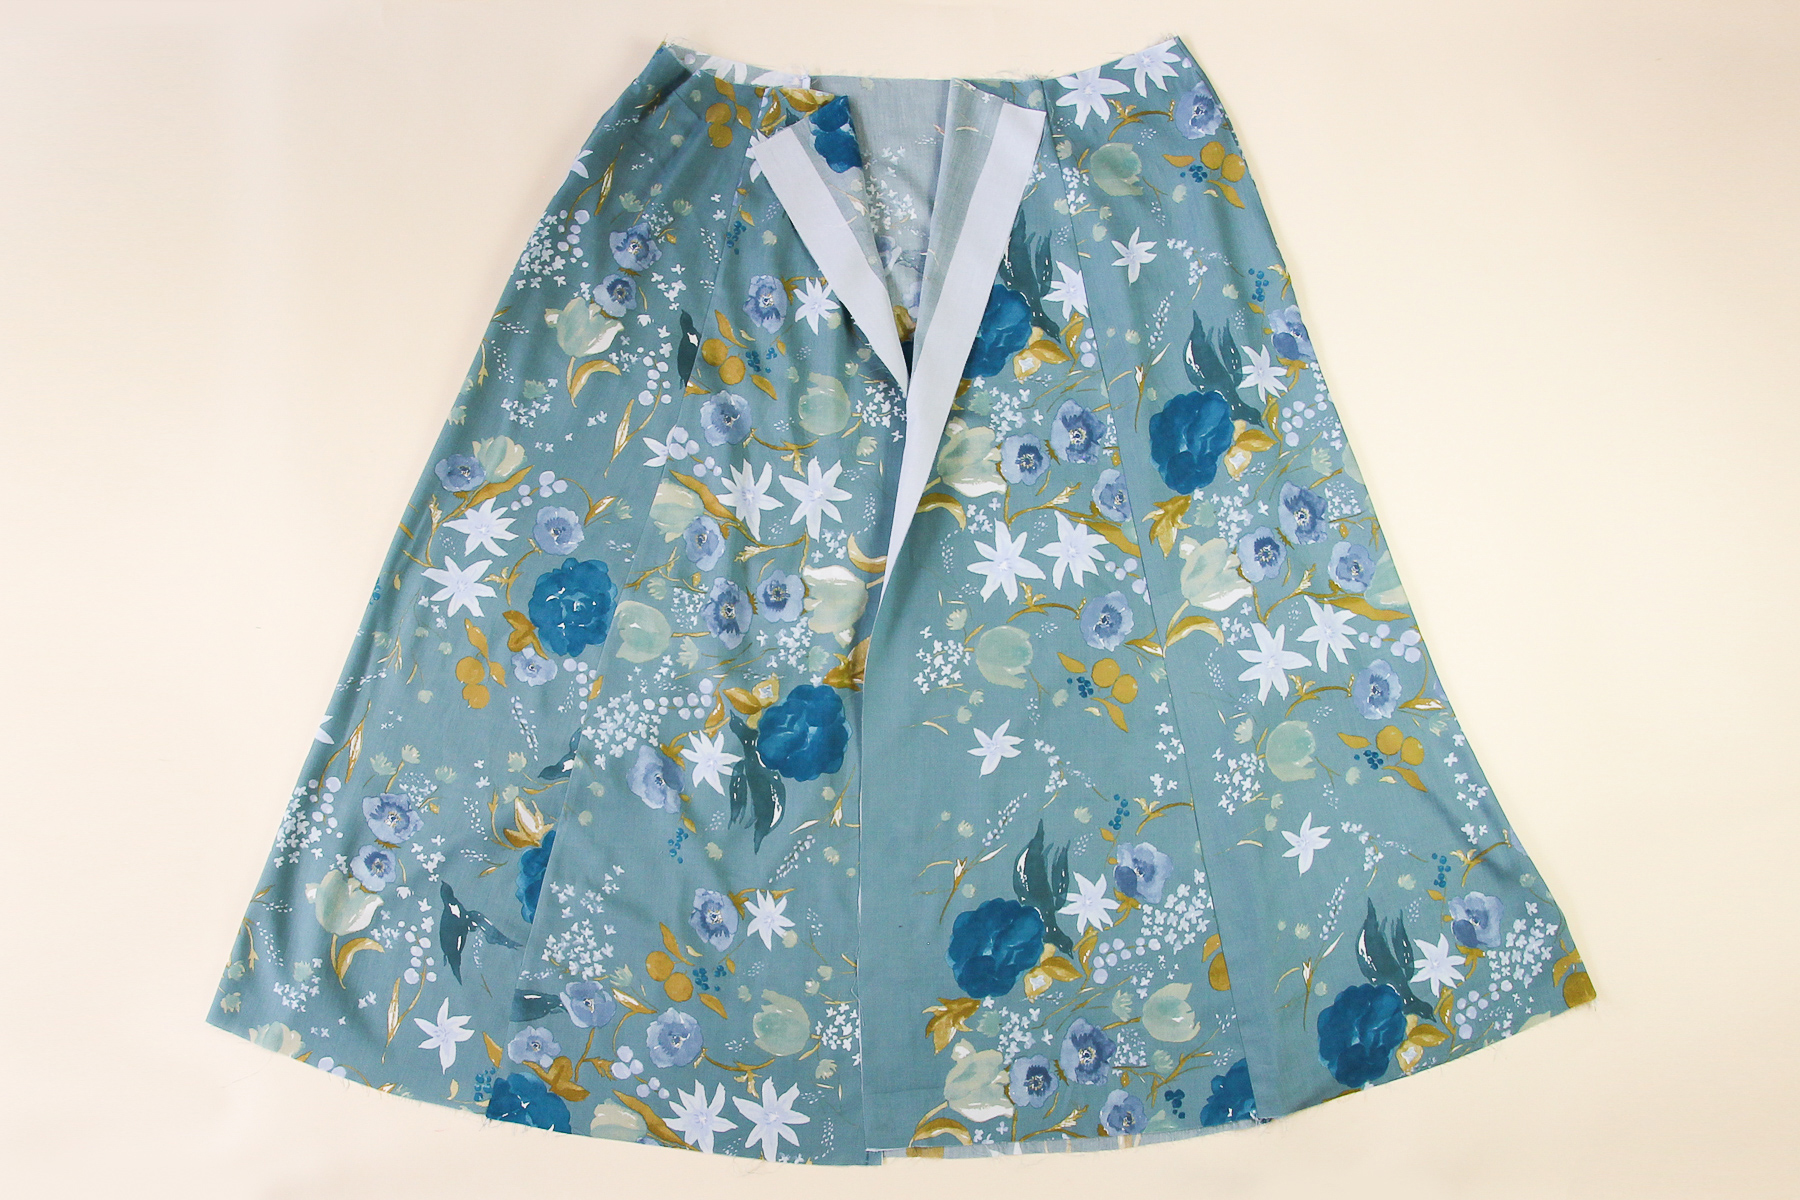
We’re going to begin by assembling the front of the skirt.
(If you haven’t yet interfaced the center front pieces and two of the front waistbands, go ahead and do that now.)
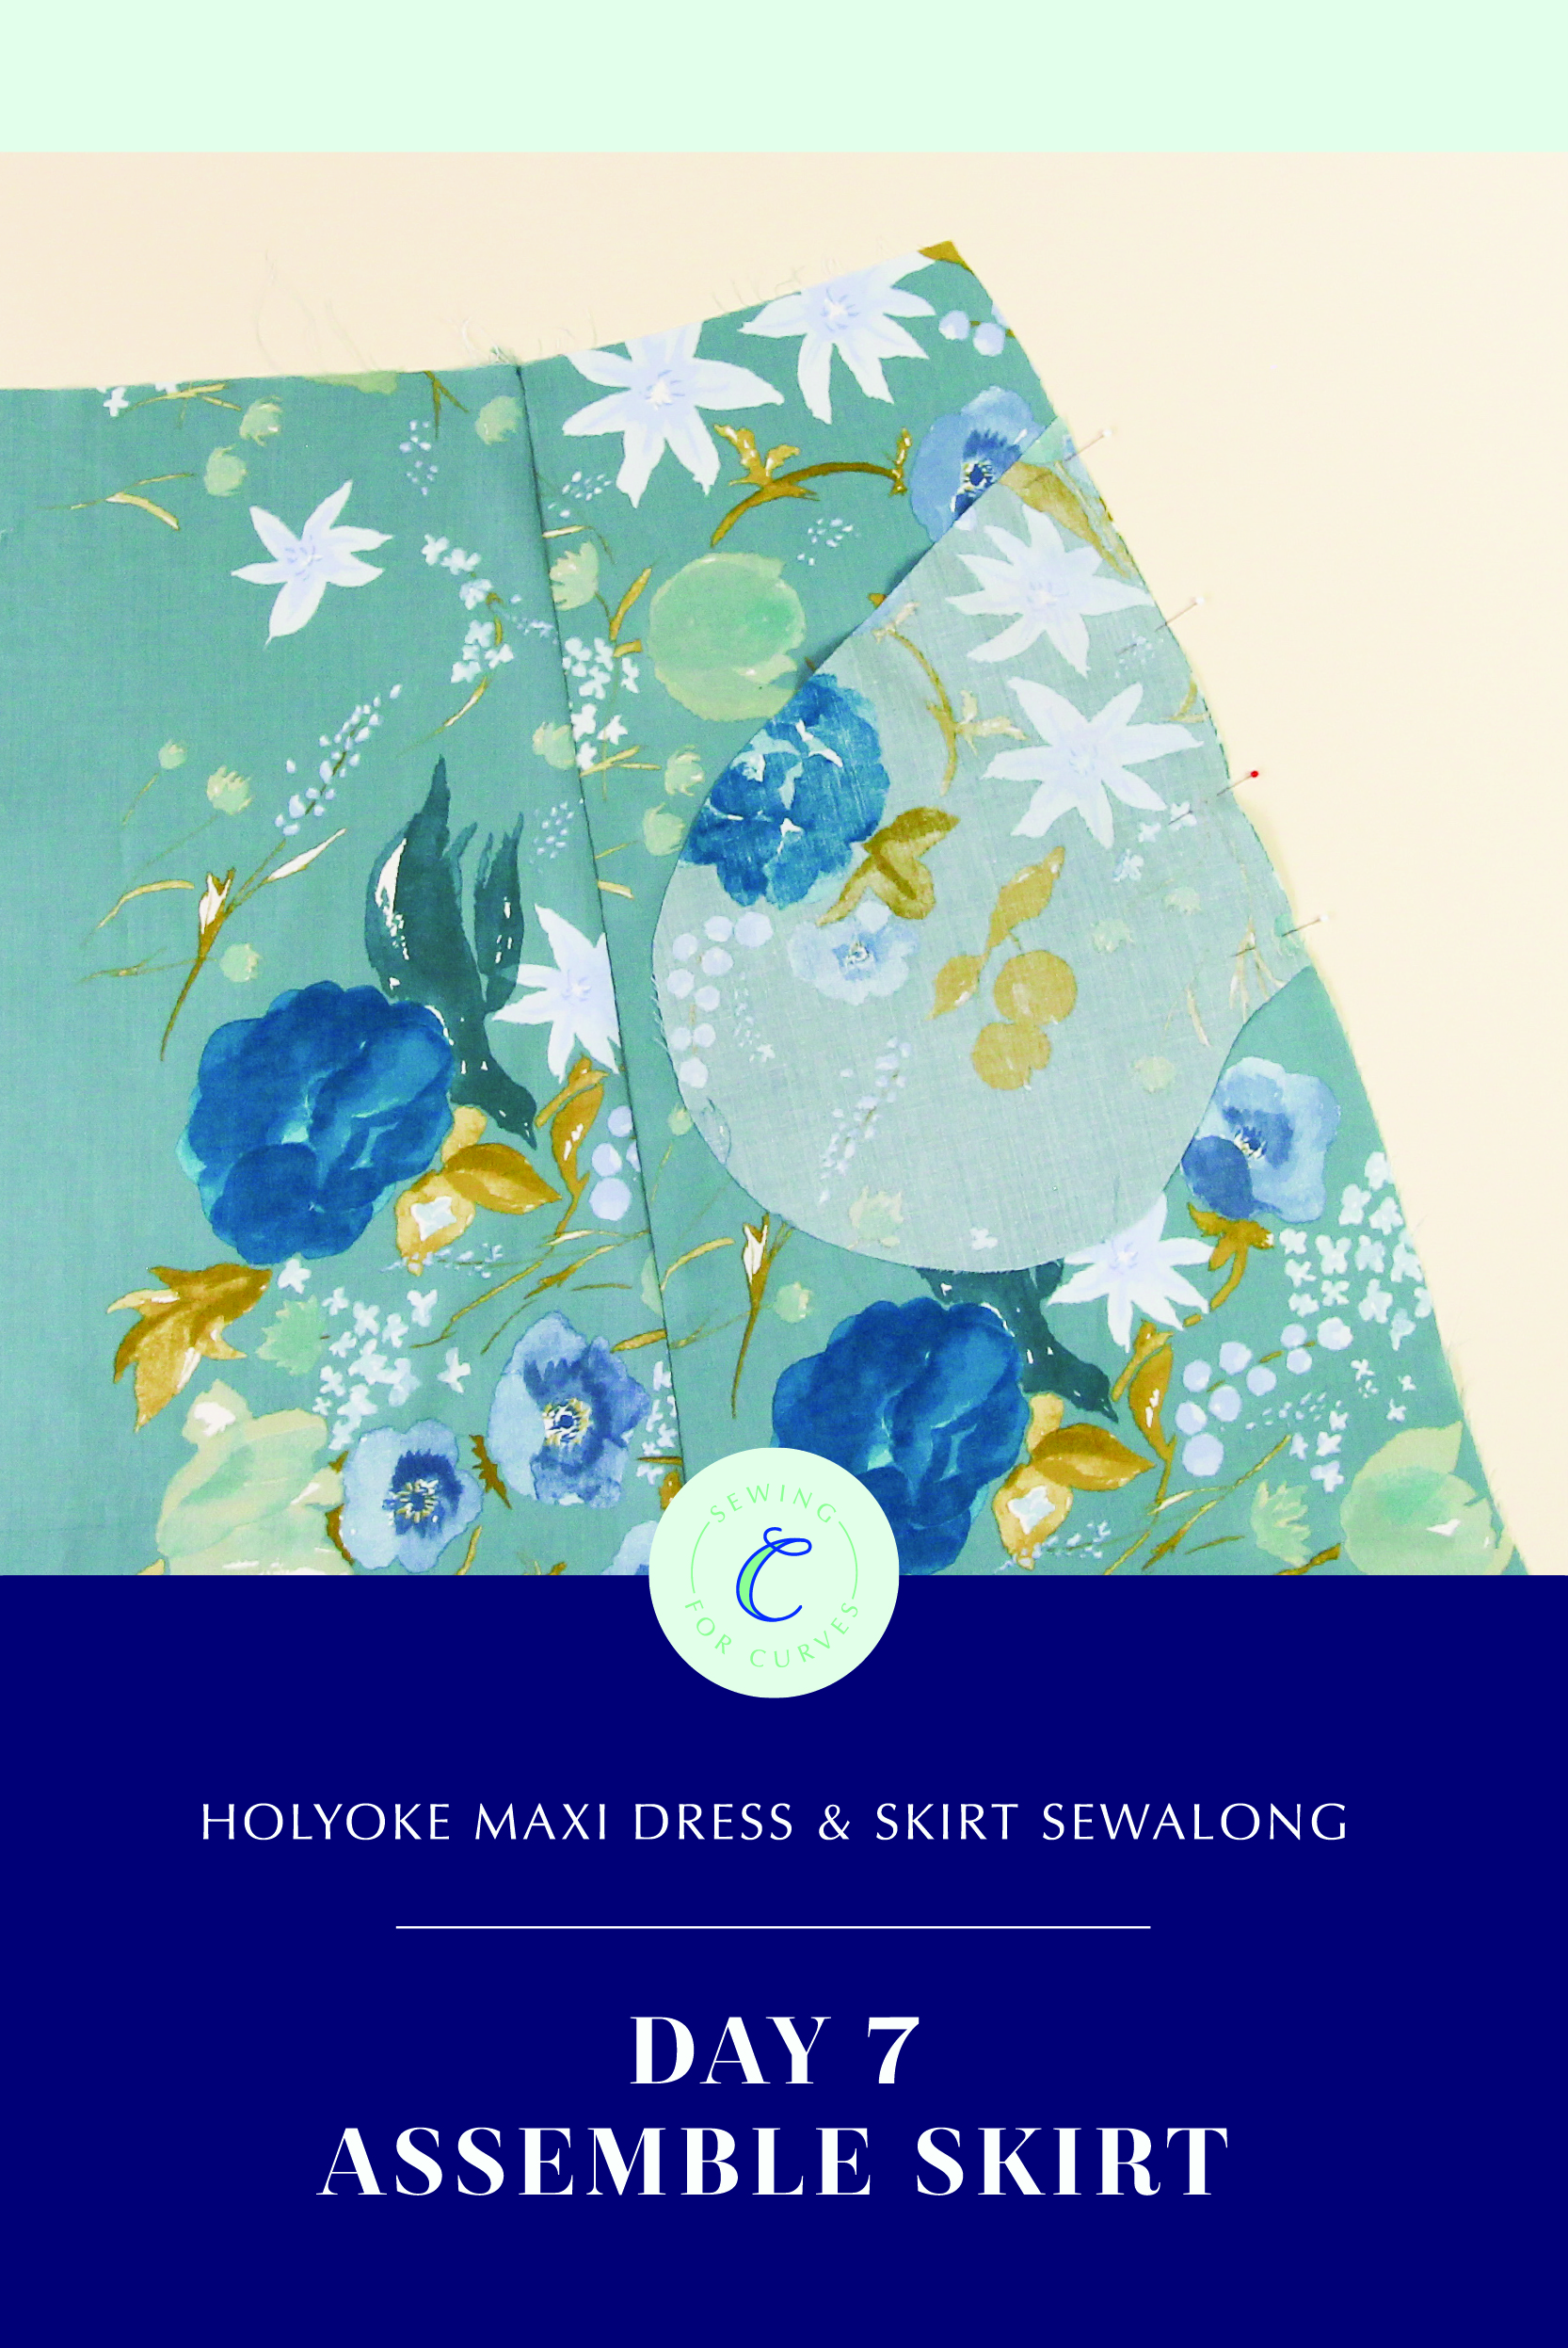
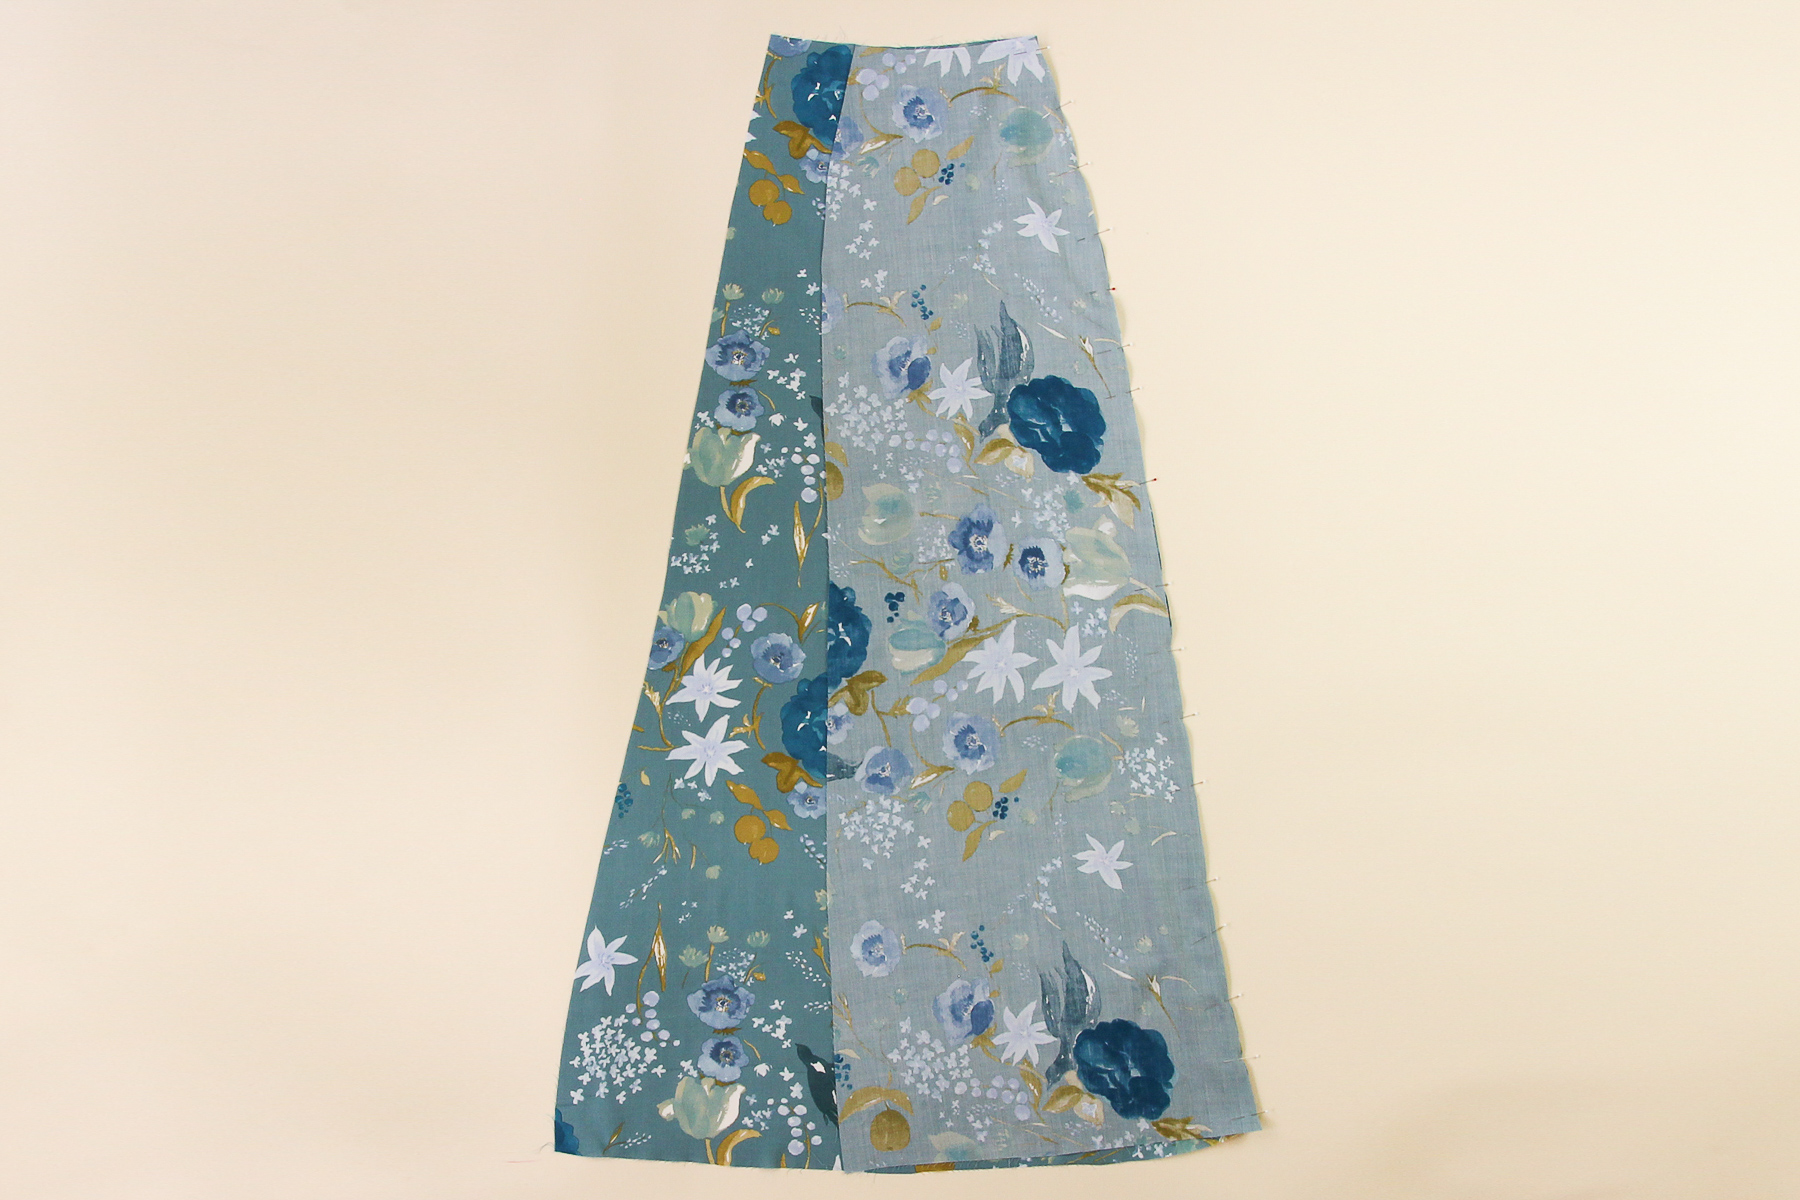
Start by pinning the skirt side front to the skirt center front, matching the notches.
Let’s sew that seam at our 1/2” (12 mm) seam allowance.
I’m using a contrast thread here so that you can what I’m doing more easily, but you should use a matching thread (or whatever color thread you choose!).
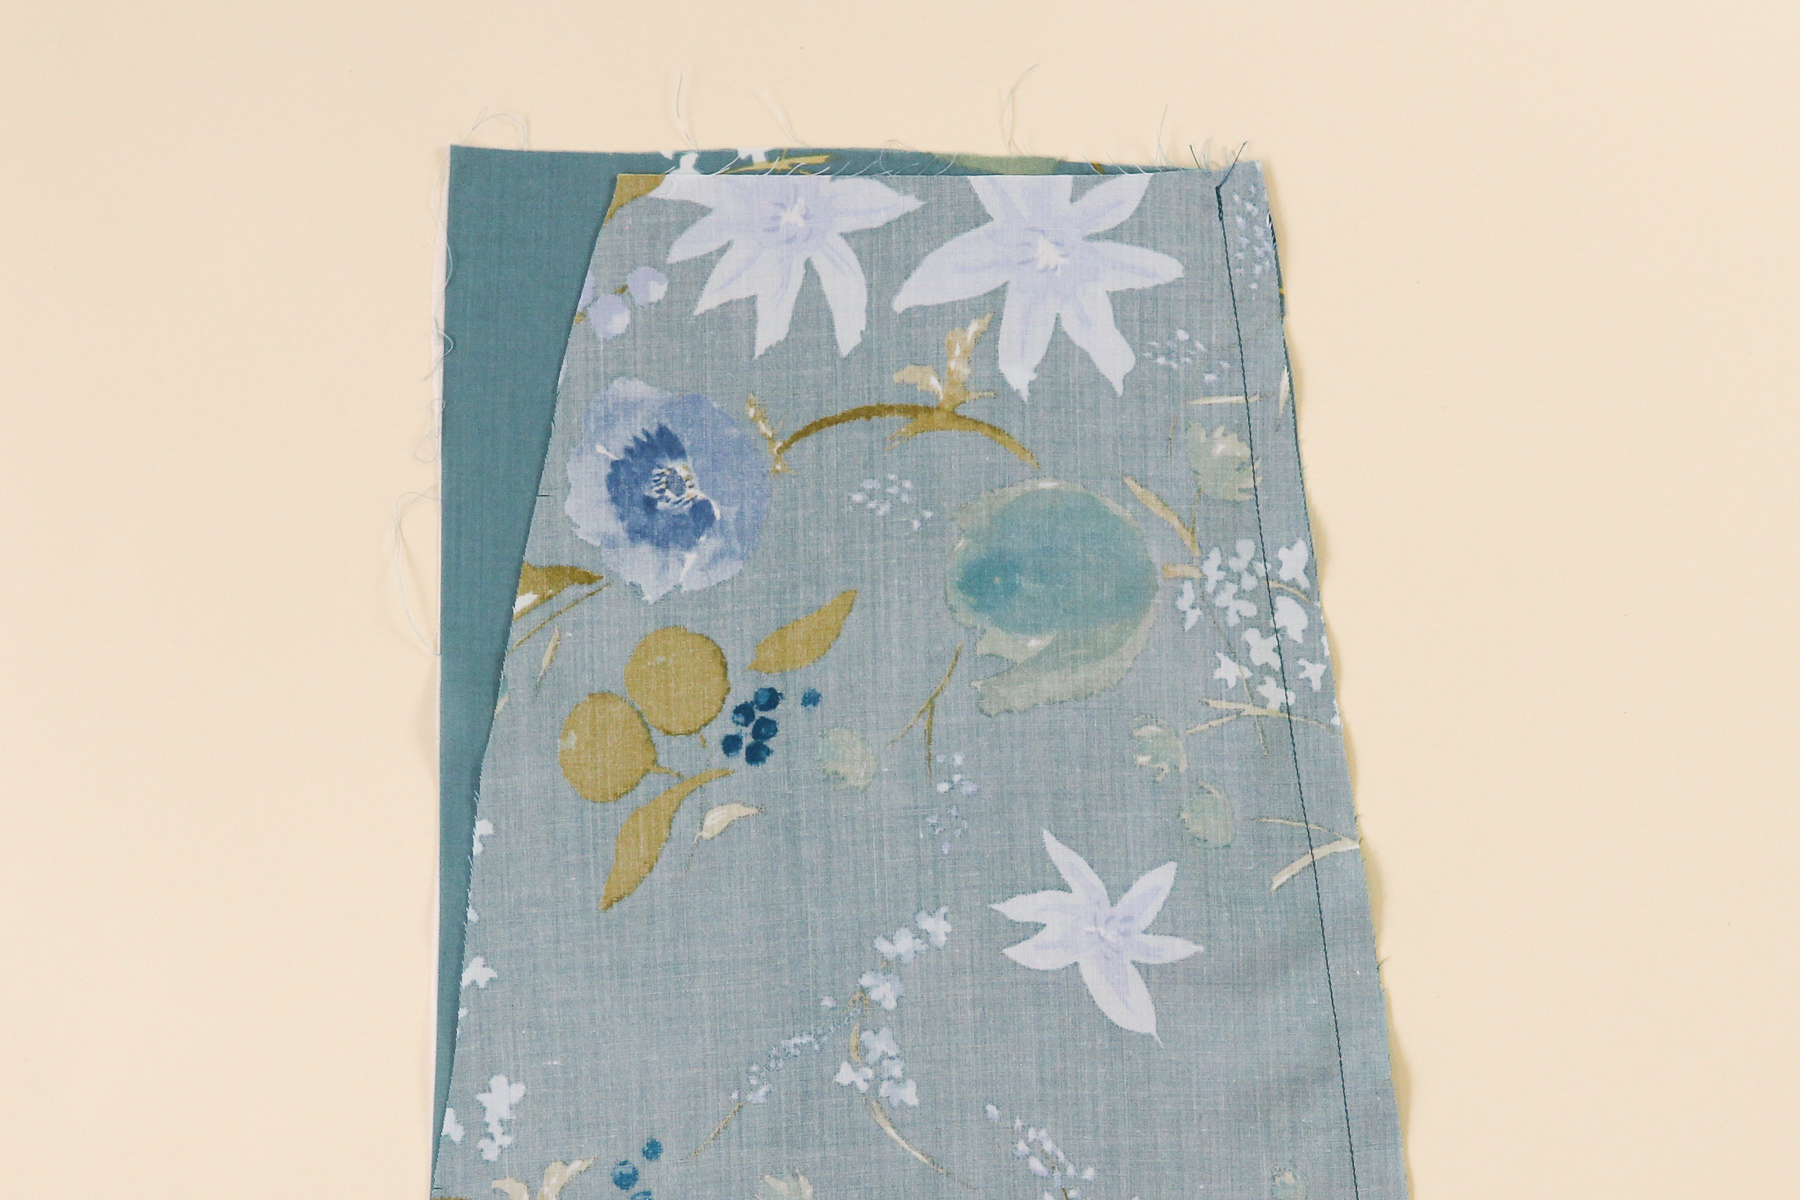
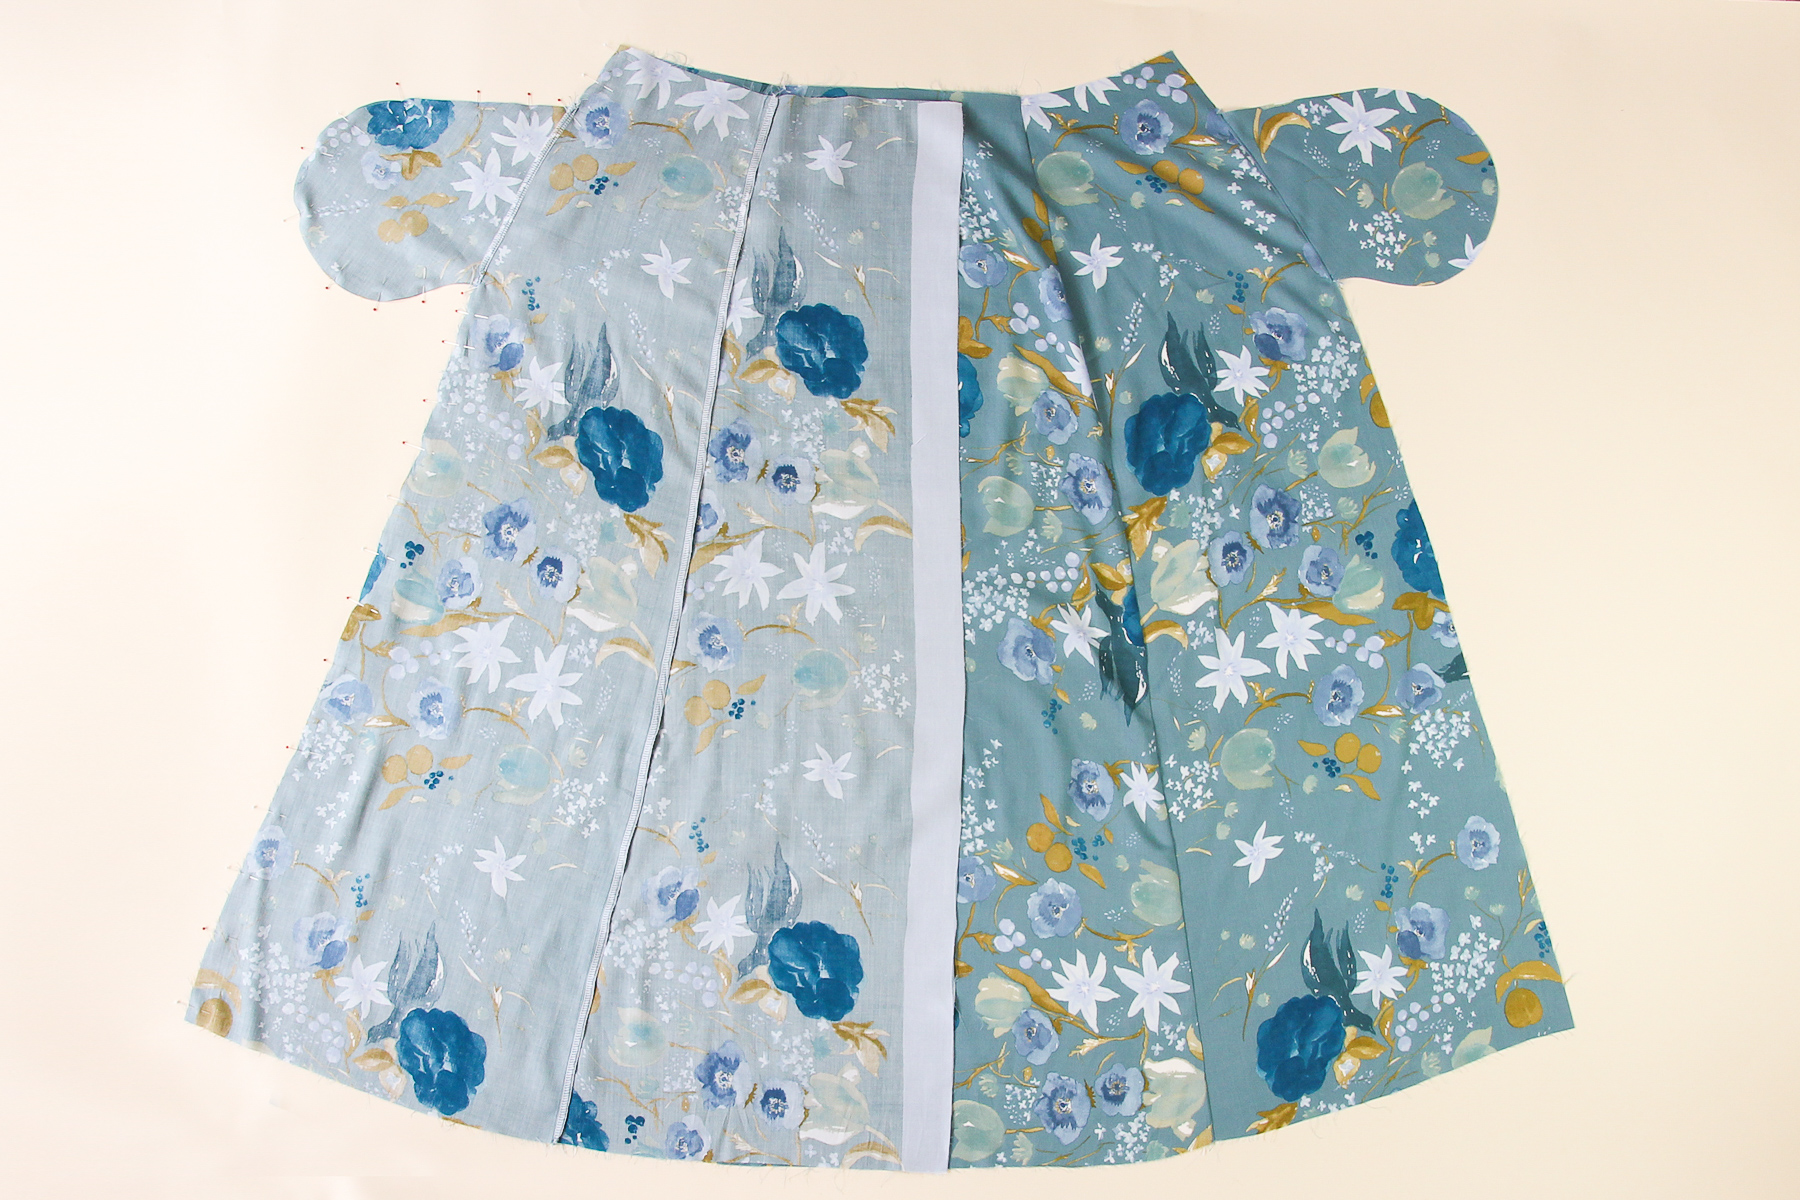
Once we’ve sewn that seam, we can finish the seam allowance and then press it toward center.
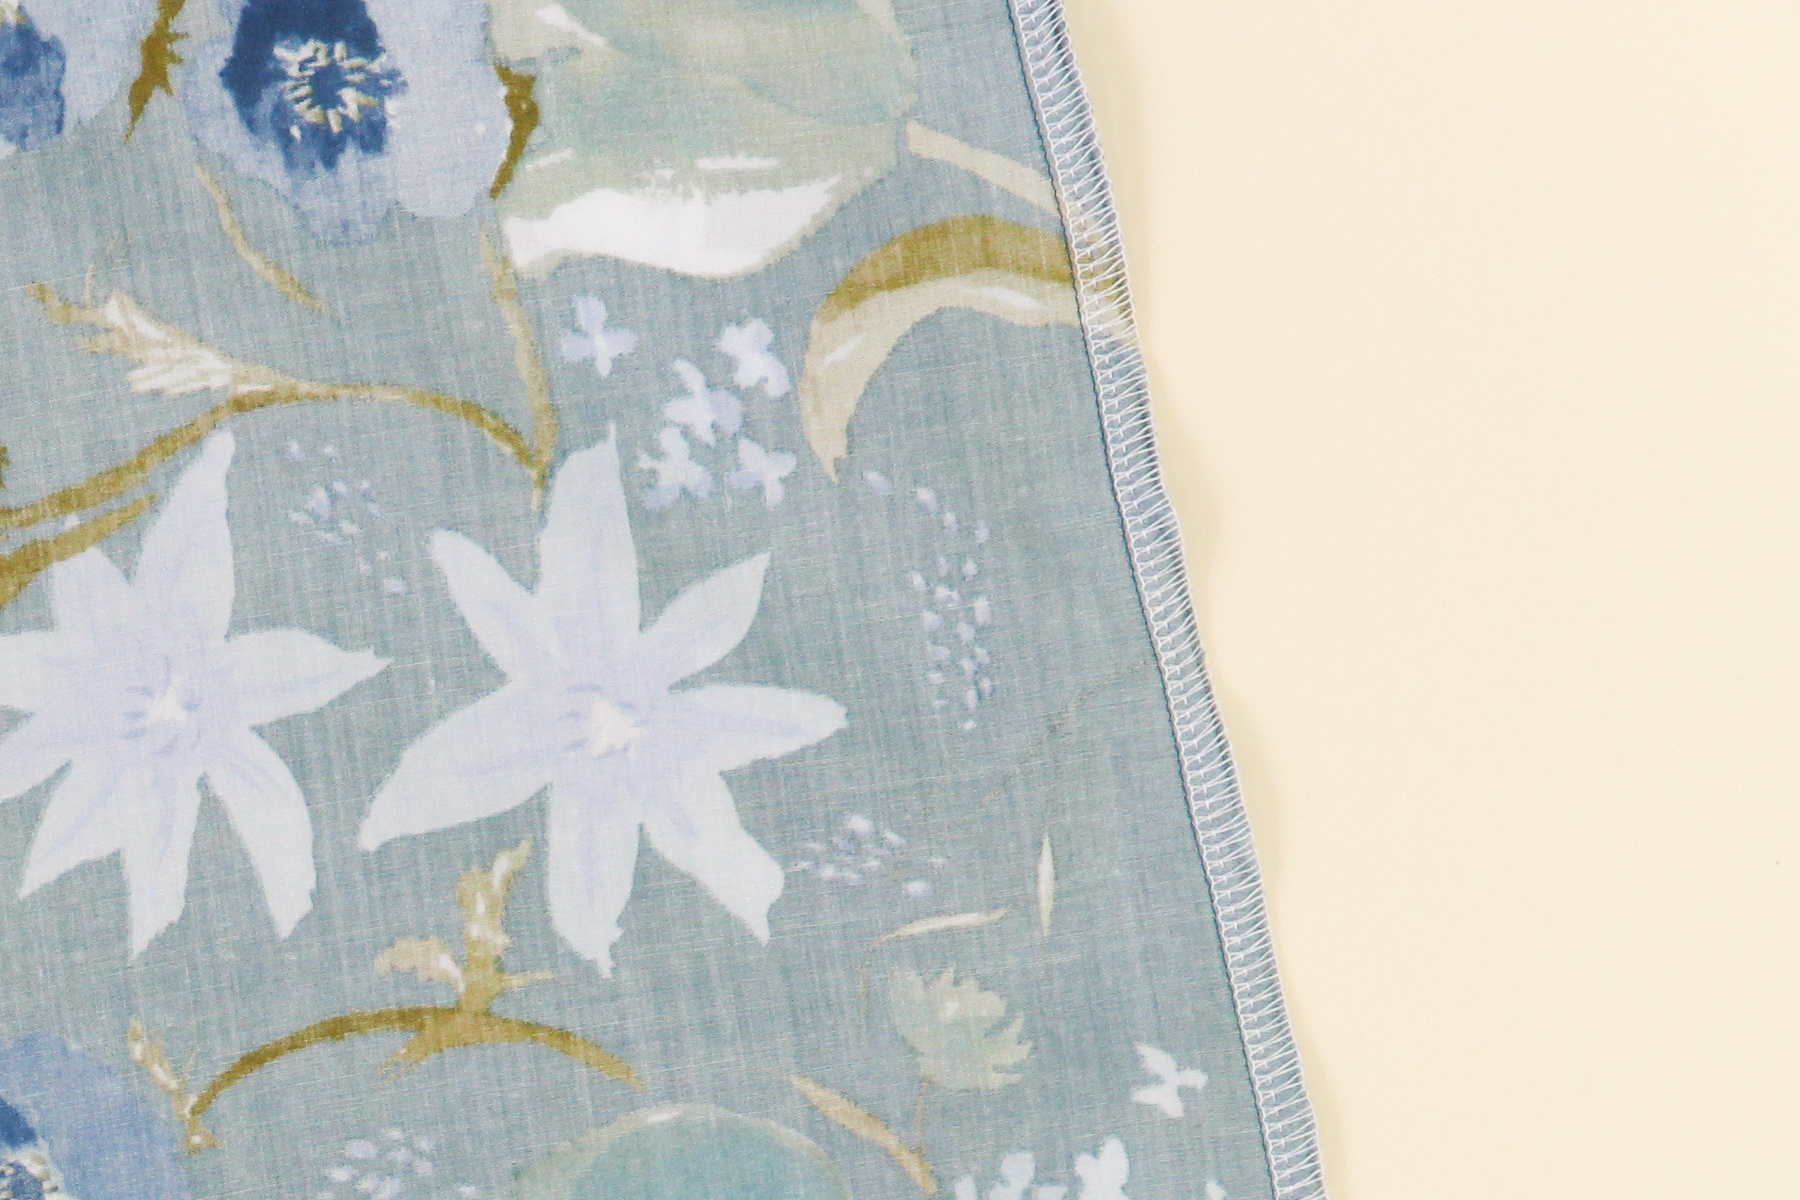
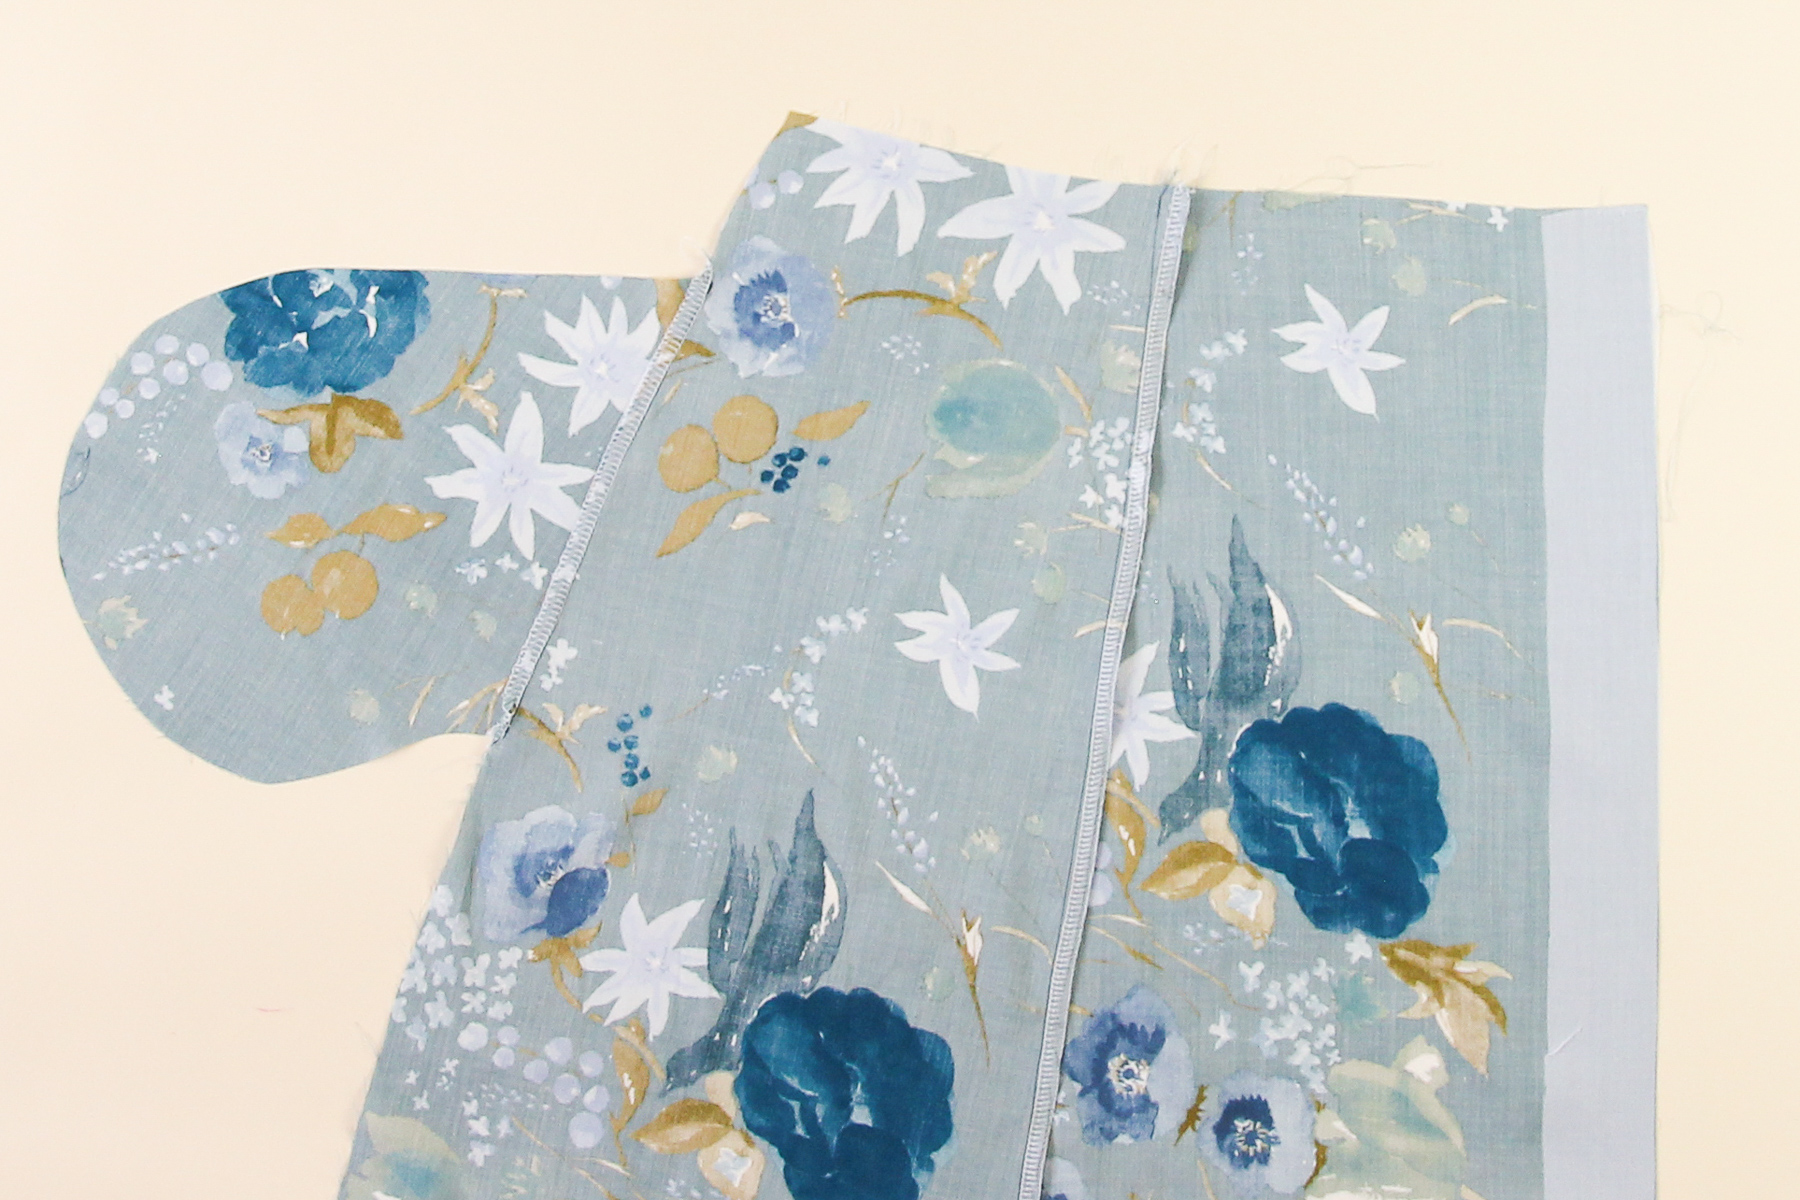
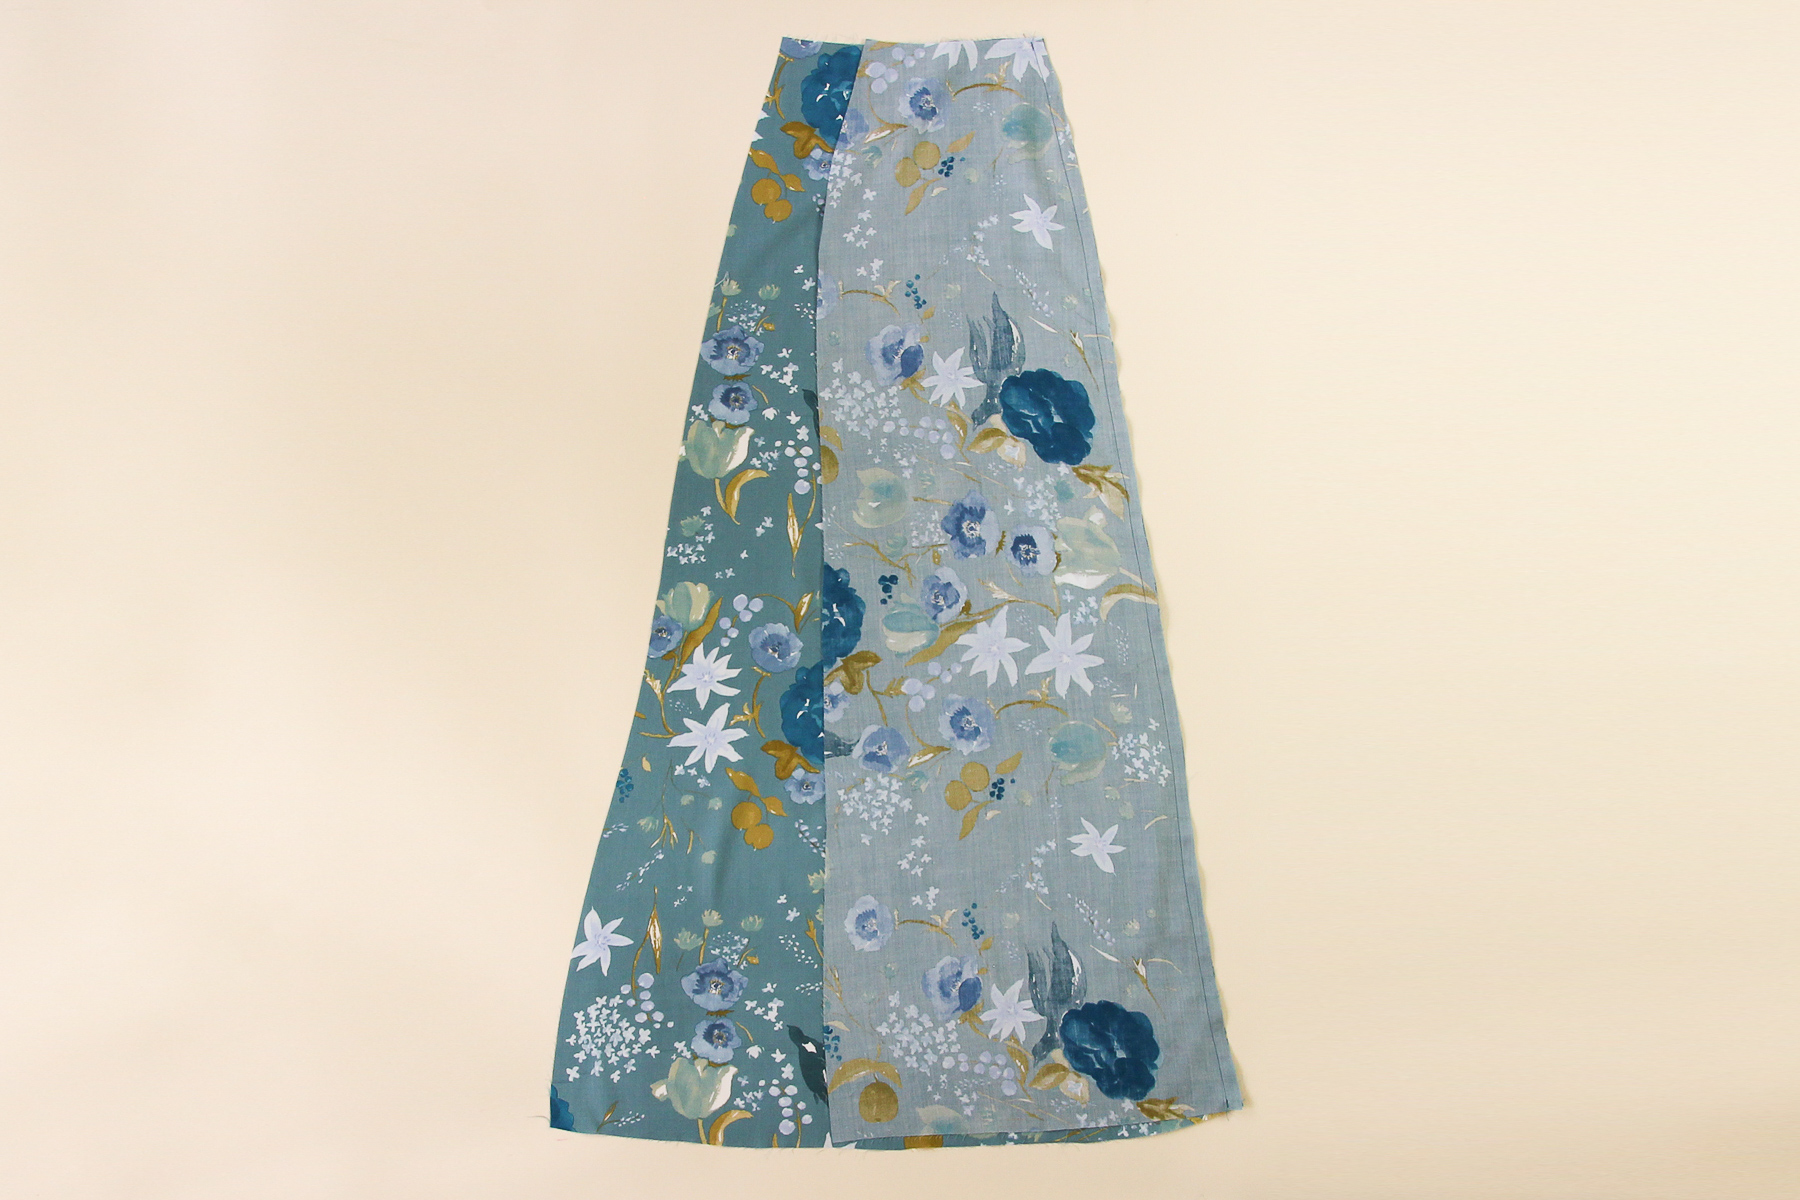
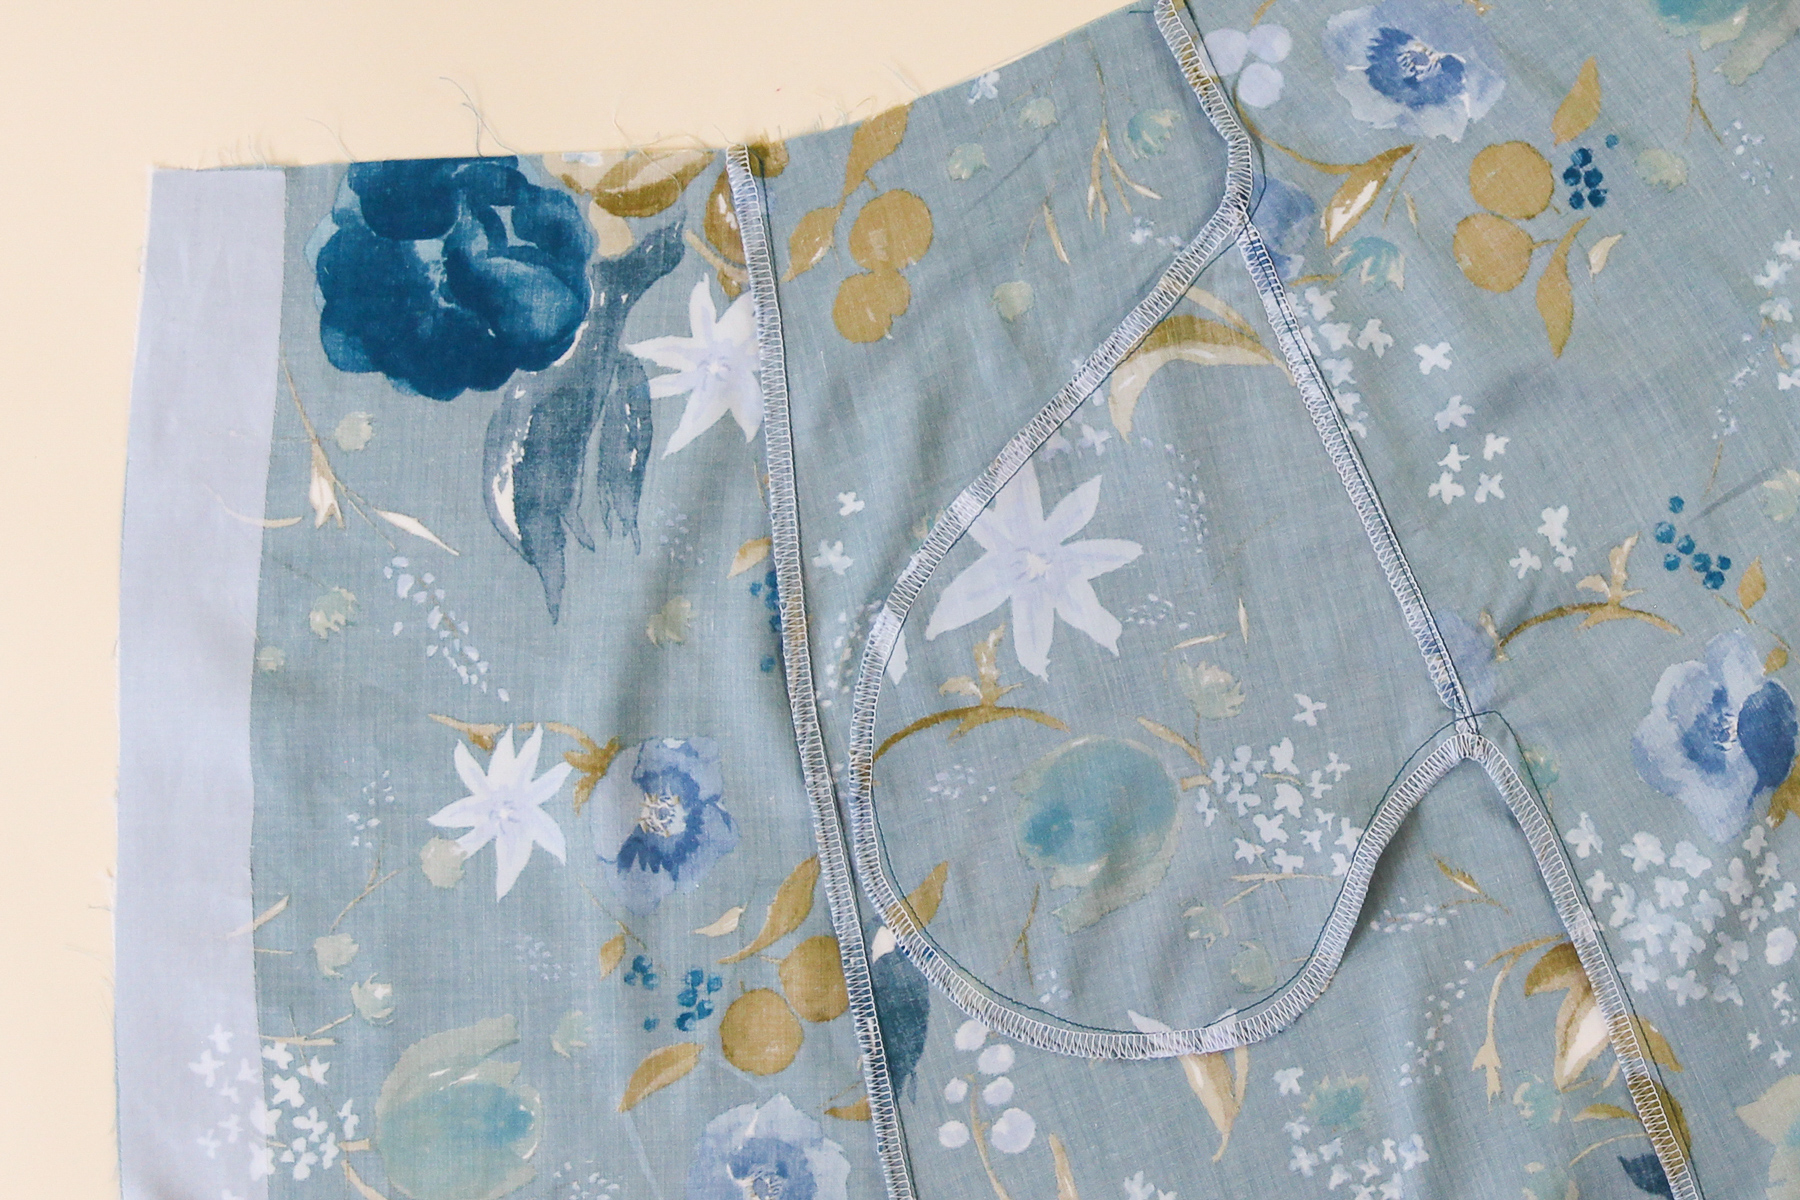
Now let’s take one of our pockets. We’re going to pin it to the skirt side front, lining it up with the two notches at the side seam.
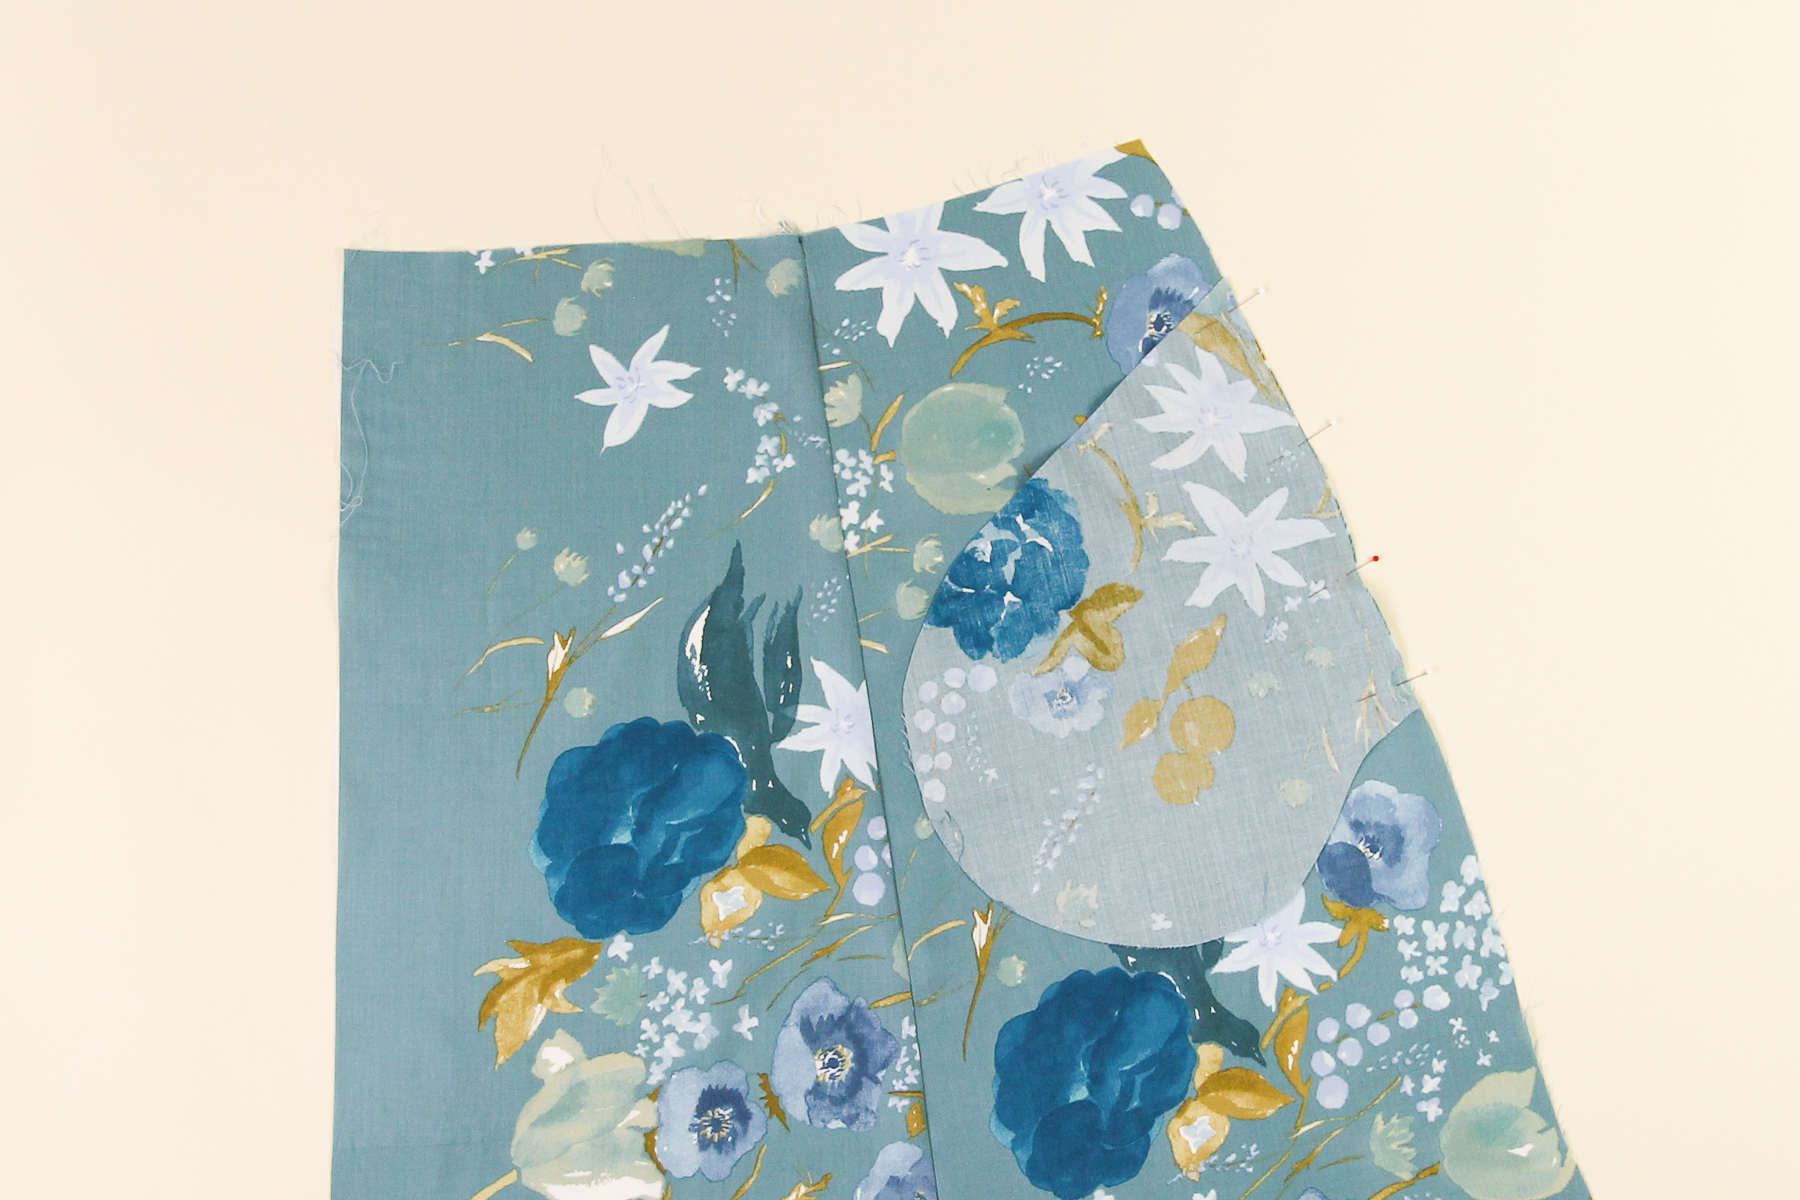
This time, we’re going to sew that seam at 1/4” (6 mm).
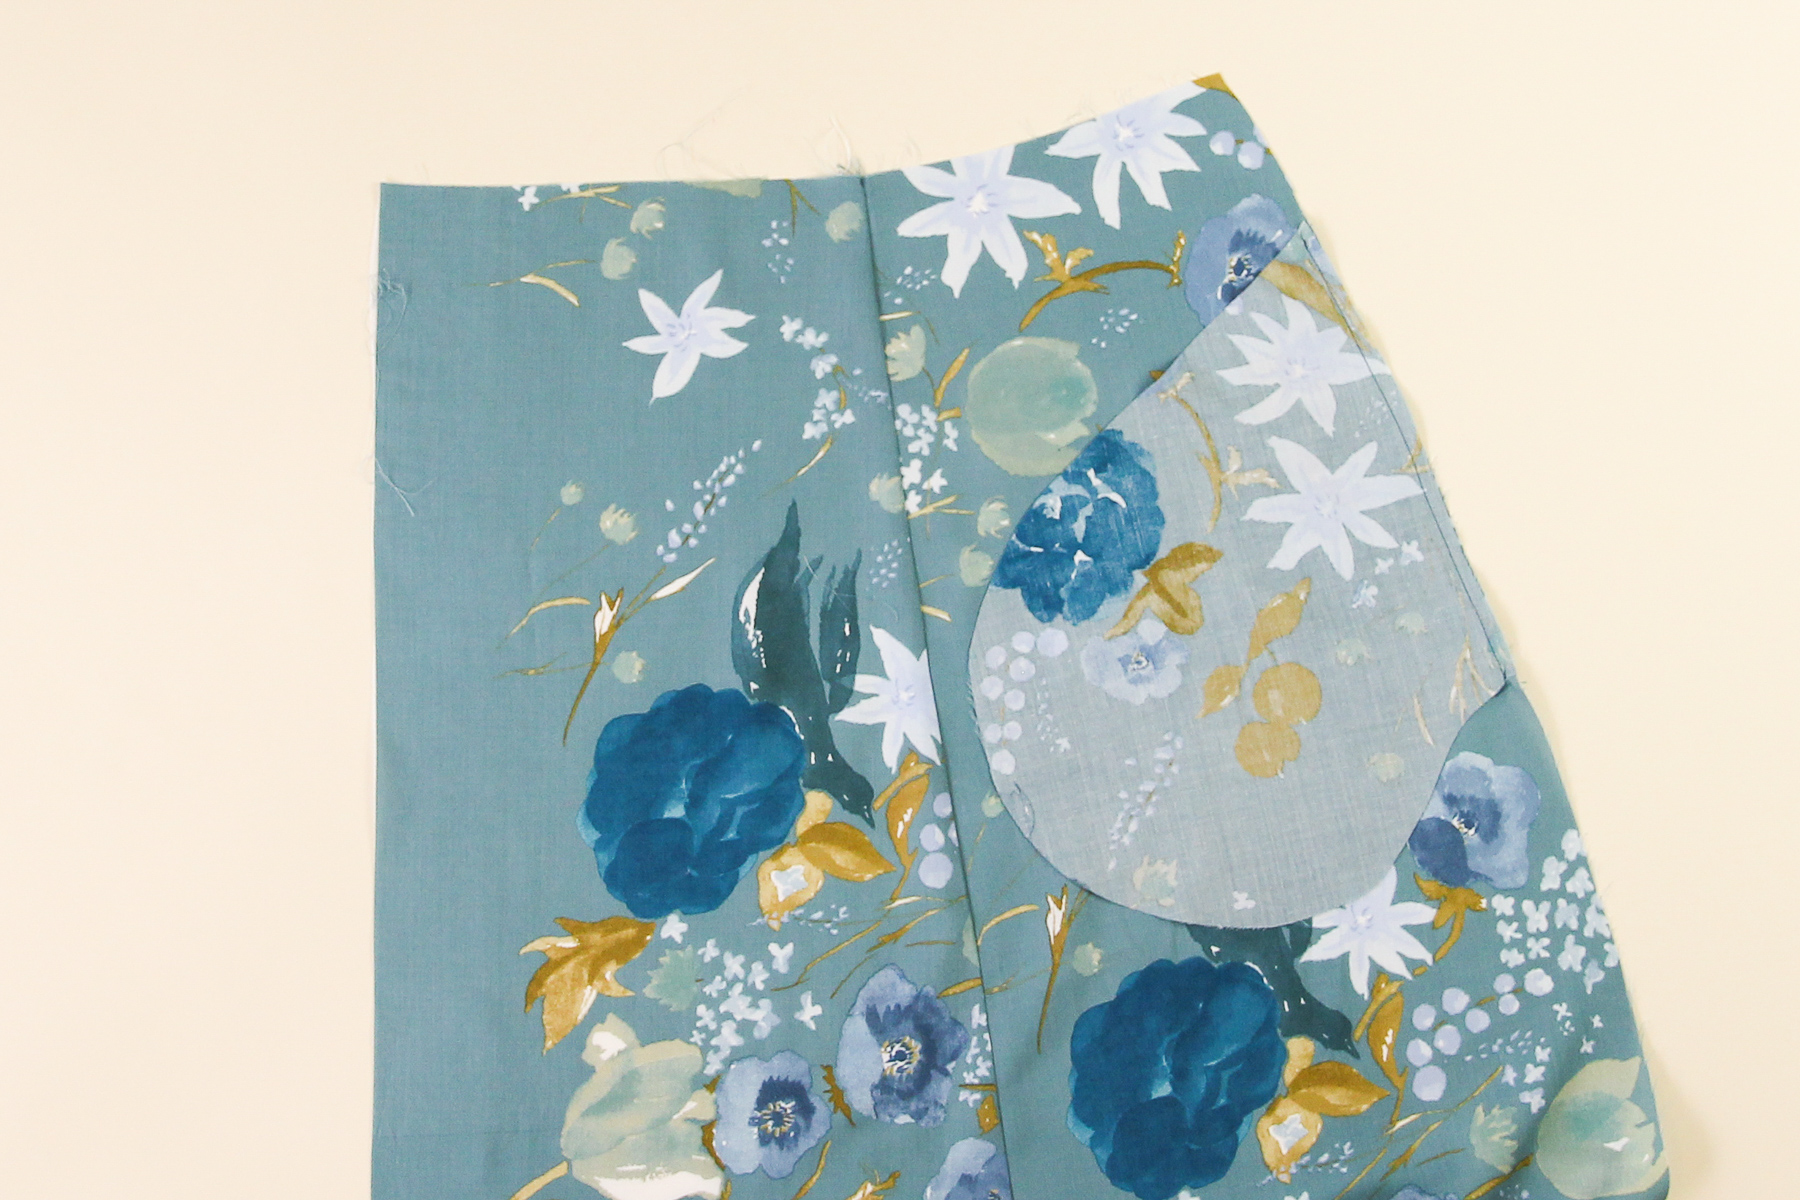
Now we need to finish the seam allowance for that section only, then flip the pocket over the seam allowance and press.
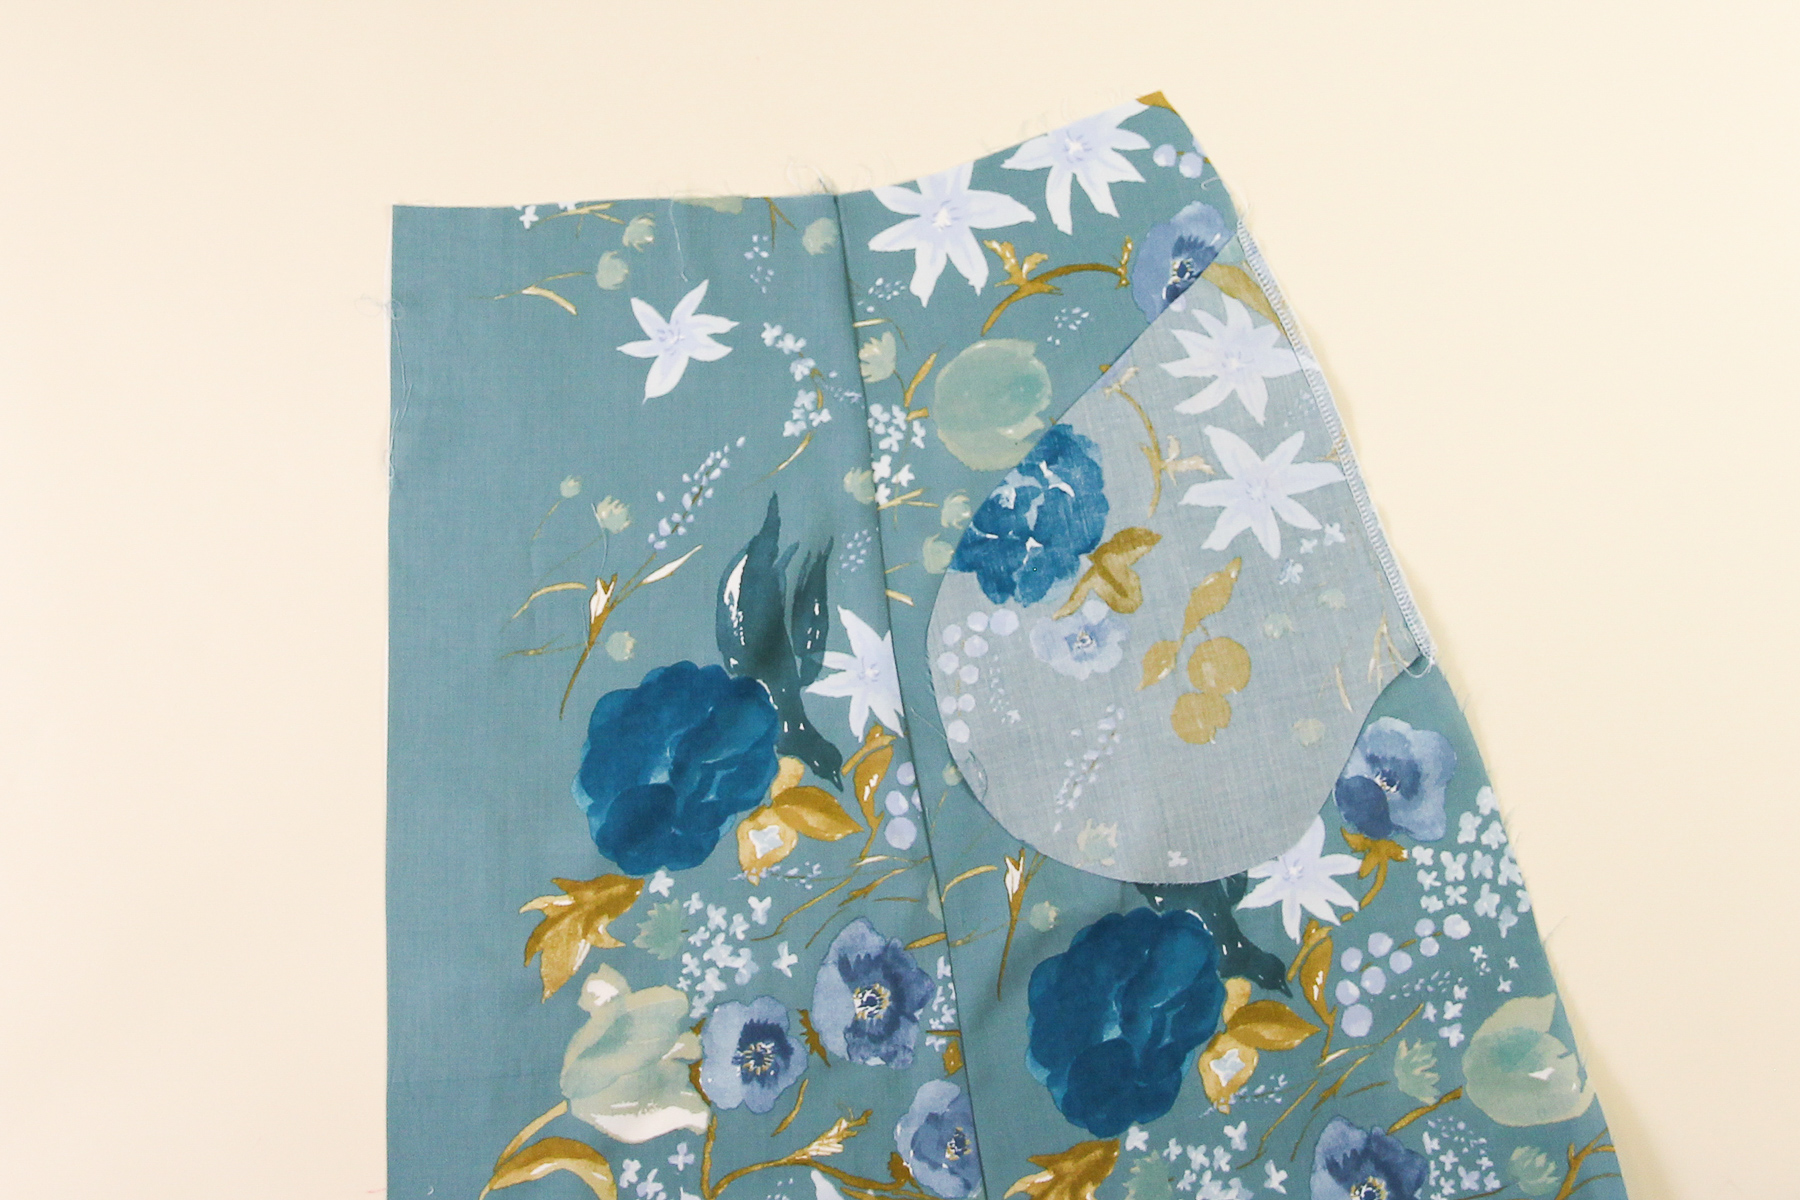
Finally, we’re going to understitch the seam allowance to the pocket at 1/8” (3 mm).
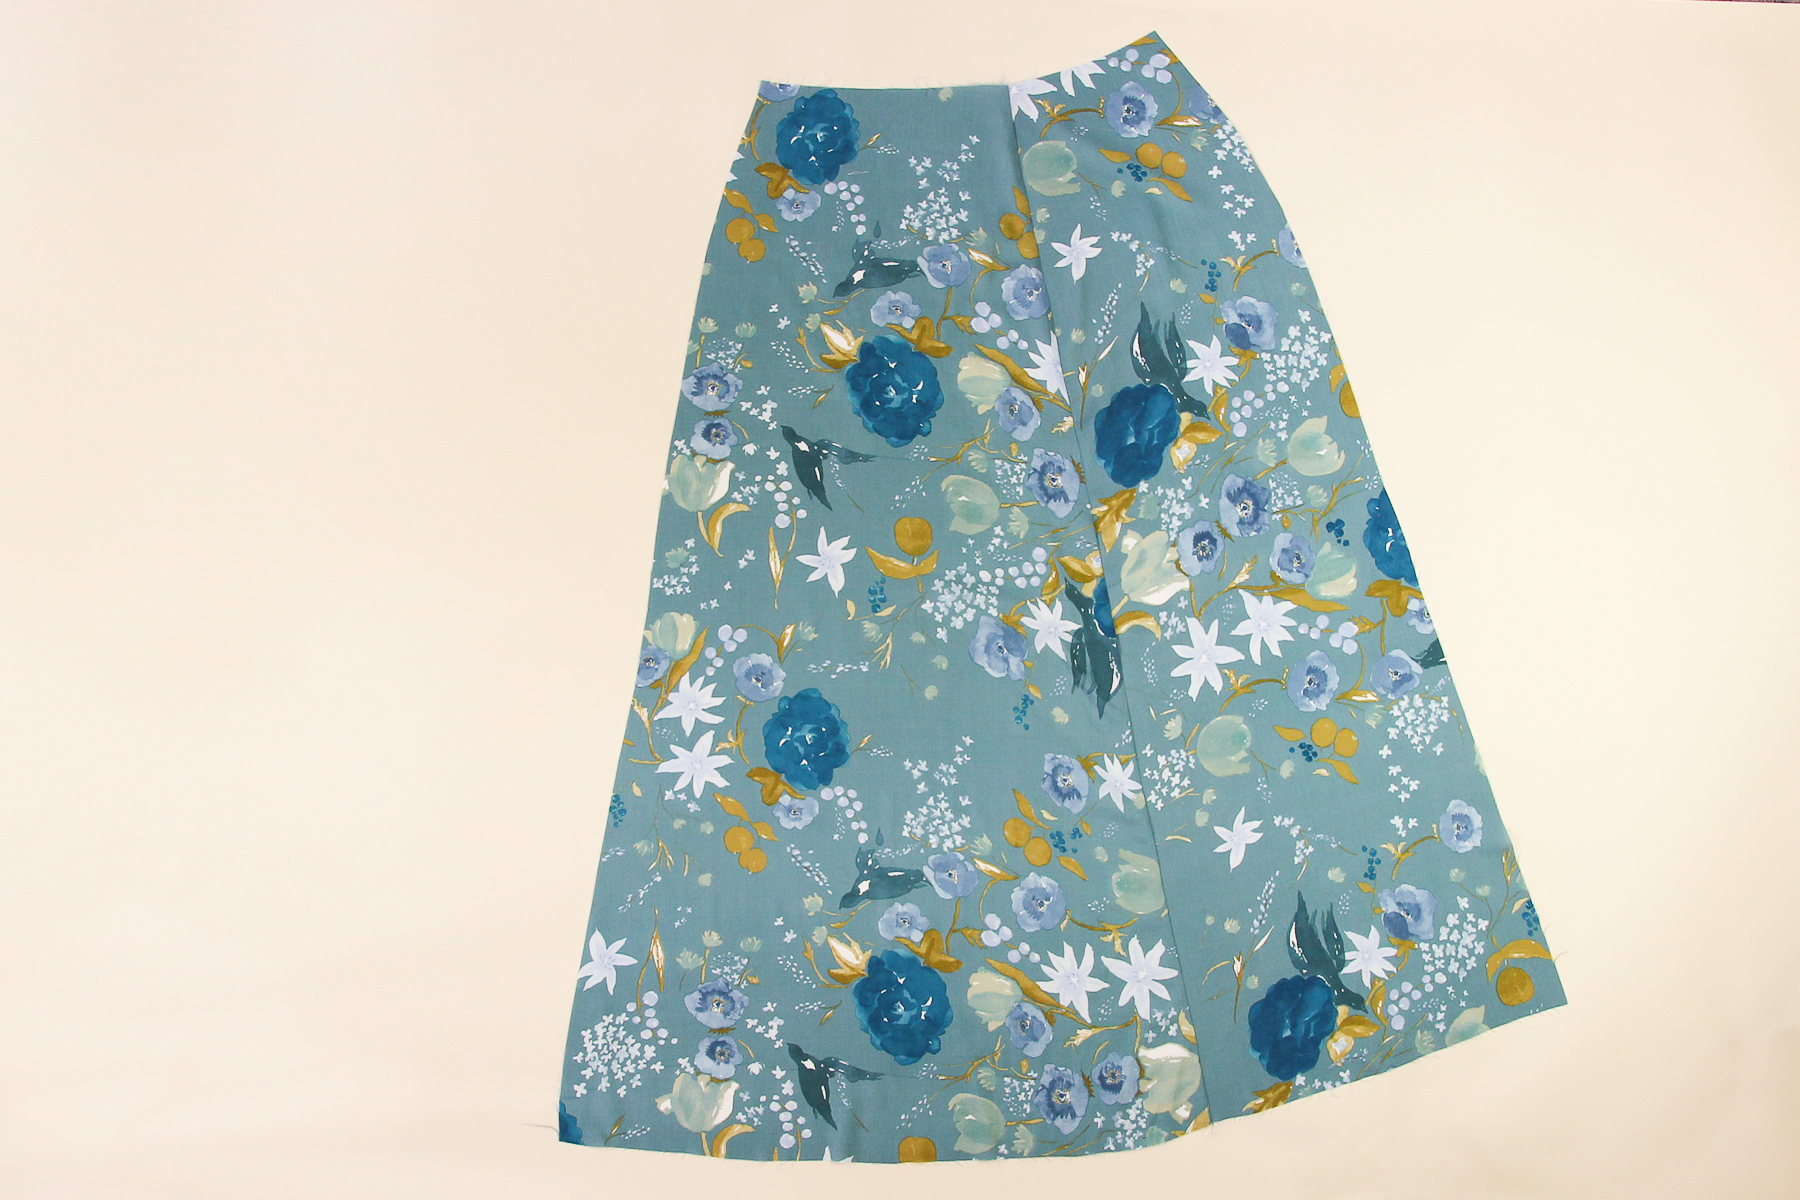
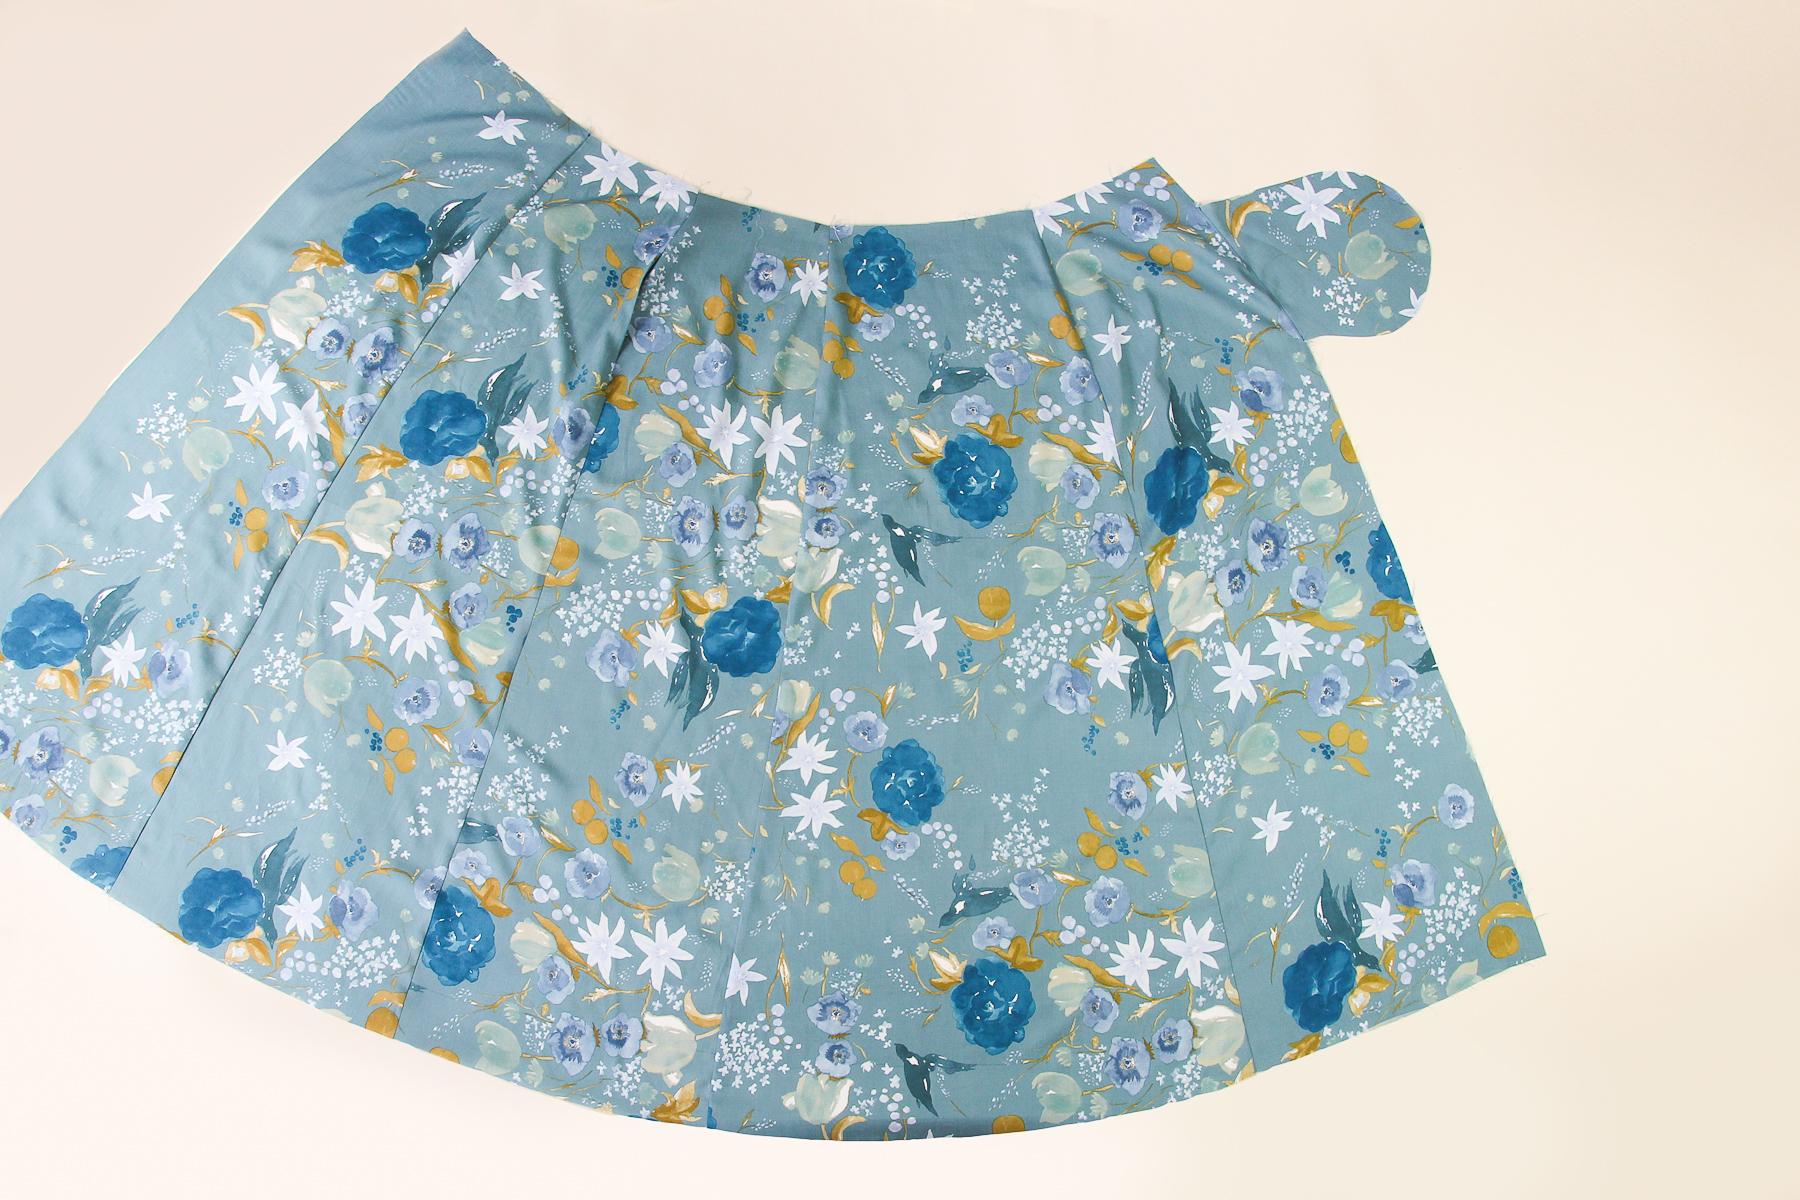
Woohoo! One of our skirt fronts is completed.
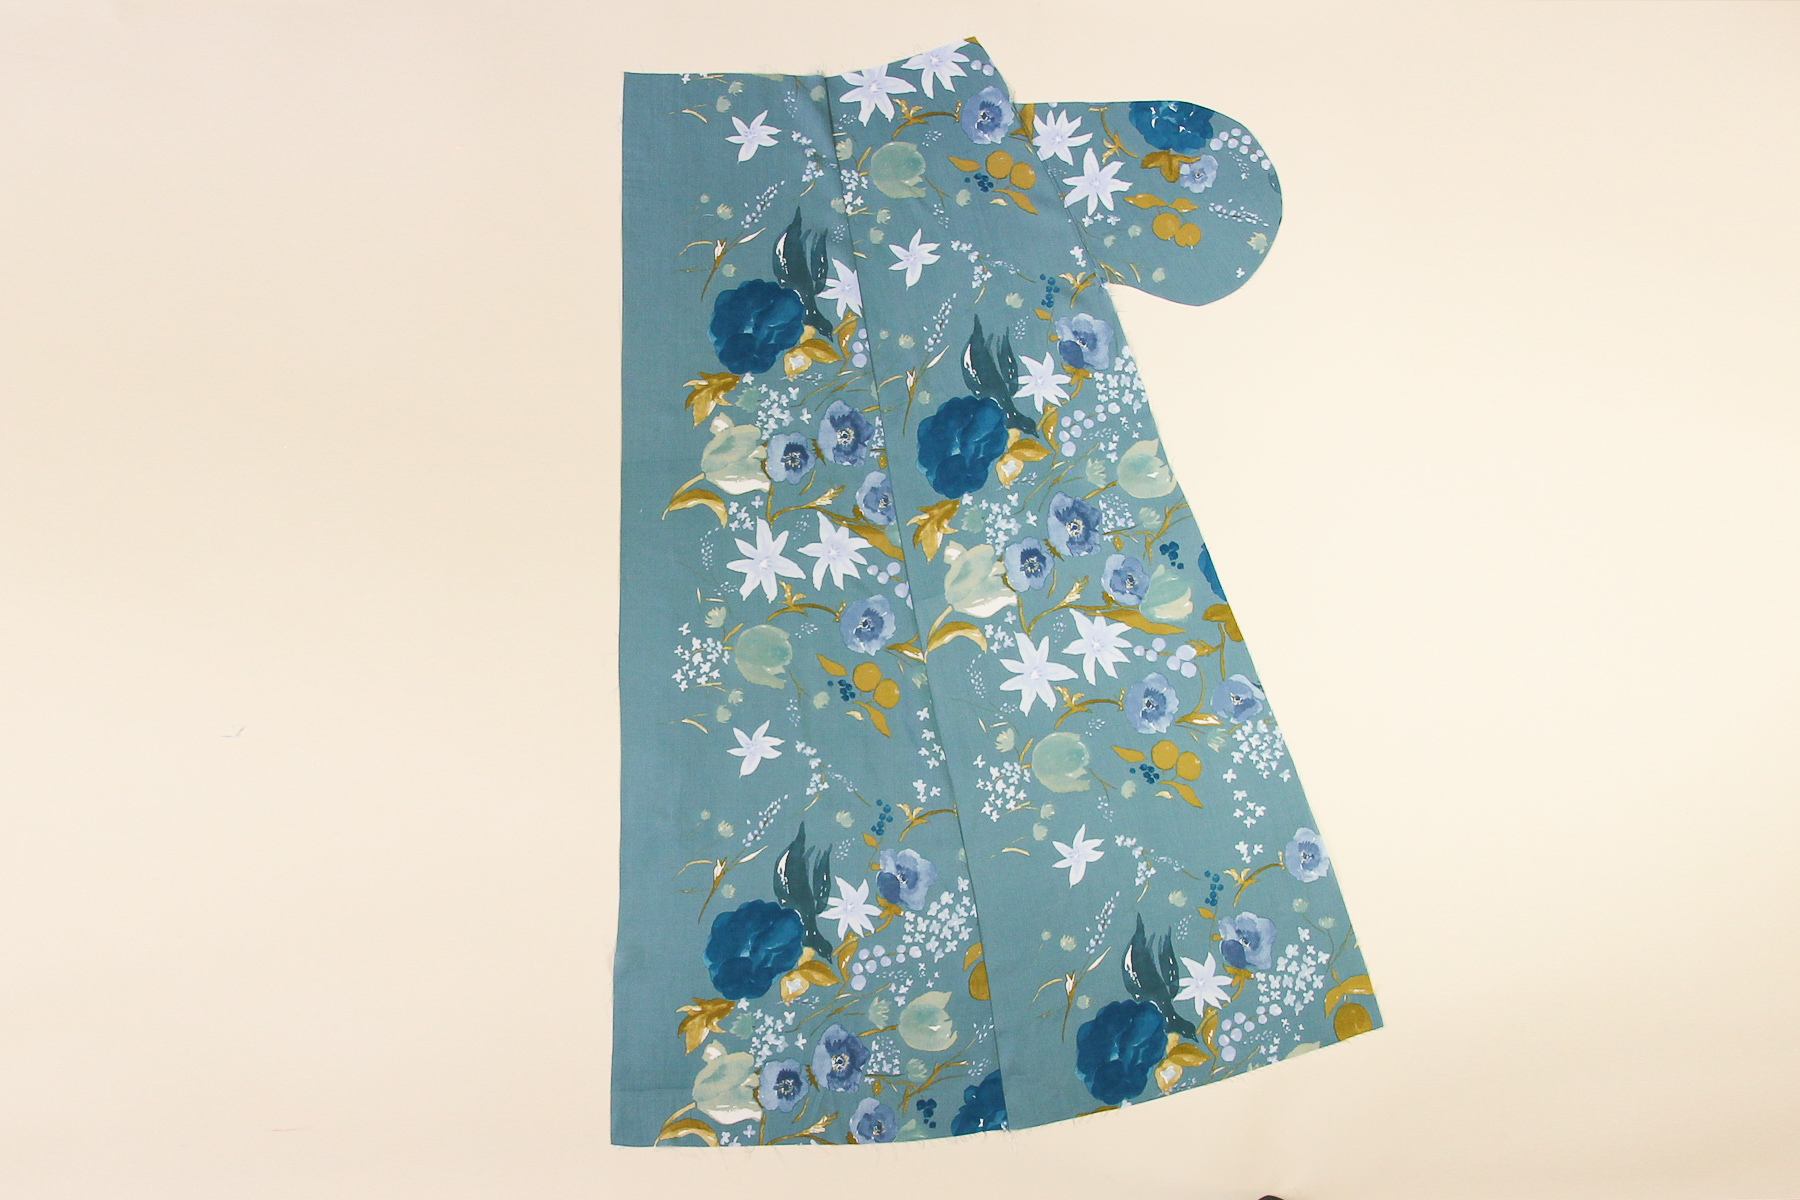
Now let’s do the same thing with the other skirt front.
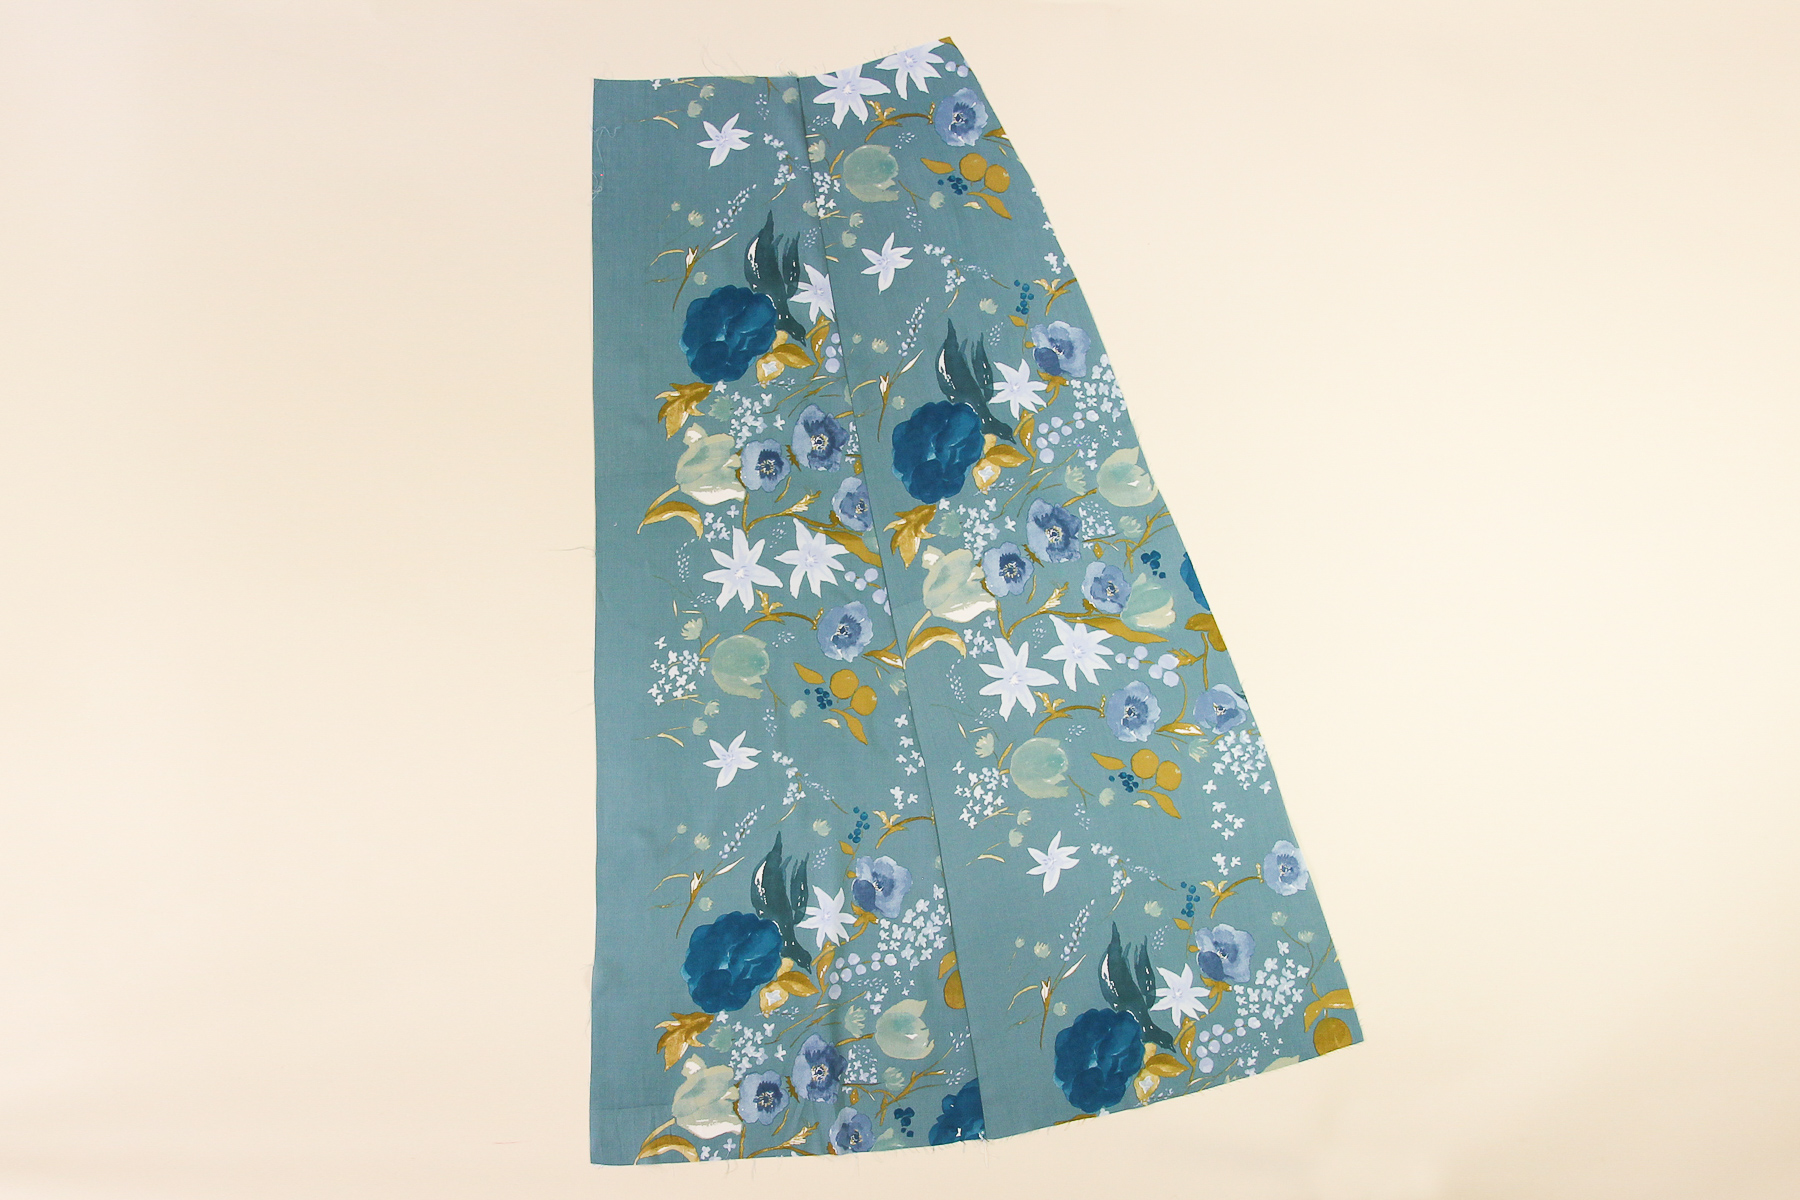
Okay, let’s put those skirt fronts aside and turn our attention to the back of the skirt.
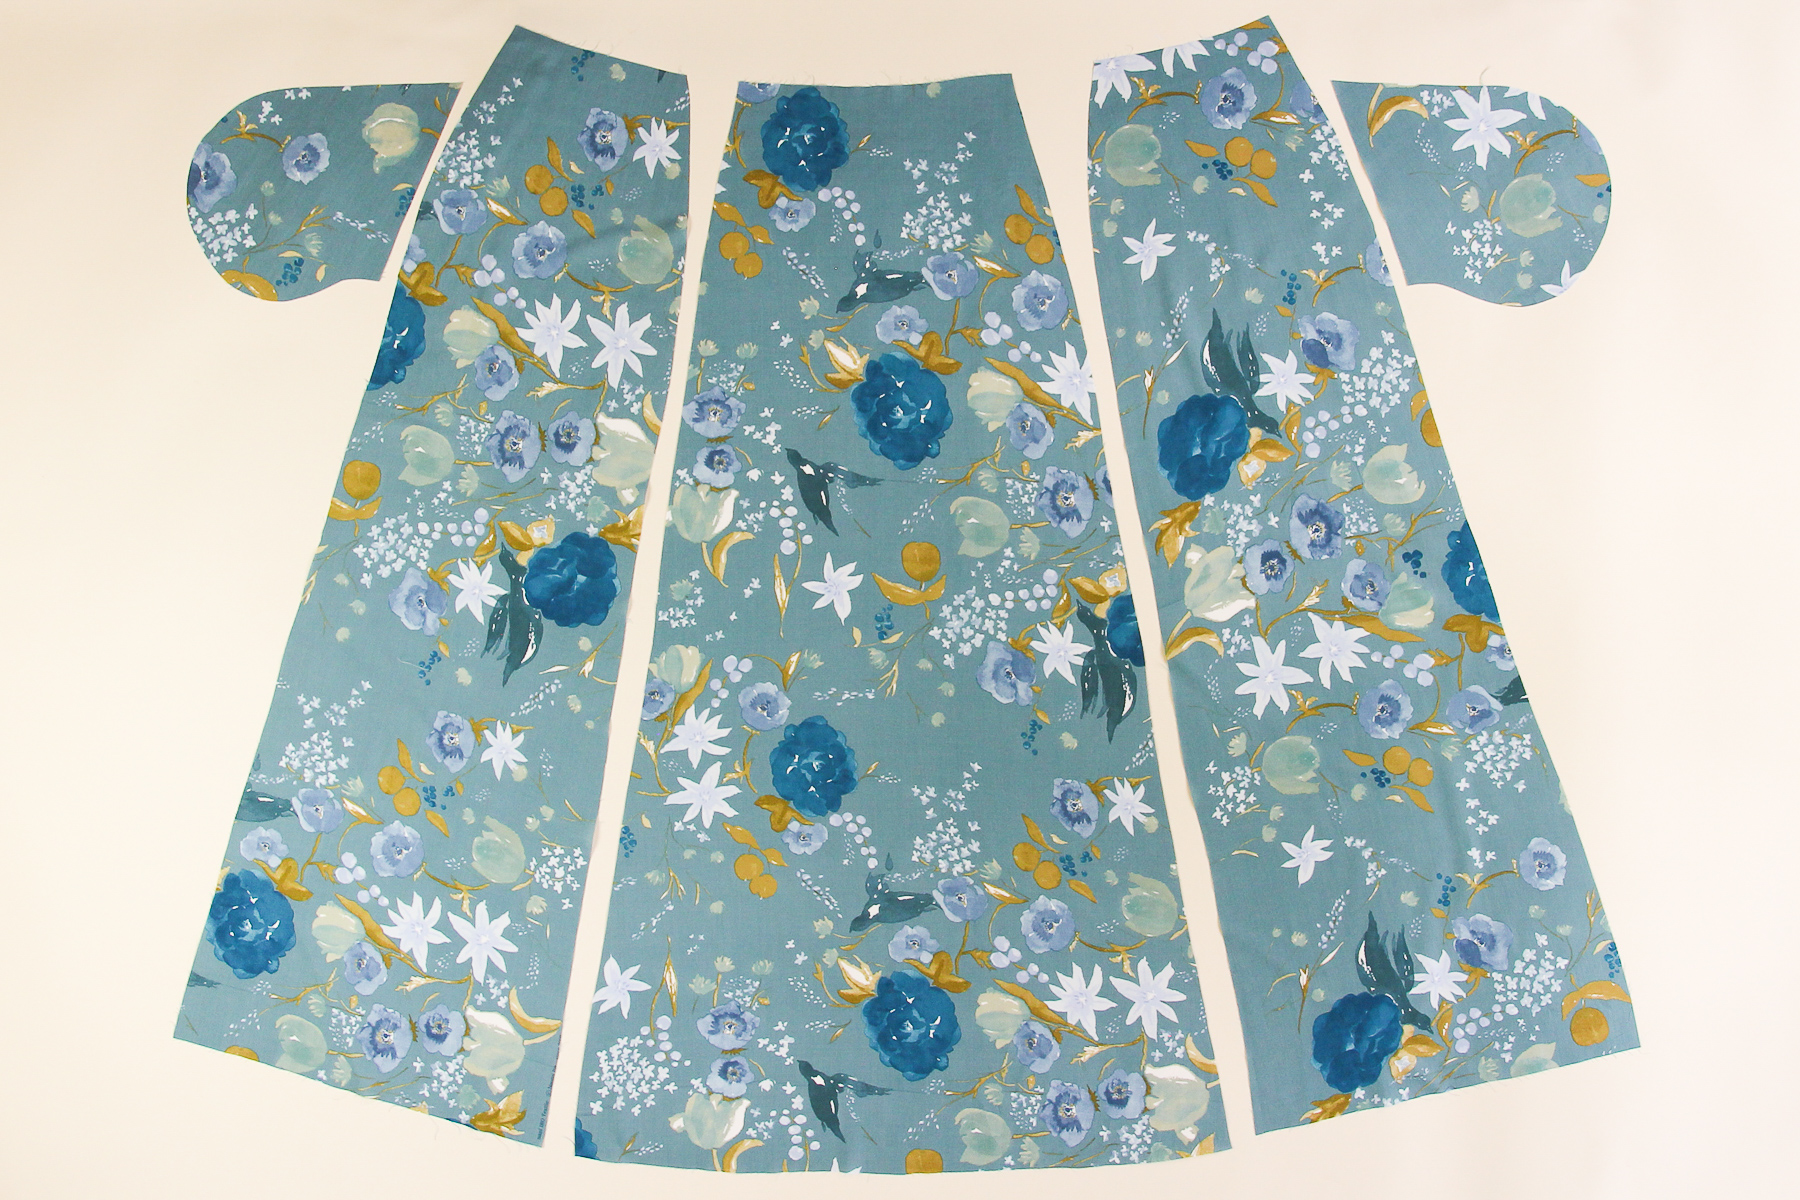
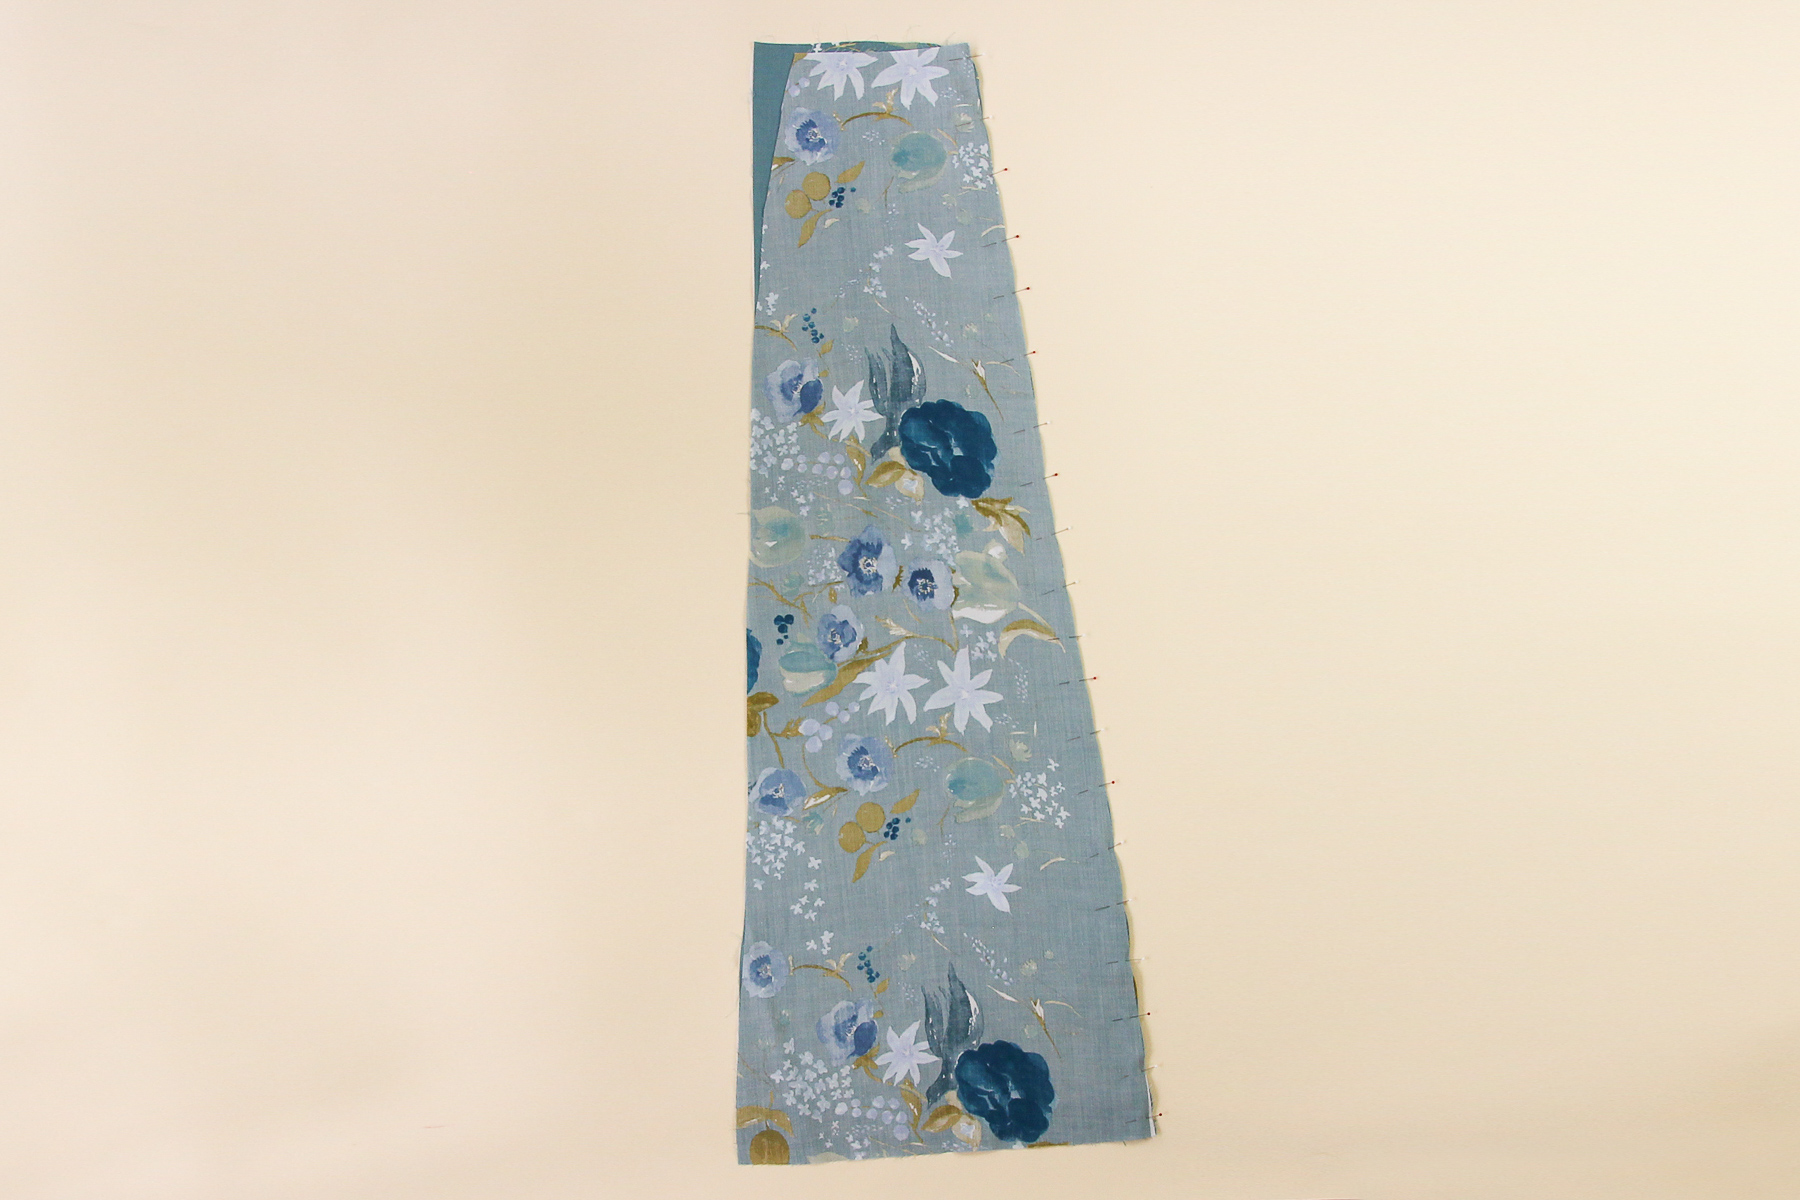
Start by pinning one of the skirt side backs to the skirt center back.
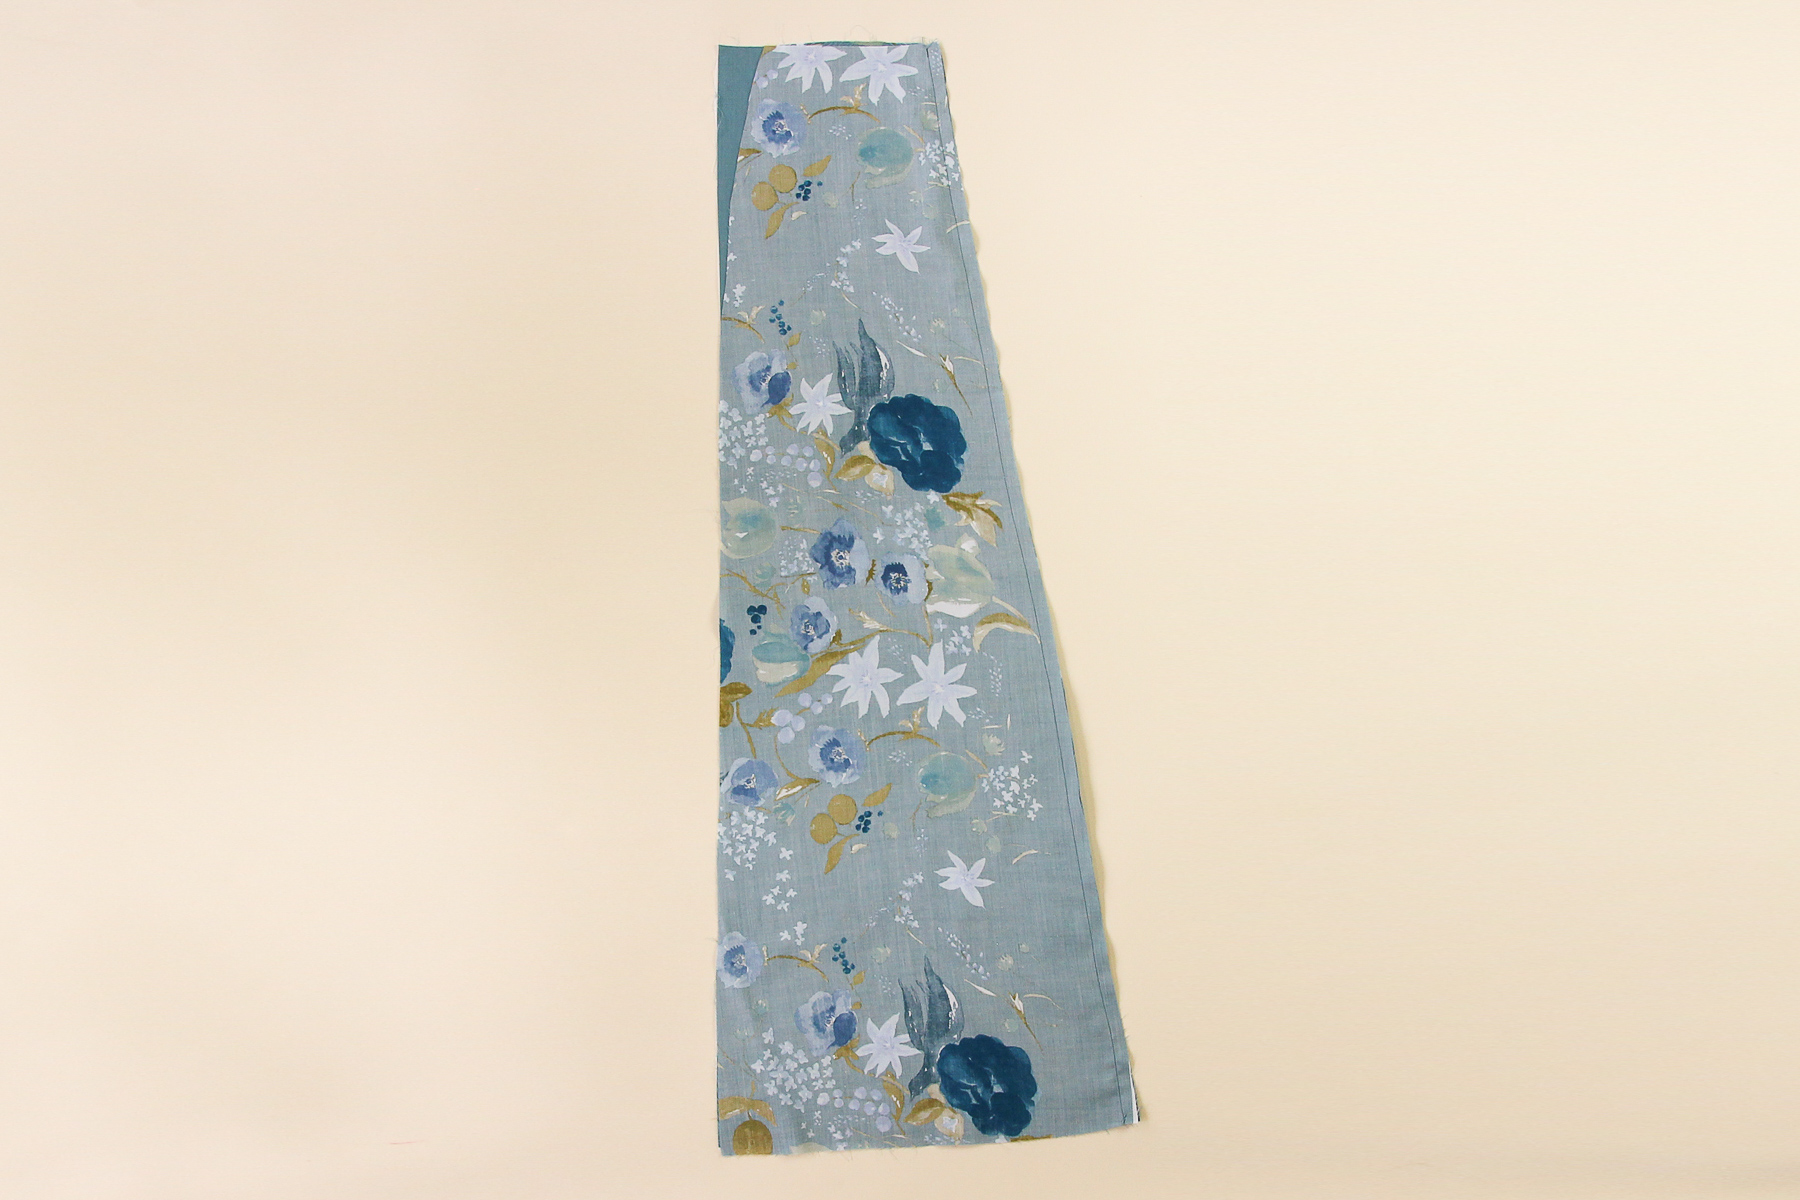
Let’s sew that seam, finish the seam allowance, and press it towards center.
We’re going to do the same thing with the other side of the back skirt.
Now let’s sew on our pockets the way we did with the front skirt.
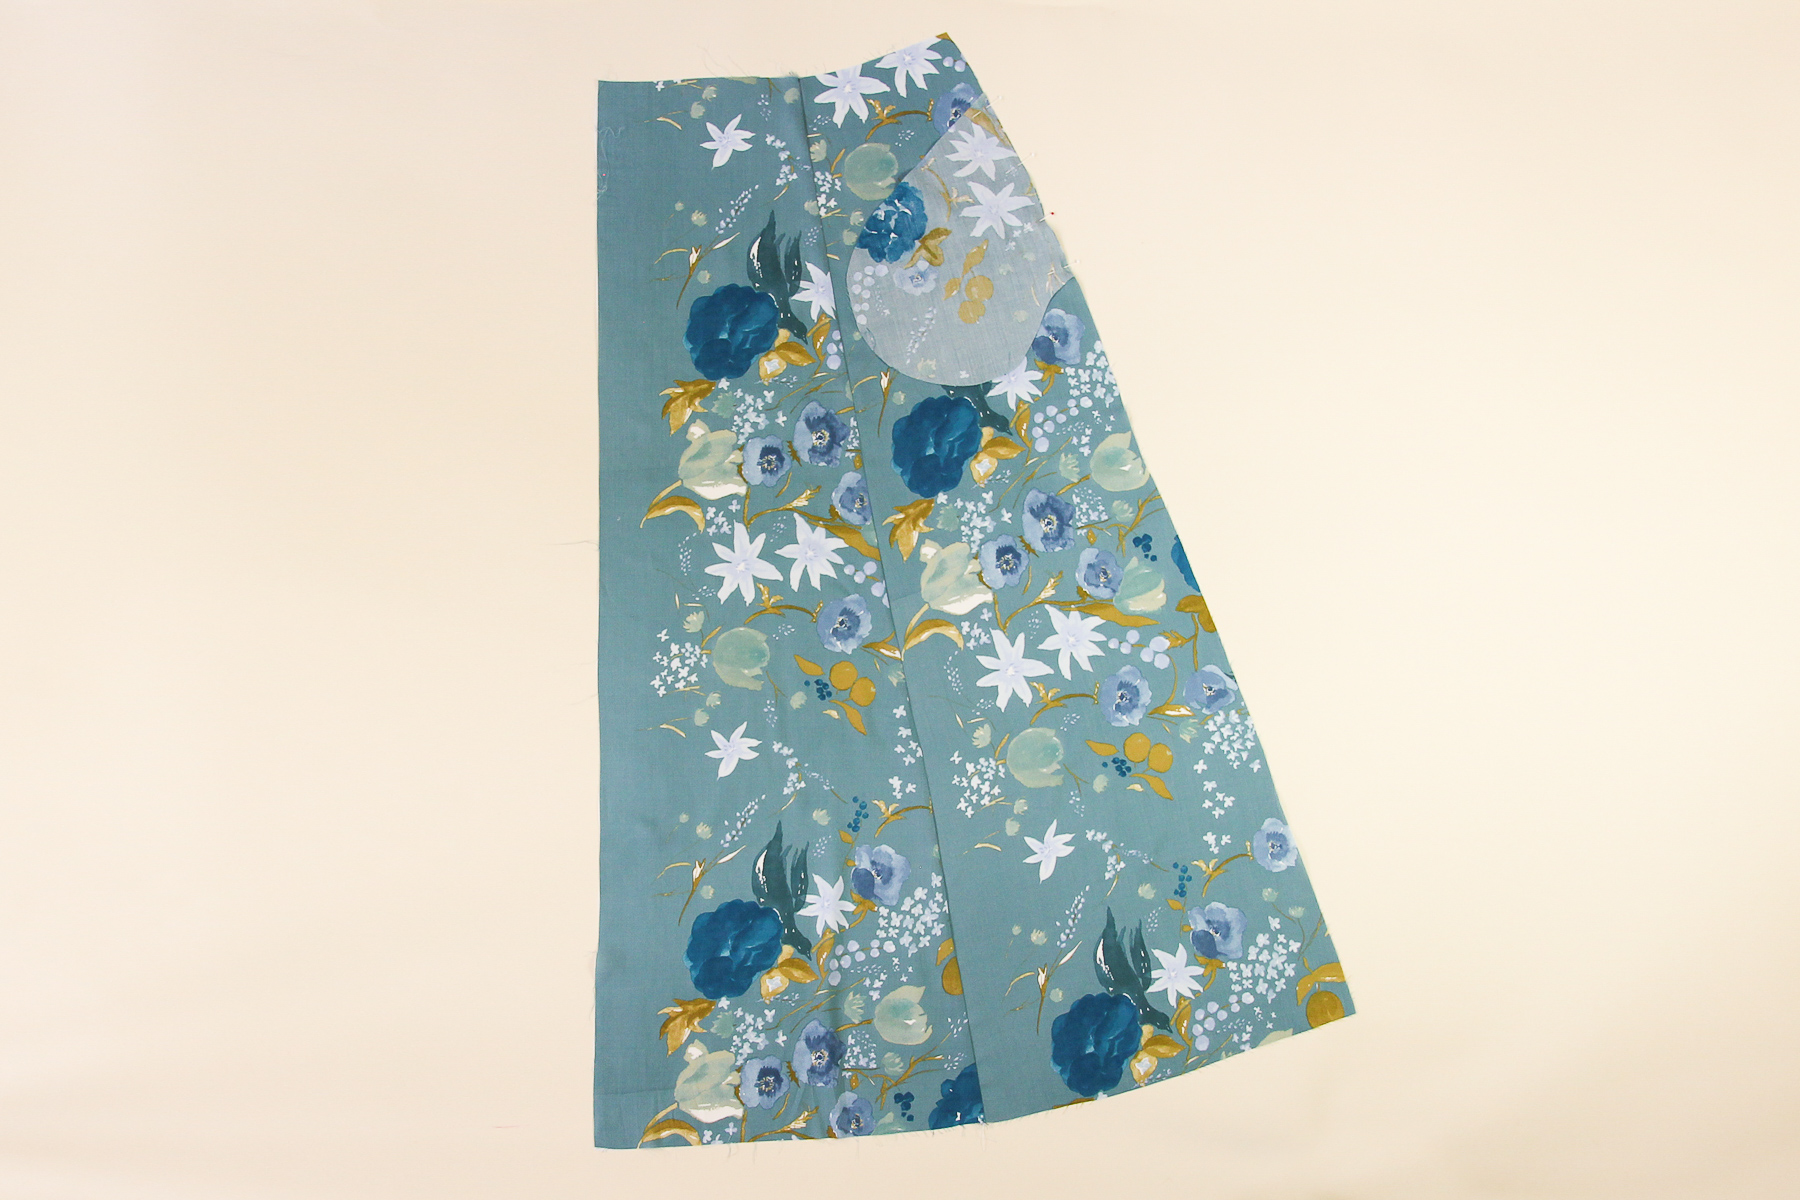
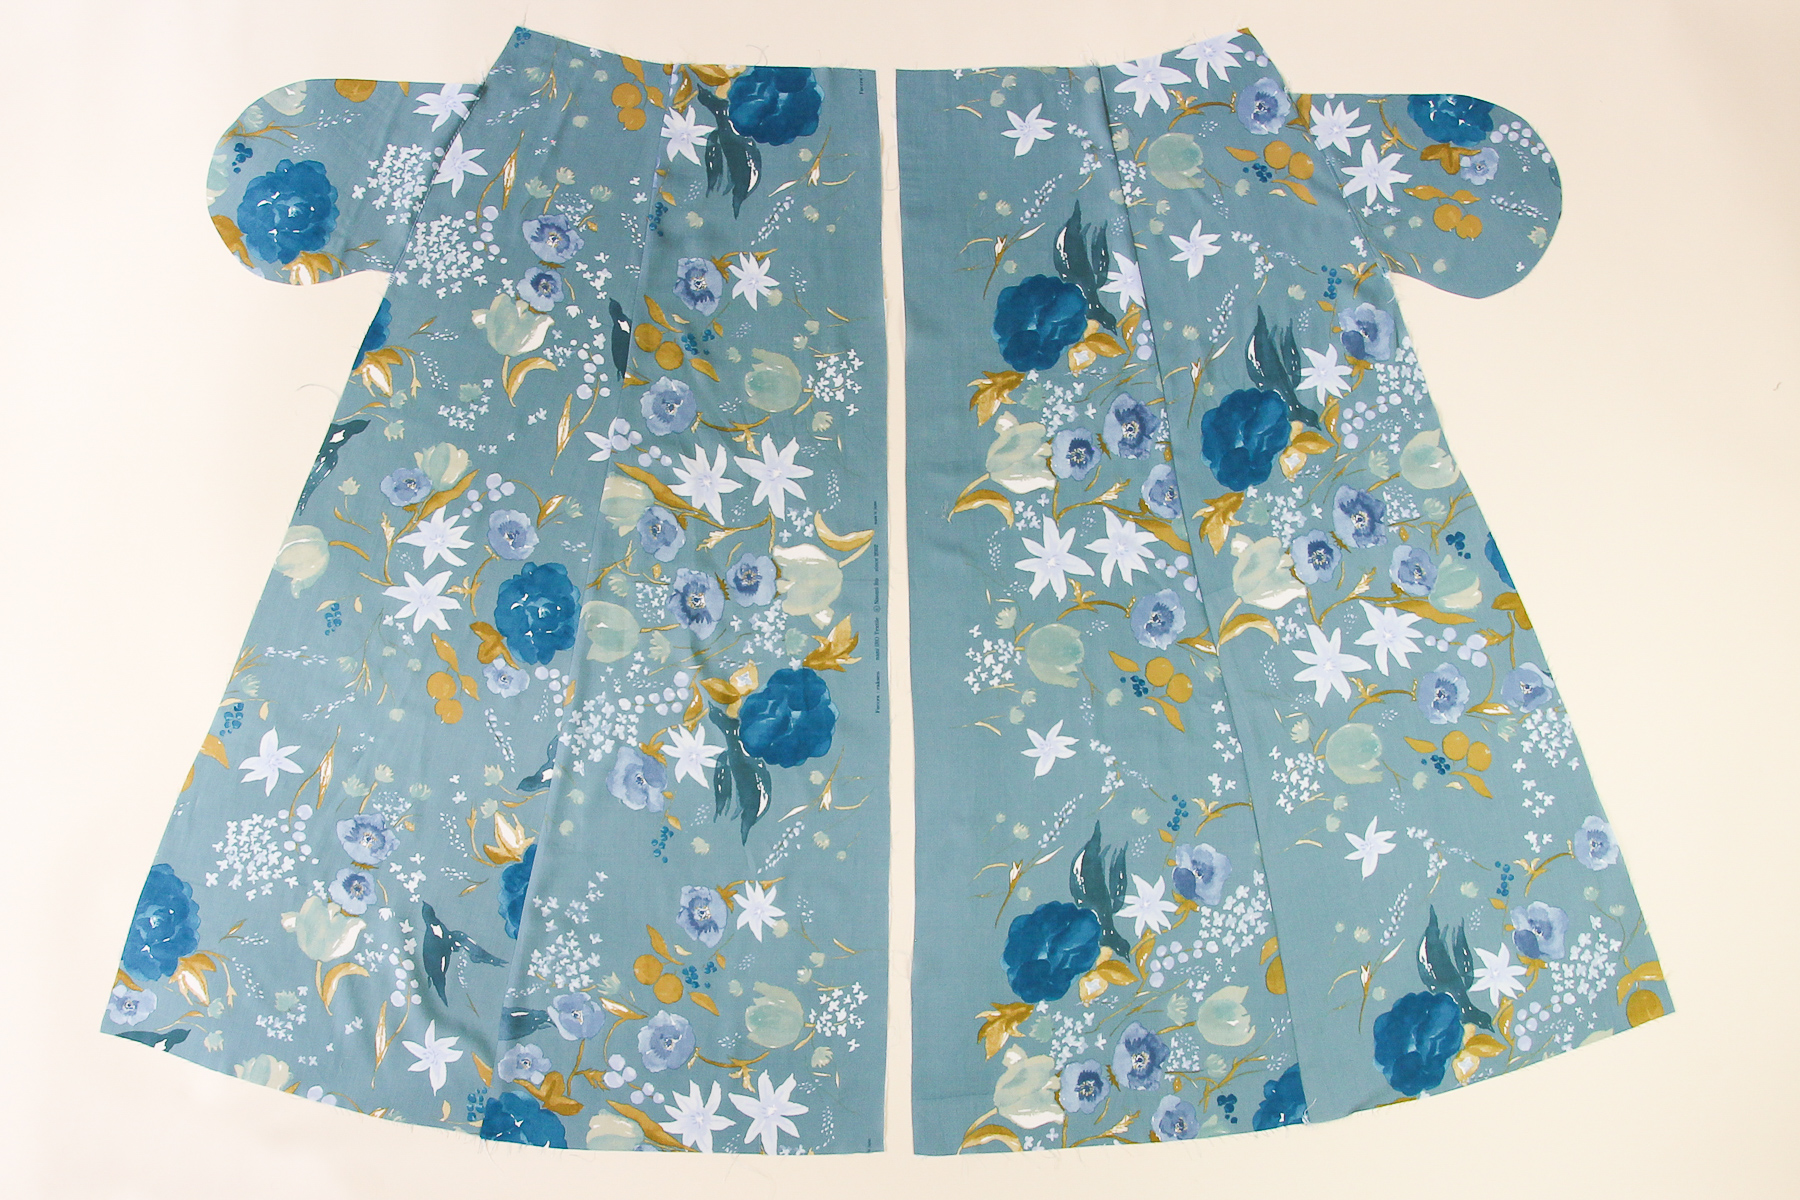
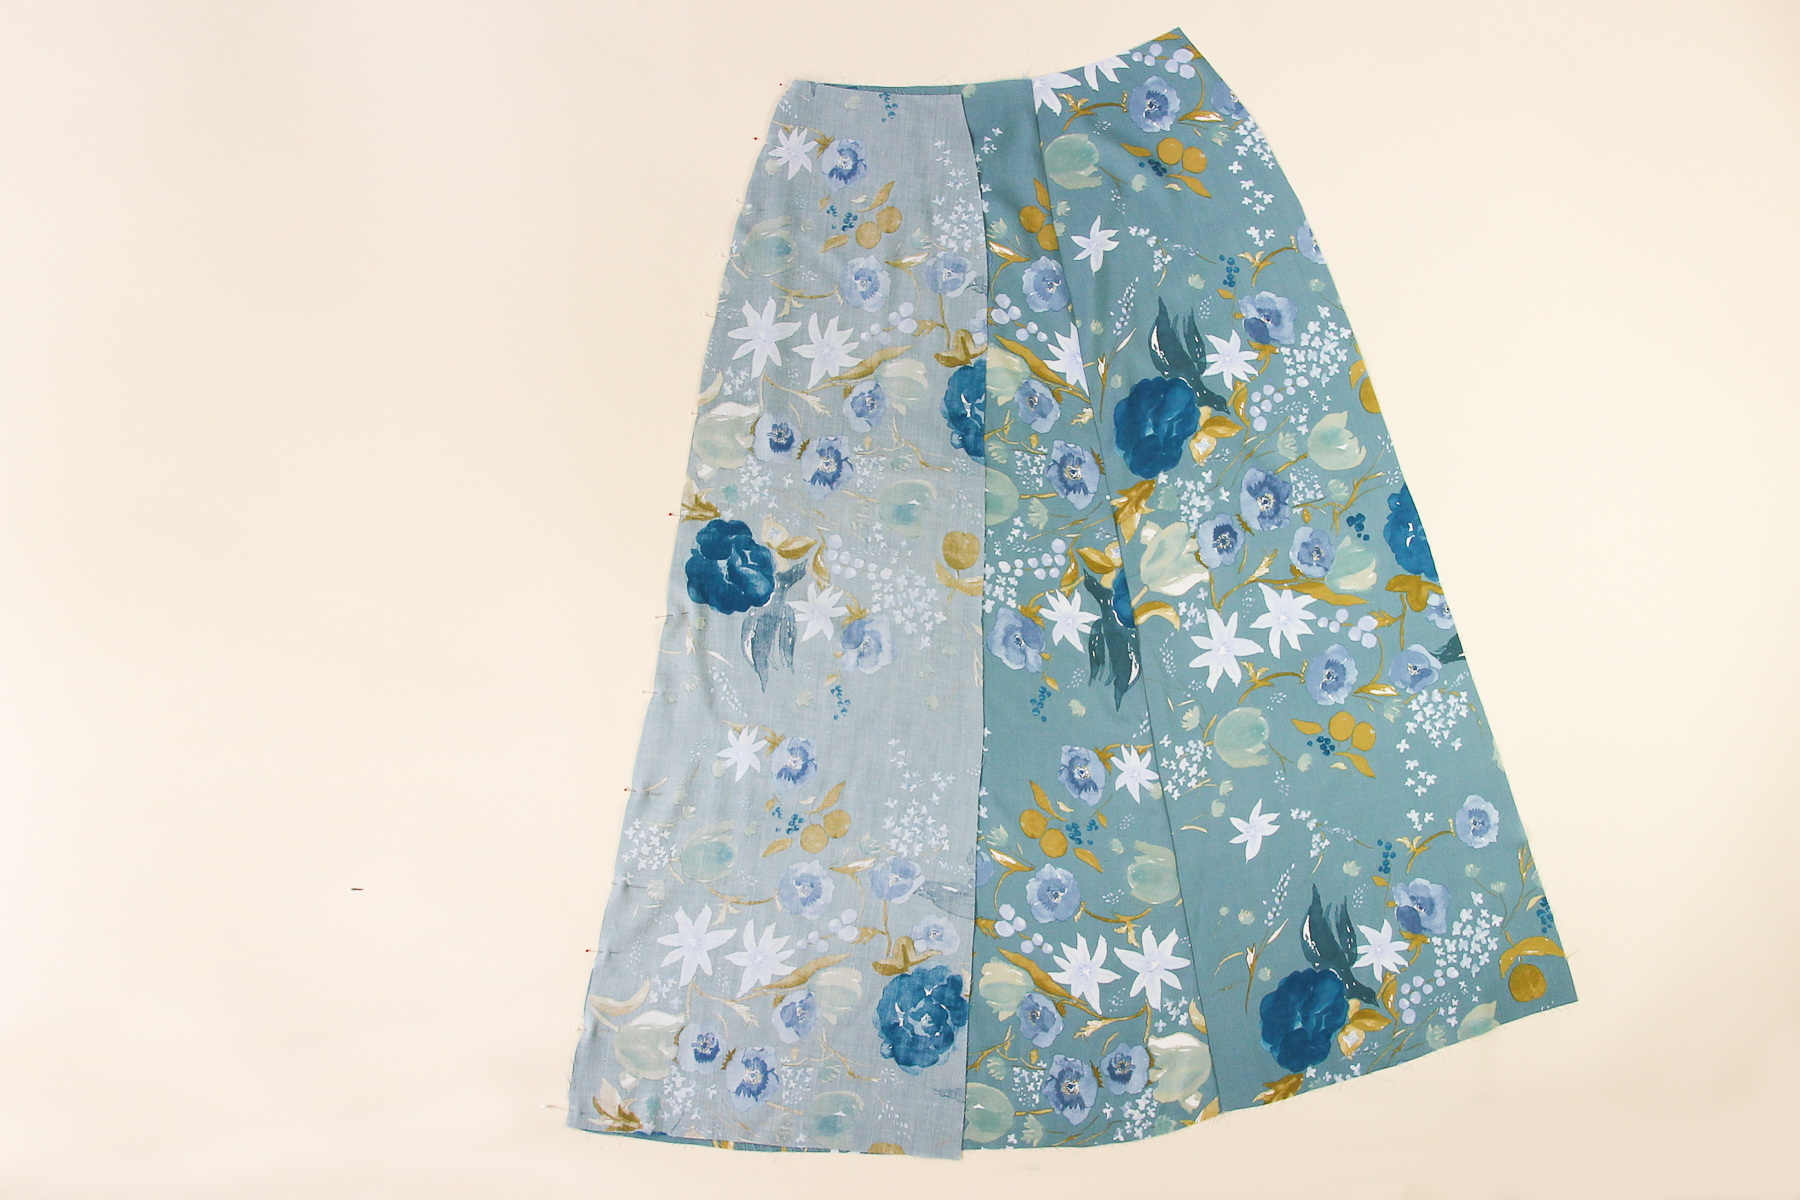
Okay, so now have both our skirt fronts and skirt back assembled. Time to sew the side seams up!
Start by pinning one of the skirt fronts to the skirt back at the side.
Sew down the side of the skirt, going around the pocket. Finish that seam and press it towards the front.
Let’s sew on the other skirt front the same way.

And that’s it for today! As you can see, the majority of the work is already done—next time, we’re going to sew the button plackets and assemble and attach the waistband. Then all that’s left is hemming and sewing on some buttons! It’s a quick sew all in all. And so swooshy when it’s done!
We want to see your creations, whatever stage of the process you’re at! Tag your makes with #HolyokeDress or #HolyokeSkirt on social media so we (and the whole sewing community) can cheer you on to the finish line!