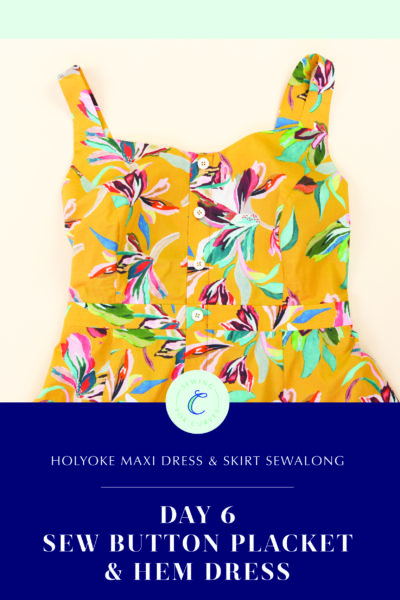
Welcome back to the Holyoke Maxi Dress and Skirt sewalong! Last time, we attached our back skirt to our back bodice and inserted our elastic into the waistband. Today, we’re going to sew the back facing and the side seams!
(Need to jump to a different day? Head over to the main Holyoke Maxi Dress and Skirt sewalong page.)
Alright, let’s get started!
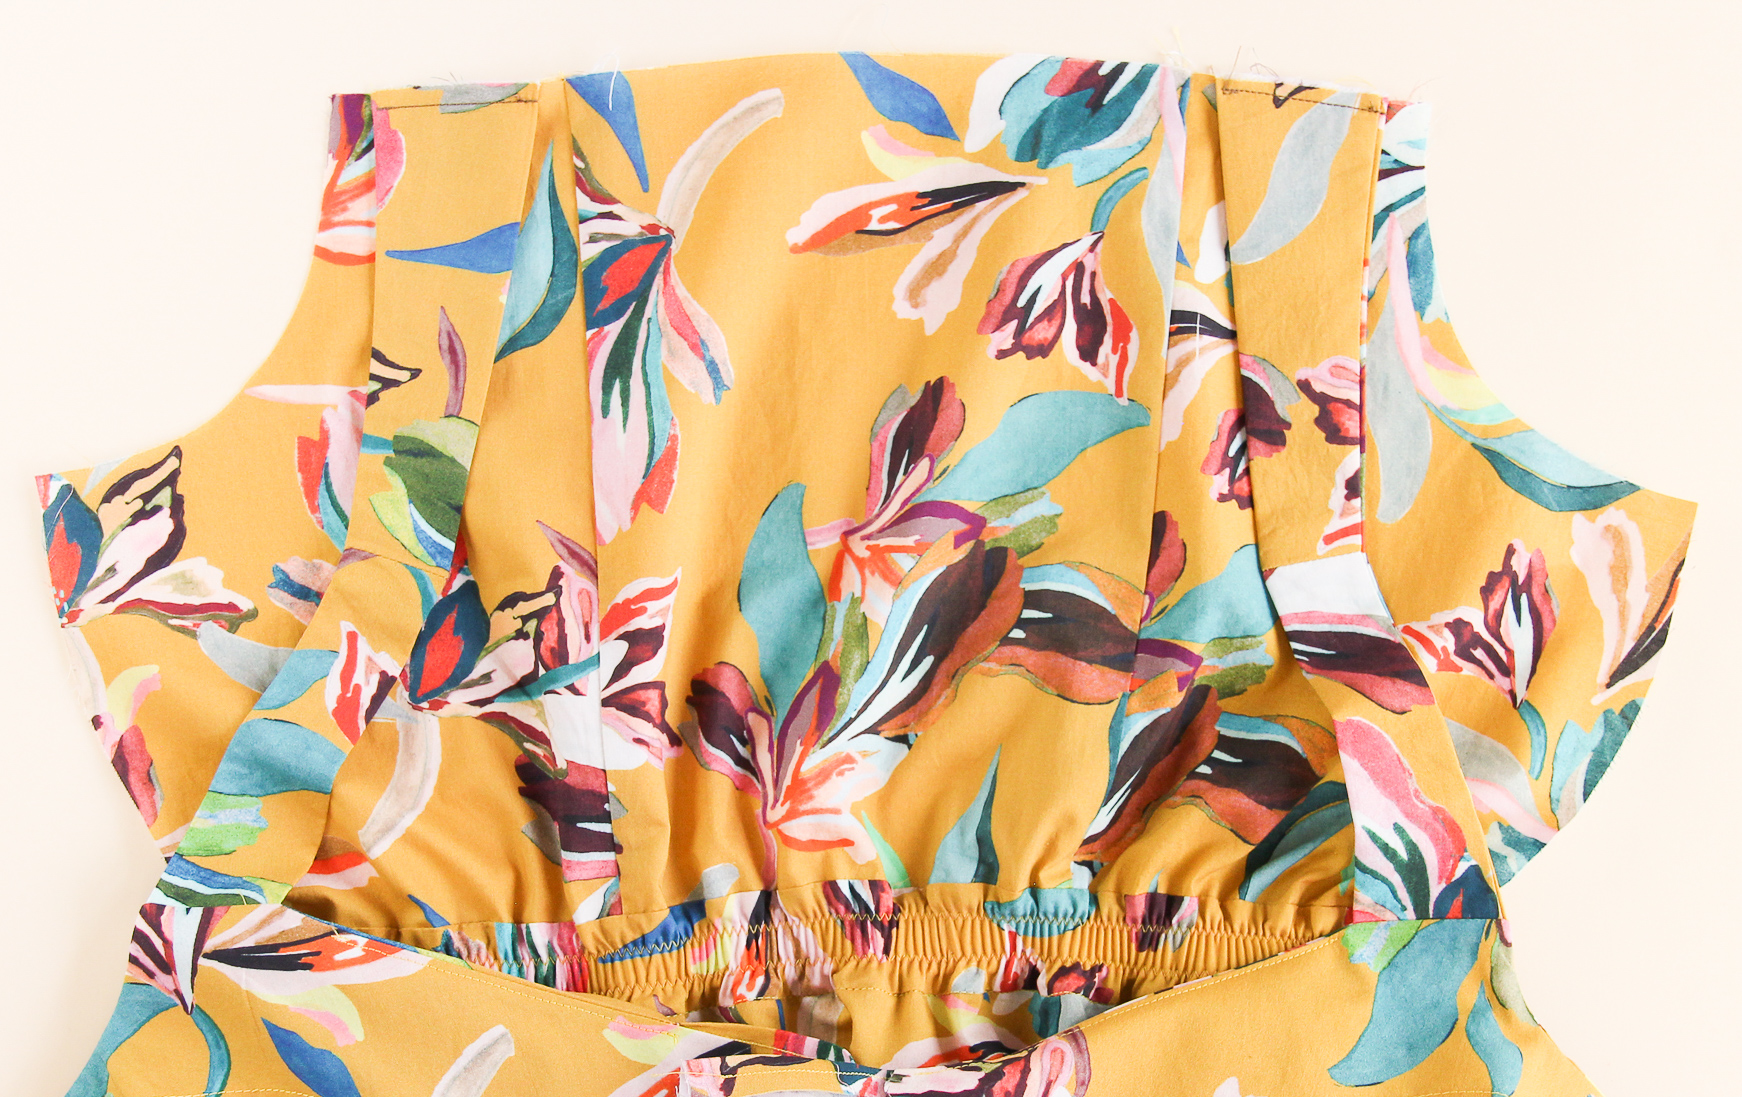
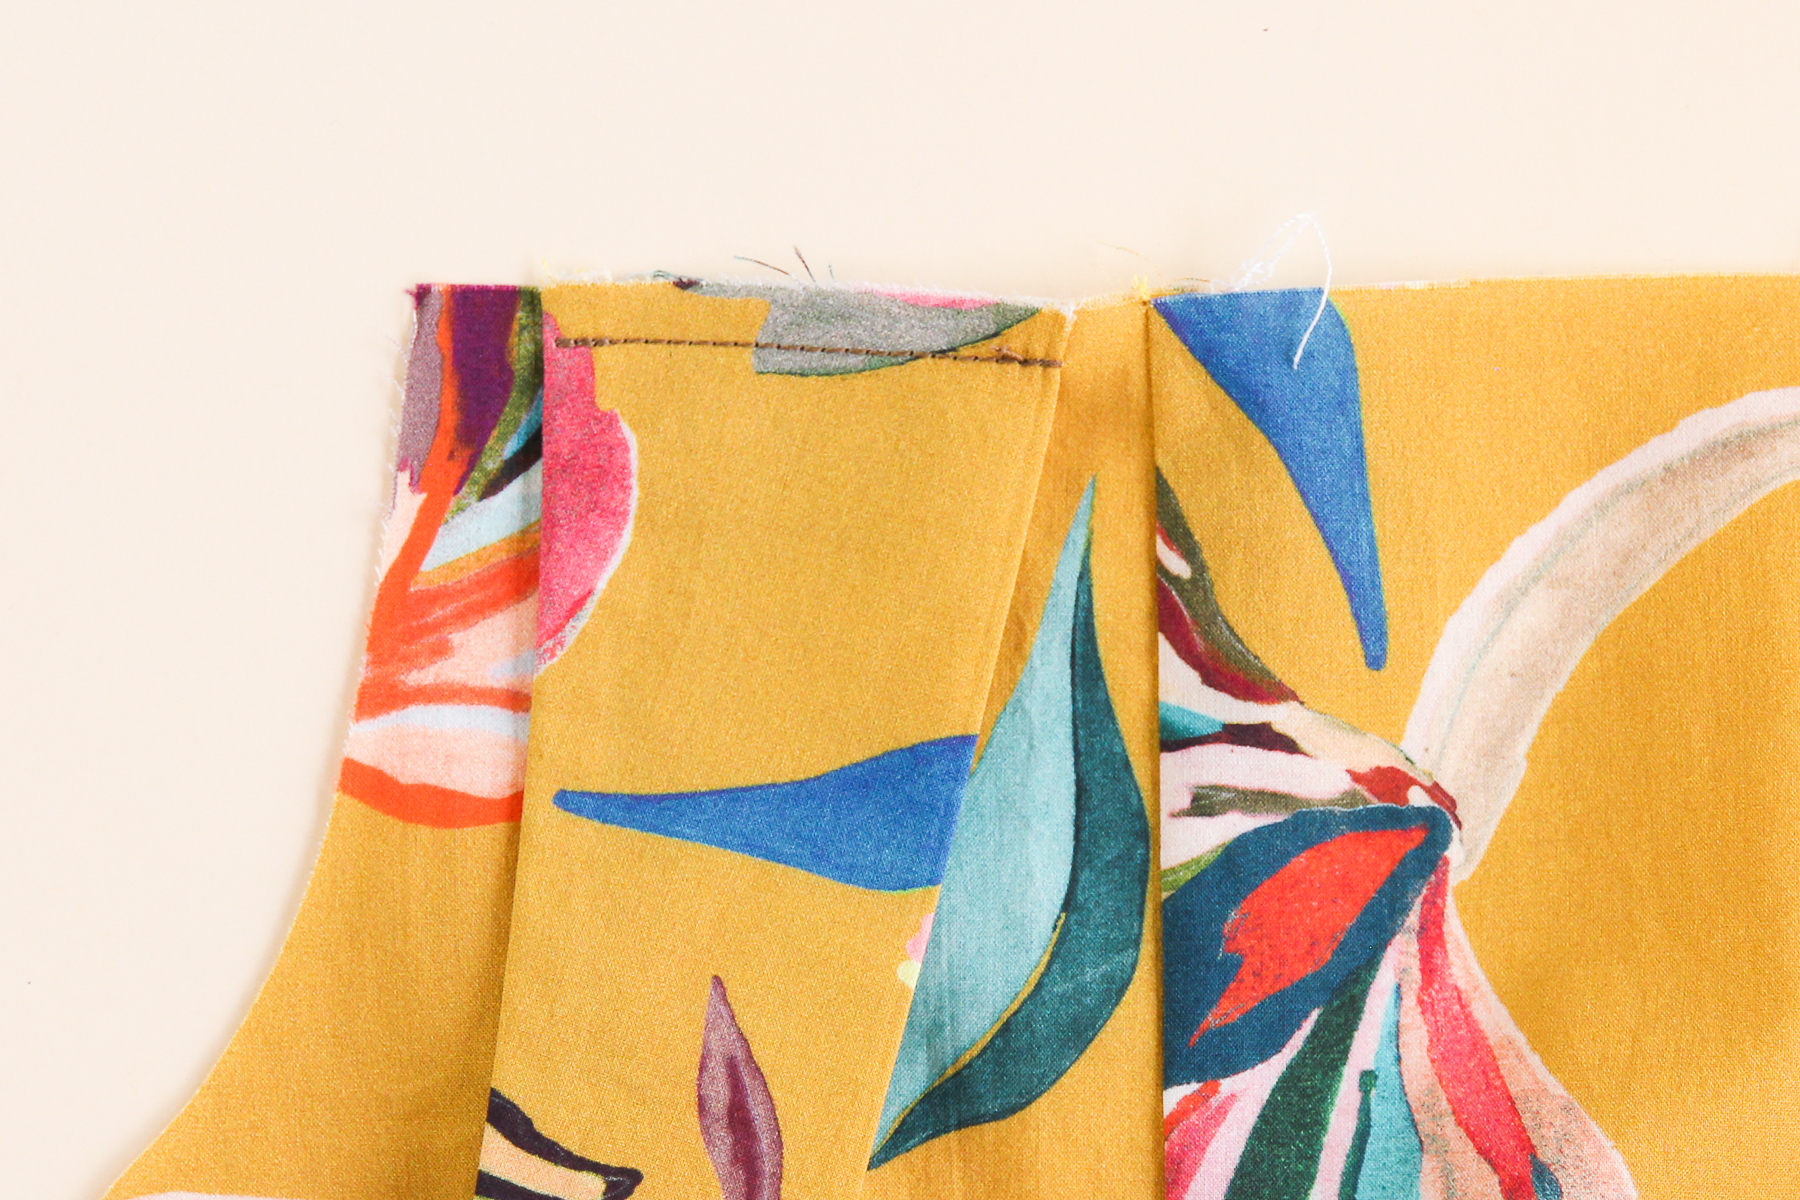
We’re going to start by pinning the back edge of the straps to the back, right sides together. Make sure the outer edge of each strap is 1/2” (12 mm) in from the armscye.
Let’s sew that at 1/4” (6 mm) seam allowance.
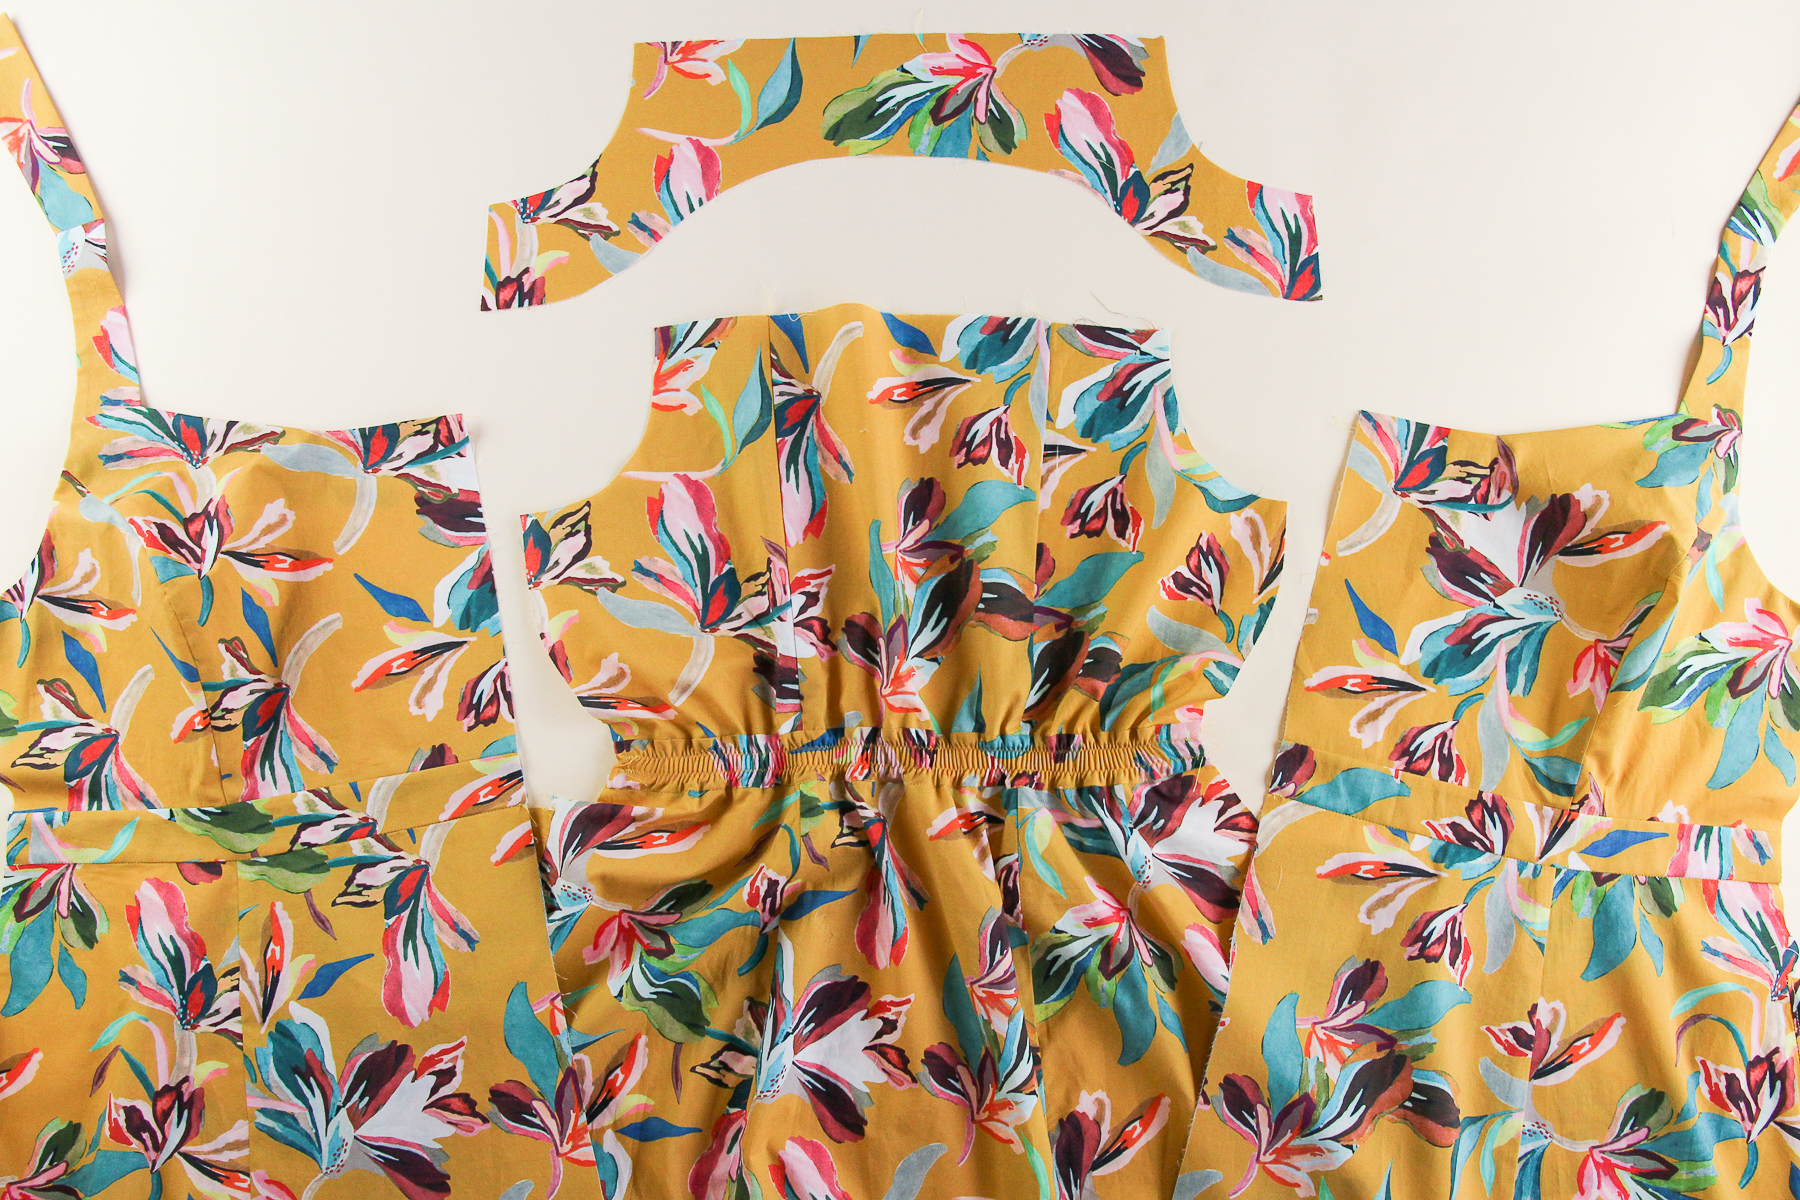
We’re going to put the dress aside momentarily as we prepare our back facing.
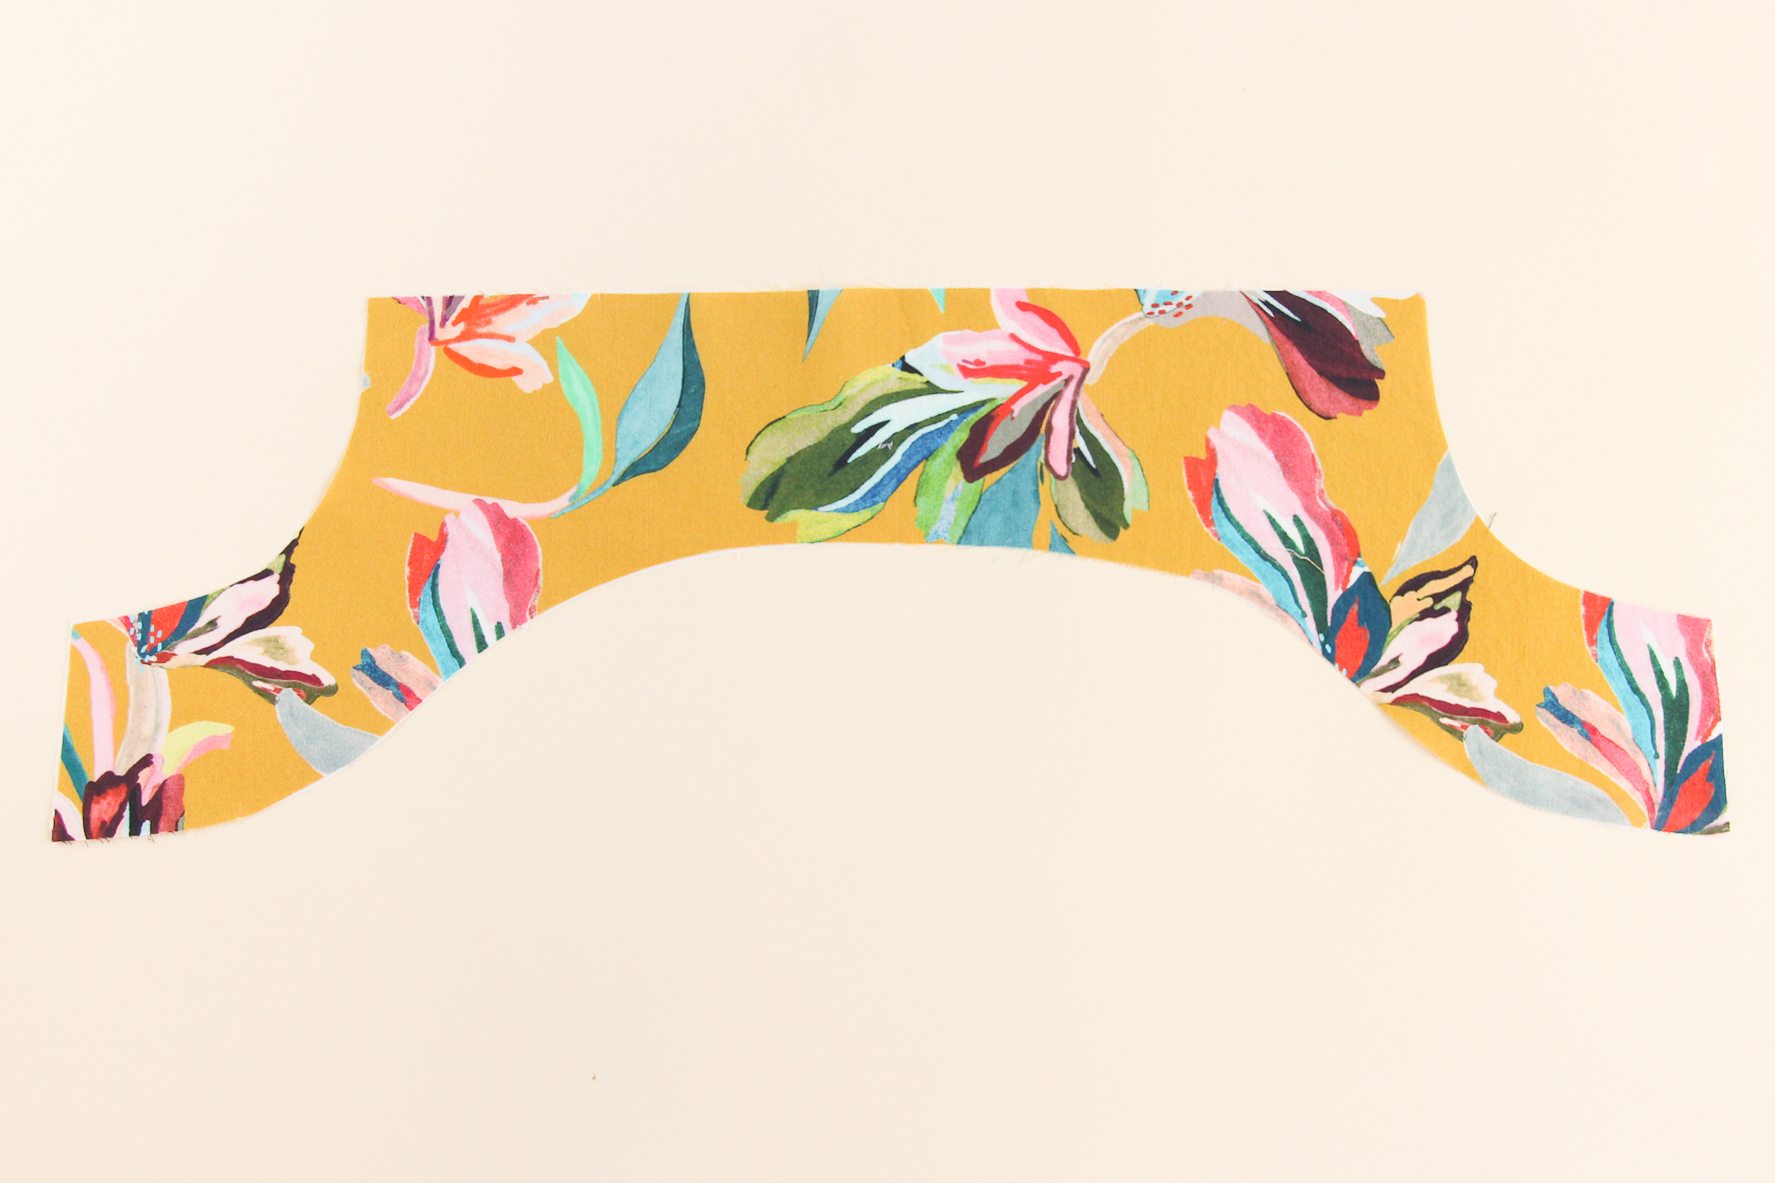
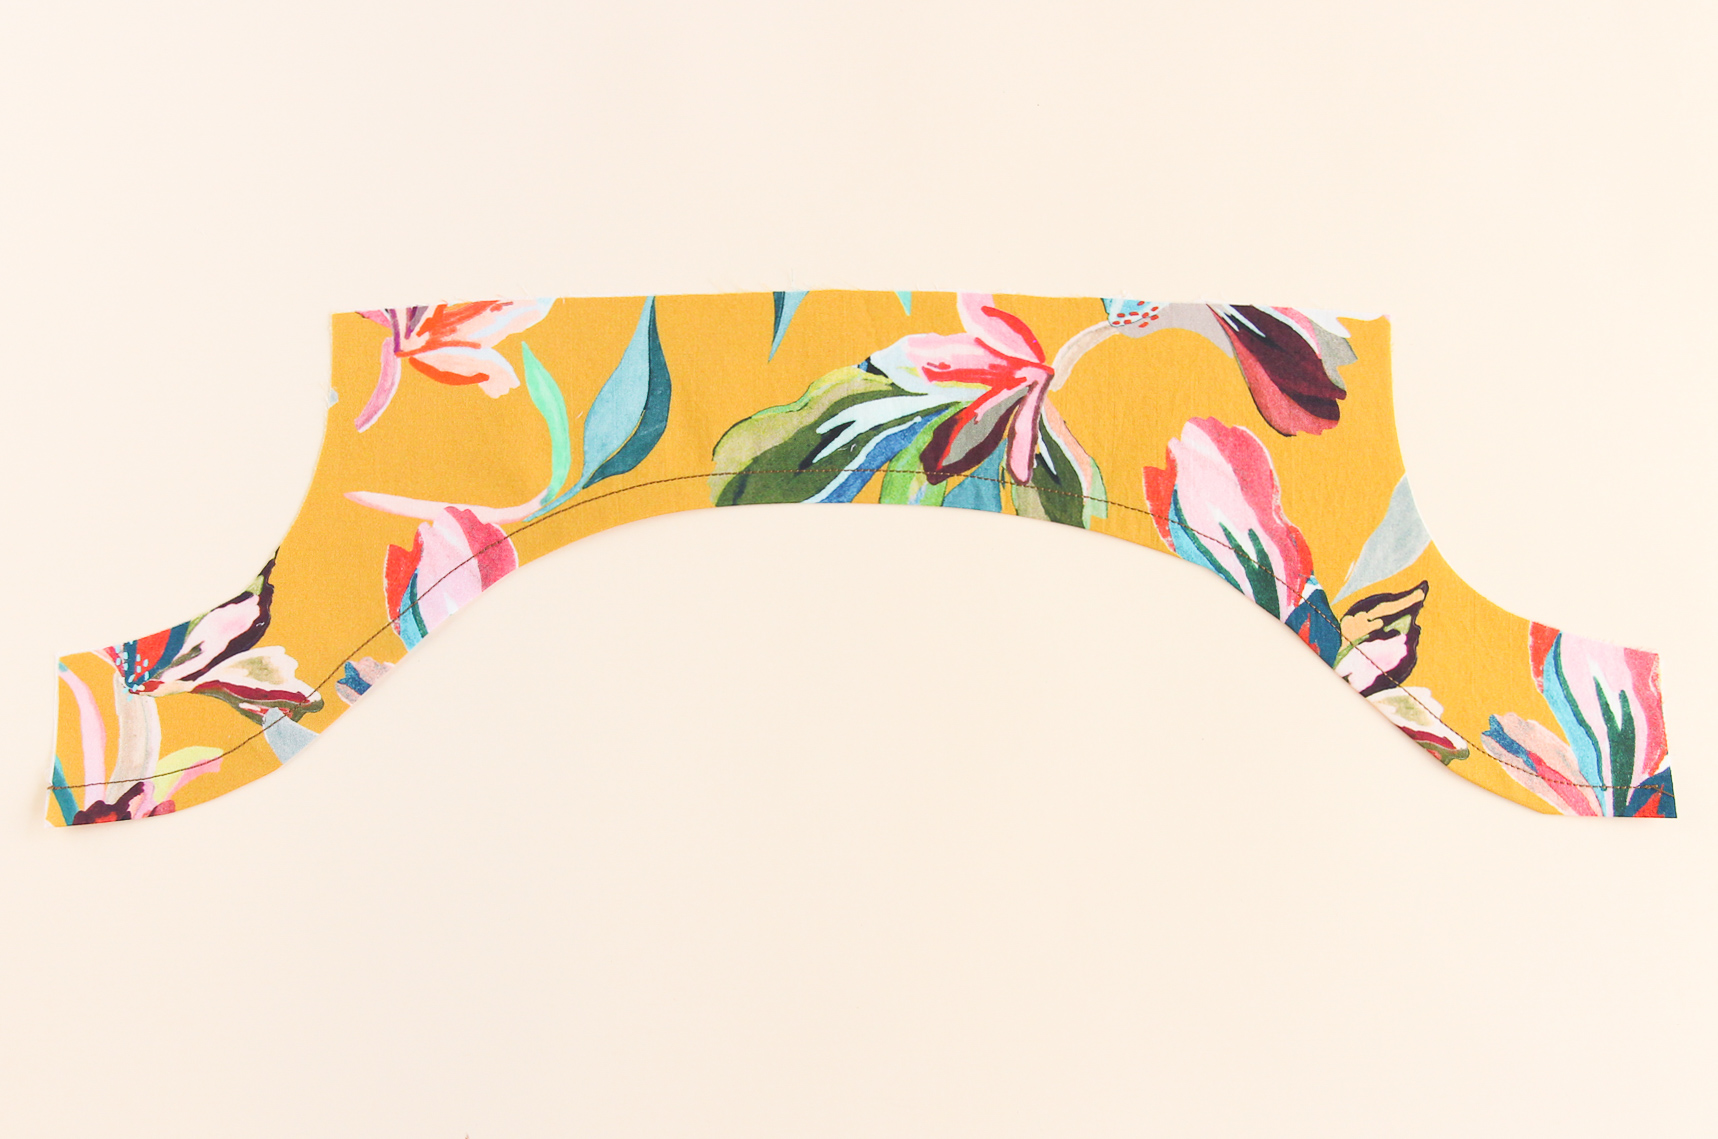
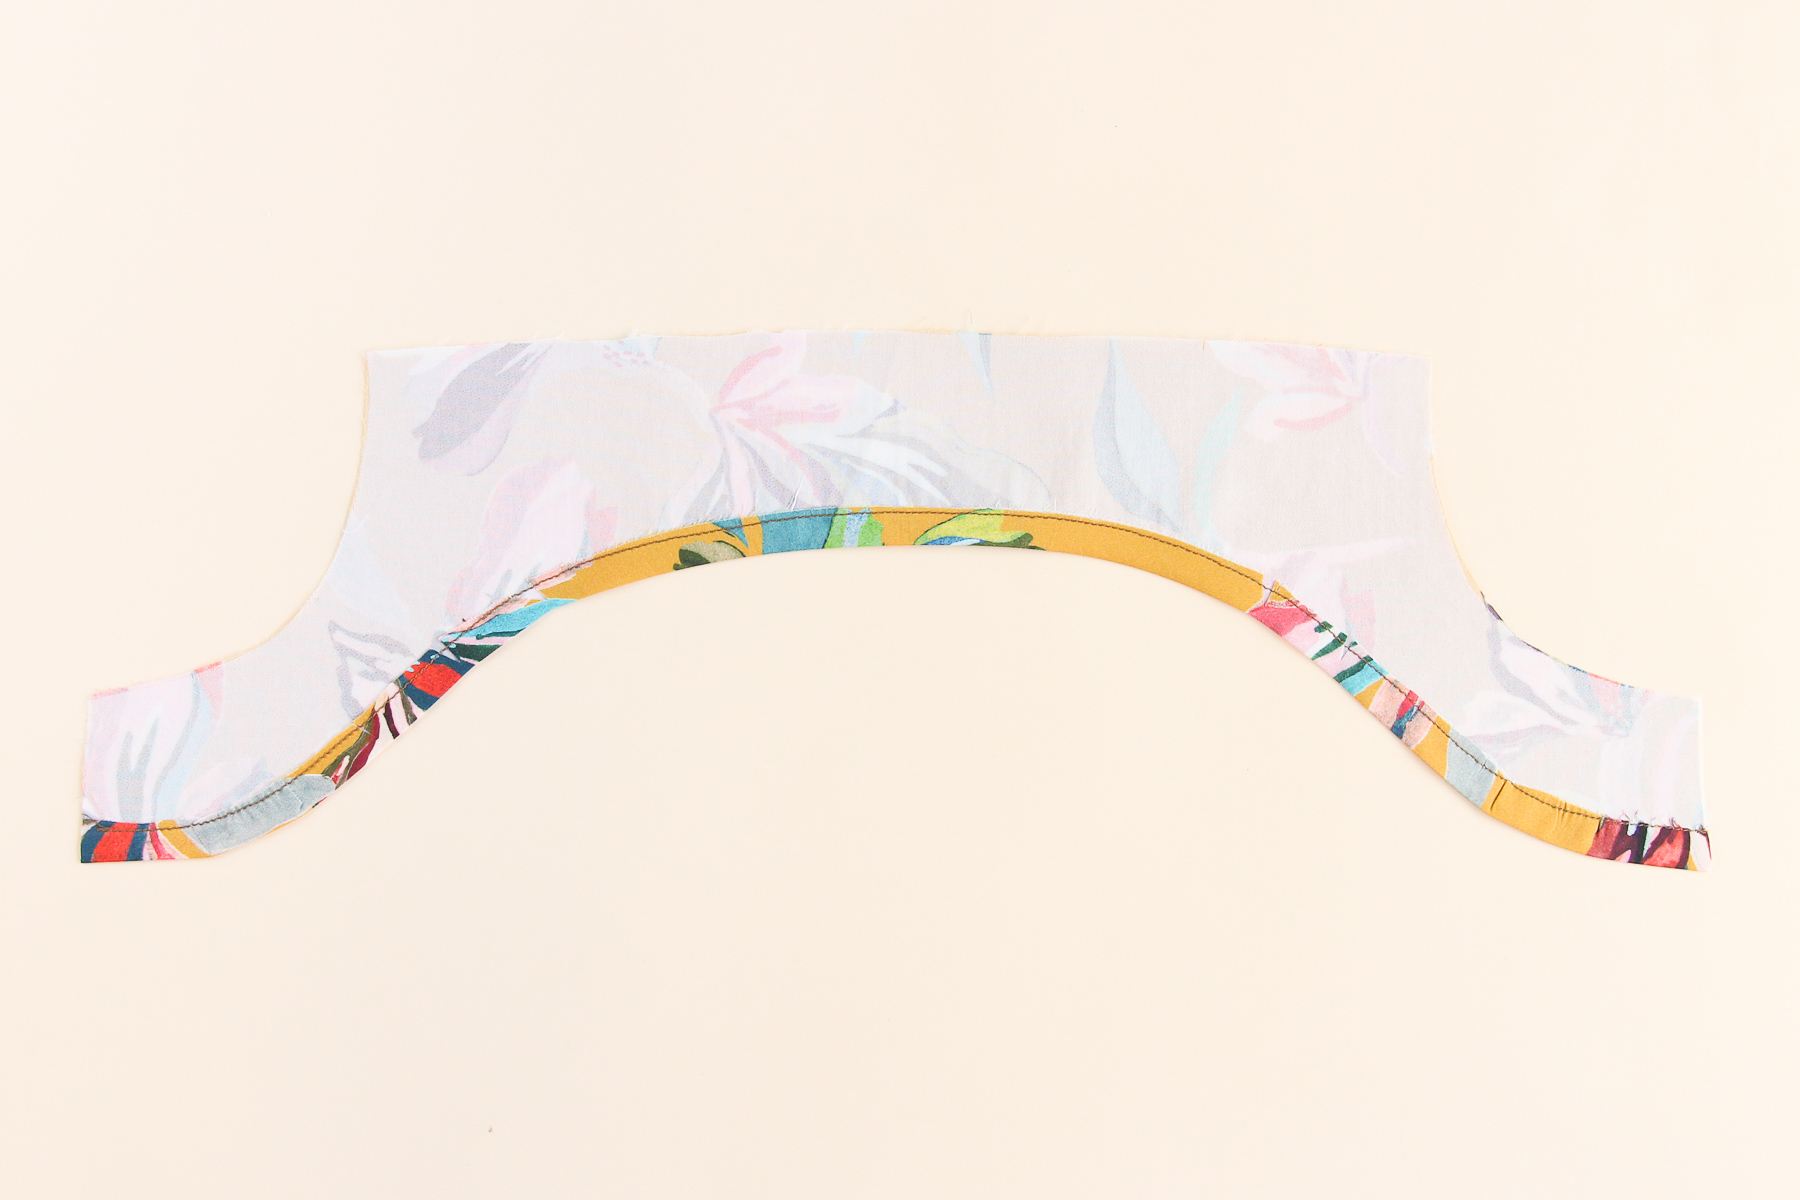
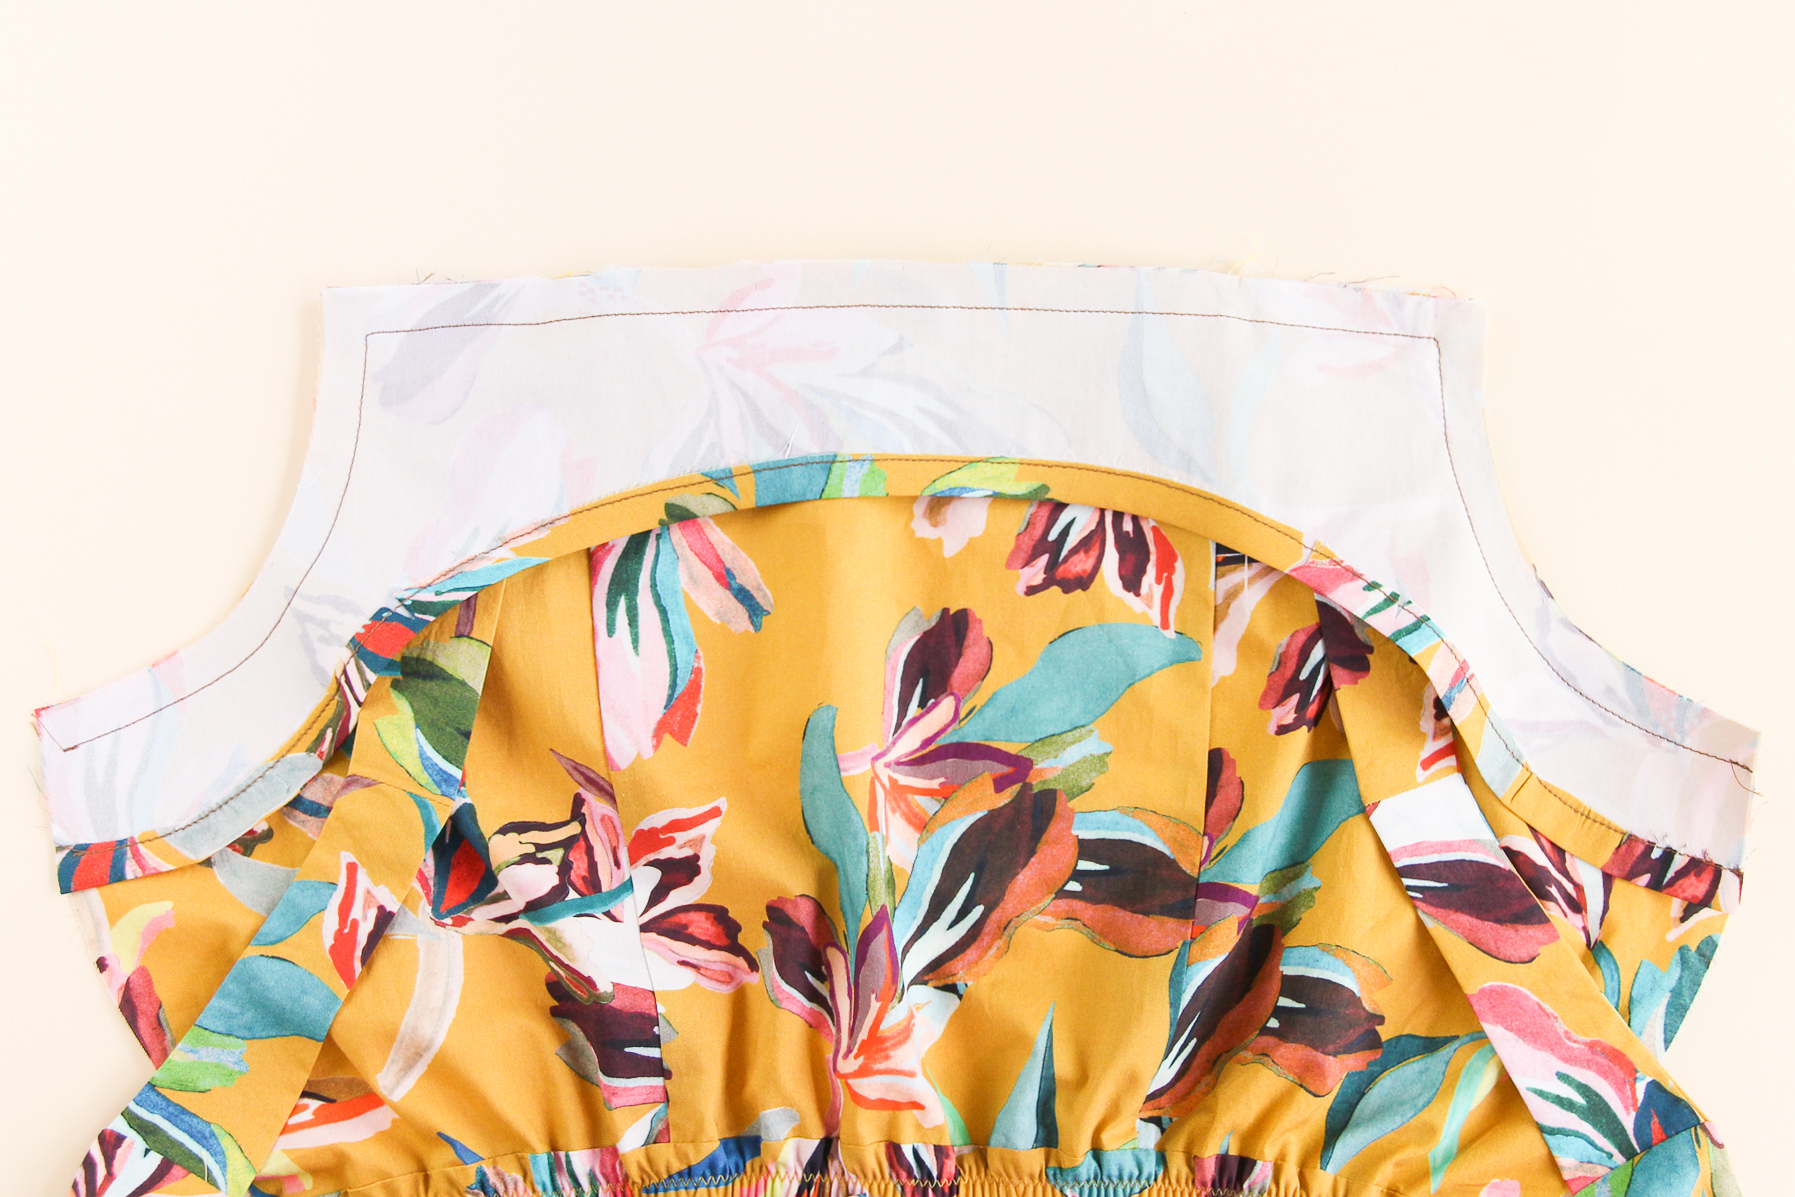
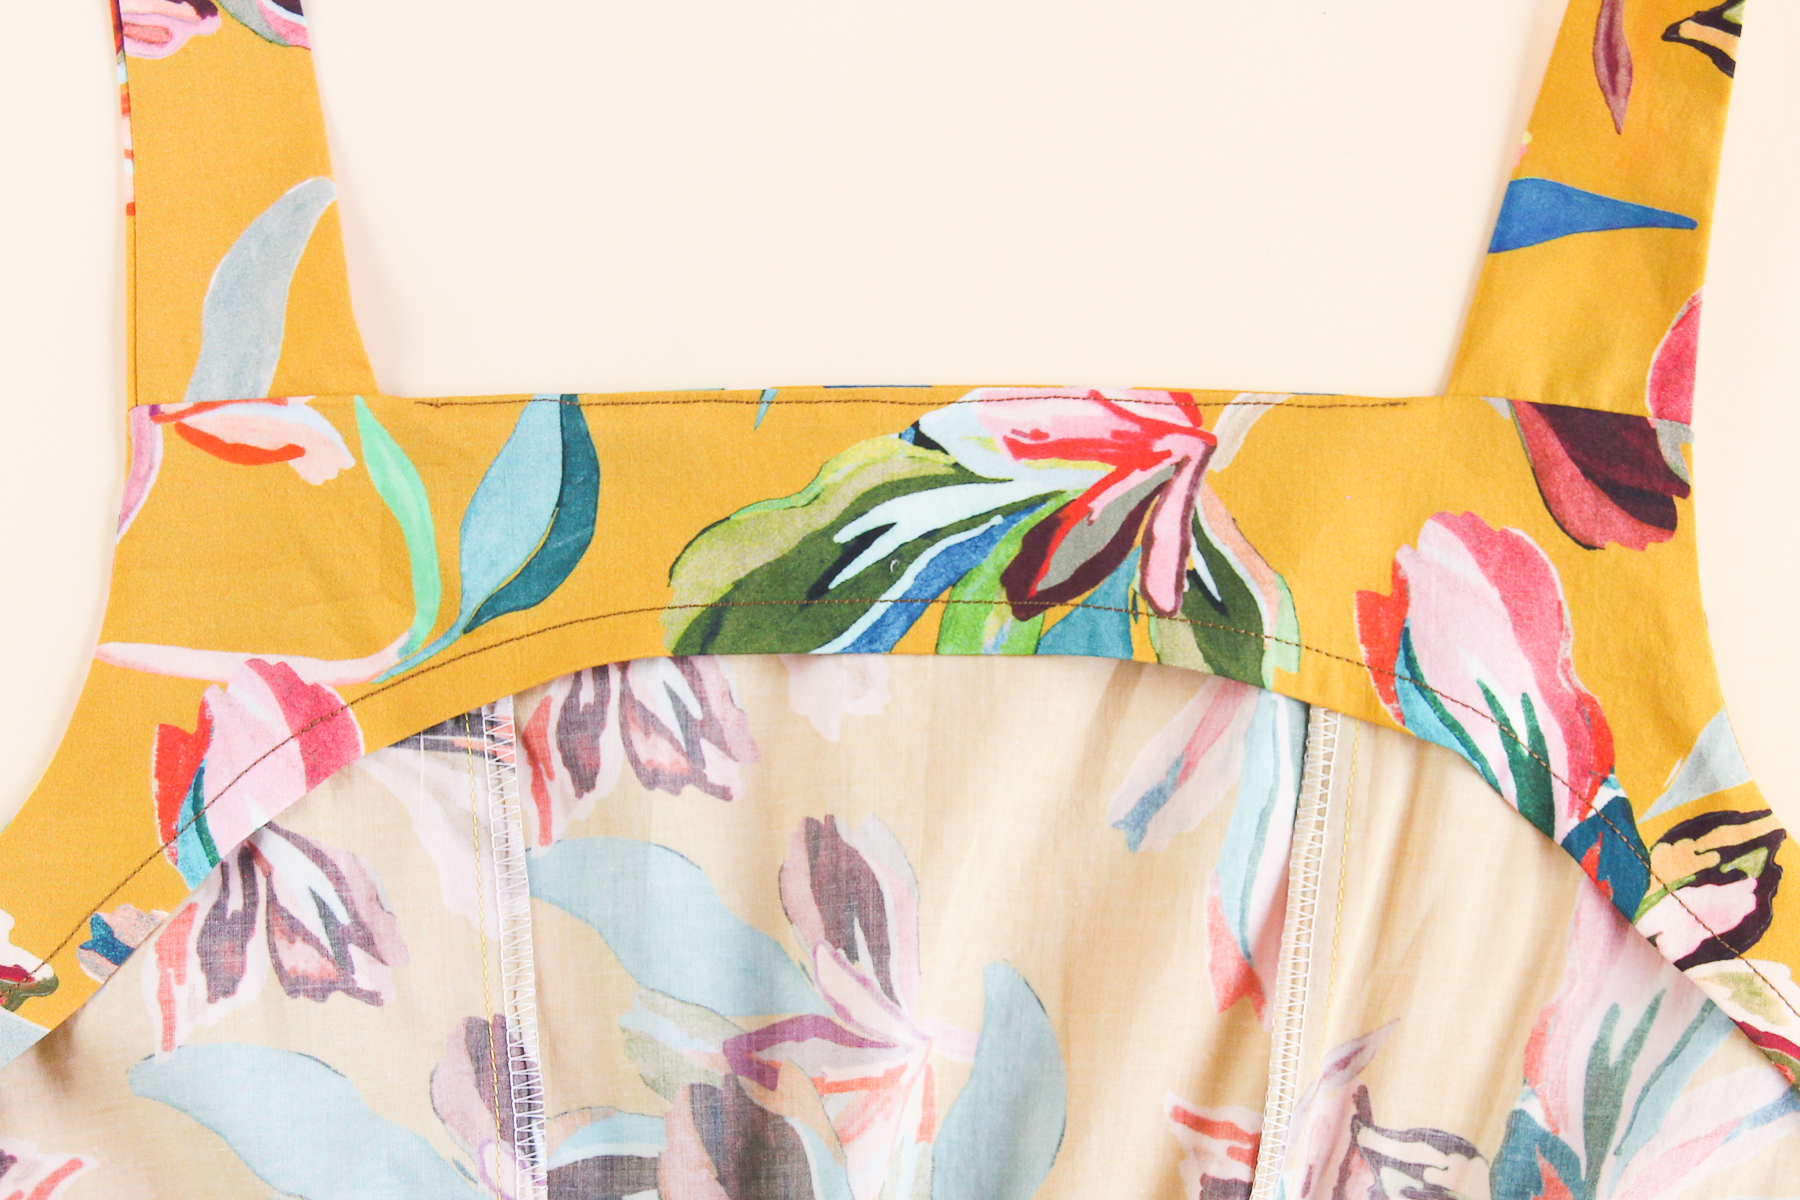
Flipping the back facing over to the wrong side, we’re going to fold the bottom seam allowance up and press. Clip into the curves to get it to lay flat.
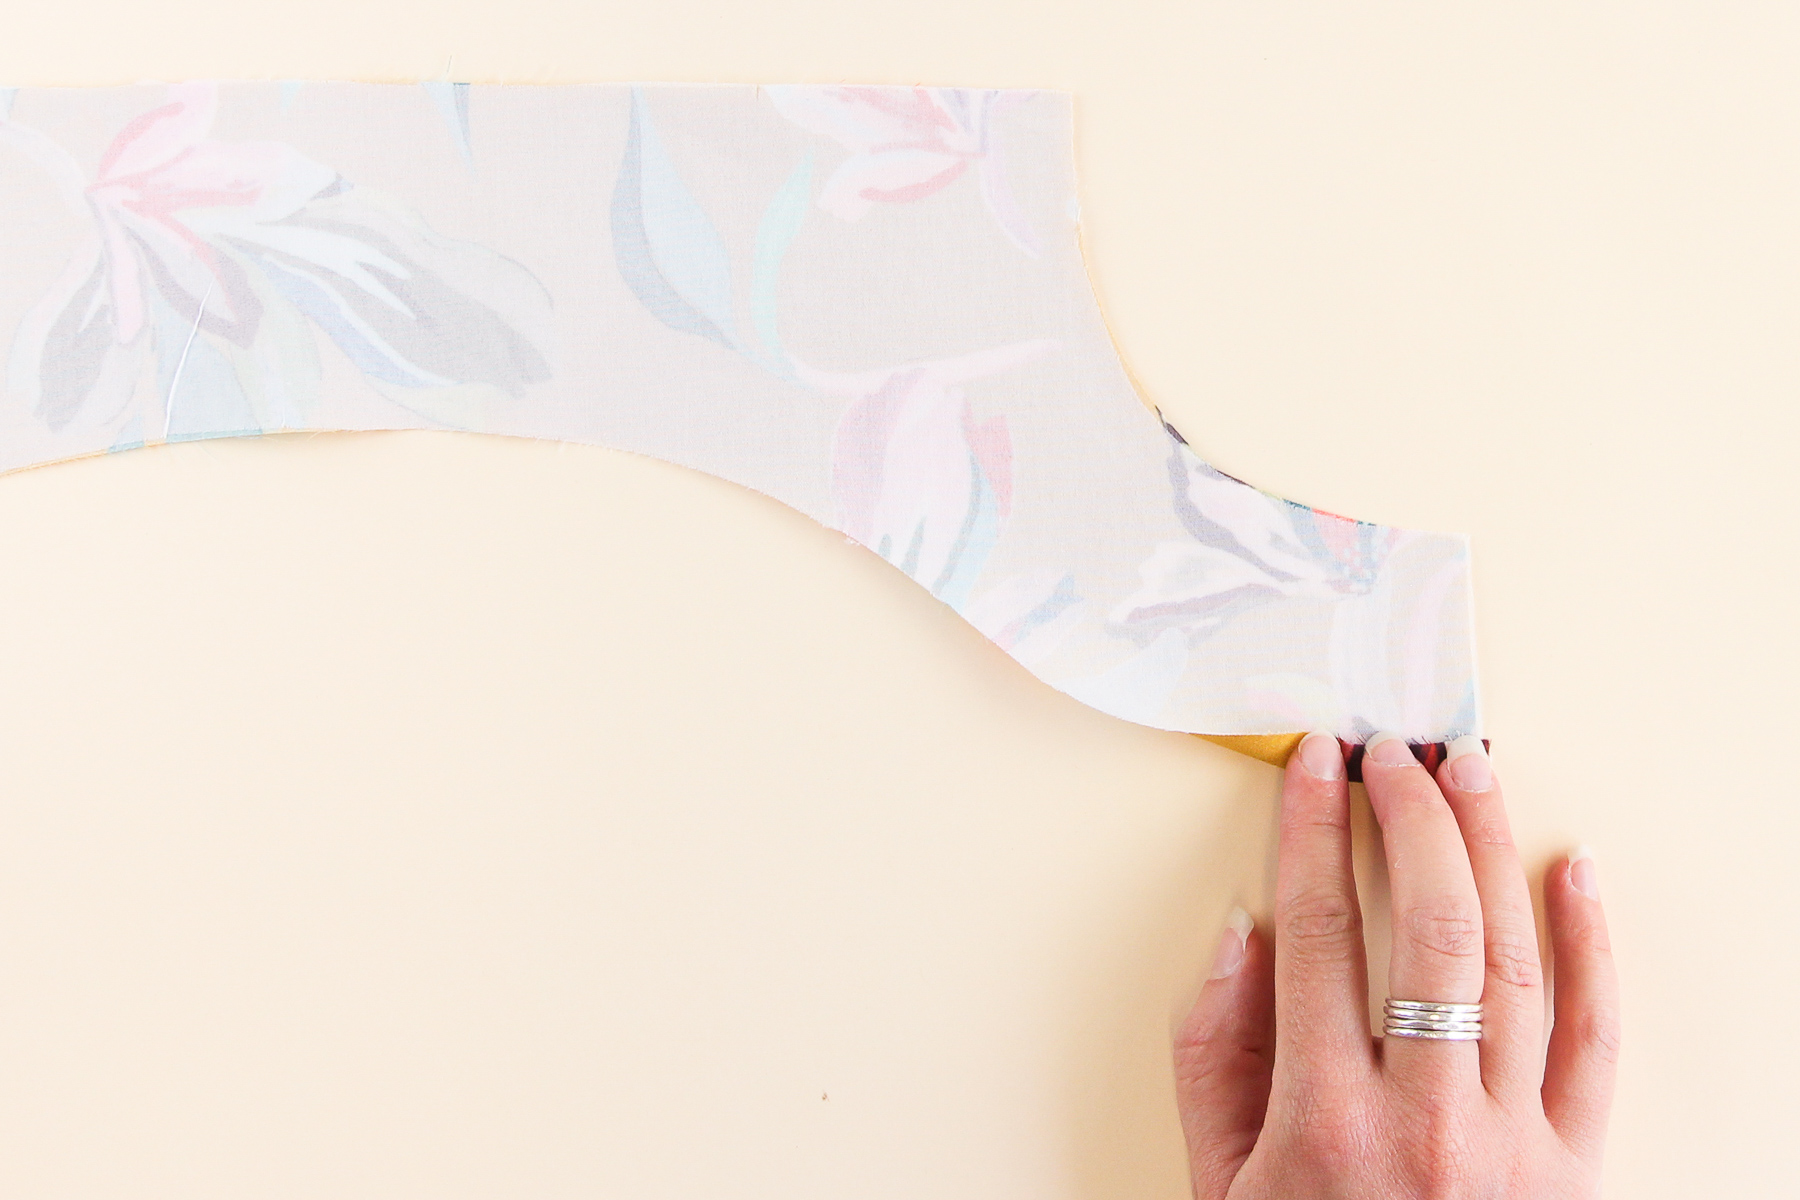
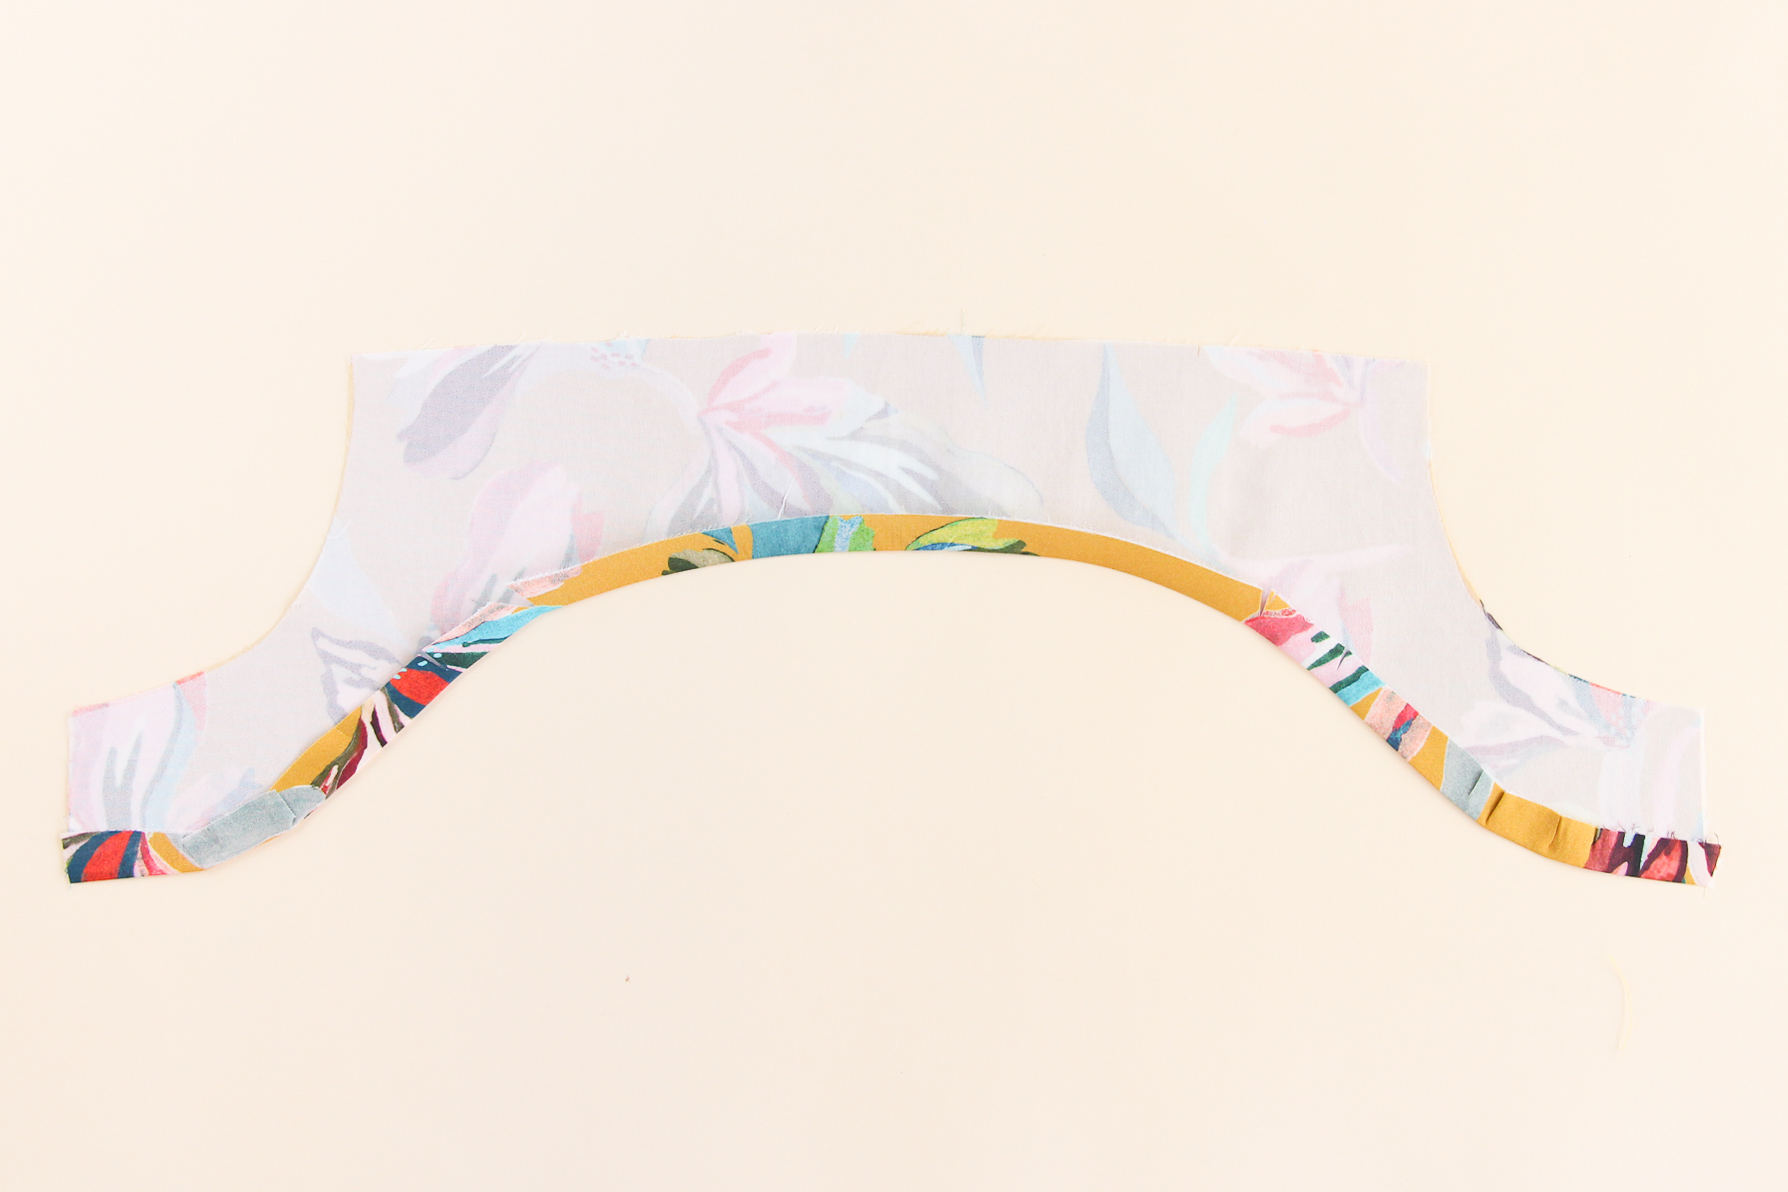
Now we’re going to topstitch that bottom seam allowance down, just like we did on the front facing. I would try to sew just inside the seam allowance (so a tad bit less than 1/2” (12mm) from the folded edge) but you could sew this down however you choose, so long as the stitches catch the seam allowance at the back.
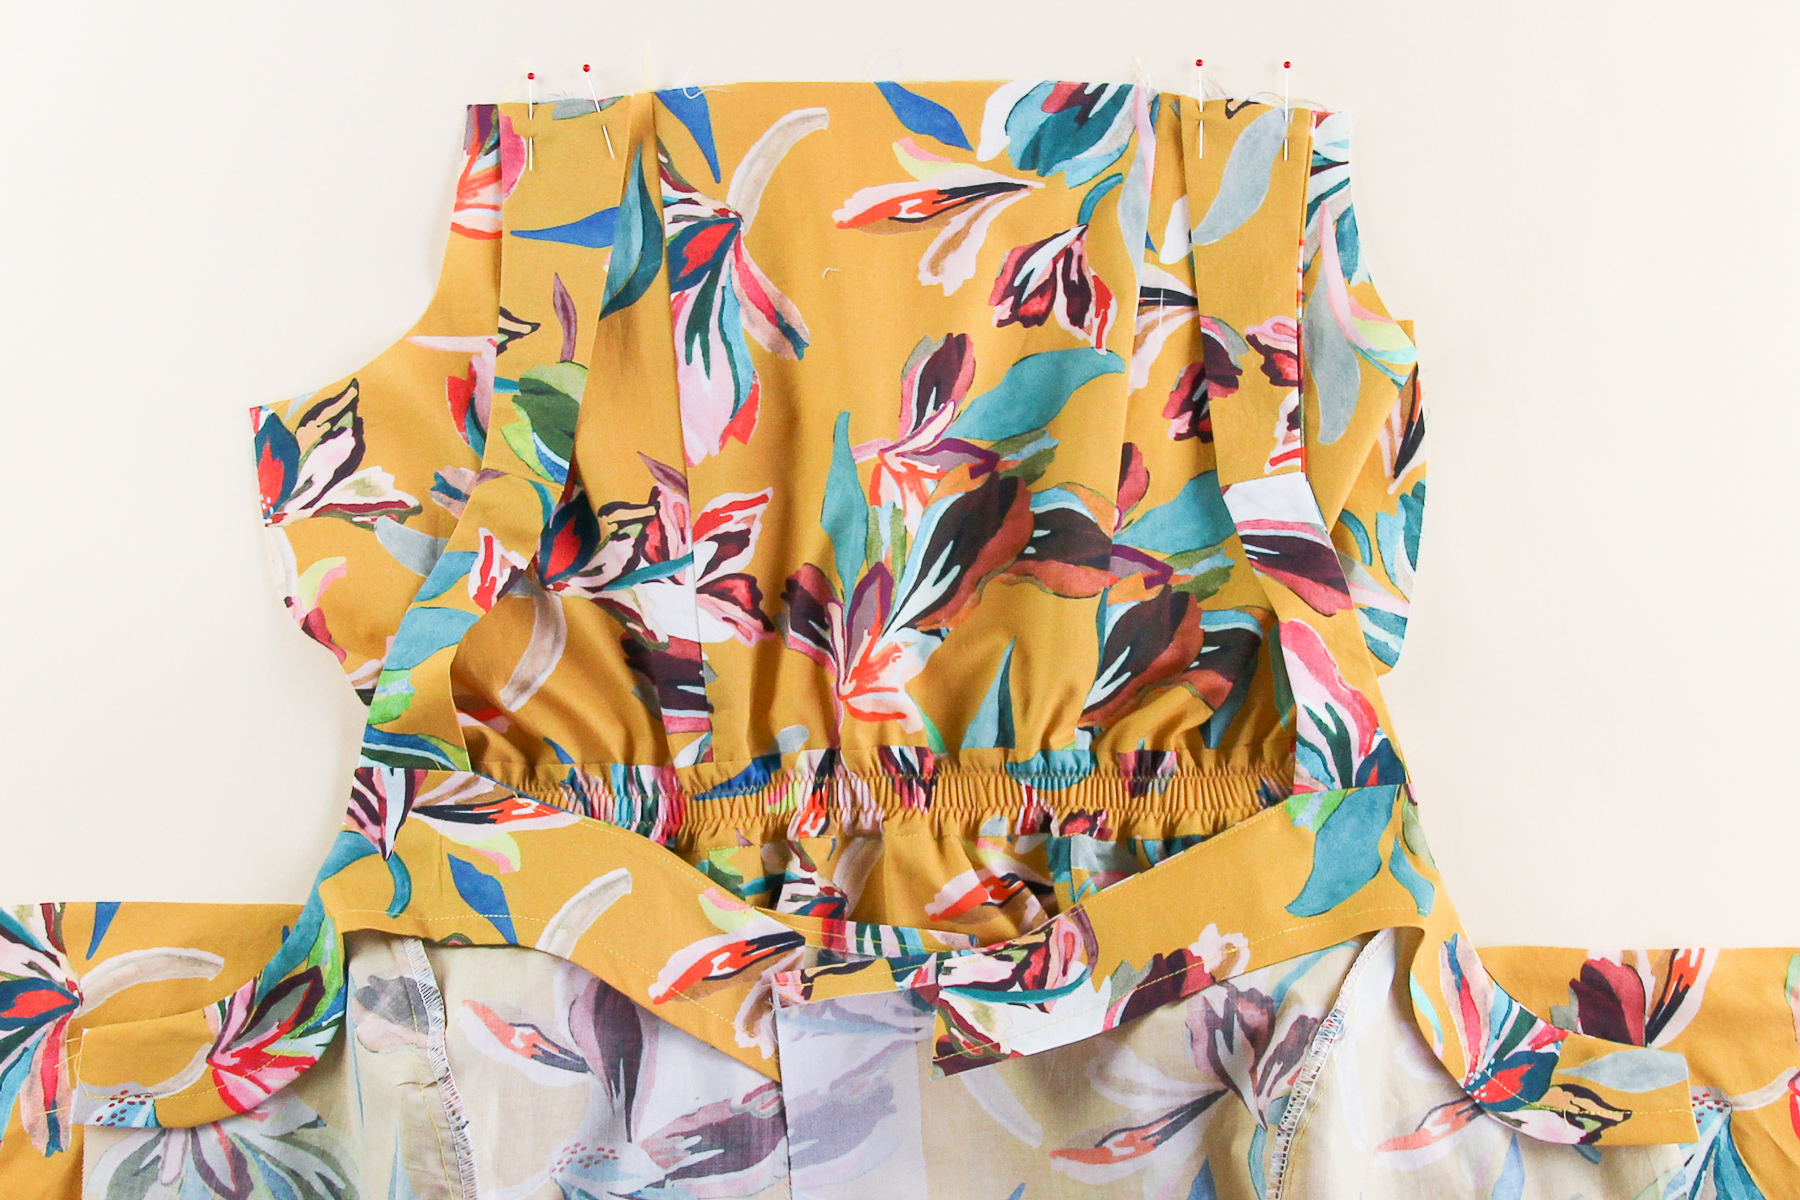
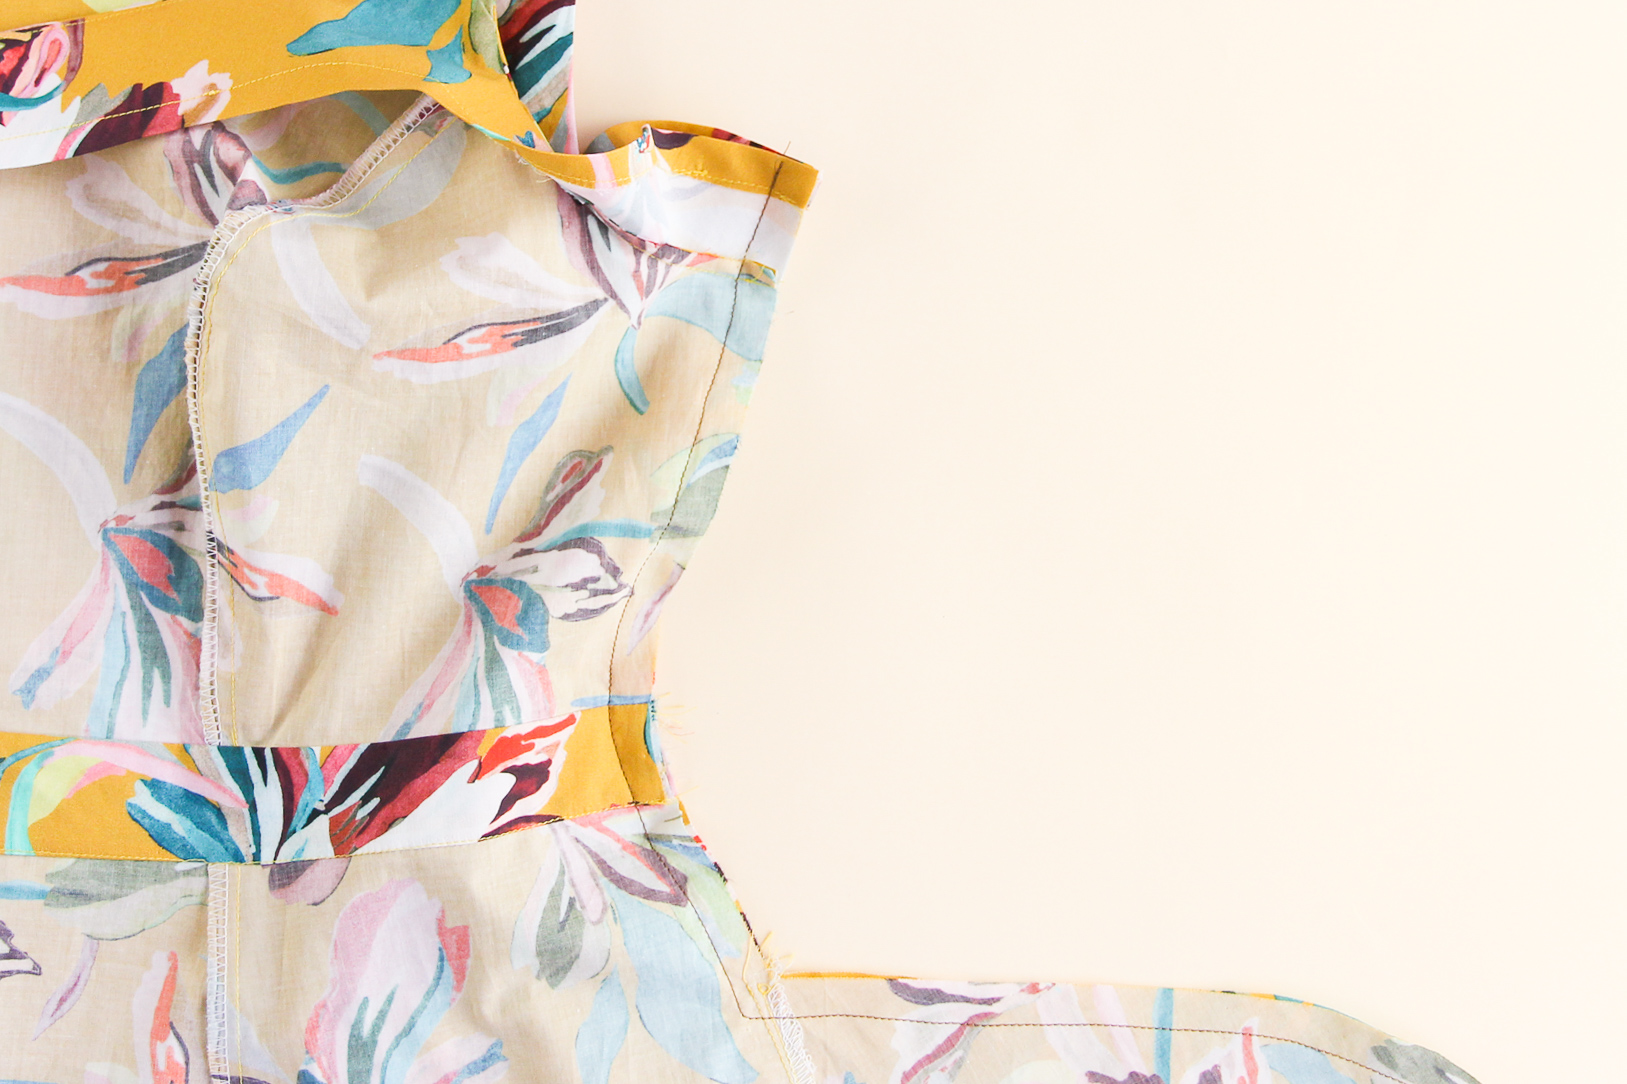
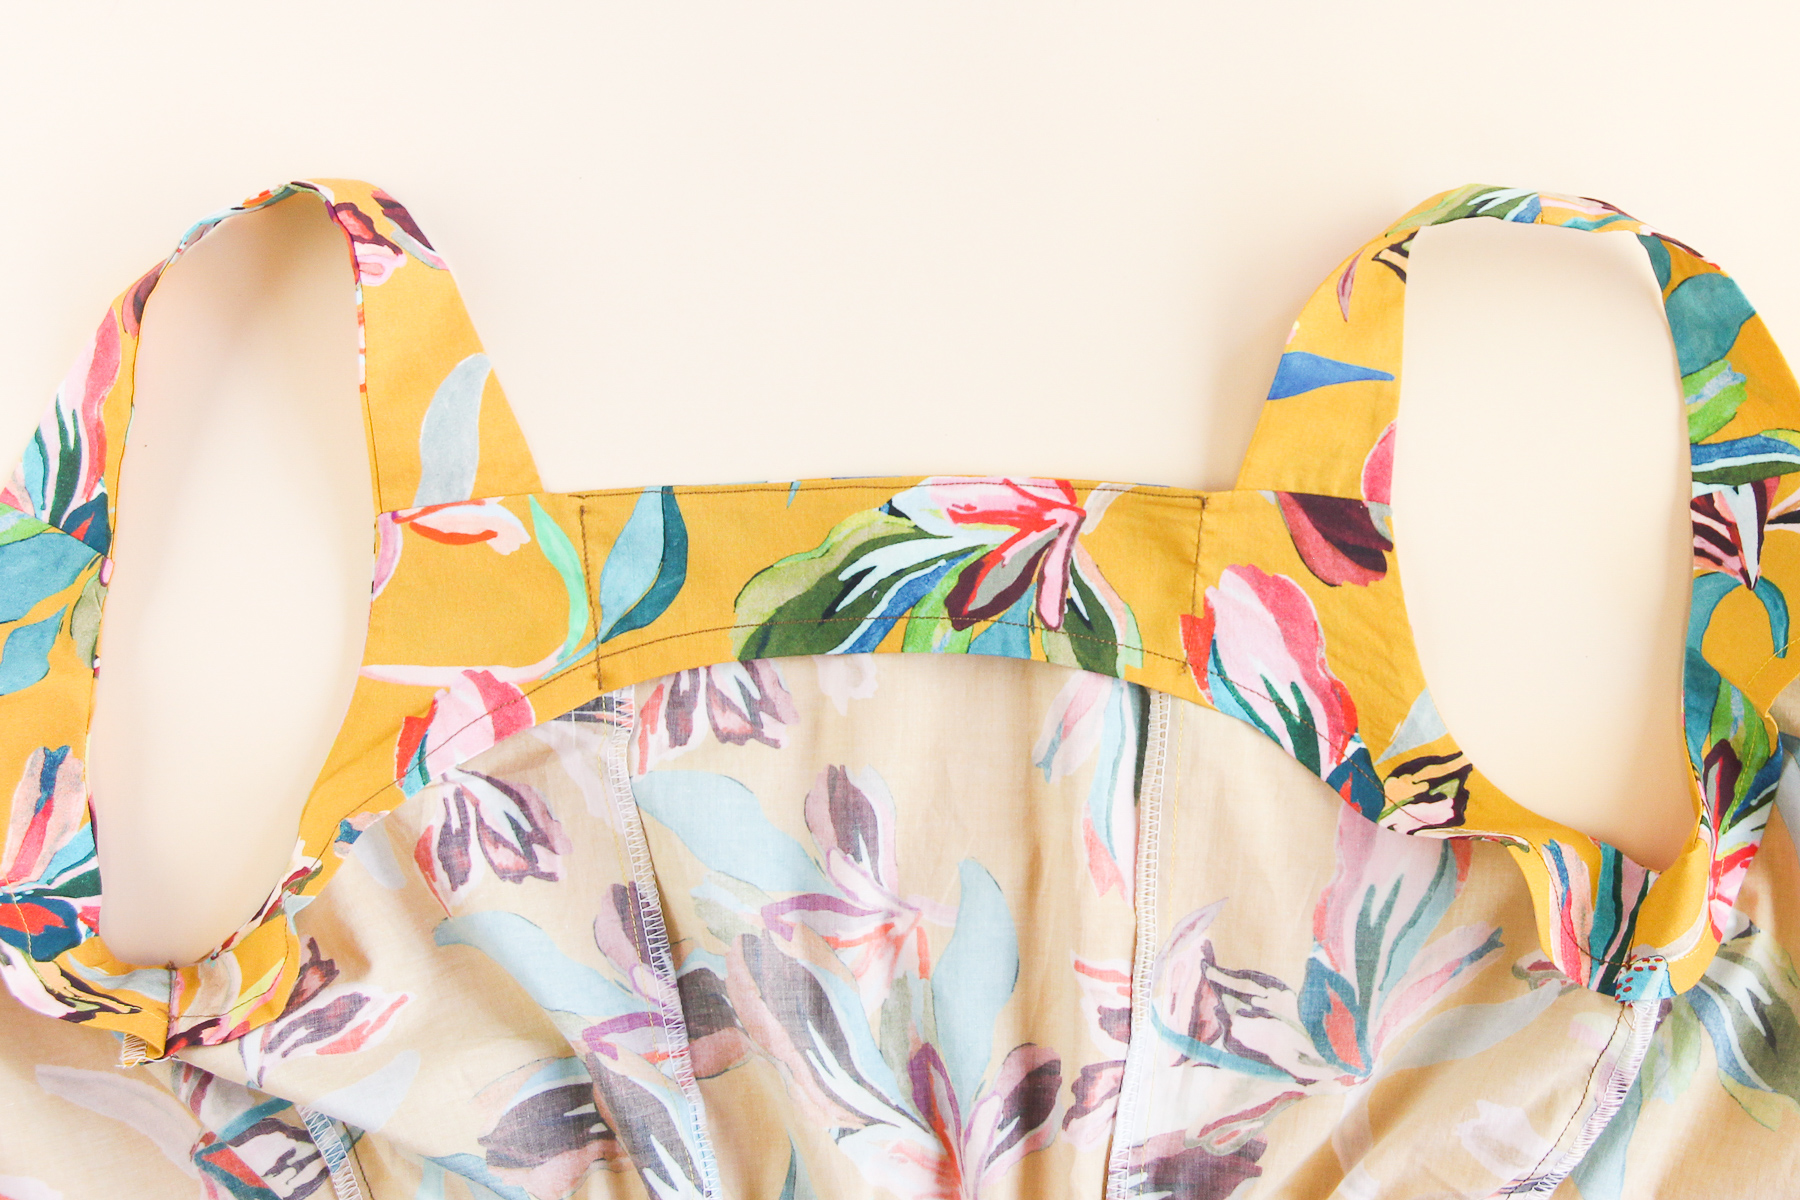
Now let’s grab our dress again. We’re going to pin this back facing to to the upper edge of the back of the dress, right sides together. The straps get sandwiched in between.
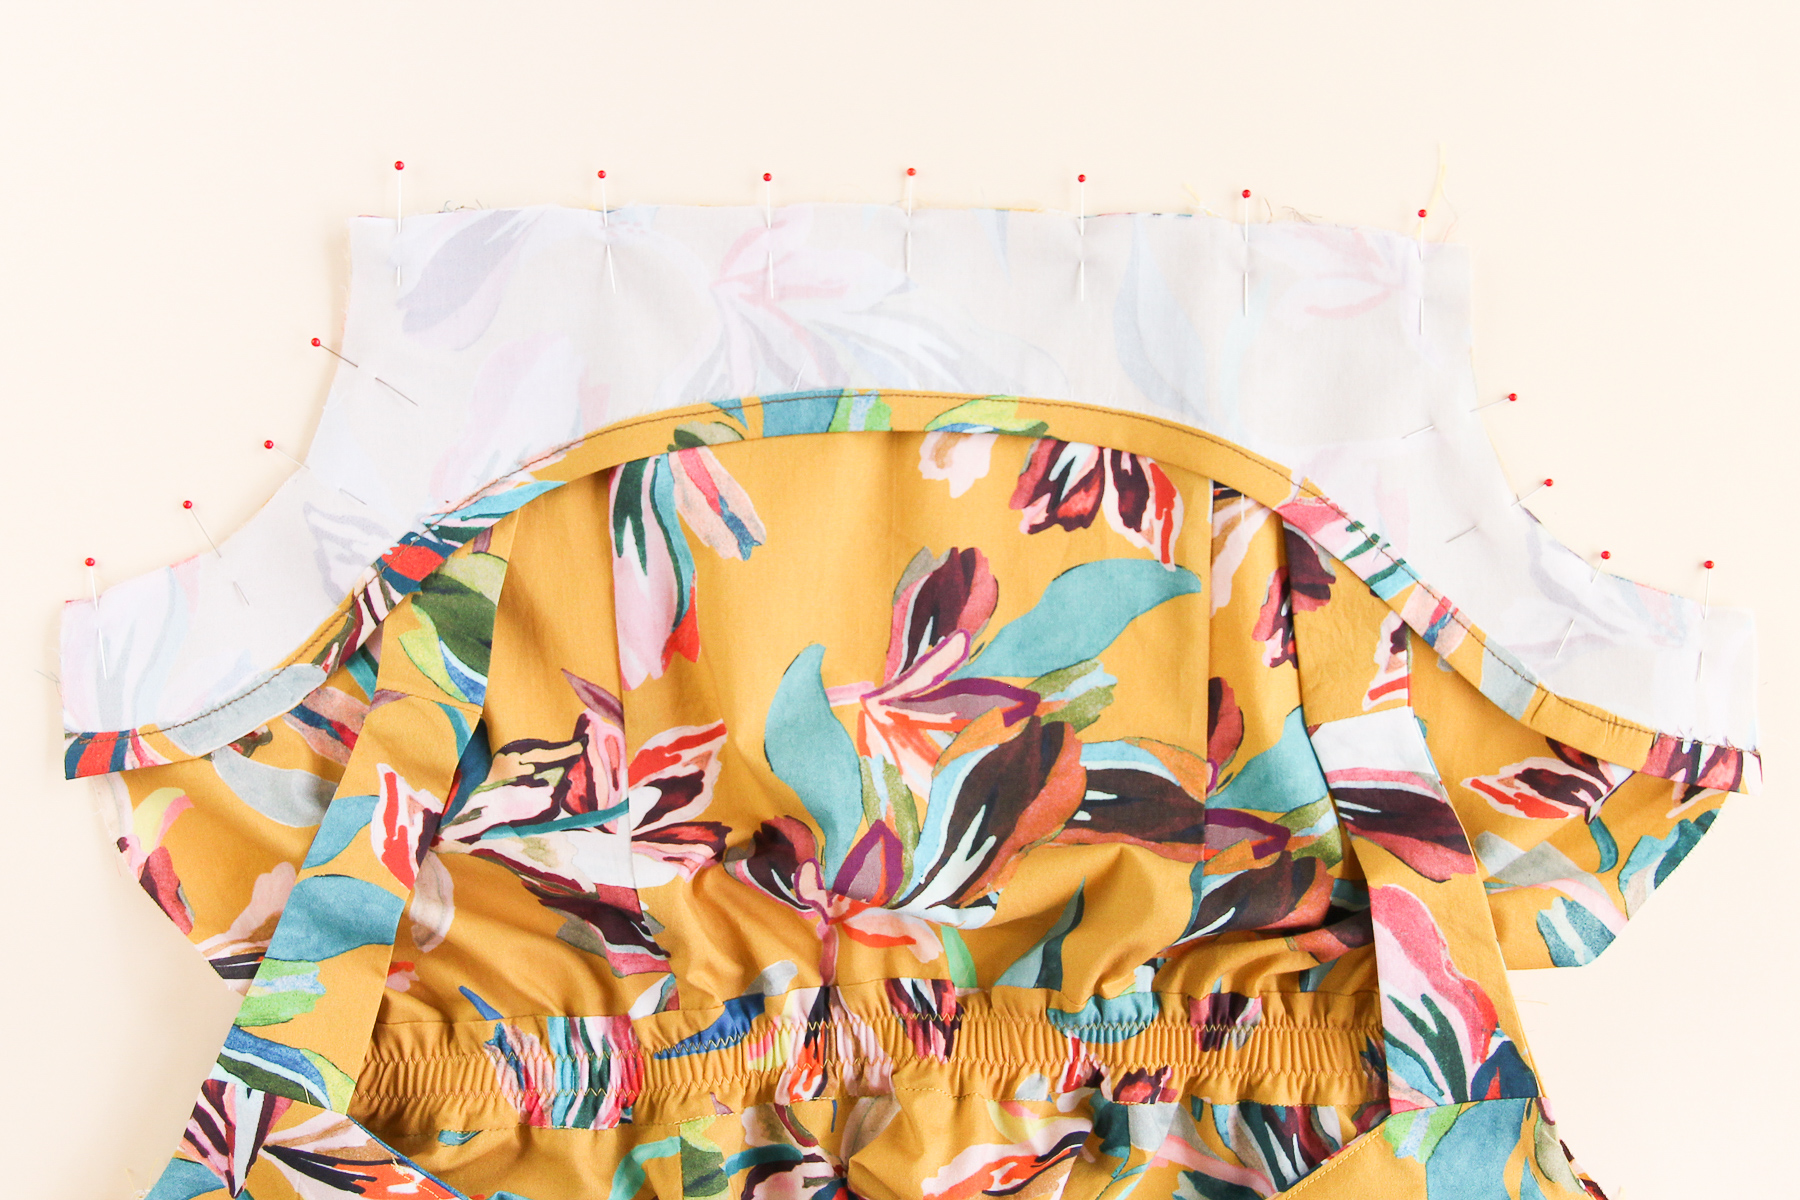
Let’s sew that seam at 1/2” (12 mm) seam allowance. Make sure the straps don’t get caught in the seam as you’re sewing along the armscye!
If you’re using a heavier fabric, you’ll want to trim this seam allowance and clip the corners before flipping it over.
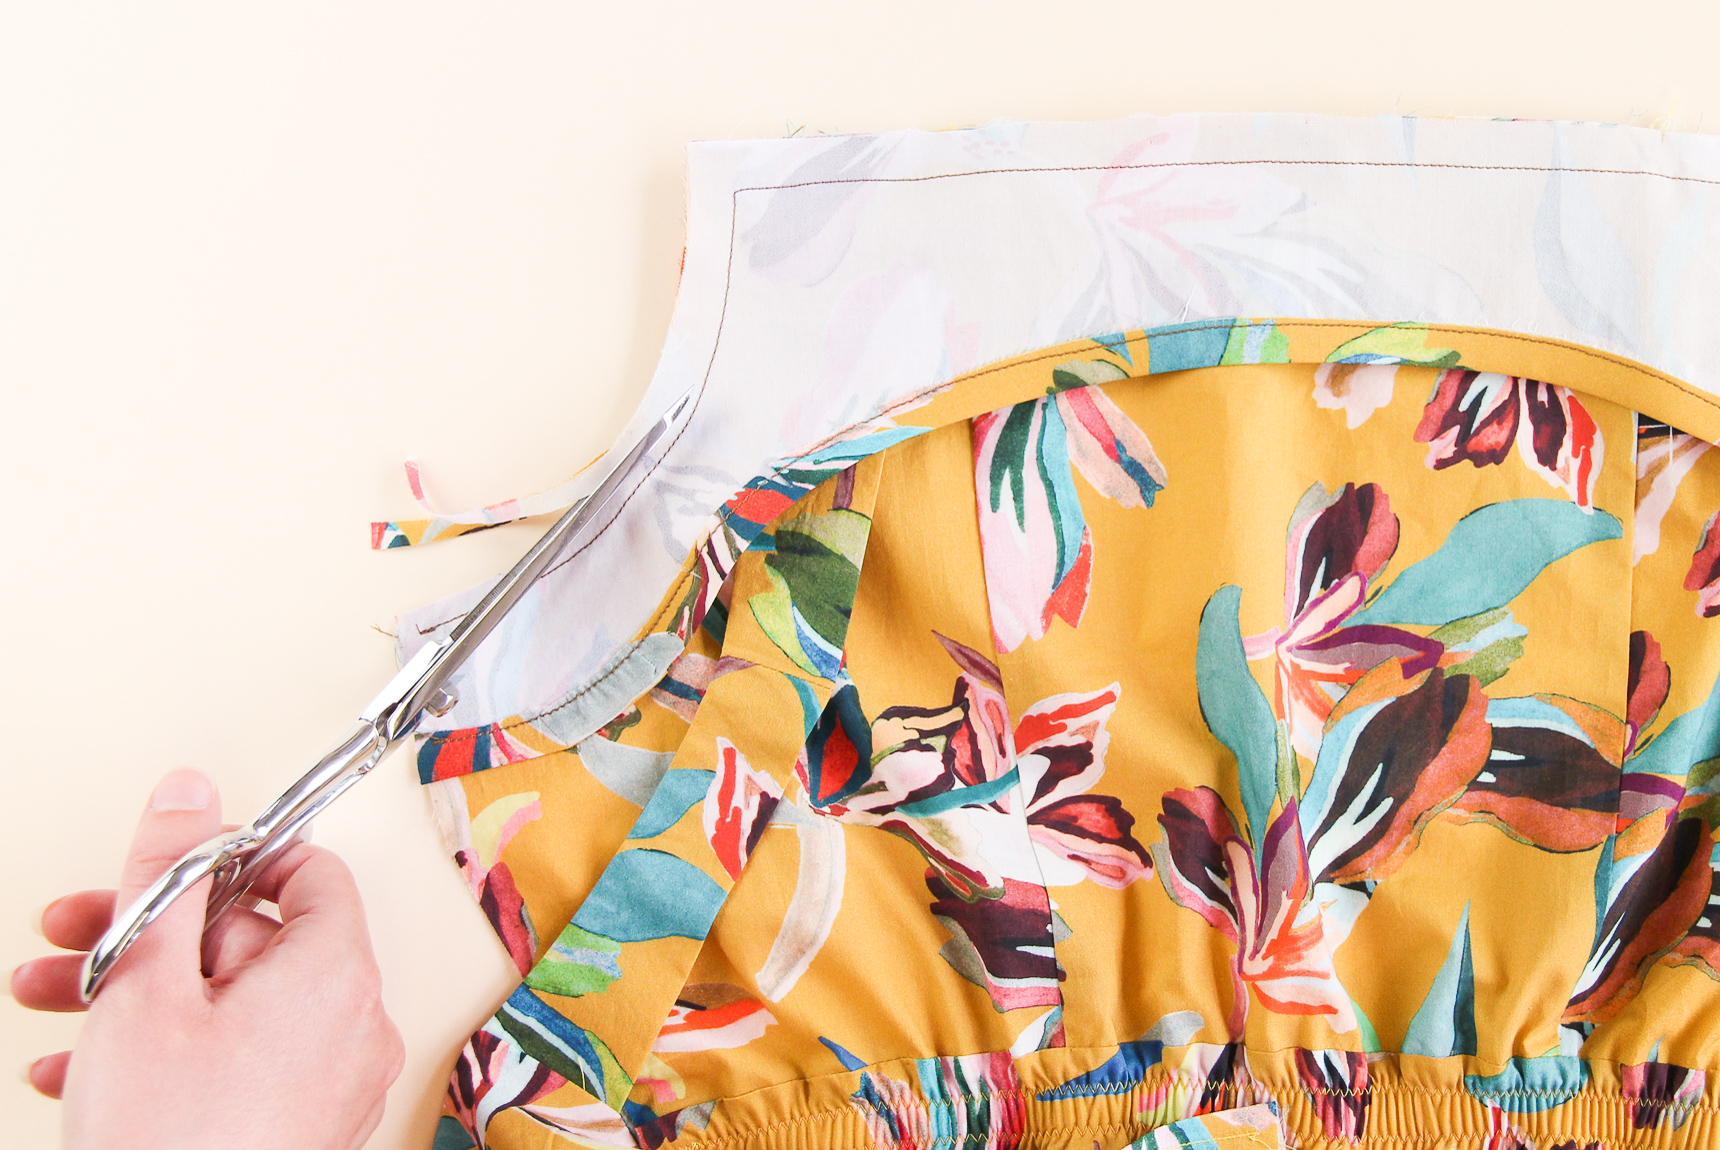
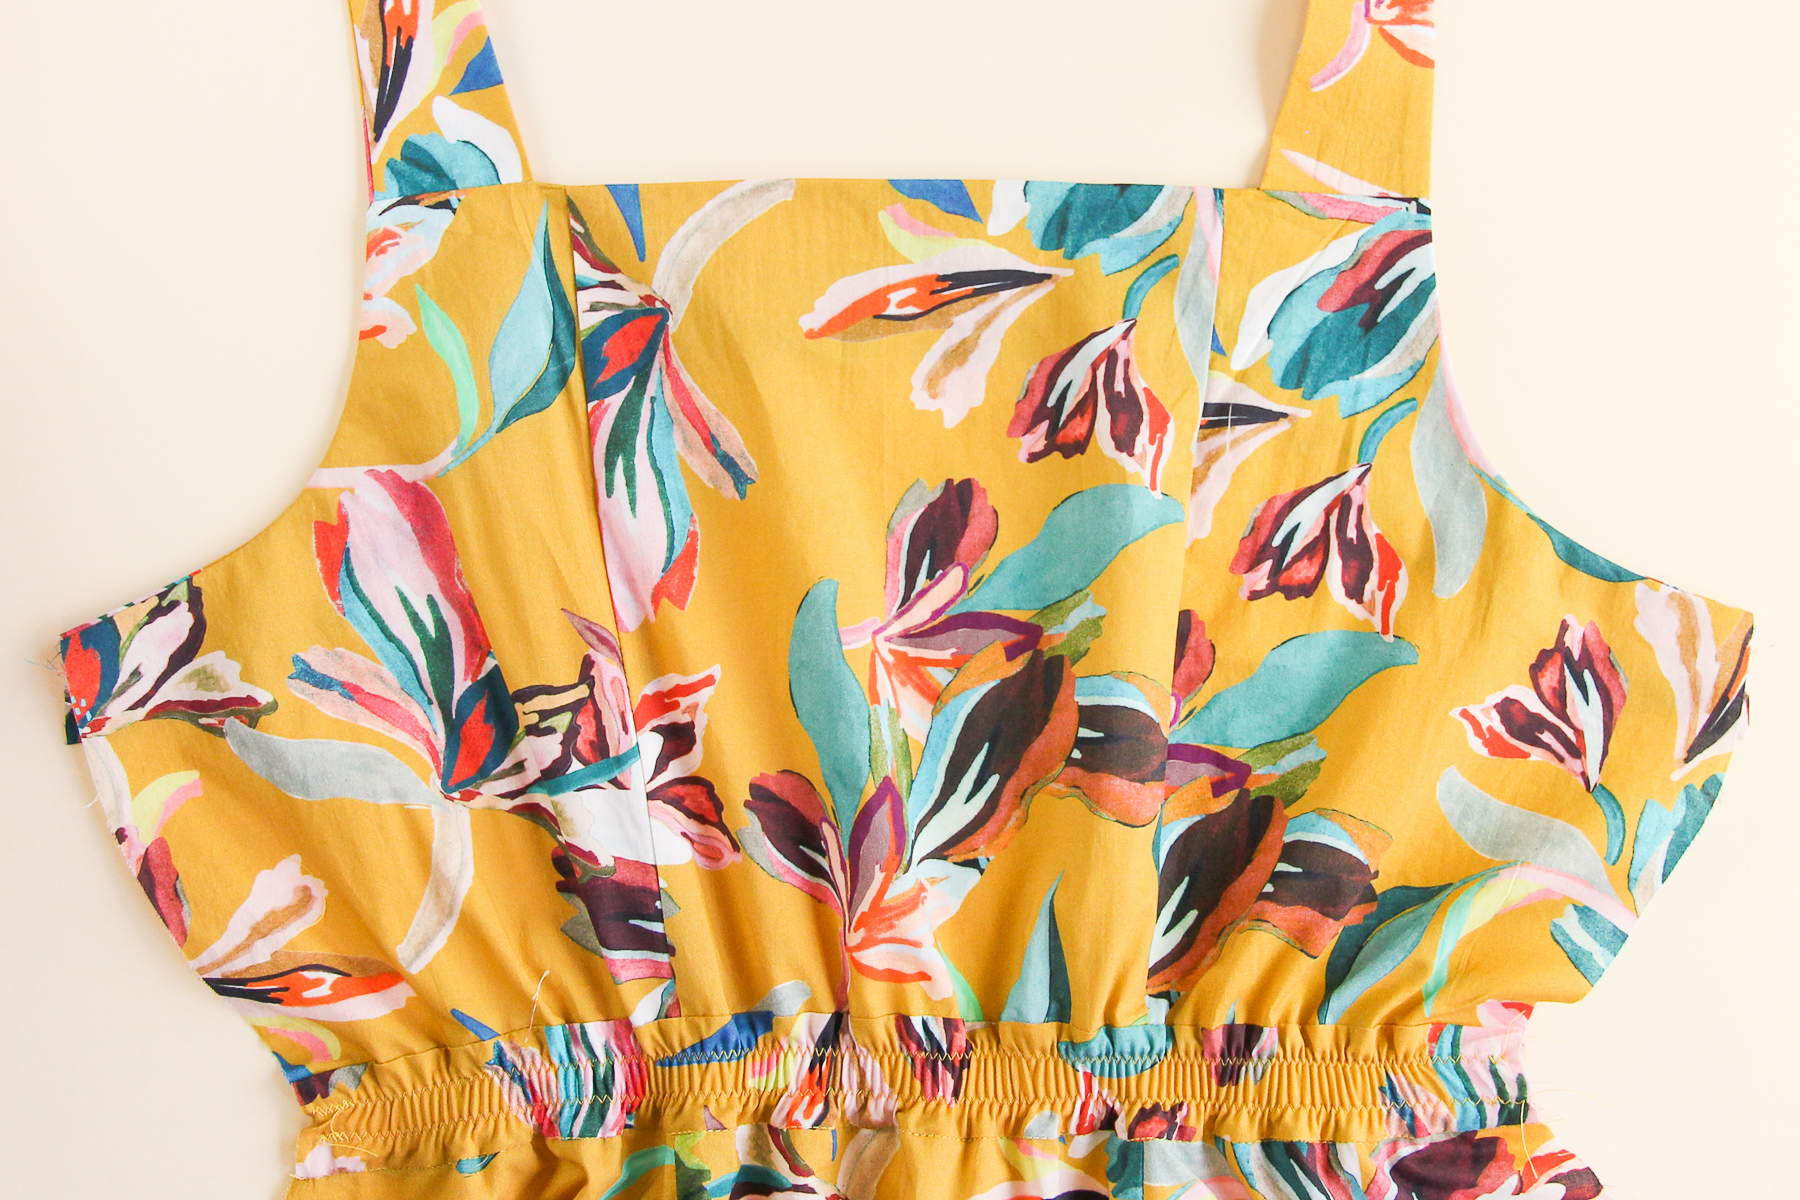
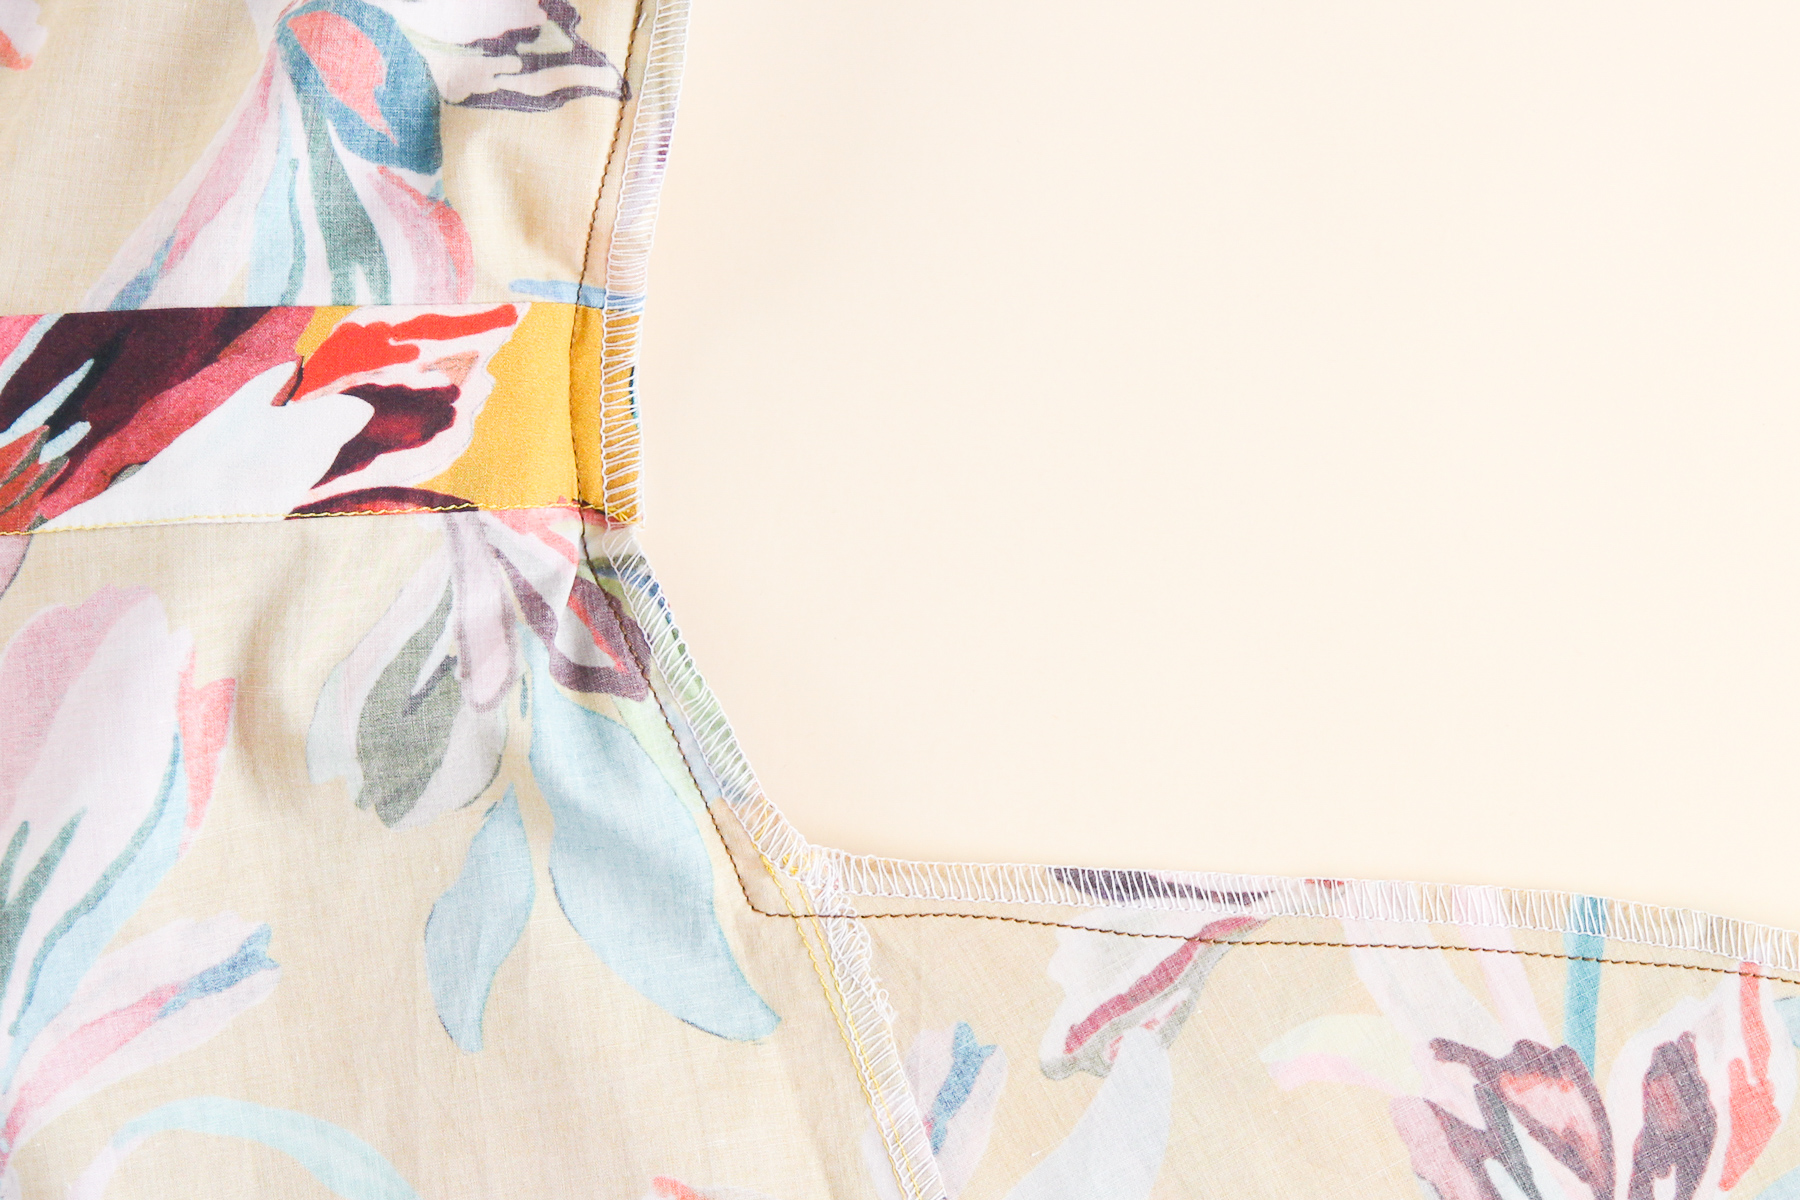
Now we’re going to flip the back facing over to the inside of the dress and press down.
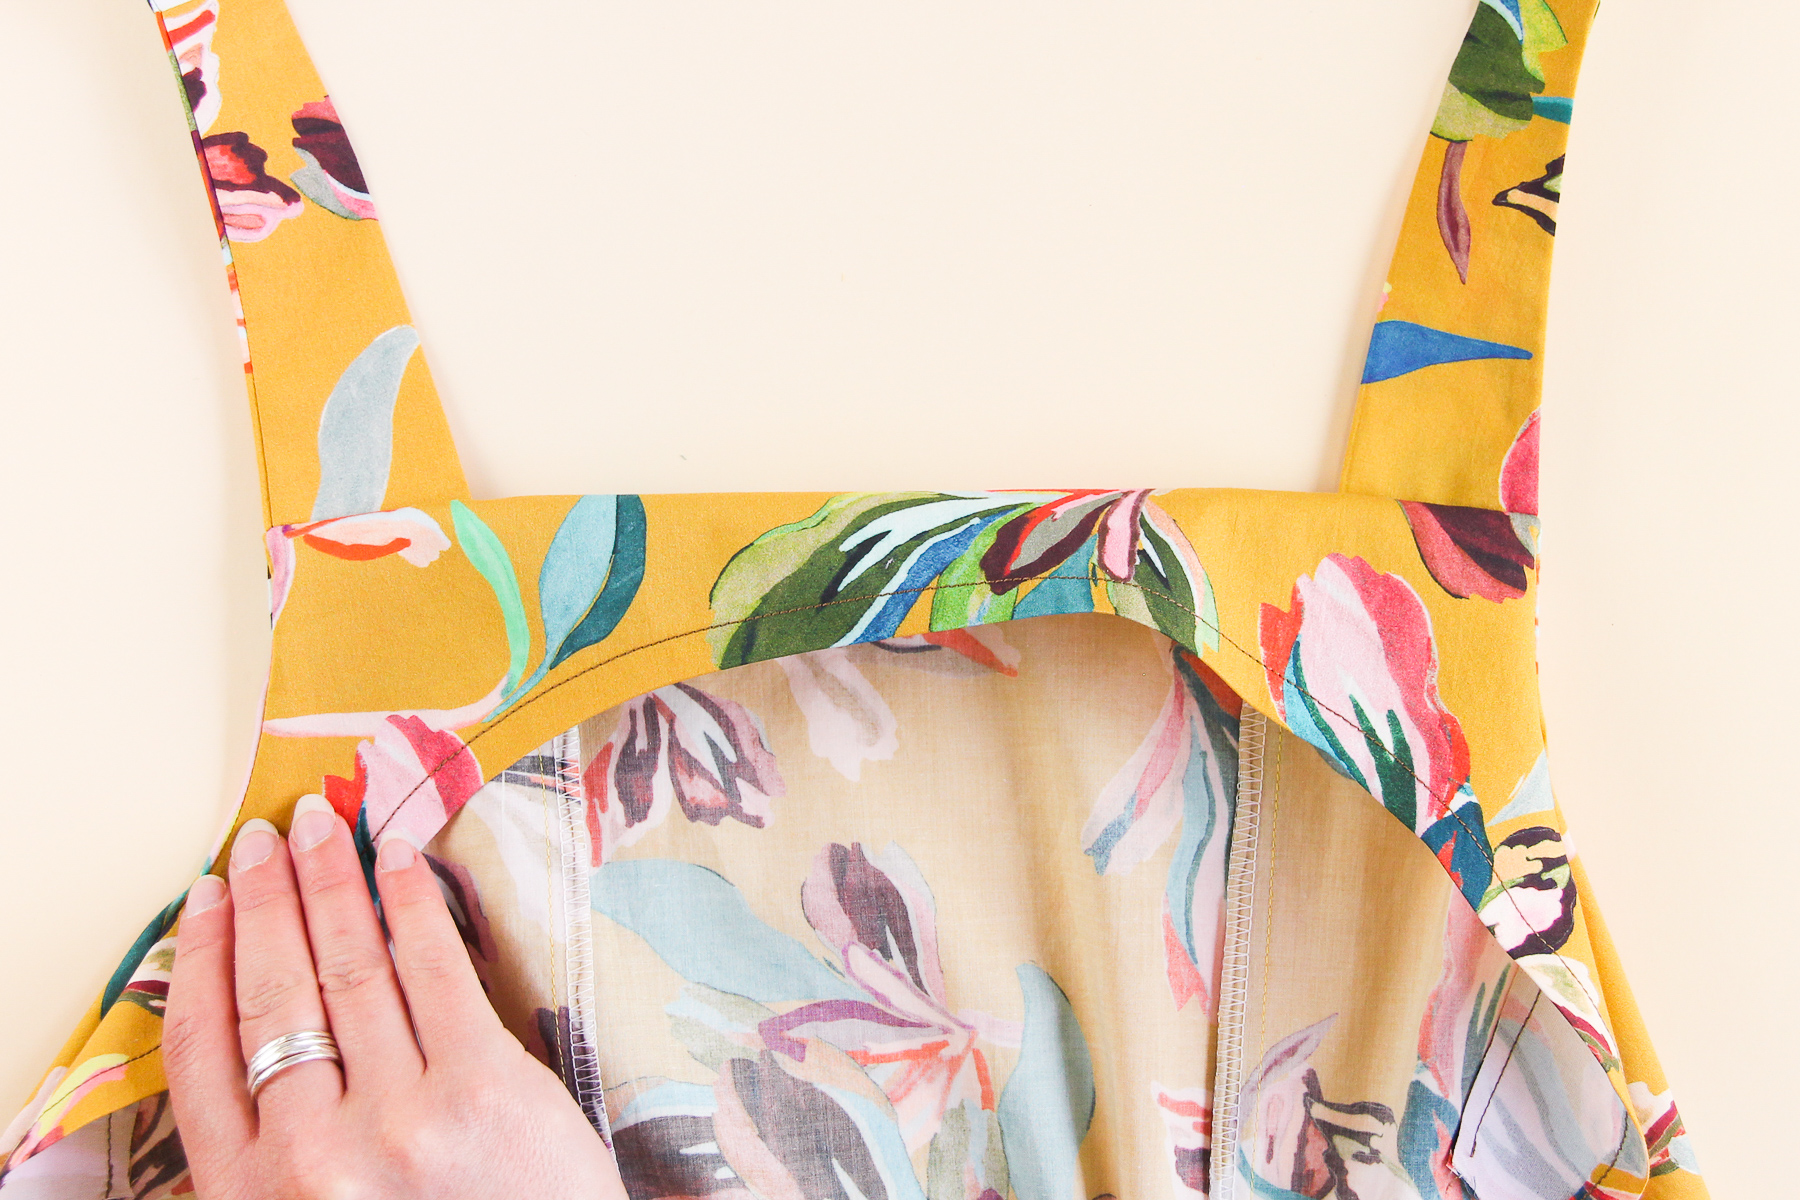
As a final step, we can understitch the seam allowance to the facing at the center back, trying to get as close to the straps as possible. (This helps the back facing from rolling over to the outside of the dress and peeking out!)
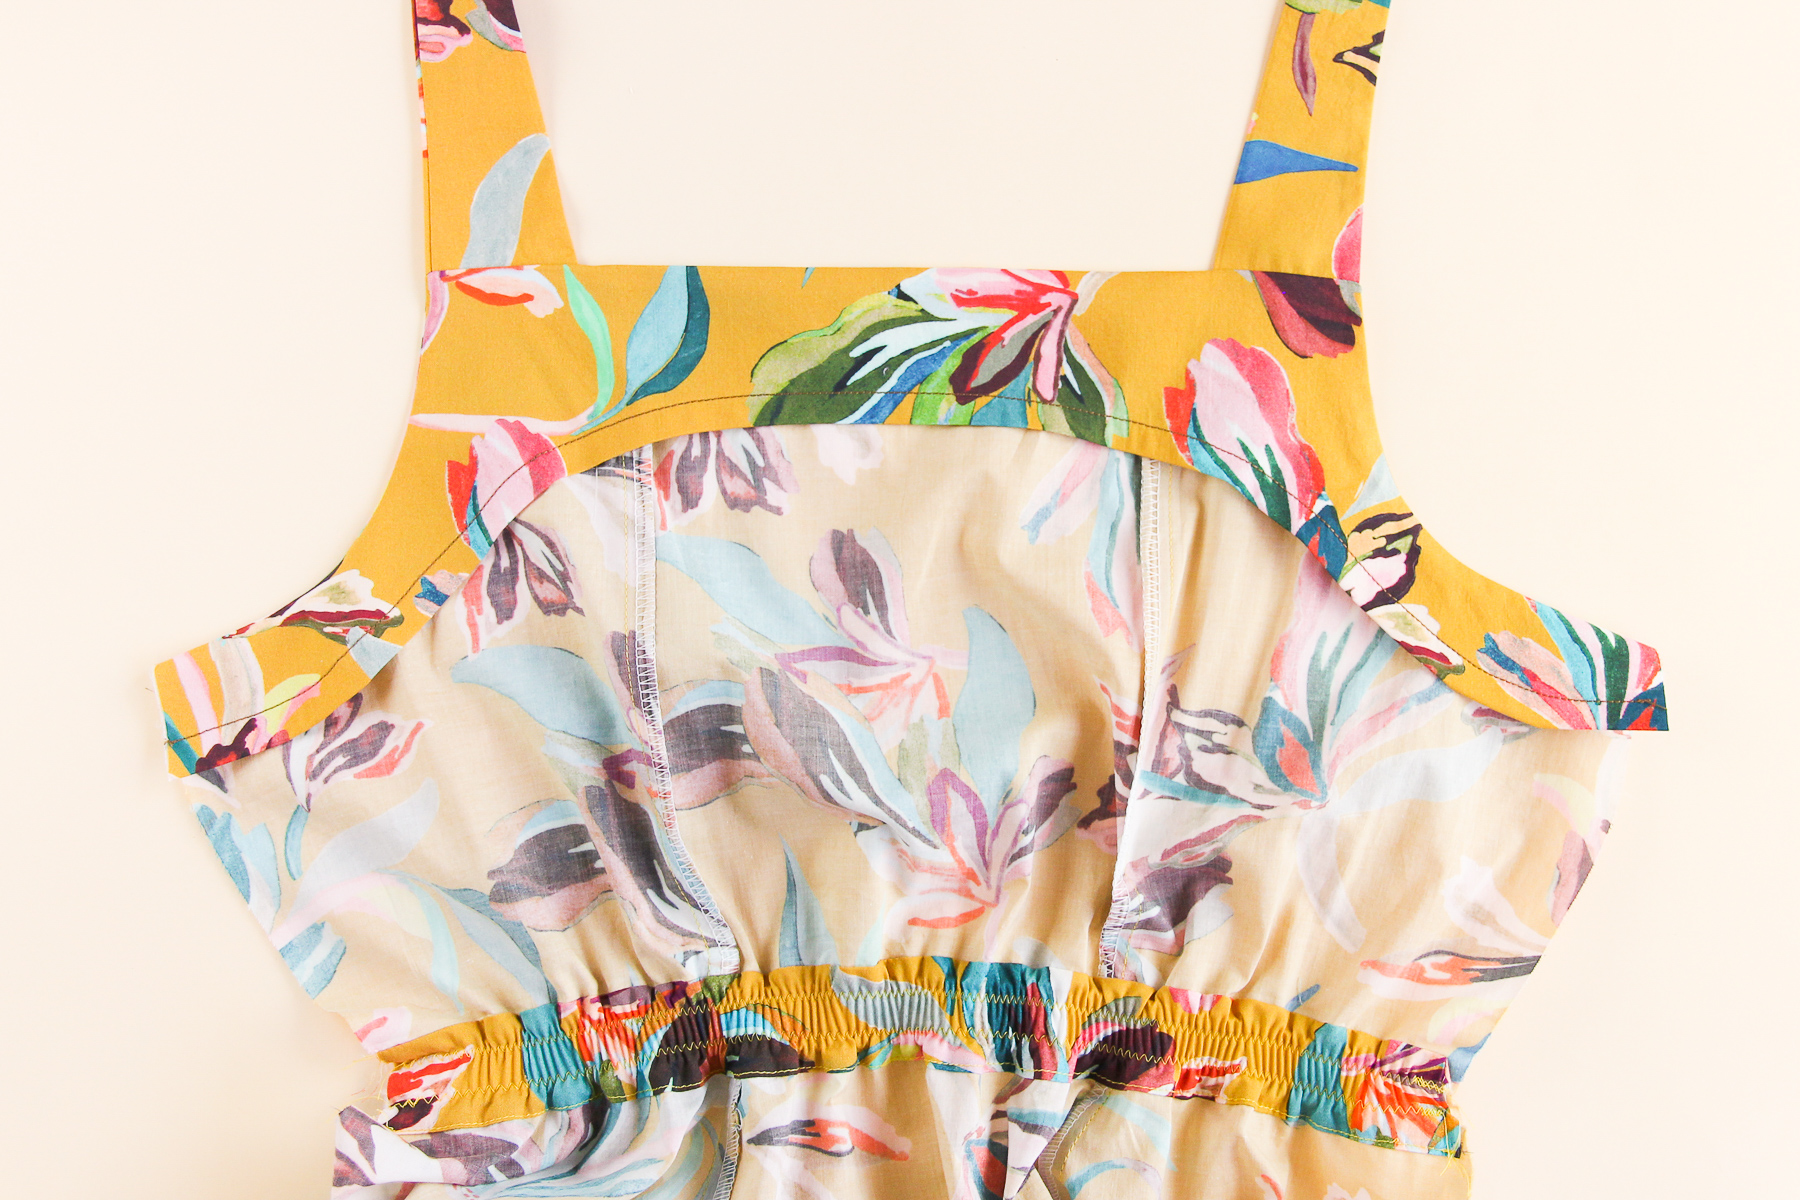
We’re done attaching the back facing!
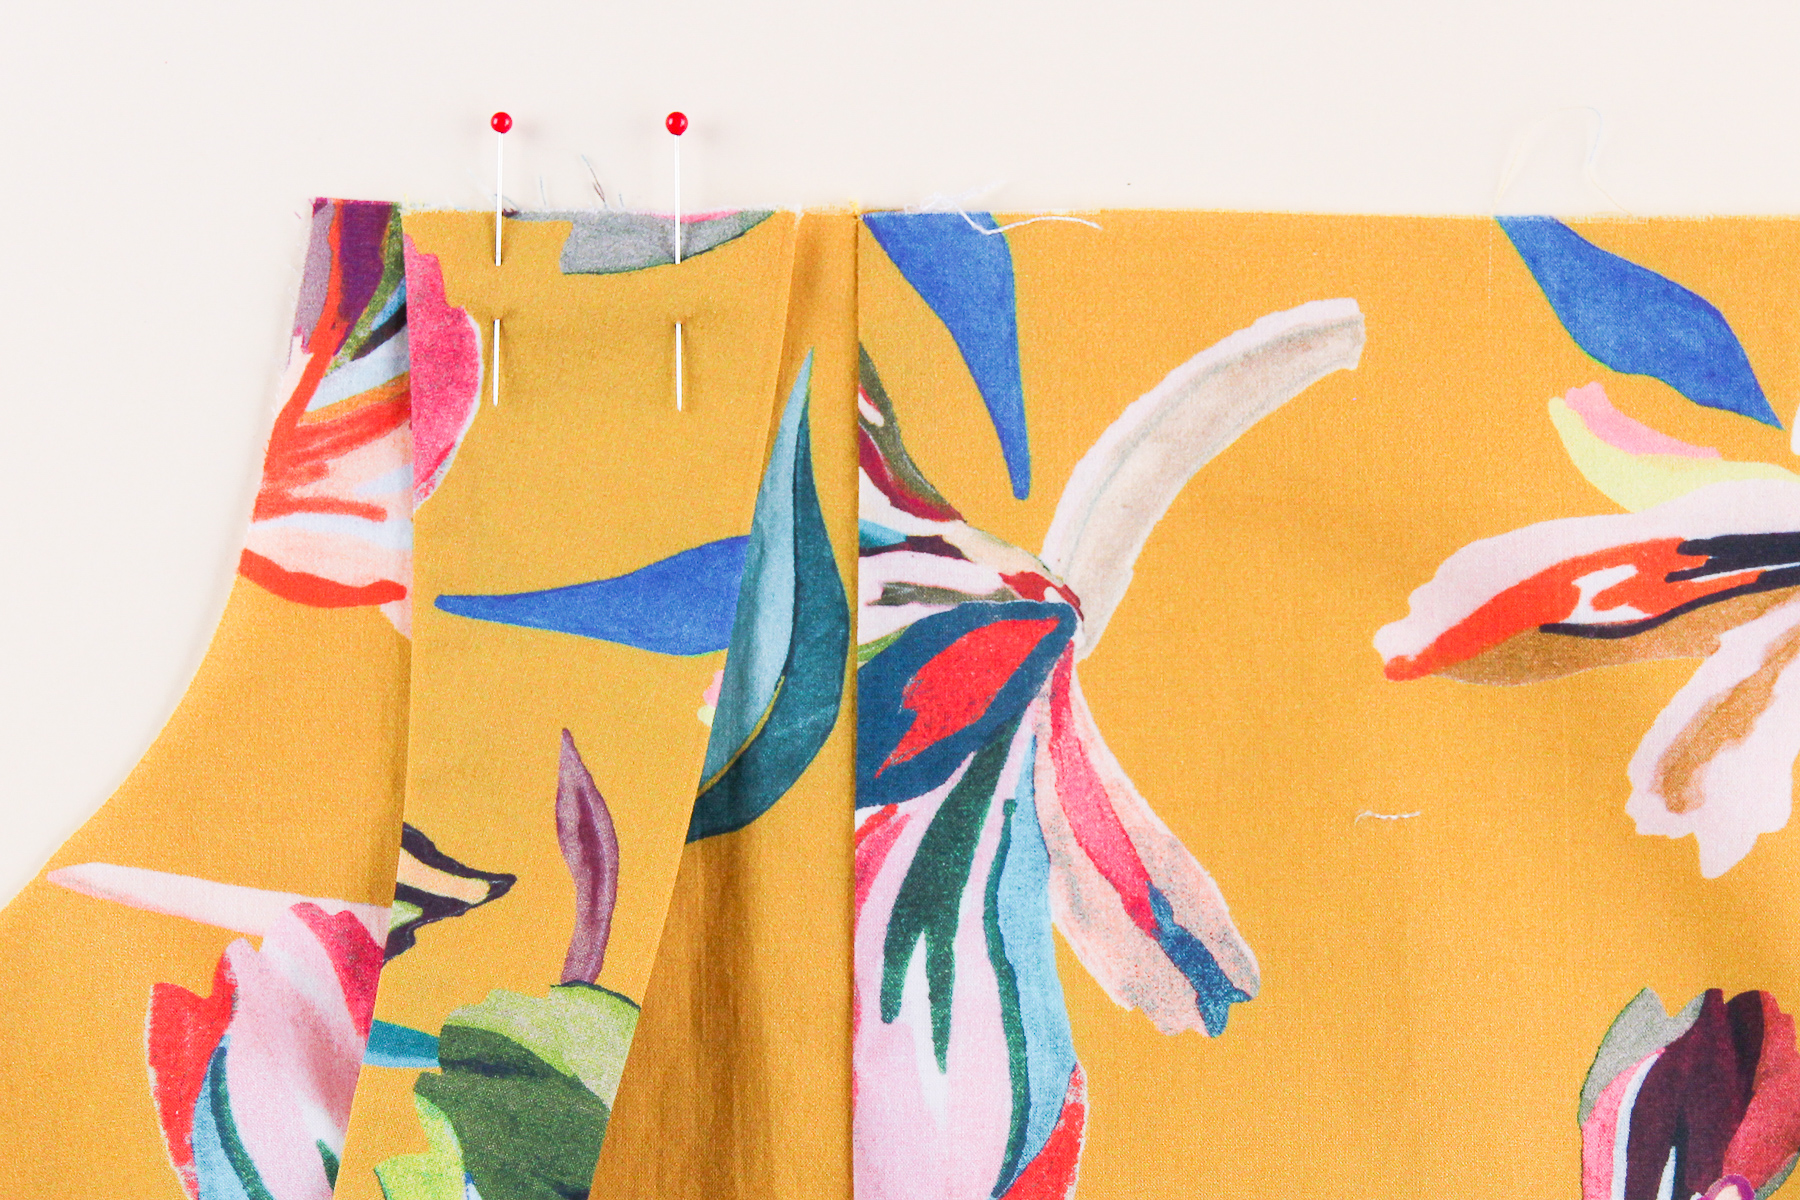
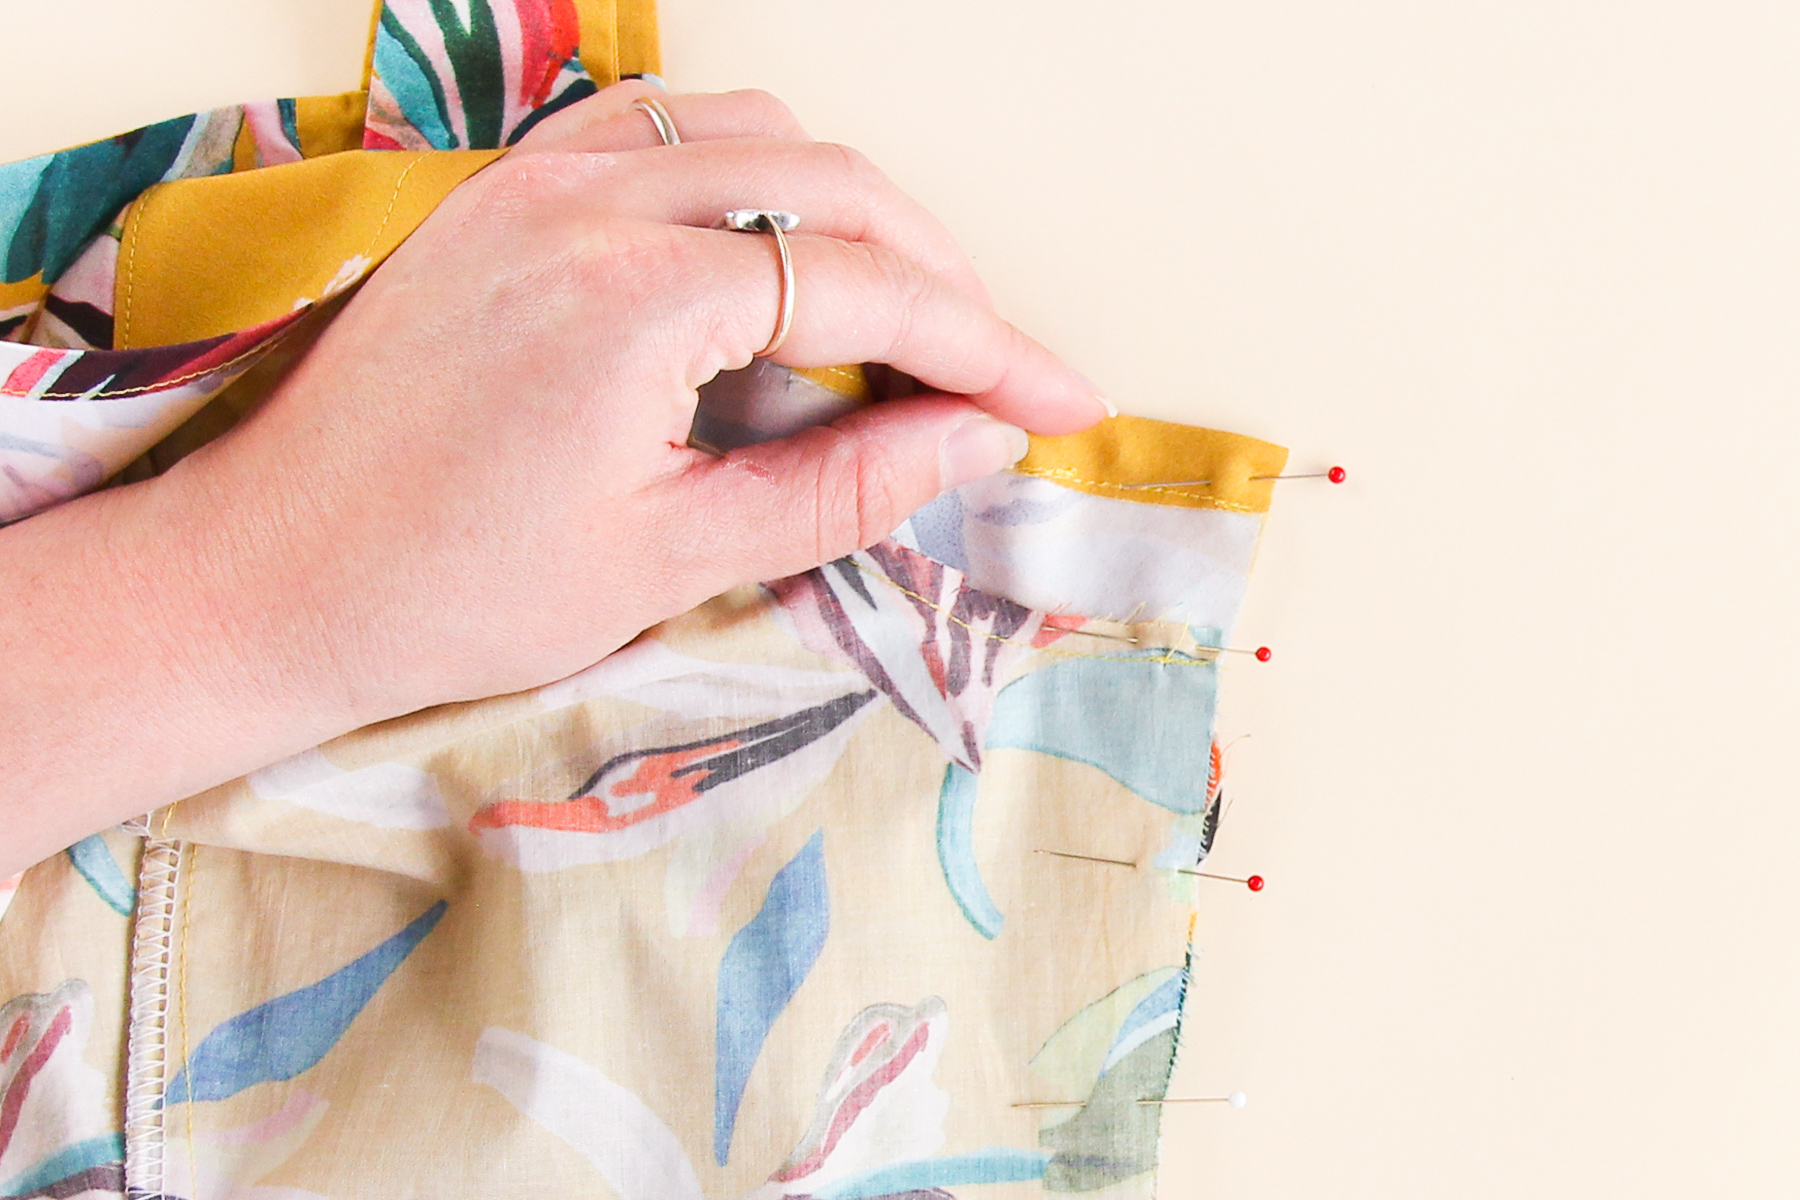
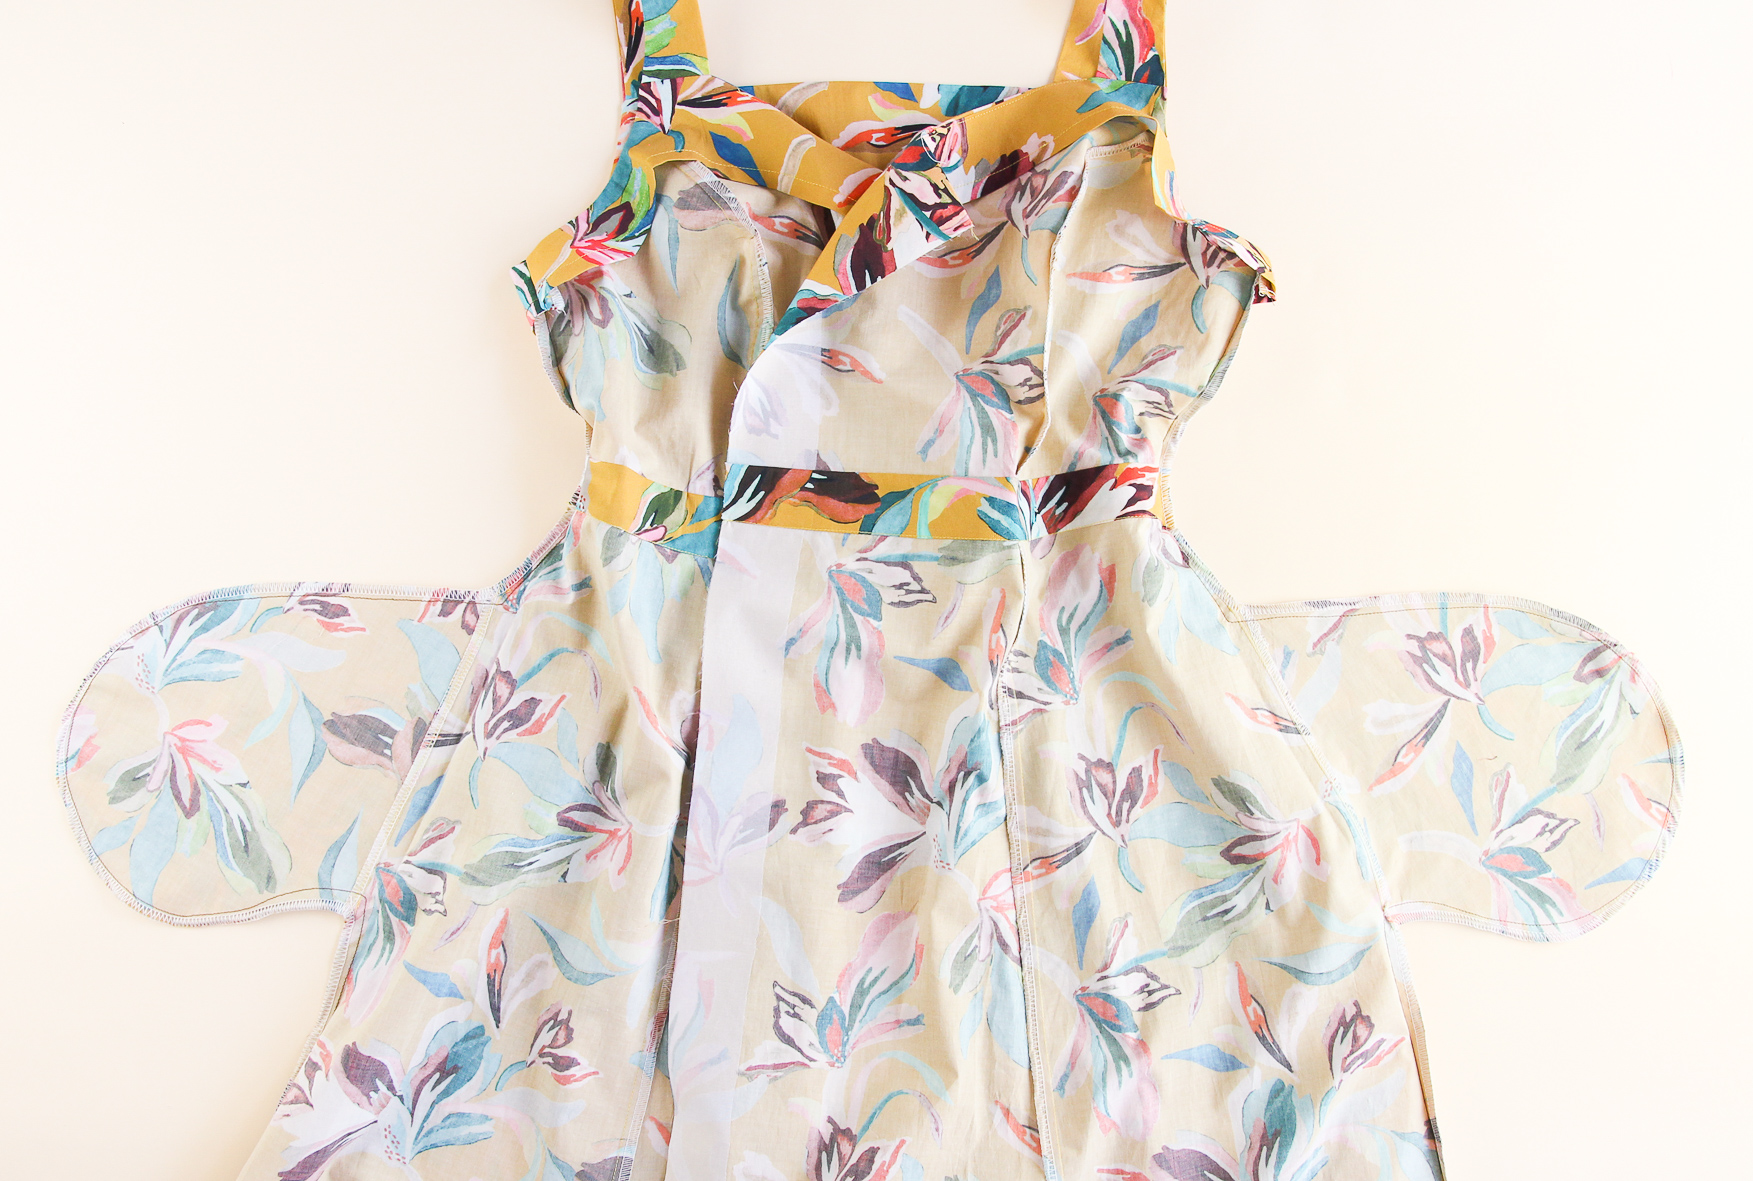
Now it’s time to sew our side seams. We’re going to line up the front and back side seams, right sides together. Make sure the notches, pockets, and waistband are aligned the whole way down. Flip the front and back facing up and line those up, too.
Let’s pin that together.

Now we’re going to sew that bad boy! Start from the facing and go all the way down, going around the pocket to the hem.
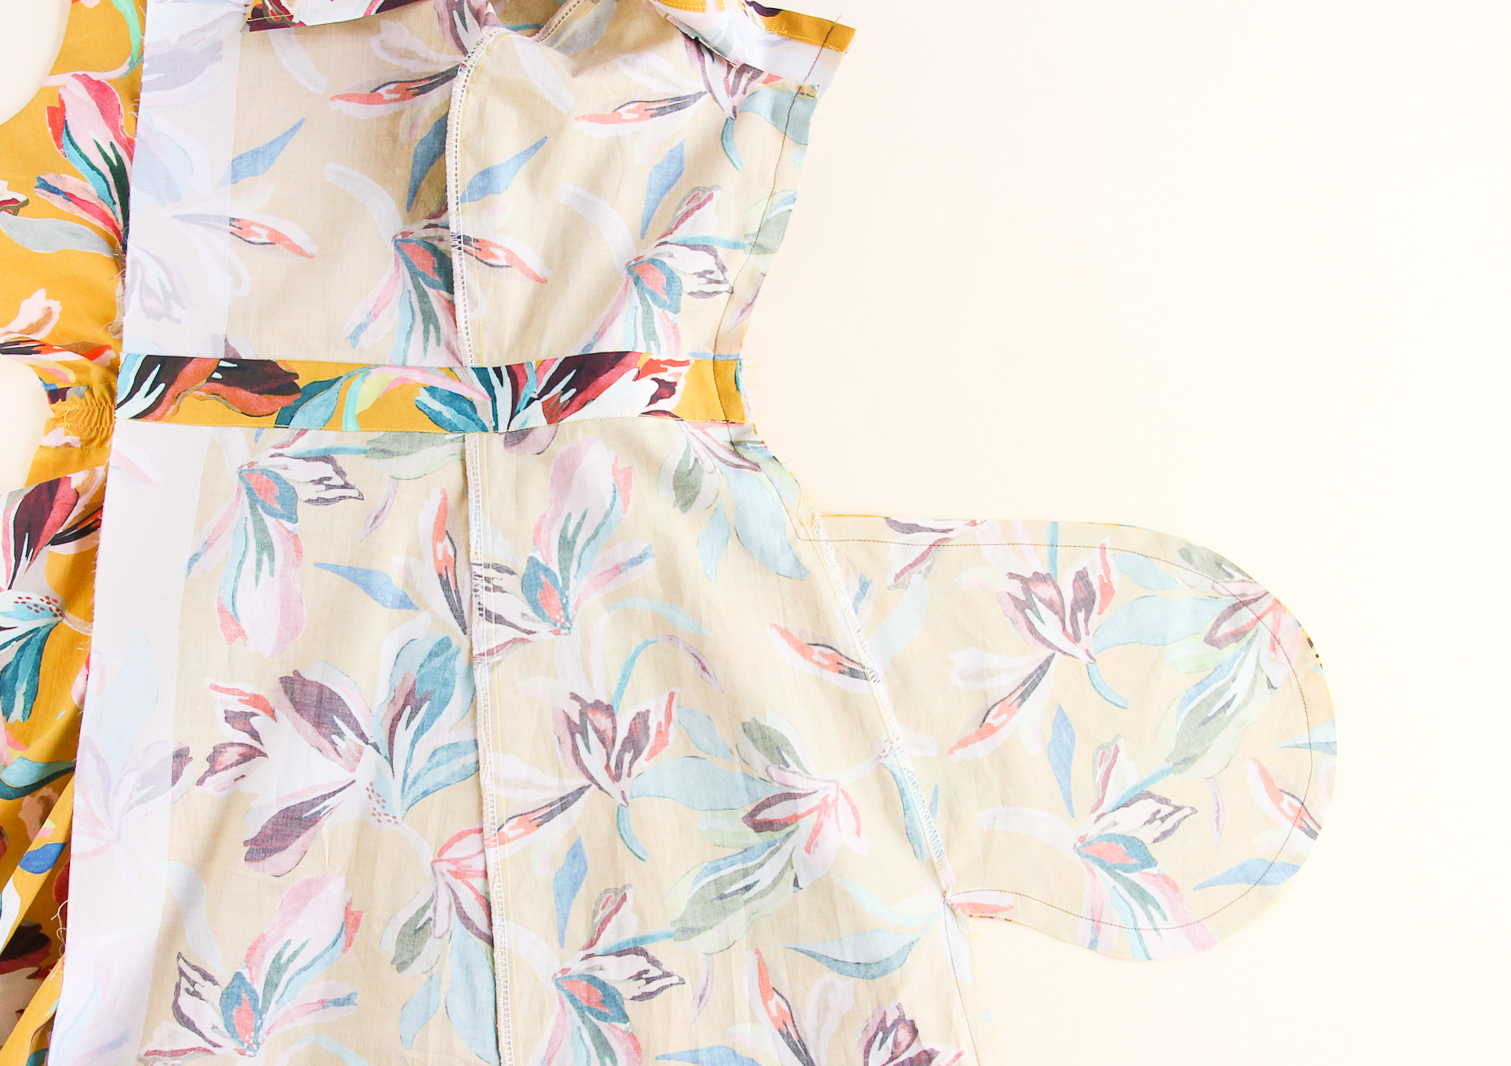
Let’s finish the seam allowance and press it towards the front.
Time to do the same with the other side of the dress! You can then flip your facings back down.
Finally, we’re going to secure the facing down by stitching in the ditch at the two sides seams and at the back princess seams. Alternatively, you can choose to hand tack on the inside for a clean look on the outside of the dress. (Although this looks pretty clean if I do say so myself!)
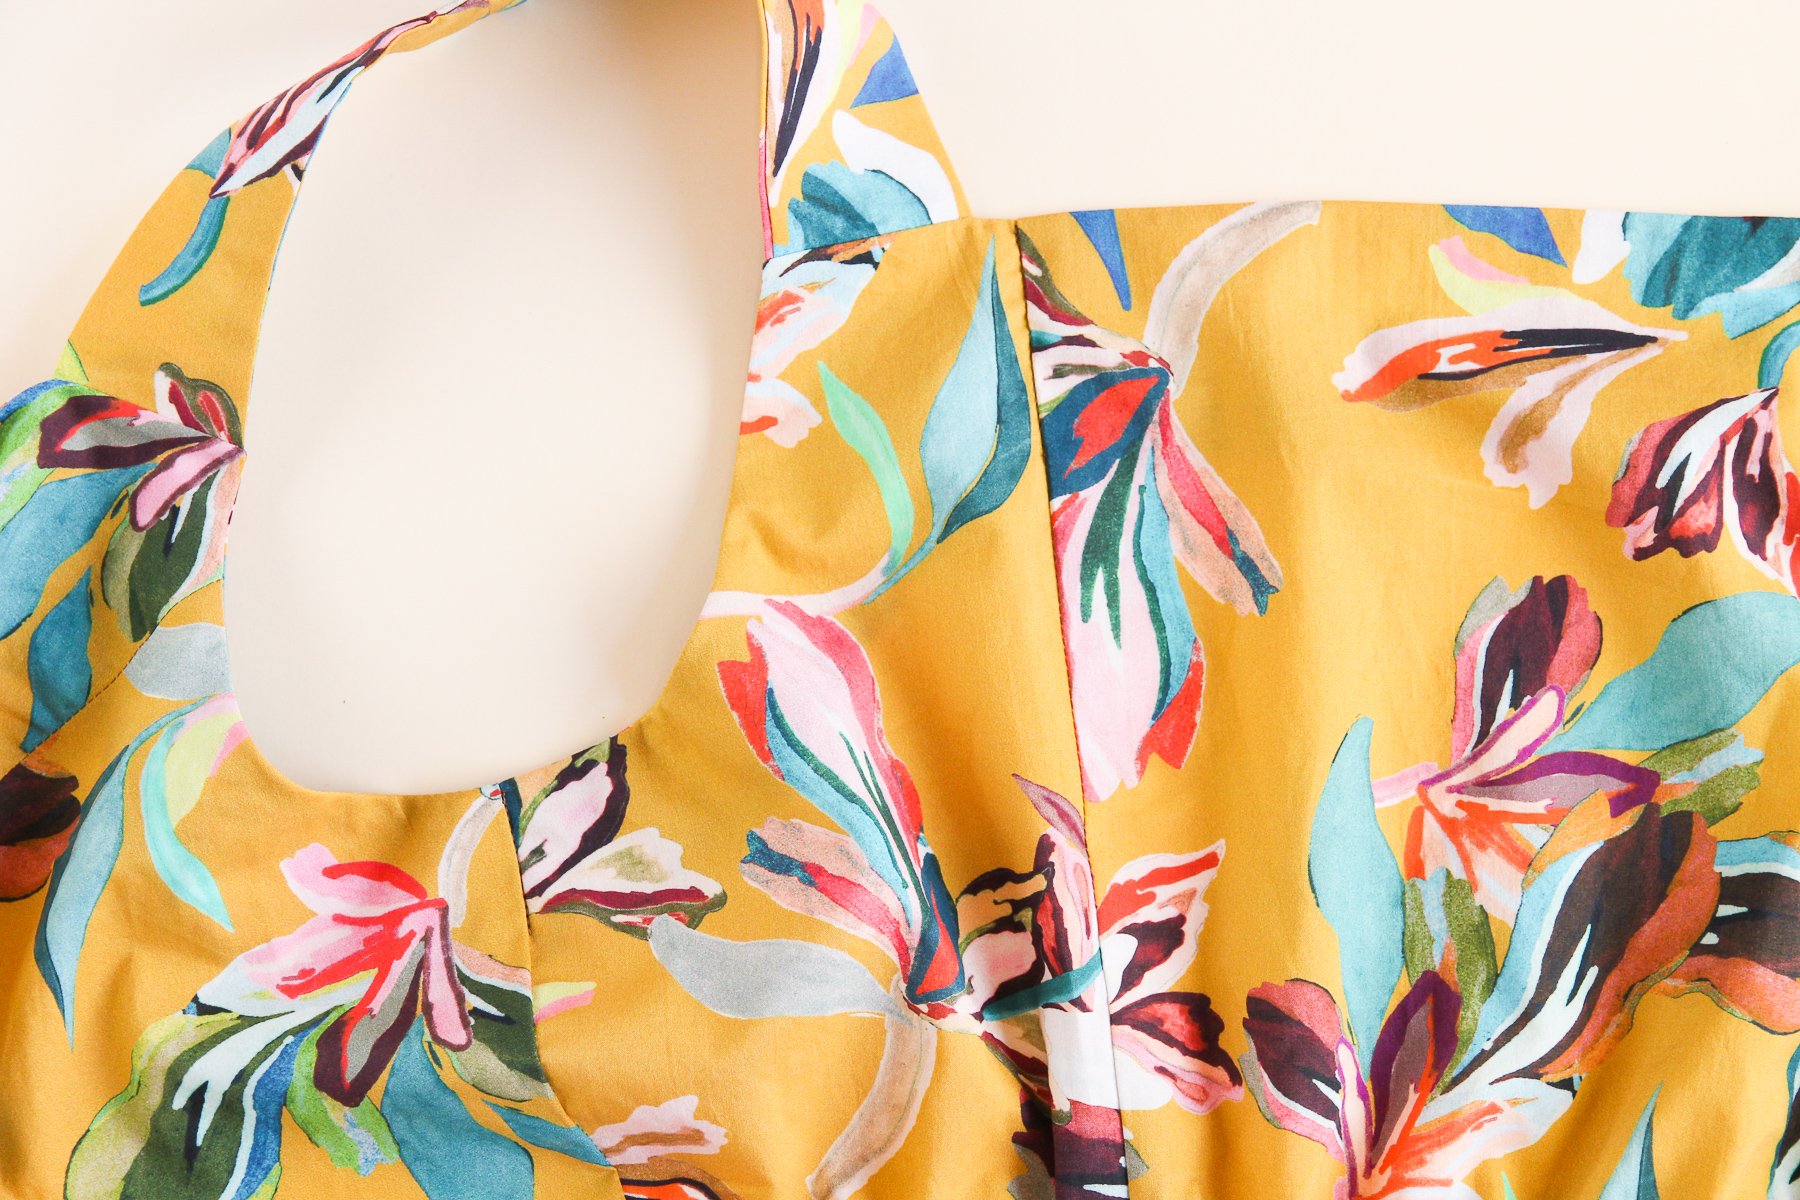
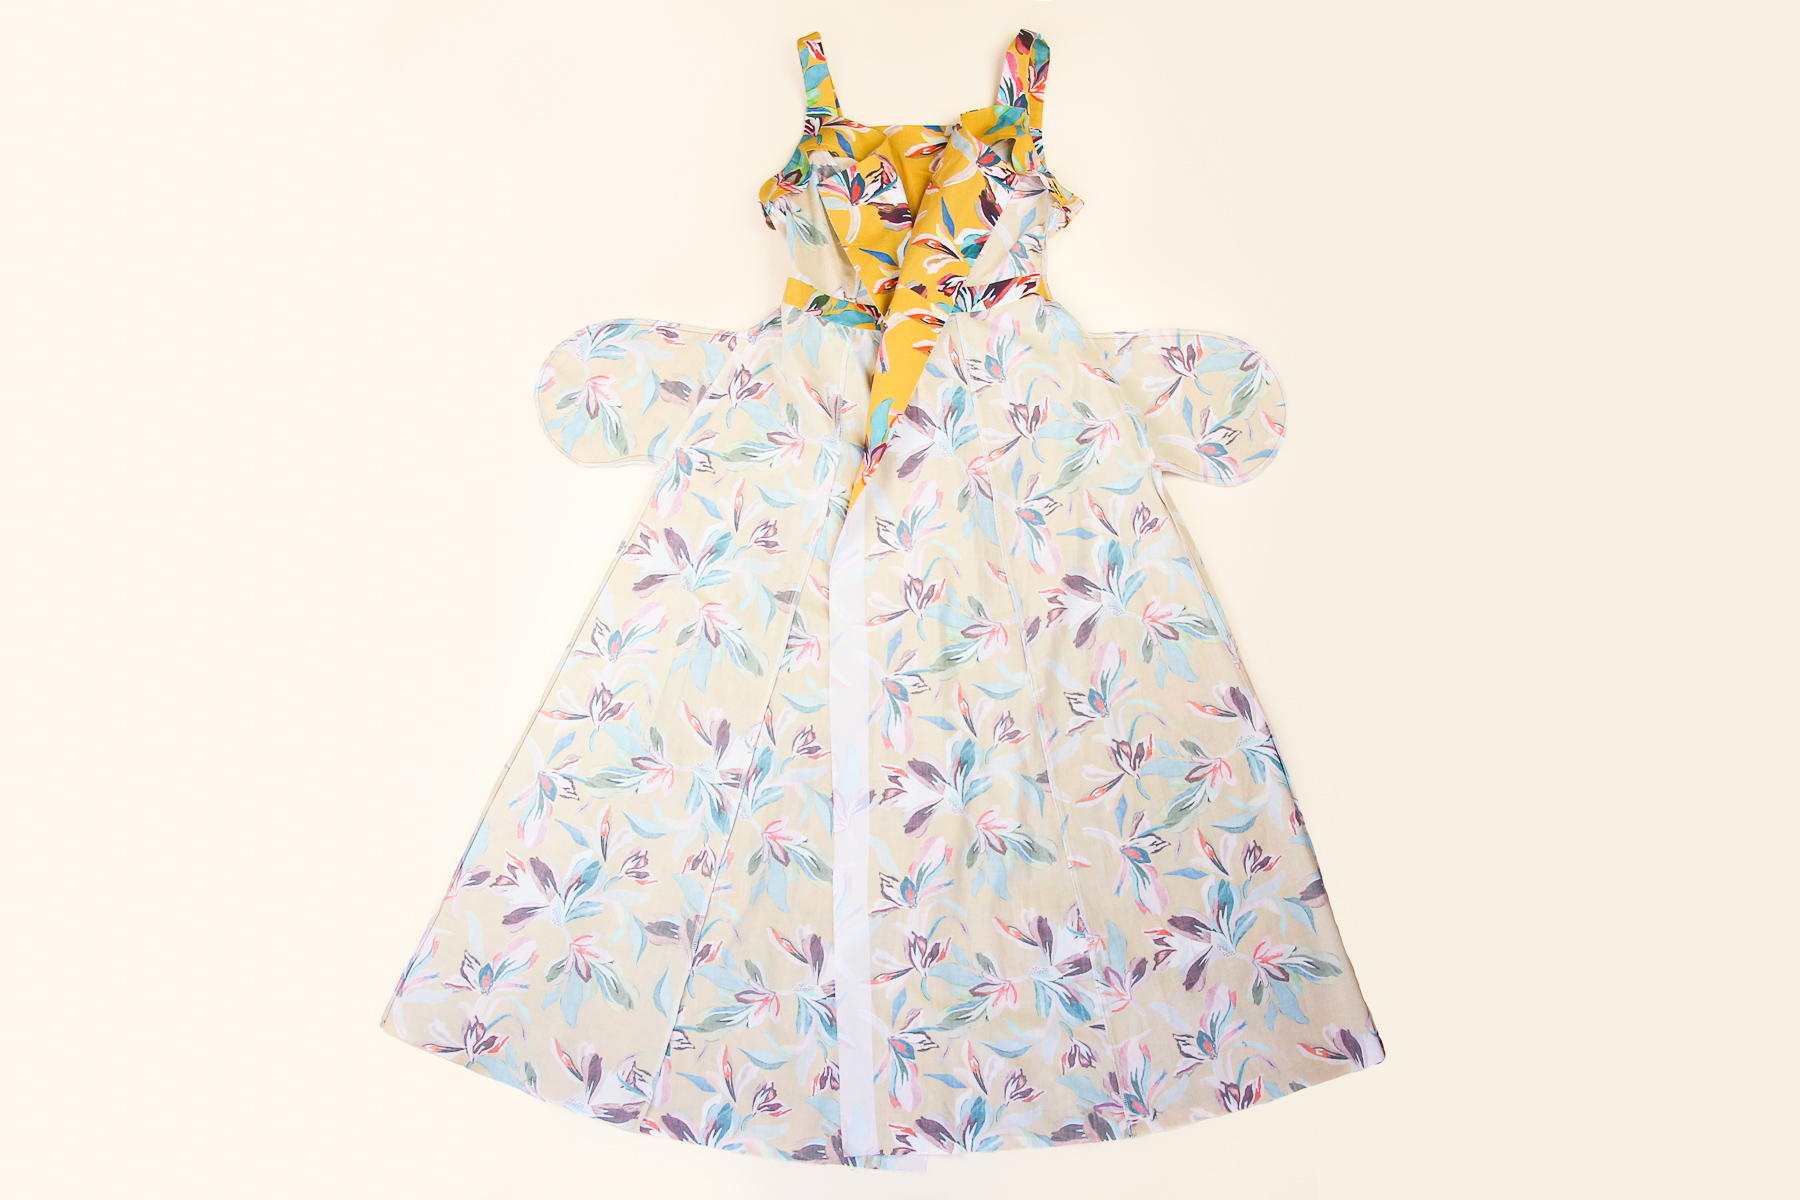
Here’s how it looks on the inside:

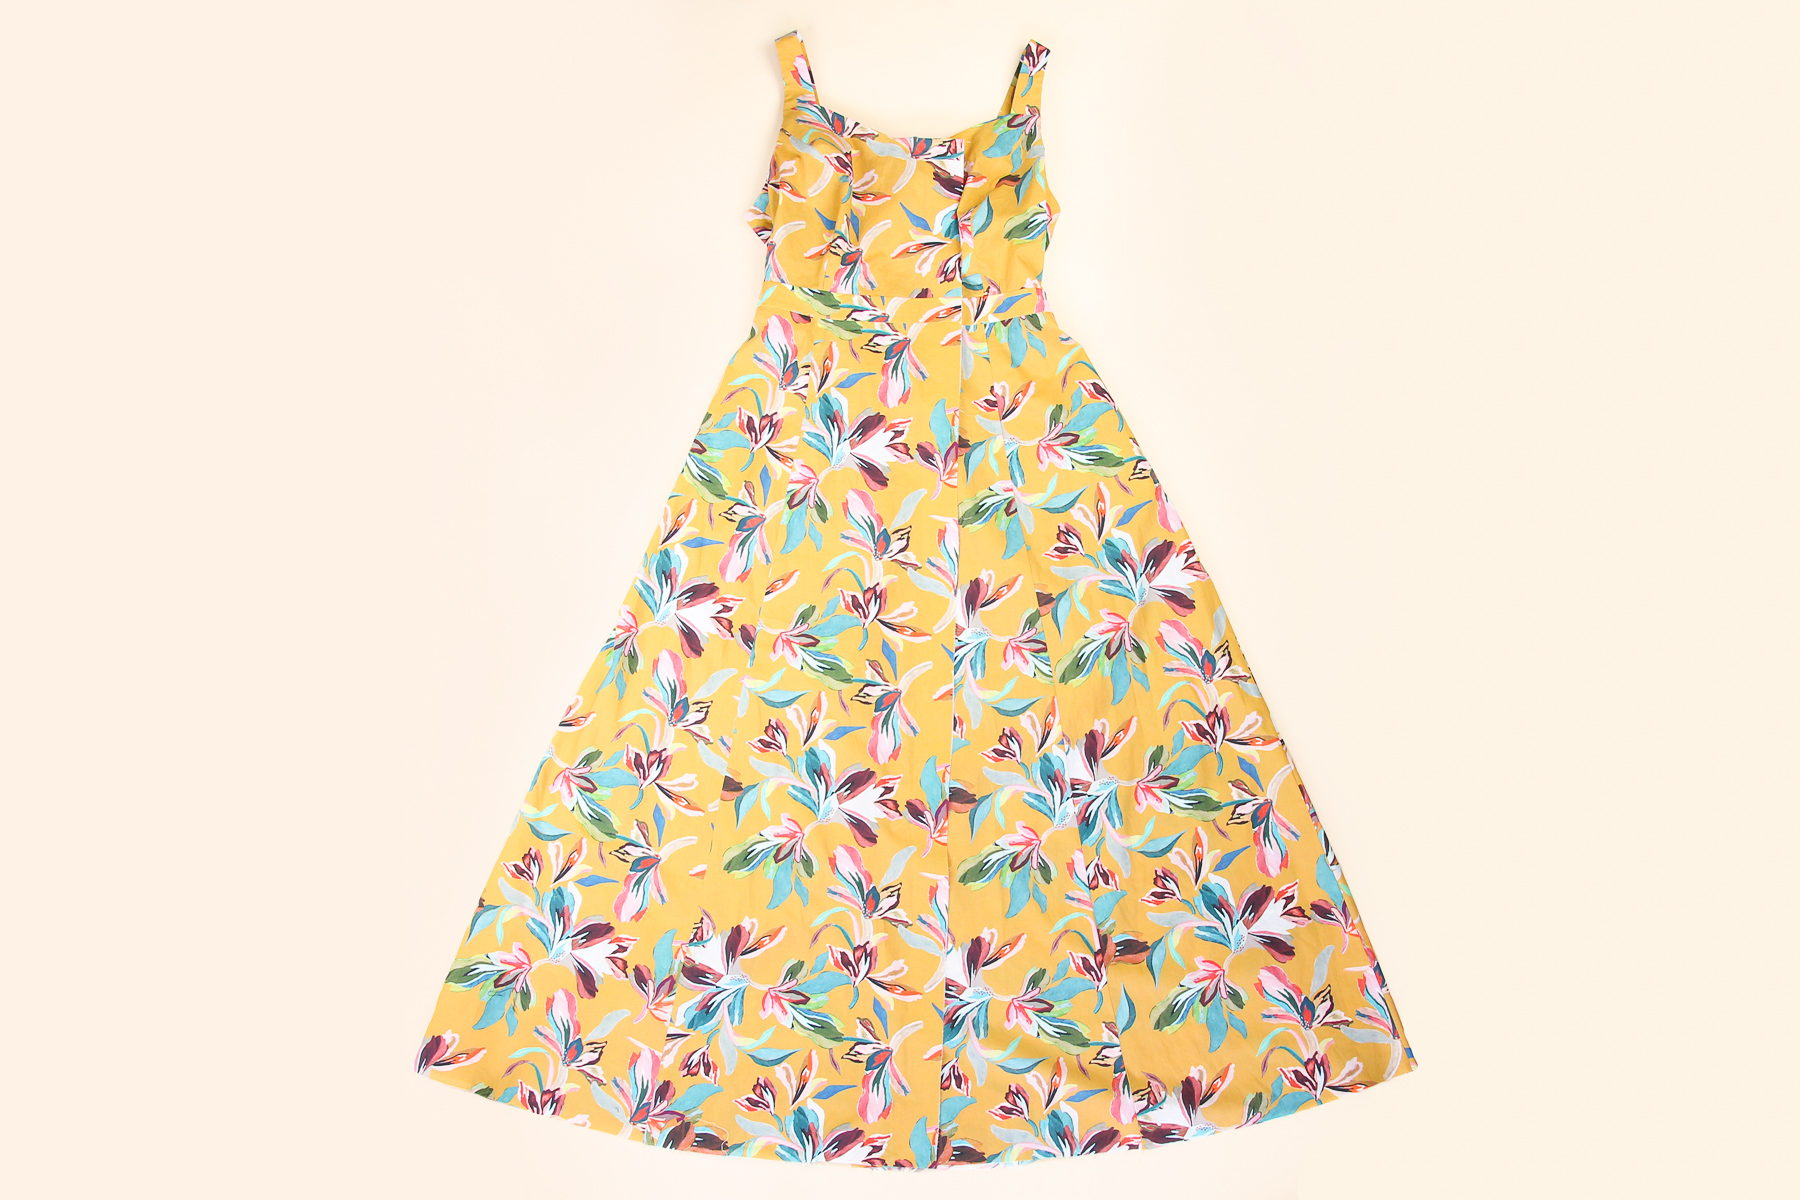
And there we have it! Our garment is looking more and more like a real dress with every seam.
If you’re like me, you won’t be able to help yourself, so go ahead: put that dress on and do a little twirl! (But don’t forget that we still have to sew the button placket, so the dress won’t fit quite right yet!)
A view of the inside at this point:
Only a few steps left and our Holyoke Dress will be complete! Next time, we’ll sew down our button plackets, attach our buttons, and hem the dress. And then aaaall the swooshing will commence!
We want to see your creations, whatever stage of the process you’re at! Tag your makes with #HolyokeDress or #HolyokeSkirt on social media so we (and the whole sewing community) can cheer you on to the finish line!

I am really enjoying the detail given in this sew along and the close up photos to go with the explanations! Thanks!