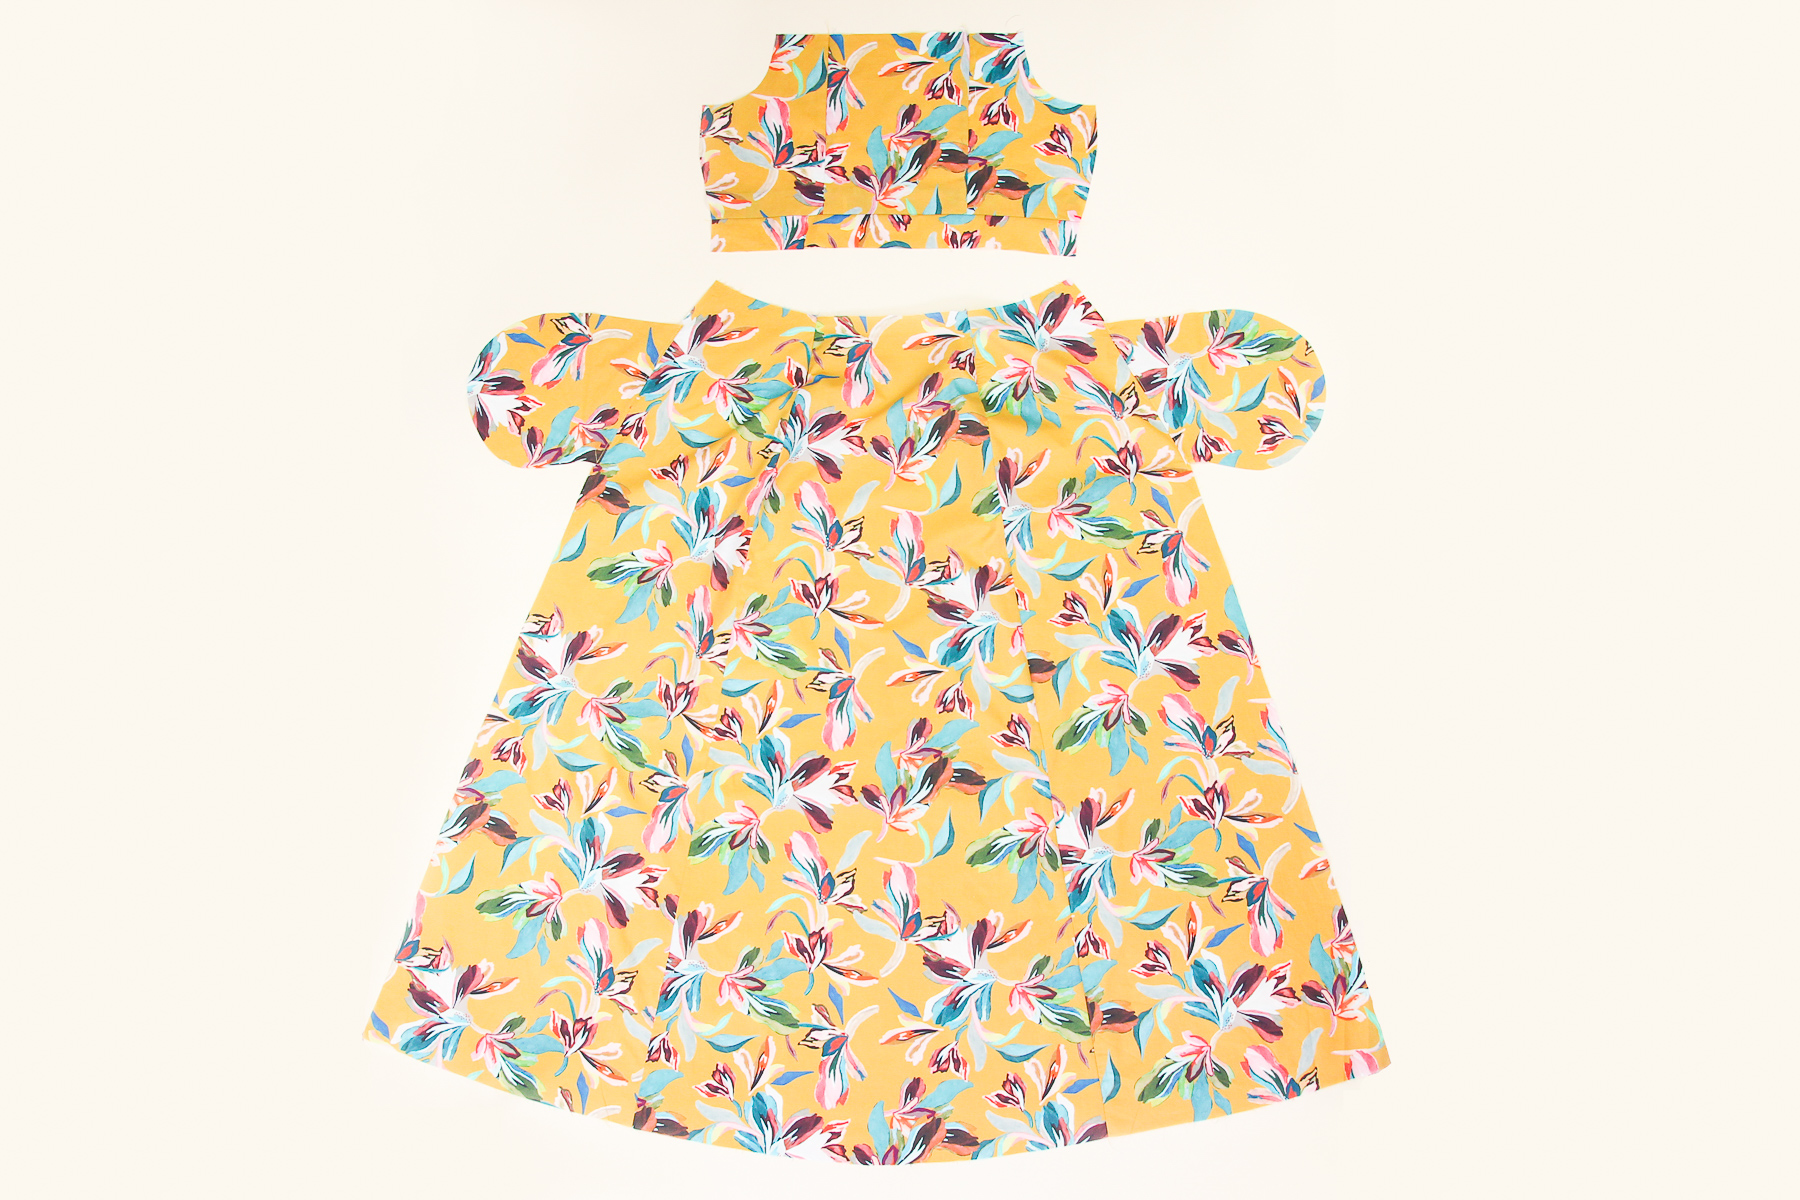
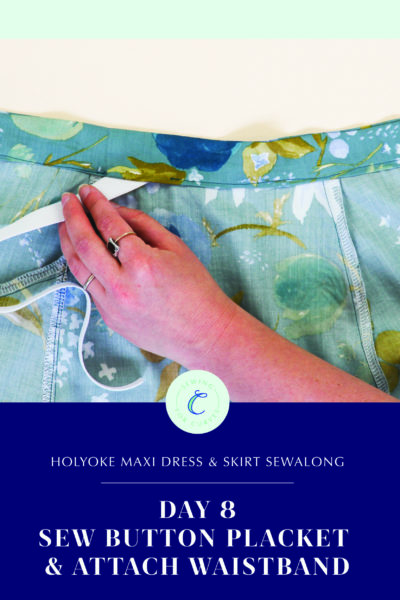
Welcome back to the Holyoke Maxi Dress and Skirt sewalong! Last time, we sewed our front bodice and skirt together and attached the straps and front facing. Today, we’re going to attach our back skirt to our back bodice and insert our elastic into the waistband.
(Need to jump to a different day? Head over to the main Holyoke Maxi Dress and Skirt sewalong page.)
Ok, here we go!
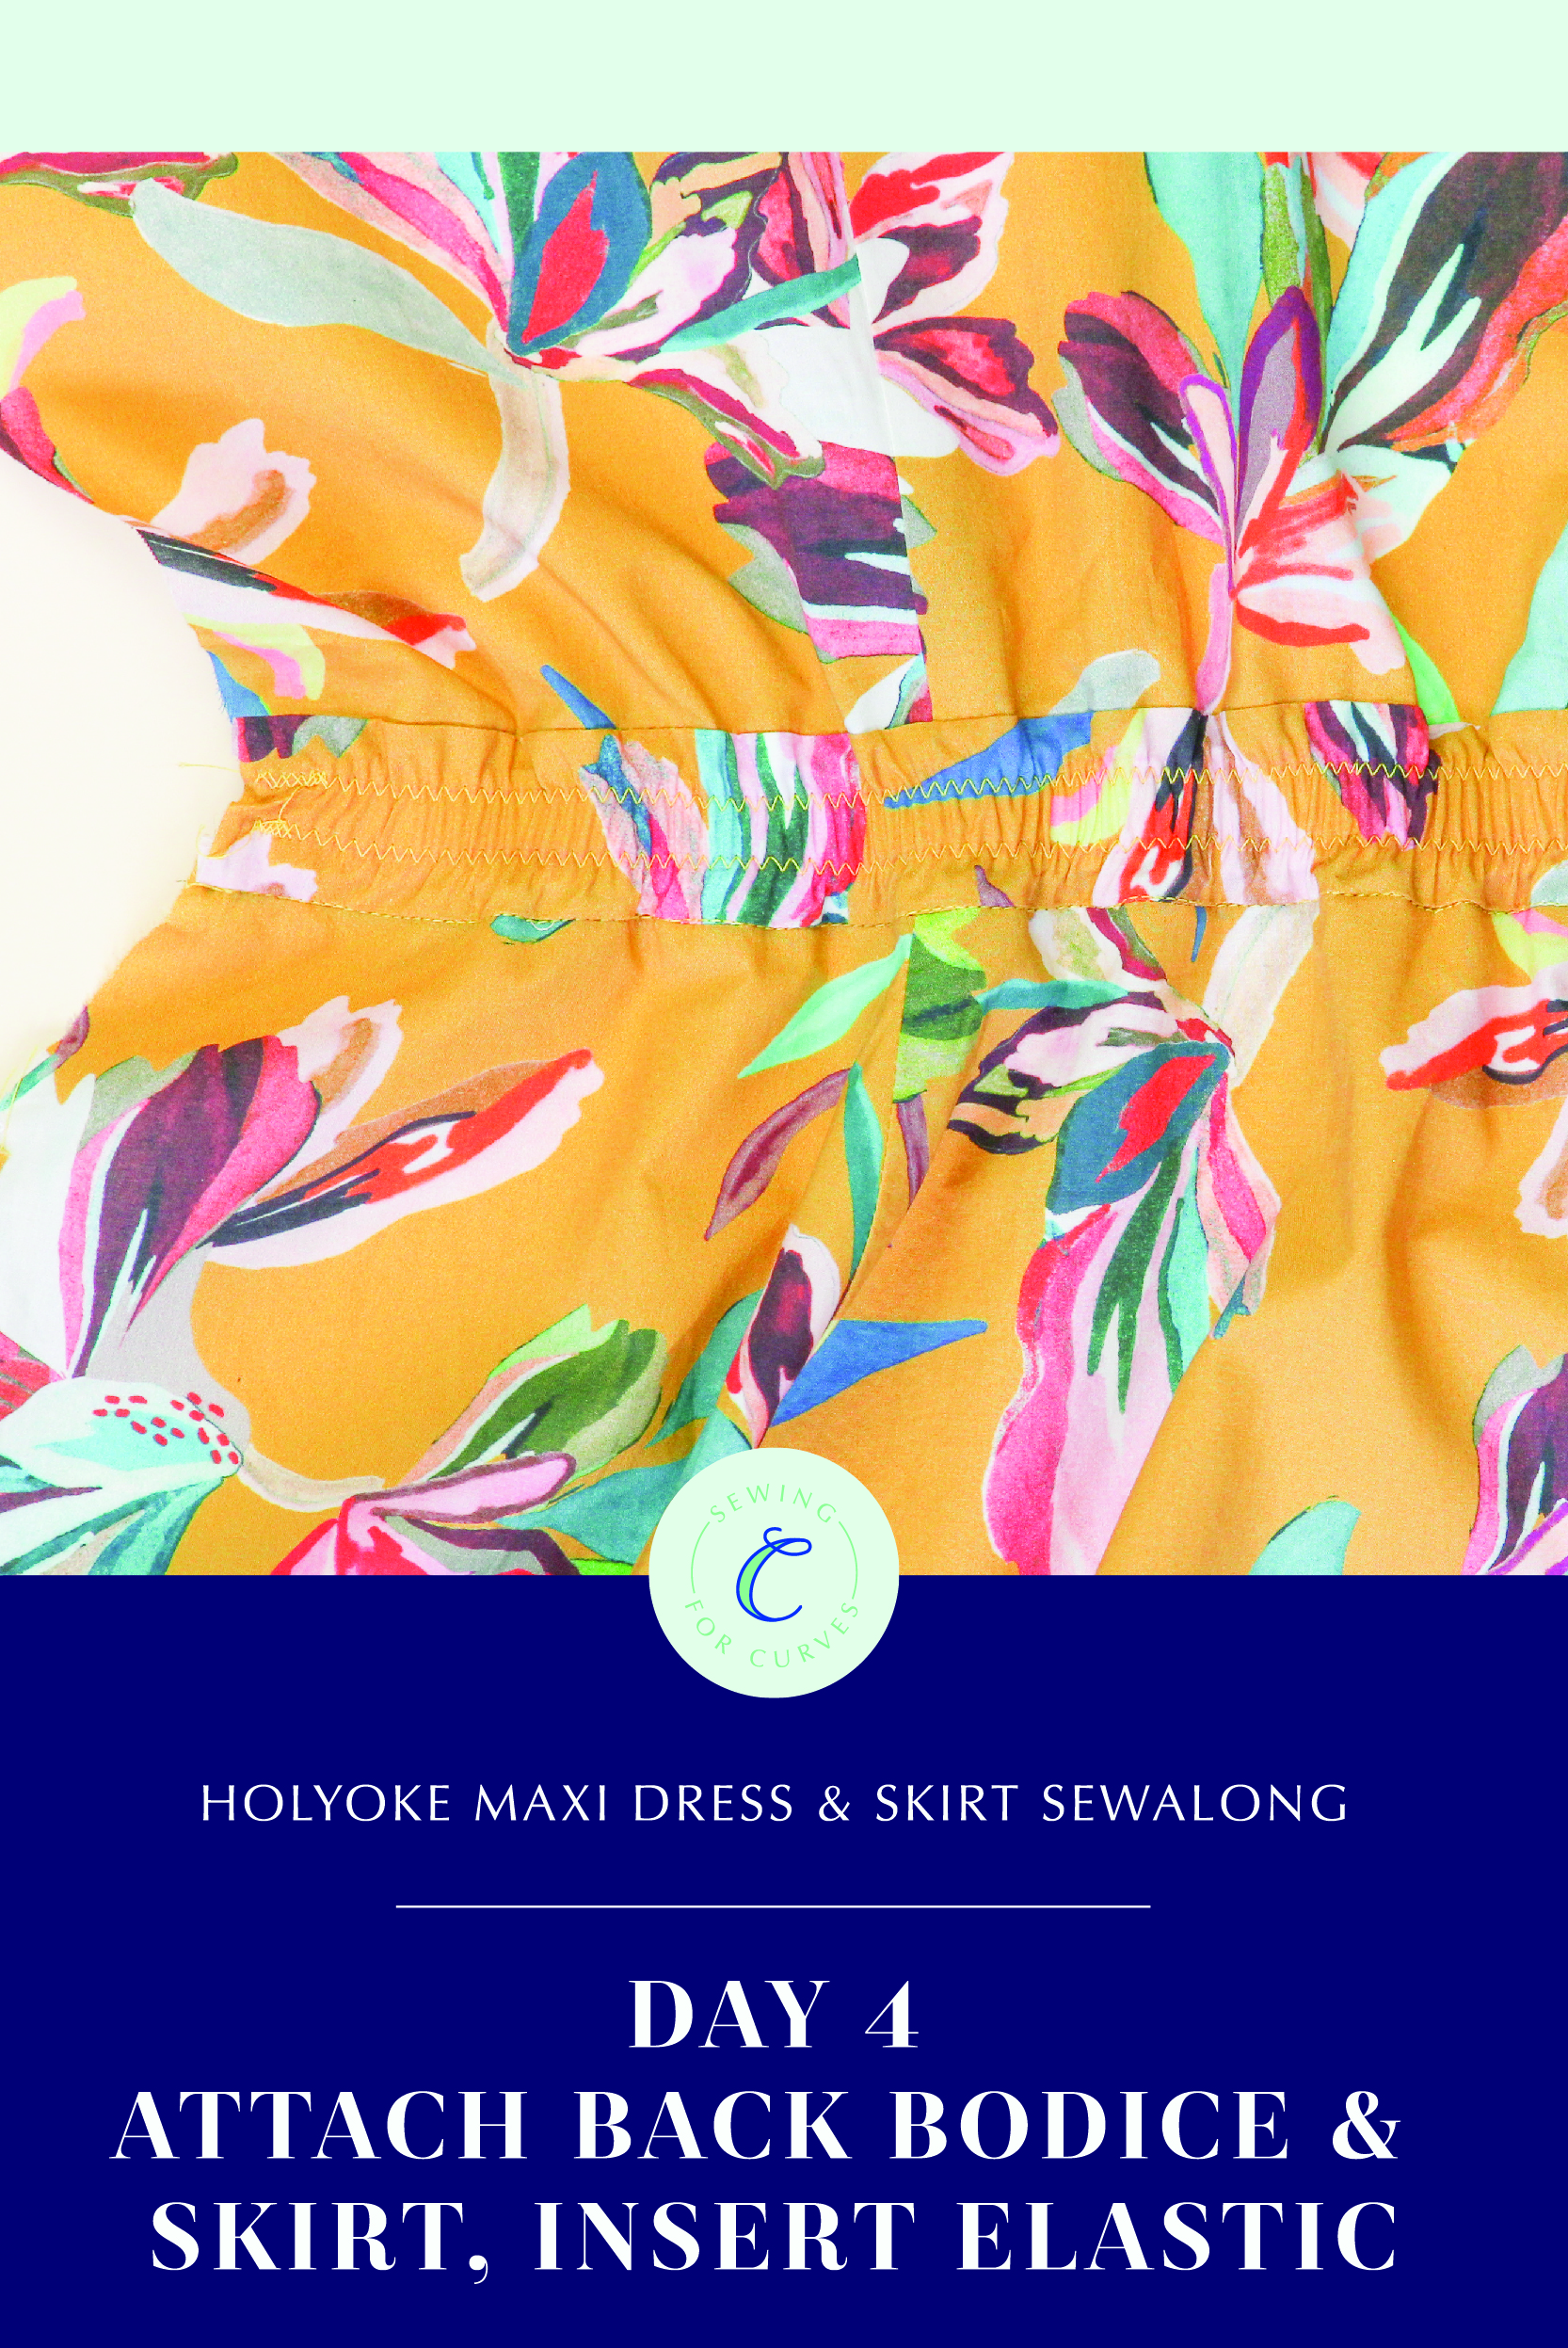
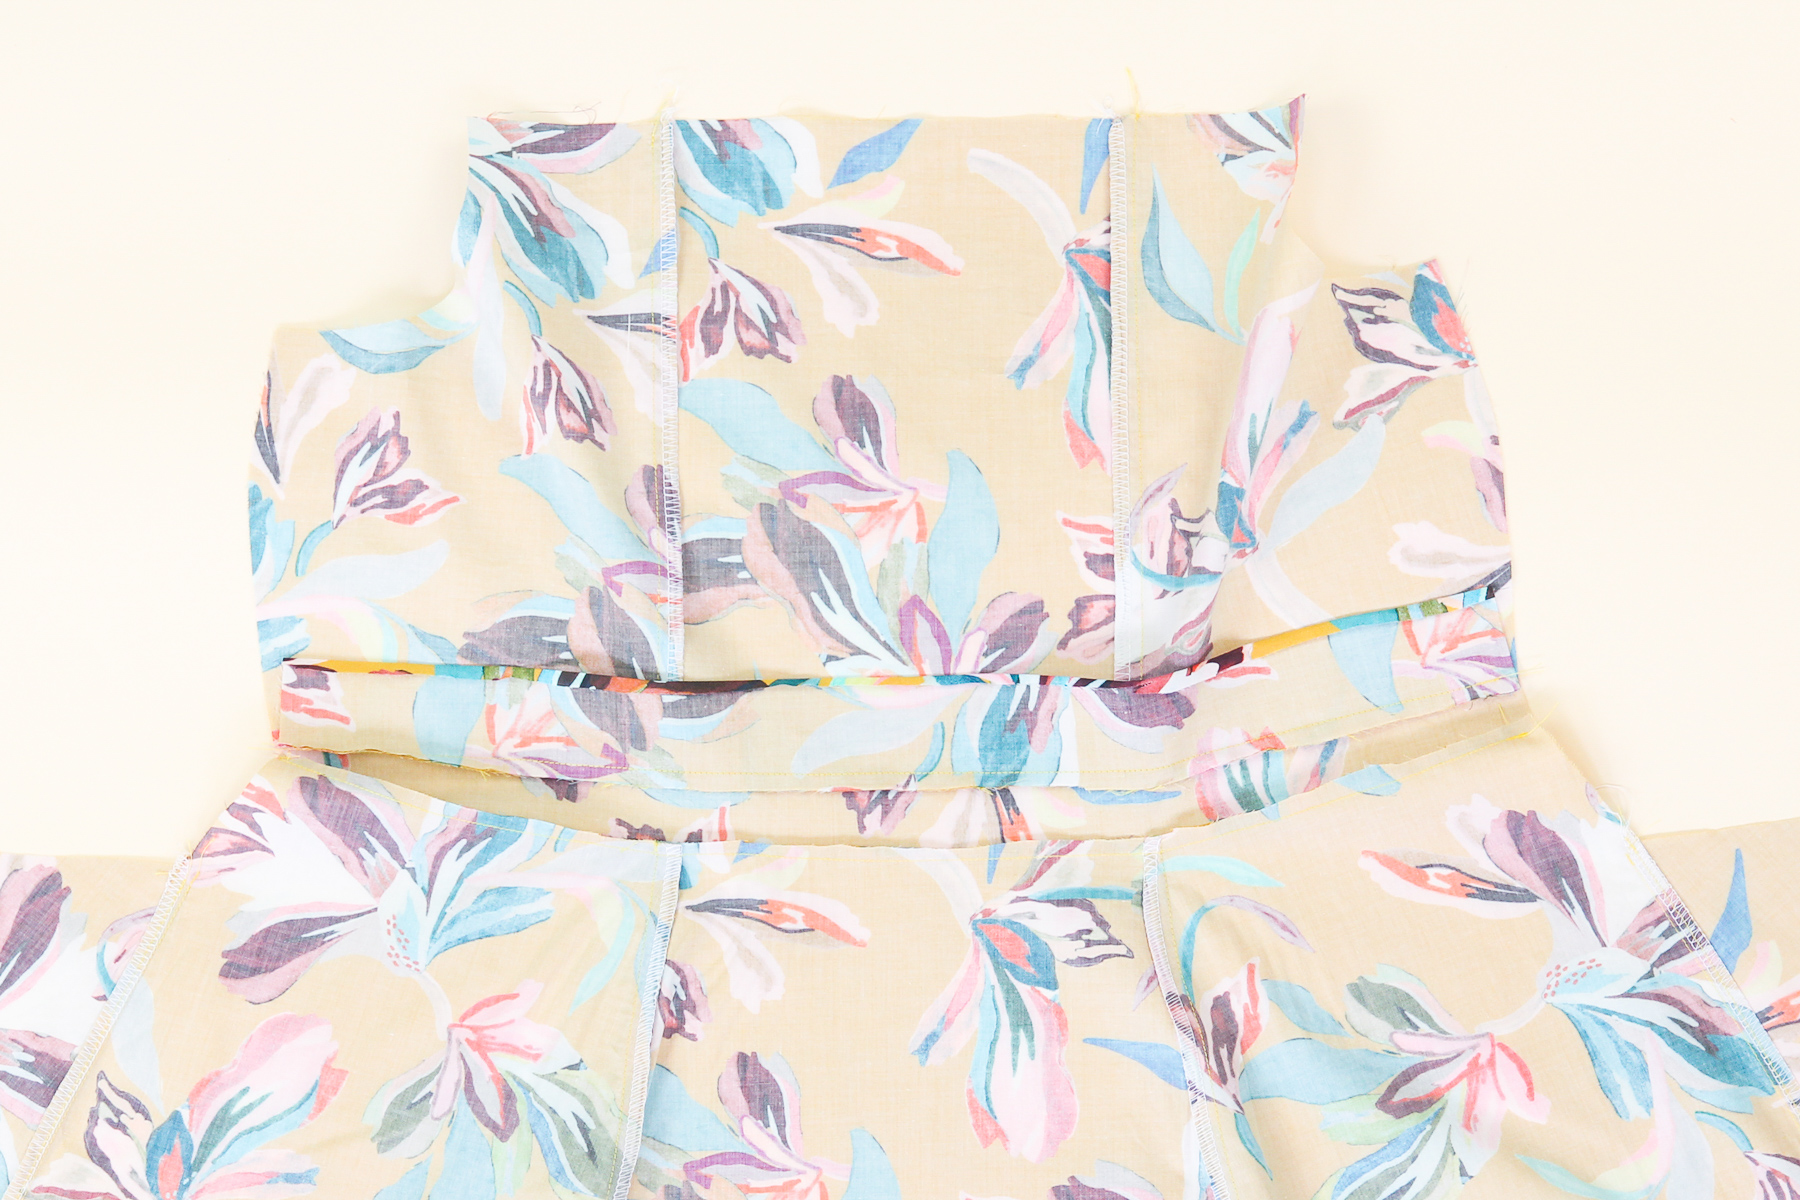
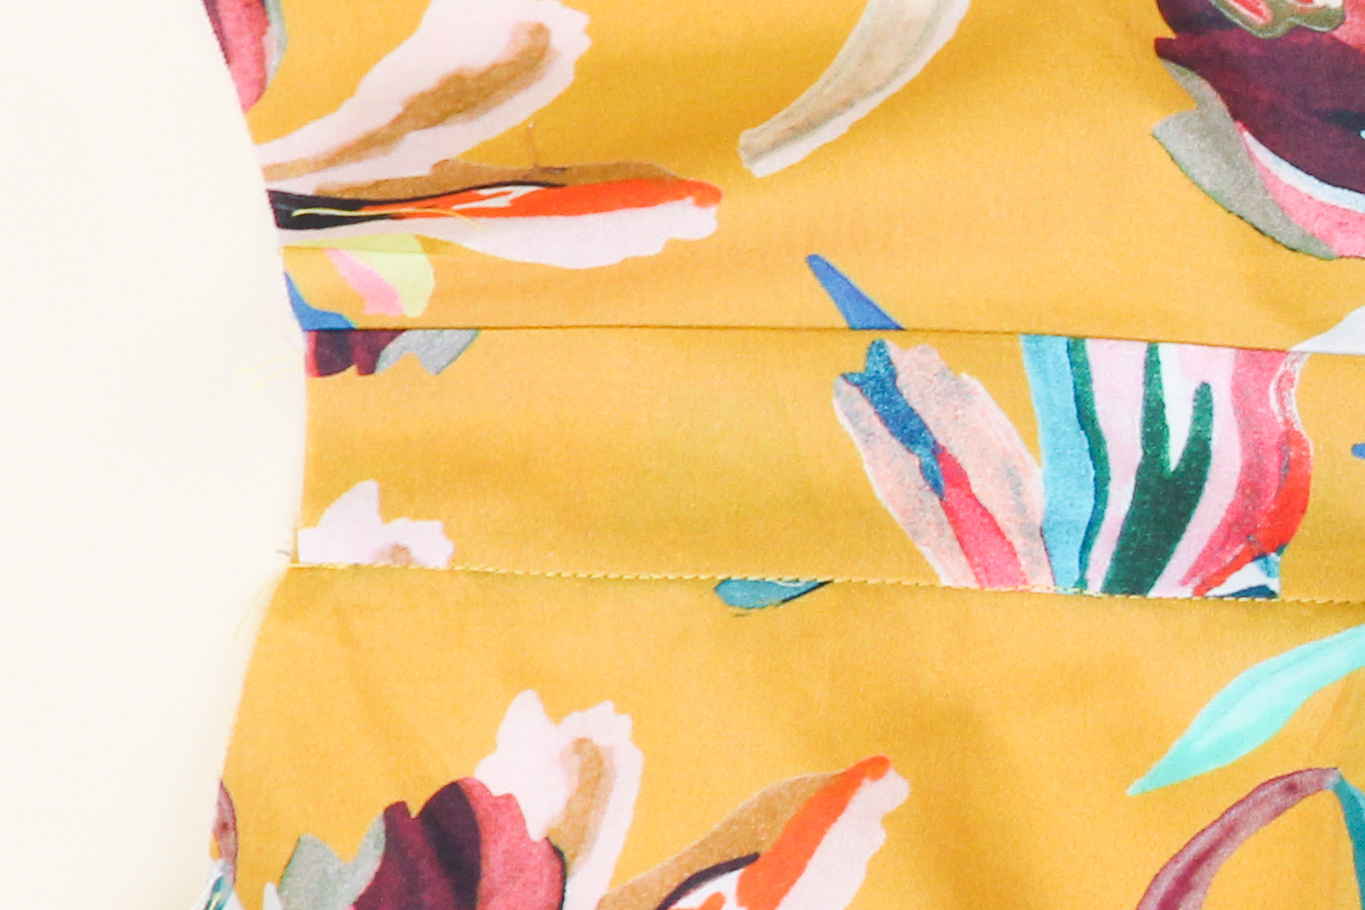
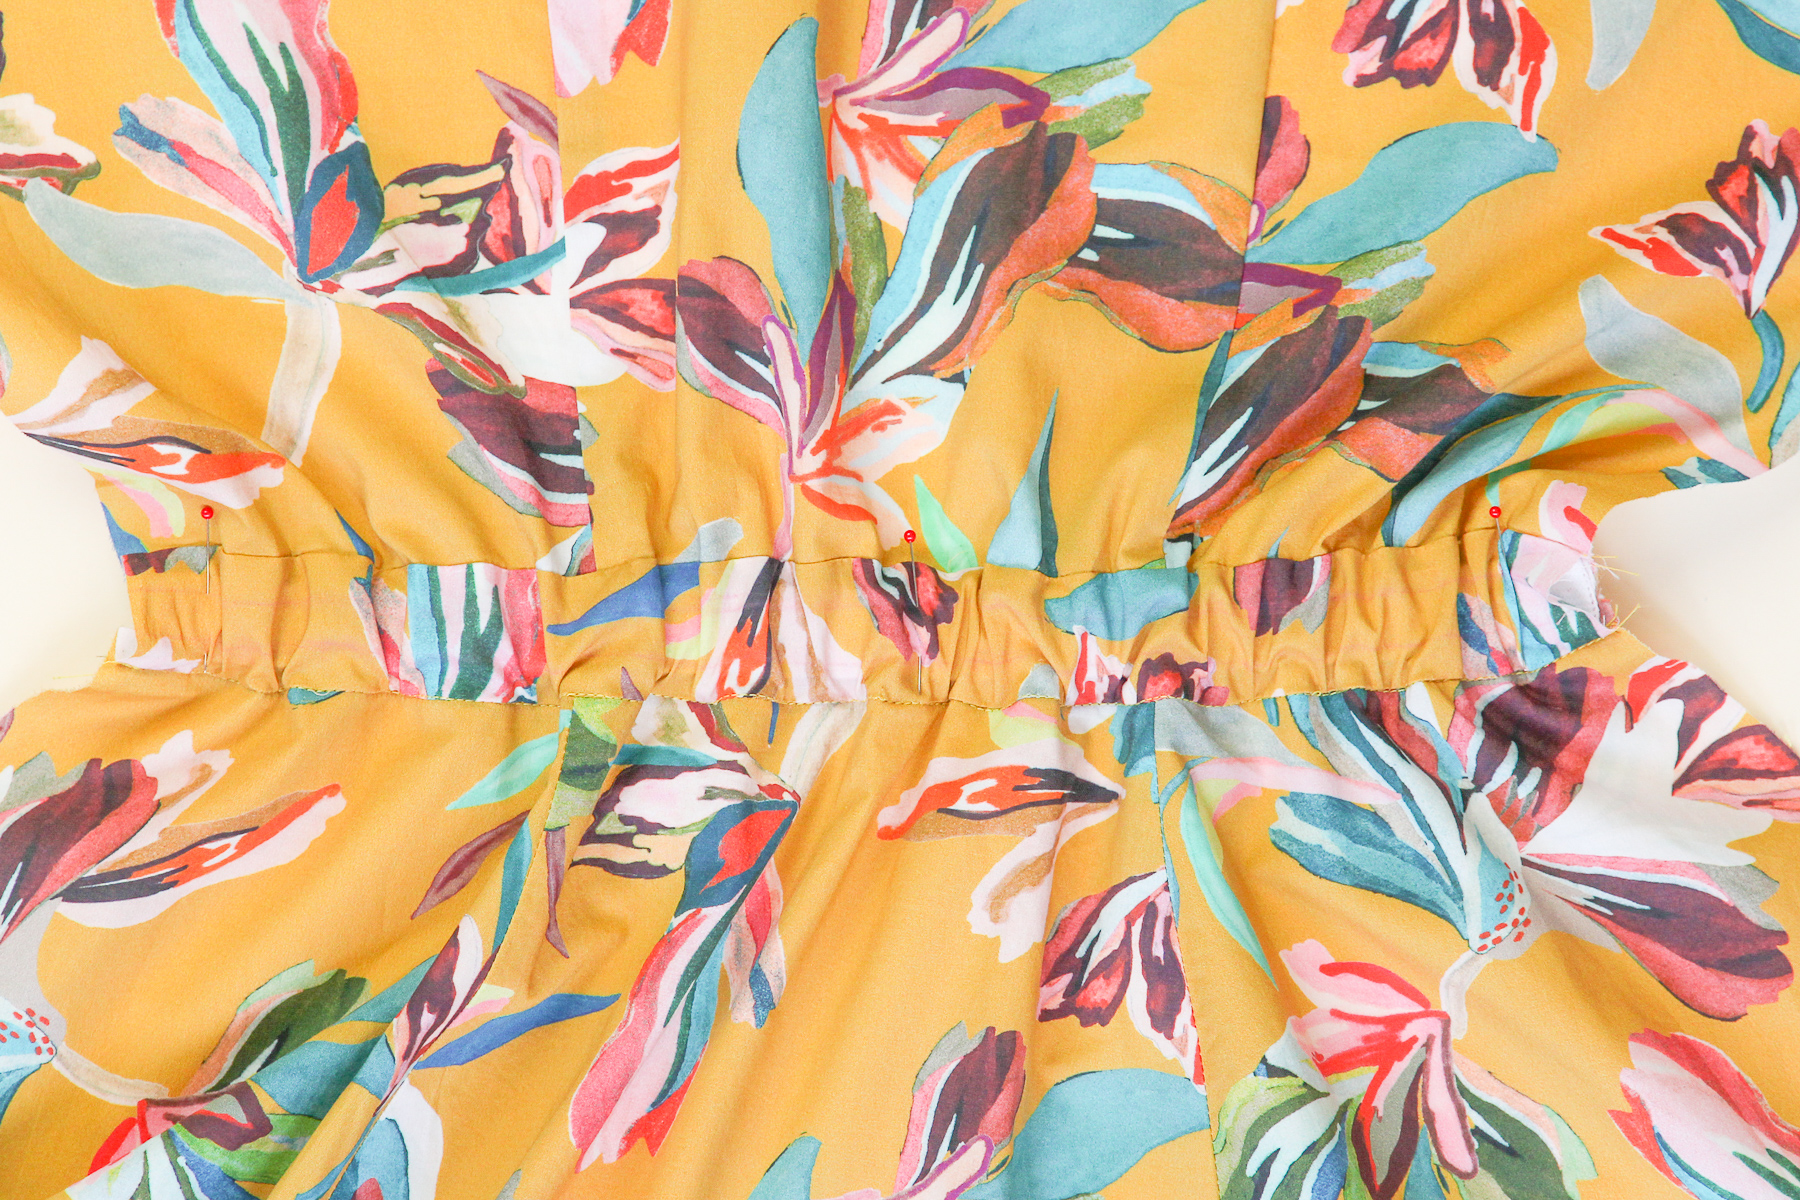
We’re going to start by pinning our back bodice to the back skirt at the waistband. Remember to only sew the outer waistband—the waistband facing stays flipped up for now.
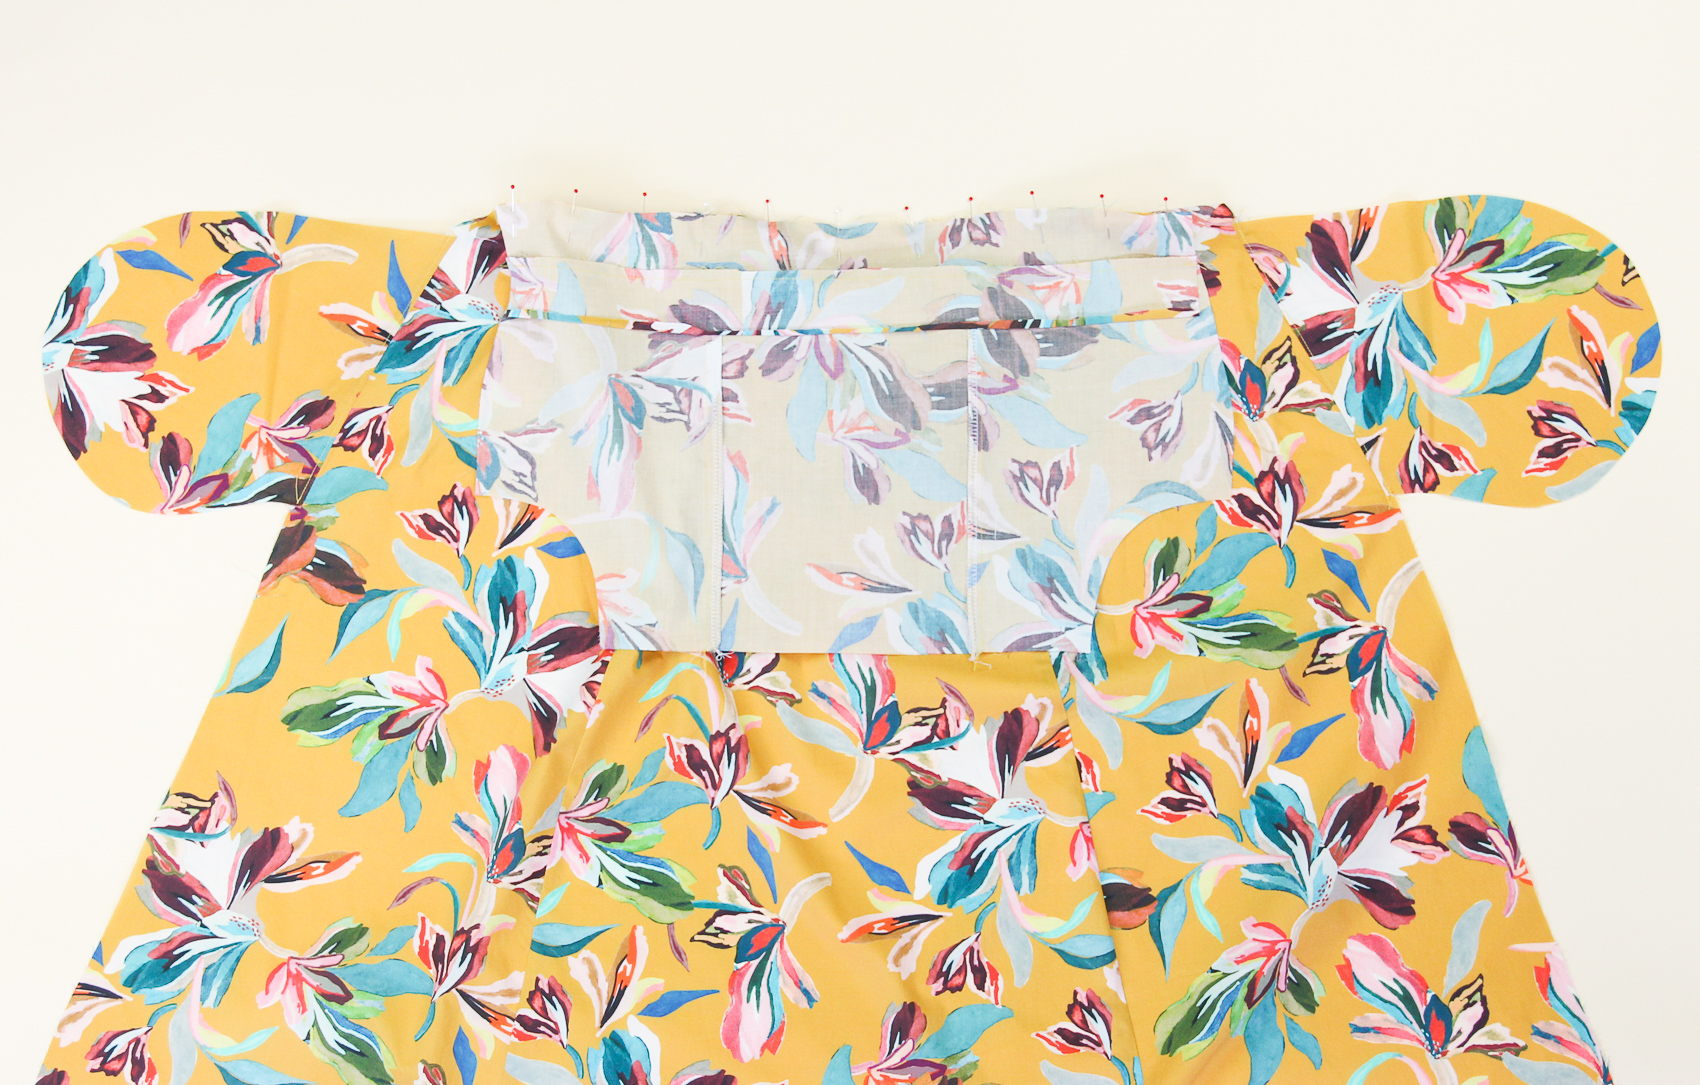
Let’s sew that seam using our 1/2” (12 mm) seam allowance.
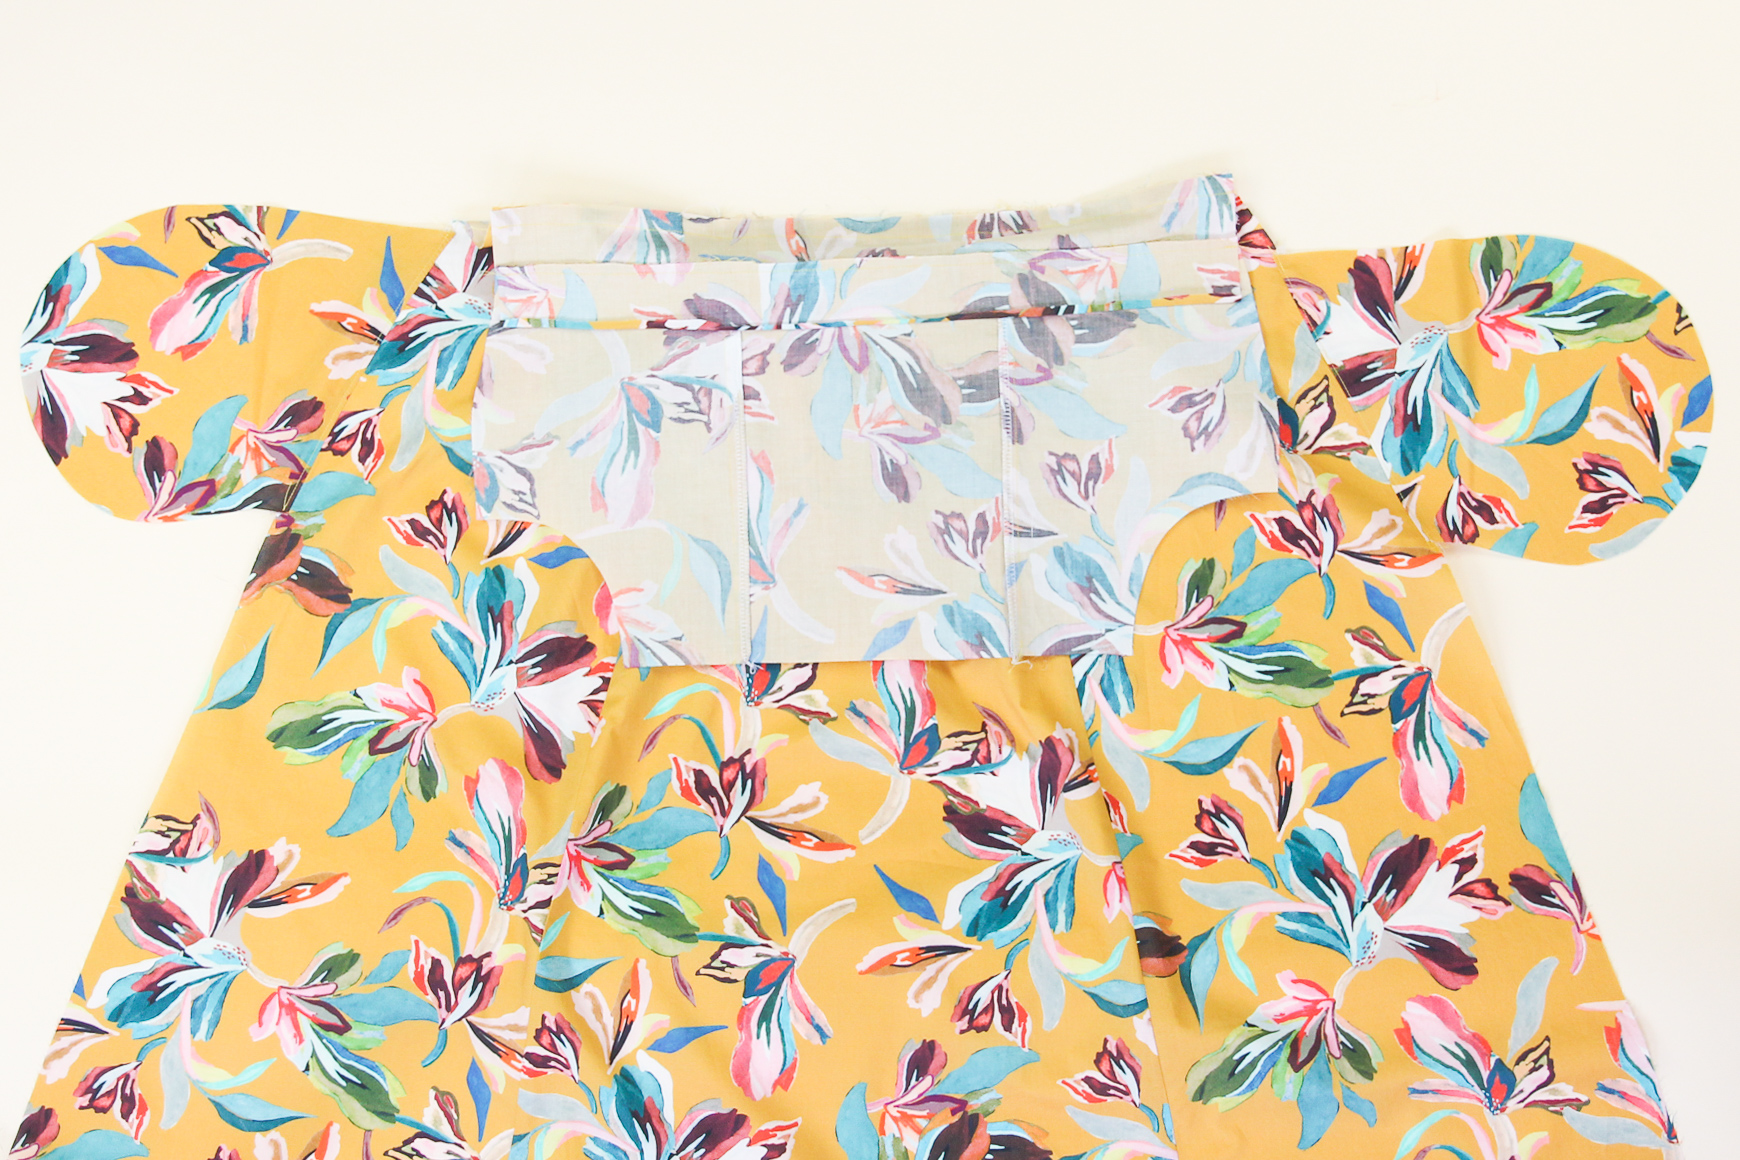
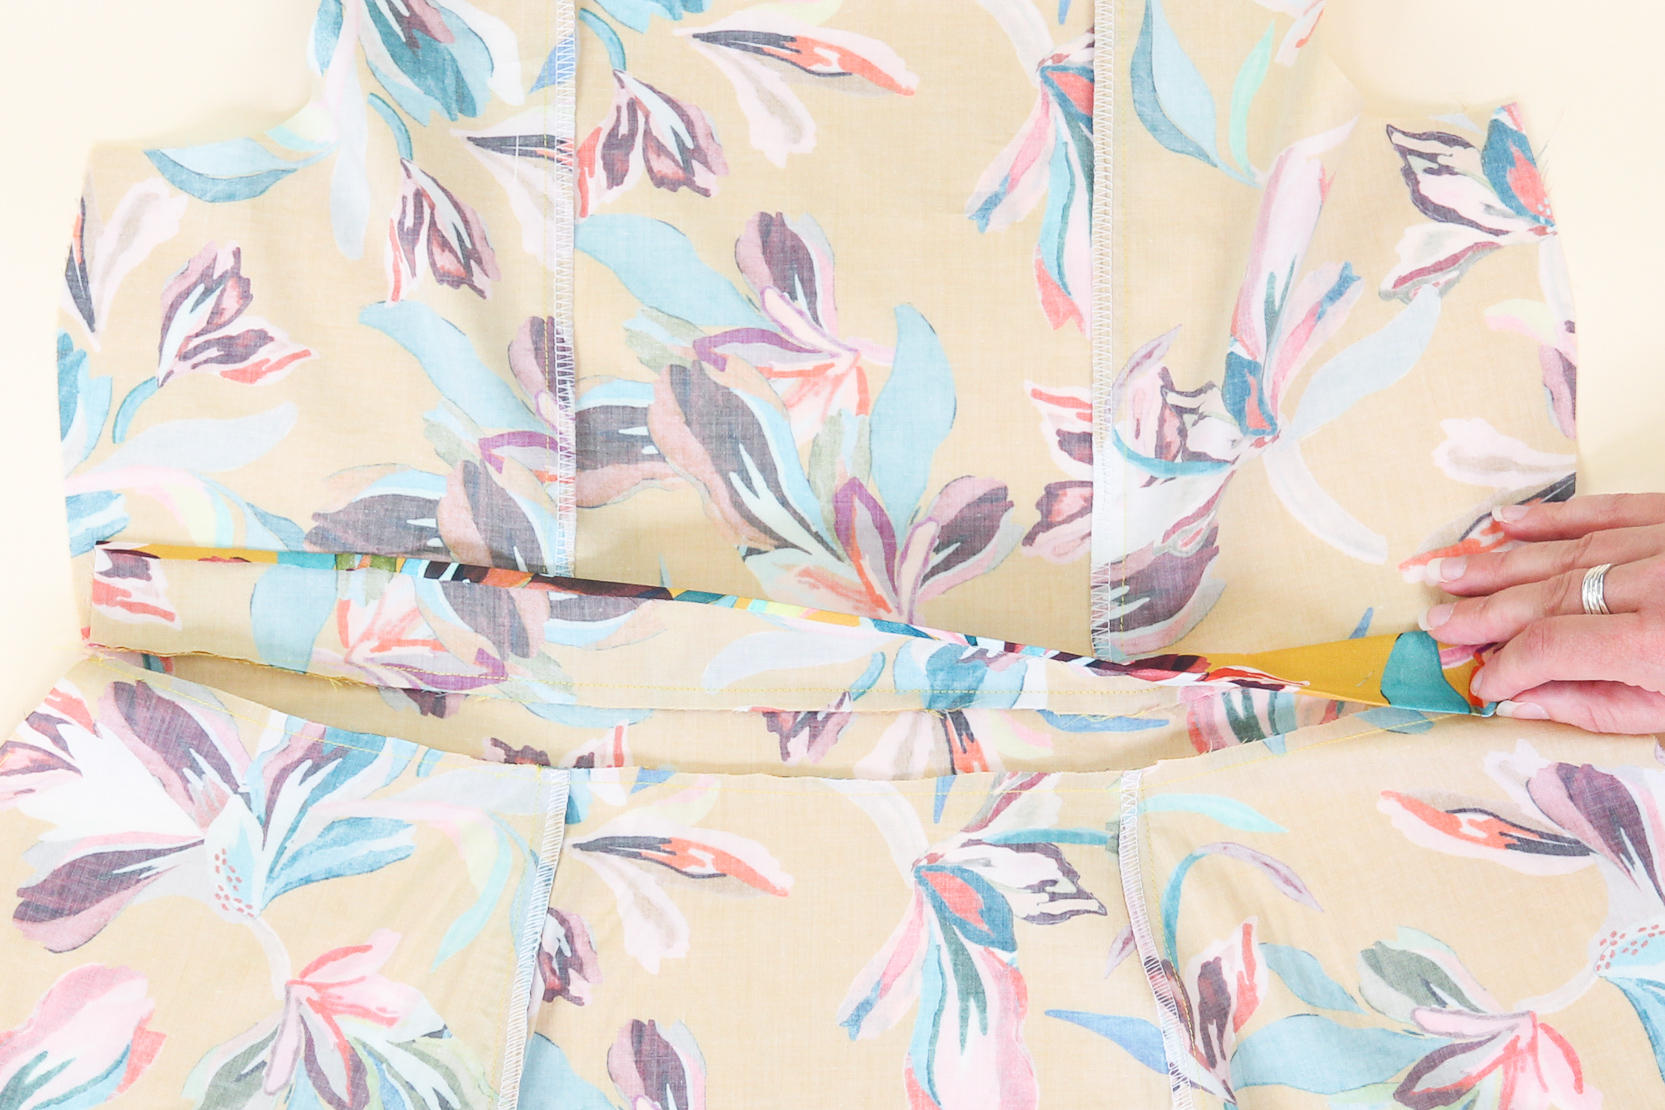
We’re going to trim that seam allowance down to 1/4” (6 mm). Make sure you don’t skip this step! If you don’t trim it back, the seam allowance will interfere with the elastic’s stretchiness once it’s inserted and topstitched. (Learned that the hard way!)

Now we need to press the seam allowance up towards the waistband and bodice.
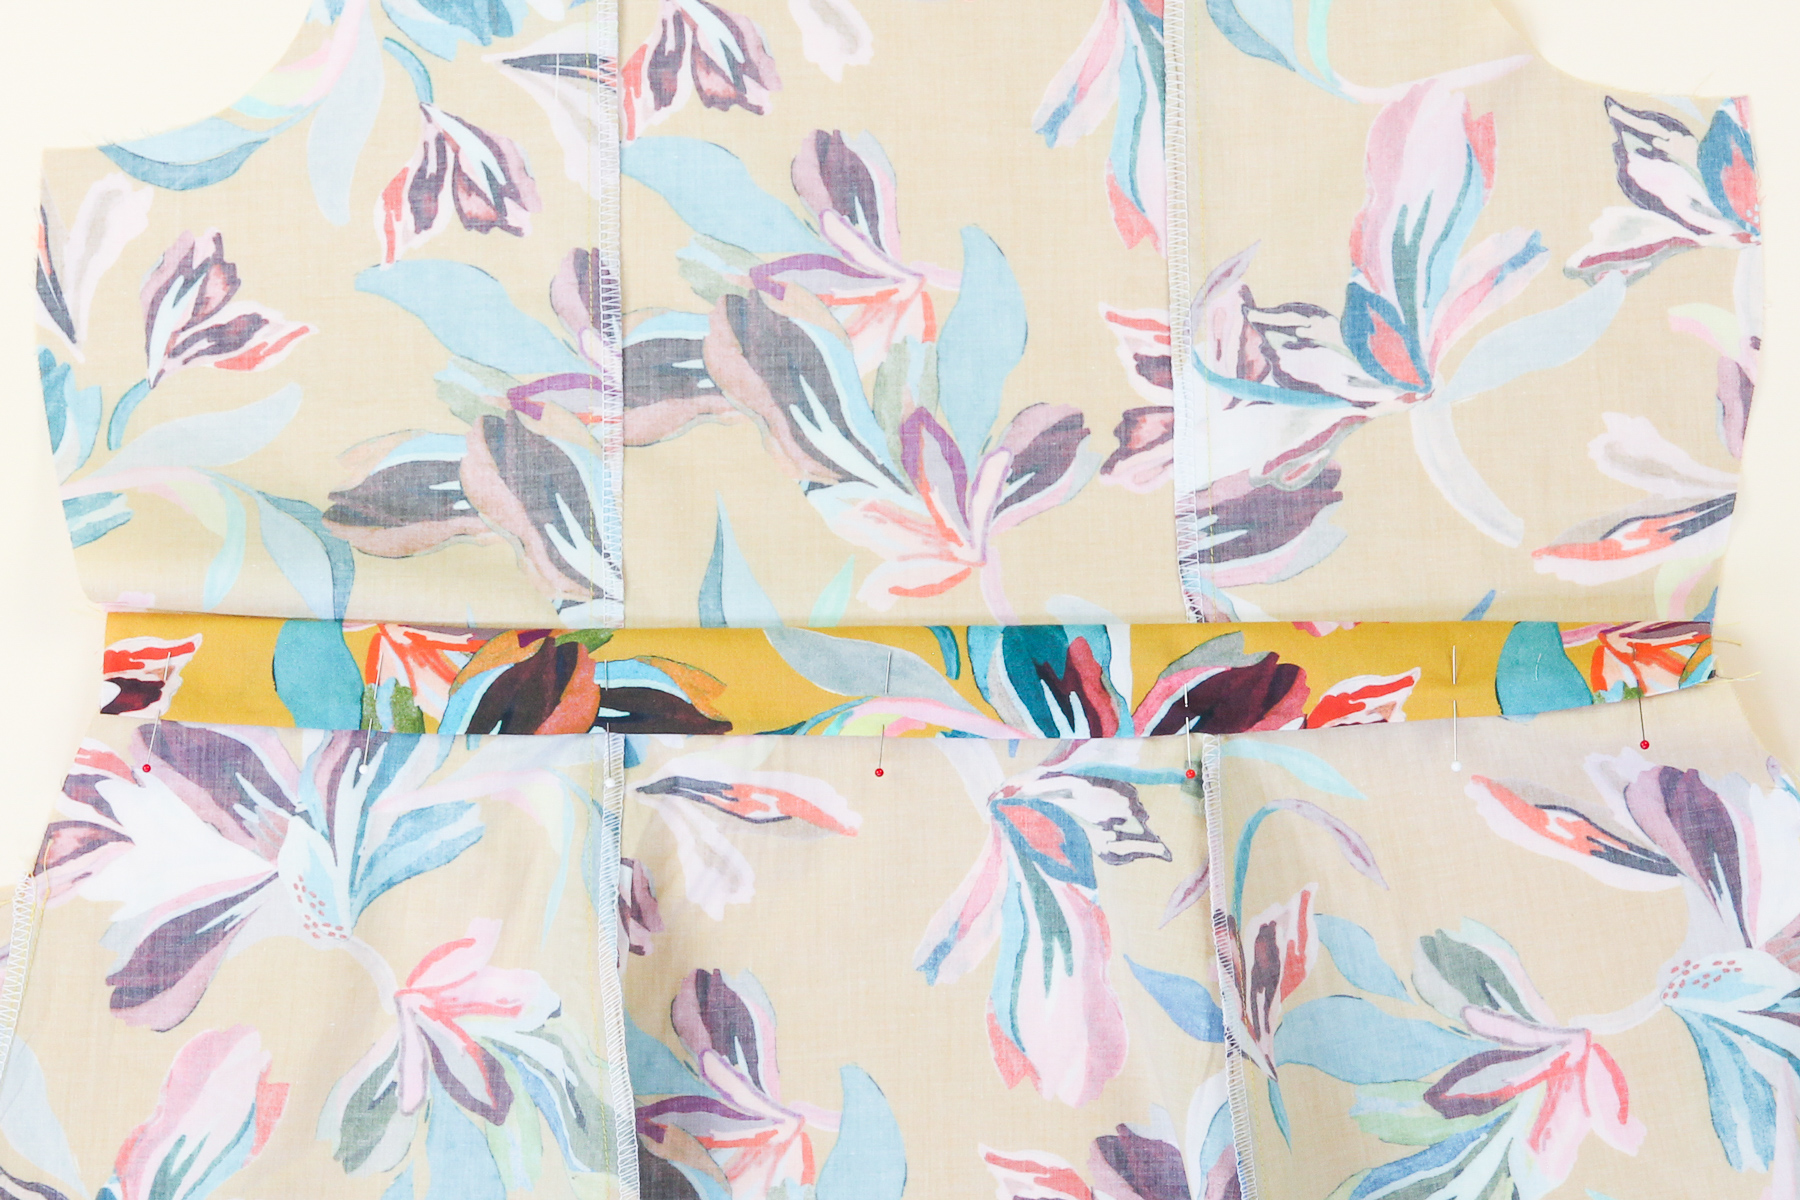
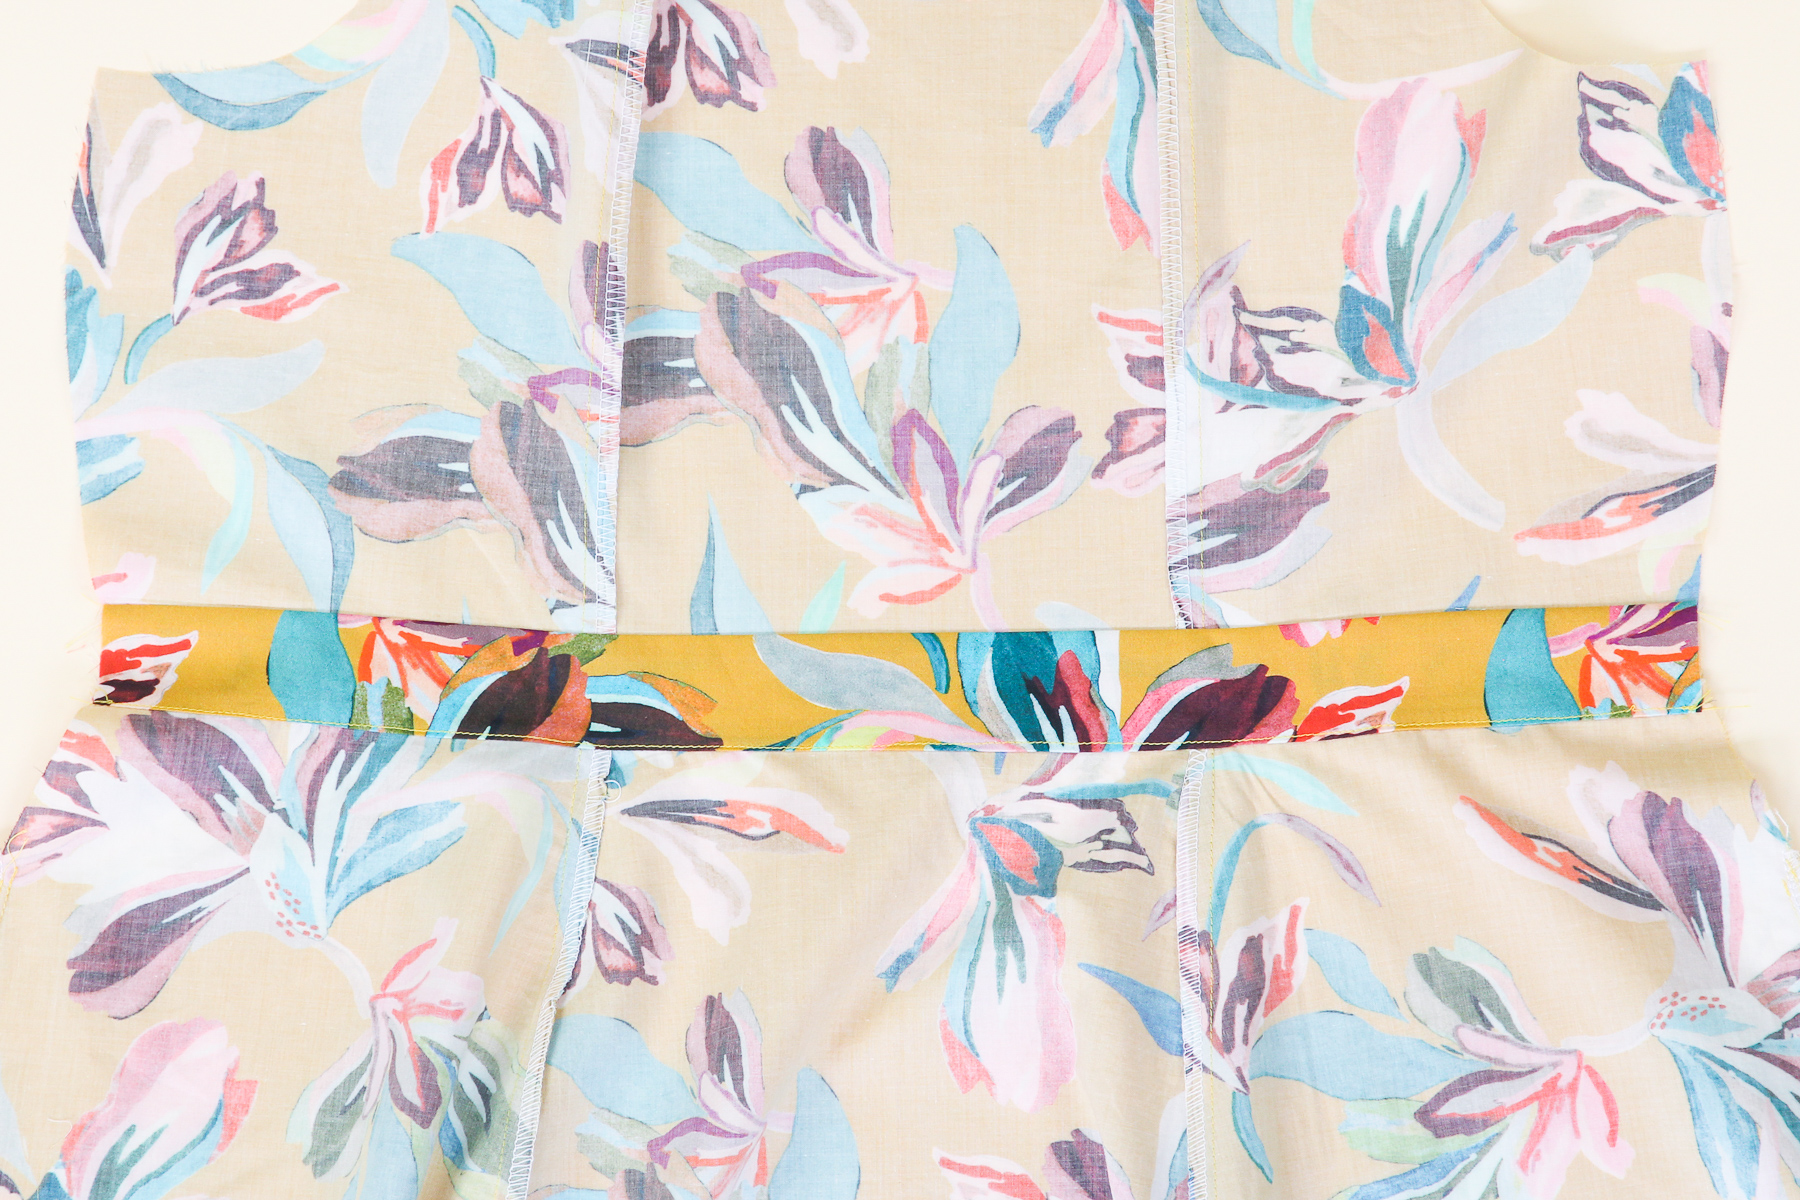
Ok, now we can flip the waistband facing down to enclose the waistband seams. You can use a hand needle and slip stitch the waistband shut, or use the “stitch in the ditch” technique. I recommend using Wonder Tape to keep that waistband facing in place as you stitch.
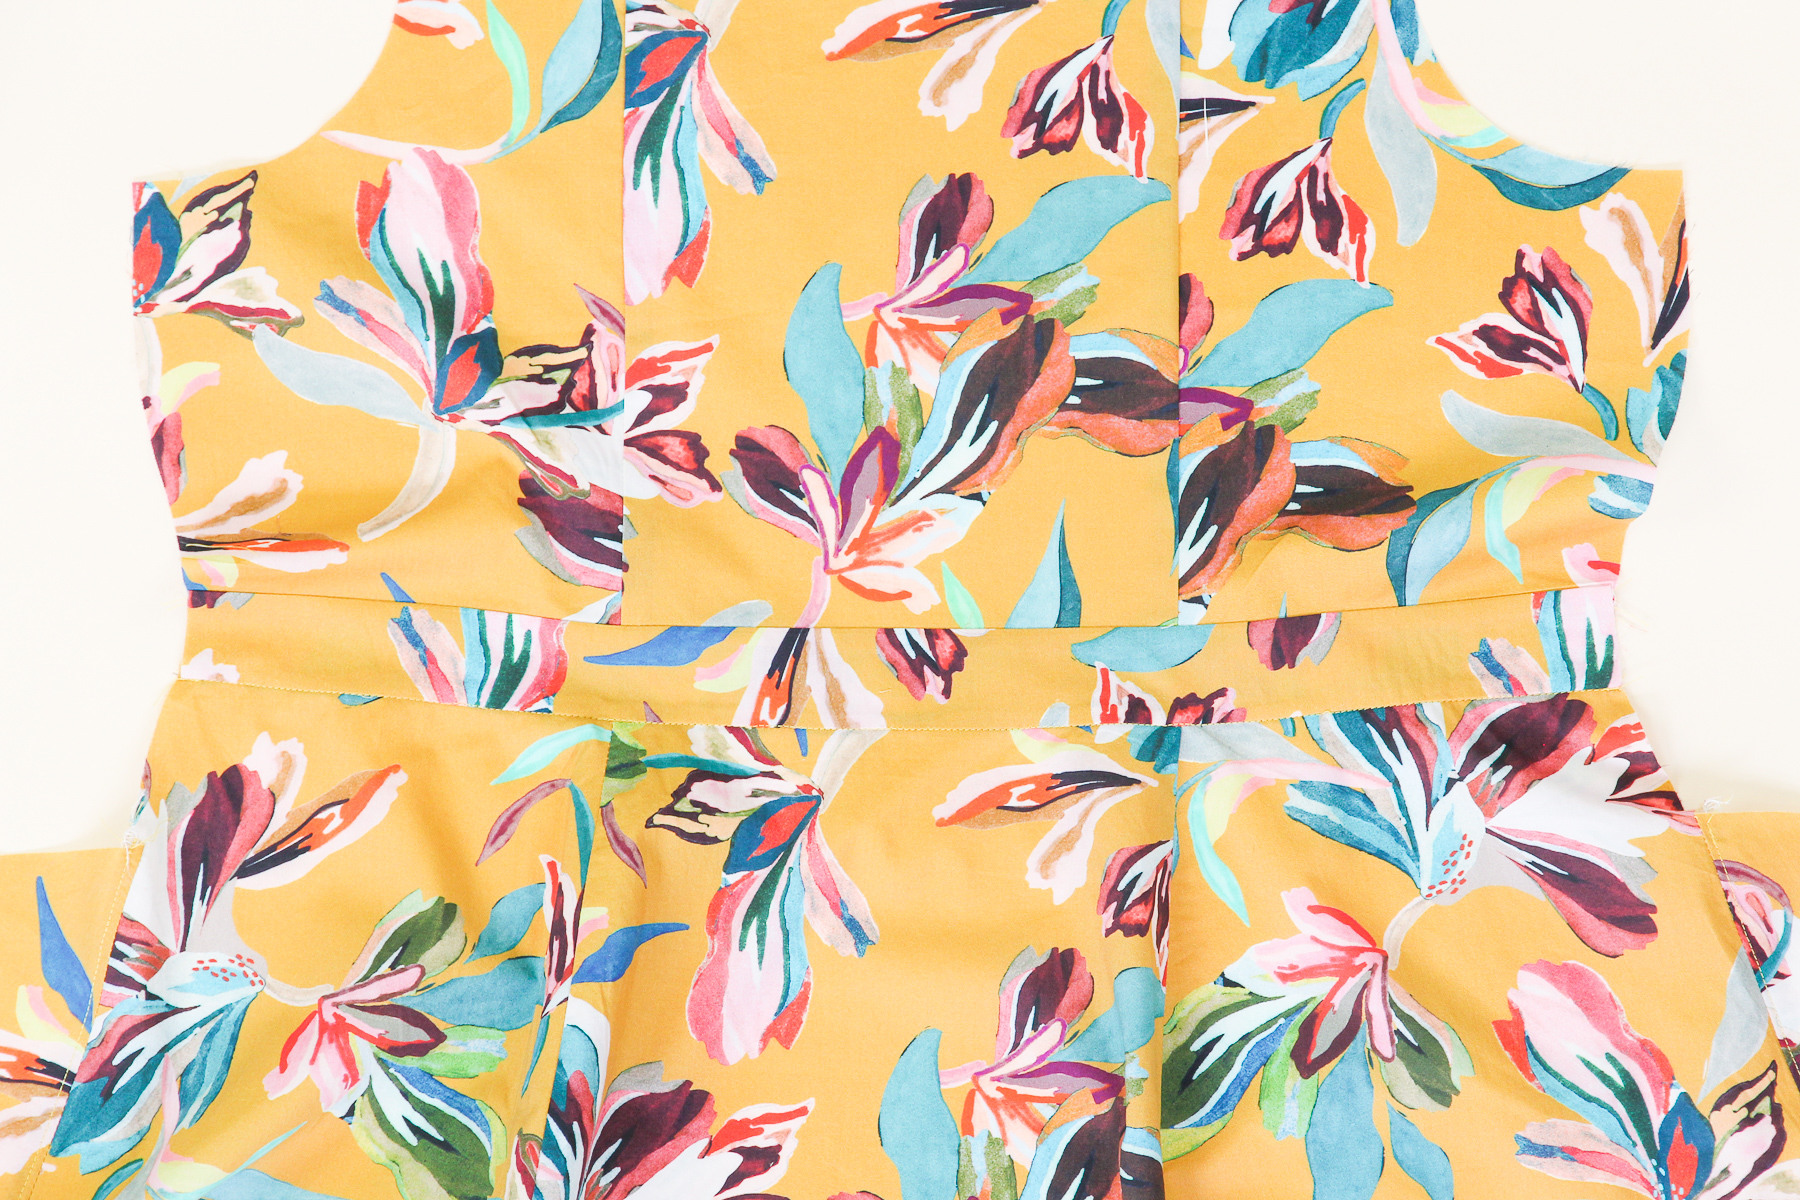
That’s almost it for the back of our Holyoke Dress! Now we need to insert the elastic.
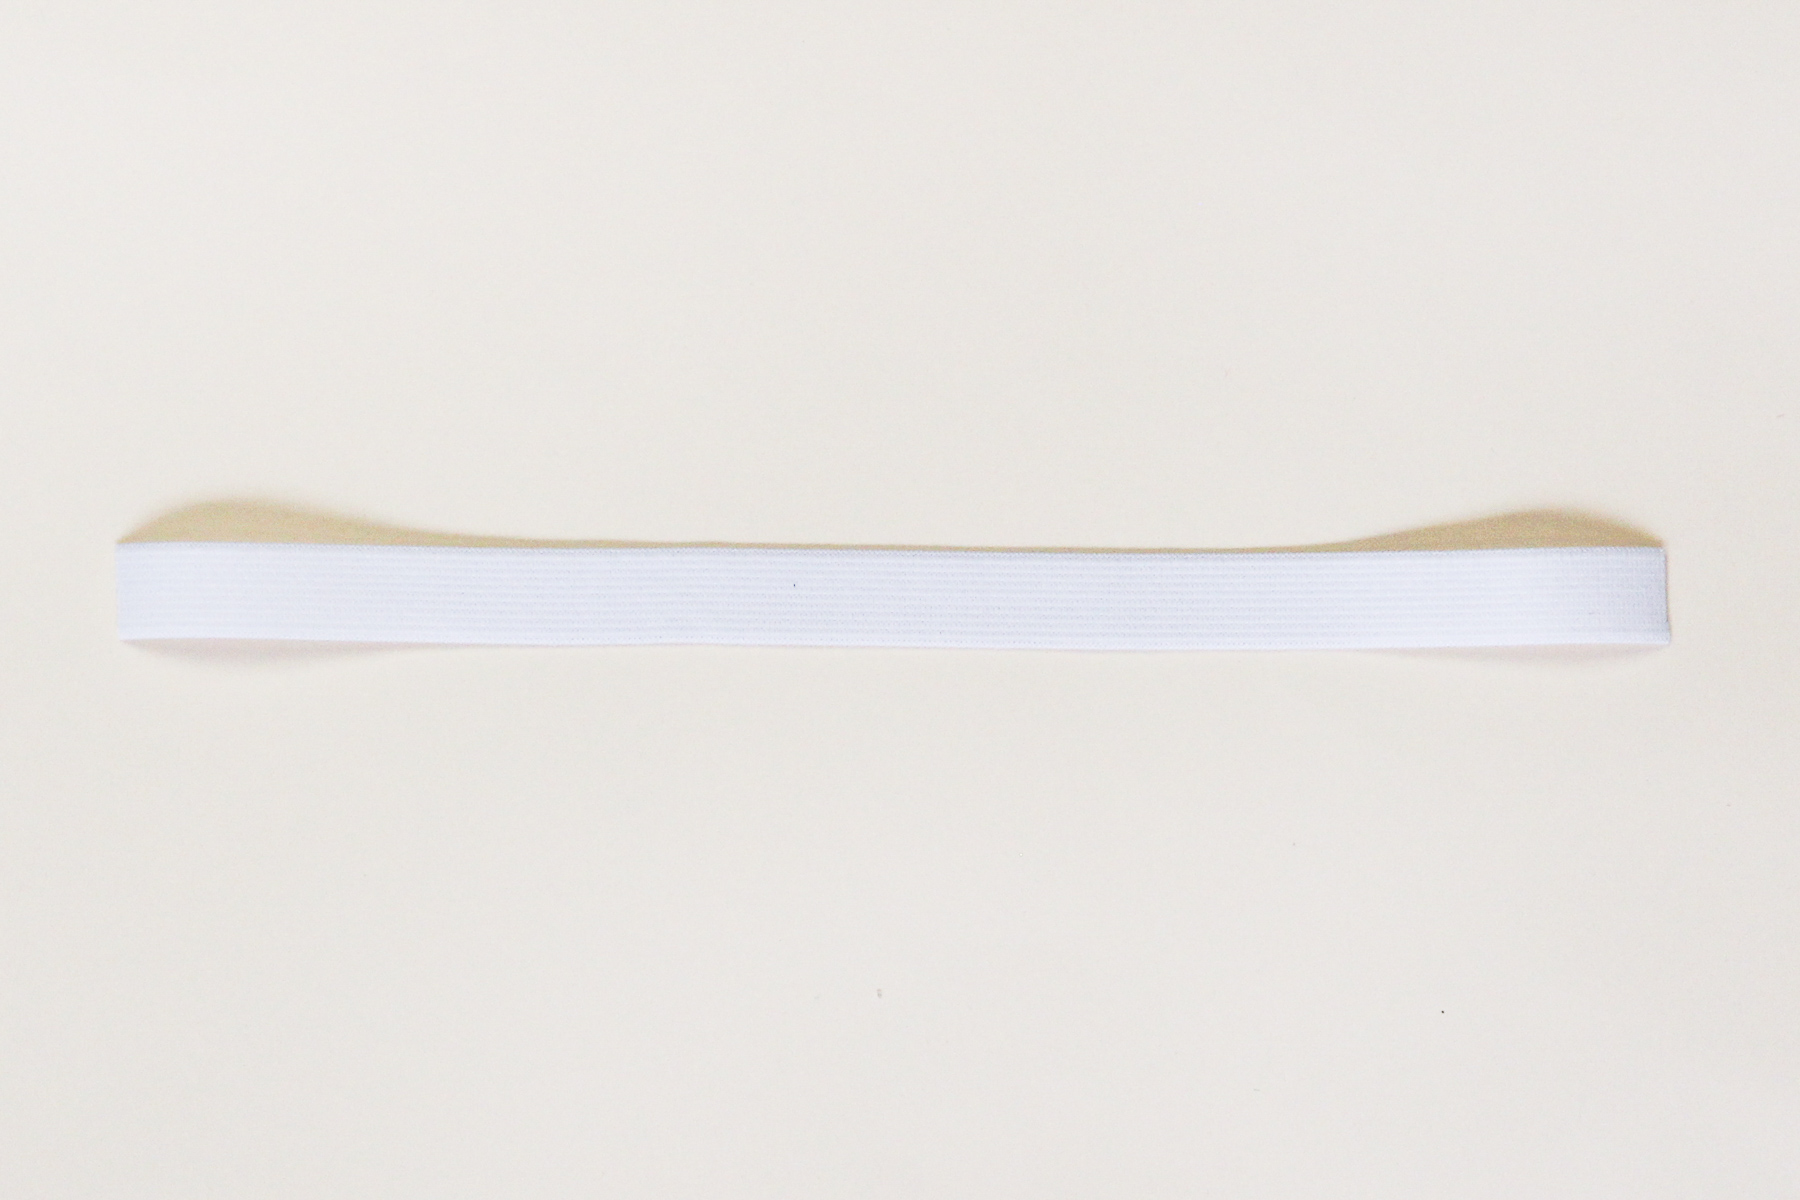
We did a little experimenting and found that knit elastic works best here. Both woven and braided elastic tend to loose their stretchiness when stitched through in the way that we’ll be doing.
Check the chart in the pattern instructions, find your size, then cut that length of elastic.
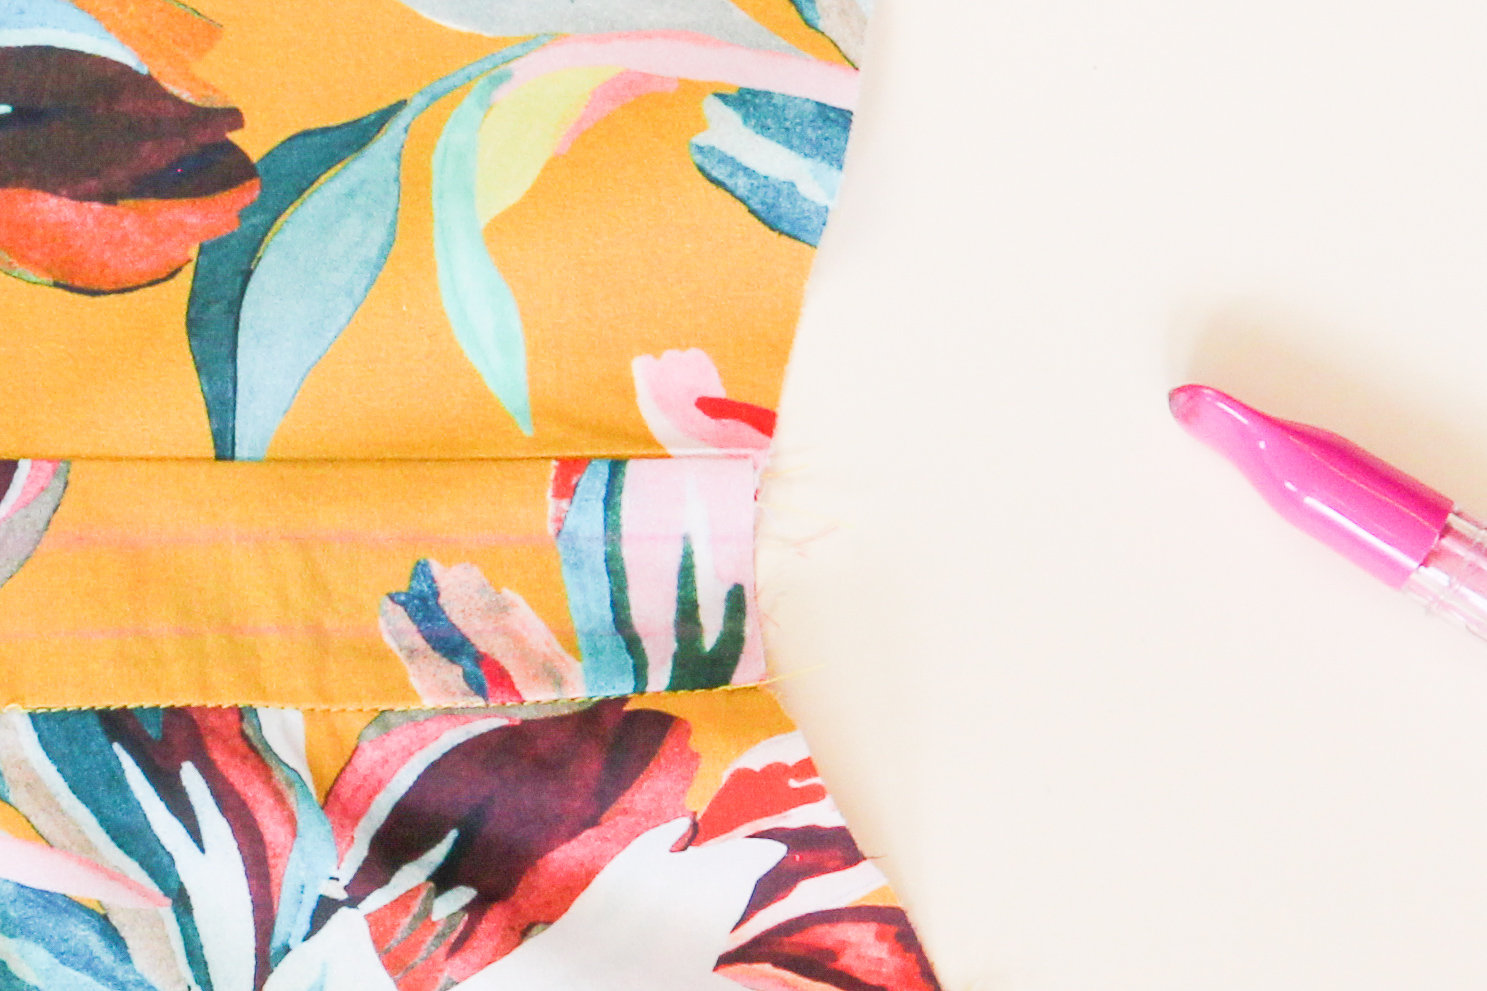
Before I insert my elastic, I’m going to chalk my two parallel topstitching lines. You can skip this step if you want, but I find that it’s a helpful guiding line as I’m sewing through the waistband and elastic.
Now I’m going to insert my elastic by attaching a safety pin to one end and sliding it through the waistband channel. The elastic will be shorter than the fabric, so be careful not to lose the other end inside your waistband channel.
Pin the elastic at either end of the waistband, and then stretch the elastic until the fabric is flat. Pin in the middle and release the fabric—it’ll bunch up like this:
Now we’re going to sew those two parallel lines from one end of the waistband to the other. We’re going to use a 3 mm wide by 2 mm long zigzag stitch for this, and we’re going to hold the fabric on either side of the machine and stretch it as we sew, making sure the fabric is flat and the elastic is taut. It’s ok if the topstitching isn’t flawless—this area will get bunched up and hide most topstitching imperfections.
If you have any concerns about whether your elastic will stay elasticy after you’ve sewn through it and all those layers of fabric, cut a small test piece of elastic and fabric and test how stretchy it is after it’s sewn. If the elastic has lost its stretchiness, try adjusting the stitch width and/or length until you find a stitch that allows the elastic to stretch.

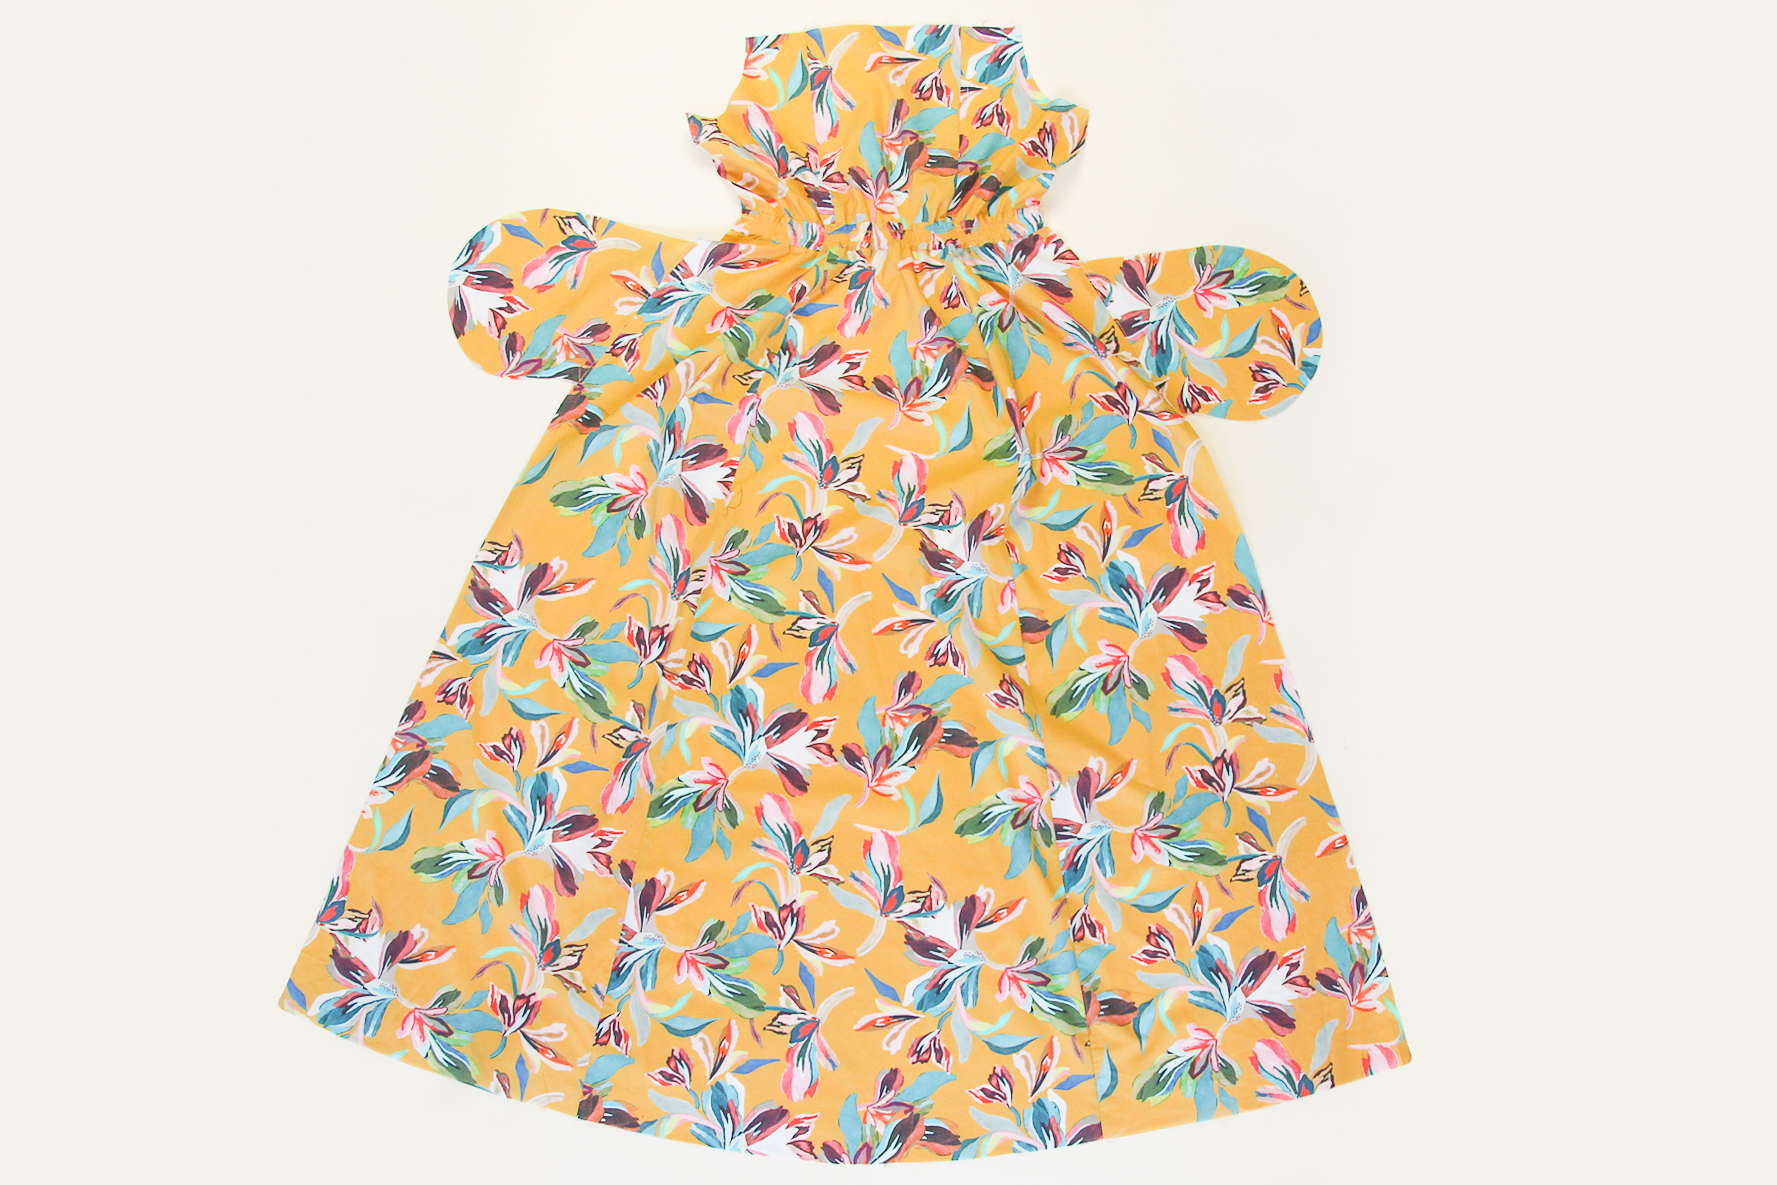
And that’s it for today! Next time, we’re going to be attaching the front of our dress to the back, and then it’ll start feeling like a real garment!
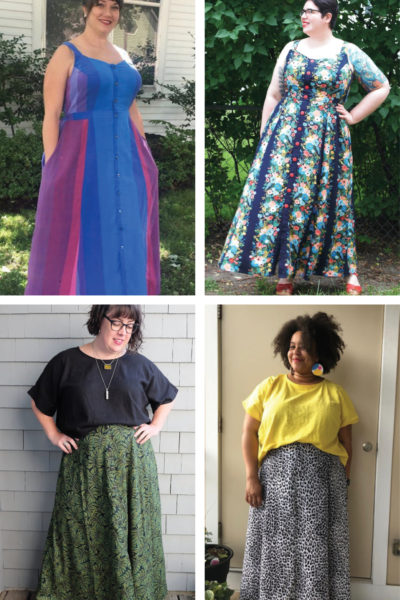
We want to see your creations, whatever stage of the process you’re at! Tag your makes with #HolyokeDress or #HolyokeSkirt on social media so we (and the whole sewing community) can cheer you on to the finish line!
Hi where are the pictures? All I see are x in small boxes?
Hi Rosie, the images should all be there. I wonder if your computer or phone was having a hard time loading them? Try refreshing the page and seeing if they display then.
-Ayelet at Cashmerette
Hello. How wide apart should those two chalked parallel topstitching lines be? The 3/4 inch of the elastic or a bit narrower? Thank you
Both lines of stitching should go through the elastic, but you can decide how far apart you want them to be.
-Ayelet at Cashmerette