Welcome back to the Holyoke Maxi Dress and Skirt sewalong! Last time, we assembled the front and back skirt of our dress. Today, we’ll be sewing the front skirt to the bodice and attaching our straps and front facing.
(Need to jump to a different day? Head over to the main Holyoke Maxi Dress and Skirt sewalong page.)
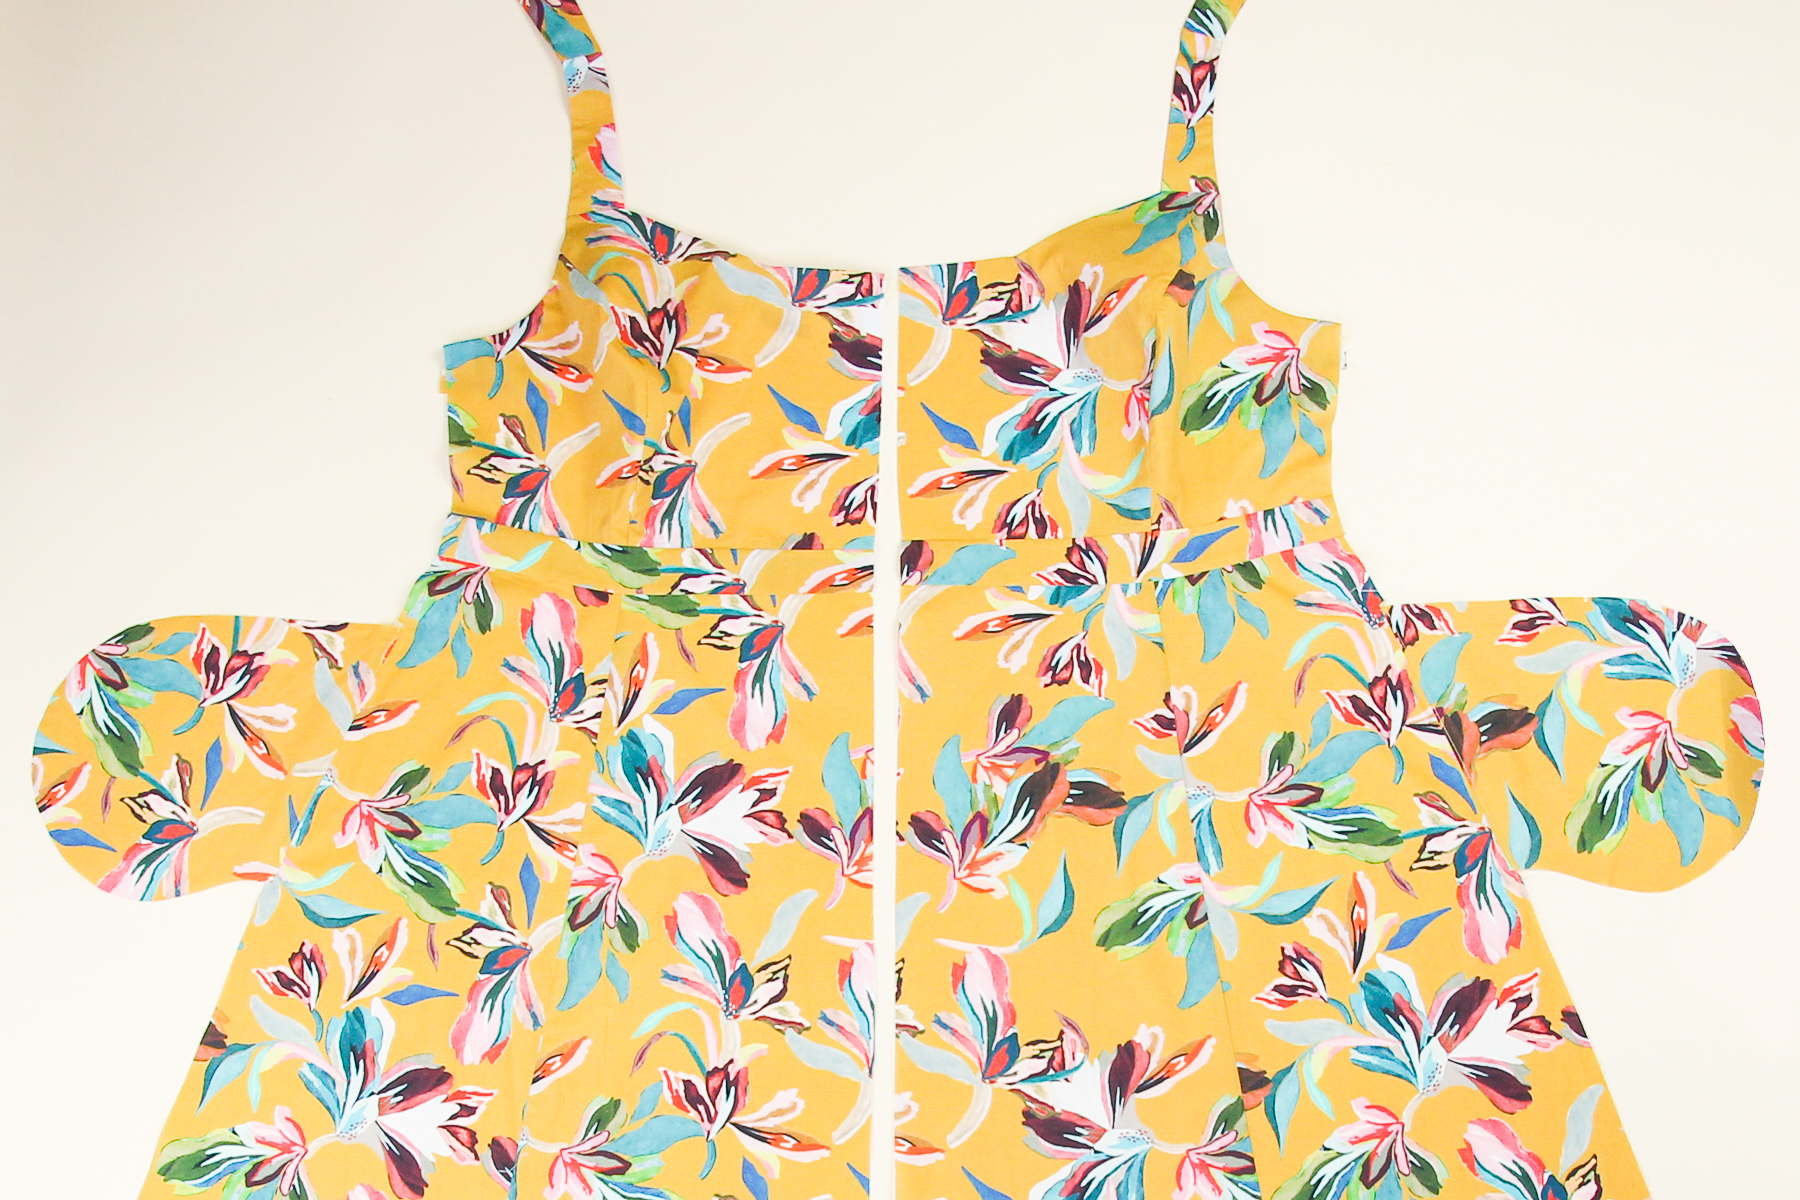
Ok, here we go!
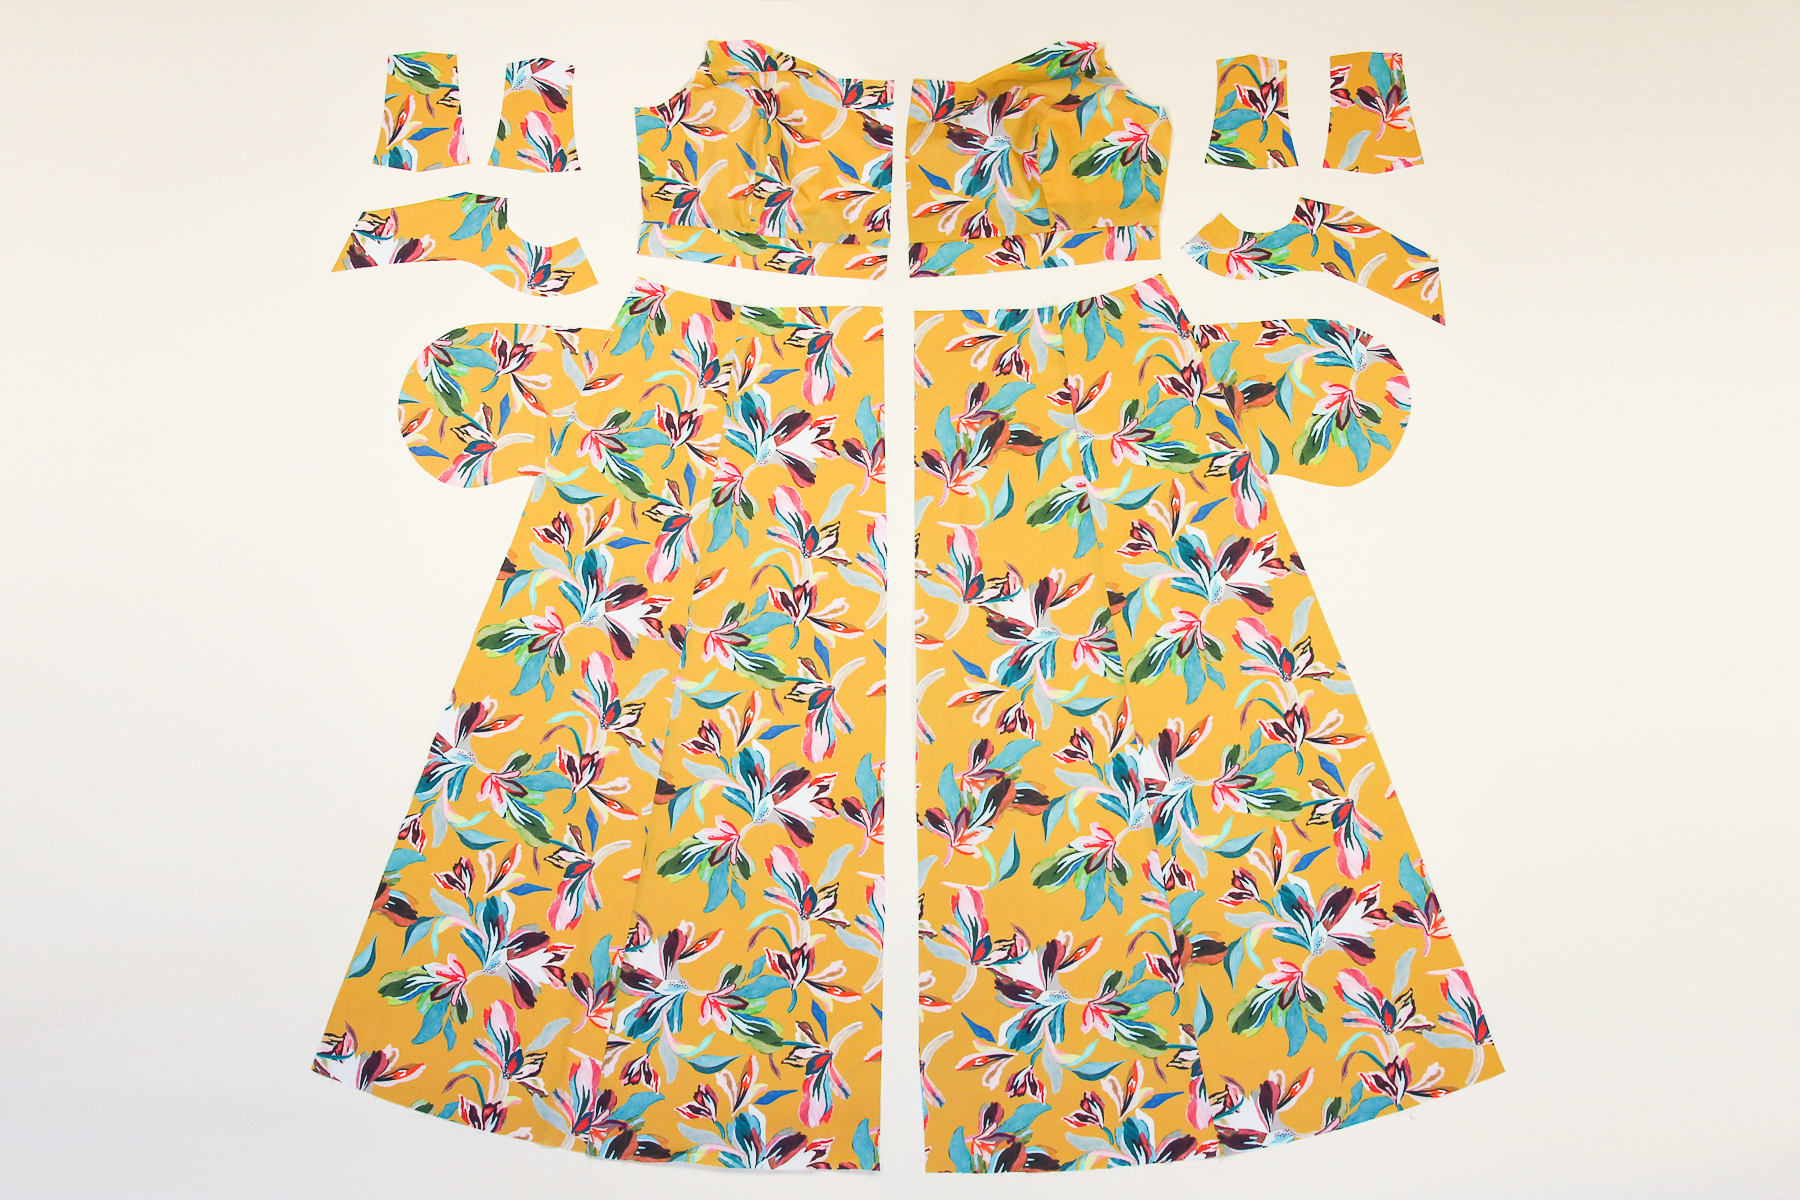
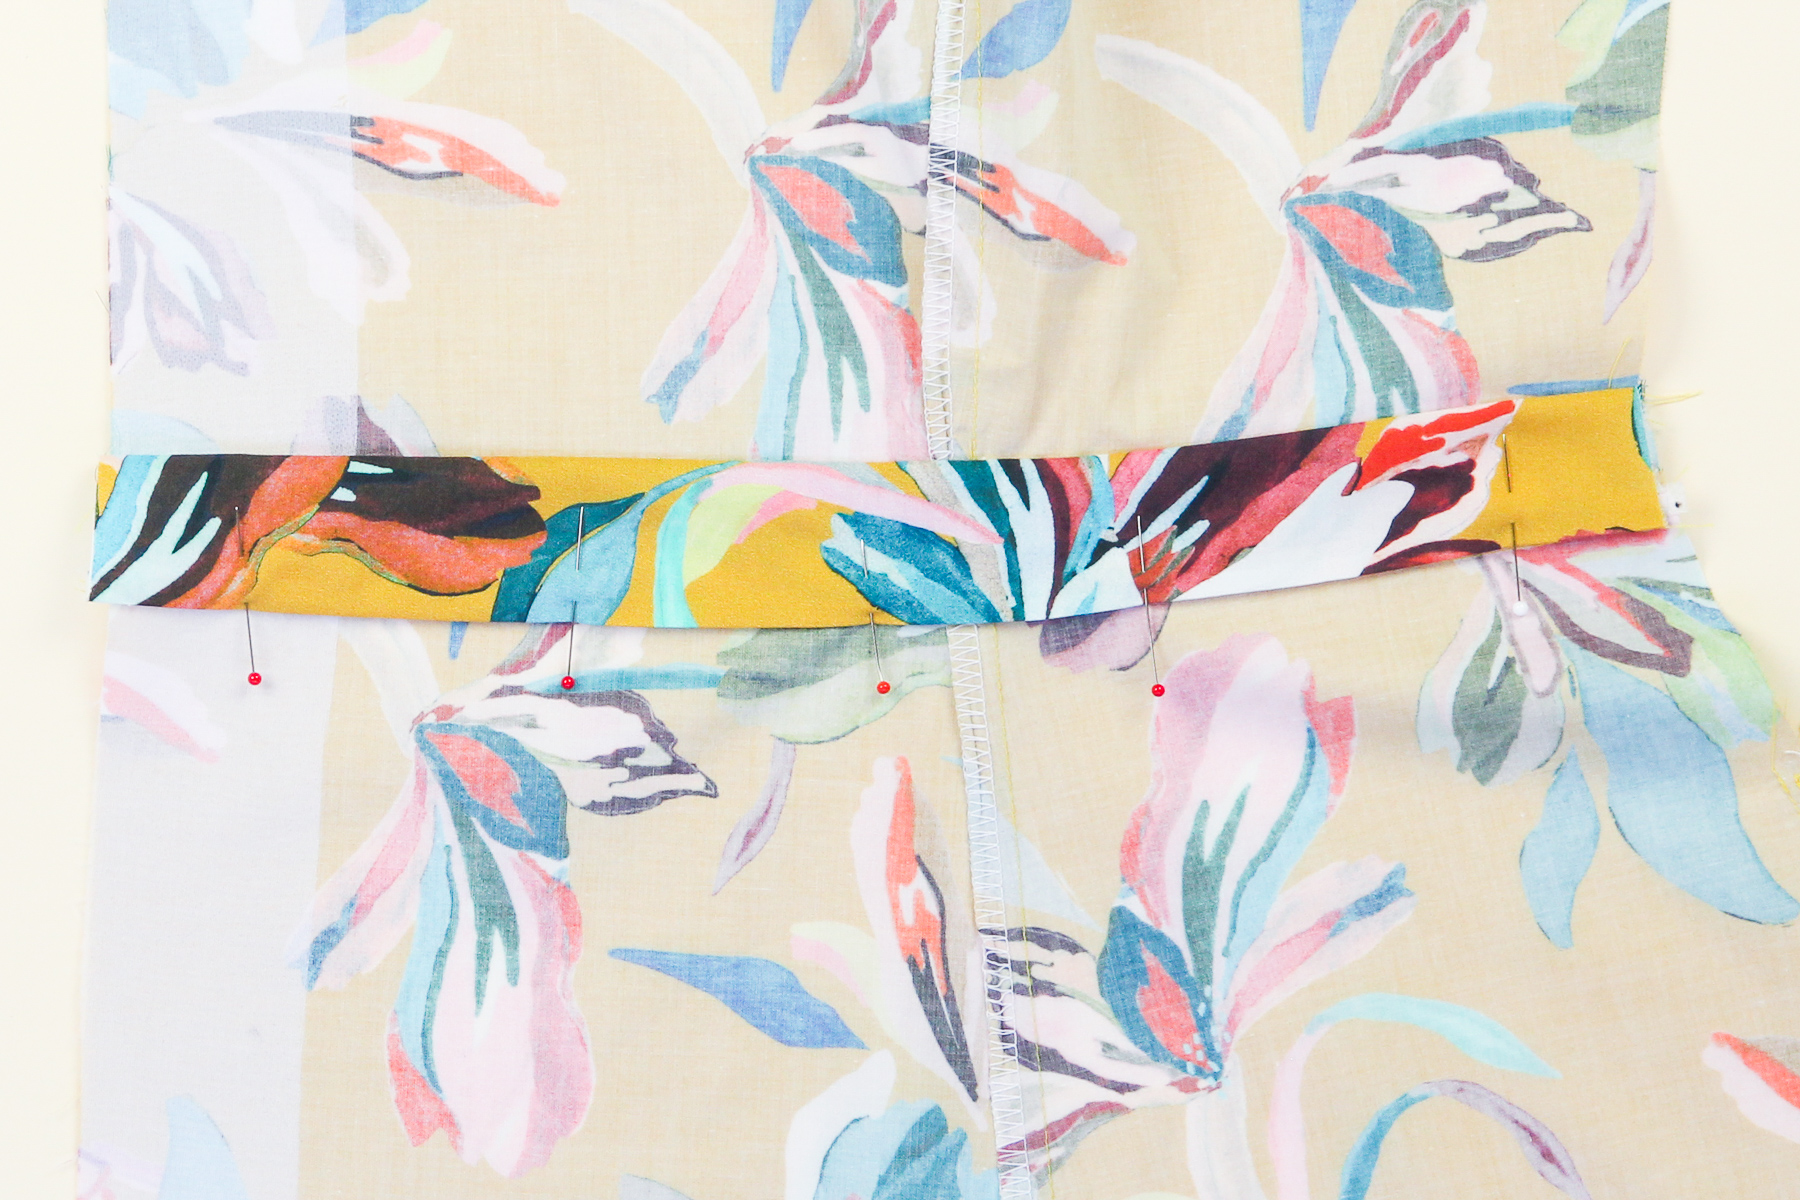
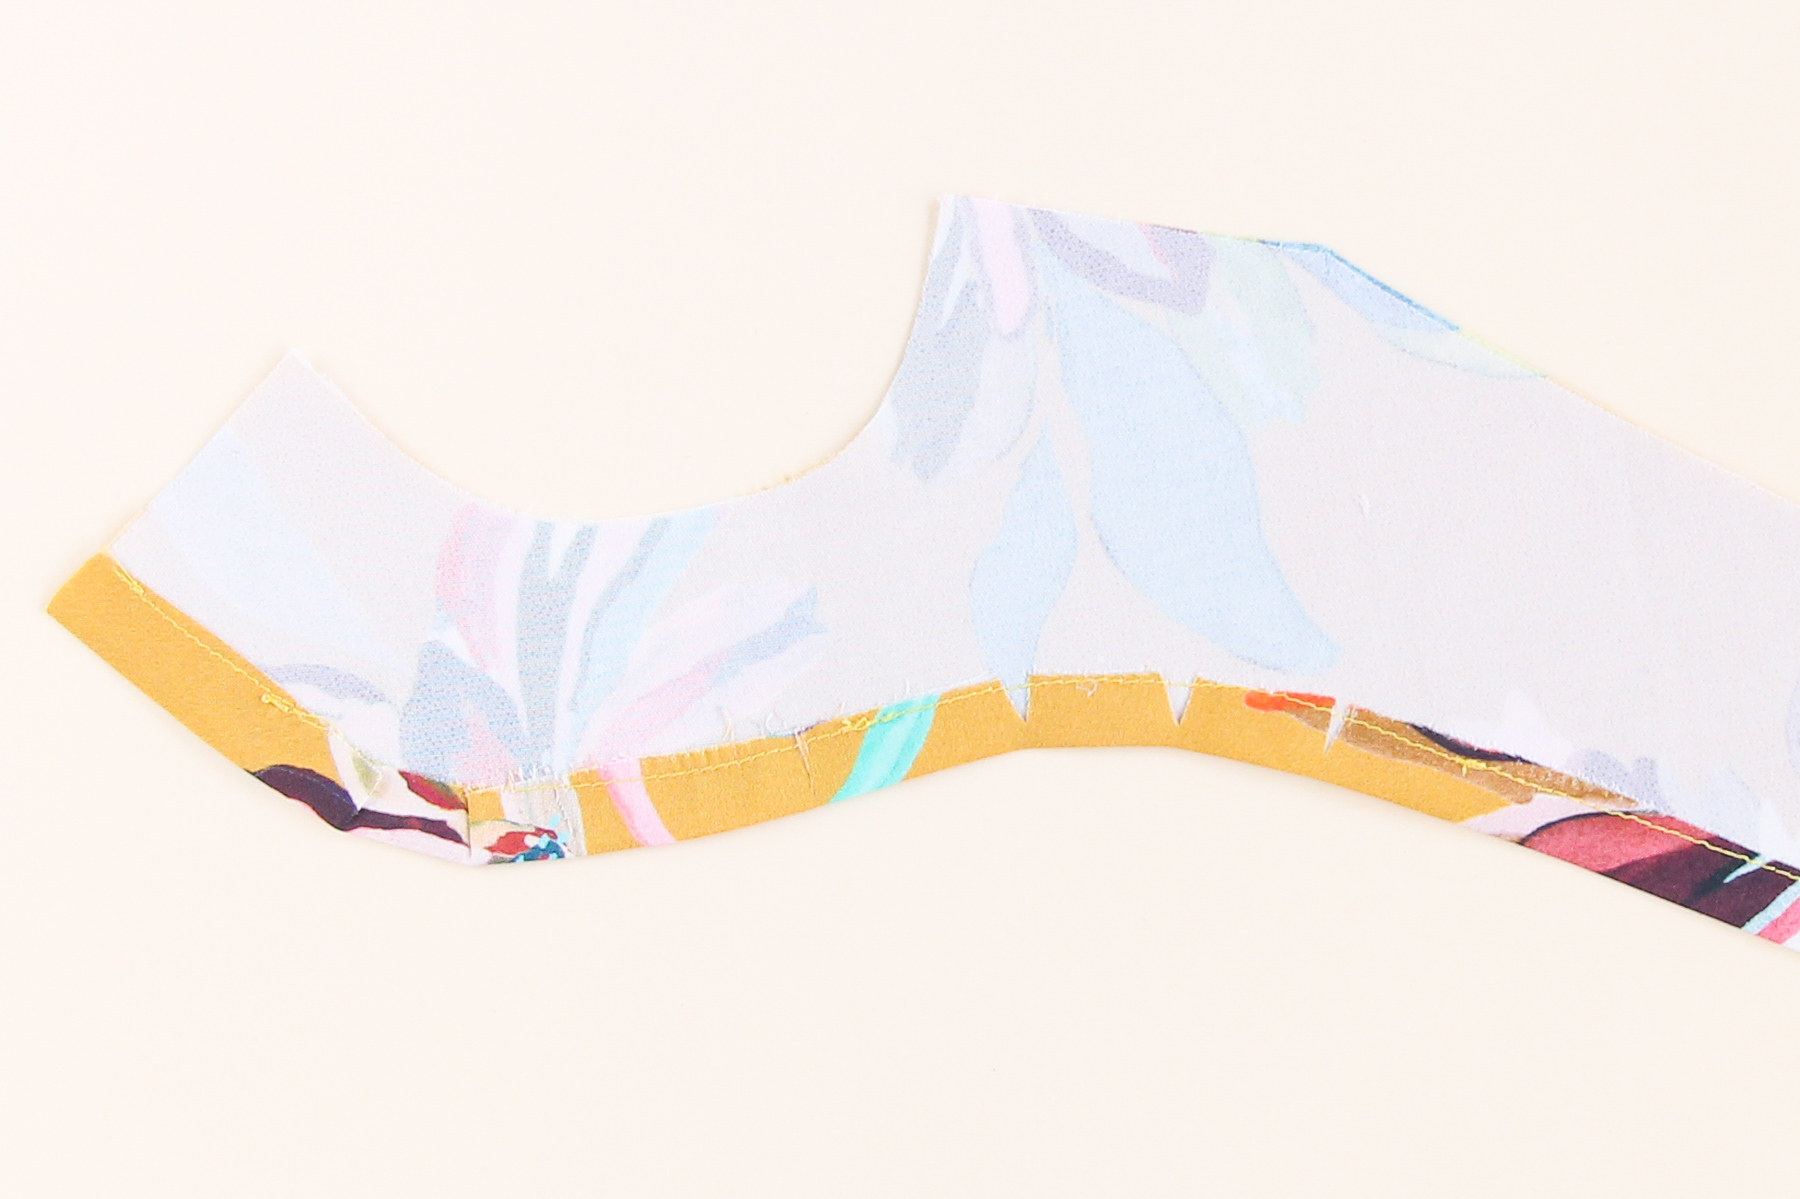
We’re going to start by pinning one of our constructed front bodices to one of the constructed front skirts, right sides together. Make sure you’re only pinning the outer waistband to the skirt—the waistband facing should still be flipped up and away from the seam we’re about to sew.
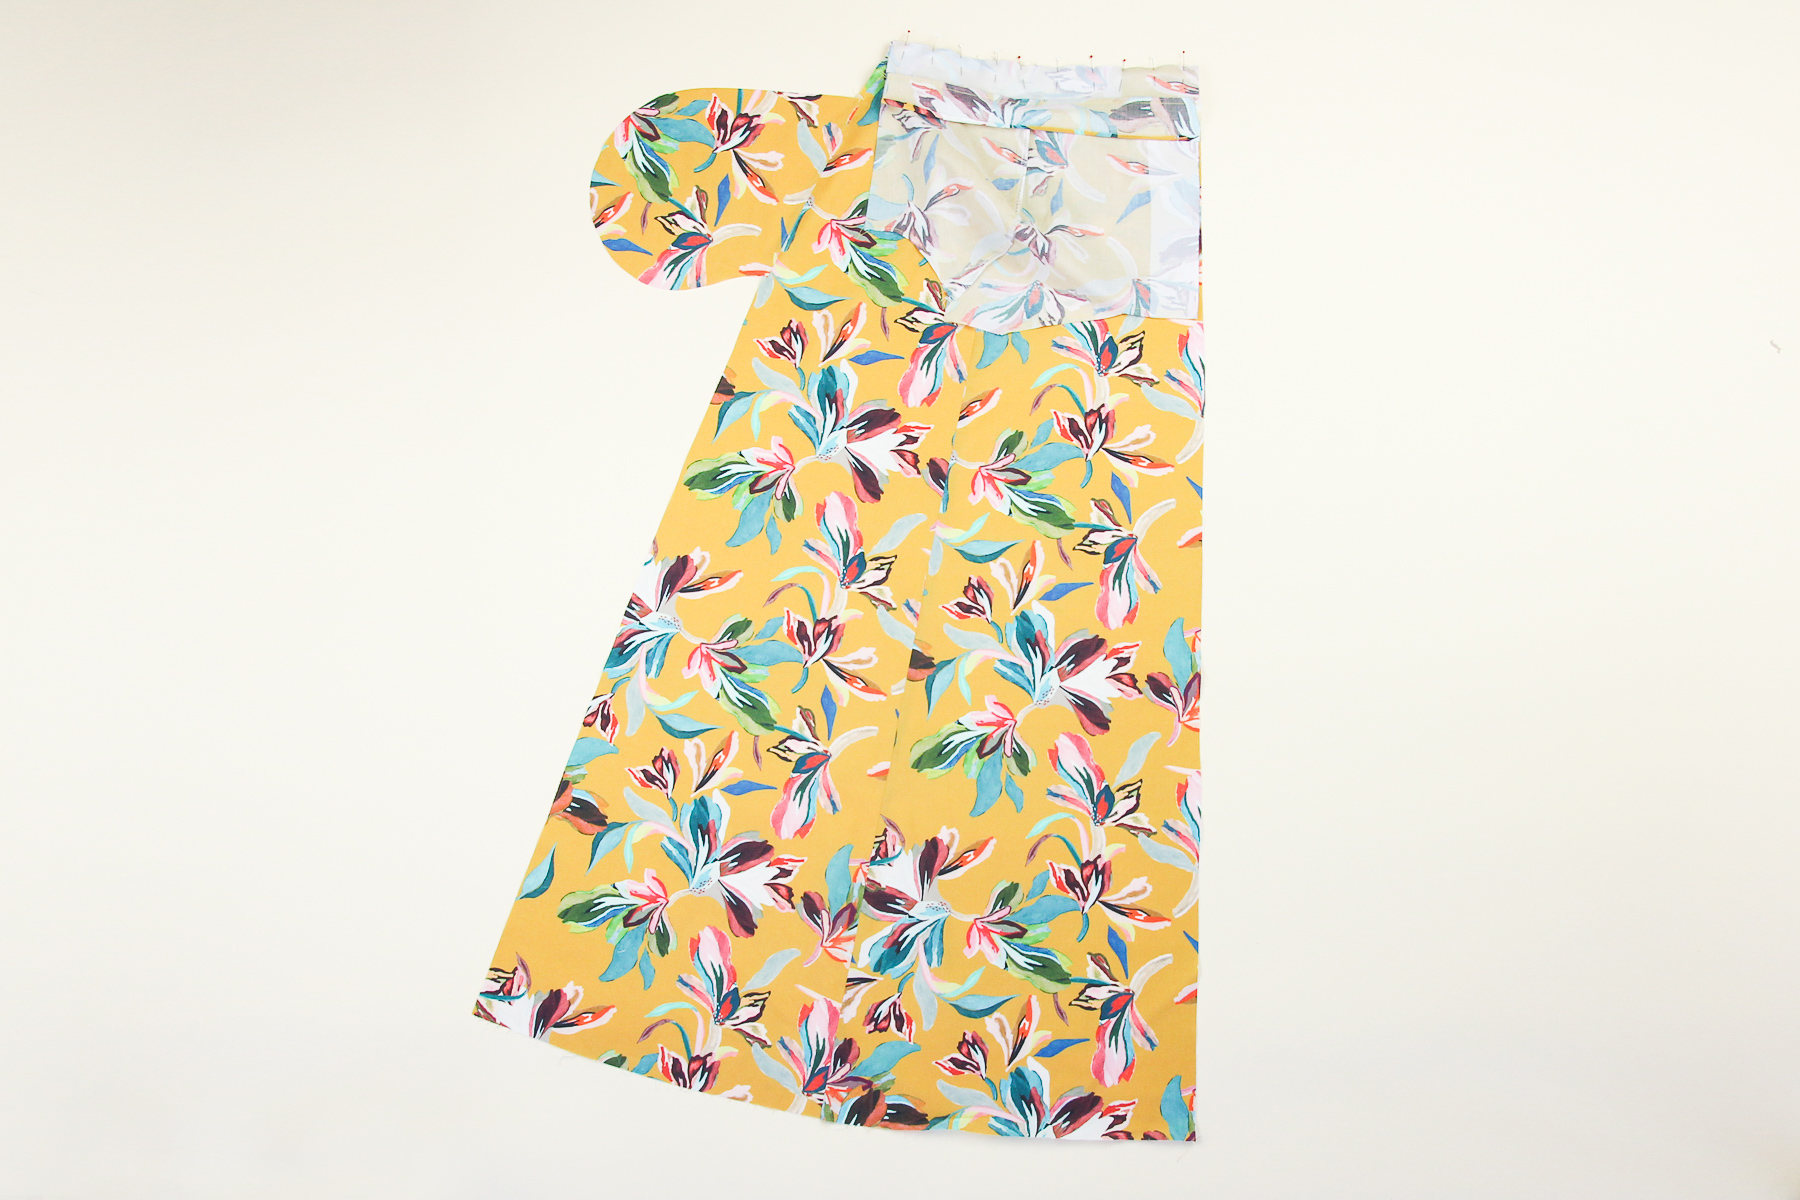
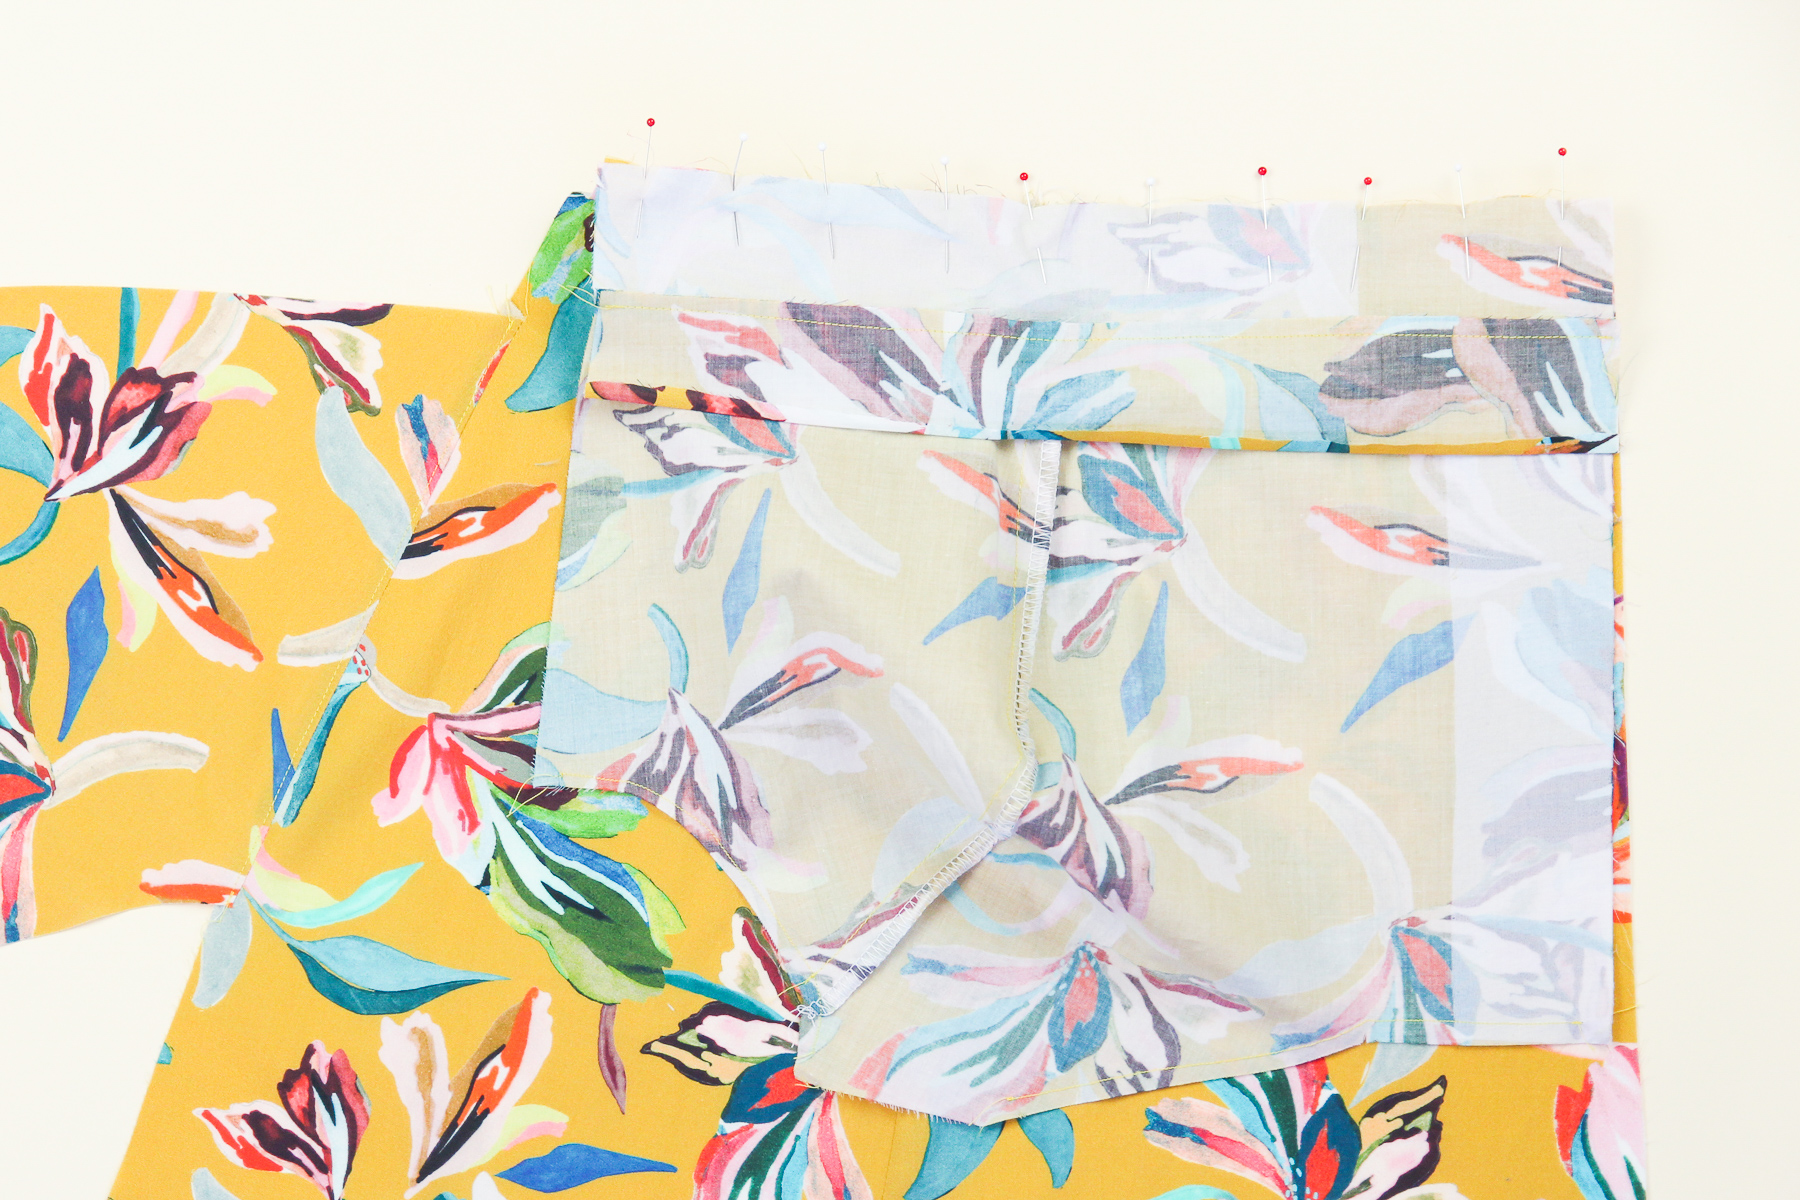
Let’s sew that seam at our 1/2” (12 mm) seam allowance.
Now trim that seam down to 1/4” (6 mm).
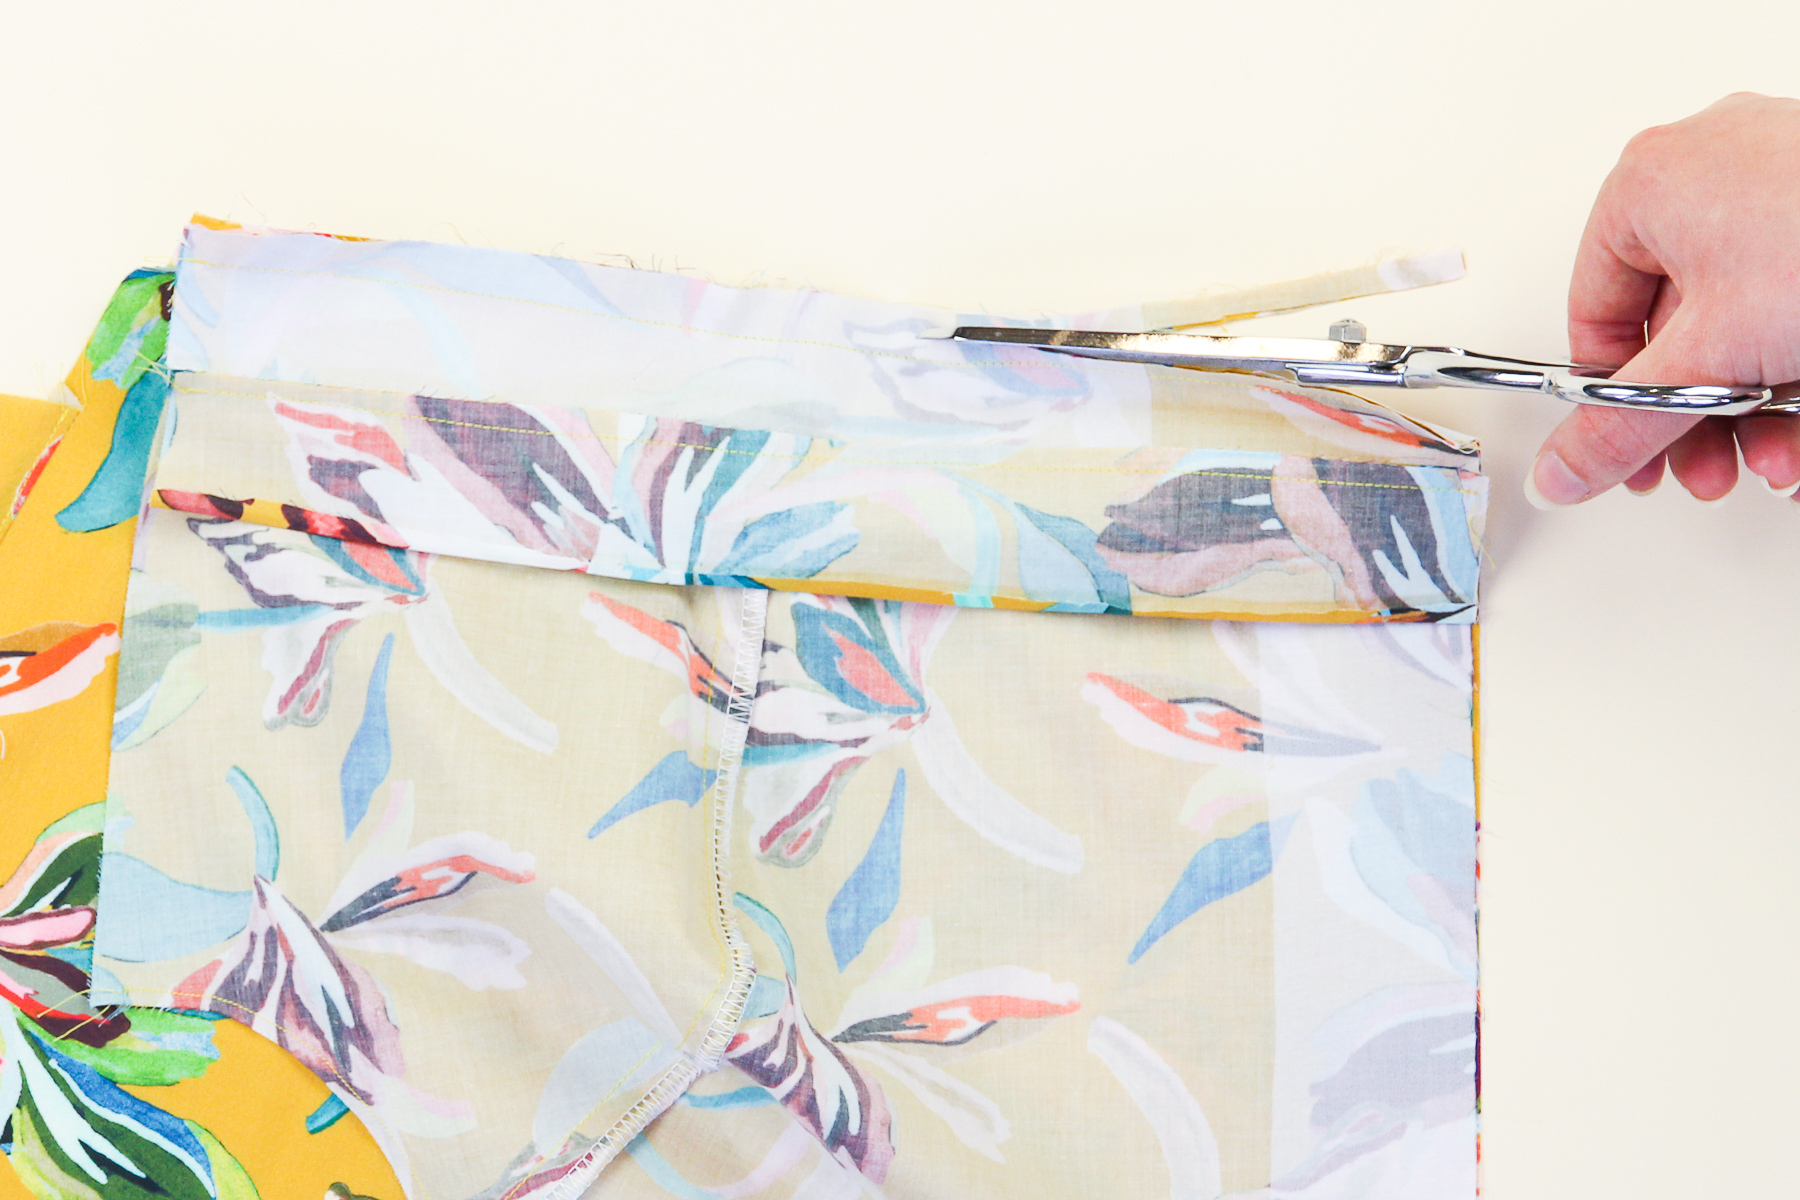
Finally, press it up towards the waistband.
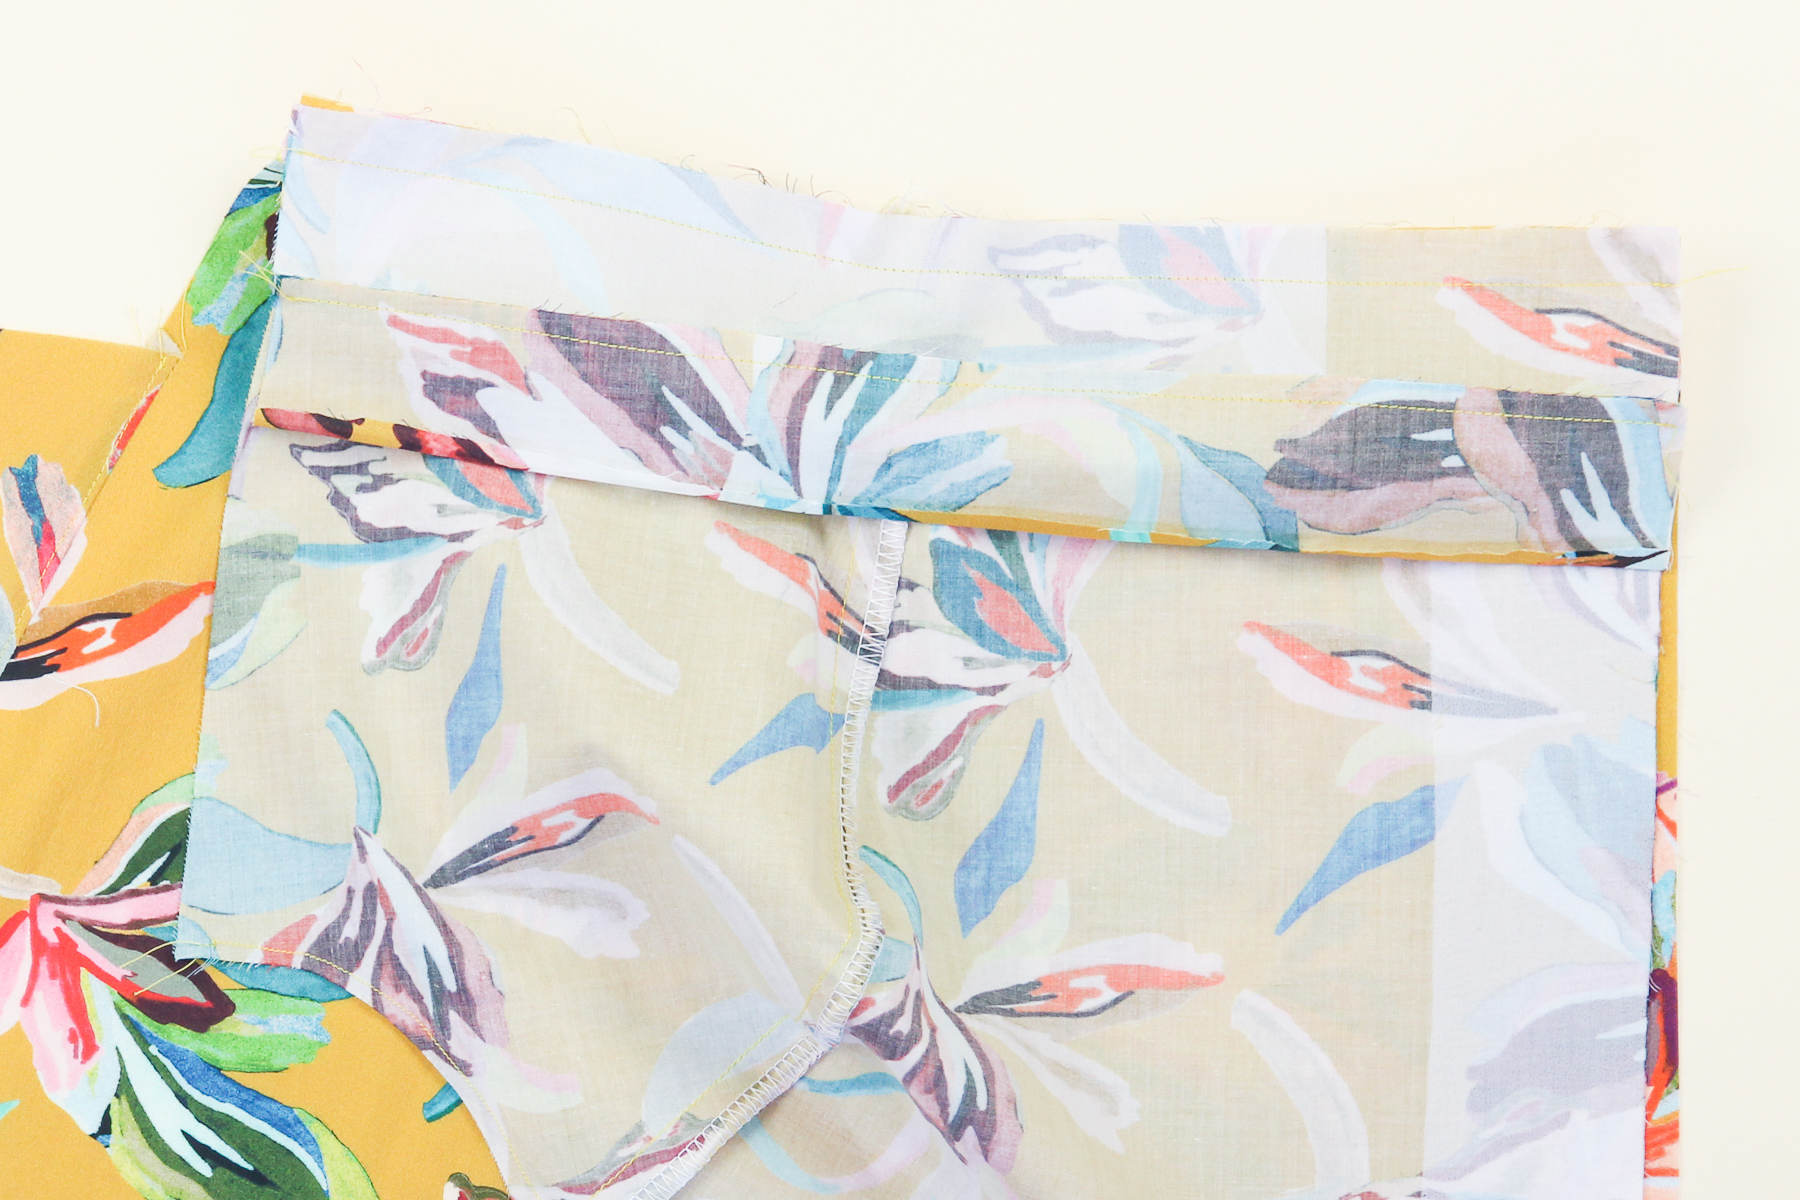
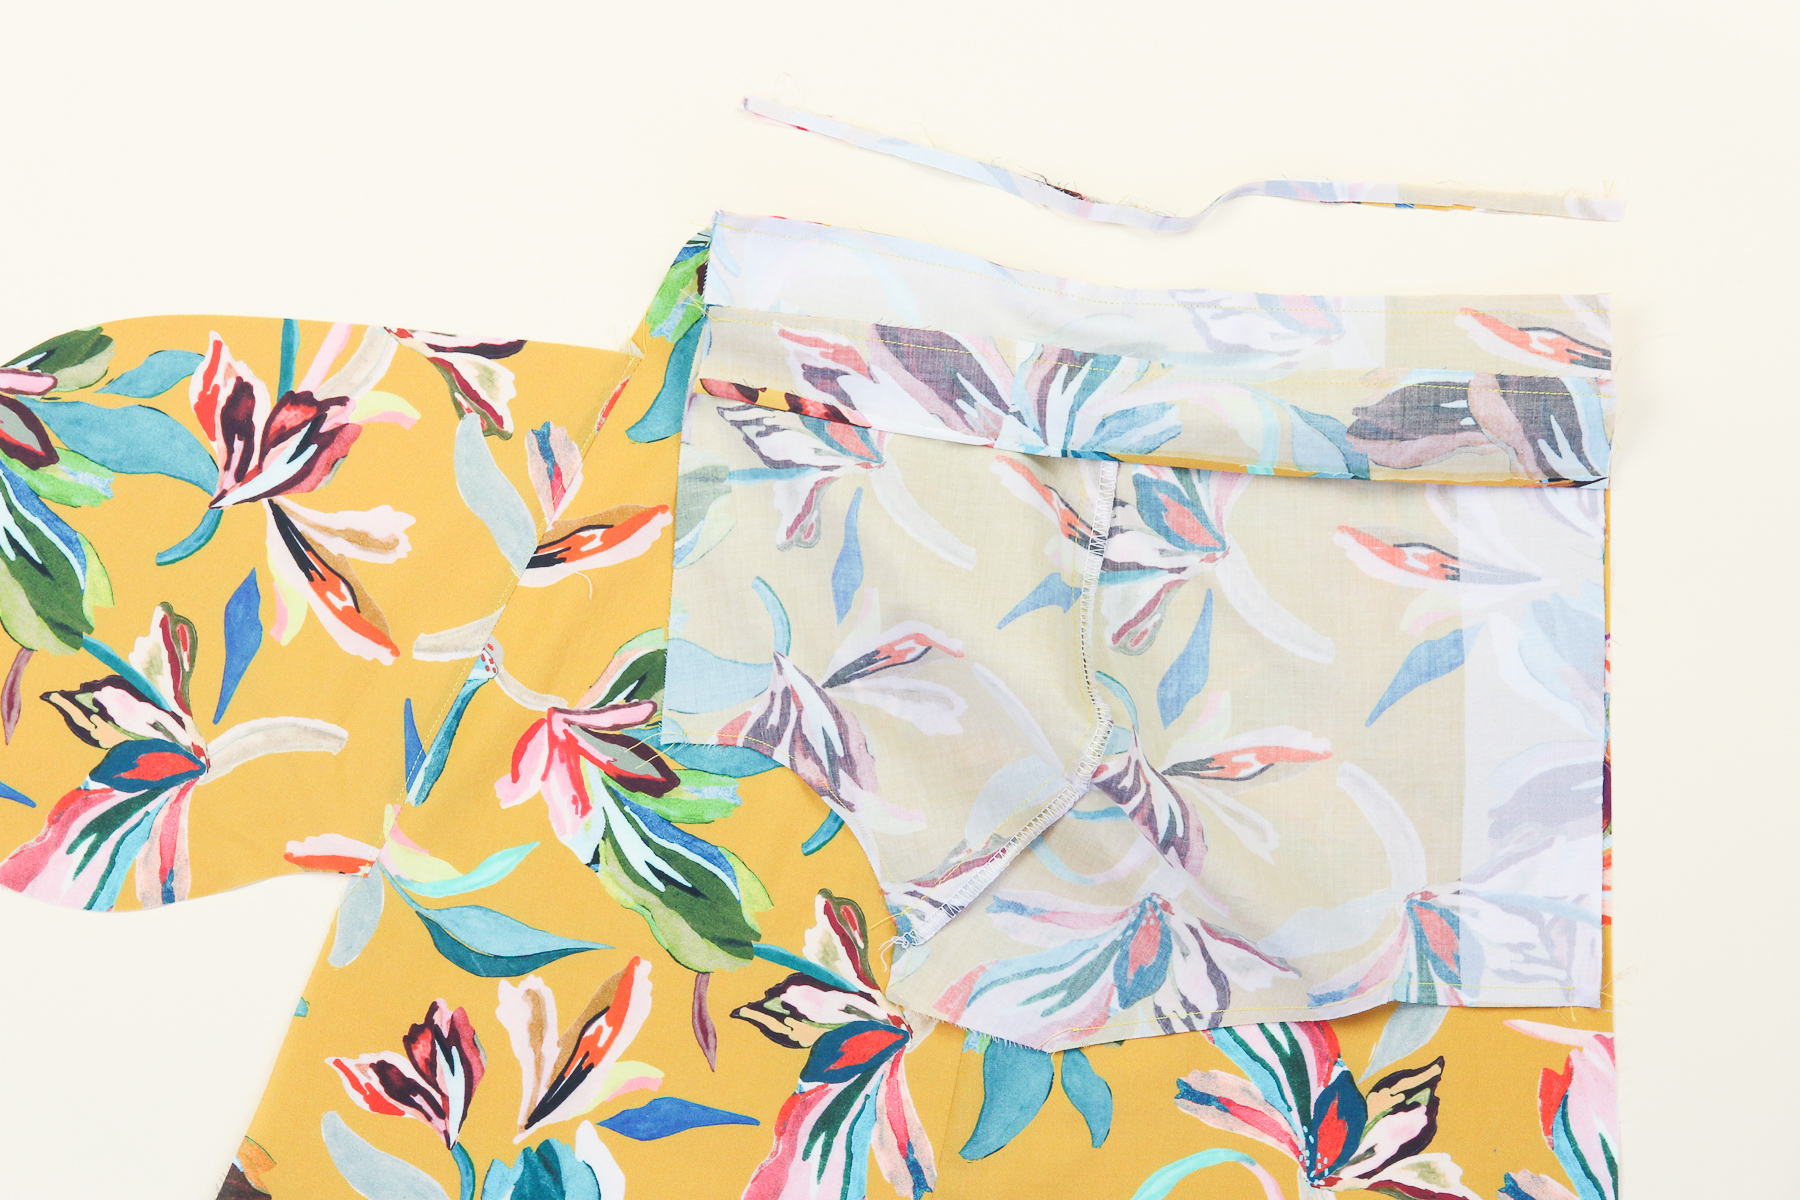
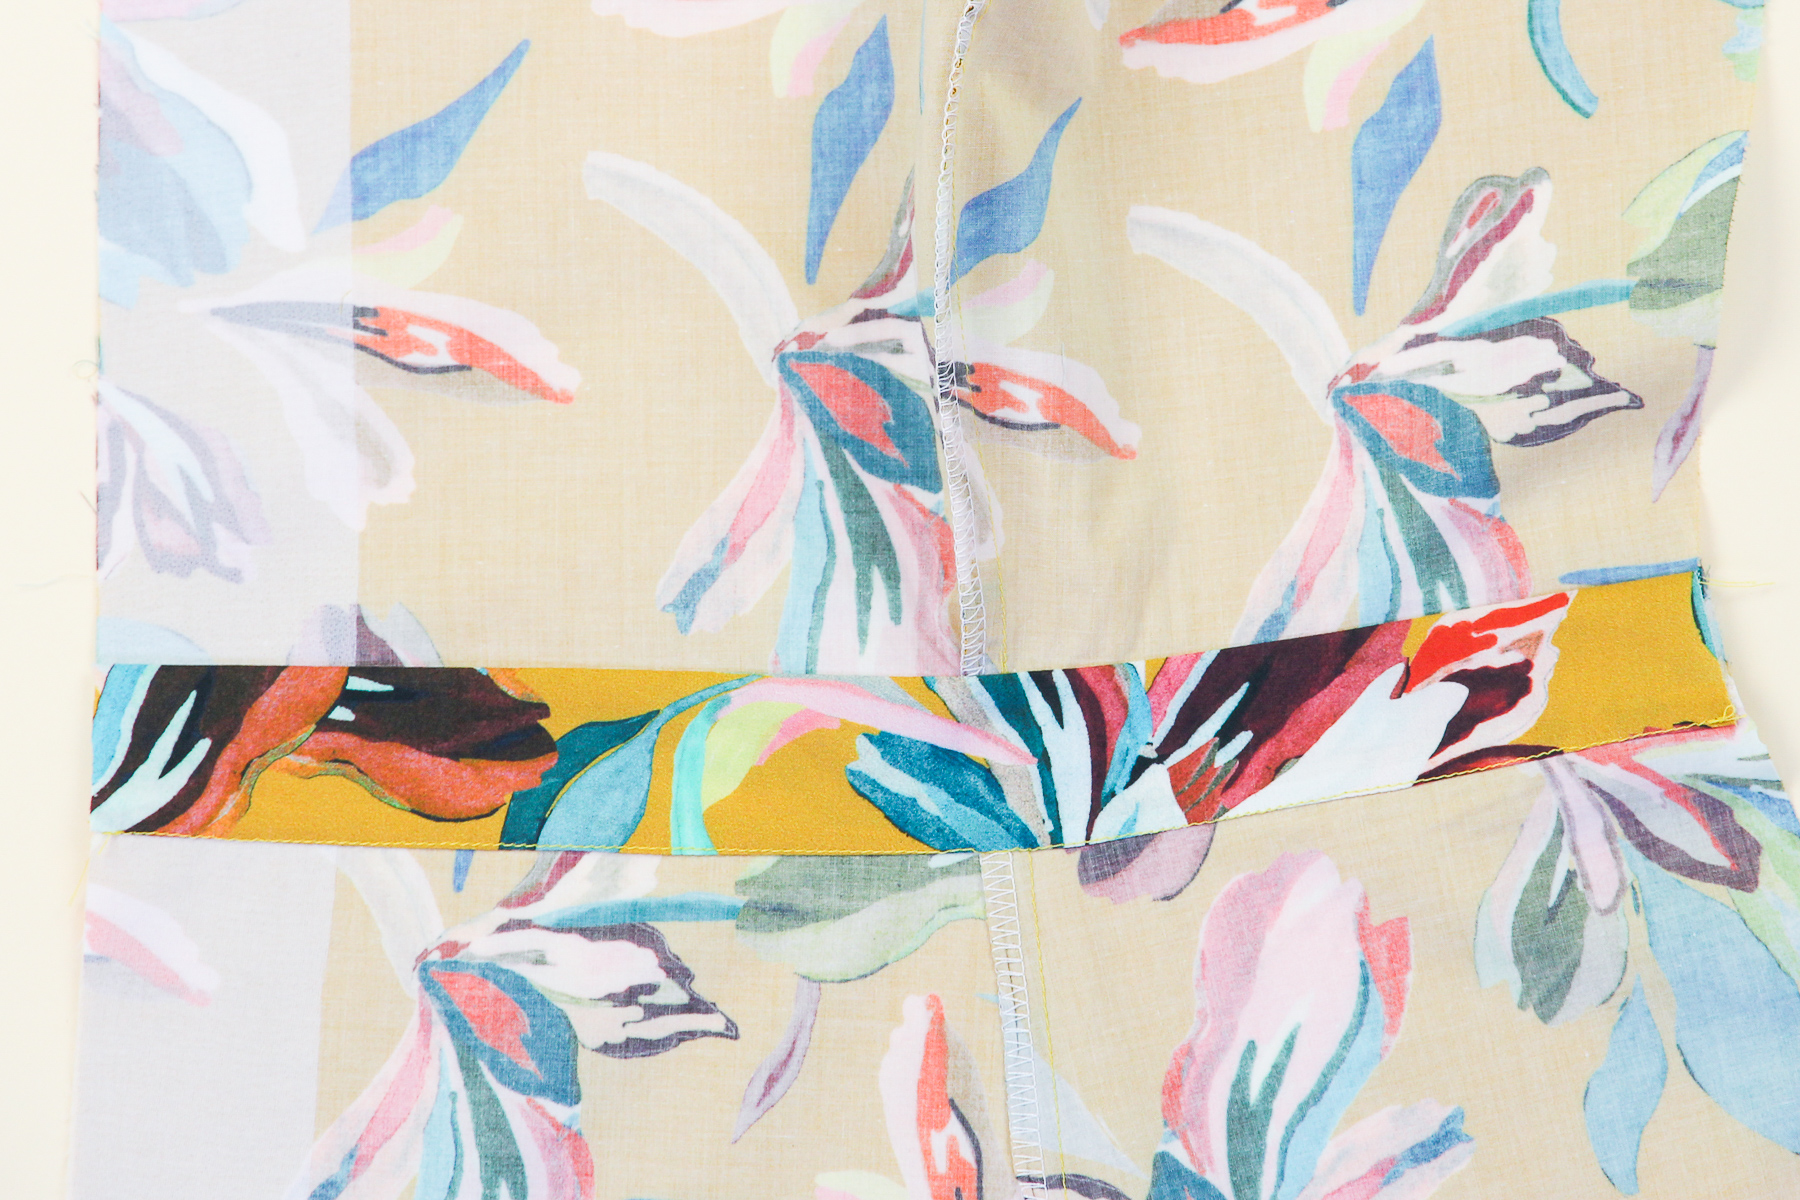
Now we’re going to flip the waistband facing down to enclose the waistband seam.
You have a few options here for how to sew the waistband facing in place. You could use a hand needle and slip stitch the waistband shut, or you can use the “stitch in the ditch” technique using your sewing machine. I prefer to hand-stitch if I have the patience, since I struggle to get a neat finish on the inside when I’m stitching in the ditch. But today I’m going to use wonder tape and some pins and hope for the best.
Not too shabby!

Let’s repeat these same steps with our other bodice and skirt front.
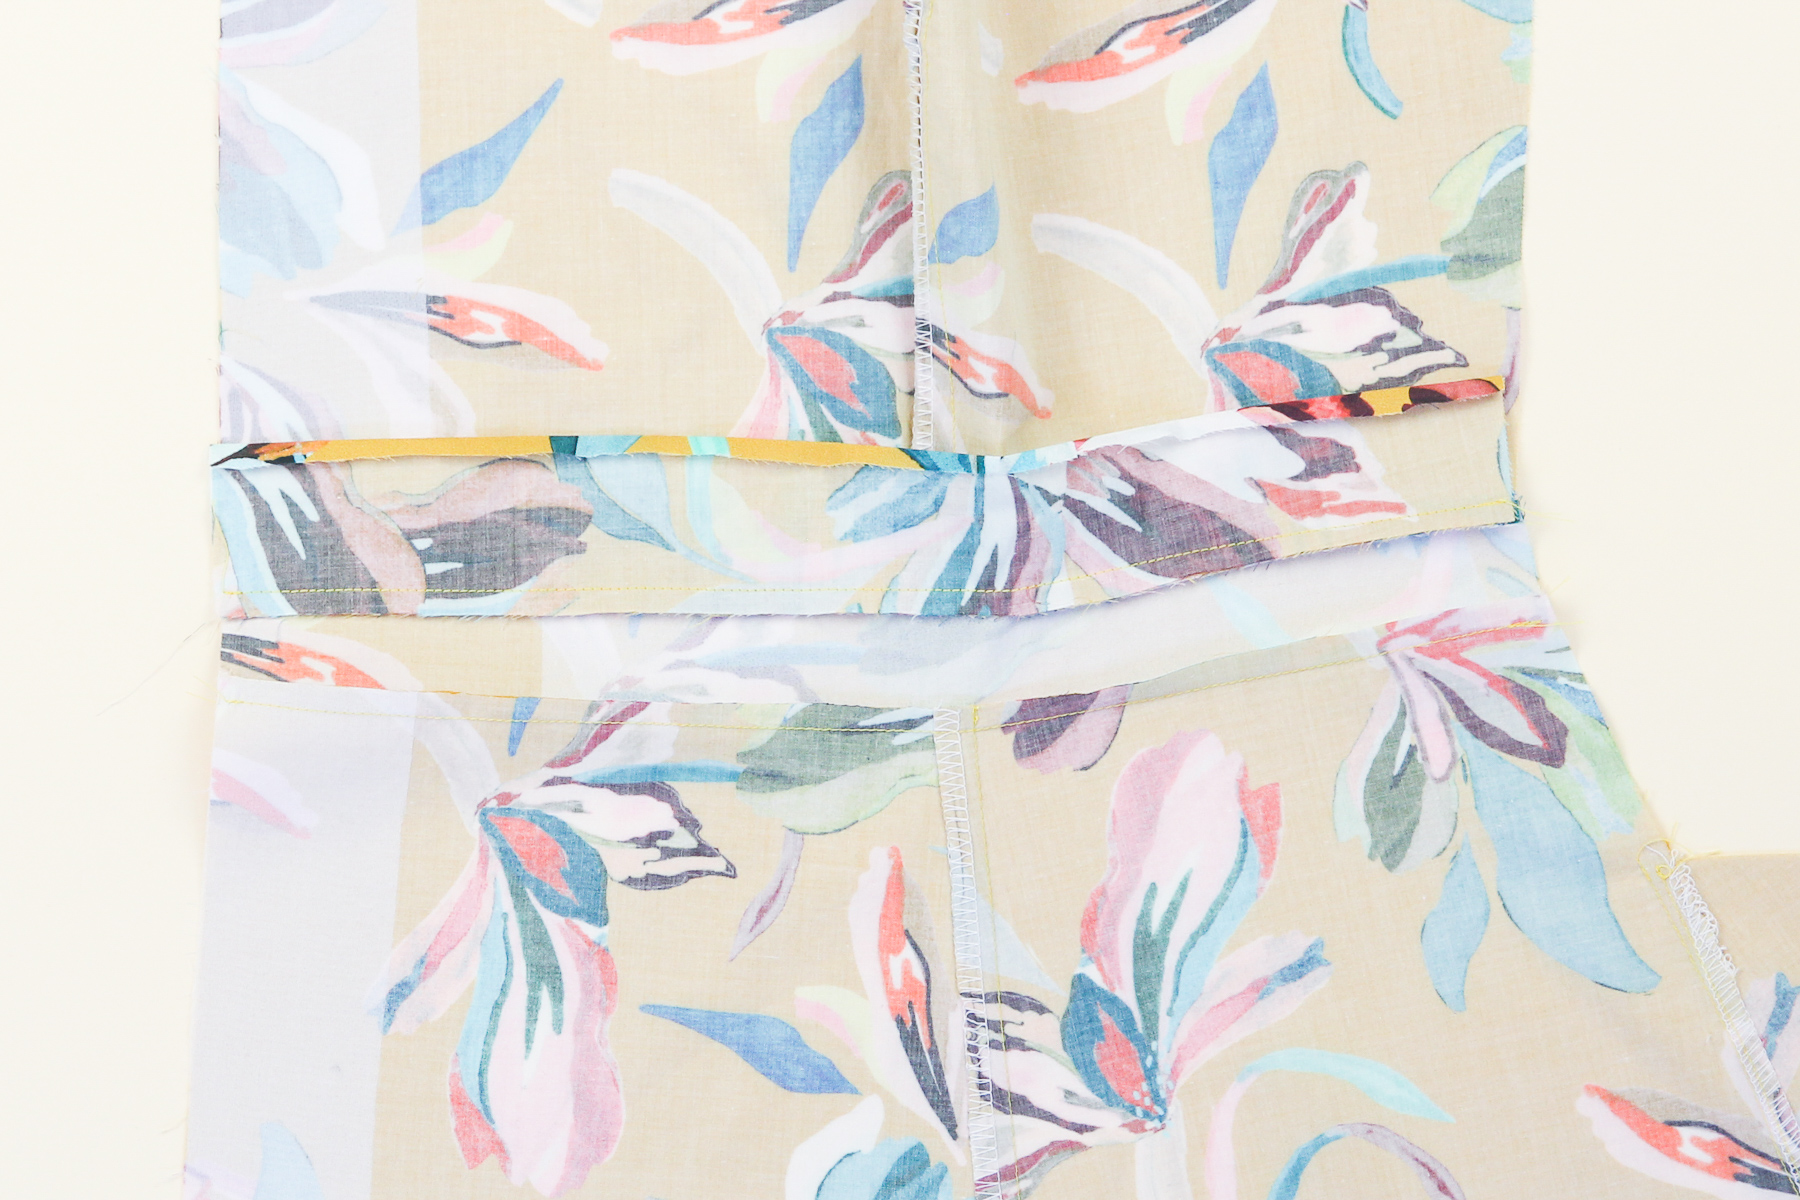
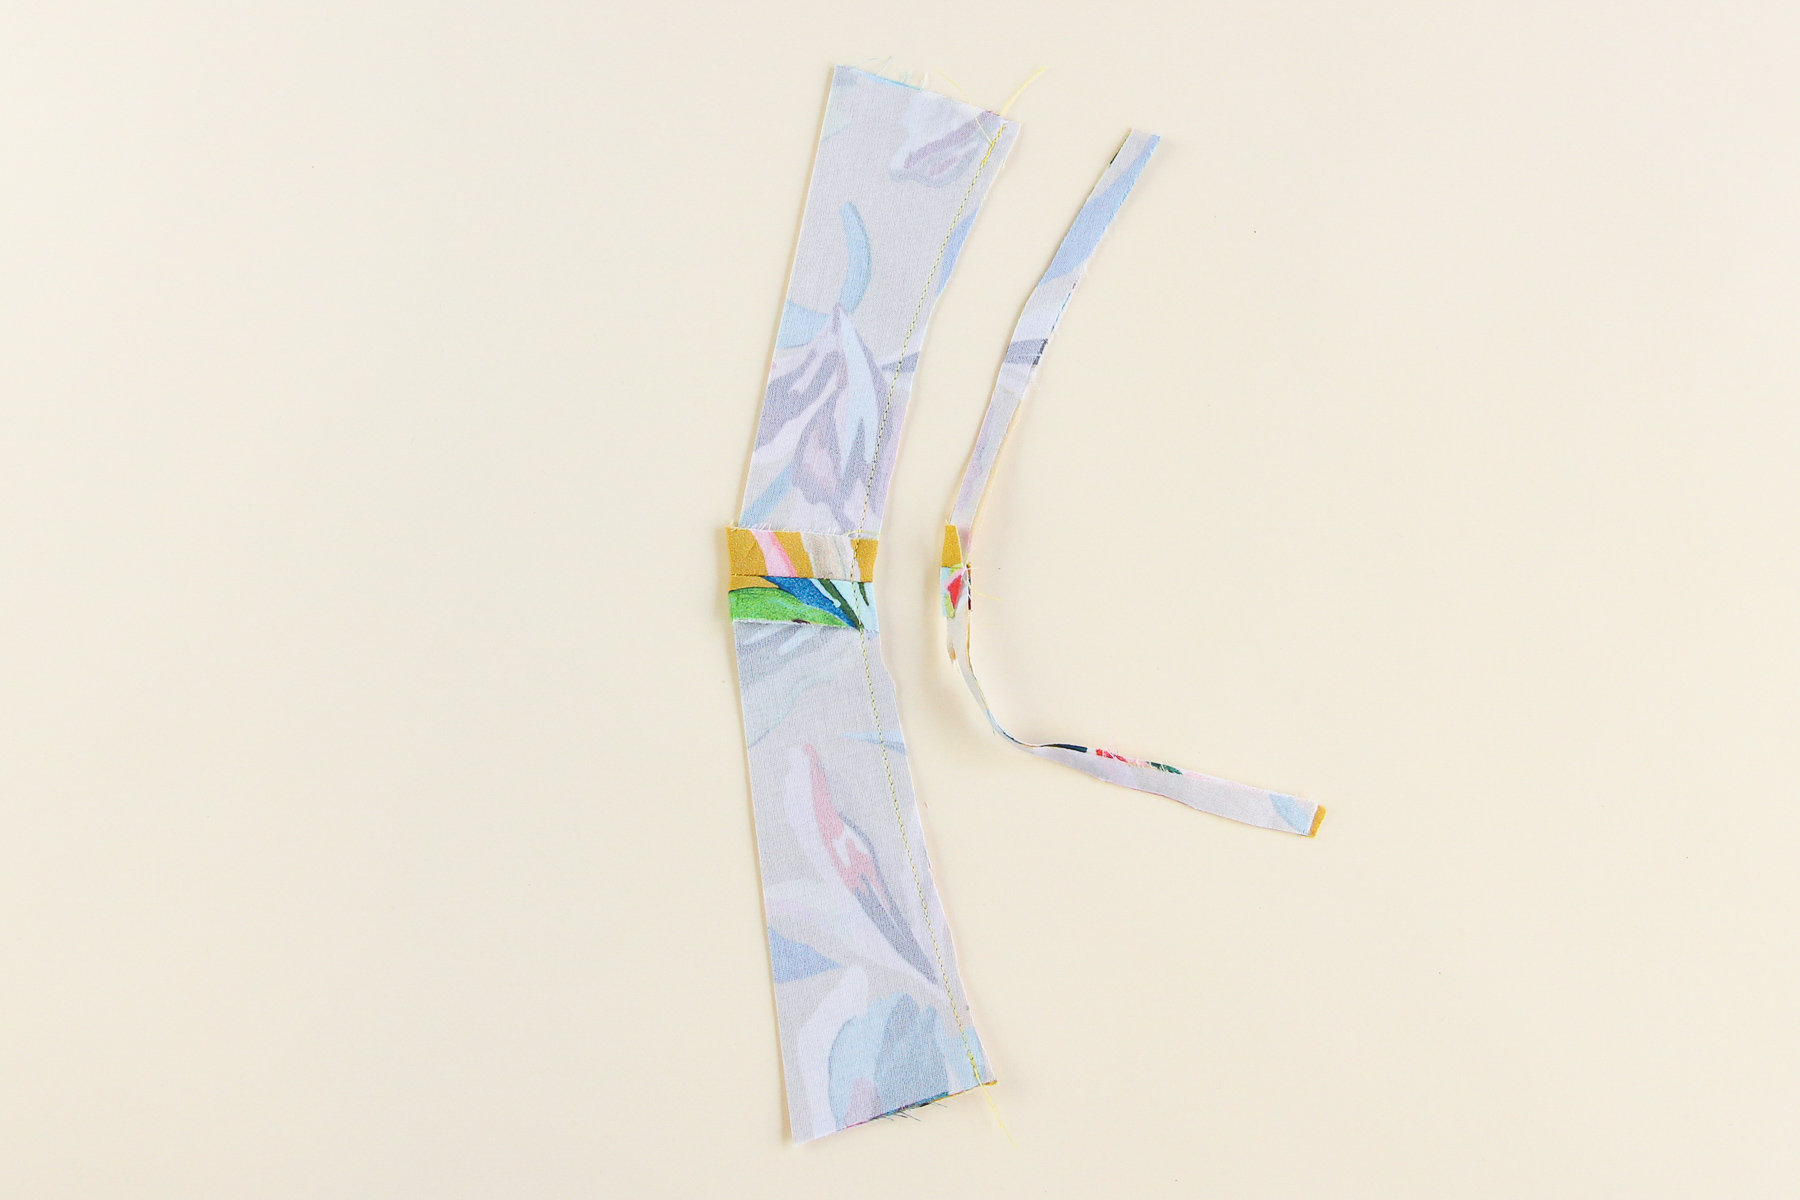
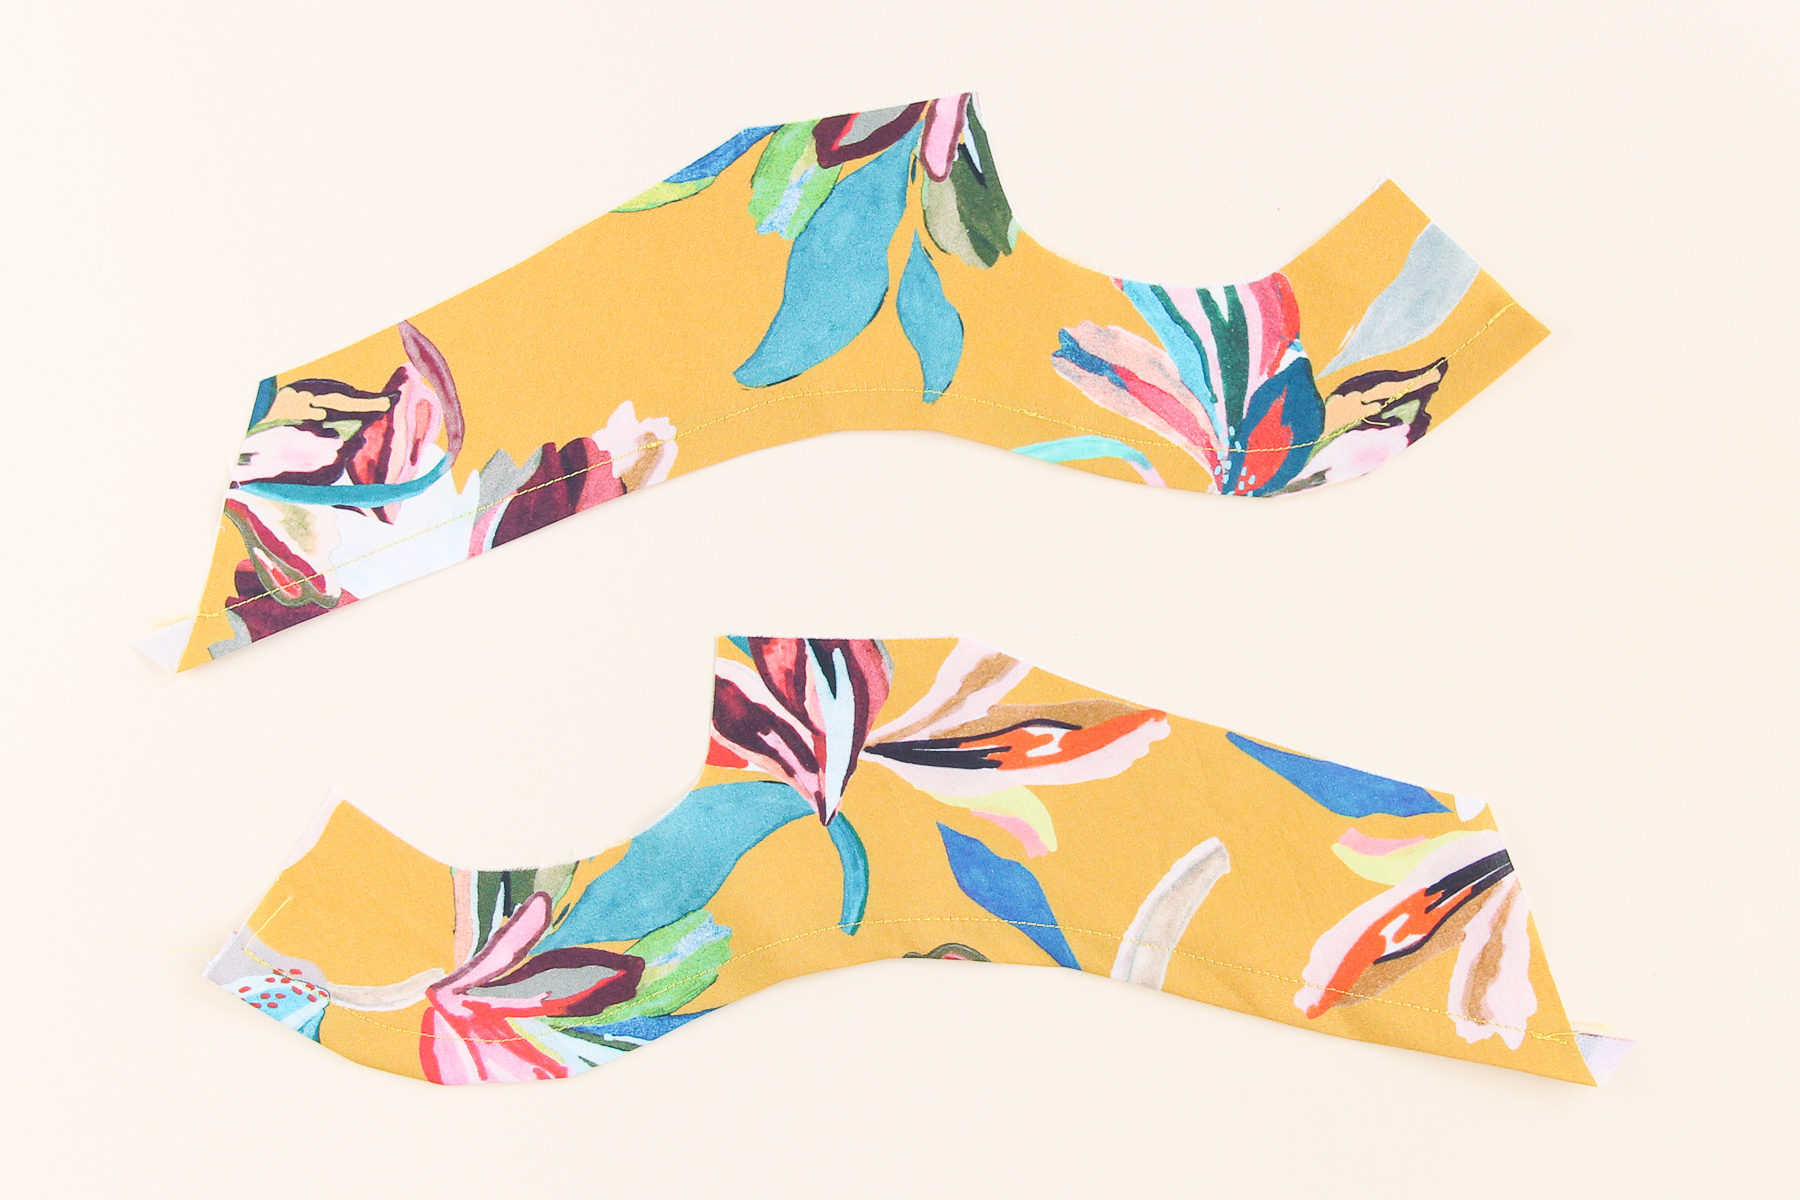
Now let’s grab our strap pieces. You should have two front strap pieces and two back strap pieces. Make sure you’ve interfaced all four of the pieces! I’ve marked the shoulder edge of each of my pieces with a small line on the wrong side to help remind me which way they go.

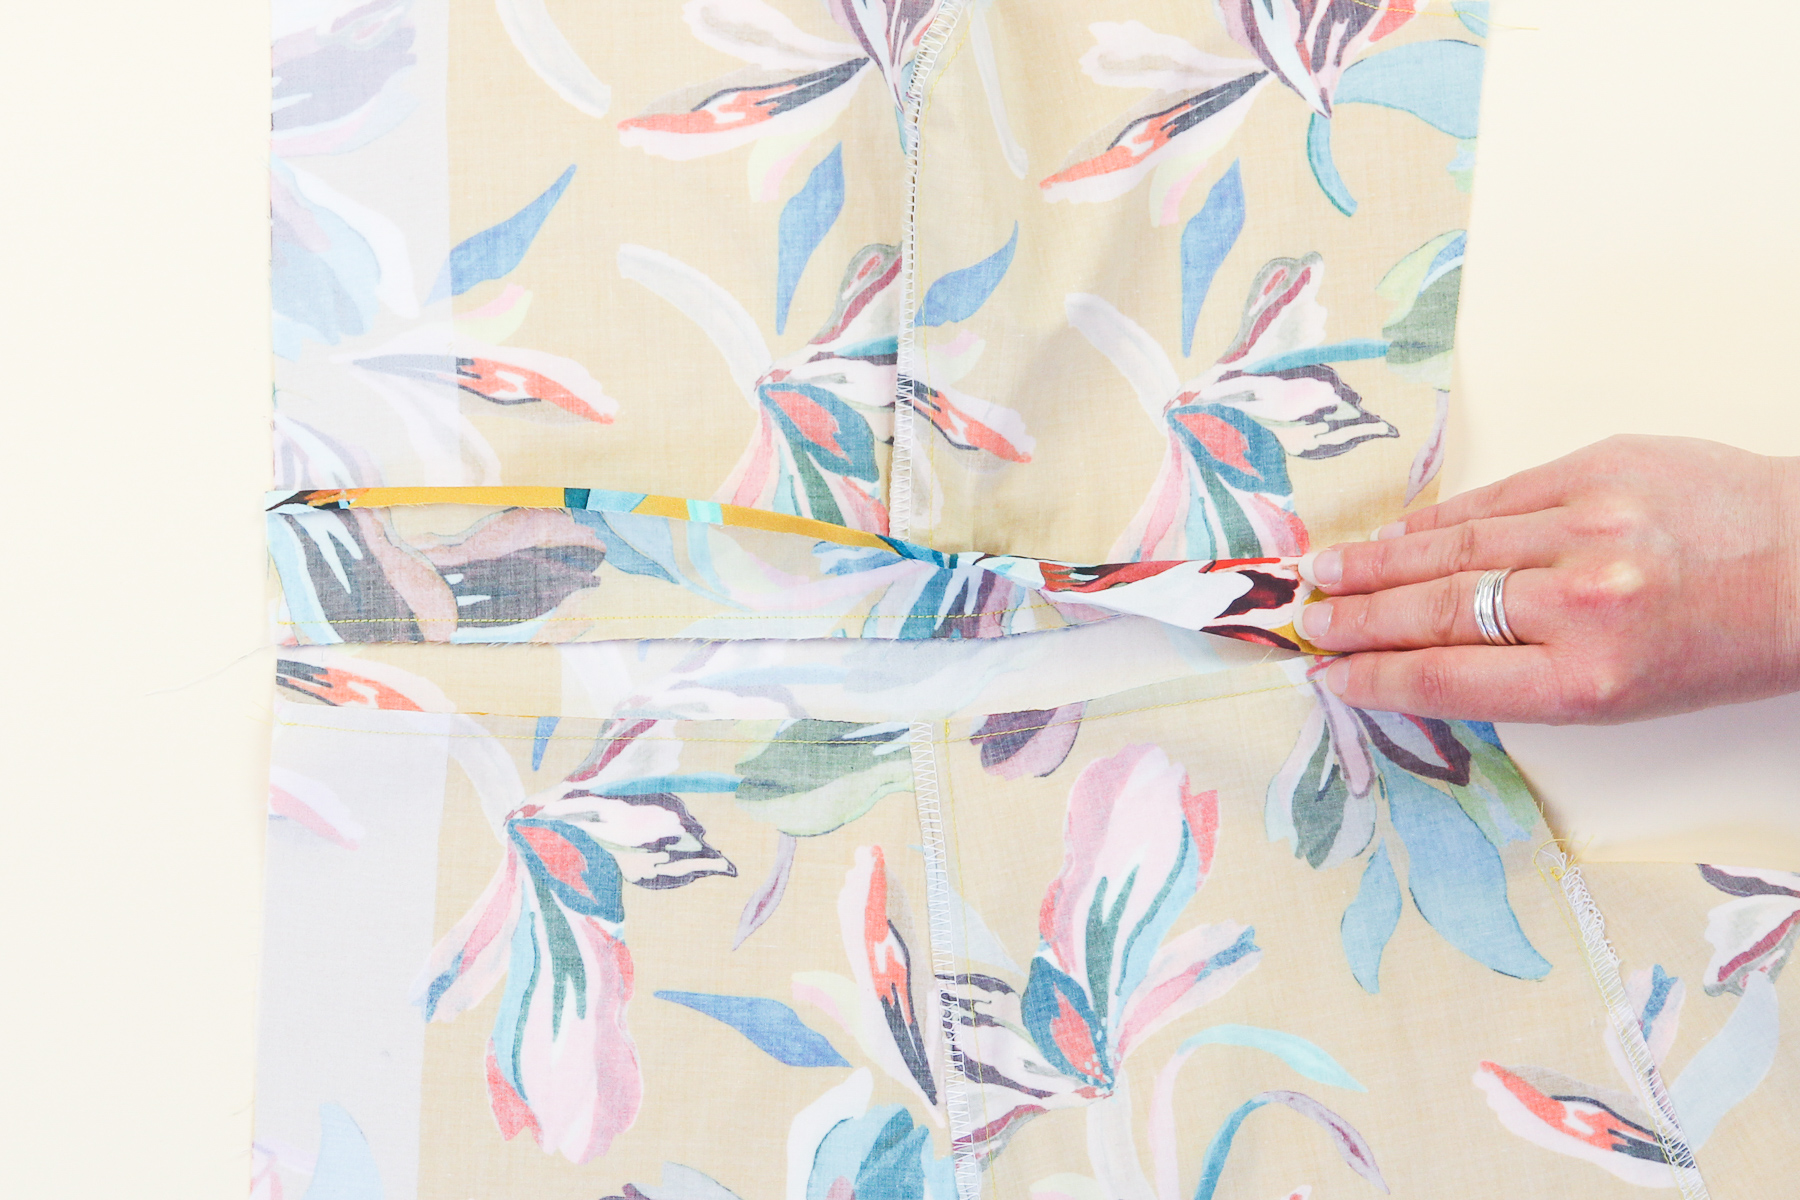
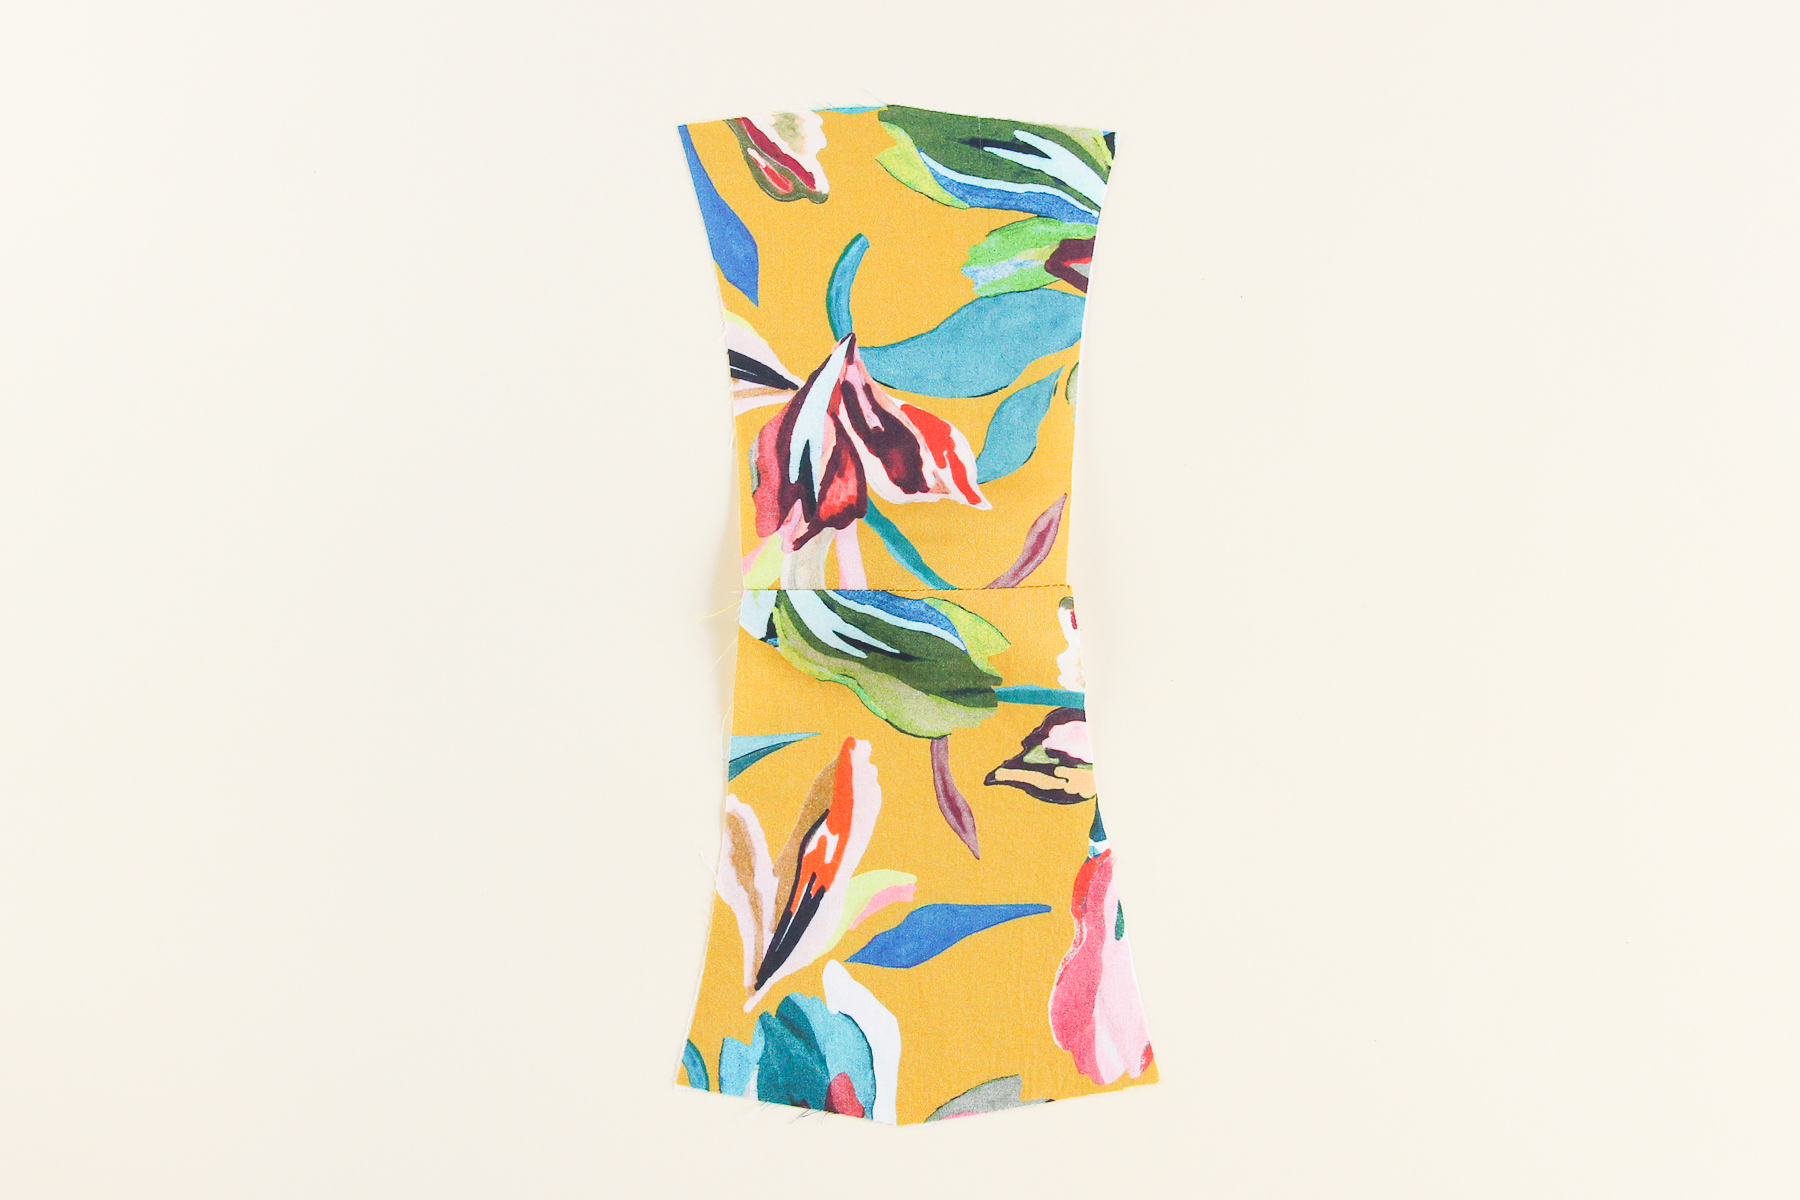
Taking one of the front straps and one of the back straps, we’re going to pin them together at the shoulder seam.
Let’s sew that at our 1/2” (12 mm) seam allowance.
Now we need to press that seam open. This step can be a little fiddly, since the strap won’t be able to lie flat at this point. You may want to use a ham, or press one half of the seam, reposition the strap, and press the other half of the seam.
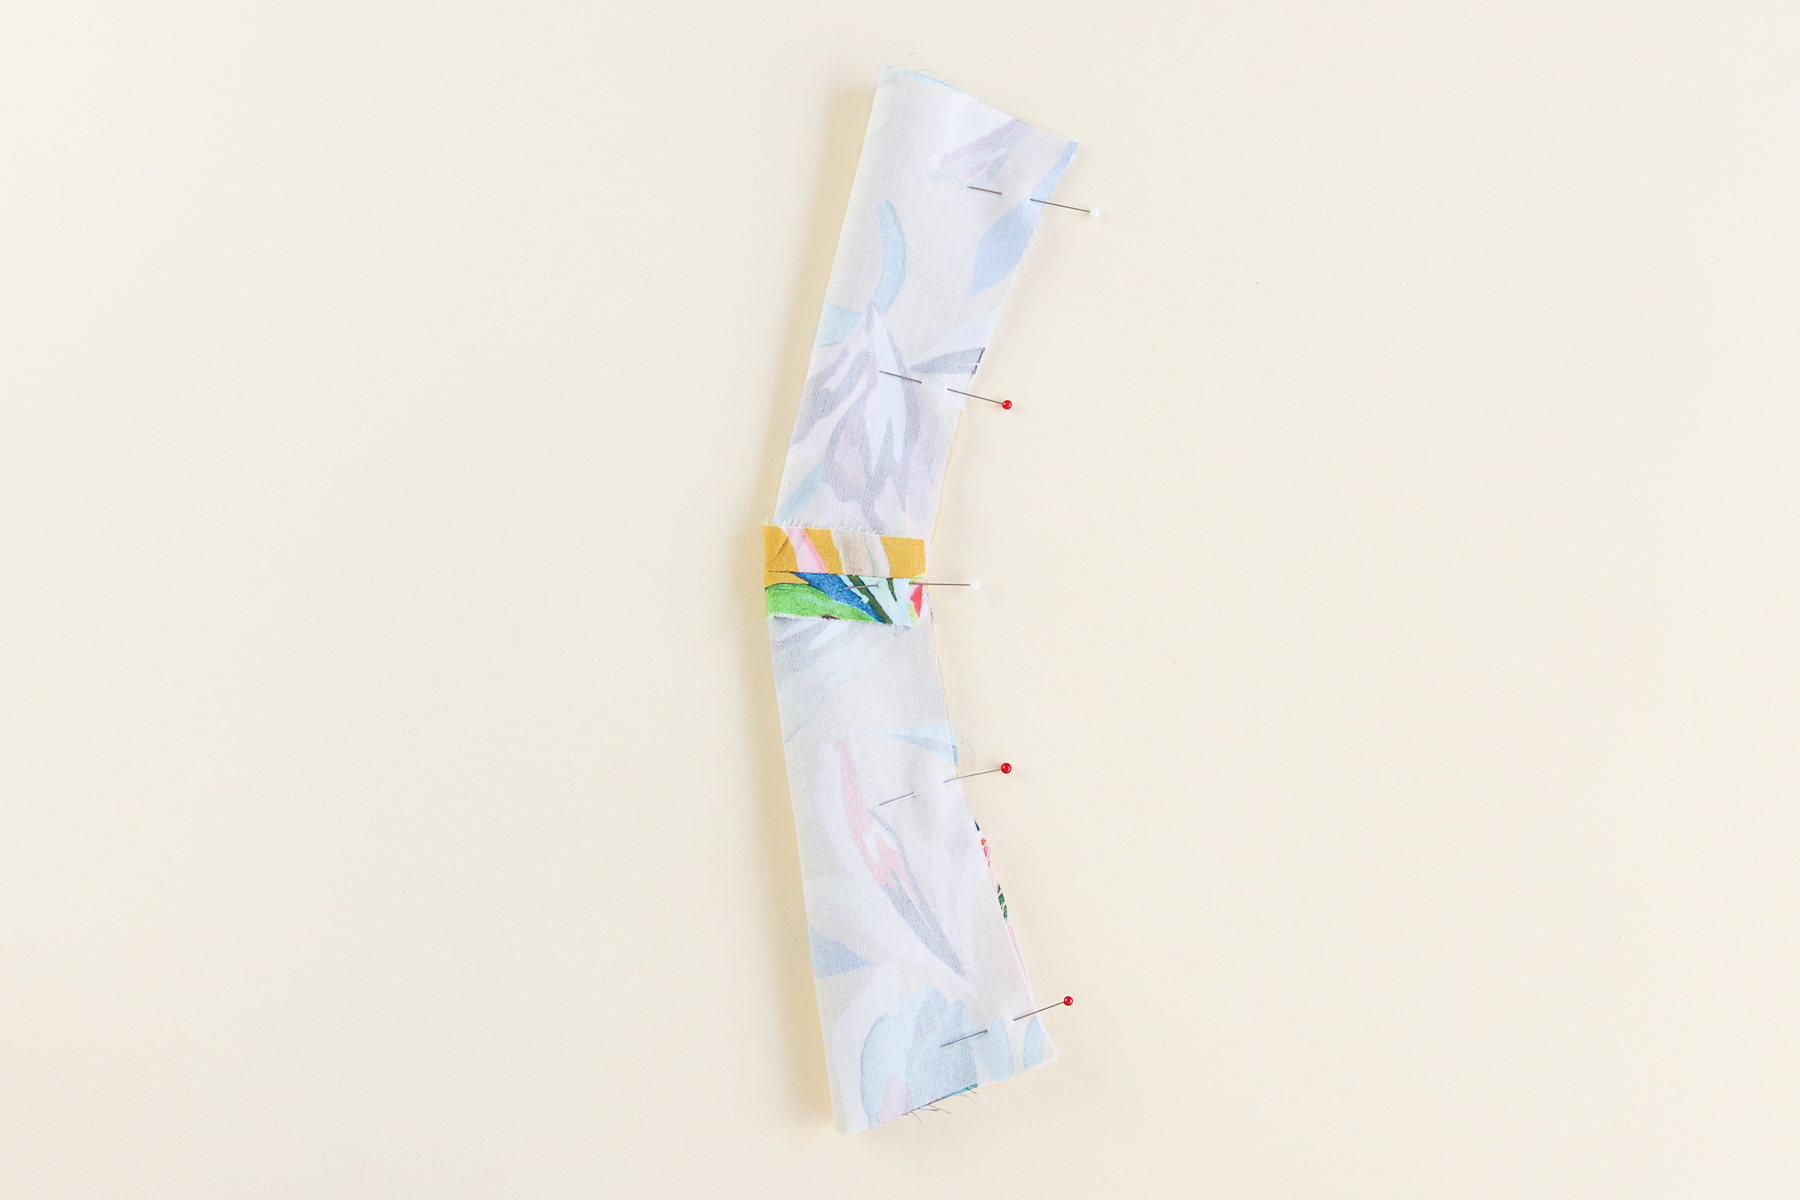
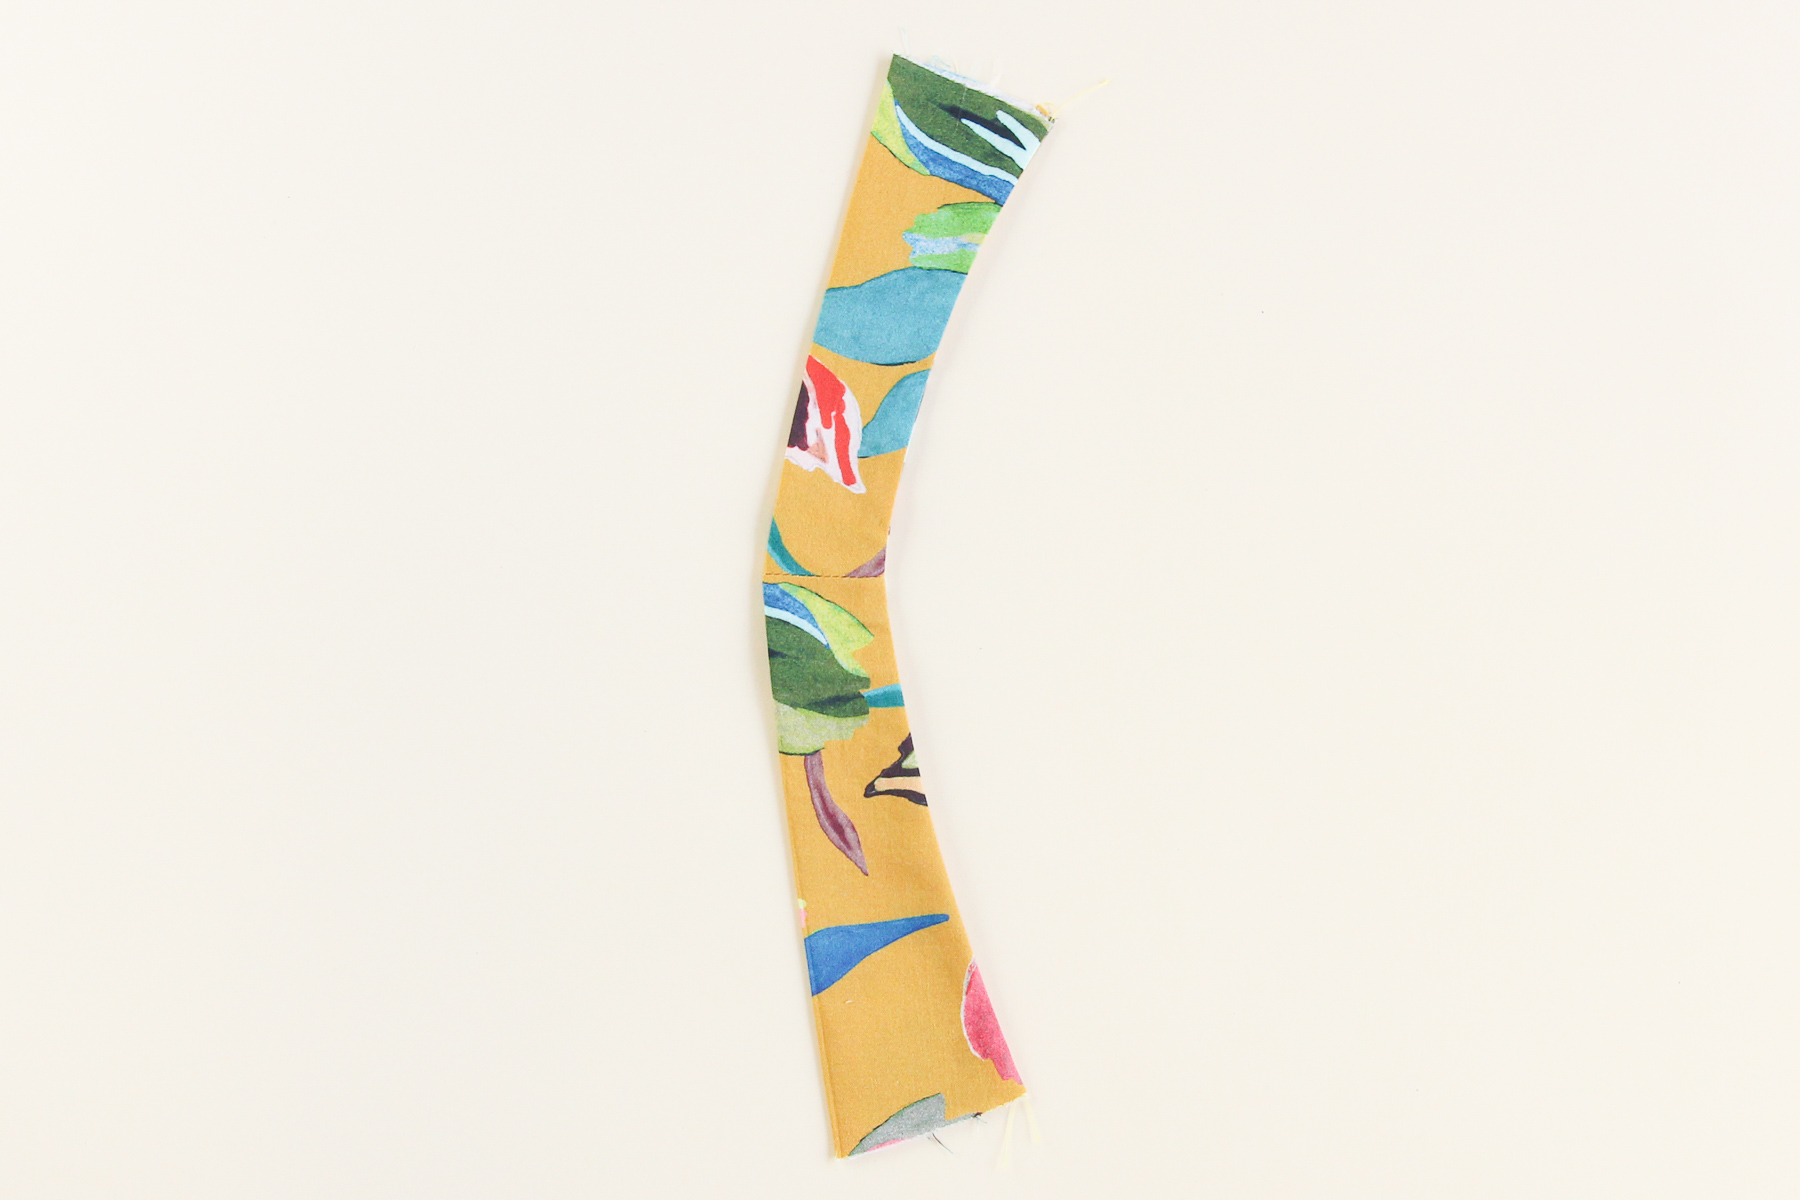
Now fold the constructed strap in half the long way, right sides together. We’re going to pin along the long edge and sew.
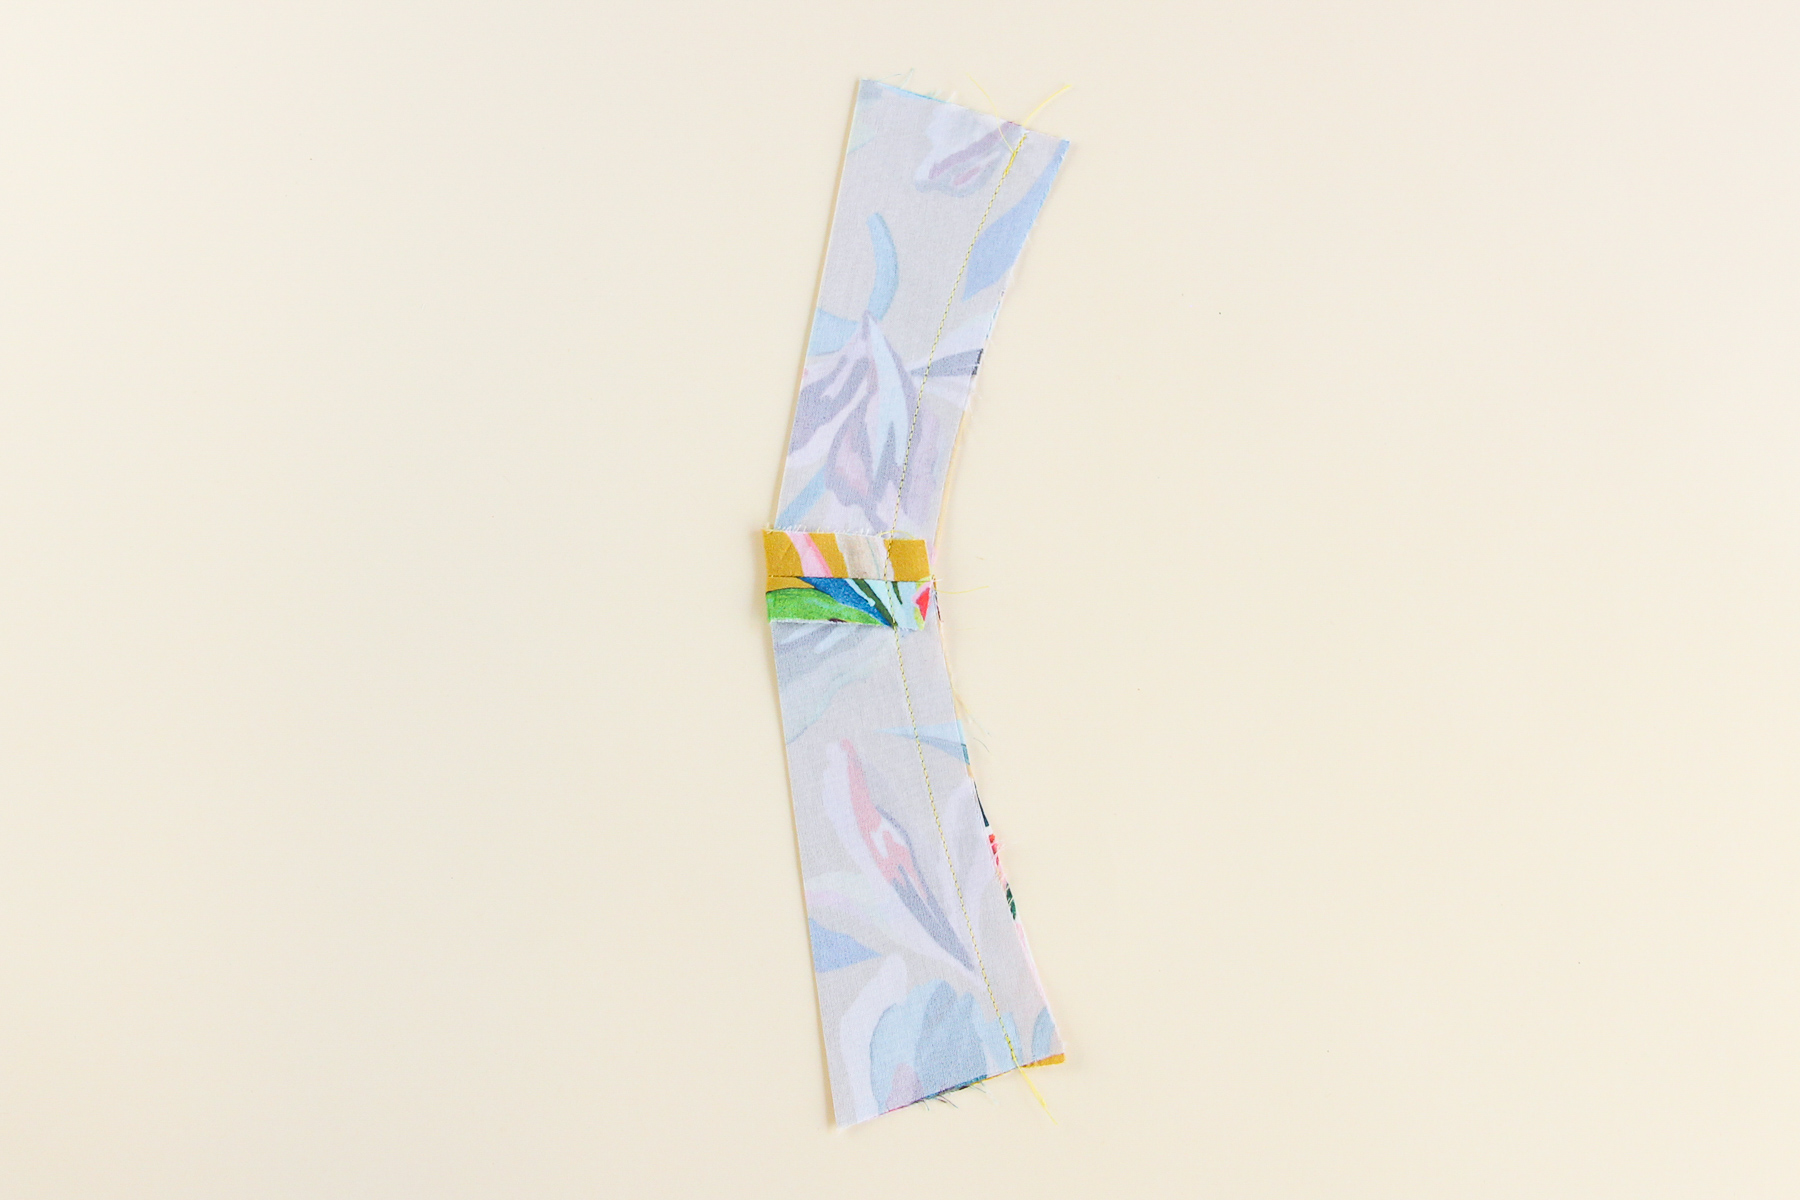
We need to turn our strap right-side-out, but it helps to trim the seam allowance down first.
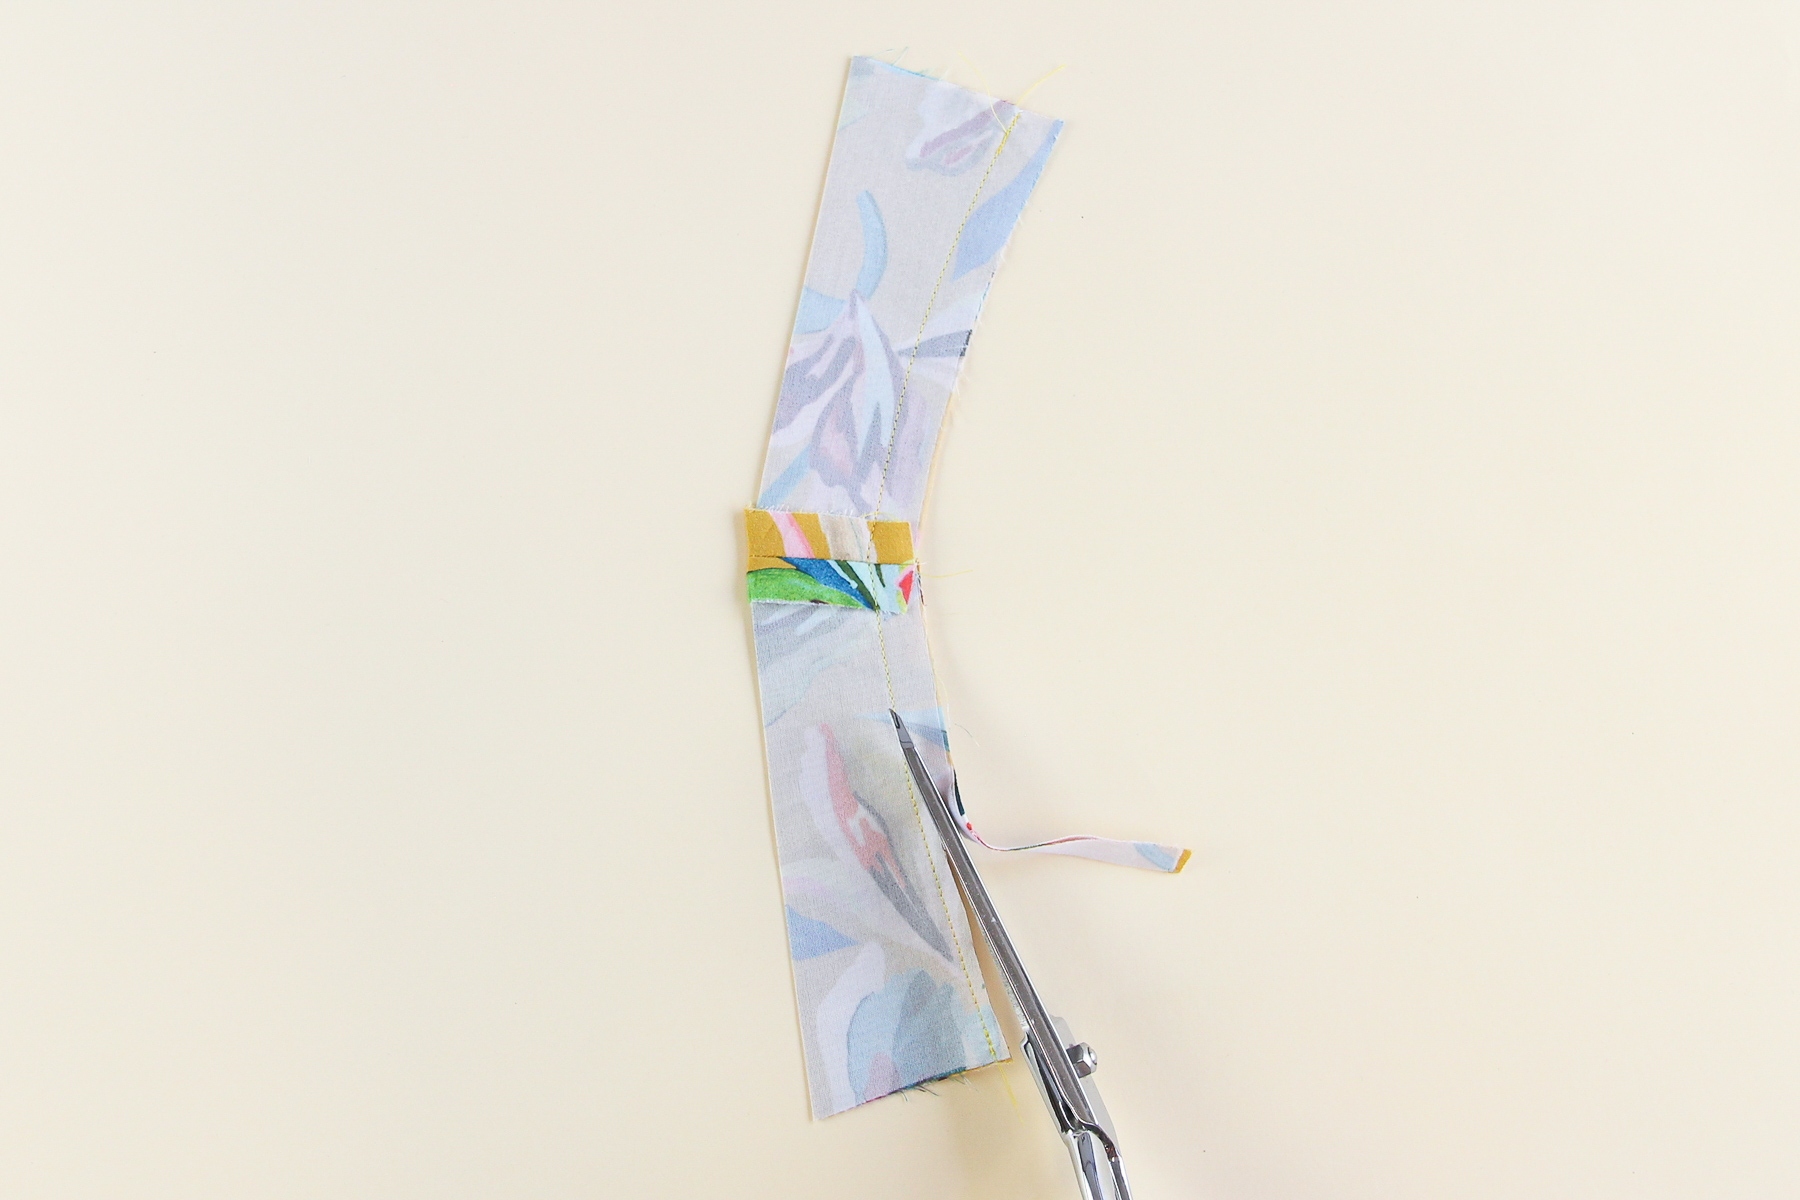
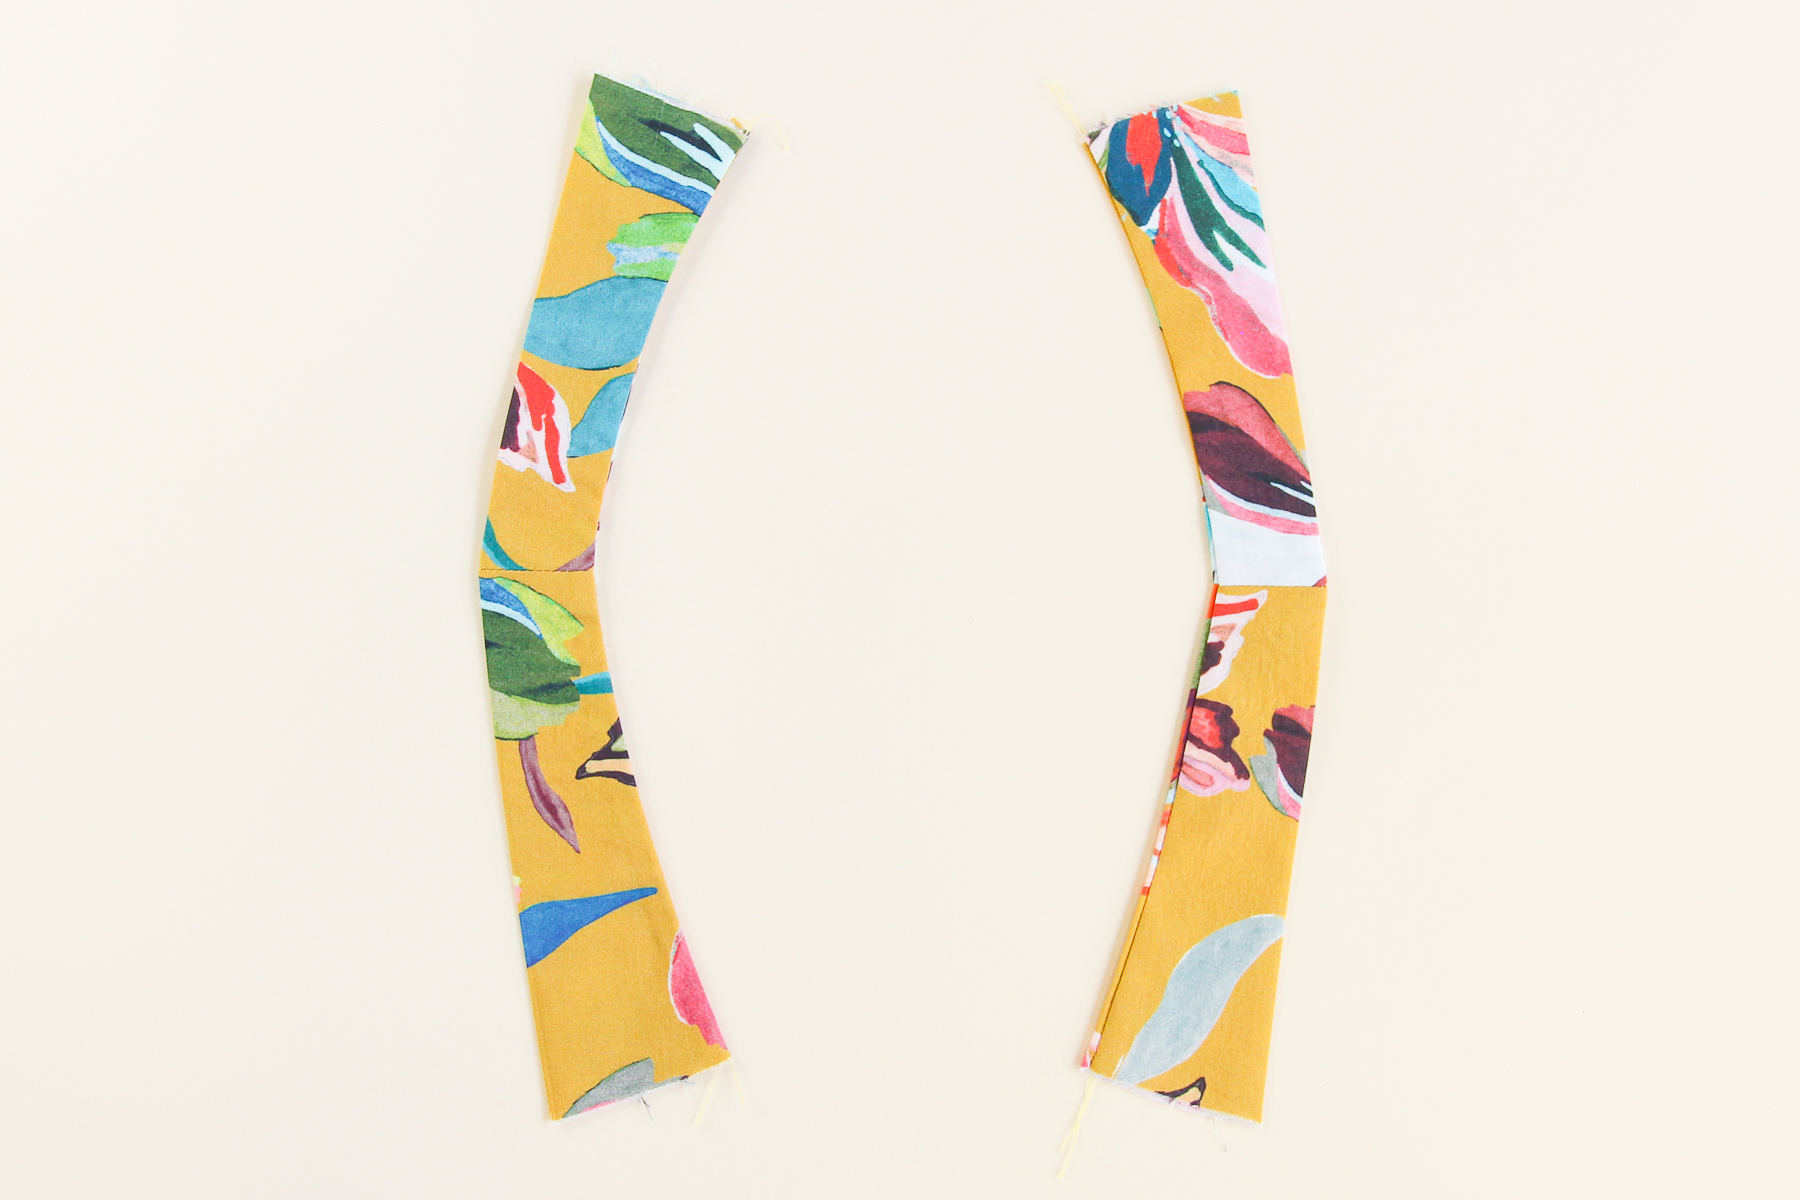
Using your turning method of choice, turn the strap inside out. (I usually use a safety pin unless I’m working with a very delicate fabric, but I was able to do these with just my fingers.) Then, press the strap flat.
Let’s do the same thing with the other strap!
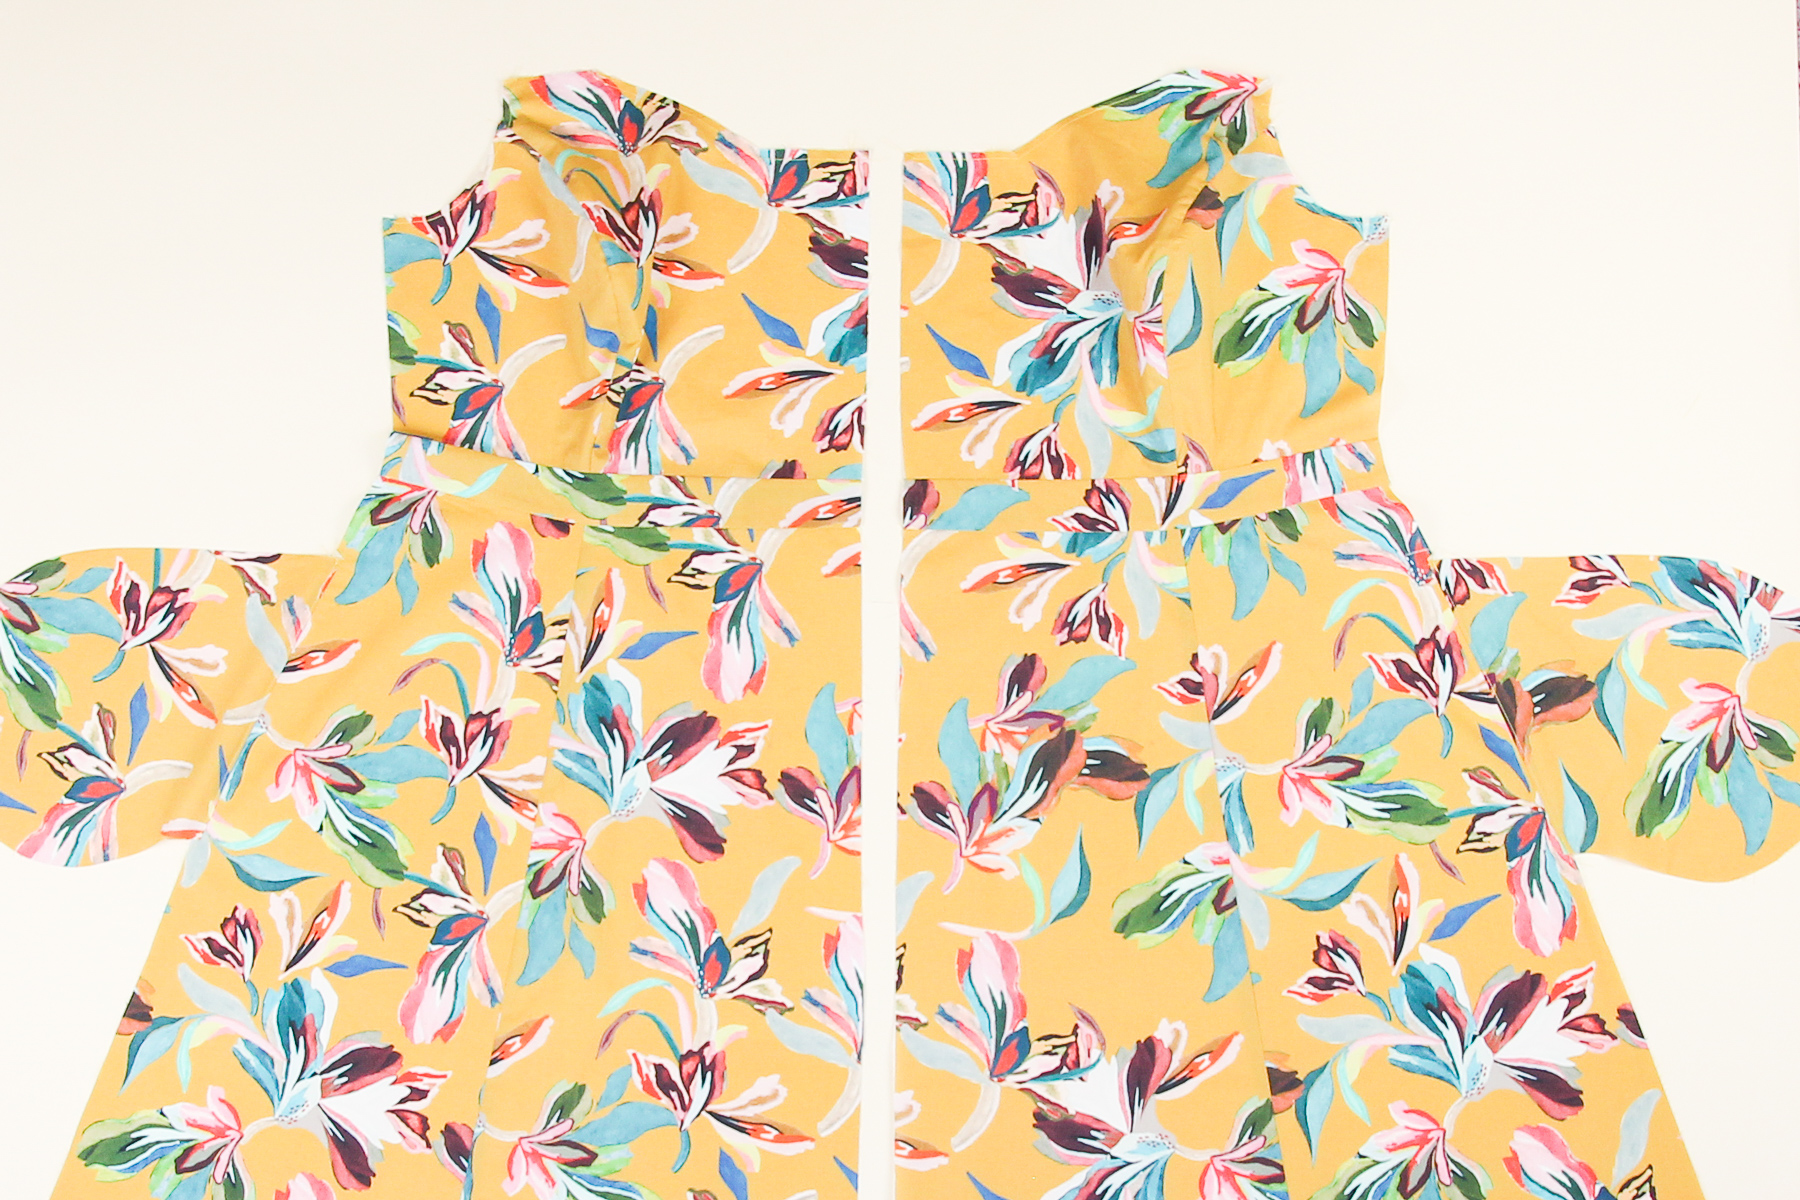
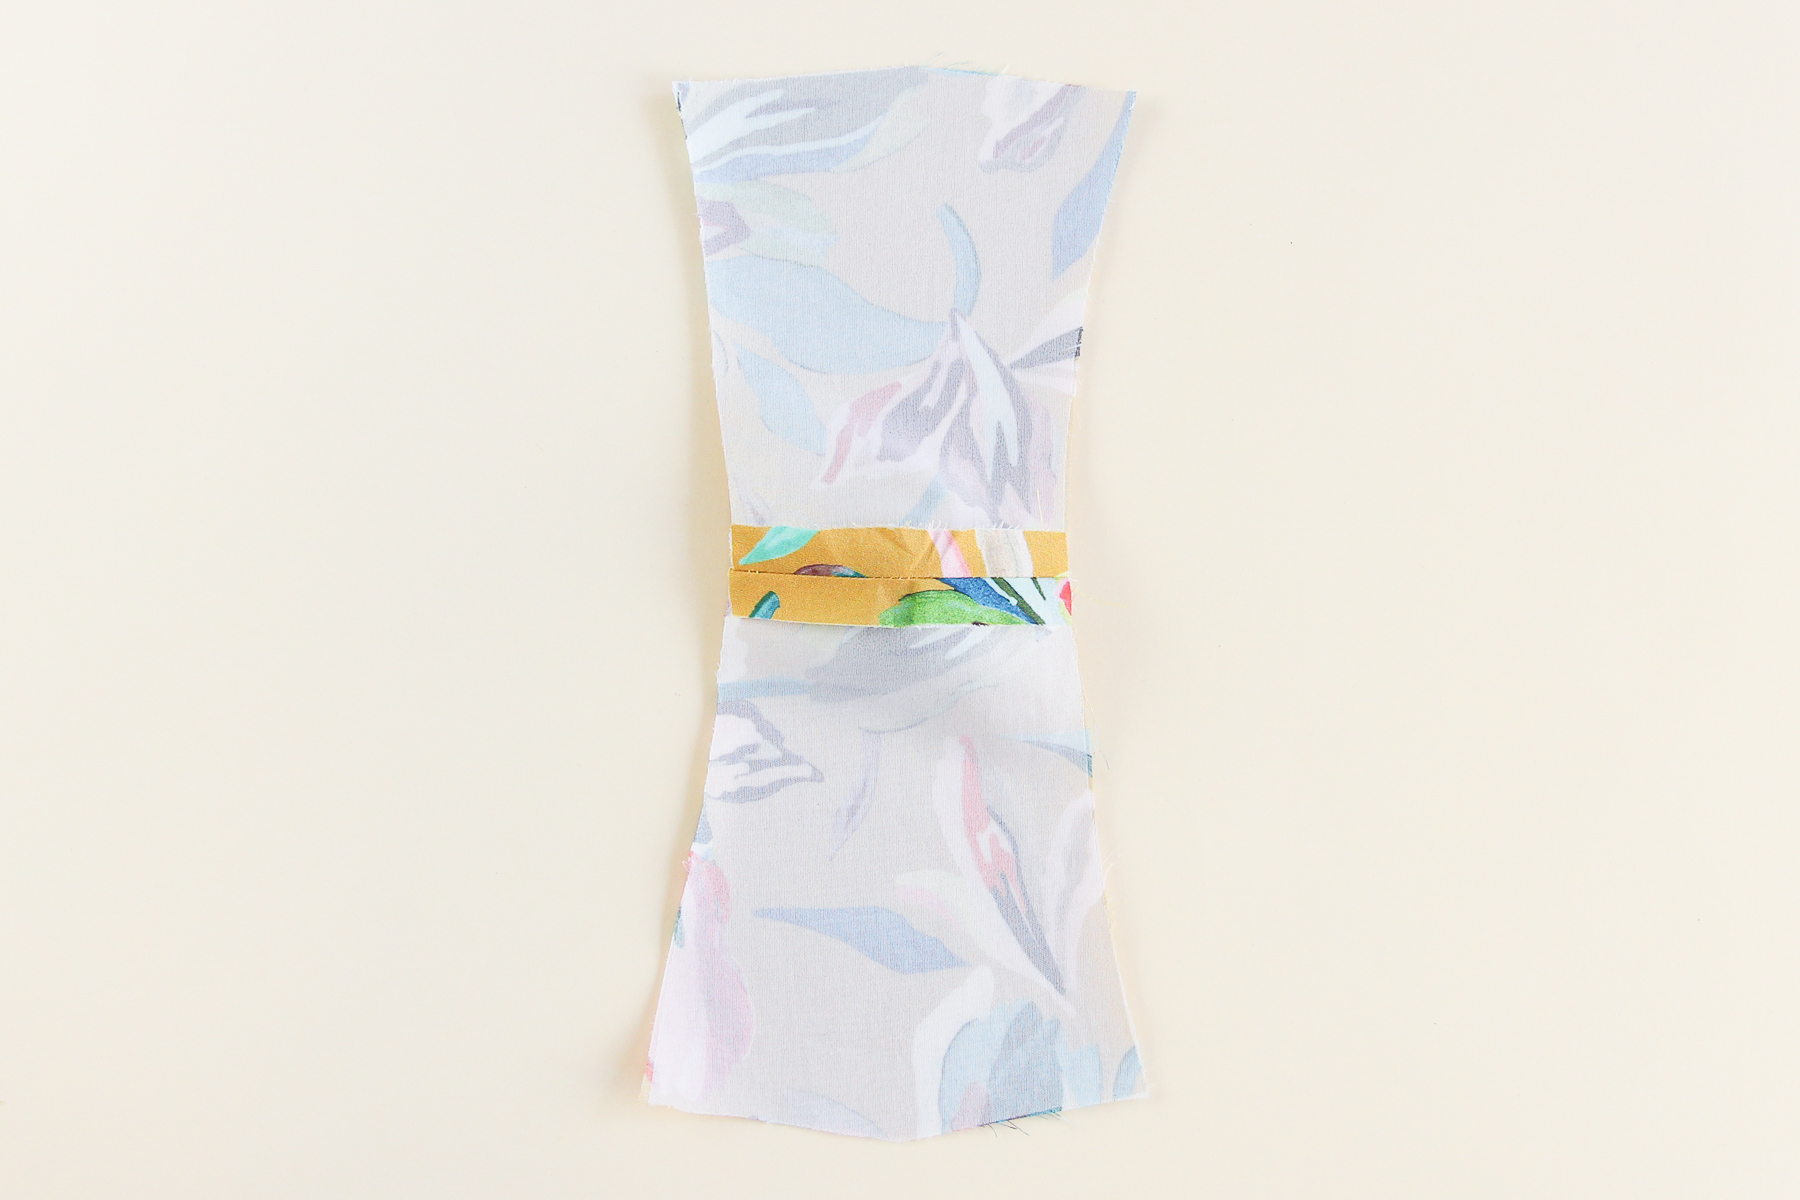
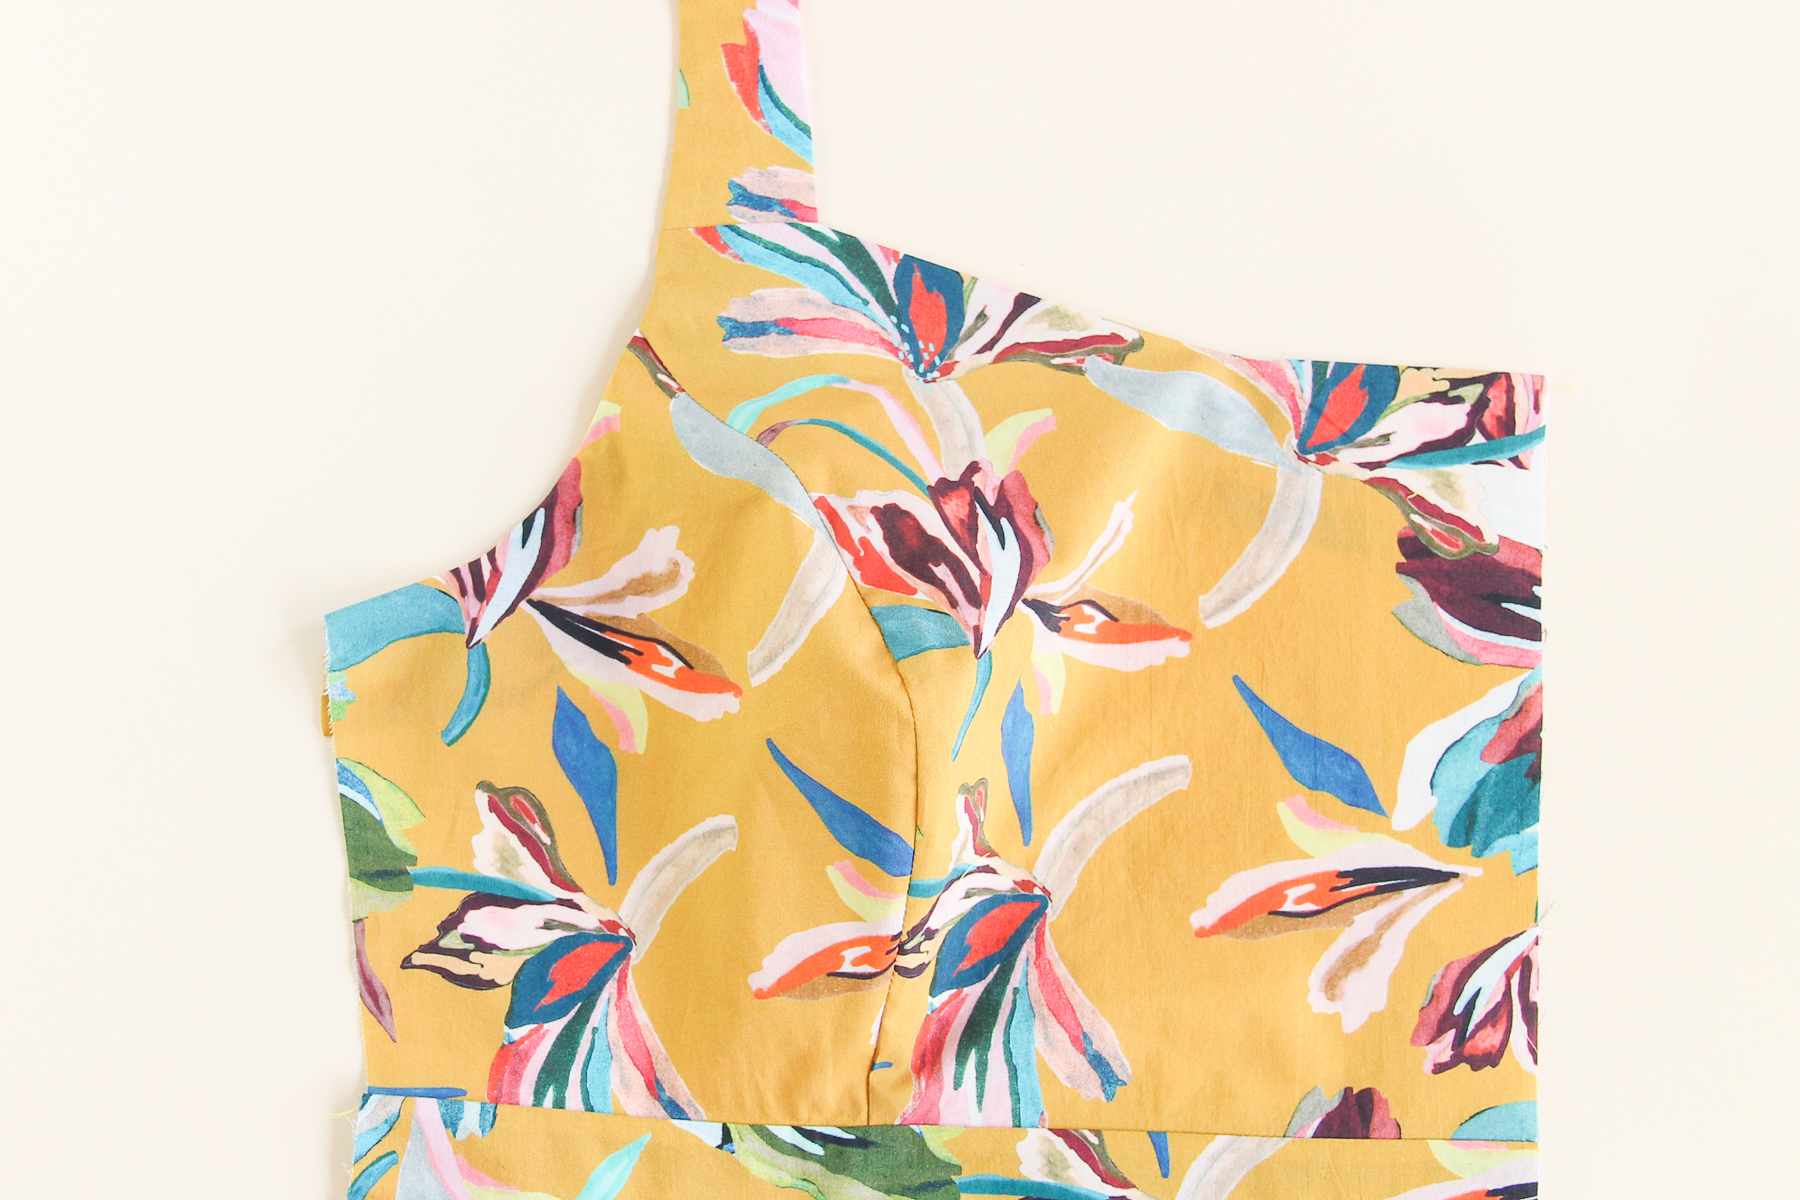
Let’s grab one of our dress fronts again. We’re going to pin the front of the strap (the slightly smaller half of the strap) to the bodice, making sure to align the edge of the strap with the notch. The seamed side of our strap should face towards the armscye and be 1/2″ (12mm) from the armscye edge.
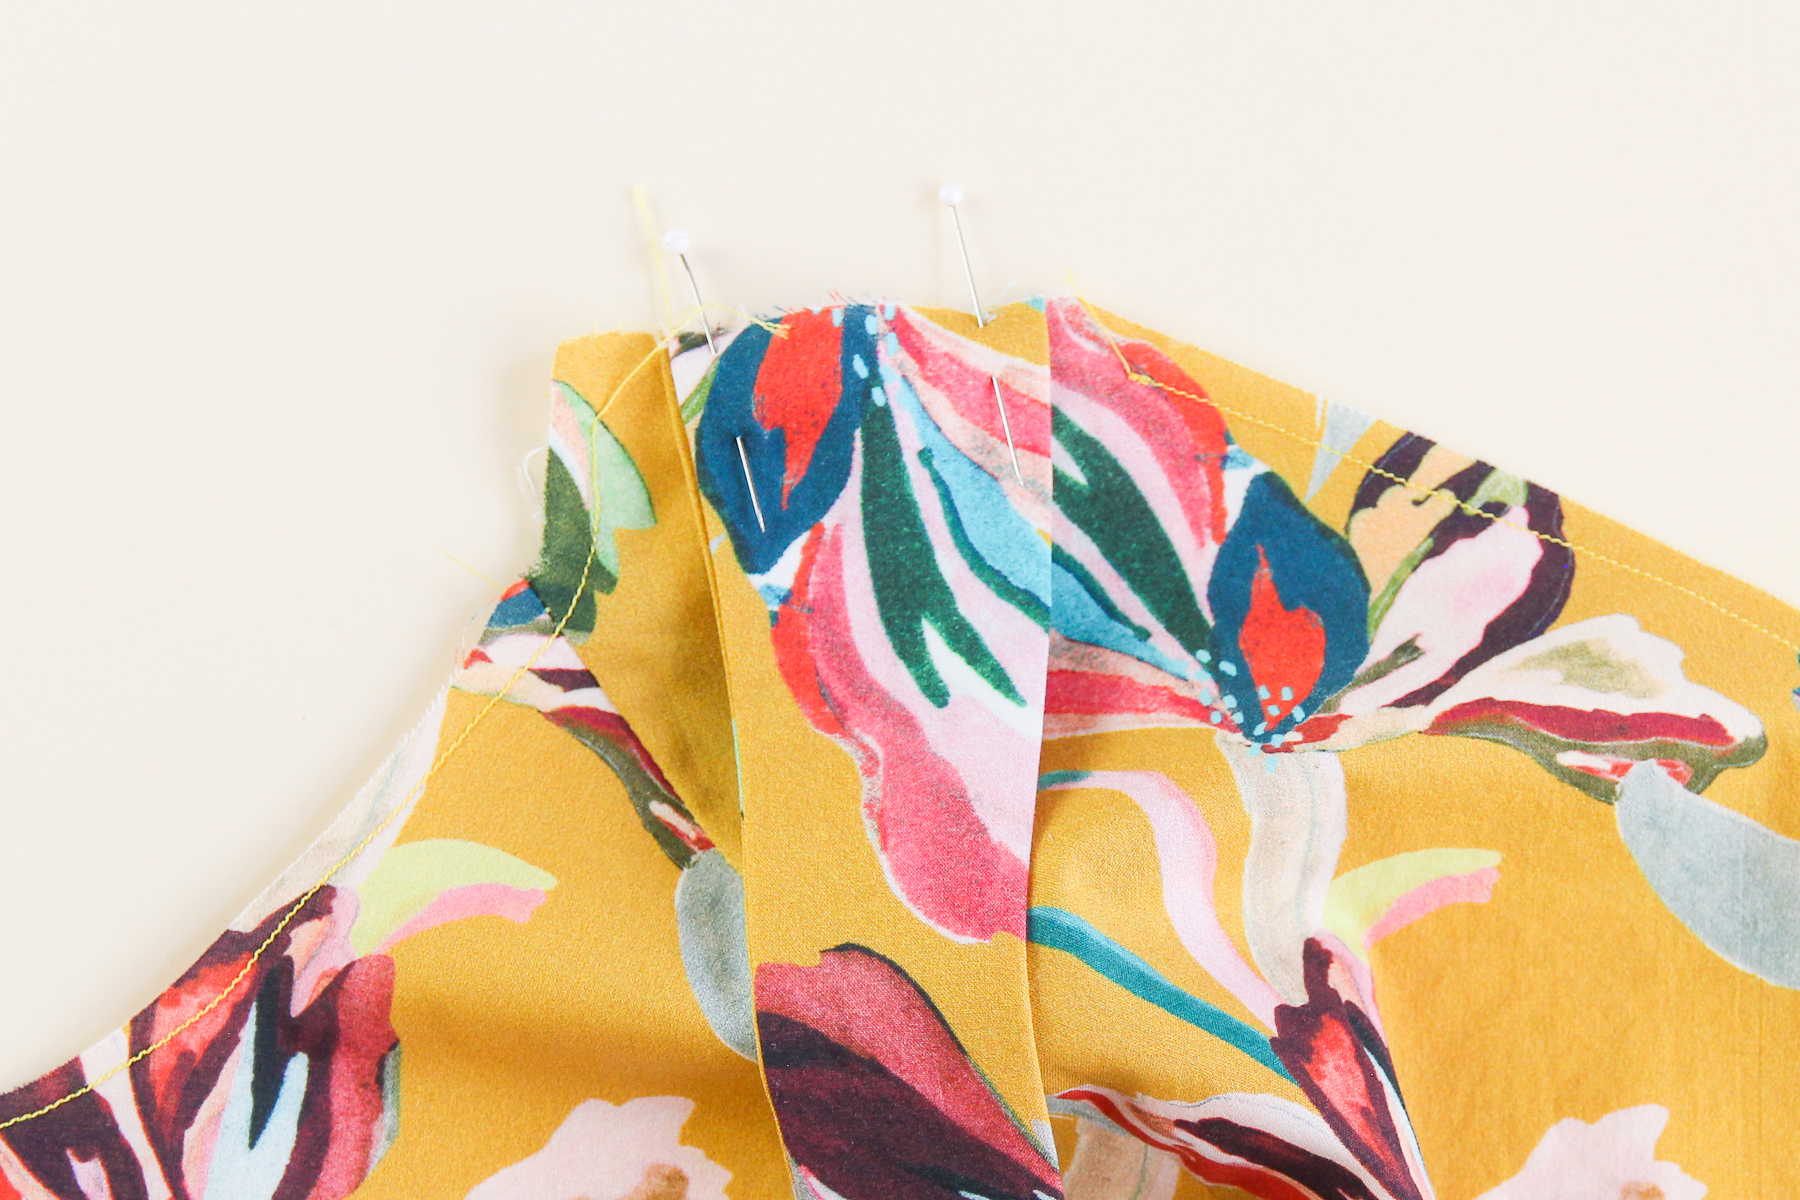
We’re going to sew this at 1/4” (6 mm) seam allowance.
Attach the other strap to the other dress front the same way.
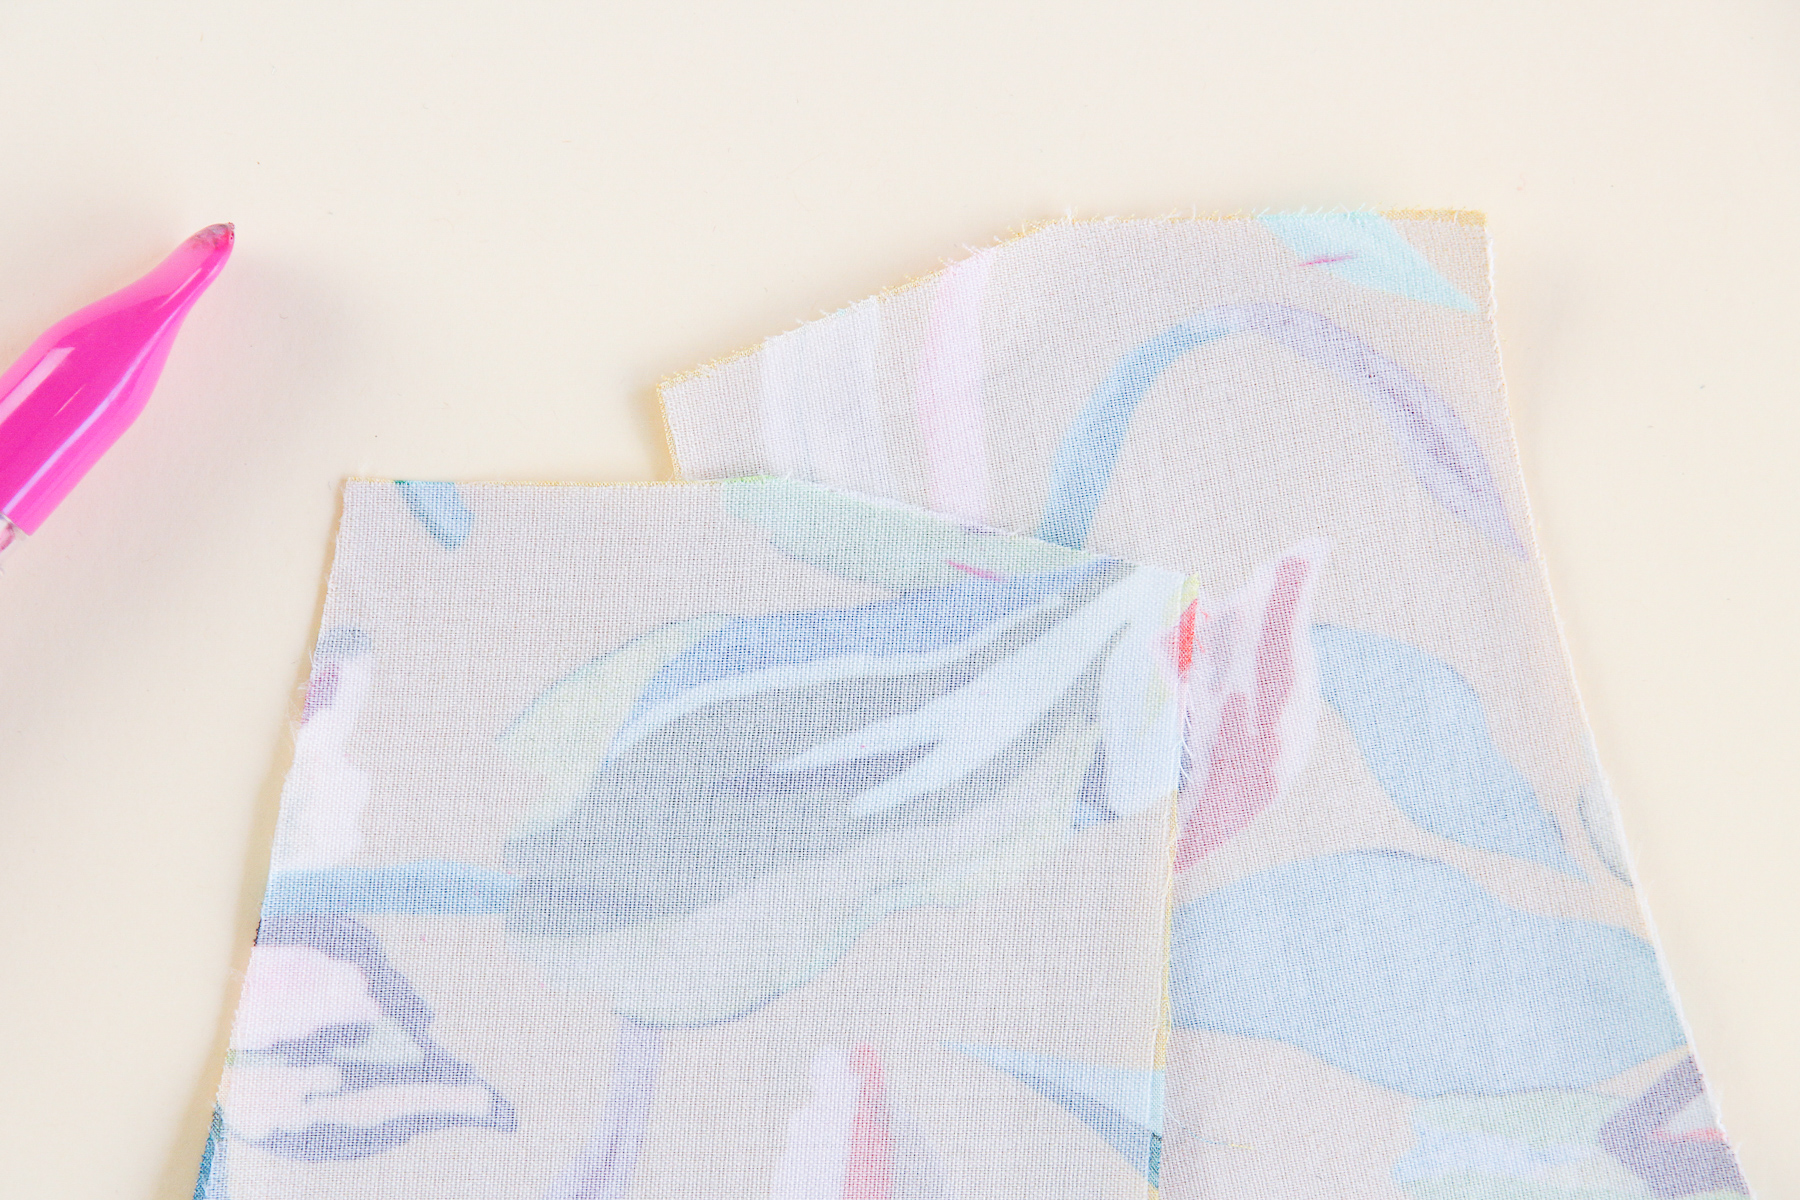
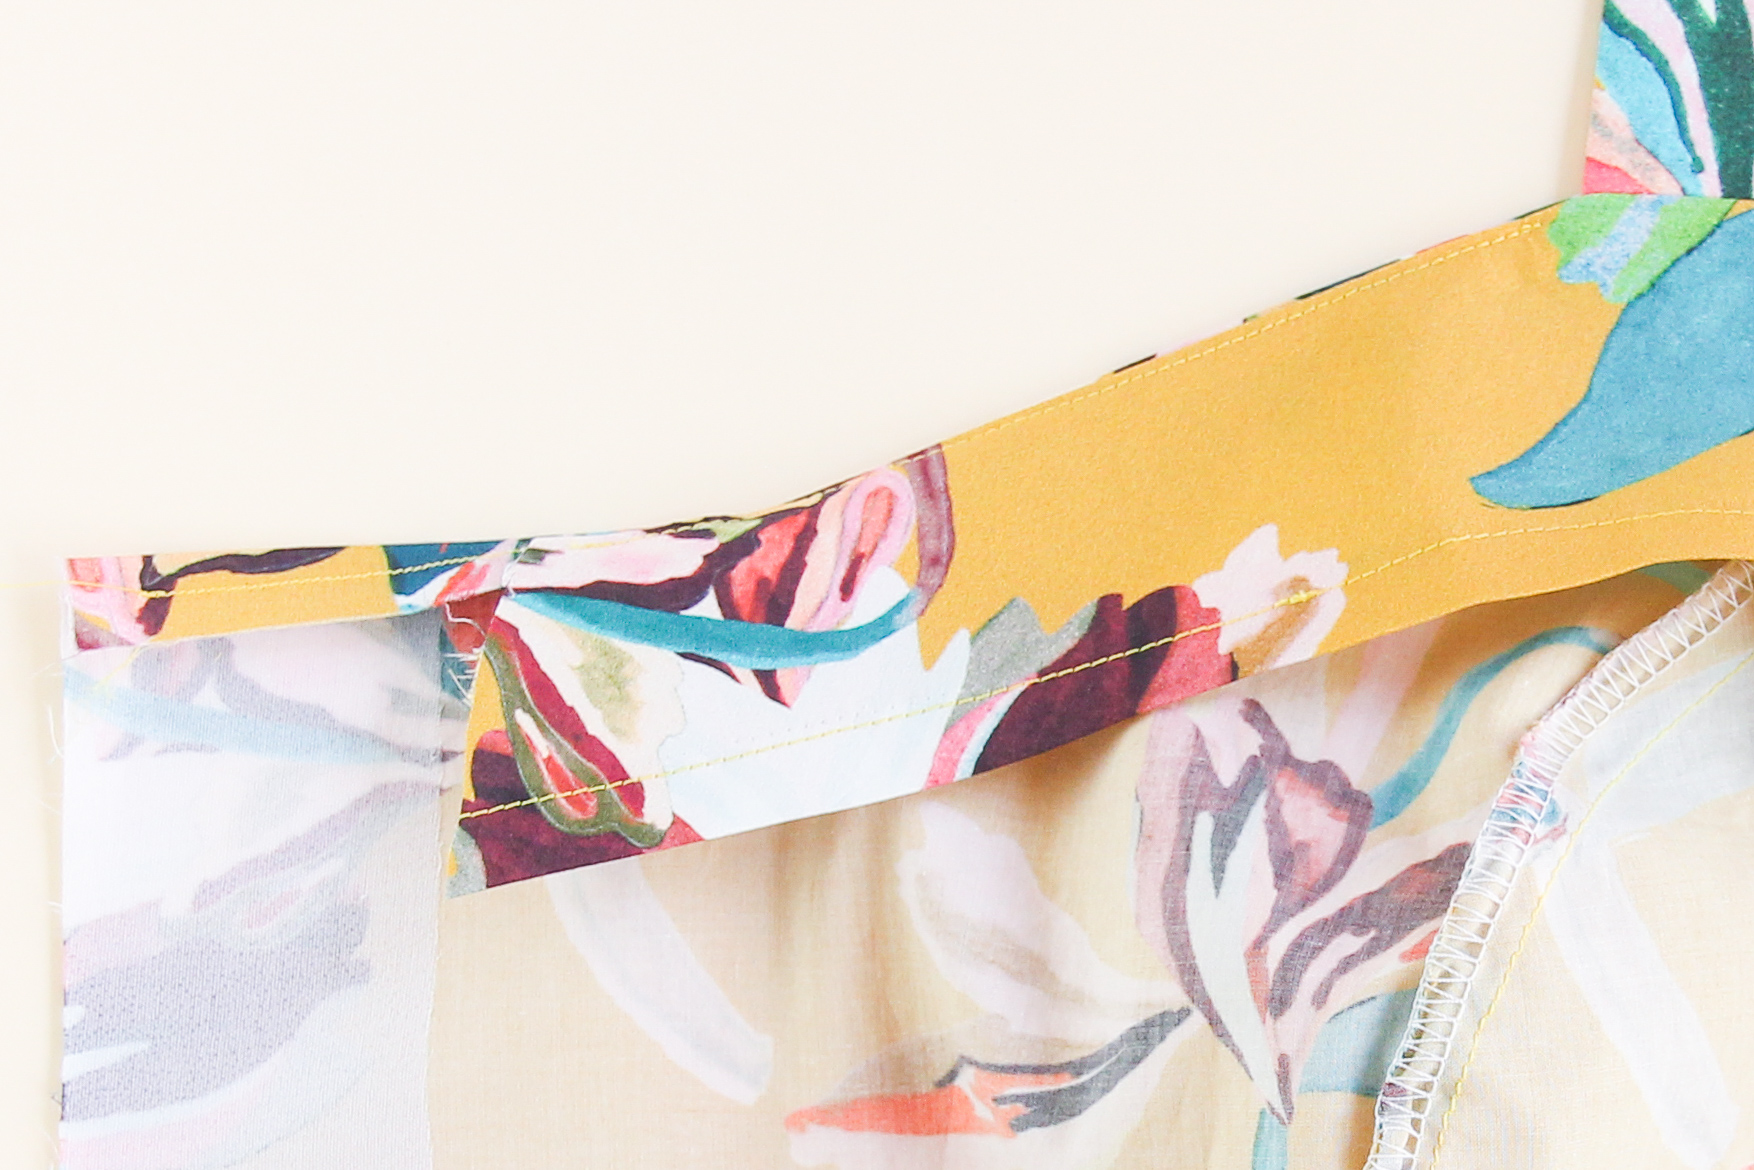
Now let’s put our dress fronts aside as we prepare our front facings. We’re going to start by folding up the bottom seam allowance (the curved edge) to the wrong side and pressing down. It helps to clip into the curve so that the seam allowance can lie flat.
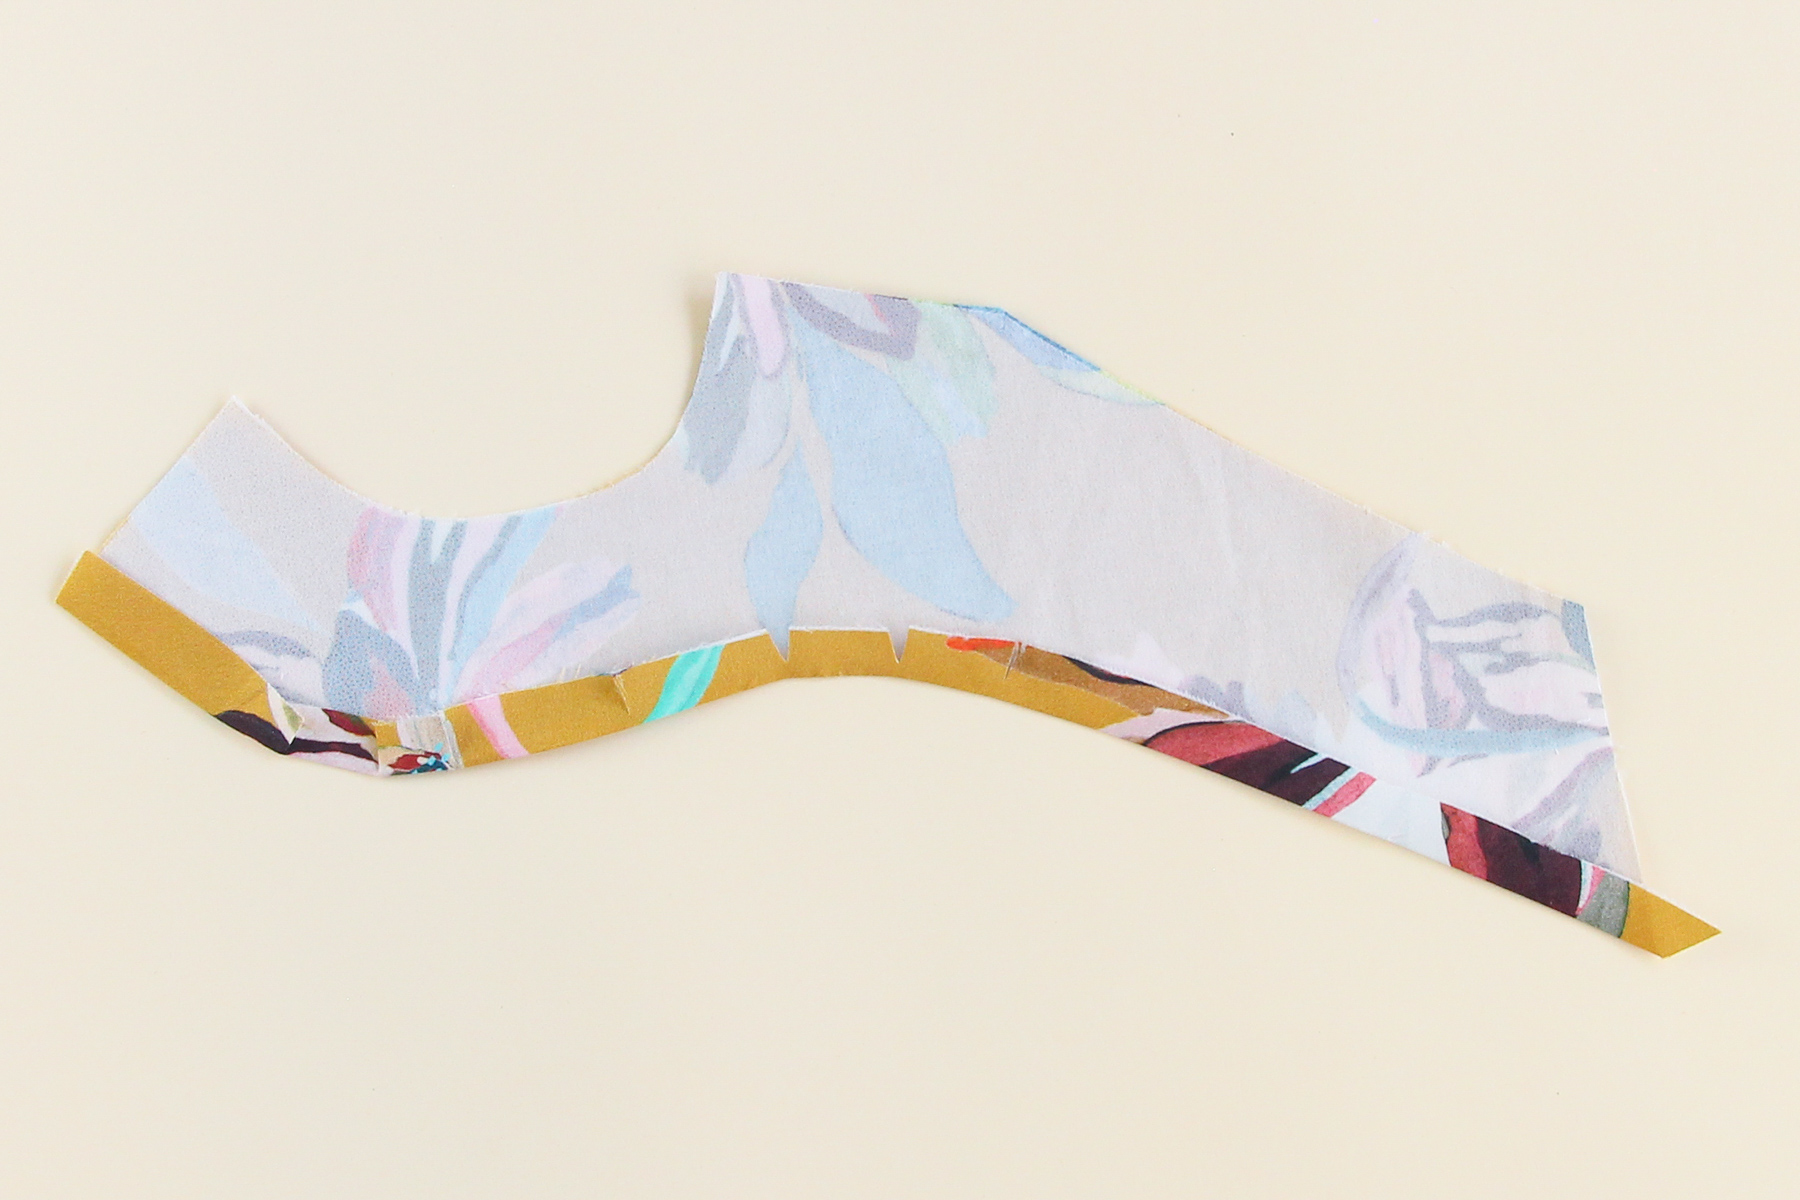
Flipping the facing back over to the right side, we’re going to topstitch along that bottom curve to secure the seam allowance down. I try to get my topstitching as close to the inside edge of the seam allowance (so just slightly less than 1/2” away from the folded edge) but it doesn’t really matter as long as you catch the seam allowance on the back side and that it lays flat. (It’s inside the garment, and only you will ever see it!)

Let’s repeat with our other front facing.
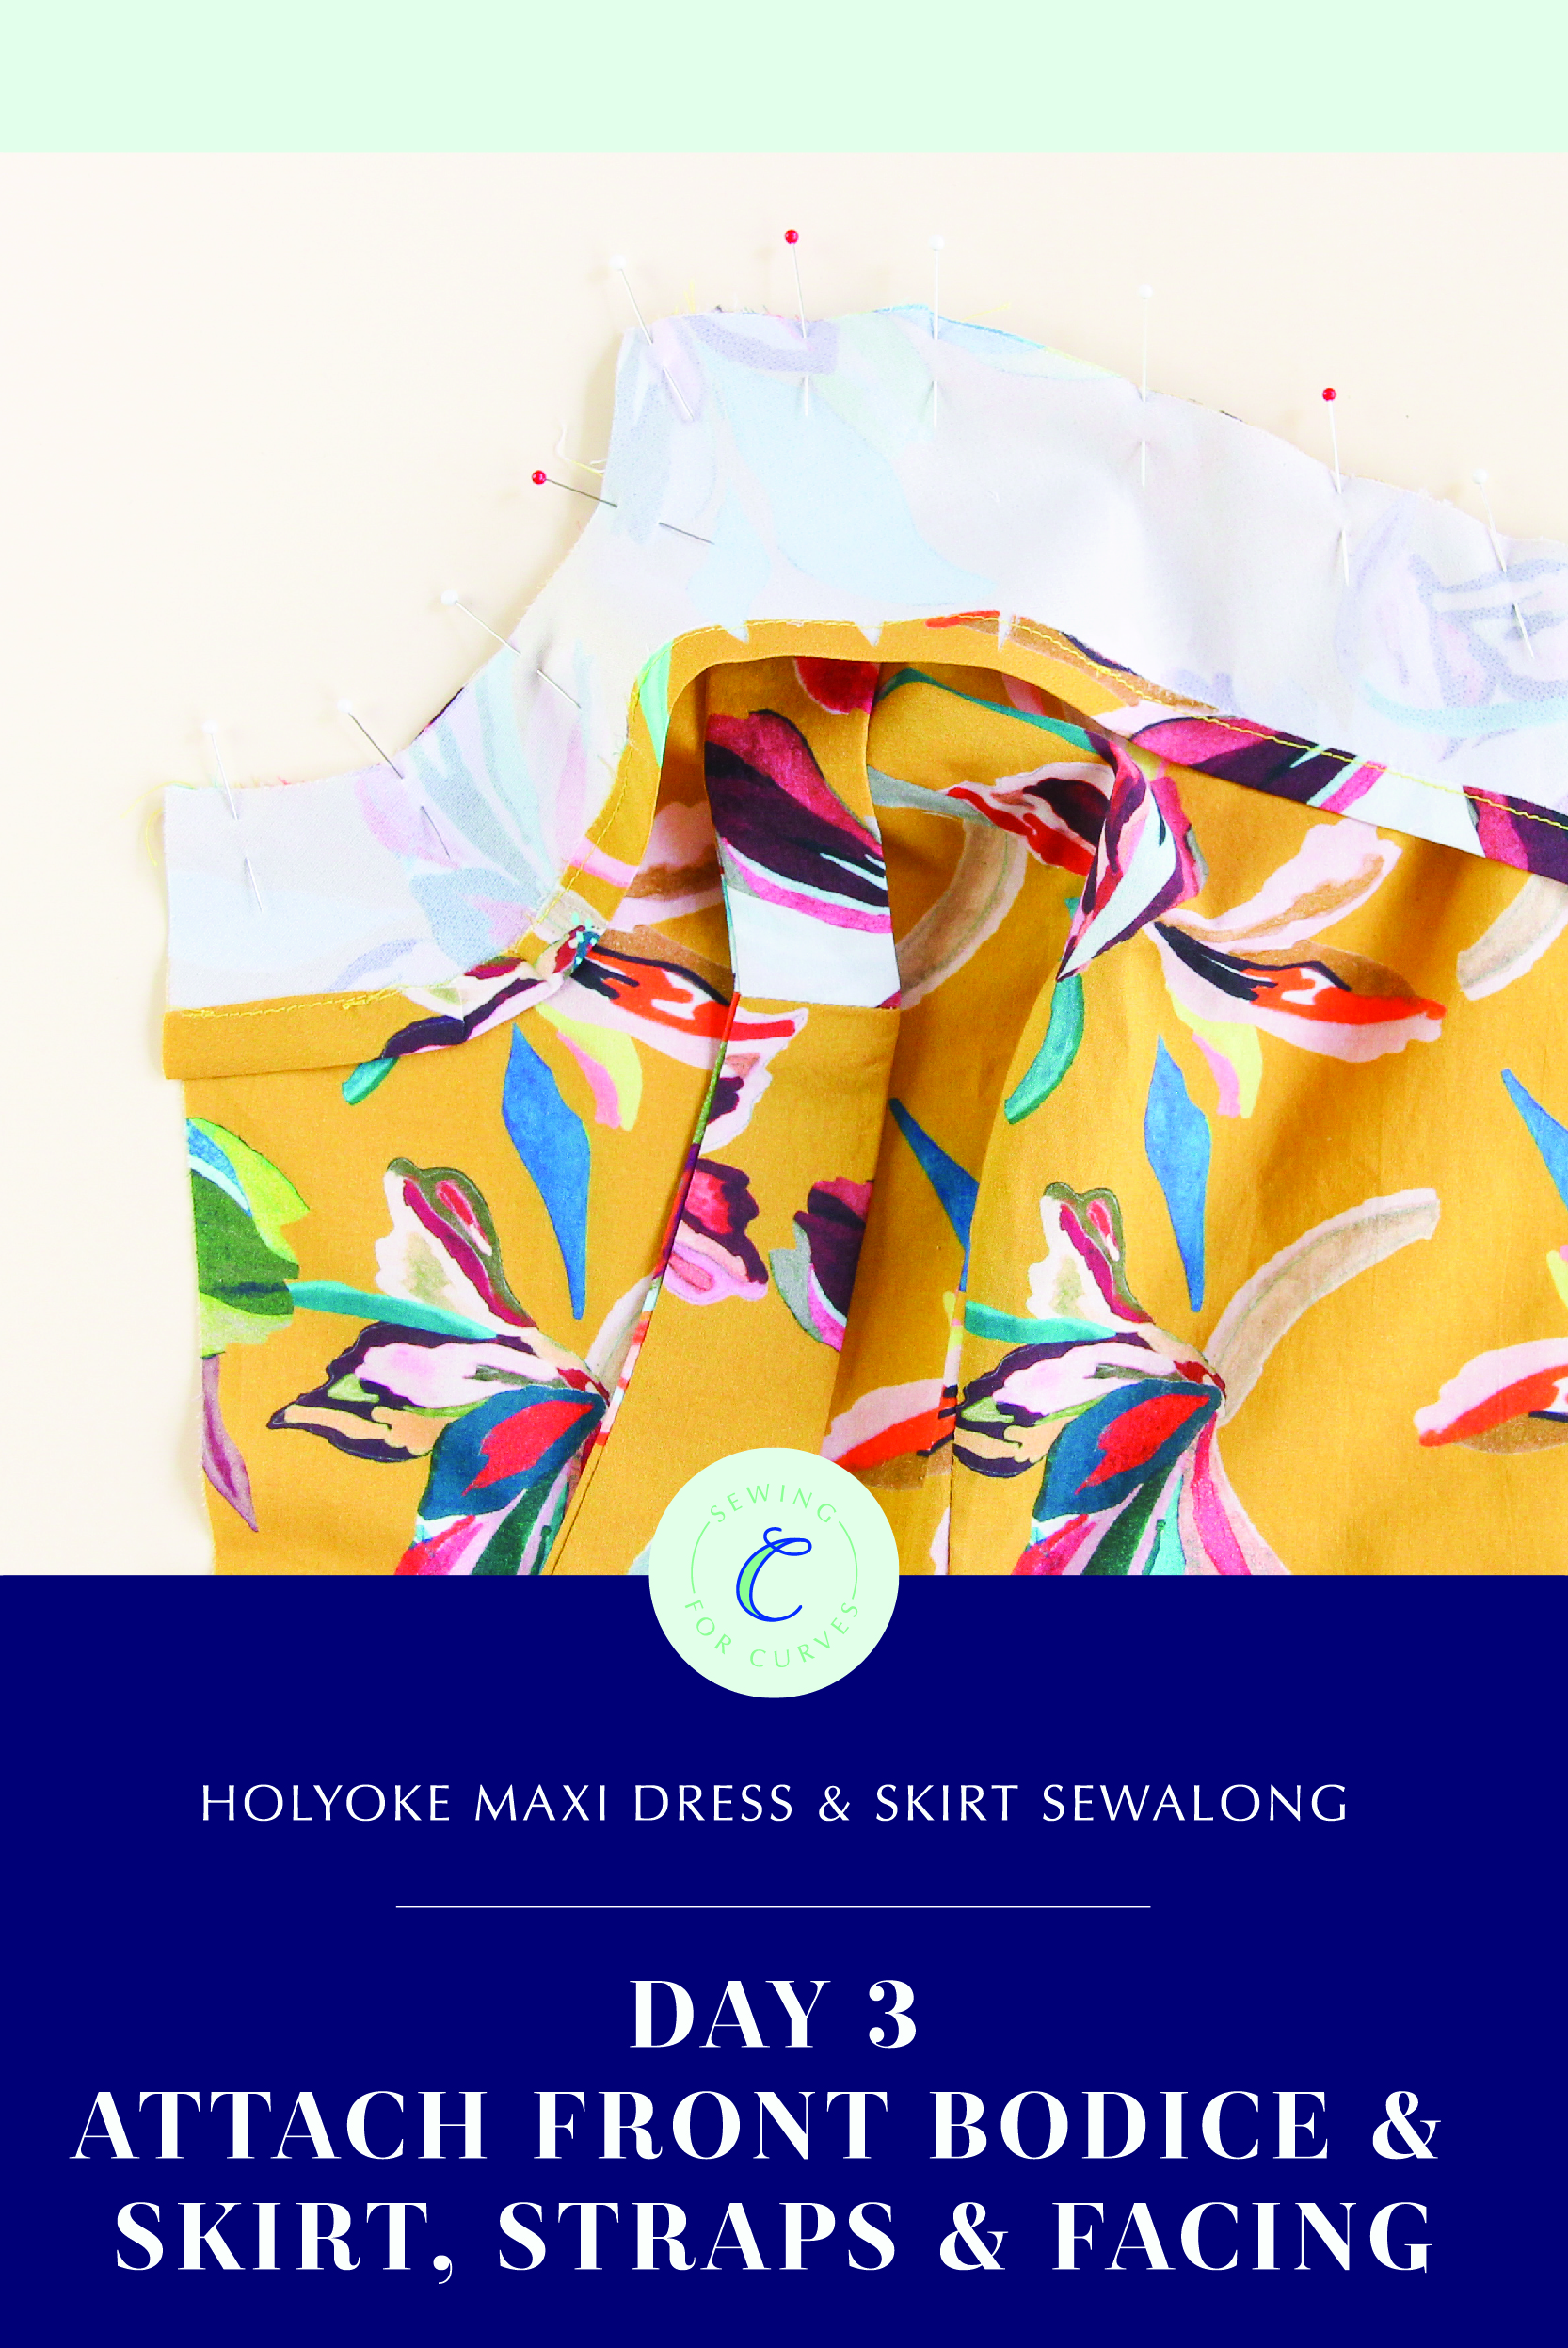
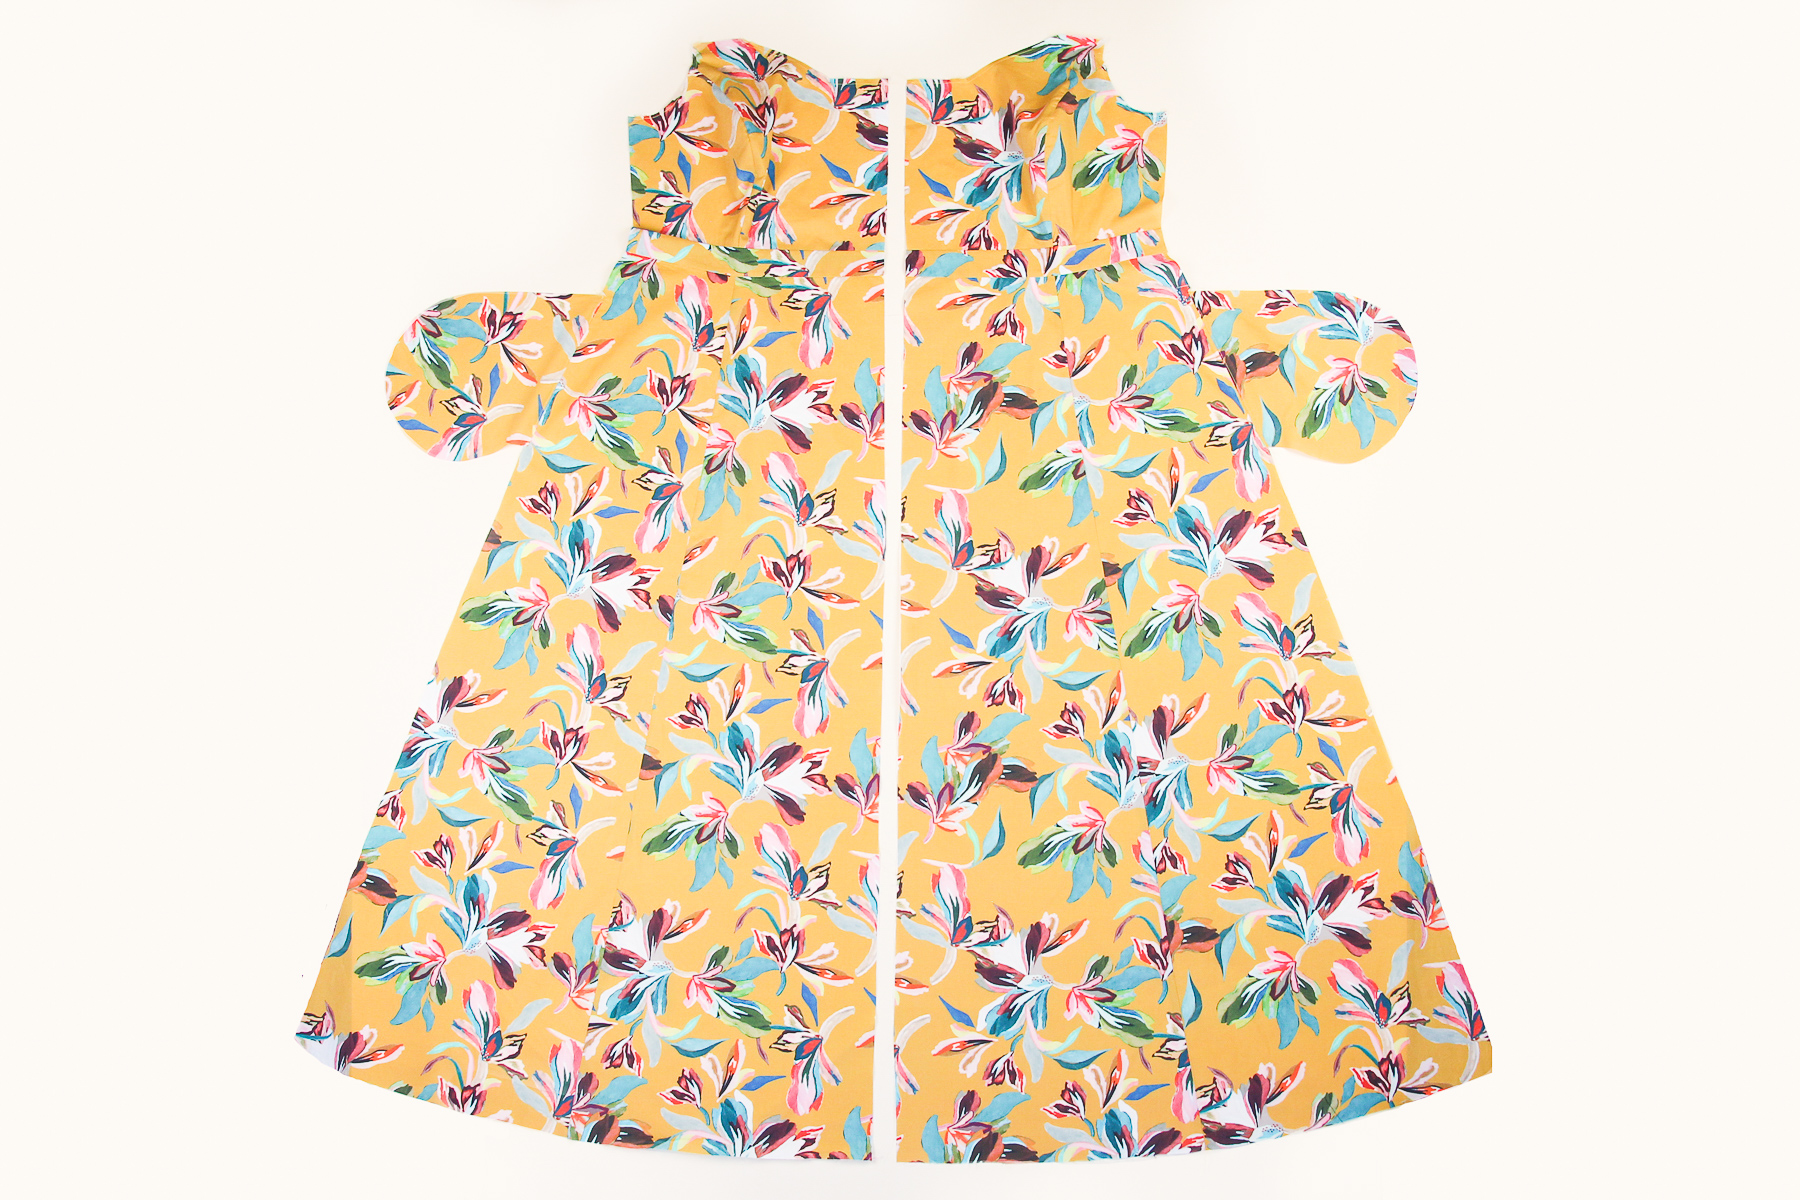
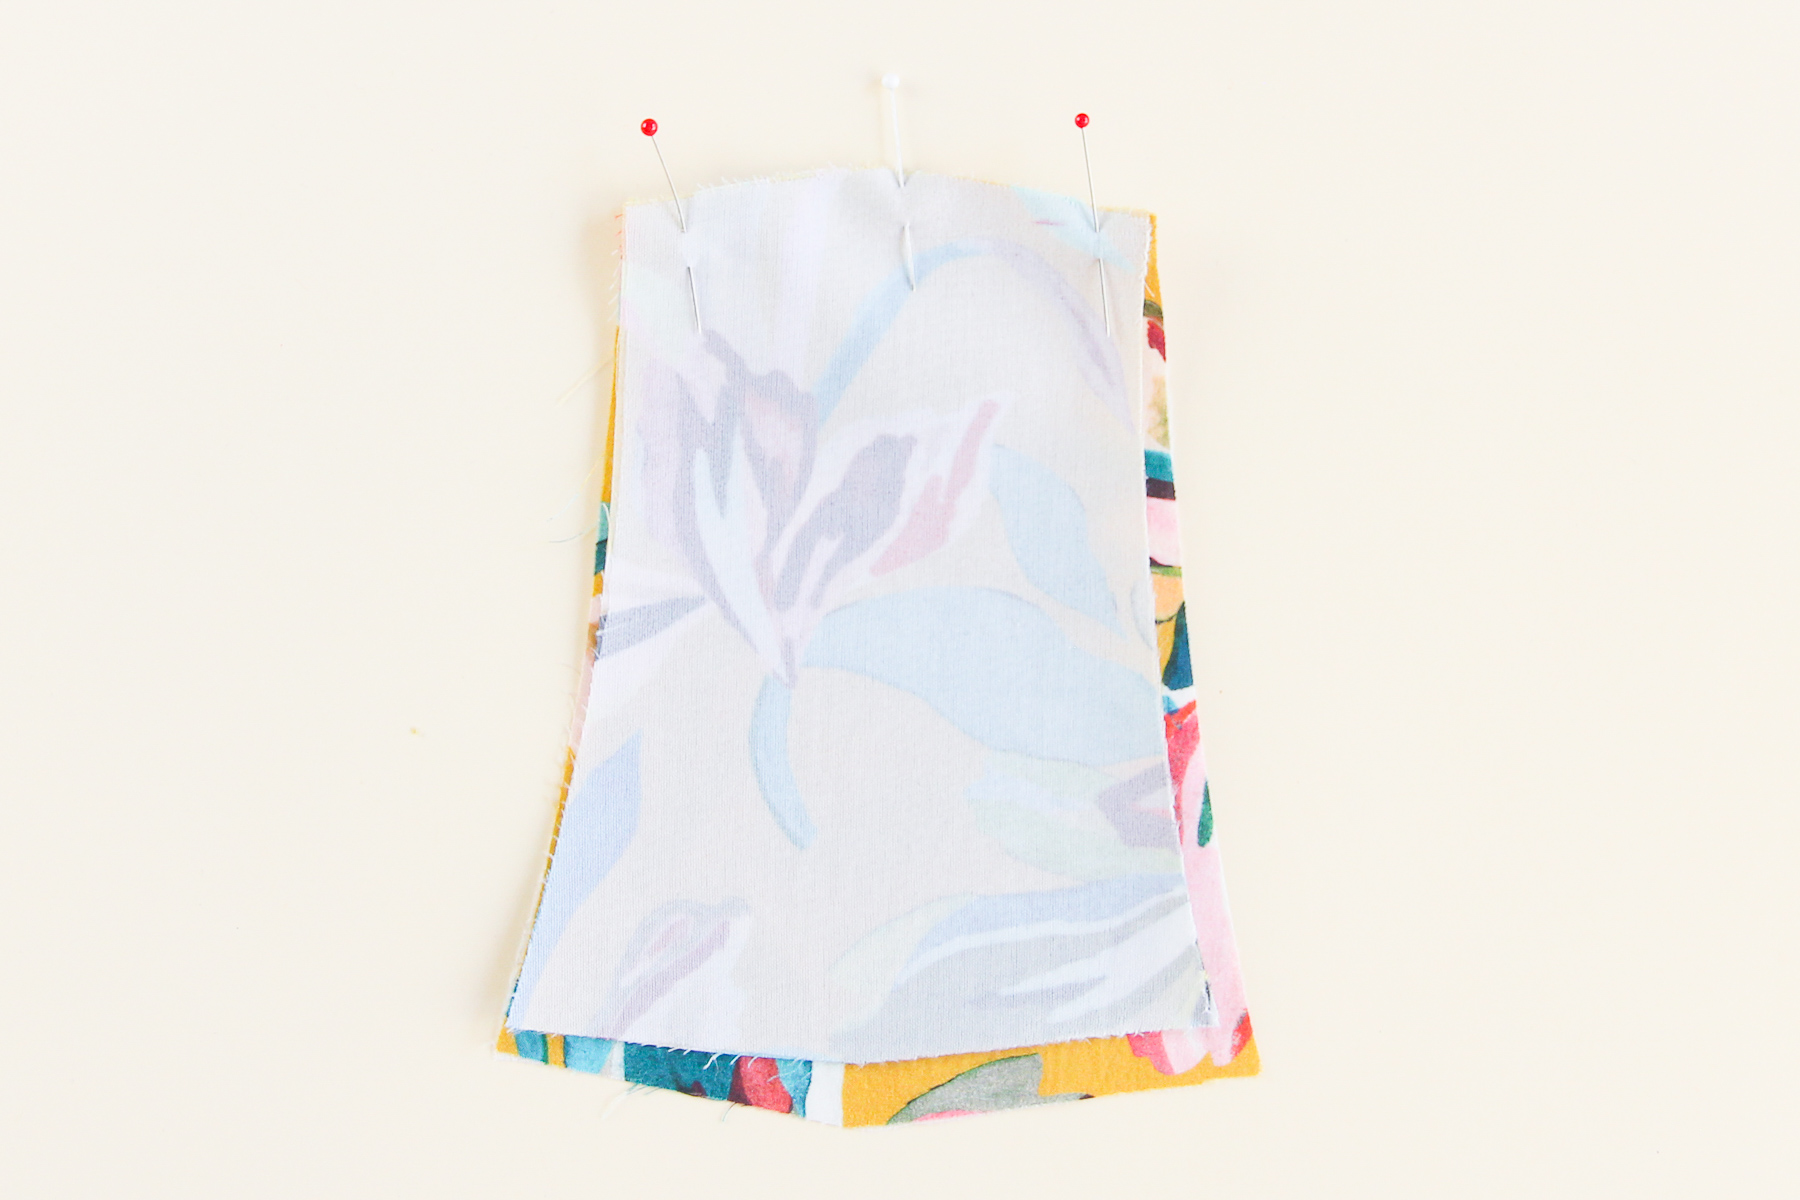
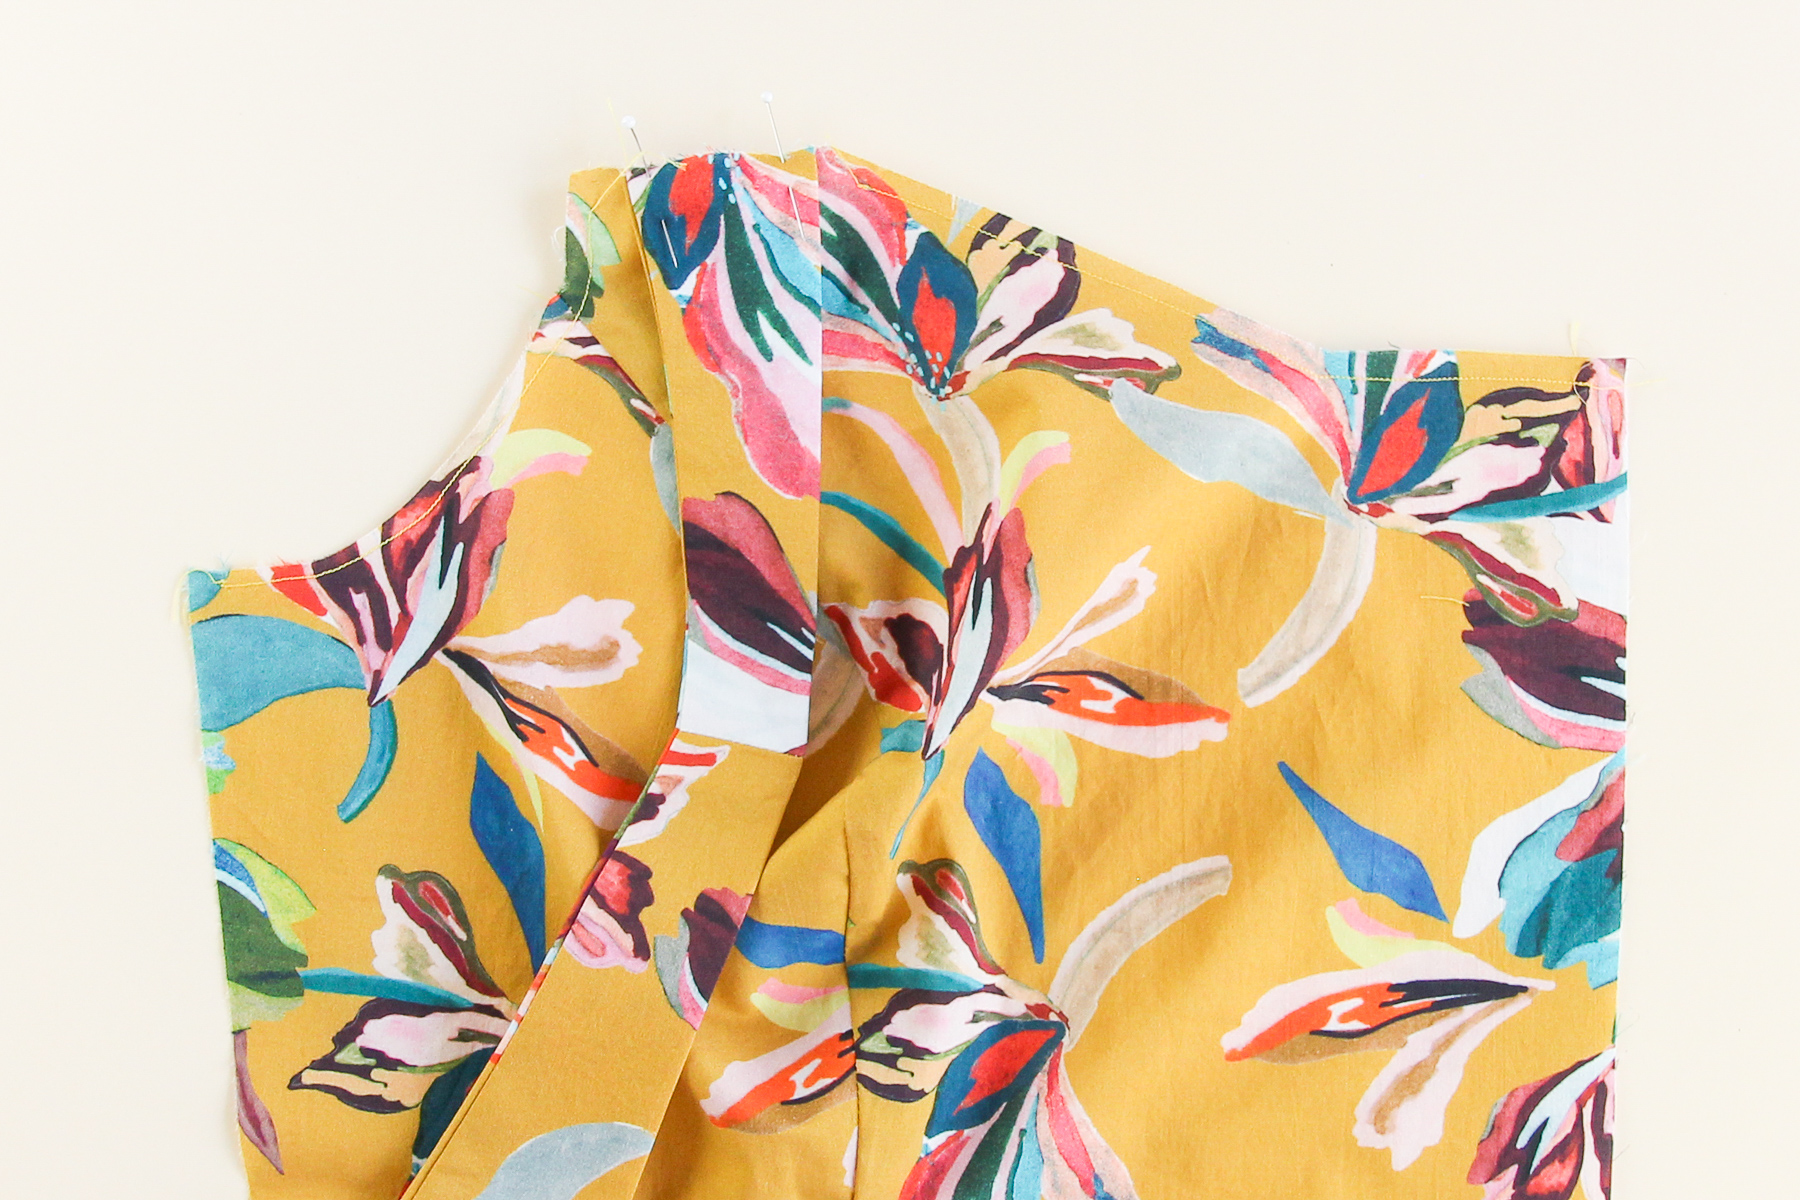
Ok, let’s grab one of our dress fronts again. We’re going to pin the upper edge of the front facing to the bodice, right sides together, making sure the strap is sandwiched in between the two layers and out of the way of the seam allowance so it doesn’t get sewn through on the side.
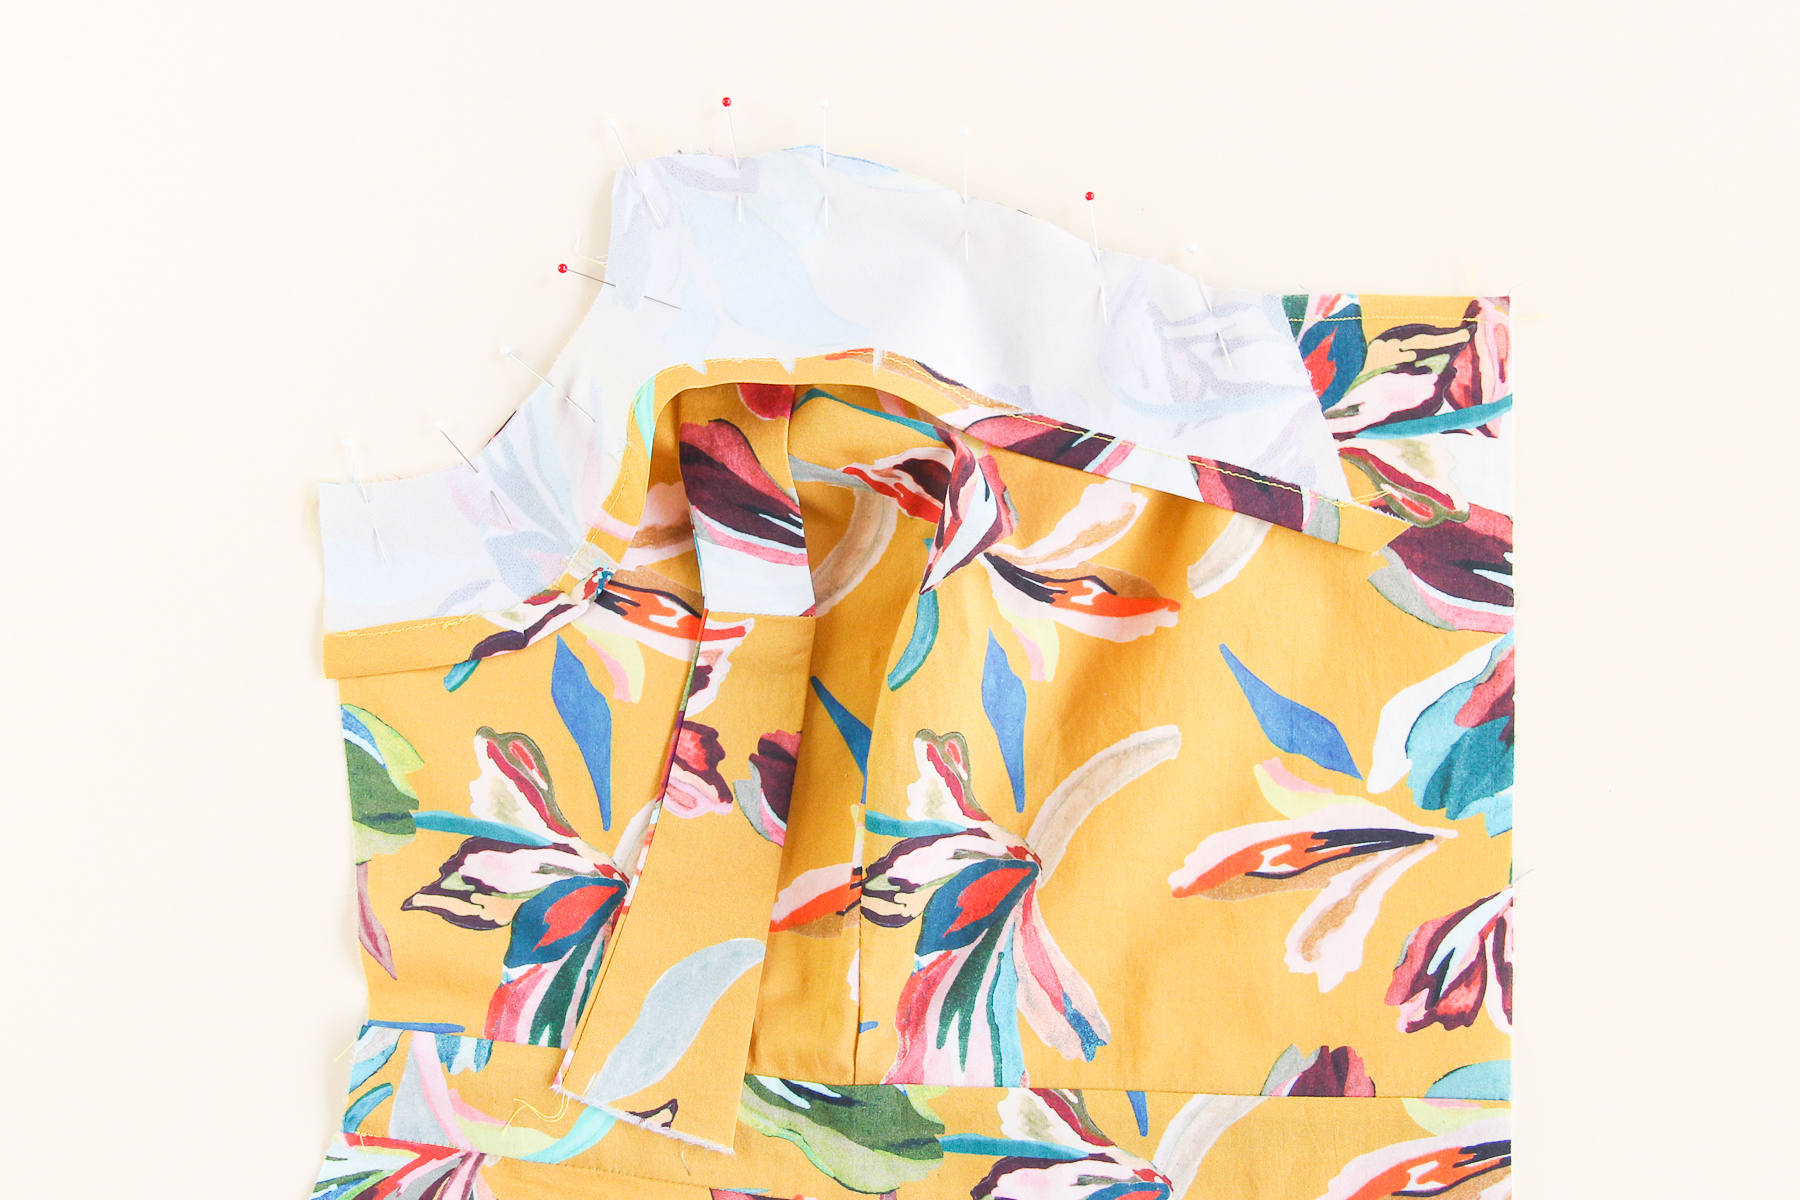
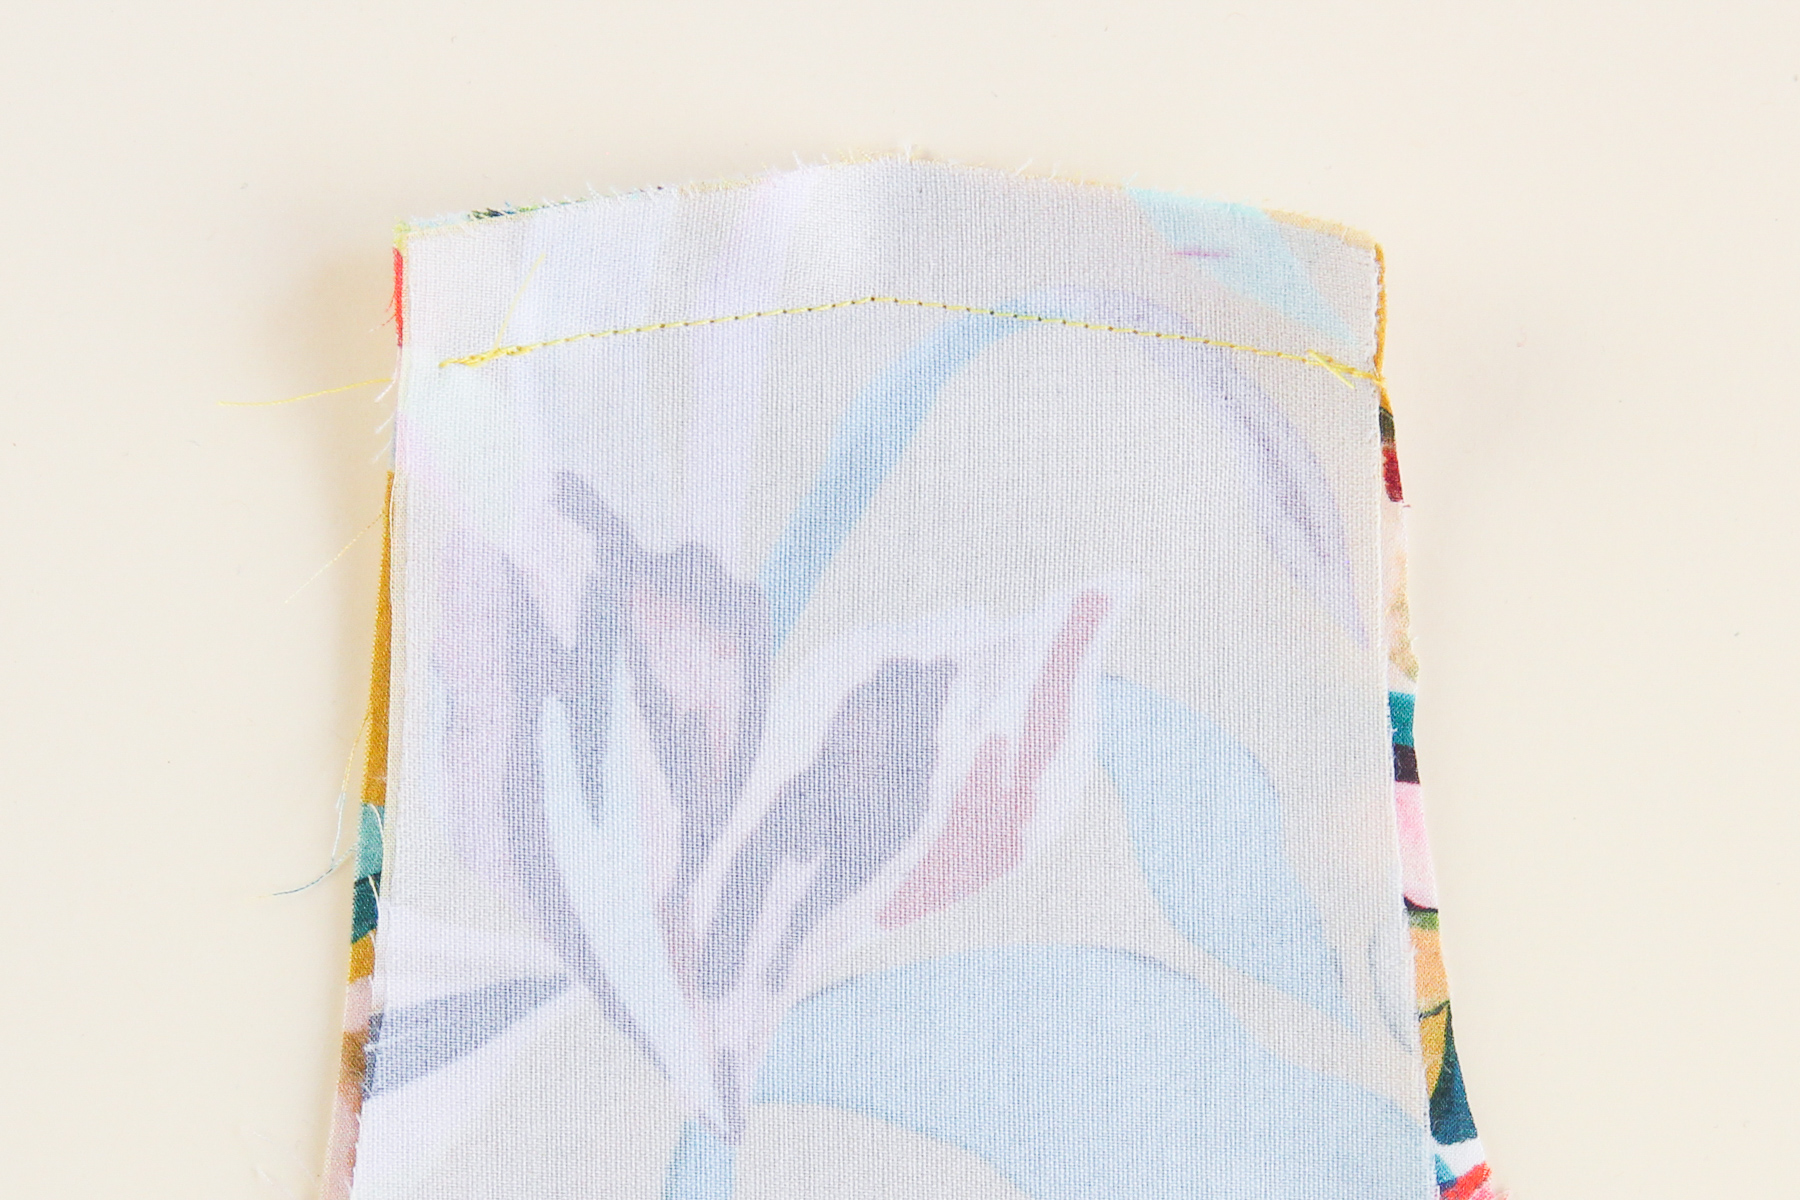
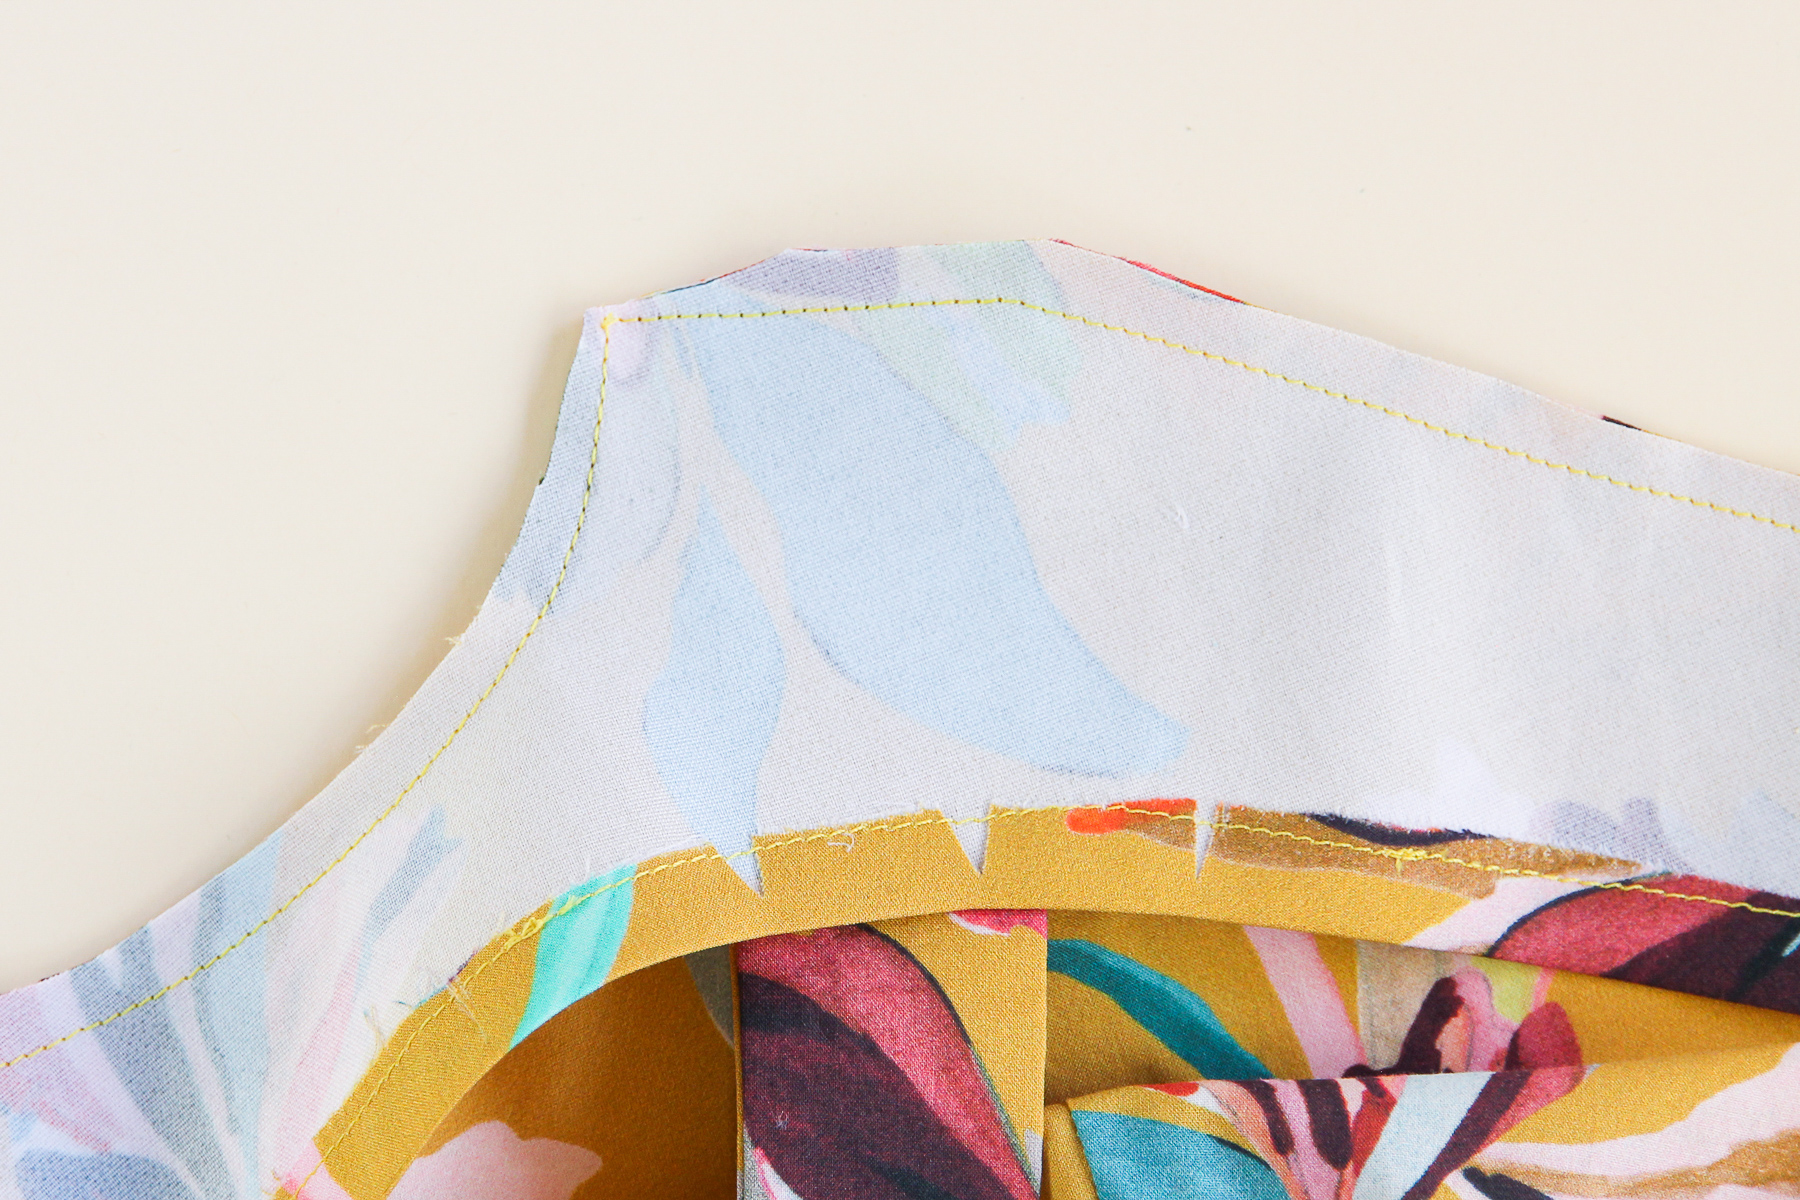
We’re going to sew the entire upper edge, going from the armscye to the bodice center.

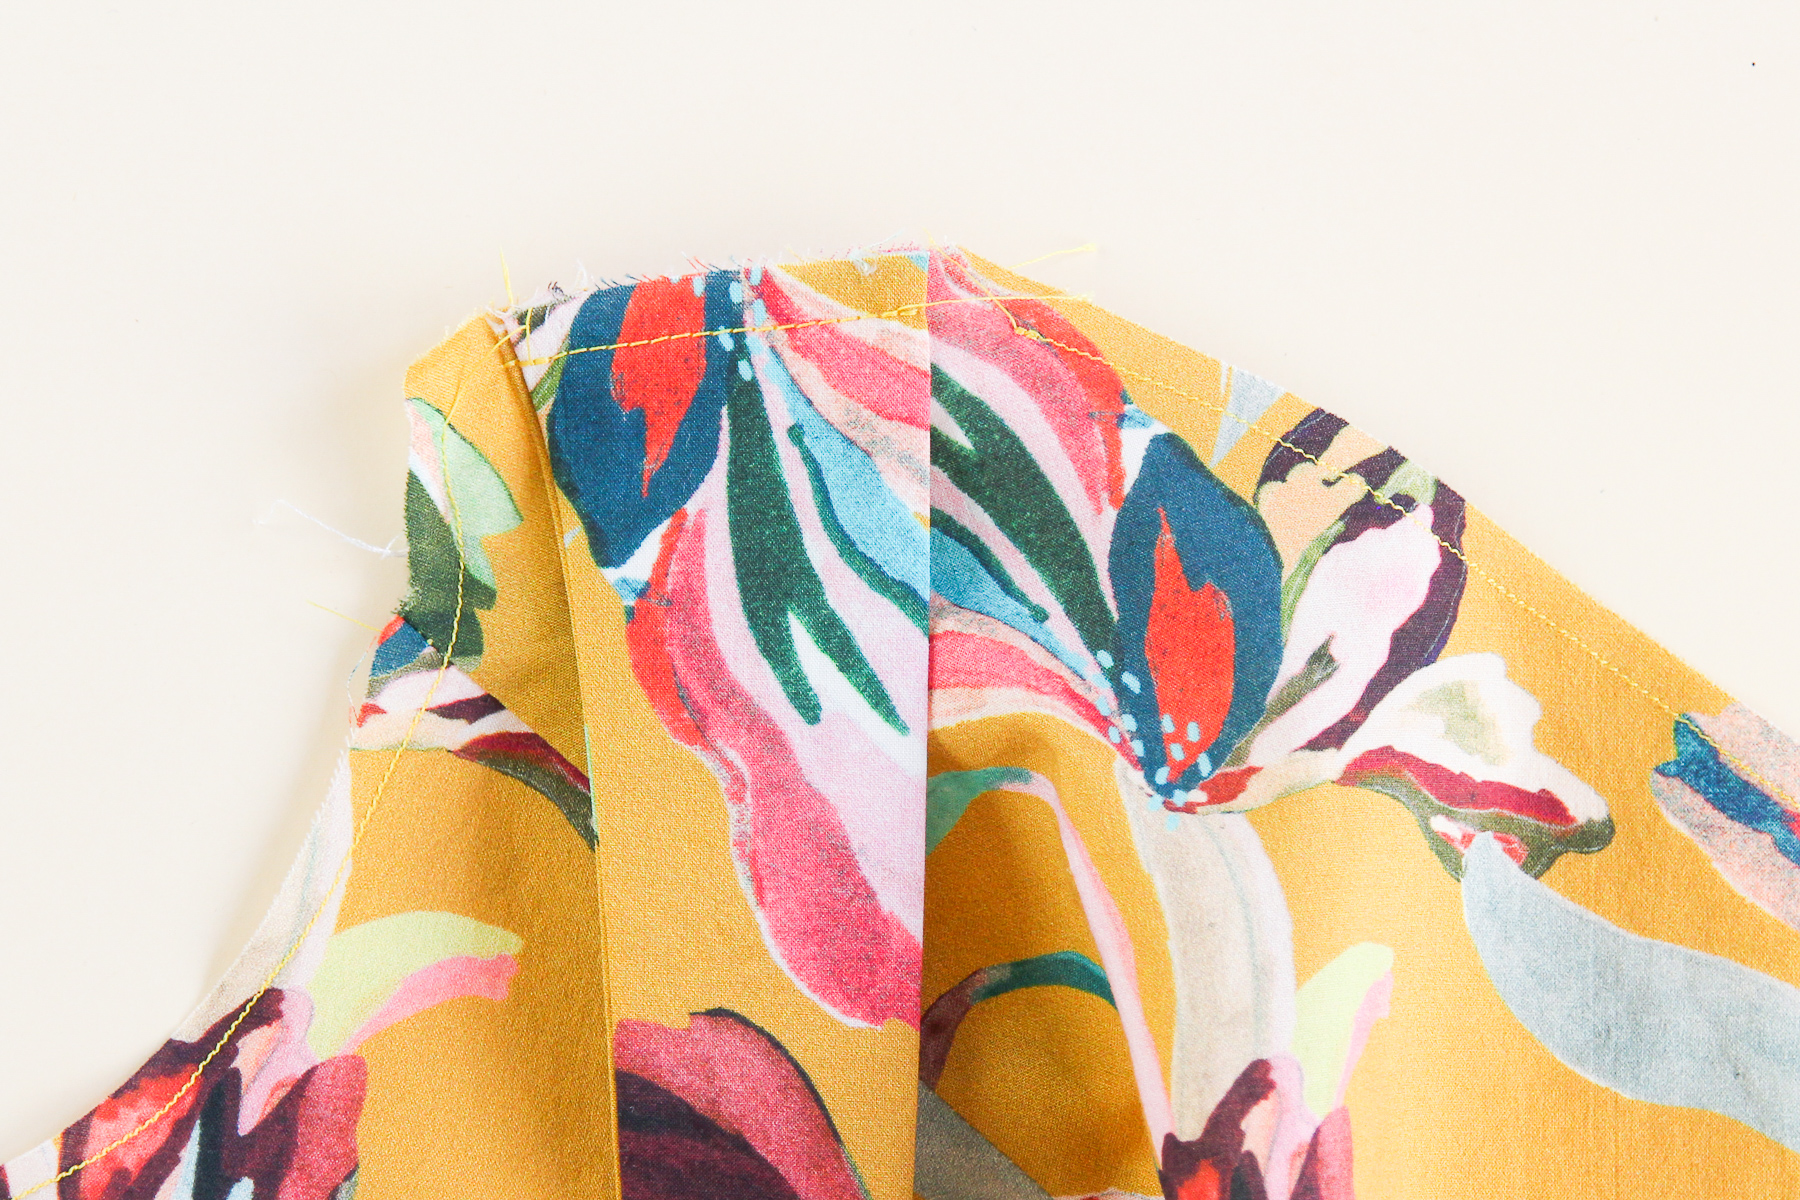
Now let’s trim that seam allowance down to 1/4” (6 mm) and clip across the corners.
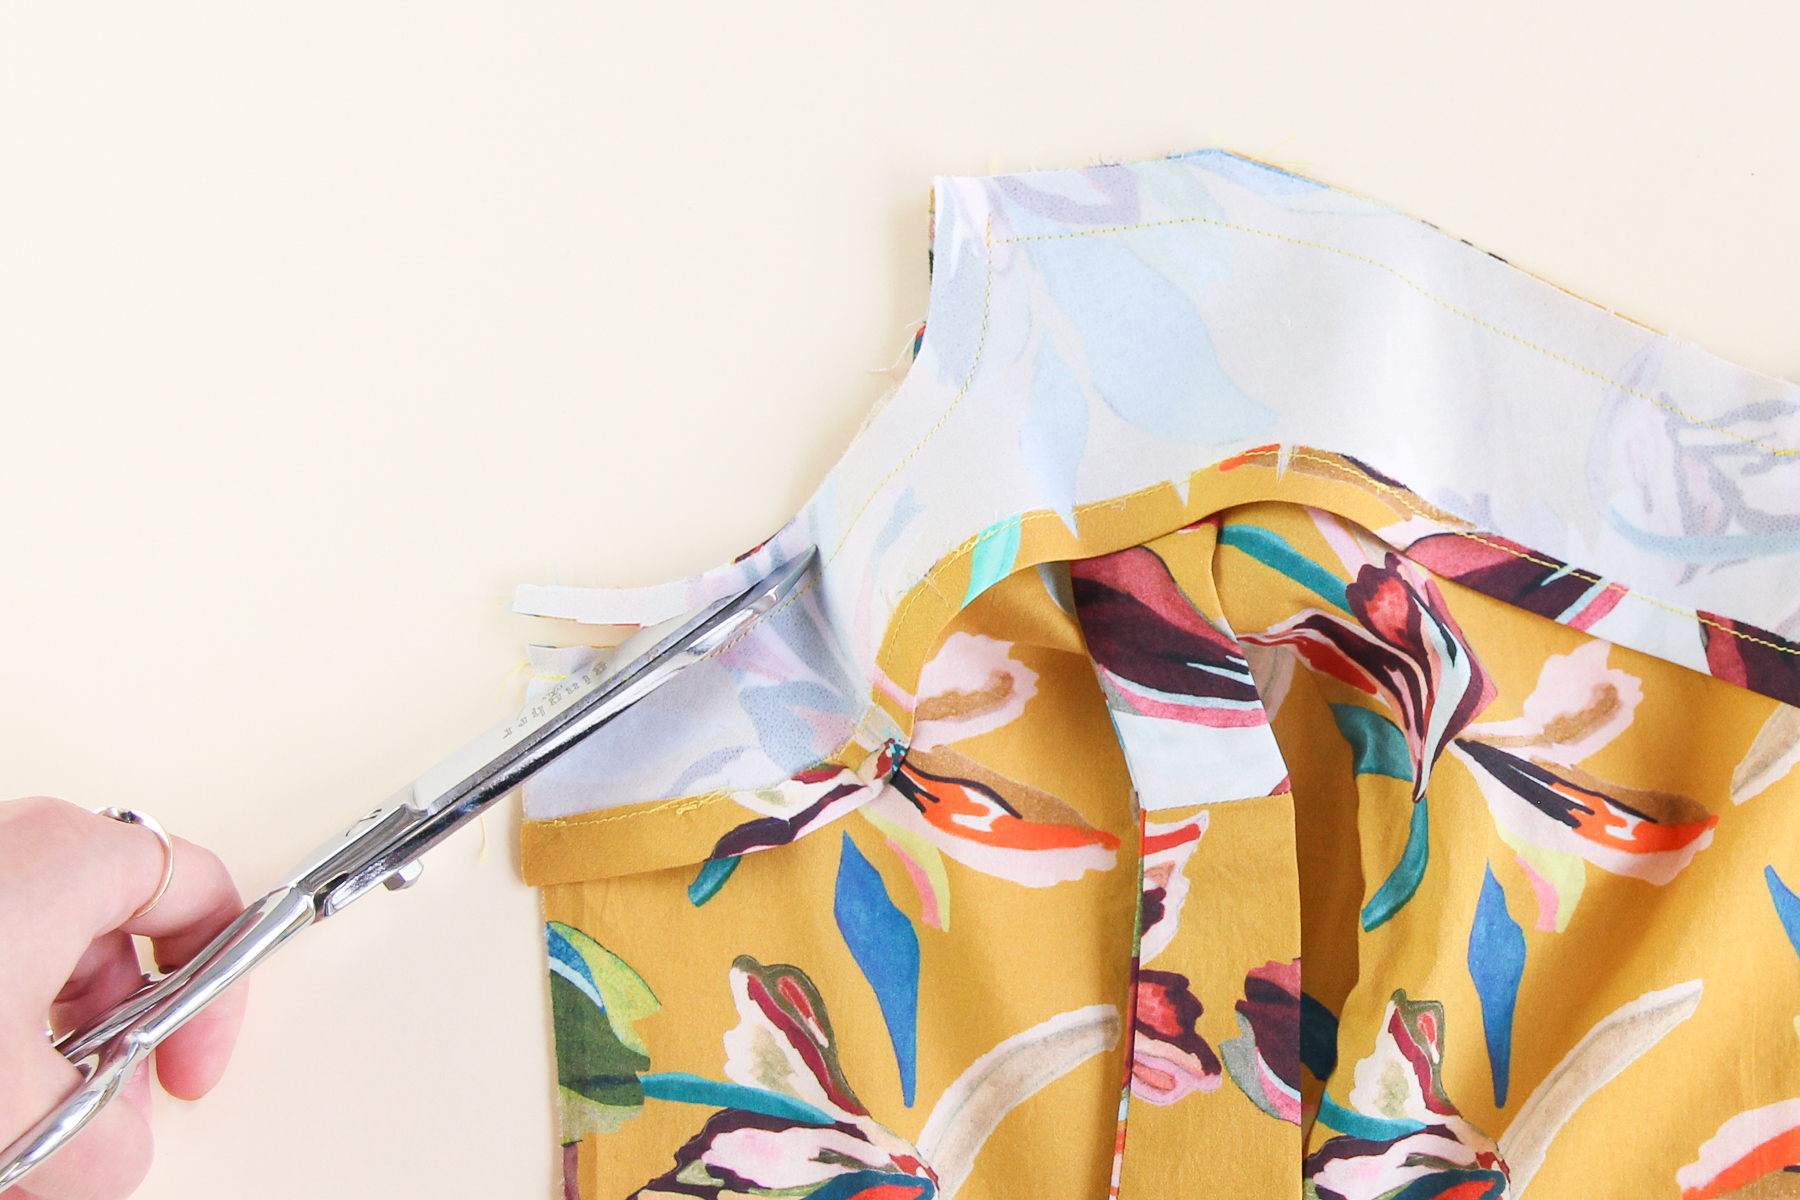
Now we need to flip the facing over to the wrong side and press down. The upper seam allowance of the bodice center front will fold over to the wrong side as we’re flipping the facing over—this is good and we should press that down as well!
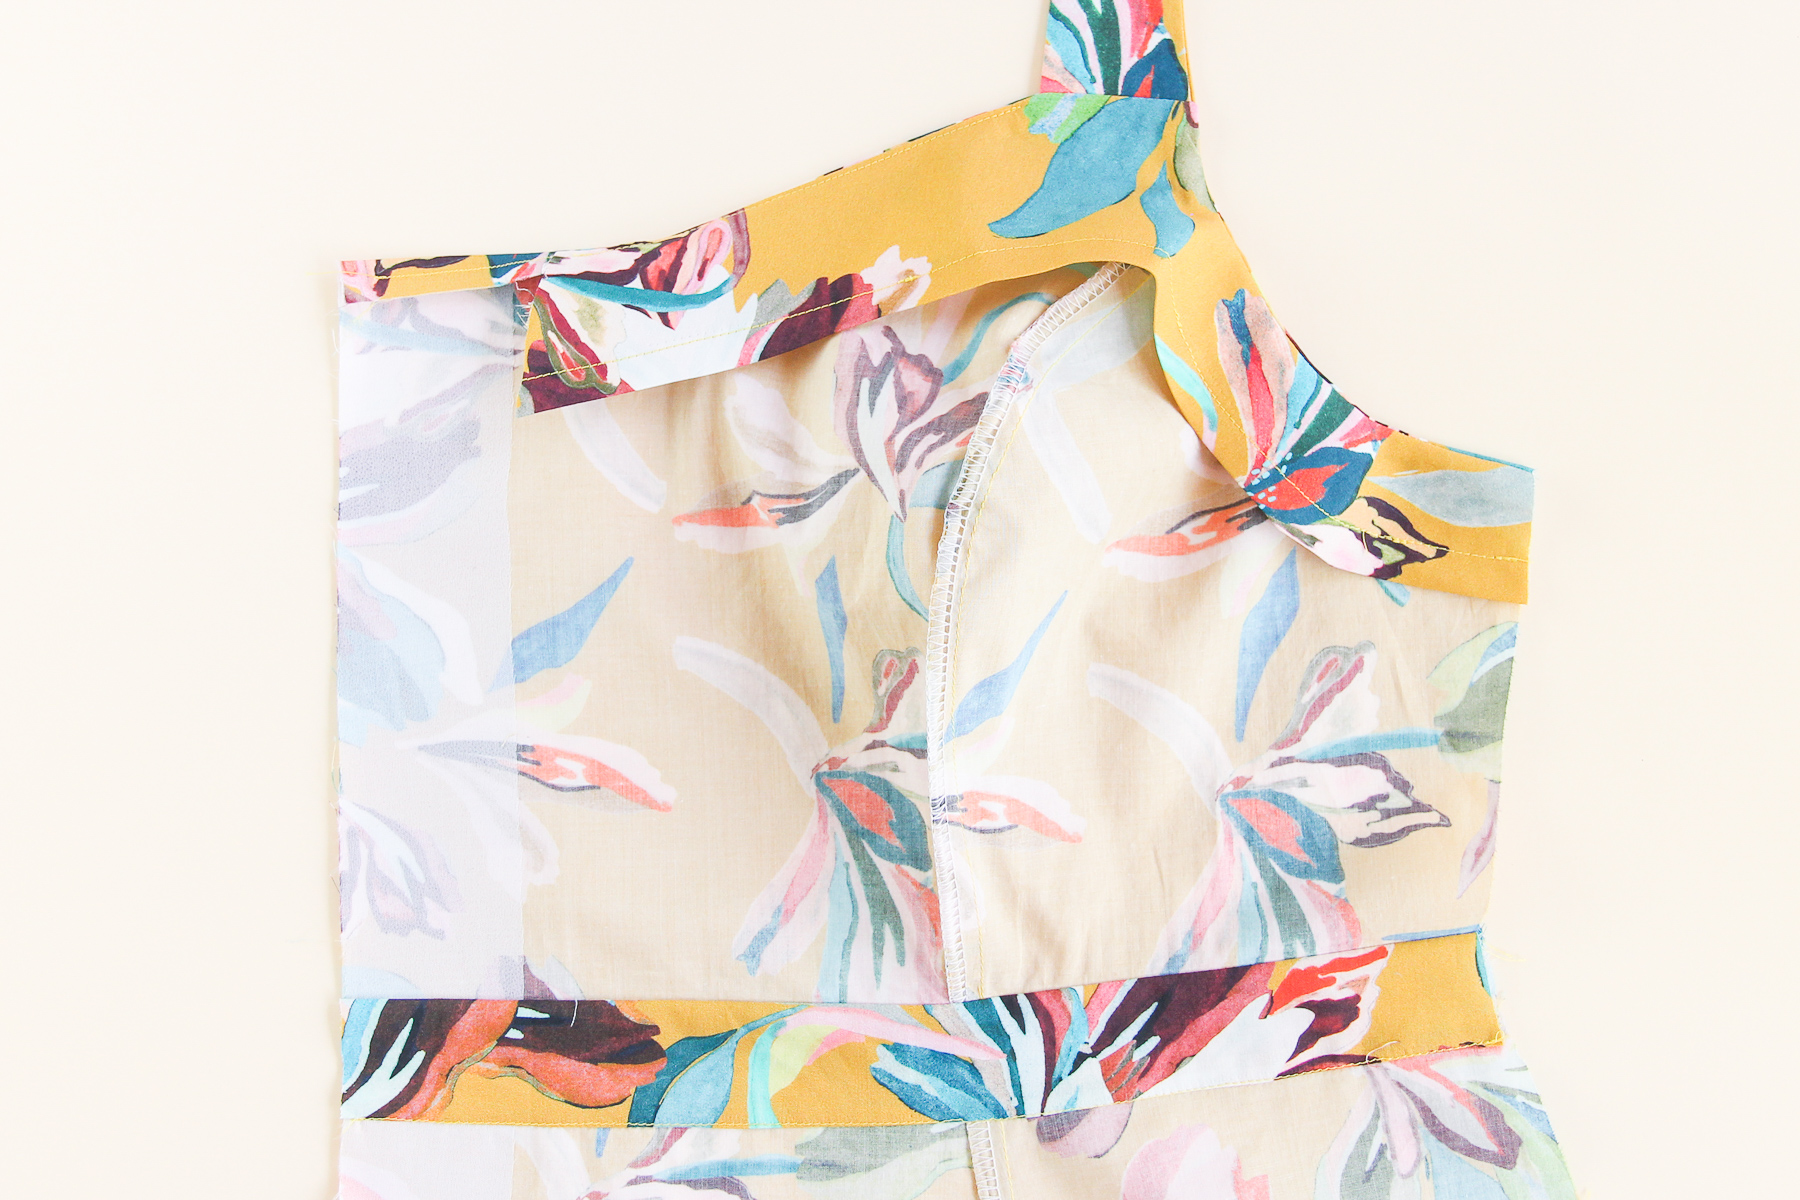
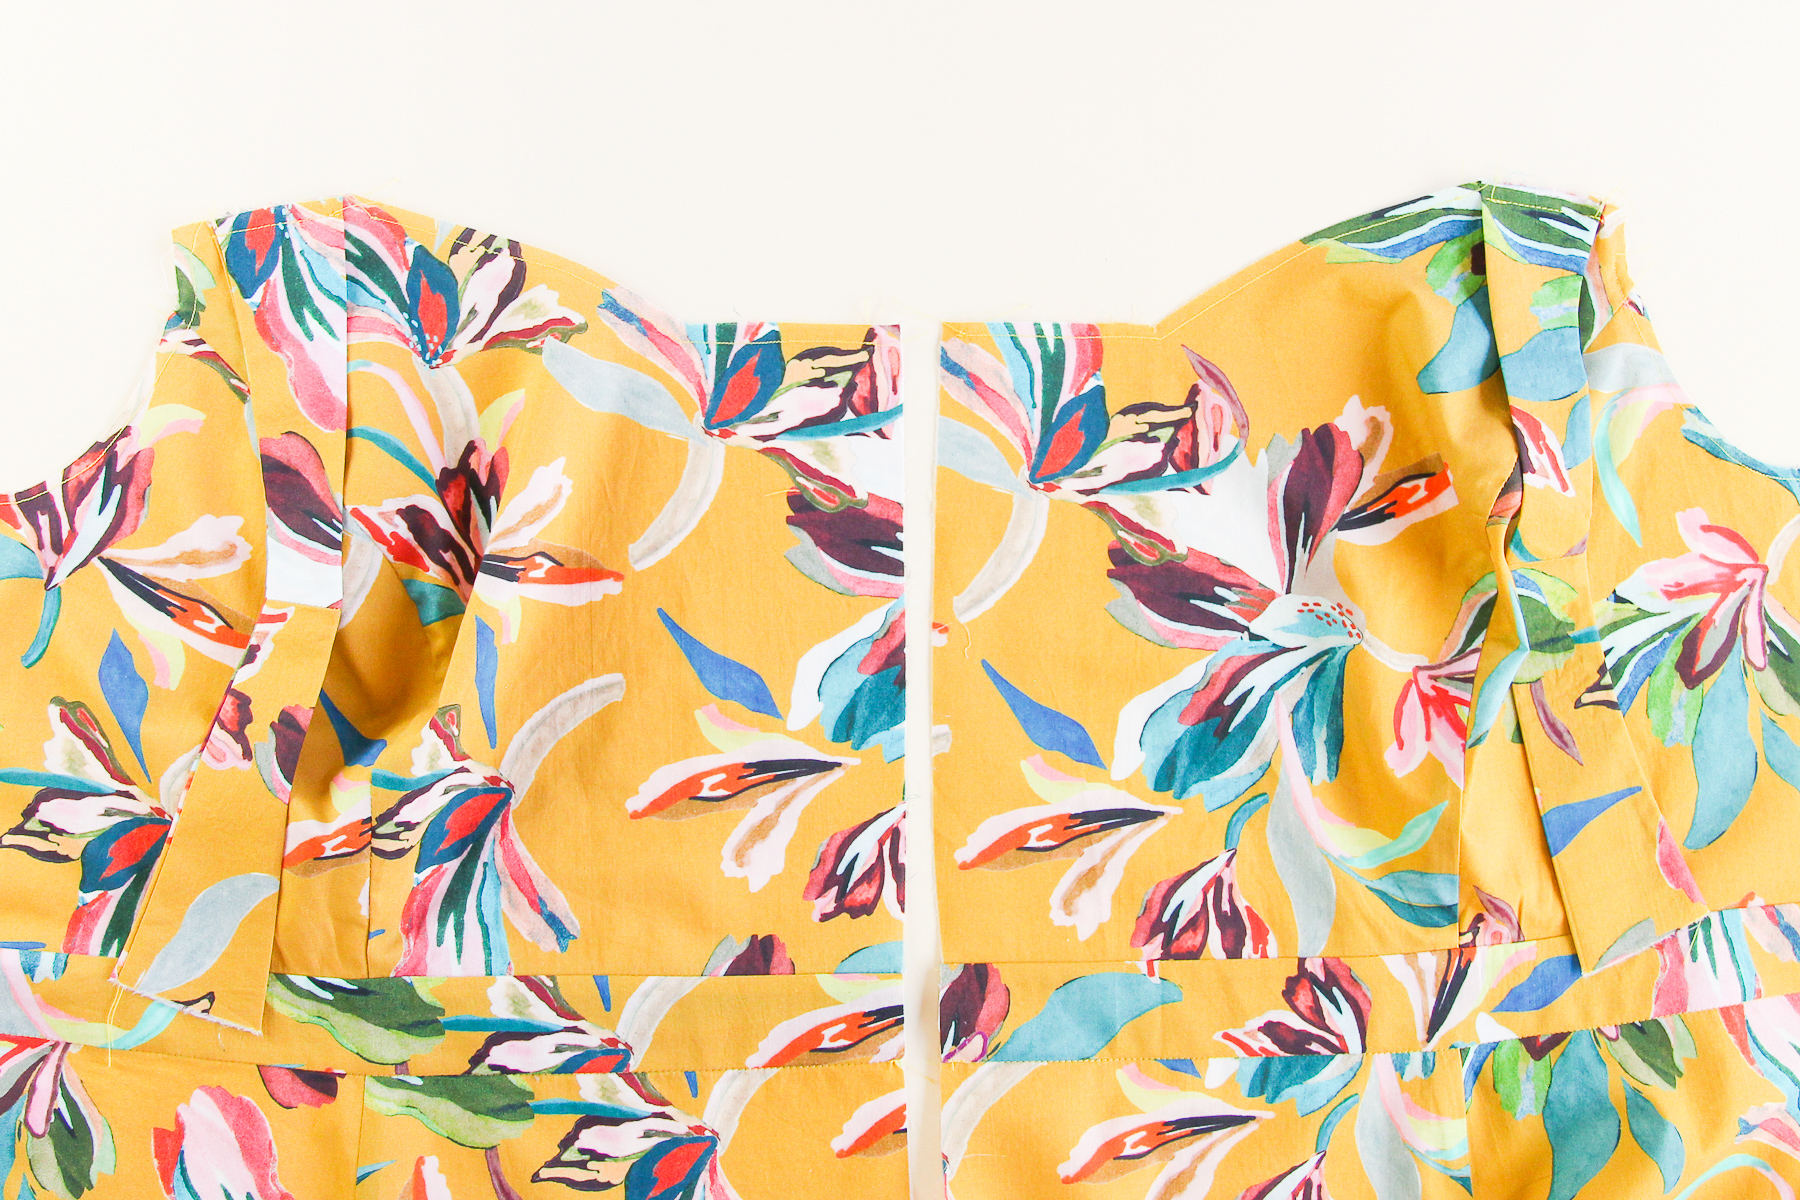
For extra security, you can choose to understitch the facing to the seam allowance, starting from the bodice center and going as far as you can towards the strap. This helps keep the facing from rolling over and peeking from the front.
Alright! The one dress front is complete—now we need to sew our facing to the other dress front.
And that’s all for today, folks! Next time, we’ll be attaching the back skirt to the back bodice and inserting the back elastic.
We want to see your creations, whatever stage of the process you’re at! Tag your makes with #HolyokeDress or #HolyokeSkirt on social media so we (and the whole sewing community) can cheer you on to the finish line!