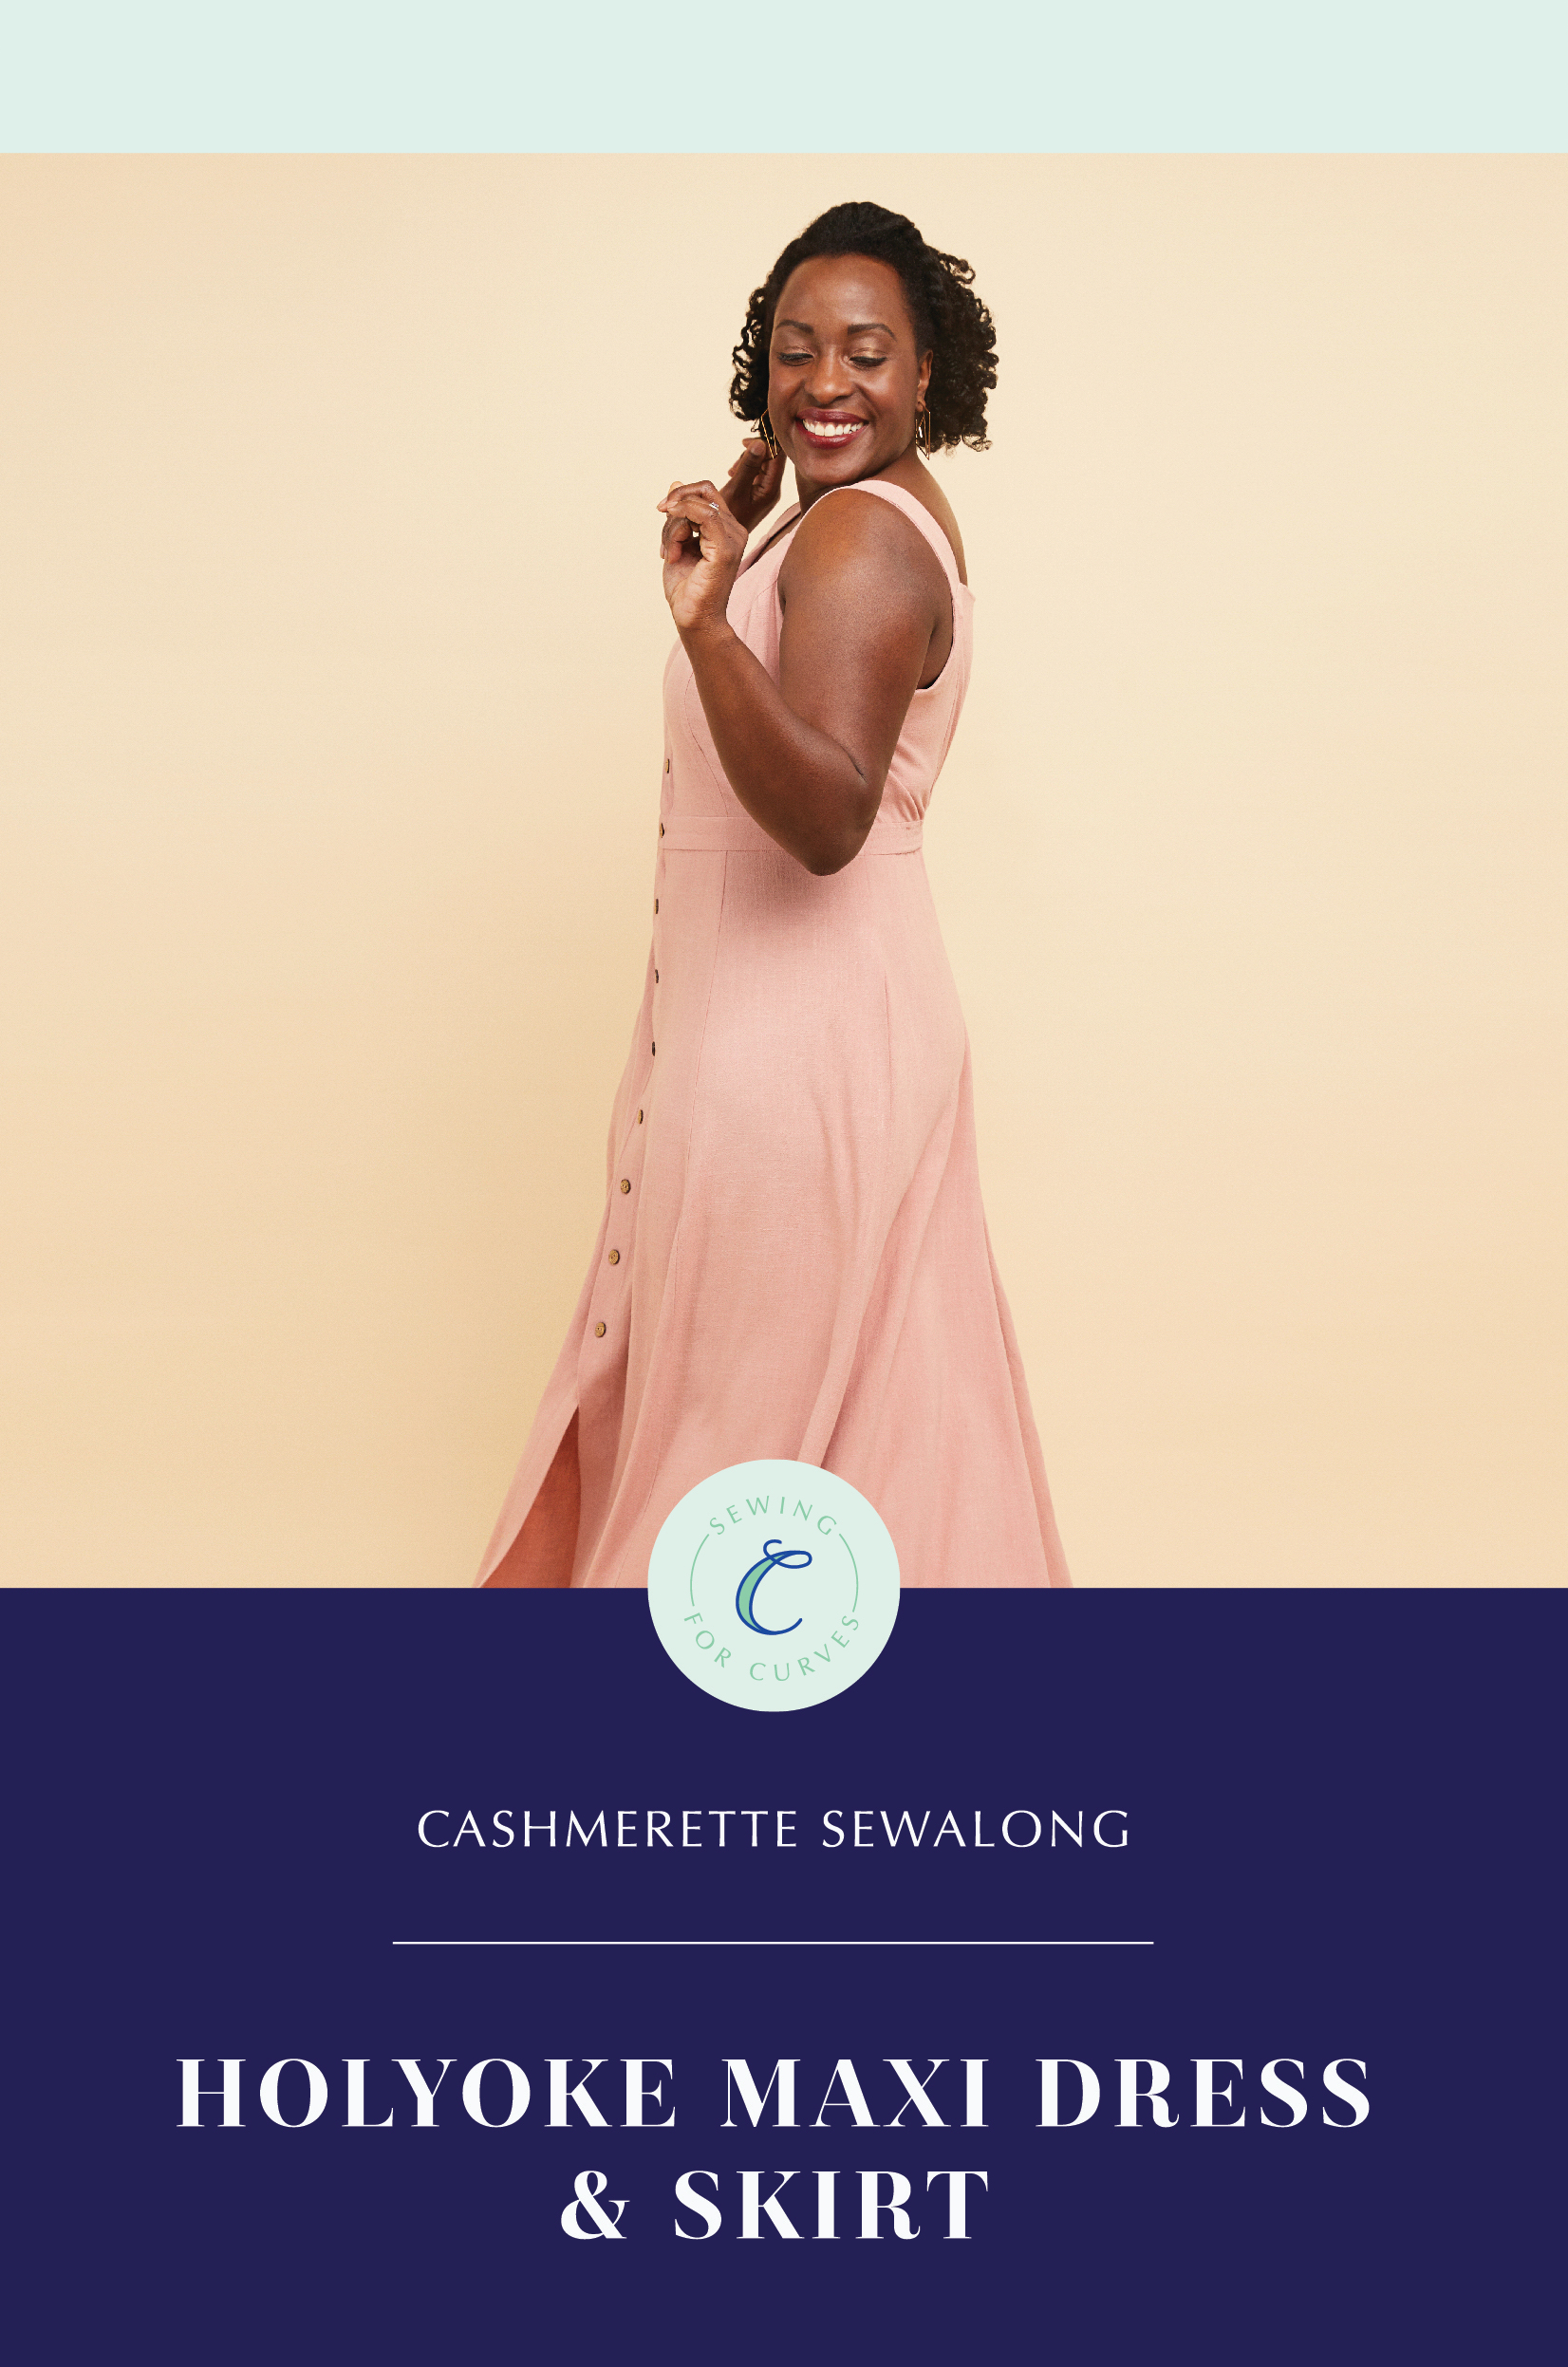
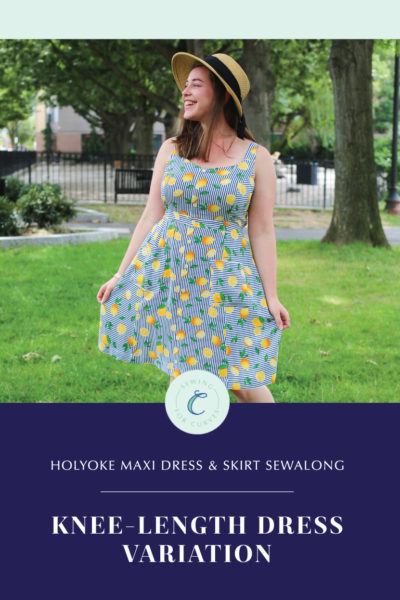
Alright, so you’ve dreamed up your perfect Holyoke Maxi Dress or Skirt and acquired your fabric and buttons. Let’s get this show on the road!
(Just tuning in? Be sure to check out the Holyoke Maxi Dress and Skirt Sewalong page for step-by-step photo tutorials, ready-to-wear inspiration, fabric ideas, and more!)
Okay, so first things first: we need to pick our size. Thanks to the three cup sizes it’s more likely that you’ll fit in a “straight” Cashmerette Pattern than many other companies, but of course we all vary and chances are you may not be perfectly in one size. The good news is that sewing gives you tons of flexibility, and it’s easy to grade between sizes.
How to Choose Your Size
There are two measurement charts: one is the Body Measurement chart, and the other is the Finished Garment chart. The Body Measurement chart helps you choose your size based on what numbers you get when you measure your body with a tape measure—it has numbers for your bust (around the fullest part), waist and hip.
(Not sure how to measure yourself? We’ve got some helpful tips for finding your waist and why you should measure yourself when sitting.)
The Finished Garment chart shows you the size of the actual sewn garment. The difference between that and the Body Measurement chart is called “ease”, and it’s the amount of extra room in the garment that the designer recommends for the clothes to fit well and allow movement.
Generally, you want to start by comparing your measurement with the body measurement chart. However, if your measurements are between sizes you can take a look at the Finished Garment chart to see if you can fit in just one.
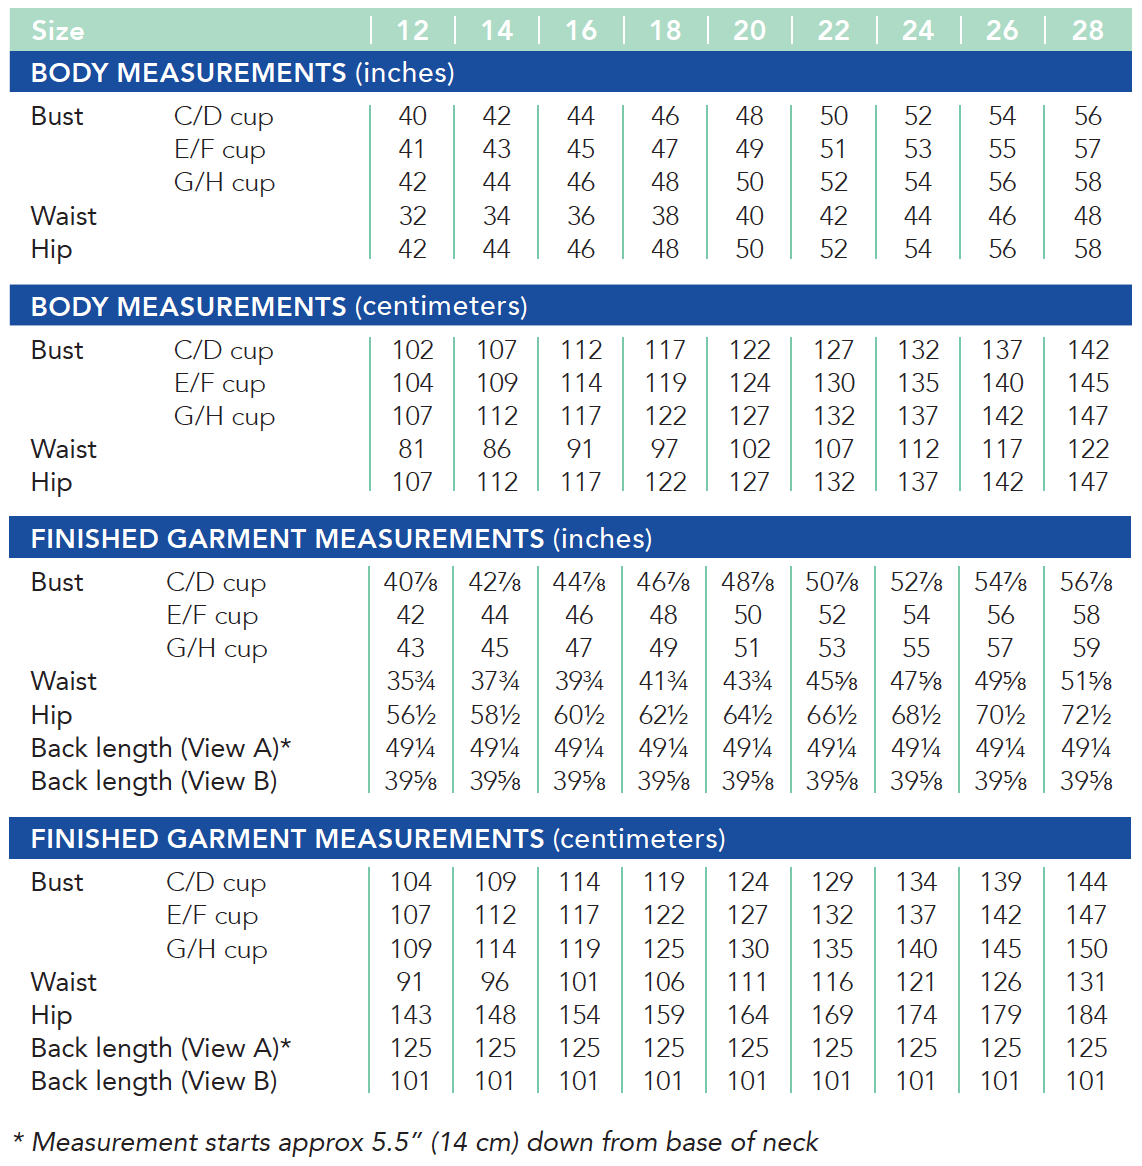
For the Holyoke Dress—as with all Cashmerette Patterns—the best bet is to start with your bust measurement. You should use your full bust measurement, which is around the fullest part of your bust. Because of the cup sizing, you may find you could fit in two different bust sizes. In that case you want to pick the overall size that’s closest to your waist size. So for instance, if your bust is 44″, you could theoretically be a 14 G/H or a 16 C/D. Which one should you pick? Take a look at the waist measurement–if yours is closer to 34″ (size 14), then go with the 14 G/H. If yours is closer to 36″ (size 16), then go with the 16 C/D.
Don’t fret if the cup size doesn’t match up with your bra size – there is so much variation in bra sizing that it’s not possible to perfectly line them up. Use your actual full bust measurement and you’ll be fine.
Making the Holyoke Skirt? You can ignore the bust measurements completely and pick your size based on your waist.
Grading Between Sizes
Here’s a guide to figure out if you need to grade between sizes on the Holyoke:
- My bust, waist, and hip measurements align with one of the sizes: Great! Do a little dance and get to cutting.
- My waist is an inch or two smaller than the body measurement: Not a problem—the elasticated back waistband will cinch the back side right in for a flawless fit!
- My waist is an inch or two larger than the body measurement: Check the finished garment measurements. Are you comfortable with the amount of ease you’d have in that size? If so—great, go for it! (Although you may want to cut a longer waistband elastic than recommended for that size for a bit more comfort.) If not—keep reading.
- My waist is several inches smaller than the body measurement: You might still be fine here—the elasticated waistband will cinch the back side and keep the dress fitting snugly. But if you feel like there is too much excess fabric right above and below your waist, you can take the waist in at the side seams. Do this by taking the taking the difference between the two sizes’ finished garment measurements for the waist, dividing that number by four, and subtracting that from the bodice side front (#2A/B/C) at the waist, the bodice size back (#10) at the waist, the front waistband (#3) along the full side seam, the back waistband (#12) along the full side seam, the skirt side front (#5) at the waist, and the skirt side back (#14) at the waist. Be sure you’re making these adjustments at the side seam, not the inside princess seam.
- My waist is several inches larger than the body measurement: Grade up by taking the taking the difference between the two sizes’ finished garment measurements for the waist, dividing that number by four, and adding that to the bodice side front (#2A/B/C) at the waist, the bodice size back (#10) at the waist, the front waistband (#3) along the full side seam, the back waistband (#12) along the full side seam, the skirt side front (#5) at the waist, and the skirt side back (#14) at the waist. Be sure you’re making these adjustments at the side seam, not the inside princess seam.
- My hips are an inch or two smaller than the body measurement: The Holyoke Dress and Skirt have a bit of wearing ease in the hips (that’s what gives the Holyoke its easy breezy flowy look!) so no need to grade down—you’ll just more flowiness! Jealous!
- My hips are an inch or two larger than the body measurement: Again, the Holyoke Dress and Skirt have a bit of wearing ease in the hips (that’s what gives the Holyoke its easy breezy flowy look!) so no need to grade up! You’ll still get that beautiful flowy-skirt look.
- My hips are several inches smaller than the body measurement: It’s up to you whether you want to grade down. You could sew up your garment and then decide to take it in if the skirt looks too full for your liking. Alternatively, you could grade down by taking the difference between the two sizes’ finished garment measurements for the hips, dividing that number by four, and subtracting that from the skirt side front (#5) and skirt side back (#14) at the side seams.
- My hips are several inches larger than the body measurement: Take a look at the finished garment measurements for the hips in your size. There may be enough ease there that you could stick with the size and still get a beautifully flowy Holyoke! If you decide you do want to grade up, take the difference between the two sizes’ finished garment measurements for the hips, dividing that number by four, and adding that to the skirt side front (#5) and skirt side back (#14) at the side seams.
Please note that if you grade down in the waist, you should check that you can still fit the waist over your bust since the Holyoke is meant to be pulled on over your head. If not, you may want to add a size zipper or make the faux button placket a real button placket.
We’ve got additional helpful tips for grading between sizes on a princess-seamed dress for more details on adjusting the Holyoke Dress!
Tried these suggestions but still not getting the fit you want? You can write to us at hello@cashmerette.com for additional fitting advice, or consider signing up for the Cashmerette Fit Clinic!
Preparing Pattern and Fabric
Now that we’ve chosen our size and graded if necessary, it’s time to prepare our pattern and fabric so that we’ll be all ready to sew next time!
Here’s your checklist:
- Wash and dry your fabric to make sure it’s pre-shrunk and you’re not going to get any nasty surprises later!
- Press your fabric so it’s nice and flat. Check to see if you get any iron shine when you press the right side. If so, you’ll want to use a press cloth when pressing between steps.
- If you’re using the PDF pattern and are printing your PDF pattern at home, you’ll need to print and assemble it. Here are some pointers to help you. If you want to get it printed, here are some suggestions.
- Either cut or trace off your pattern pieces. If you’re using a paper pattern, making adjustments, or are going to make any other sizes in the future, we definitely recommend tracing.
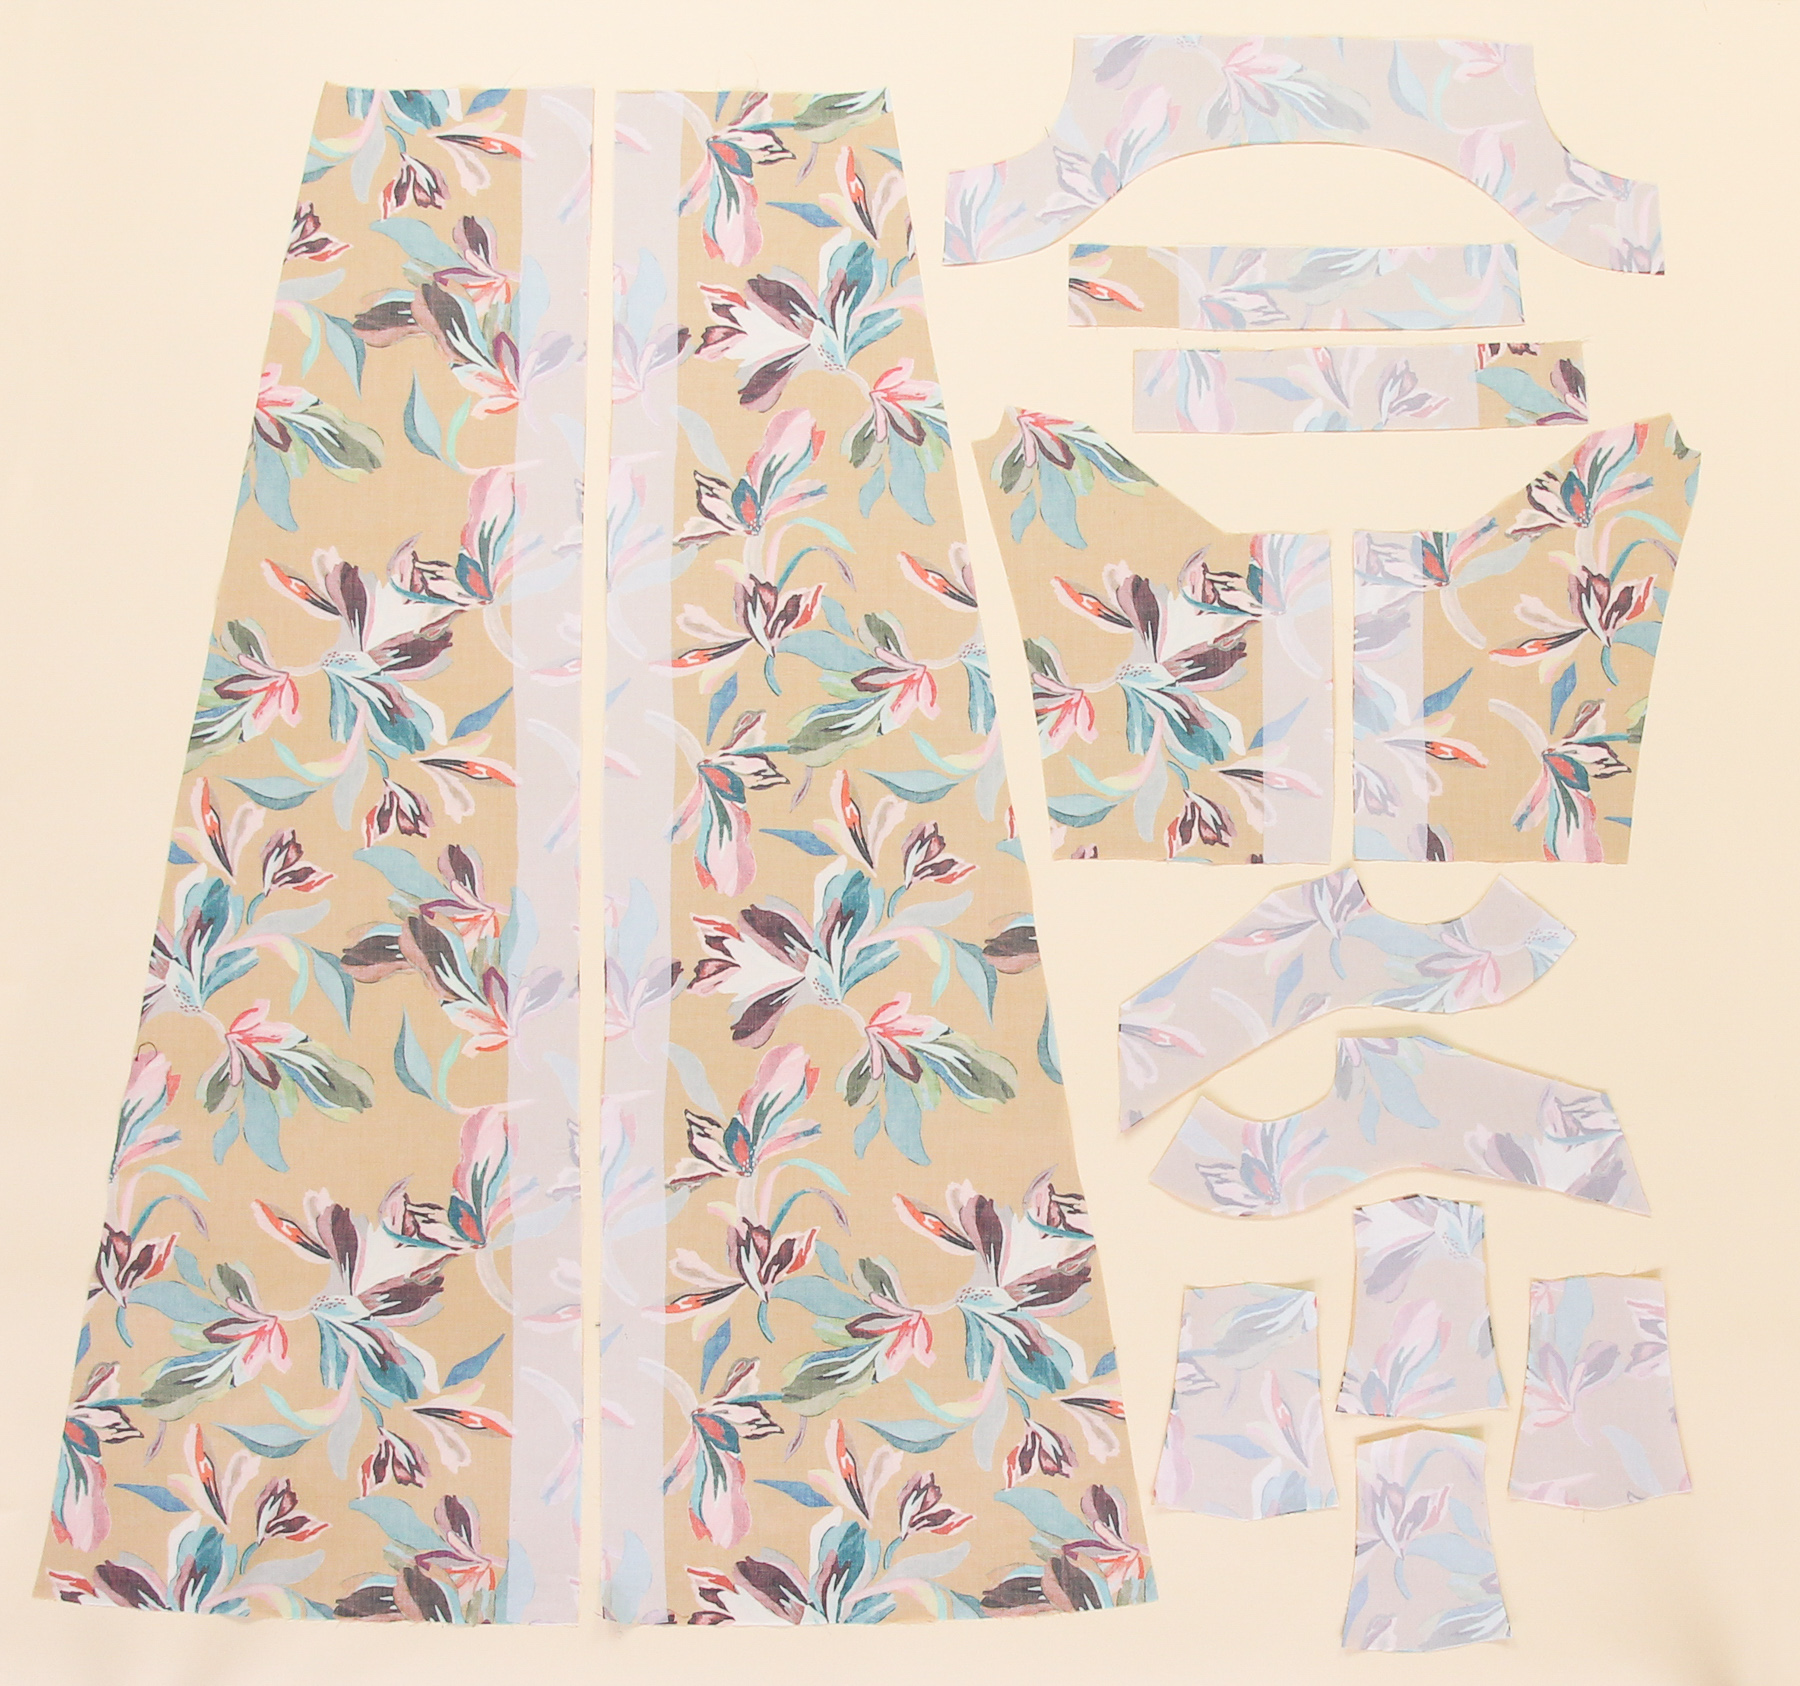
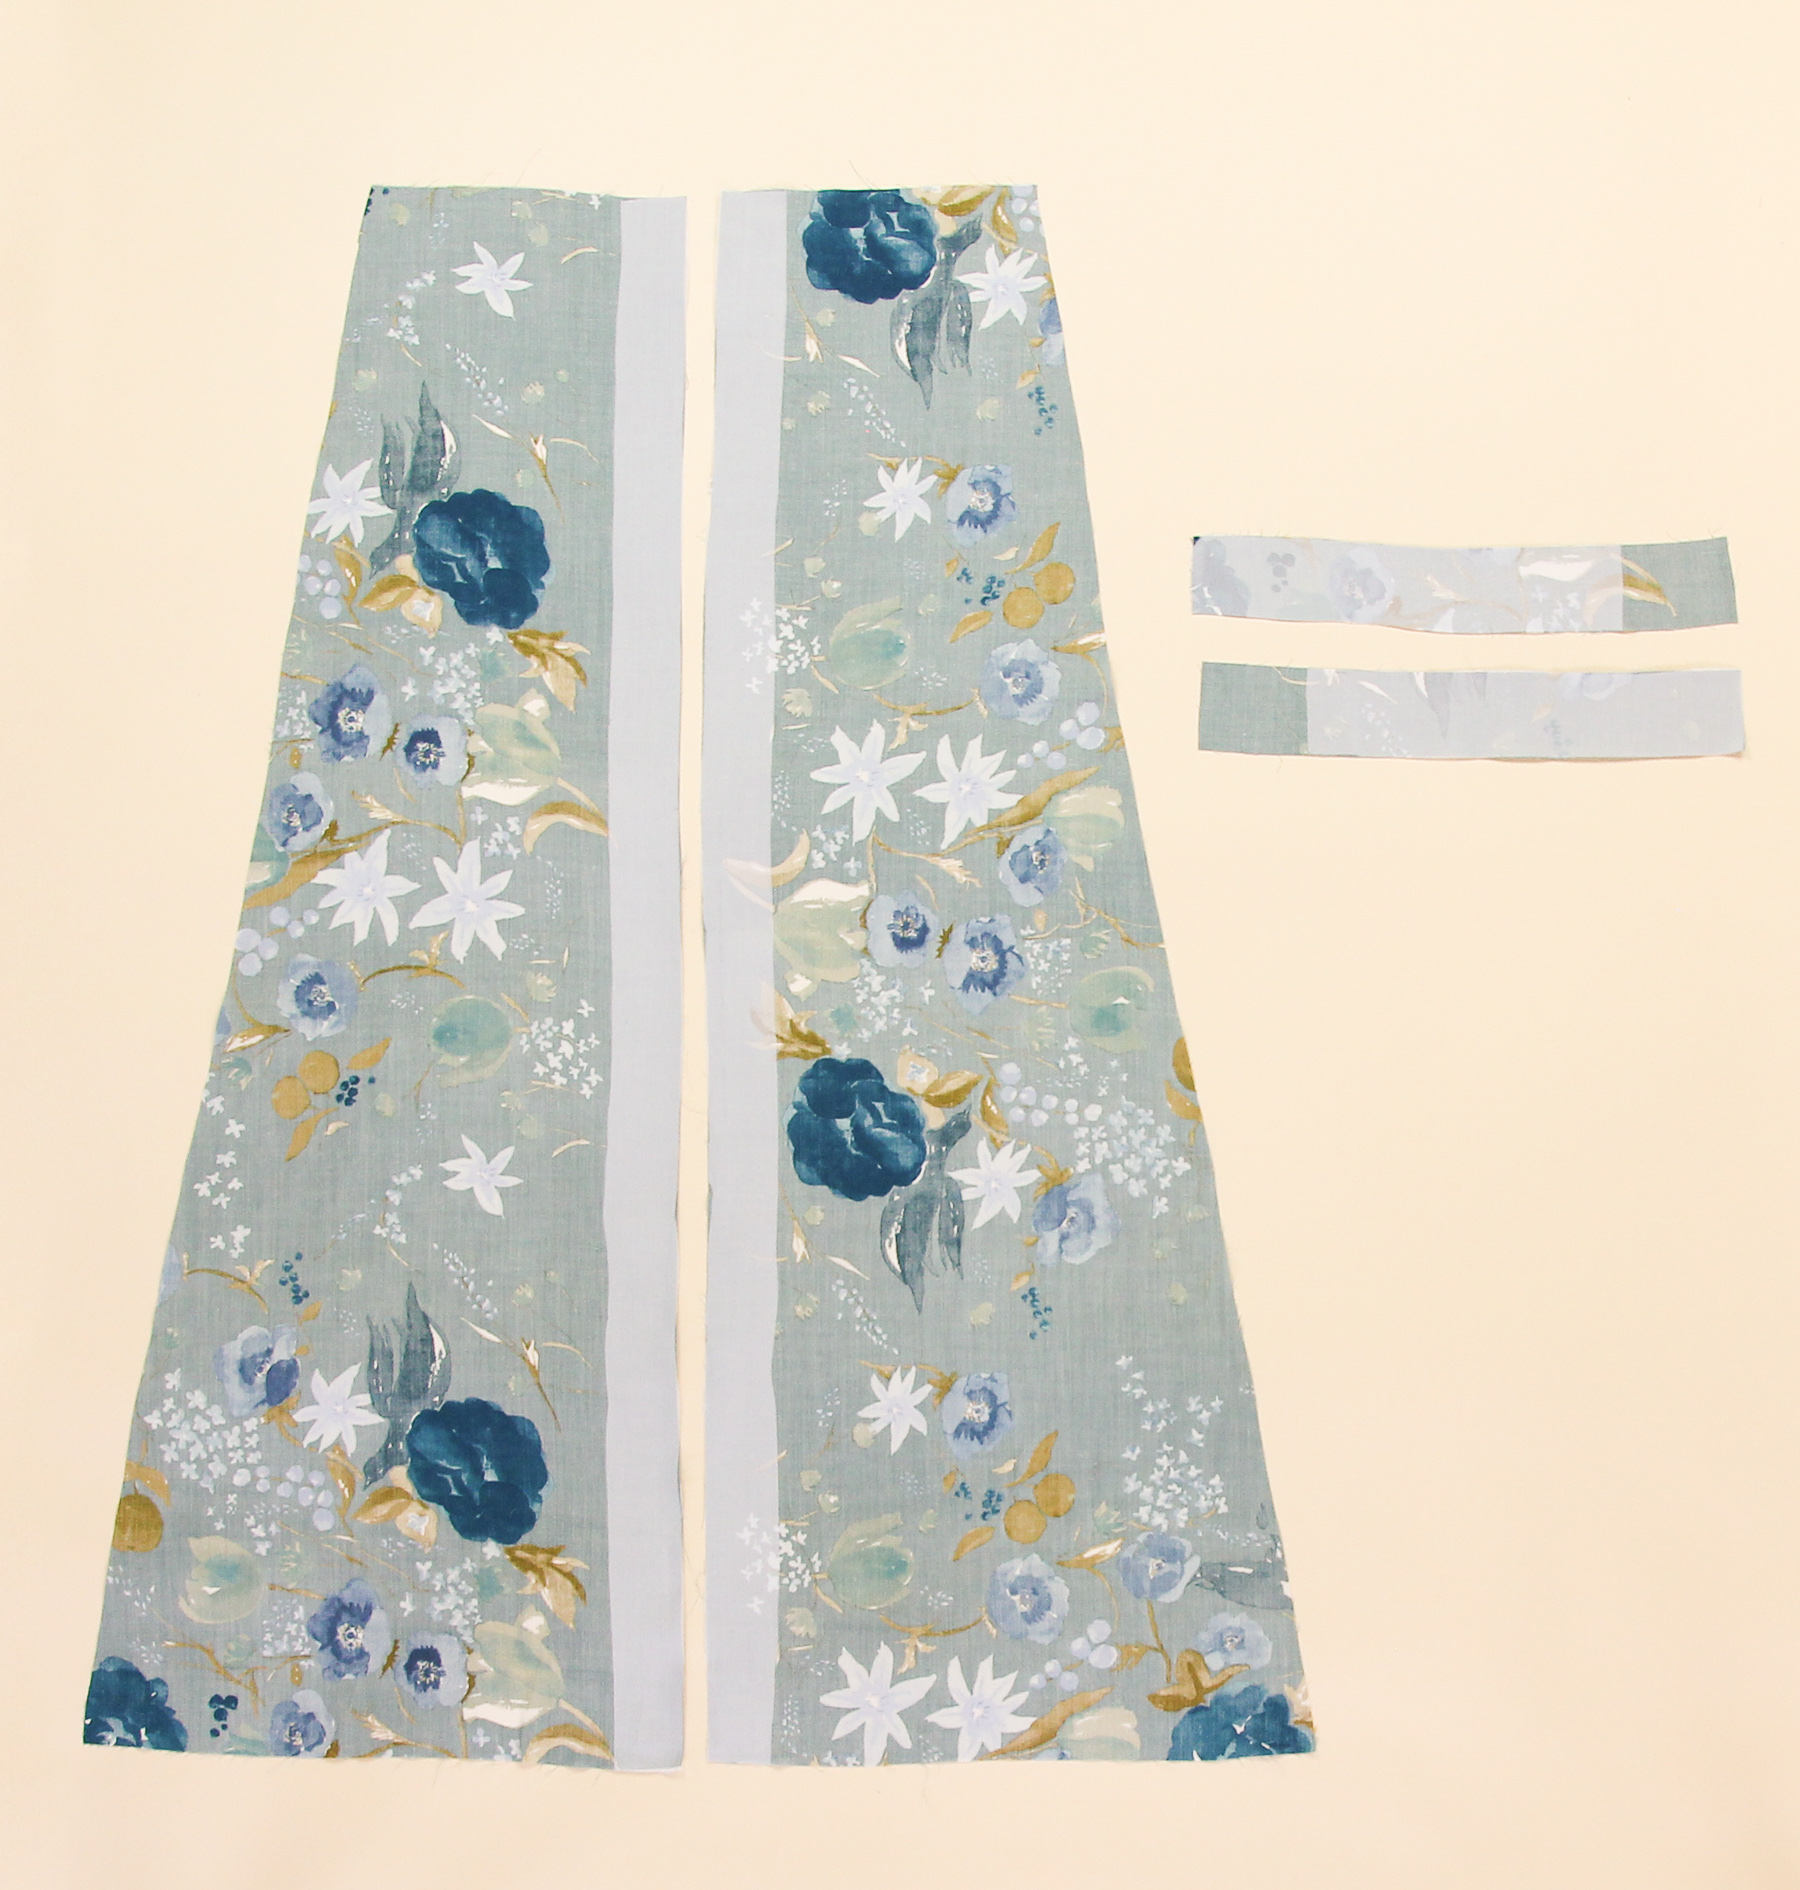
- Cut all pieces, following the layout diagrams in the pattern. Don’t forget to also cut the interfacing pieces!
- Transfer all the markings to the fabric. For the notches, make a little snip into the fabric within the seam allowance (so no more than 1/4″ / 6mm).
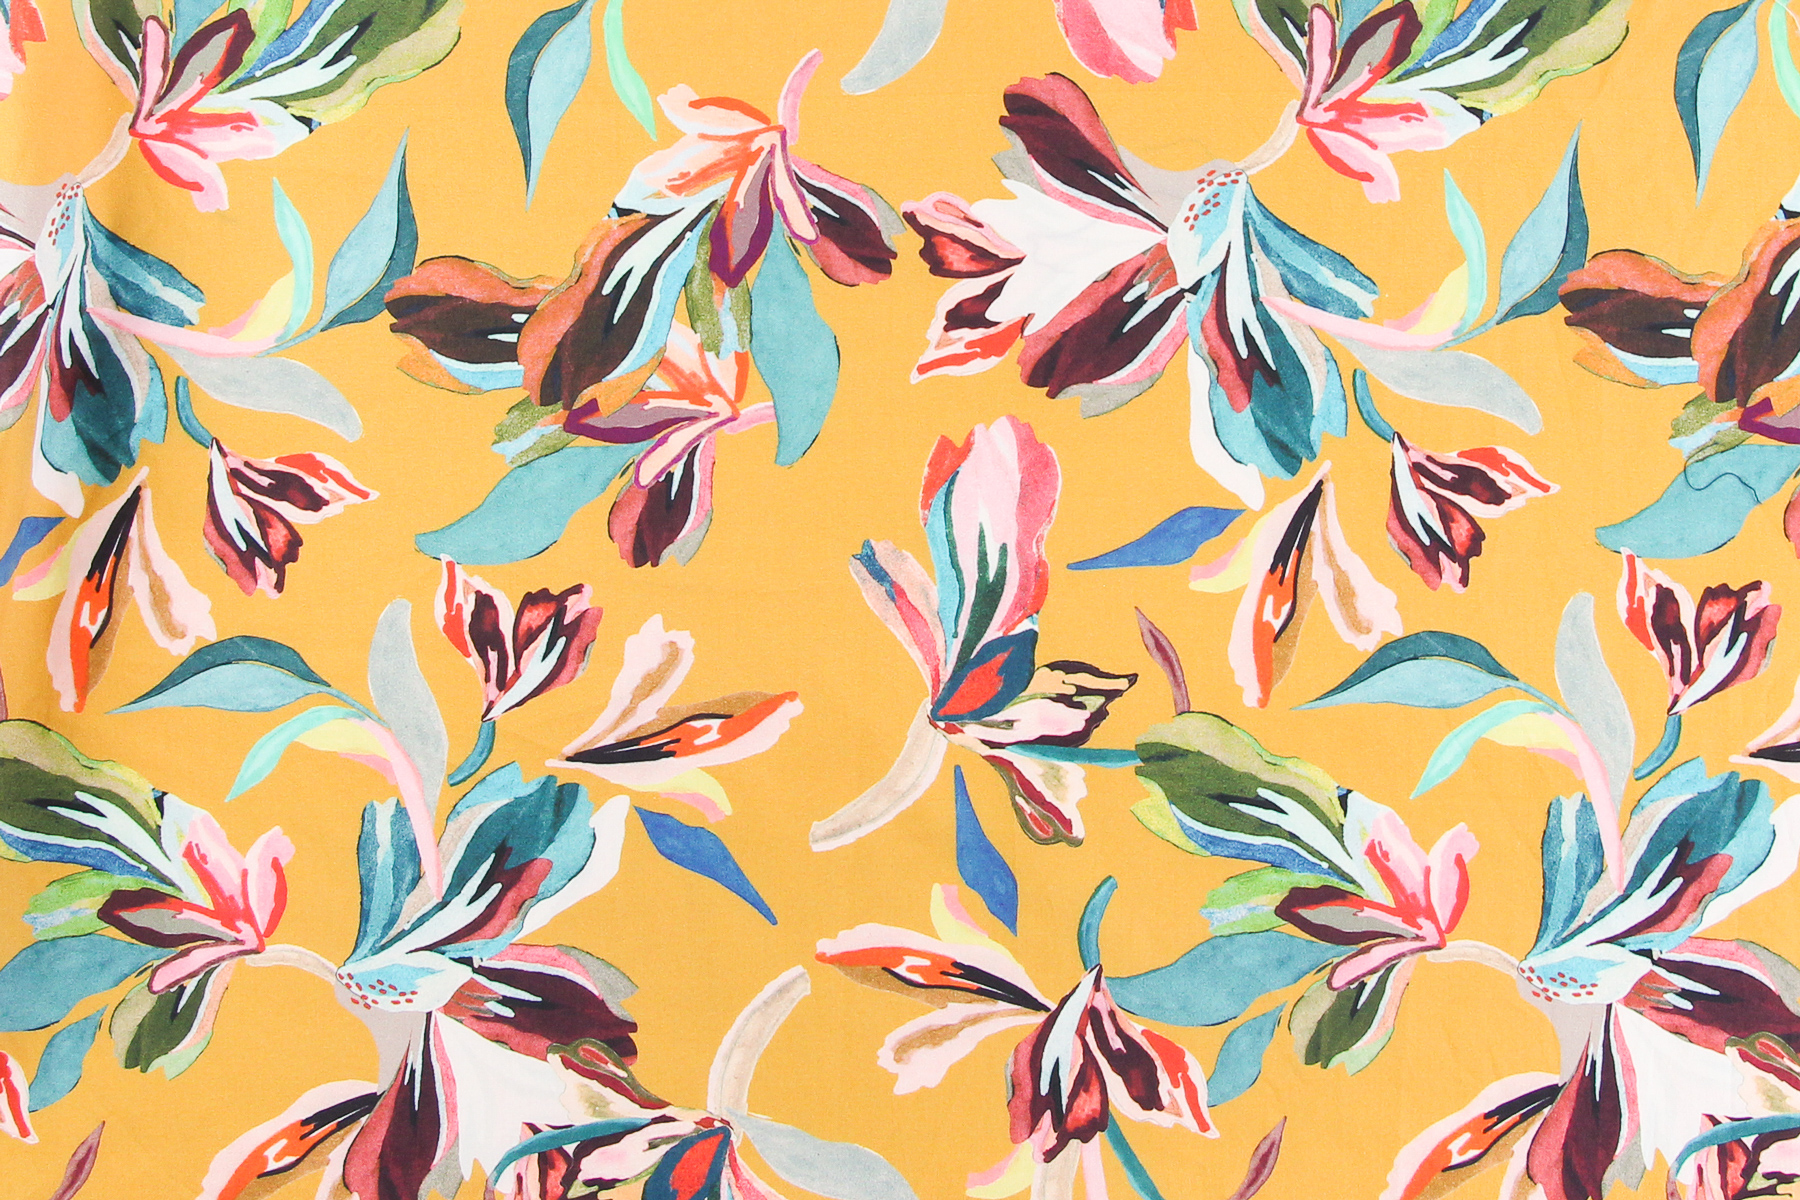
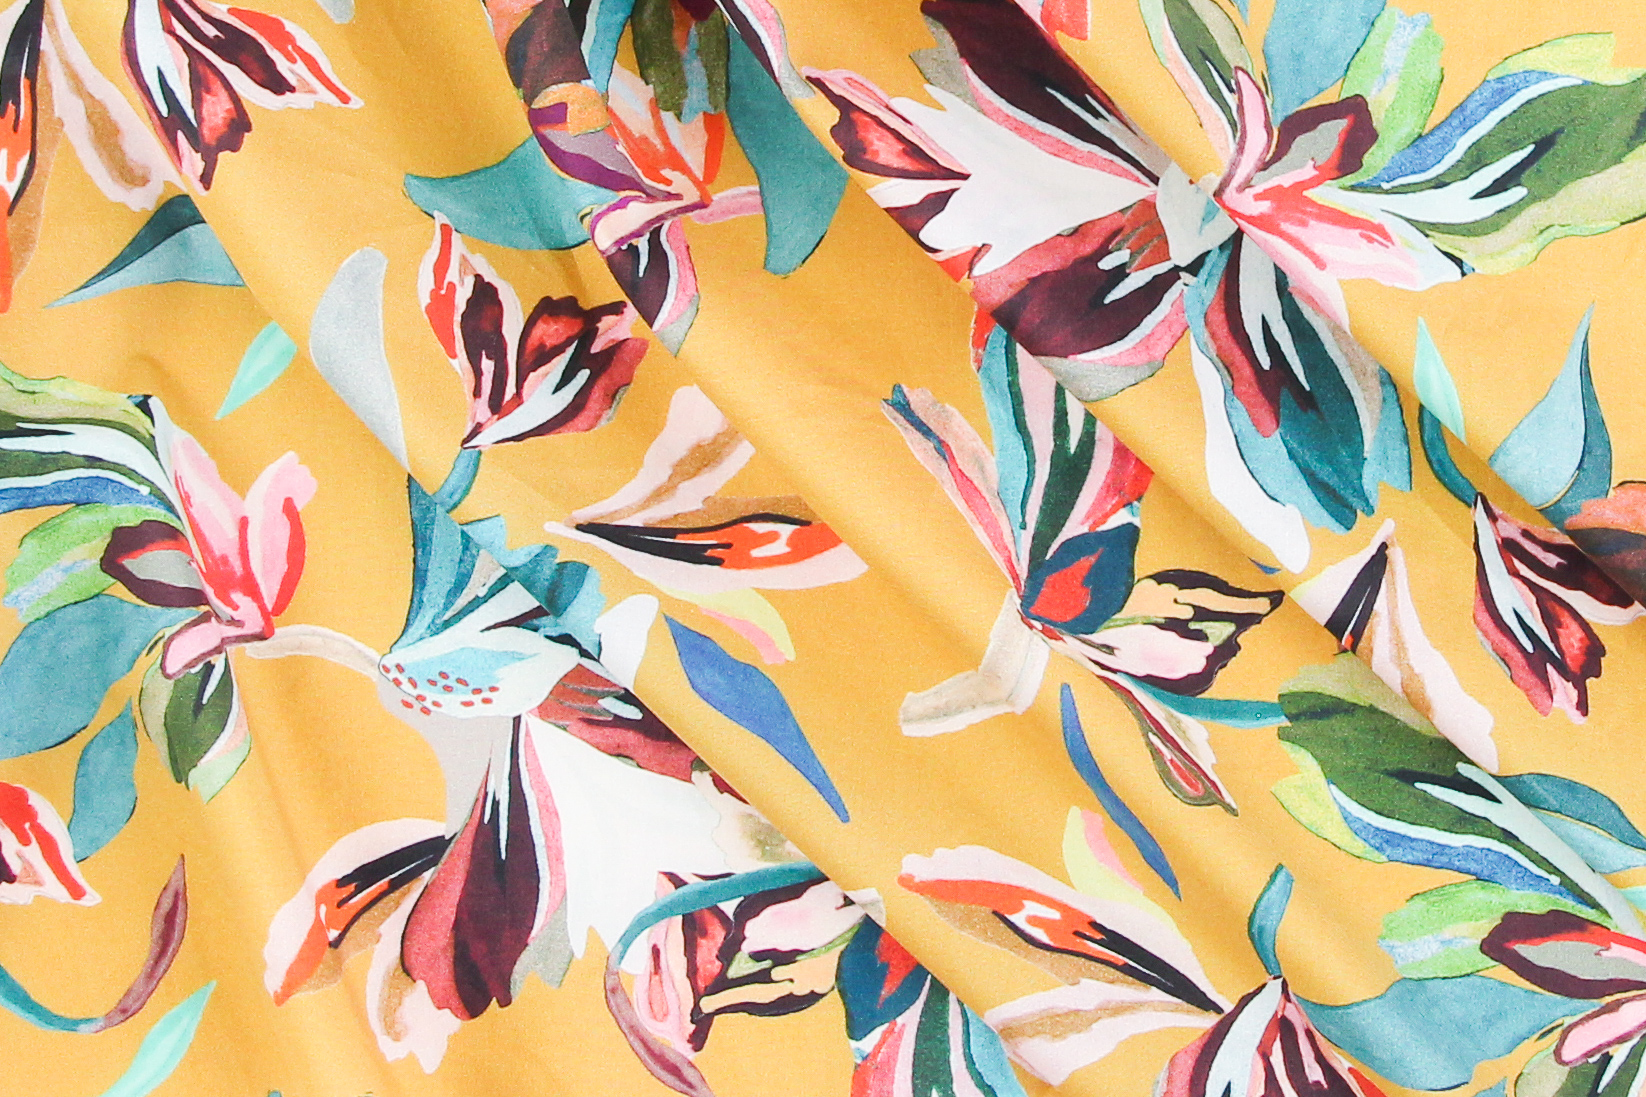
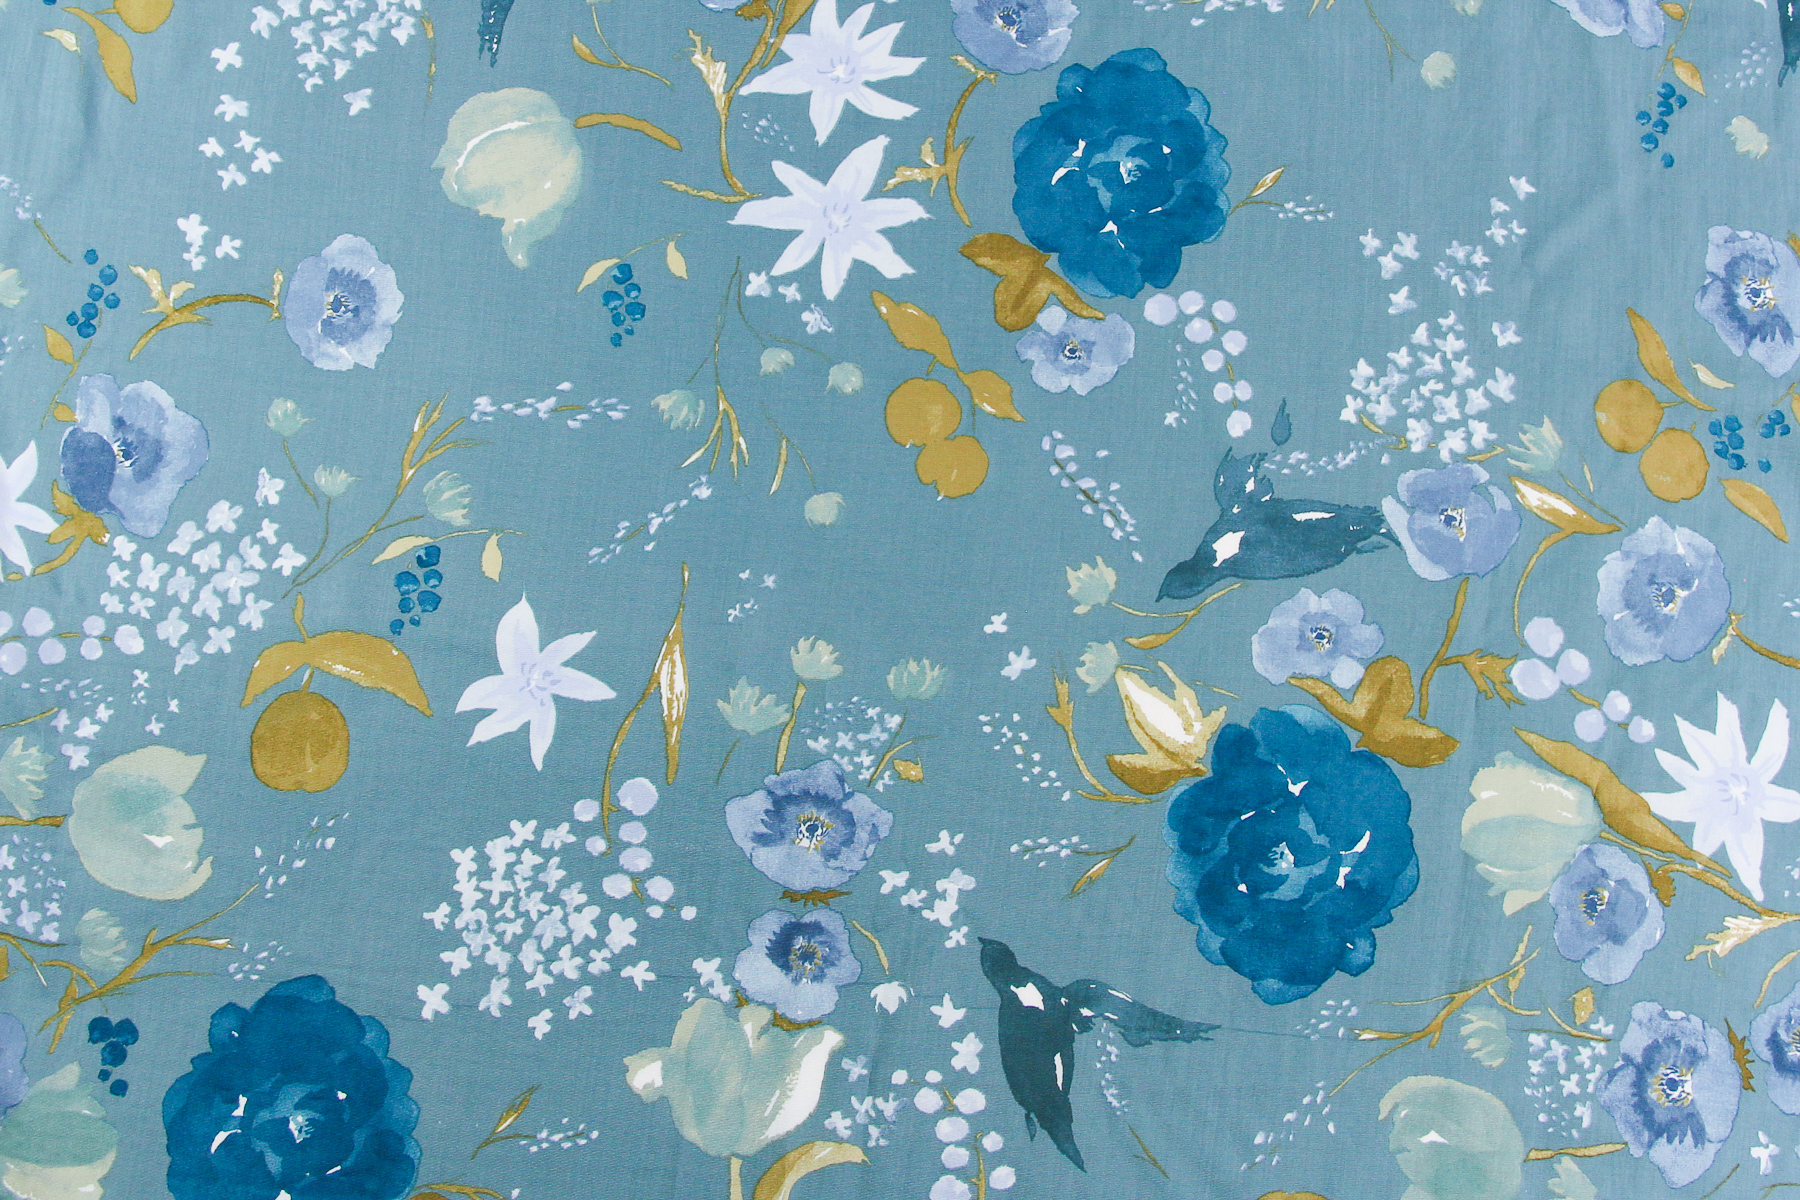
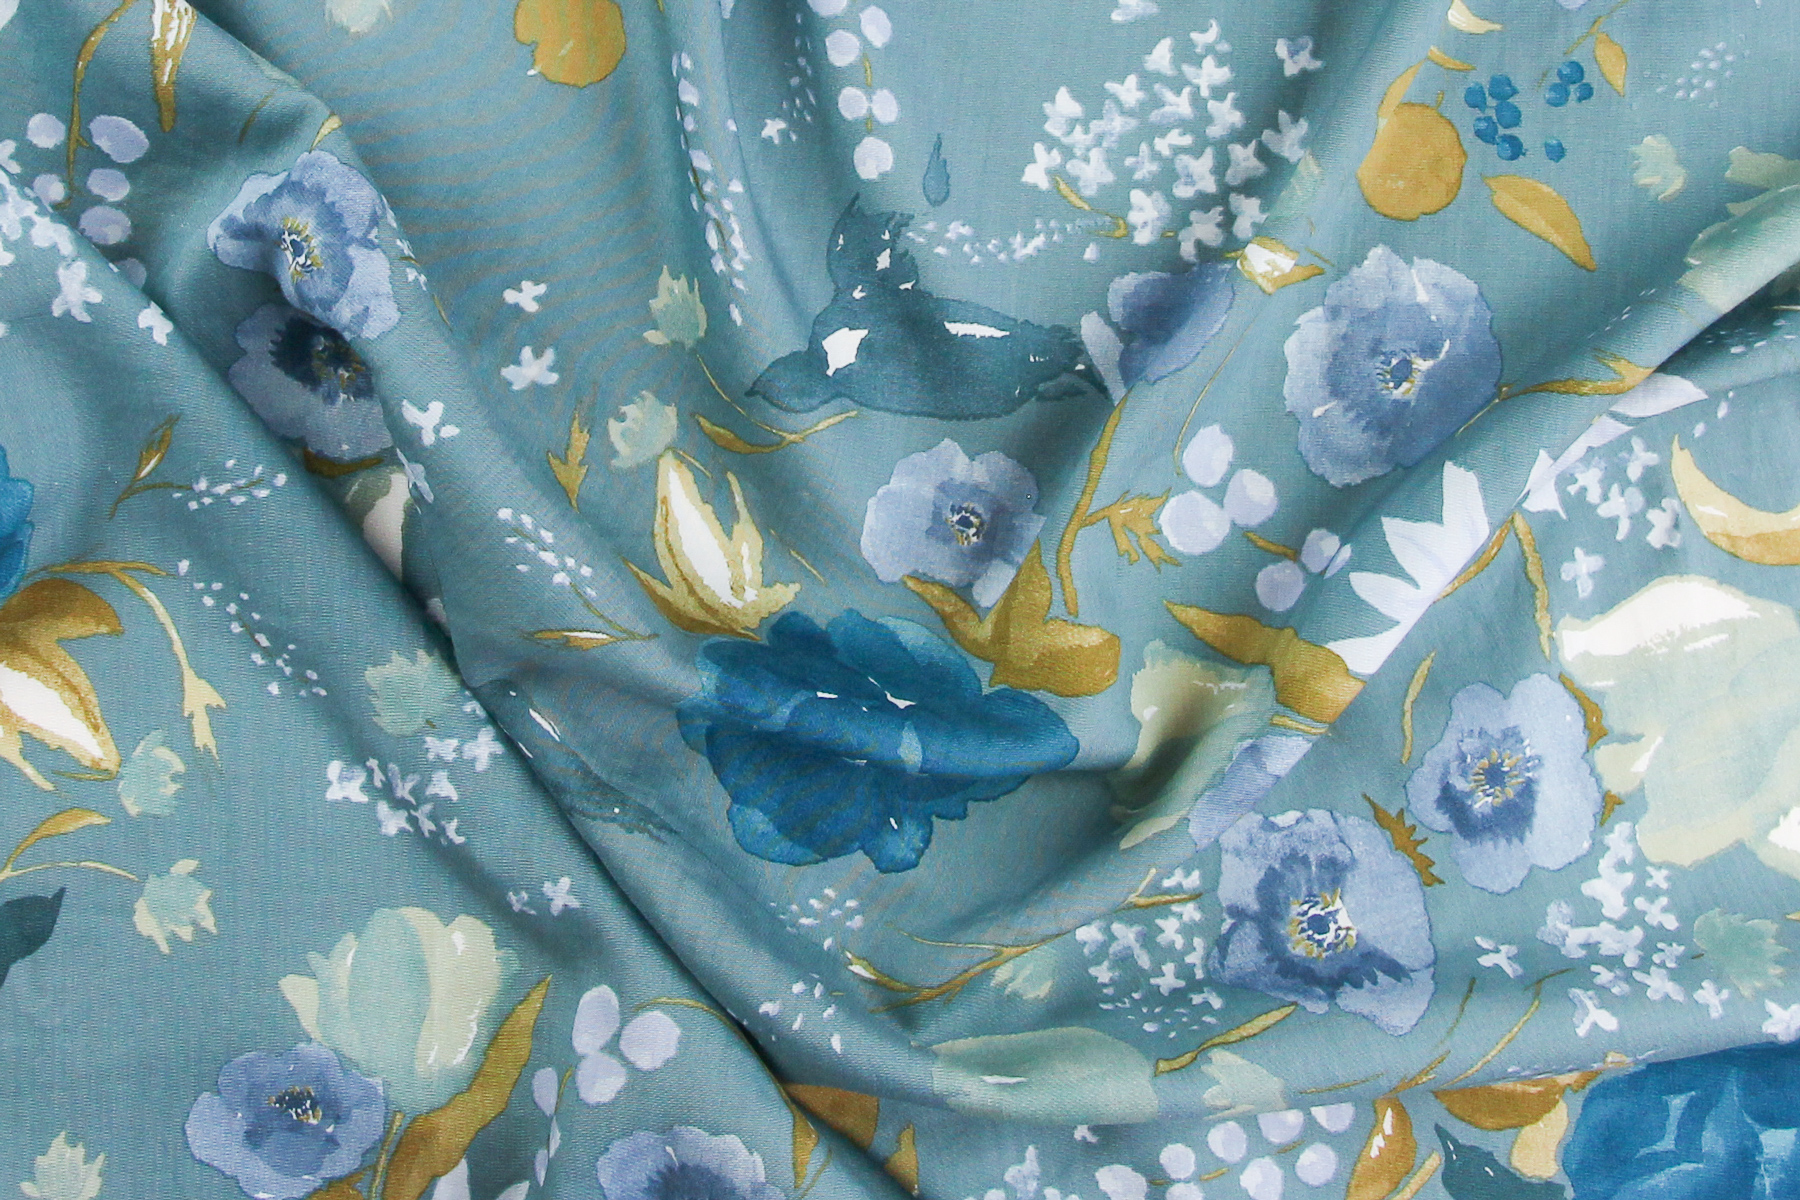
We’re using this mustardy floral cotton lawn for our Holyoke Dress sample and this teal rayon for our Holyoke Skirt sample.
 Isn’t this Lady McElroy cotton lawn the dreamiest? We offered a limited number of kits with this fabric when we first launched the Holyoke Dress & Skirt and they sold out right away!
 We wish you could reach through your computer screen and feel how buttery-soft this Nani Iro lyocell is!
Apply the Interfacing
We’re almost ready to sew! All that’s left to do is apply our interfacing. On the wrong side of the following pieces, apply lightweight fusible interfacing following the manufacturer instructions:
- Front facing (#9A/B/C)
- Back facing (#15)
- Bodice center front (#1 using INT1)
- Skirt center front (#4 using INT2)
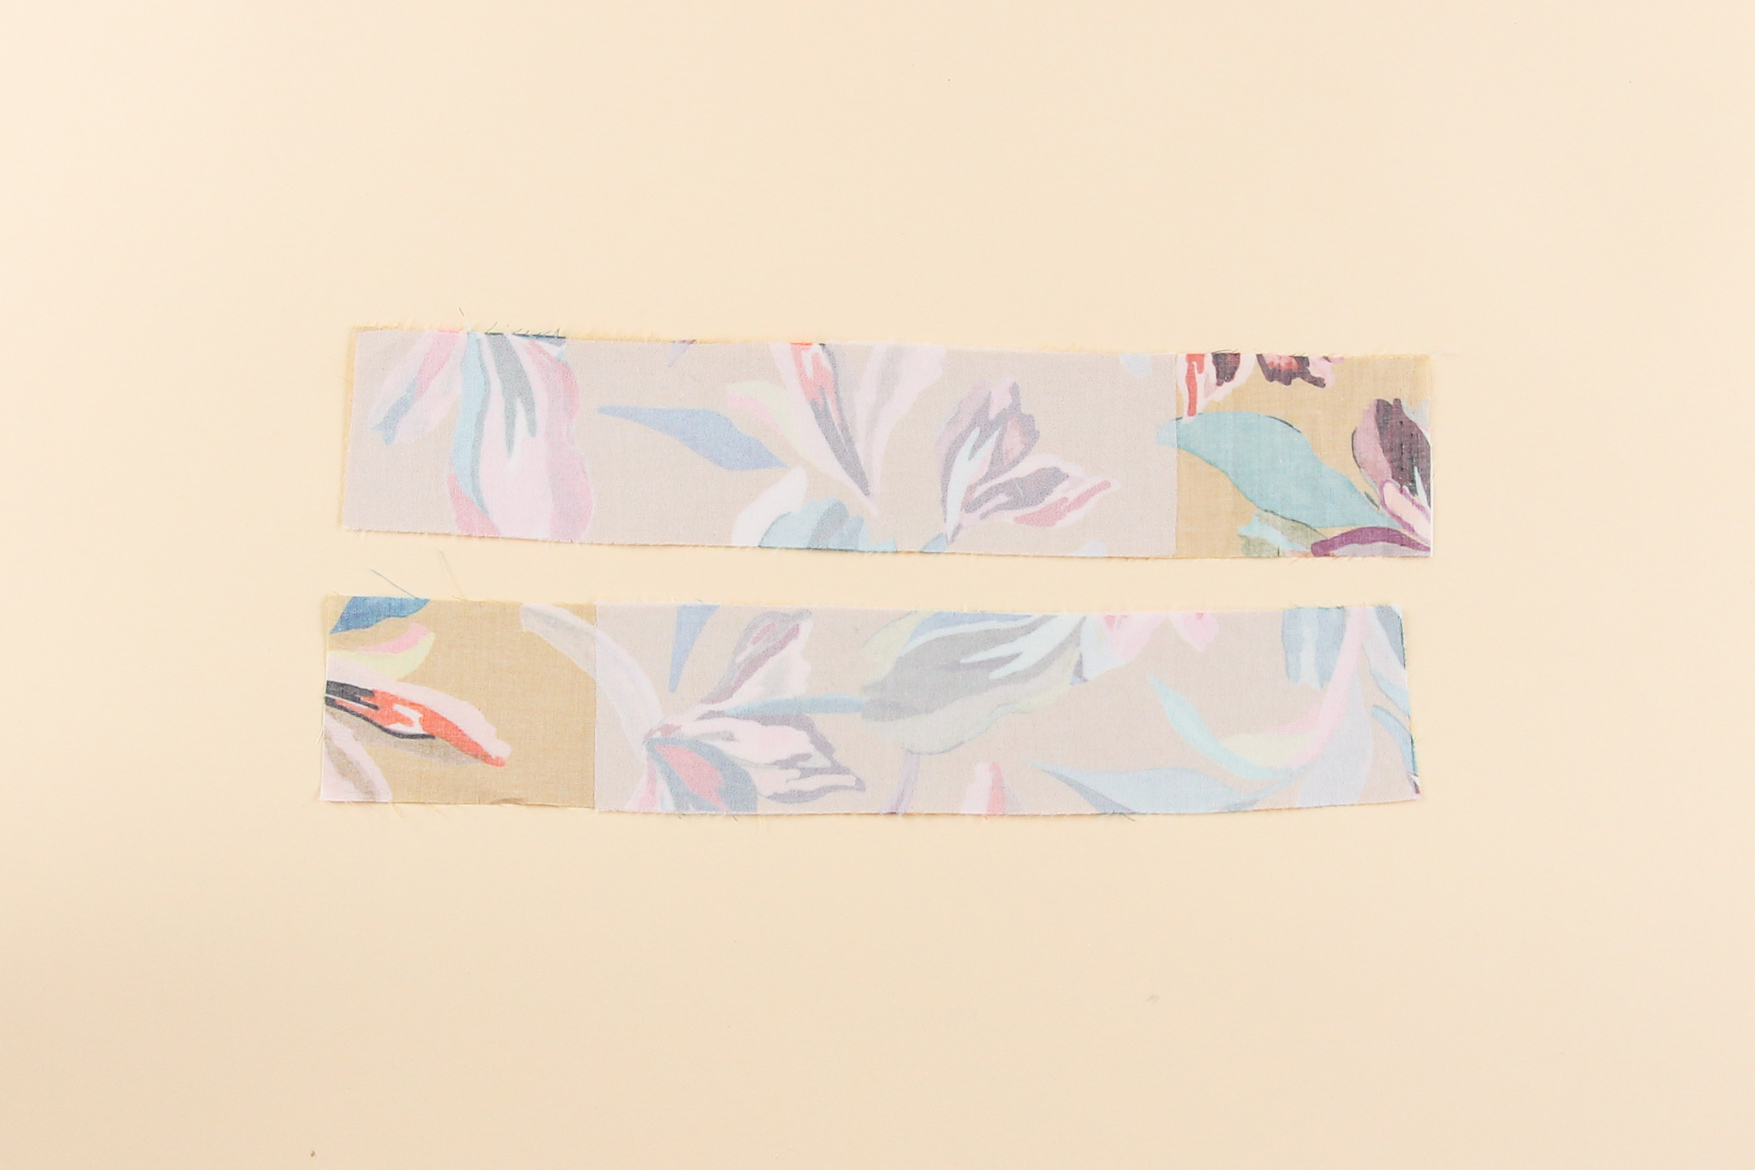
- Front waistband (#3) (note that only 2 out of the 4 front waistband pieces need to be interfaced)
Remember to line up your interfacing with the side seam of the front waistband (the part of the waistband that curves up slightly), not the center seam. This helps reduce the bulk at the button placket.
If you’re sewing the Holyoke Skirt, you only need to interface the front skirt center pieces and two of the front waistband pieces.
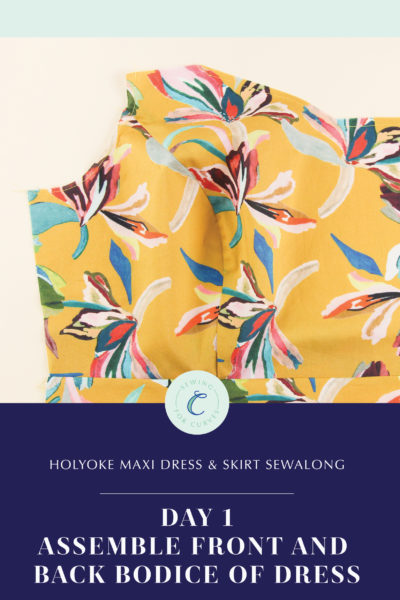
Made it this far? Give yourself a pat on the back—the hard part is over and now comes the sewing! Next time, we’ll be assembling the front and back bodices for the Holyoke Dress. You’ll be amazed at how quickly they come together!
We want to see your creations, whatever stage of the process you’re at! Tag your makes with #HolyokeDress or #HolyokeSkirt on social media so we (and the whole sewing community) can cheer you on to the finish line!
Very excited to begin. One question – I love the shorter, midi length. Would that be about 1/2, 3/4, 1 yd less in fabric? ?
Thanks.
Glad you’re joining us for the sewalong! 🙂 That depends on the size you select, the width of your fabric, and how much you want to shorten the dress by. I’d recommend taking a look at the cutting layout in the pattern instruction booklet to help with your estimation.
-Ayelet at Cashmerette
Hi! Thank you so much for adding the detailing on how to enlarge the body measurements and decrease the body measurements. My waist is only two inches smaller than my bust. By using the calculation you offered, I came up with subtracting one half inch from all four seams. Am I correct in my calculation? Thank you so much!
Hi Peggy,
The calculation we recommend in the post is for the difference between your measurement and the body measurements chart, not between your bust and waist measurements. If your waist was two inches smaller than the waist measurement in the body measurements chart, then yes, you would subtract half an inch from the four seams.
Feel free to email us at hello@cashmerette.com if you’d like additional help with fitting the Holyoke!
-Ayelet at Cashmerette
Thank you for the response. Sorry I misunderstood. I think I have it now!
I’m thinking of doing this for a wedding. I don’t want a button placket. Can I use the front piece as it is and cut it on the fold? Or would I have to subtract a bit from the middle and then cut on the fold or is there a reason it wouldn’t work to cut on the fold at all?