If you’re anything like me, you’ll spend years pondering whether to buy a new sewing tool – and once you have it you’ll wonder how on earth you ever did without it! I’m always wary of diving in too deep too quickly with new hobbies (I’ve been sewing for nearly a decade but somehow still think of myself as a beginner learner…), which makes me cautious when it comes to investing in tools of the trade. But here are five sewing tools I can tell you you’ll wish you bought earlier!
Edge-stitching foot (or, edge-joining foot or blind hem foot)
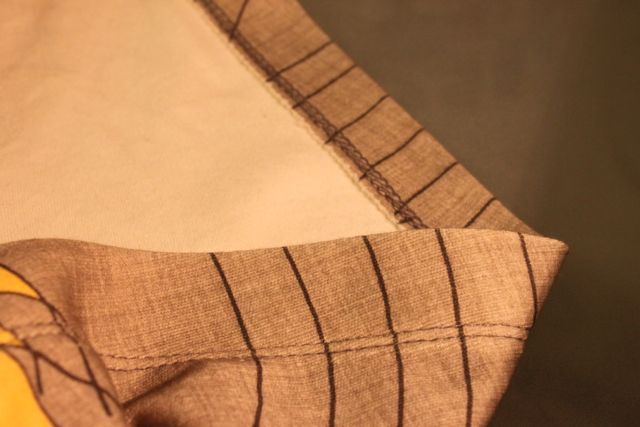
When I first started sewing I was constantly in awe of the amazing neat topstitching that more advanced sewists would achieve – I could never imagine my hands being that steady! And then, I discovered the JOY that is an edge-stitching foot, and learned that practically-perfect topstitching was well within my reach. Note: these feet only work if your machine can move the needle left and right, unfortunately if the needle is always stuck in one place they won’t work.
The secret to an edge-stitching foot is that it has a blunt blade down the middle of the foot (which is often present in an edge-joining foot or blind hem foot, so they can work equally well). As you sew, you place that blade into the valley of the seam or at the edge of the fabric, and then push the needle either to the left or right of the seam (depending on where you need the topstitching). The blade “sticks” in the seam and guides the needle incredibly accurately – voila, amazing topstitching! This is the type of sewing tool that all RTW is made with – it massively lowers the technical skill you need, and gives really professional results. I wouldn’t be without mine.
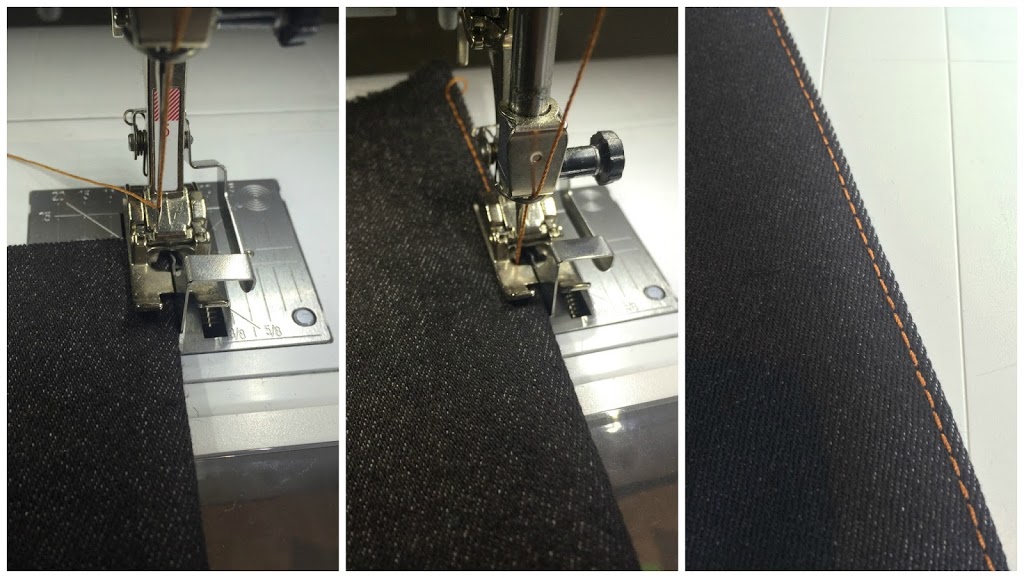
For more topstitching tips, check out my post on jeans topstitching.
There are generic edge-stitching feet available like this one, which I can’t vouch for, but I know many people have luck with generic feet. For my Bernina, I use the Blindstitch Foot #5, but they also have an Edgestitch Foot #10C.
Wonder Tape
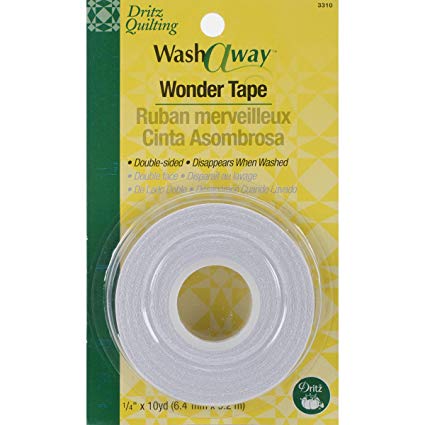
Oh, Wonder Tape, how I adore thee! Now I know what you’re thinking: using sticky tape in sewing just seems like cheating or at least a low-quality way to sew. But forget that idea at once! Wonder Tape is a water-soluble thin double-sided sticky tape which doesn’t gum up your machine needle, and washes out as soon as your garment is washed. It acts like super-efficient pins – except without the bumps that pins cause, and with a more consistent hold. It’s also a lot less messy than glue sticks, which I’ve never got on well with.
Once you start using Wonder Tape, you’ll find more and more uses for this amazing sewing tool. Here are my top uses:
- Sealing button plackets before you topstitch. Anywhere that accuracy is important, Wonder Tape is your friend. When I’m sewing a button placket on the Harrison Shirt or Lenox Shirtdress I always seal the placket closed using Wonder Tape rather than pins – I get a reliable hold, no bumps or bunching from pins.
- Keeping waistbands closed on the wrong side when you’re sewing on the right side. You know when you’re topstitching a waistband shut from the right side, and hoping you’re going to catch the open underside without it flapping about? WONDER TAPE TO THE RESCUE! It’ll keep everything closed and no hidden pins on the wrong side to wrangle with.
- Securing shirt sleeve plackets during sewing. I couldn’t be without Wonder Tape when performing the complex origami of a shirt placket construction. Simply use Wonder Tape to close each fold during the placket construction and it’s 10 times easier.
- Hemming lightweight fabrics. Trying to keep fiddly small hems flat when you’re hemming a lightweight fabric like silk or chiffon can be a real pain. Break out the Wonder Tape, folks! And even better: if you’re doing a baby hem, Wonder Tape is 1/4″ wide, so you can stick it straight on the edge of the fabric, then fold it over the tape for a perfect 1/4″, and then fold over again for a great 1/2″ finished hem. I also often use Wonder Tape on regular knit fabric hems as it helps them squishing and moving under the presser foot.
Metal-edge quilting ruler
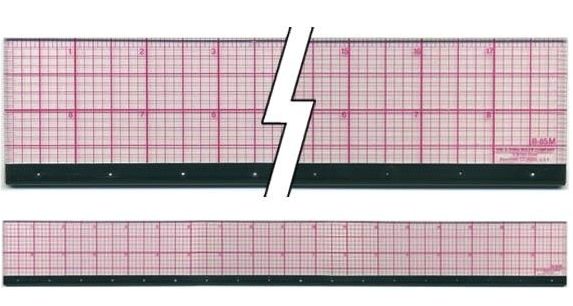
Transparent quilting rulers are excellent sewing tools for all kind of garment and pattern measuring and altering – ours get used on a daily basis at Cashmerette HQ. However, if you try to use one with a rotary cutter it’s *very* easy to shave bits of plastic off every time, which is far from ideal. Enter: the metal-edge quilting ruler. I discovered these randomly one day in a now-forgotten sewing store, but I am now a dedicated fan. You get all the benefit of a transparent ruler, but use the metal side with a rotary cutter and you get a dead-straight cut, no risk of plastic shaving!
Tailor’s Ham
I’ve definitely had more than one funny comment when recommending using a ham in sewing – won’t that make your garments smell… porky?! But of course what I actually mean is a tailor’s ham, which is a stuffed tool to help you with pressing. You may have heard it before, but that’s because it’s true: the secret to really professional garment sewing is great pressing. If you’re making a garment with curves like princess seams or a collar – and if you’re a curvy person that’s almost inevitable – then you need to be able to press those curves without squashing them straight down on an ironing board. Enter the ham, shown on the left here:
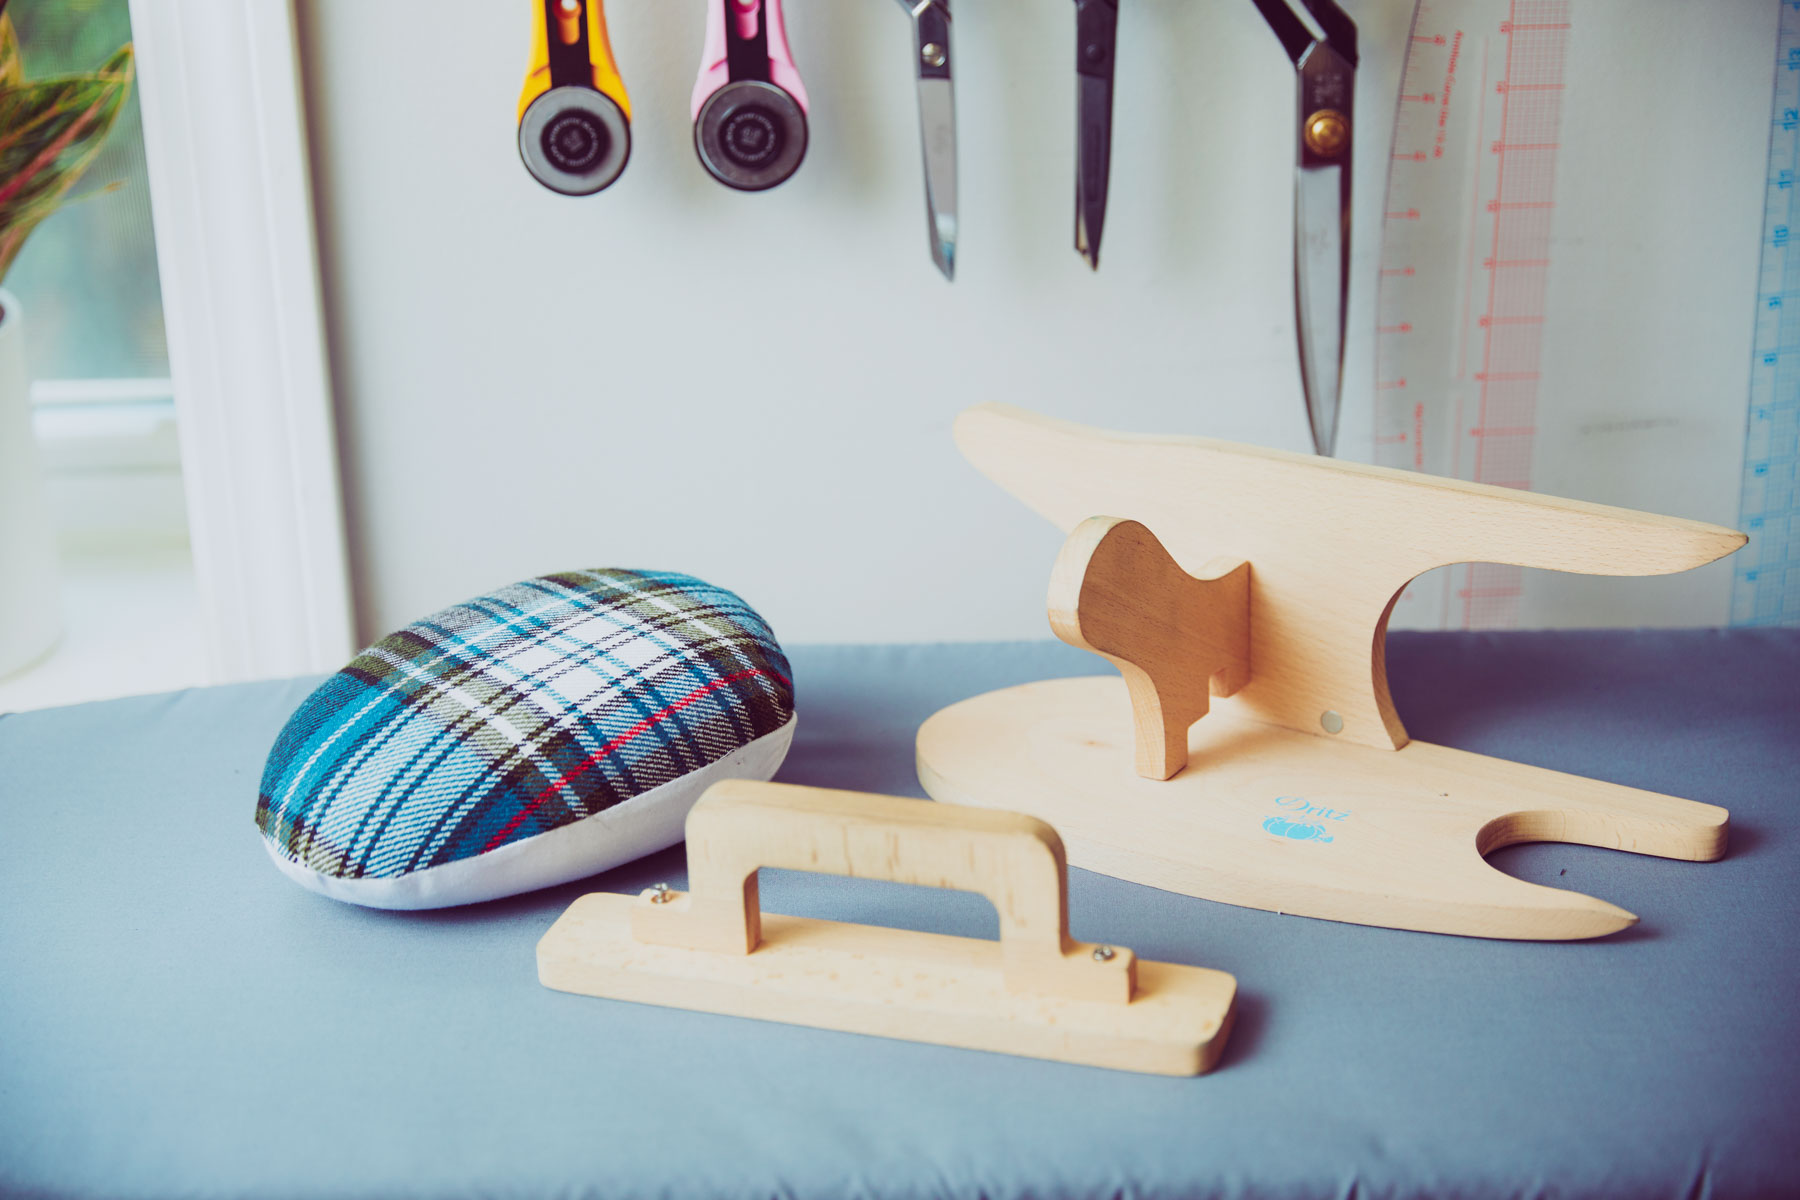
A ham typically has two sides: one is made from cotton, for pressing cotton and other smooth fabrics; the other is often plaid wool, and is intended for pressing wool and other fabric with a nap. There are lots of different curve shapes on the ham, depending on which way you tip it. There’s a pointier and rounder end, and you can also use the “edge”, or indeed any curve you need. Simply place the seam you need to press over the part of the ham that most corresponds best to the curve of the seam, and press away! Be careful: you often have to hold the ham in one hand while you press with the other, and you don’t want to steam your fingers. If you’re making a special garment or a bulkier one like a coat, I also really recommend keeping the seam on the ham until it cools – that way it really locks the curved shape into the fabric fibers (a bit like curling your hair).
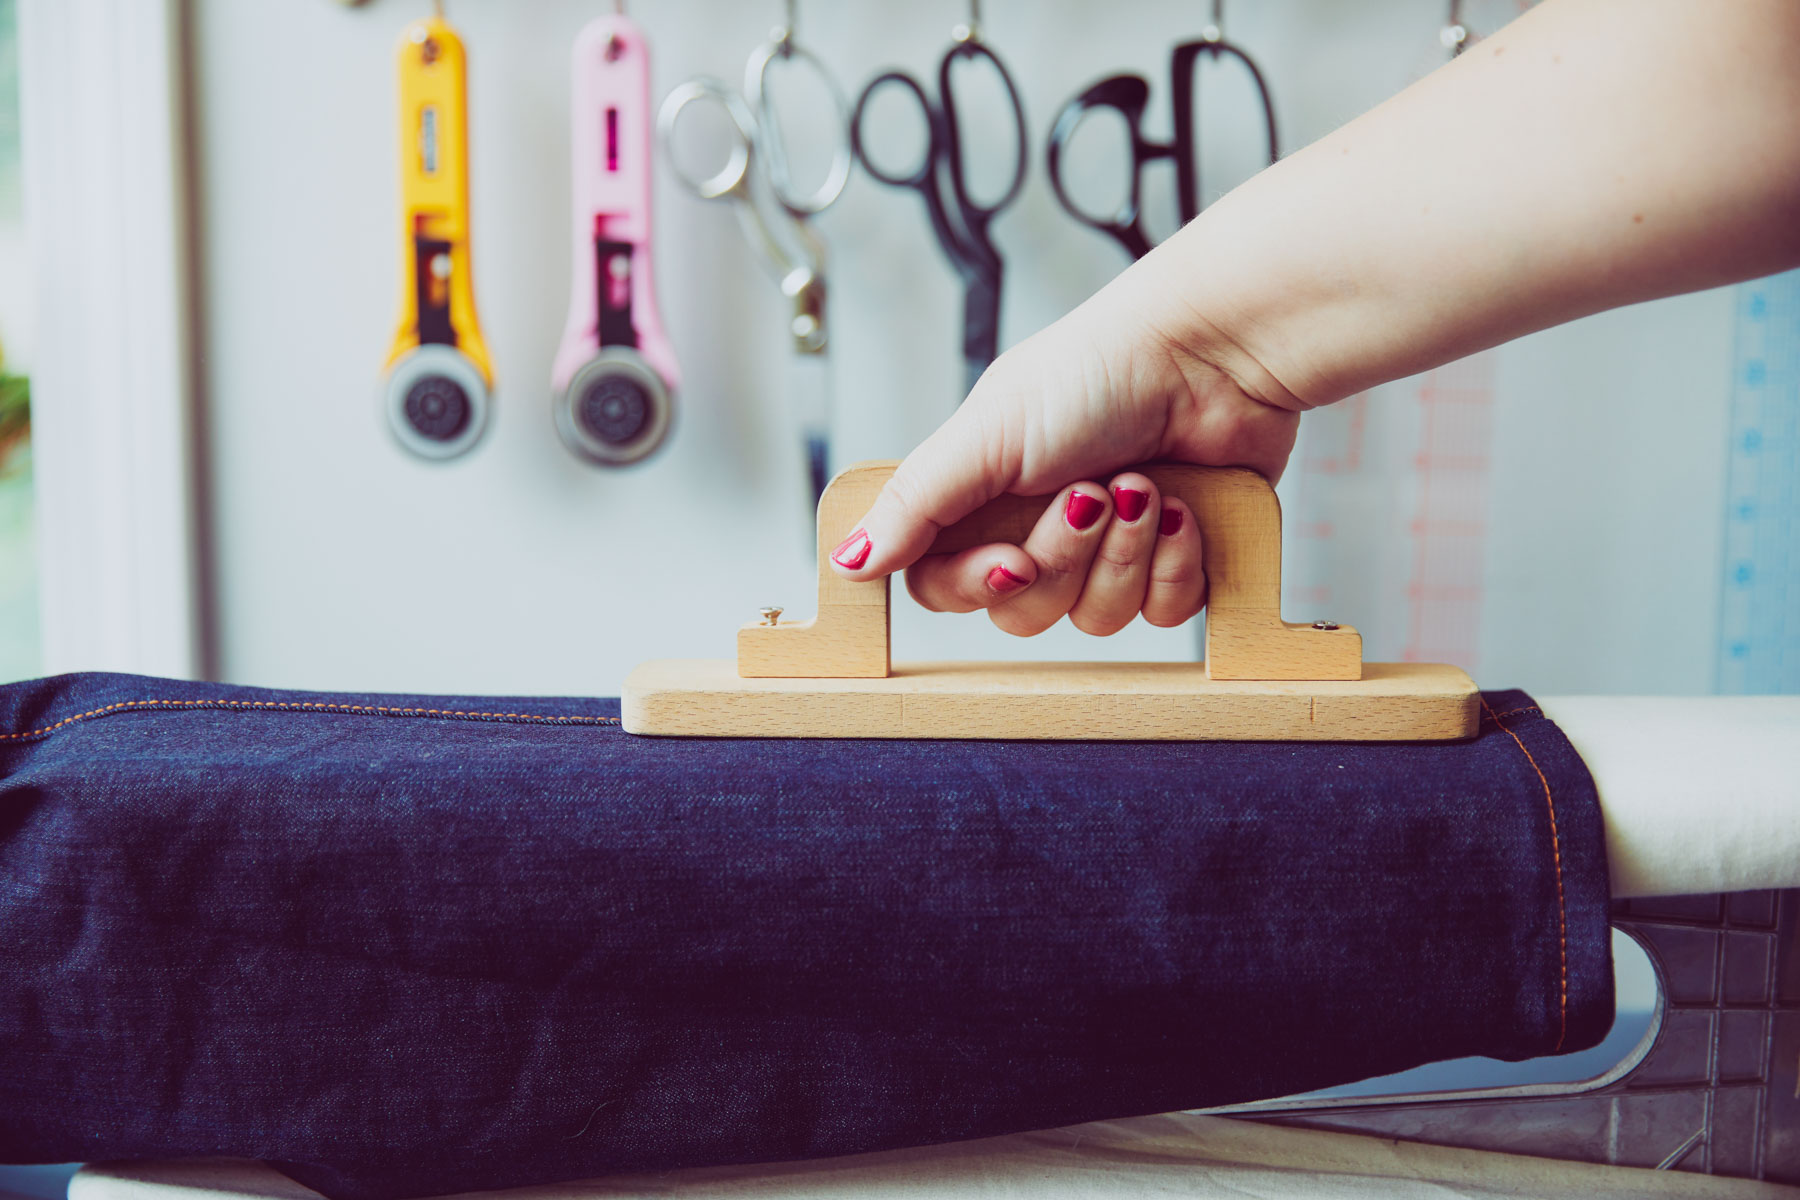
Clapper
The second secret weapon for awesome pressing is a clapper. It looks so innocuous! And nothing like a sewing tool. But believe me when I say that the clapper is the absolute best way of getting super flat and crisp seams. Once you’ve sewn your seam, press it with steam and then immediately place the clapper on top – if you’re sewing with a heavy wool or lots of layers, you can also put quite a bit of pressure onto that clapper. The soft wood in the clapper draws the steam out while simultaneously pressing all the fibers flat – the result is fantastically flat seams. It might not seem like it would make a big difference, but you’d be amazed!
So what do you think? Do you own these sewing tools – or what others would you add to the list?

I have them all and frequently use a blind hem foot to machine bind quilts from the top (stitching in the ditch) while catching the underside of the binding blindly on the back. I’ve never thought to use it for top stitching! Yay! I love to learn new tips & tricks! I use Steam-a-Seam like Wondertape for zipper insertion. Will NEVER use pins again to put in a zipper. Same goes for piping – SAS only. Great post! Thanks!
There is a ham holder available so you don’t have to hold the ham and press. Just put the ham in the holder and press away!
Thanks so much. I am a very experienced sewist but I did not know about some of these tools. I am delighted with the possibilities!
Excellent post! I use Wonder Tape when applying patch pockets – especially since I am a fanatic about pattern matching. (DH and DS think it is magic that the pockets on their plaid shirts “disappear”.)
And, thank you, thank you for sourcing the metal-edged quilting ruler. Mine of MANY years died recently, and I had been unable to find a replacement. Being an 99% rotary gal, I use it constantly!
Note about sewing hams – try the kidney shaped ham. Even more more different curves, including concave. Plus, all ham users should invest in a ham holder. Inexpensive ones available on Amazon.
Lastly, in the clapper fan department – I had recently read of someone using their clapper for hard to subdue scuba knit seams. Clapper on poly???? So I gave it a try and wow! My normal clapper SOP, of course: press, steam, hold clapper down with pressure for count of 10, and the LEAVE IT IN PLACE until fabric is cool and dry. (I line up other tasks so as to not go crazy waiting – good time to neaten up the cutting table!) Another tip is to go to the lumber store and get a 3 foot length of stair railing, making sure it is untreated hardwood. Makes a fabulous long clapper, great for pant seams.
Keep up the good work, Jenny!
Thanks for the tips. The miracle tape I also use to fasten a zipper before I sew them, like piping, and a hem and …. (wherever I think it is easier than pegging 😉.) Be careful because there are different types of wonder tape: soluble in water, not soluble in water, which you may sew about but also where you are not allowed to sew
I also love my seam roll for pressing seams on sleeves. Also, I use silk organza as a press cloth. When it gets crunchy, it’s time to replace it. You can even use it when you’re applying interfacing. I keep one specifically for fusibles (clearly marked in the corners which side is up).
Third Hand sewing clamp that attaches to the table, etc. is one of the best tools I’ve invested in for hand sewing.
How do you use this tool?
The old name for the tool is a sewing bird. It attaches to the sewing table and has a clamp that holds onto fabric. I hold the other end of the fabric in my left hand and use my right hand to sew or rip out stitches. It’s also useful when I make twisted cord.
My best thing is a very big cutting mat that covers my large table & a good rotary cutter….I have arthritis so it’s made cutting out a breeze whereas scissors gave me heaps of pain
Great post! Just ordered the metal edge ruler as my rulers all have edges shaved off! My best friend is my small ergonomic Dritz seam ripper, the small green one. It’s always there for me and have spent some quality time together :).
I need to get the metal edge ruler and the clapper
Great list thanks. Can’t live without tailor’s awl – use it to hold/guide tricky seams under the needle, easing sleeve caps etc, making holes for rivets/eyelets, pattern marking, transferring darts, the list goes on (oh and occasionally for stabbing a finger)
Such a useful article. Never used a clapper so thats good to know will def try that. I love my edge stitching foot and also my rotary cutter and mat arthritis in my hands makes using big cutting scissors hard. Also have a silk organza pressing cloth – it has to be SILK or it will melt. I have several – I buy a half metre at a time and overlock round the edges. Never fails to amaze me you can use a really hot iron on that.
I’ve had most of these for a long time but the metal edge ruler and clapper are now on my list. I am a BIG FAN of the third finger when sewing bulky seams or flimsy/slippery fabric (it has a flat finger and a pointy one), great for keeping fiddly bits in place without pins, sewing your fingernails or driving yourself crazy.
Thanks for the insight.
I have always wondered how to get the perfect top stitch.
I have sewed for many years but I don’t have many of these tools. They are now on my list of wants, especially the clapper and the metal edge ruler. Thanks for sharing 😊
new to this . . . please tell me which foot I should get to hem flat heavy cotton curtains when I shorten them. thanks
Don’t forget a REALLY GOOD quality pair of scissors/shears. And use them only for fabric, not hair, not nails, …