
Today we’ll be attaching the optional crotch gusset and sewing the remaining crotch seam (or just sewing the crotch seam if you’re not inserting the gusset. If you’re not using the gusset, skip to the end of this post!) Inserting the gusset is the only tricky bit of the Belmont Pants, so take your time and don’t be afraid to pick it out and start again (my first time inserting a gusset, I had to redo it three times!) Even if you’re using a serger to make the Belmont Pants, you need to use a standard sewing machine for the gusset insertion.
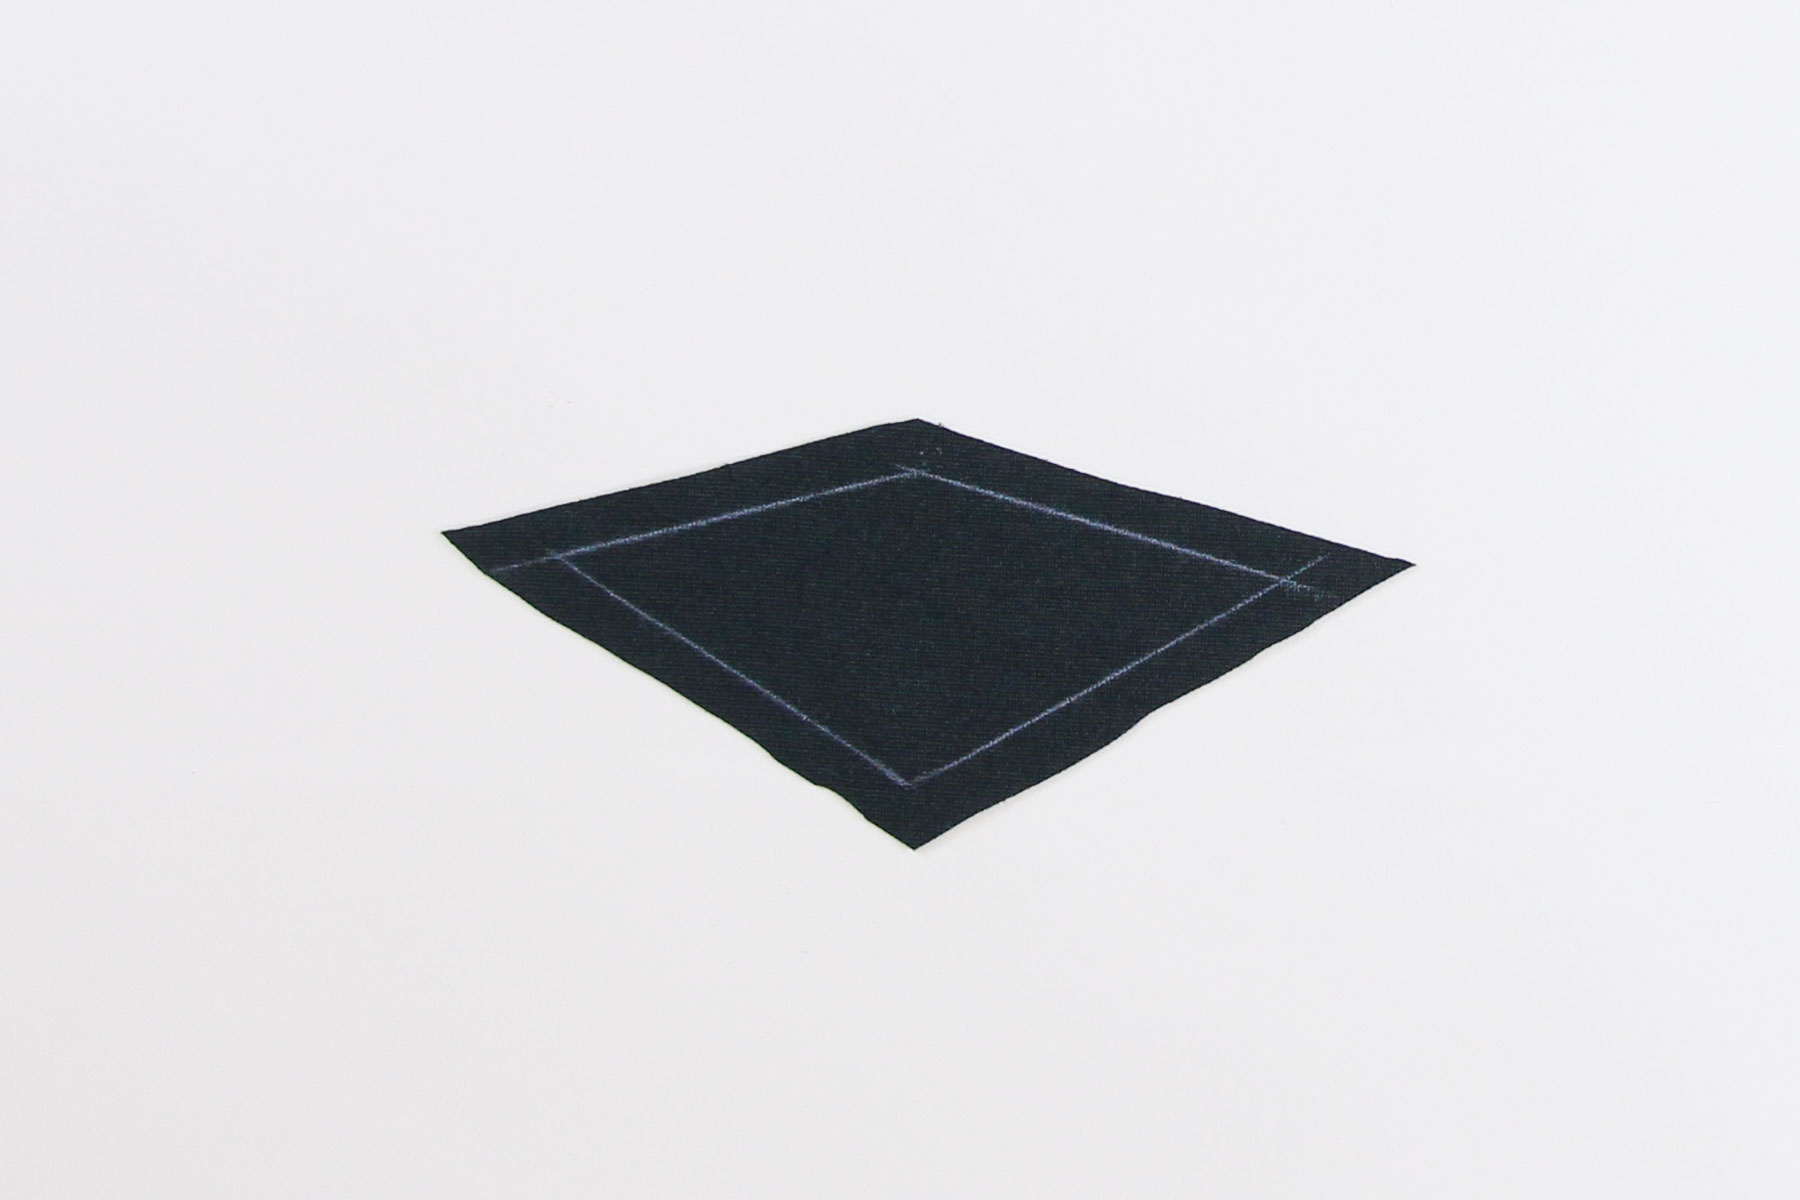
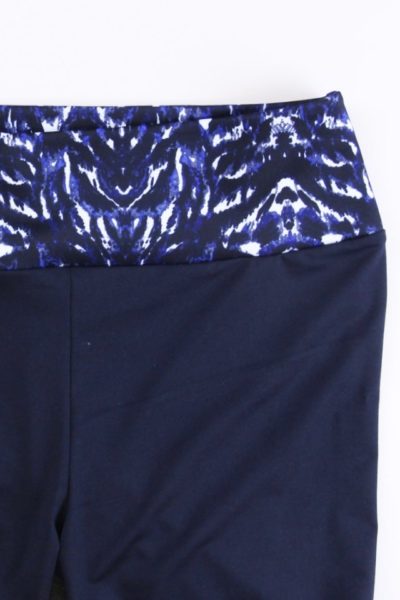
Start by drawing on the seam allowance on the wrong side of your gusset in chalk. I’m using contrast fabric for the gusset just so you can see it, I definitely don’t recommend contrast fabric for this spot 🙂
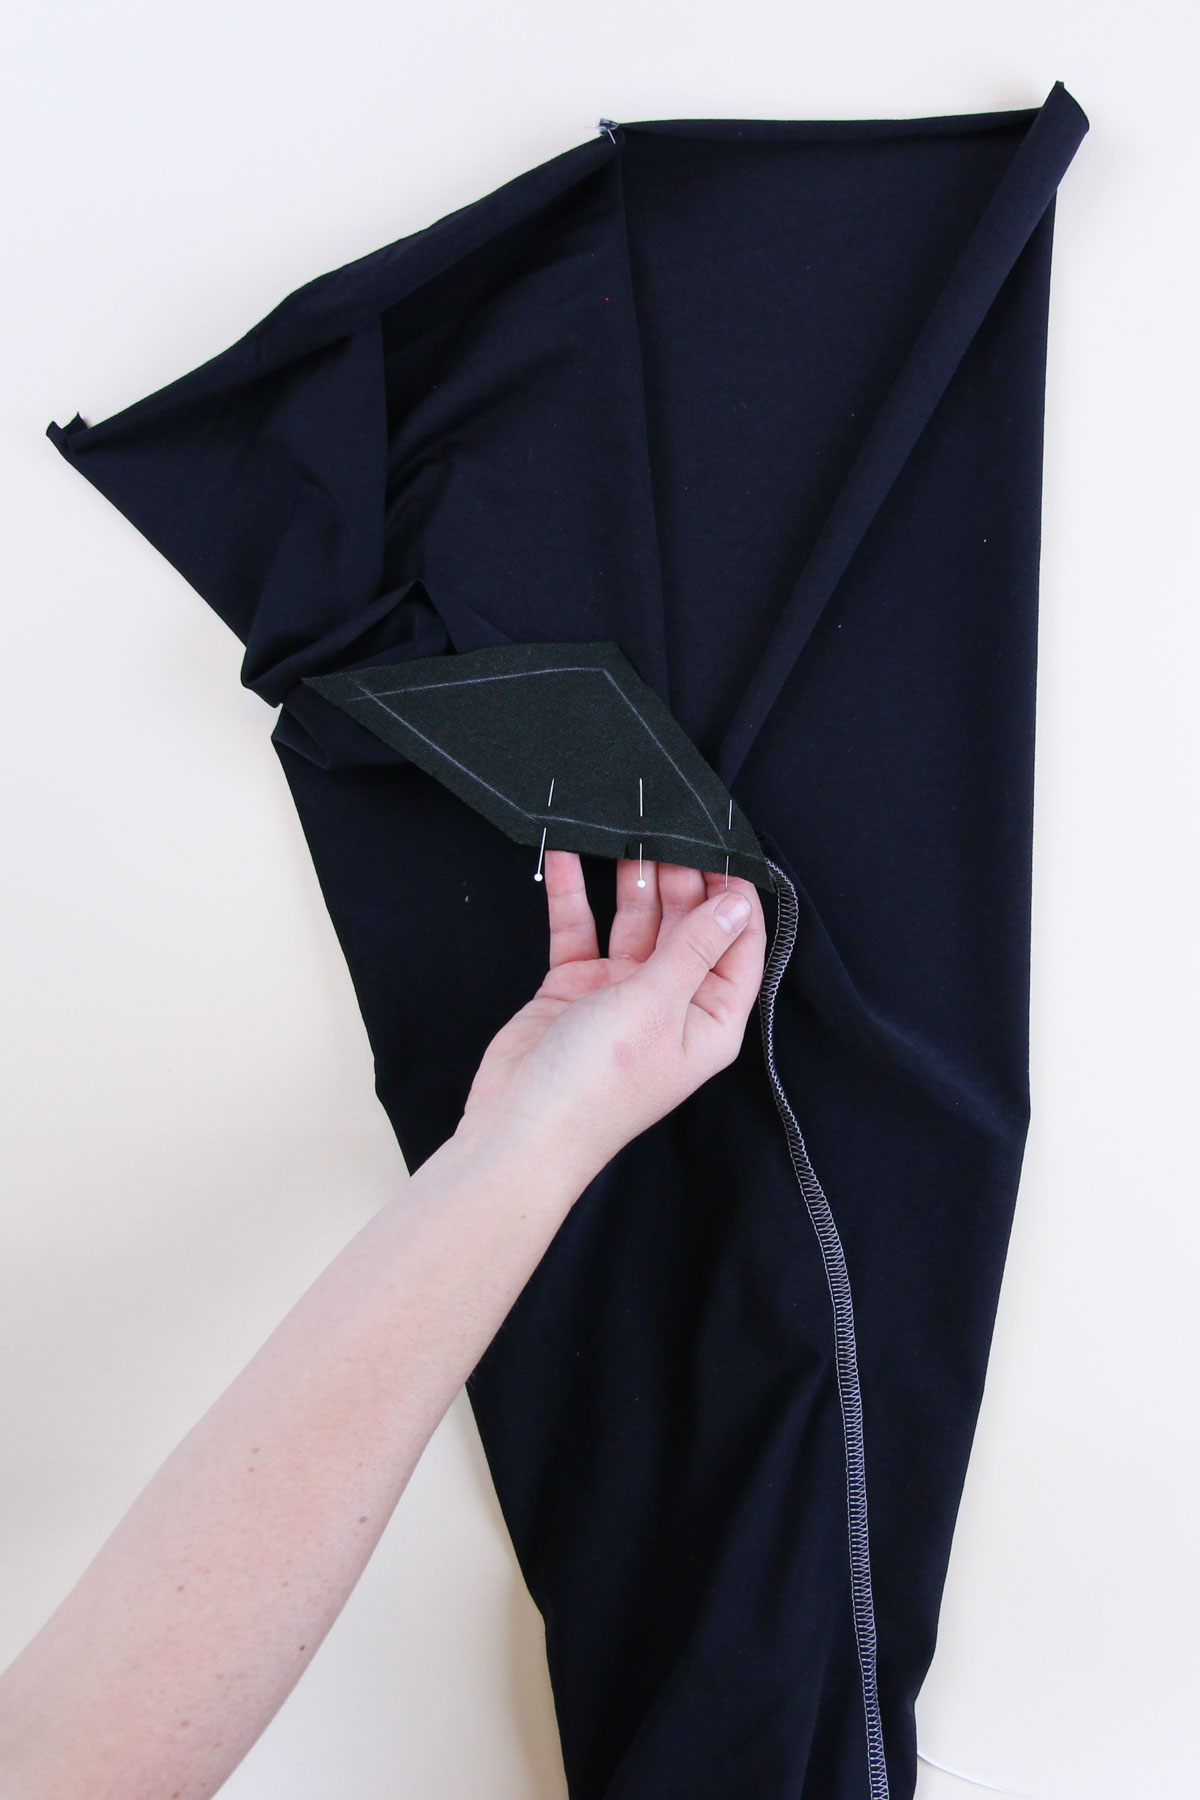
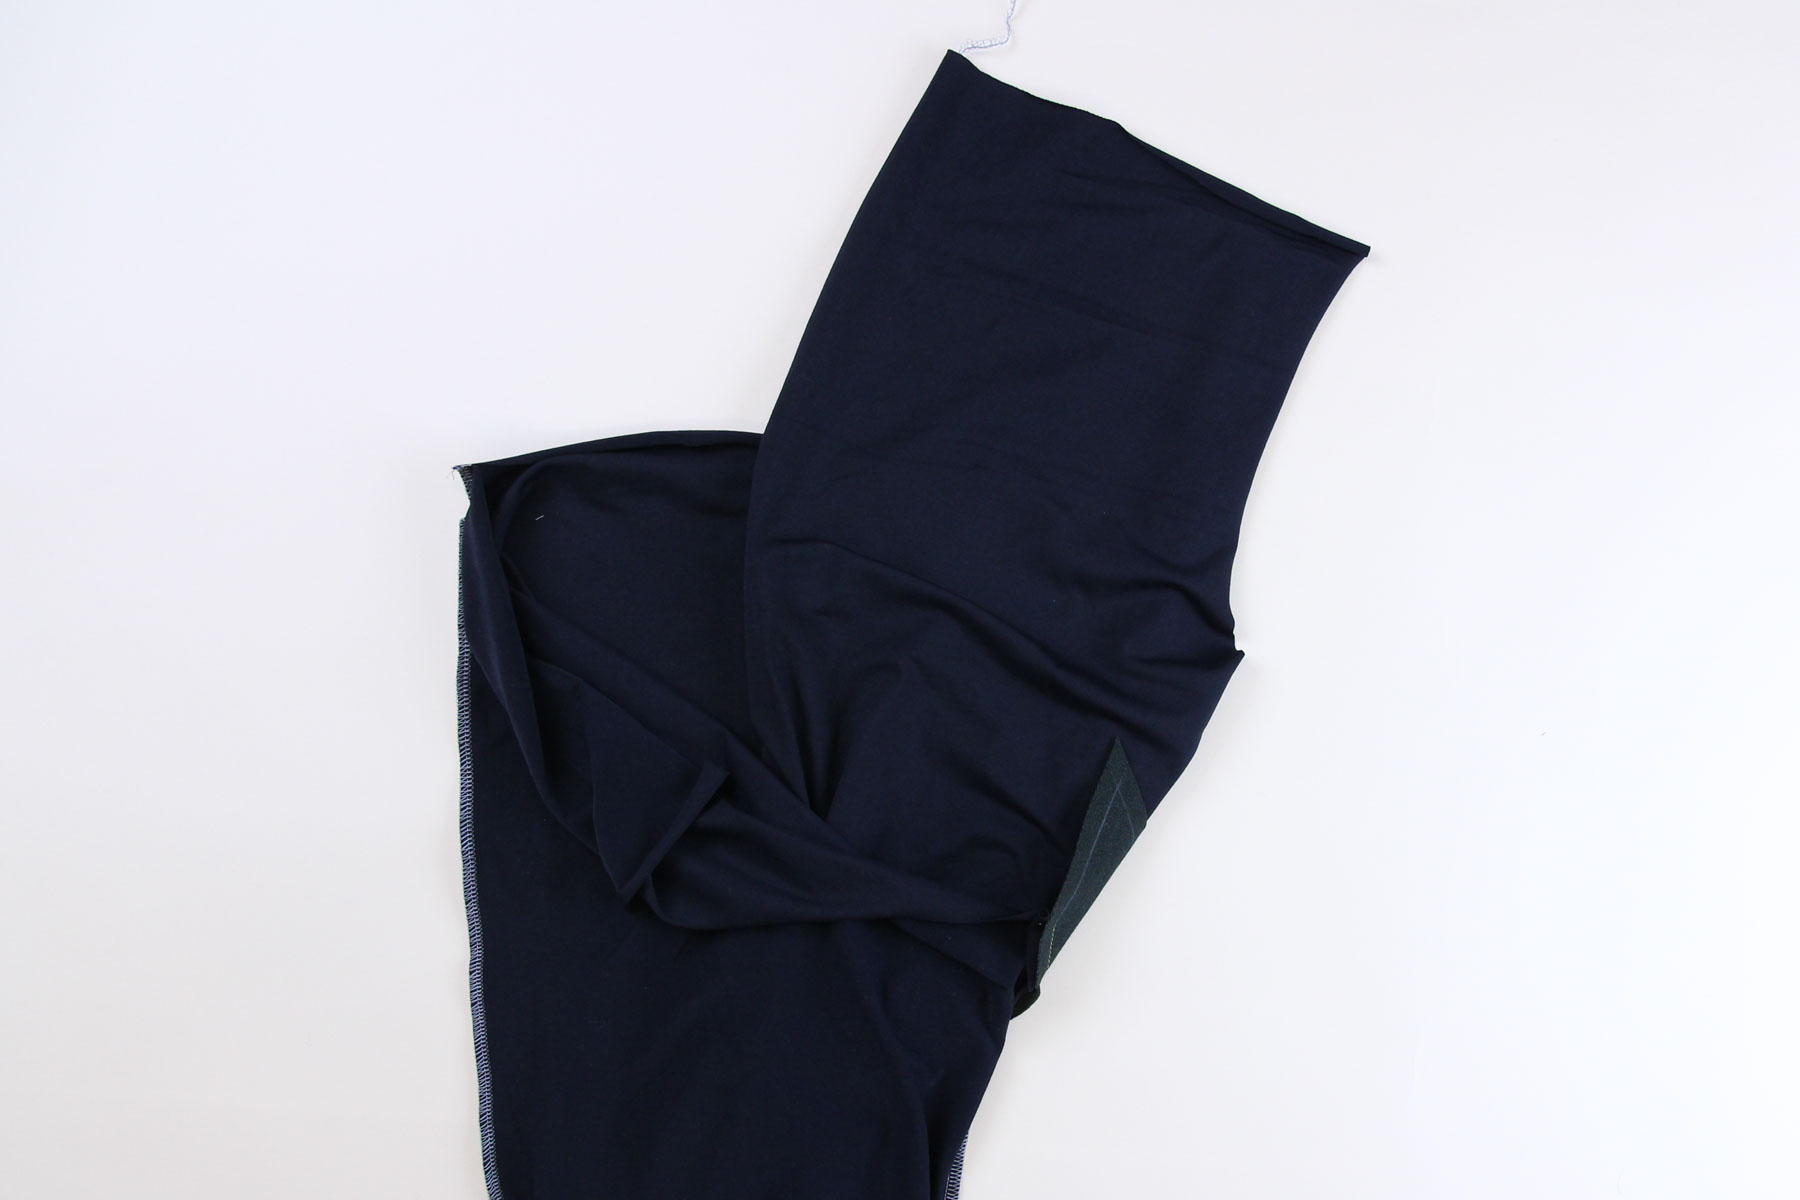
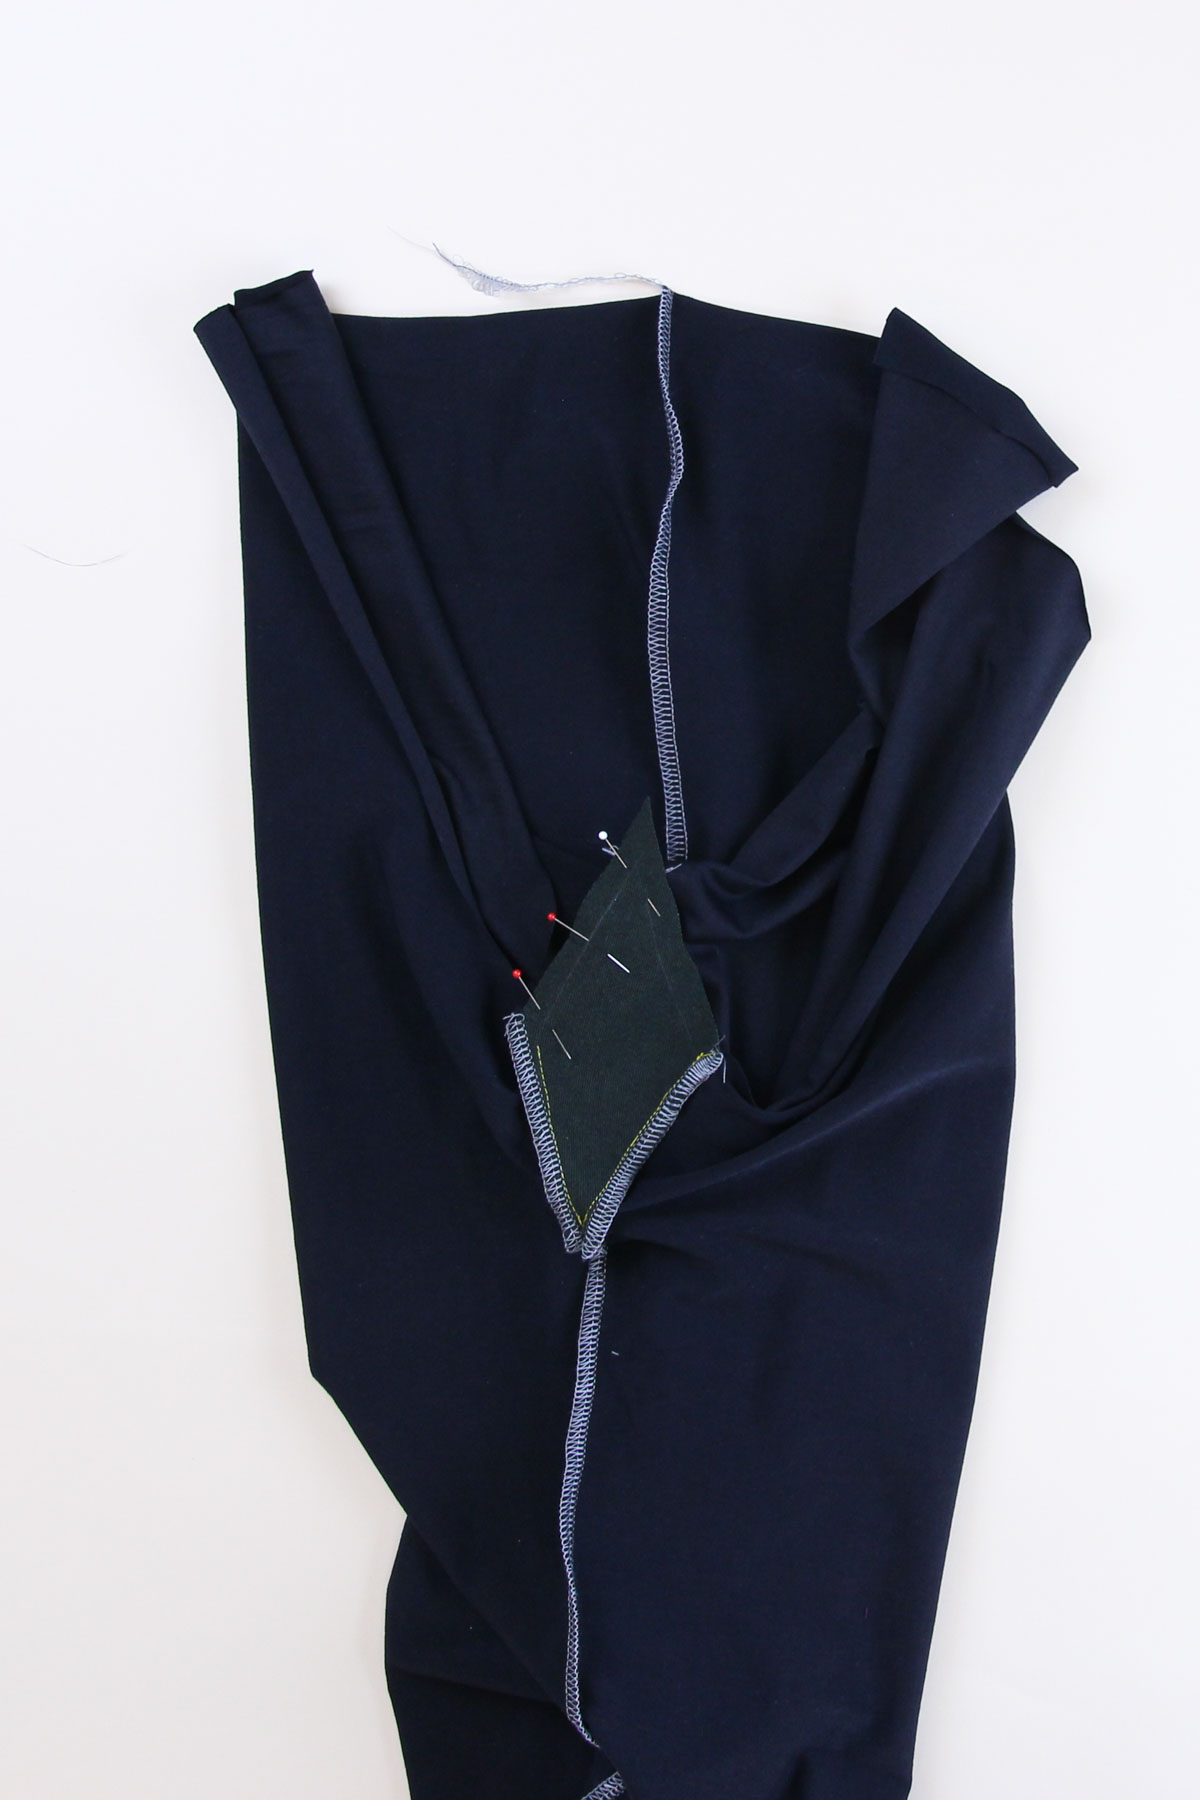
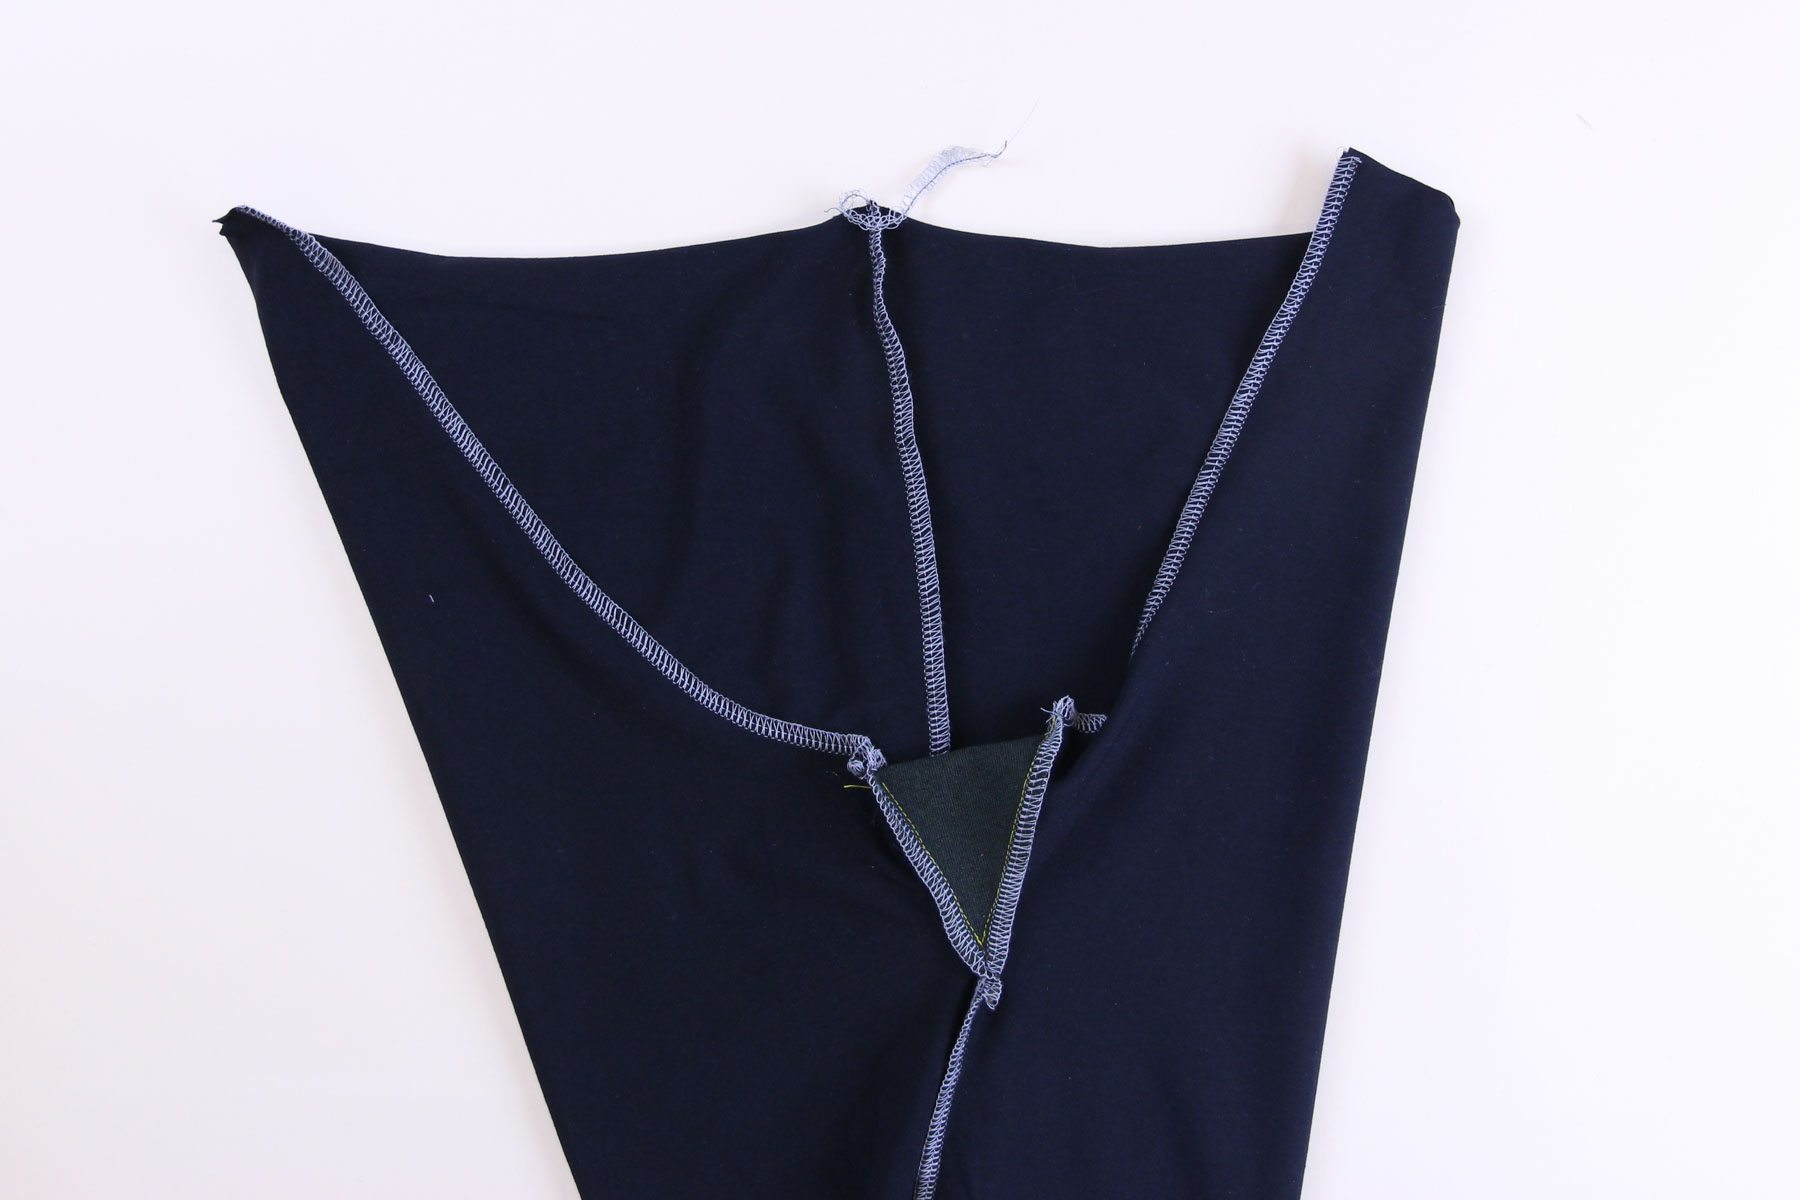
Lay one of your assembled legs out flat, wrong side out, with the inseam facing you in the center. Flip the seam allowance of the back leg out. Pin the back side of the gusset to the open section of the back leg inseam, matching the notches and aligning the point of the chalk V with the inseam.
Sew along the drawn seam allowance, starting at the crotch and ending at the point of the V in line with the inseam, backstitching at the end. Pin the front of the gusset to the front leg inseam and again sew from the crotch down to the point of the V, backstitching at the end. Make sure you meet the previous seam precisely. This may be the point that you need to get out the seam ripper and try again!
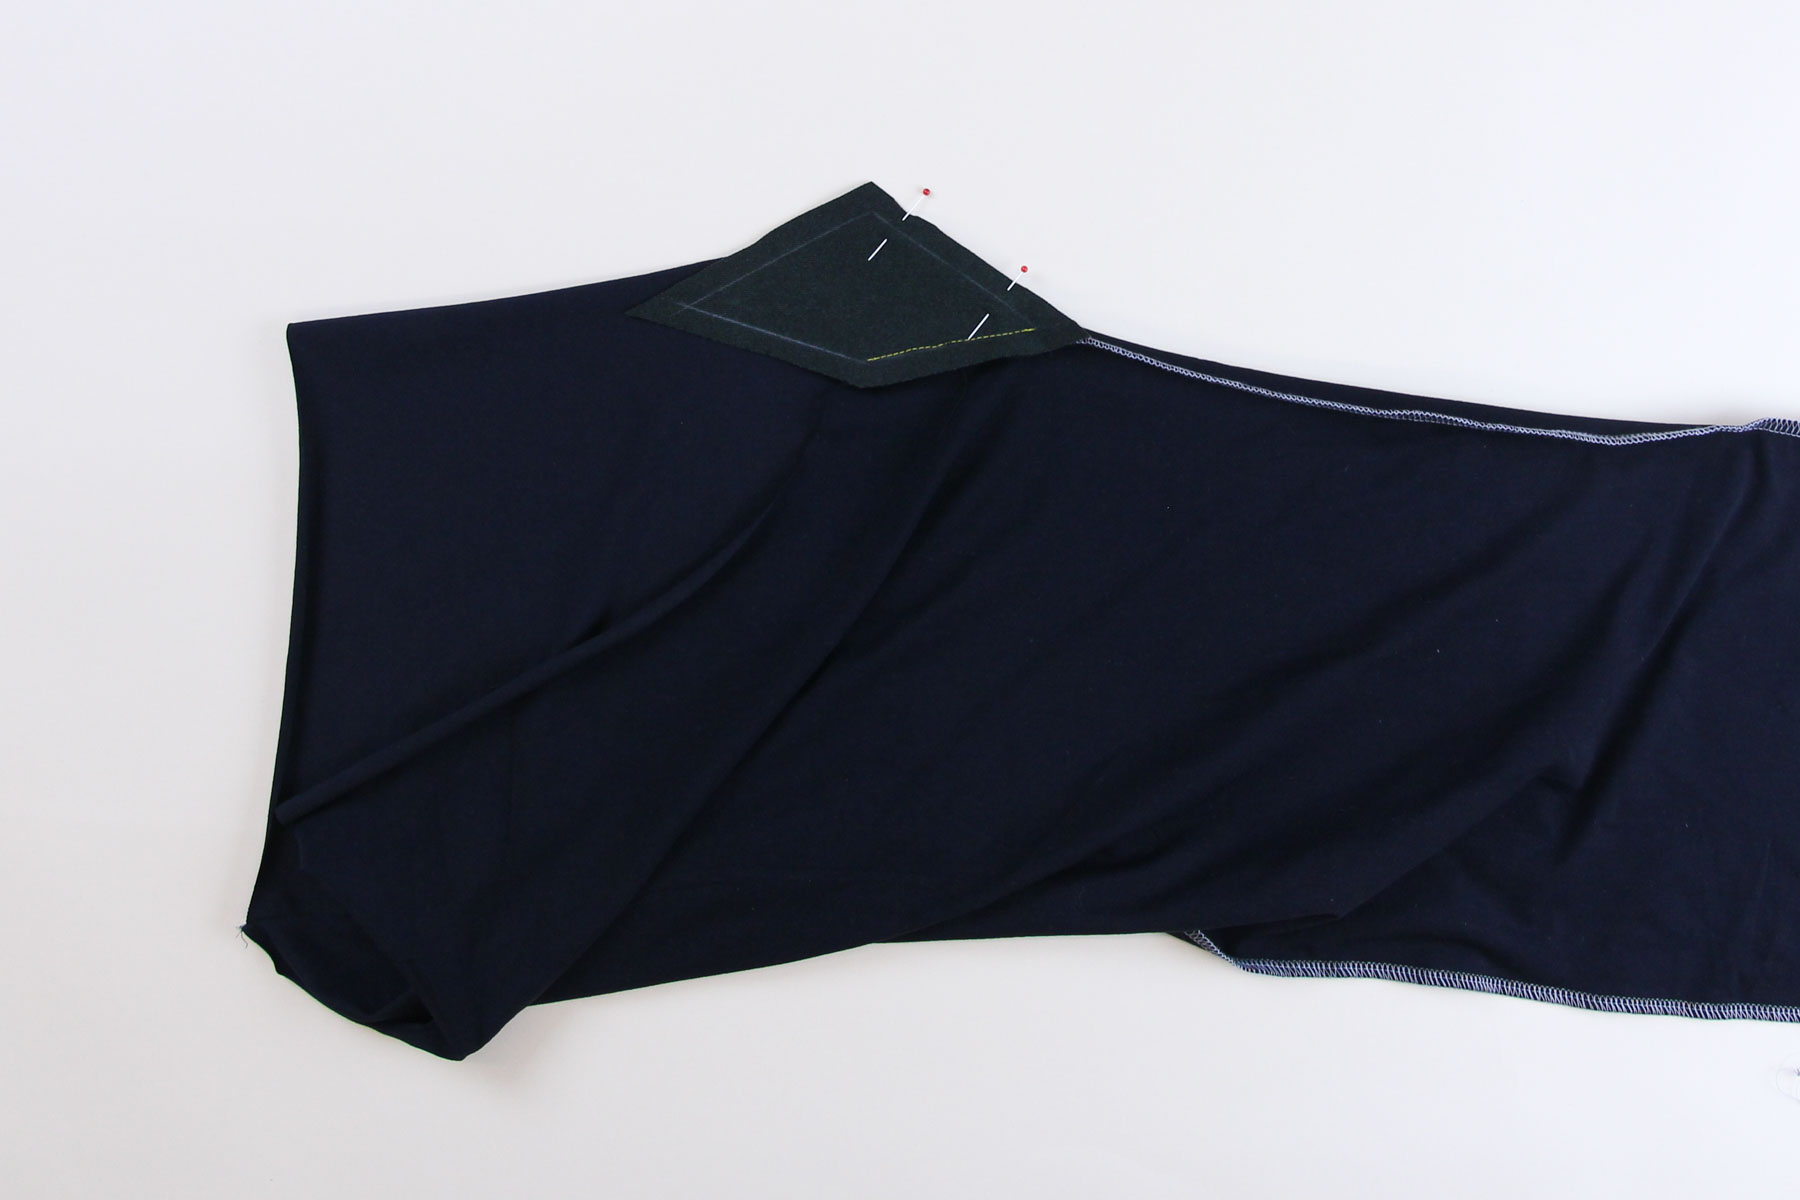
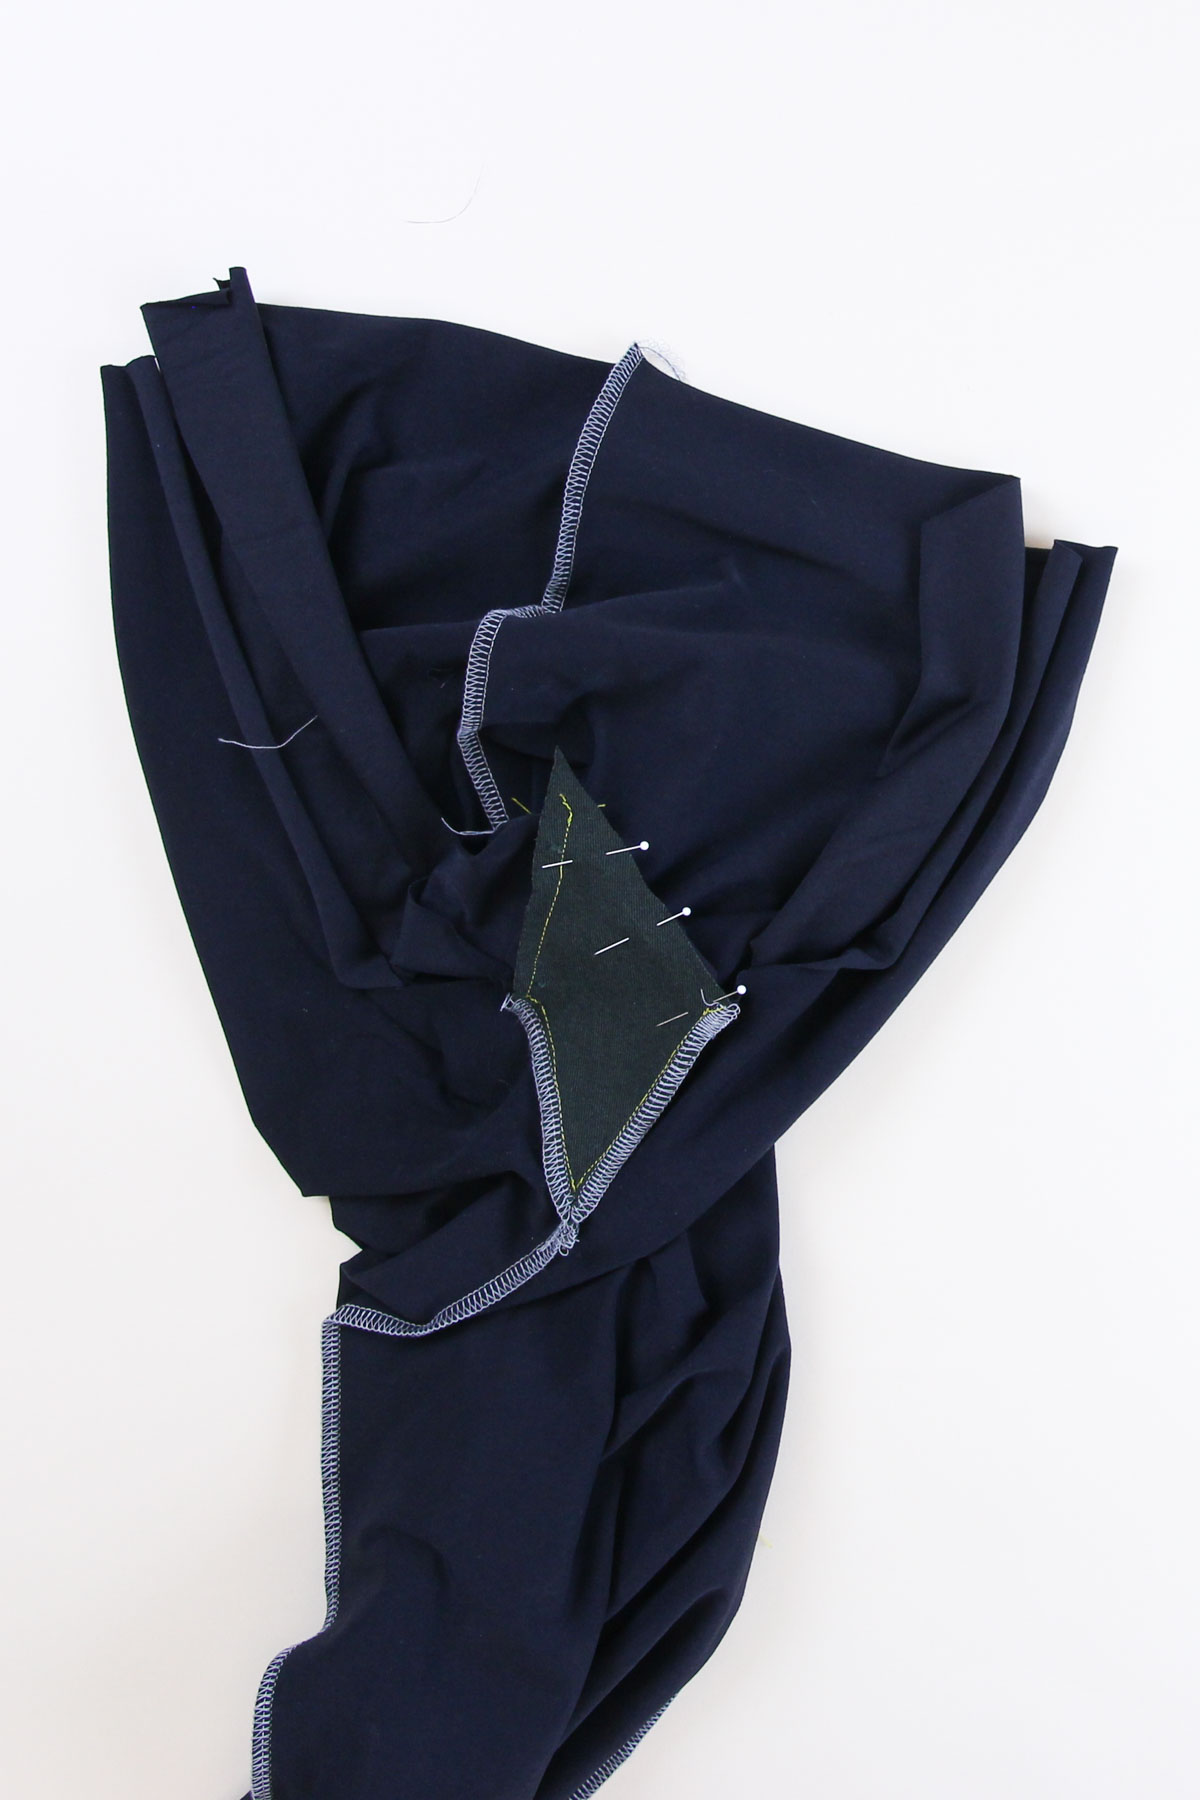
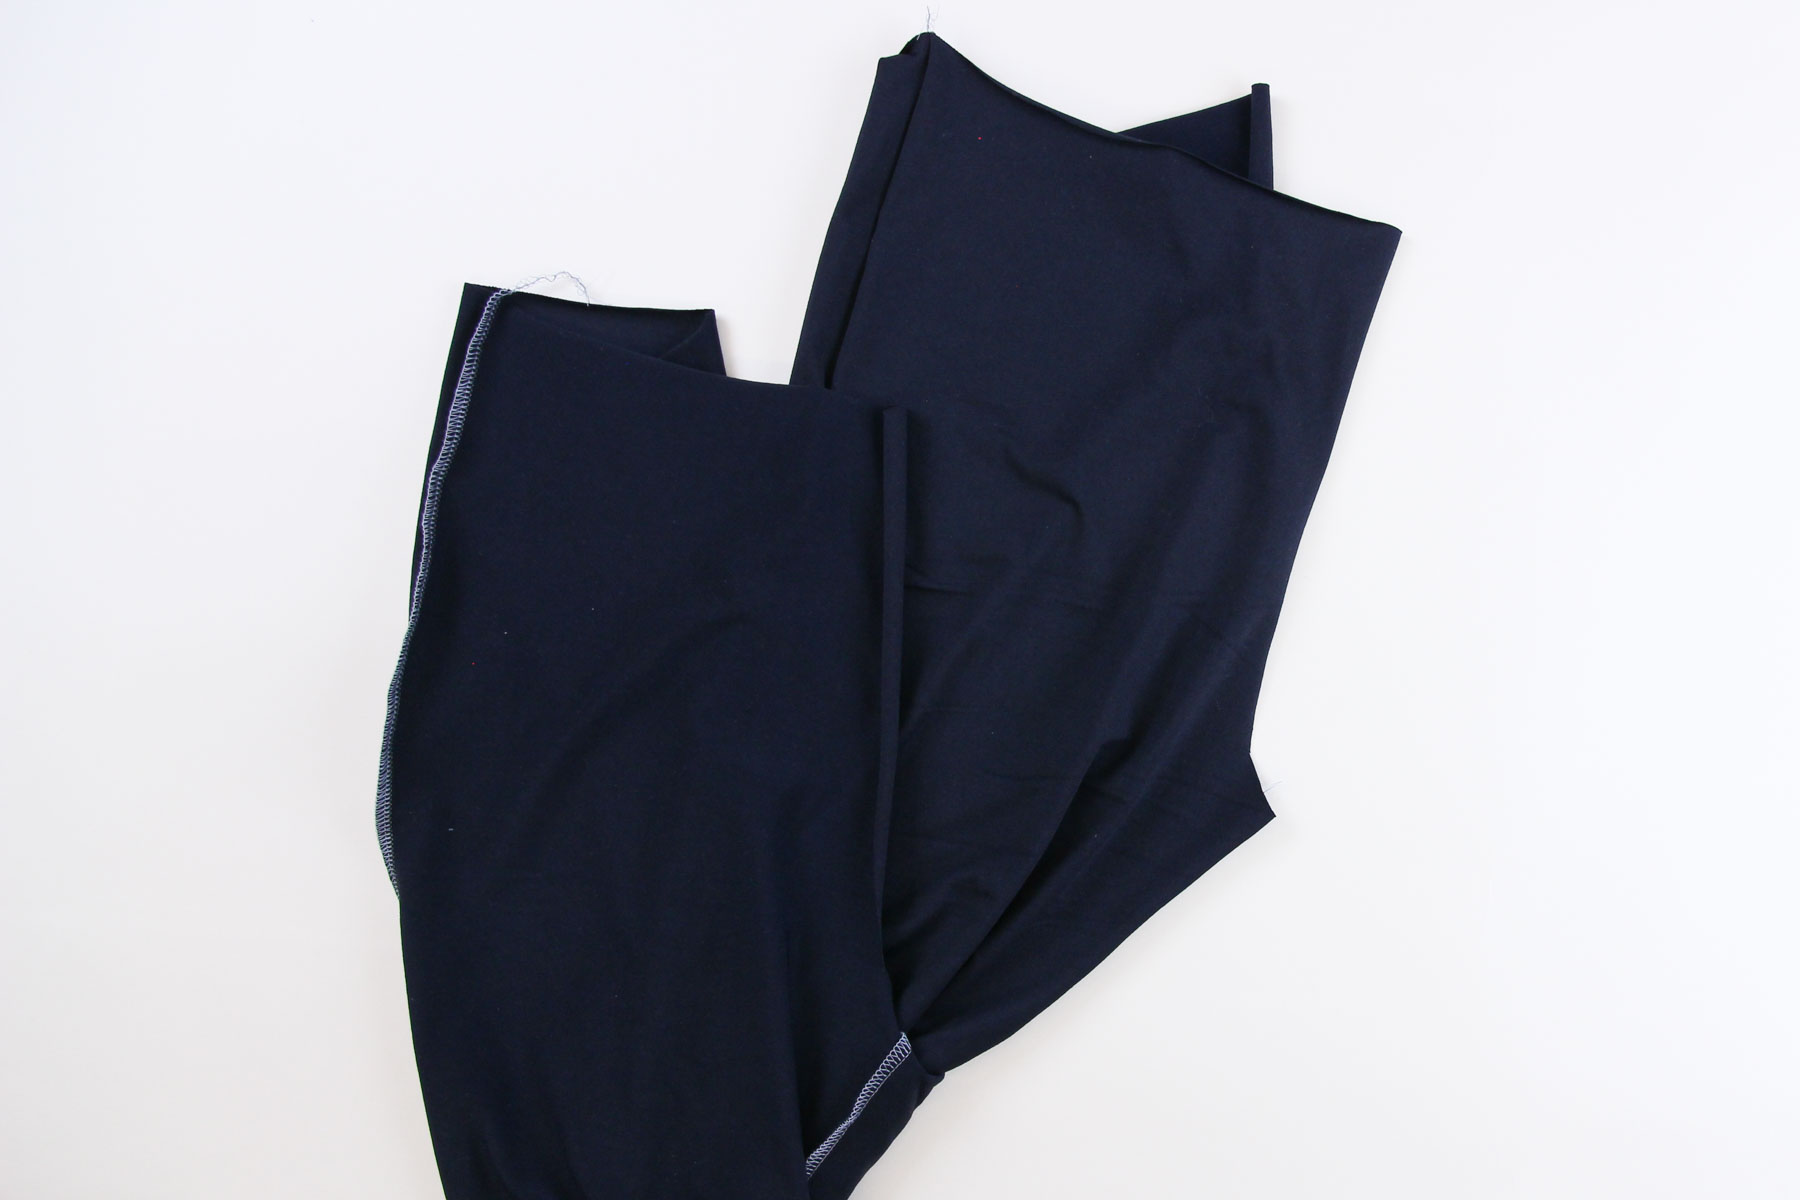
Finish the seam allowance on these two sides and press toward the leg (not shown in the sewalong, just for simplicity.) Take the second leg and turn it right side out.
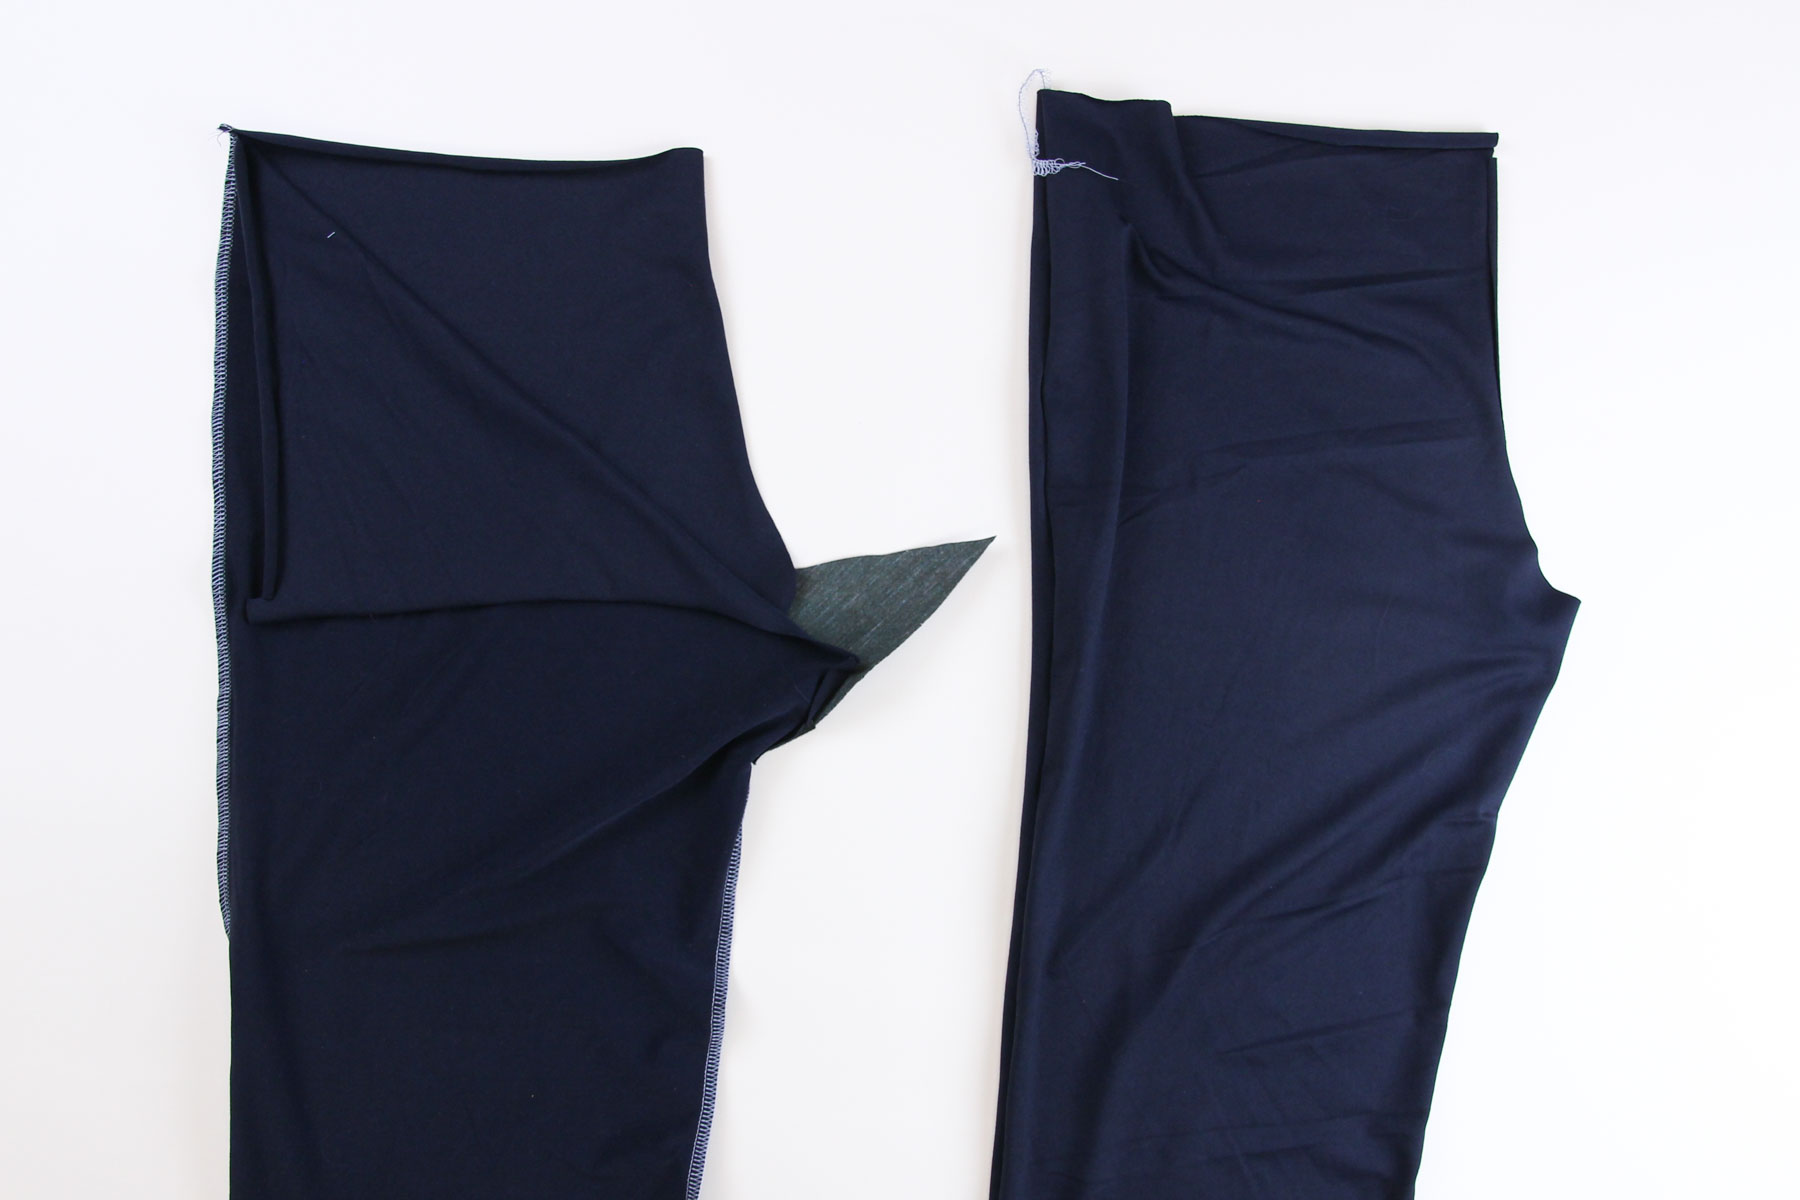
Place this leg inside the leg with the attached gusset, lining up the crotches and the inseams.
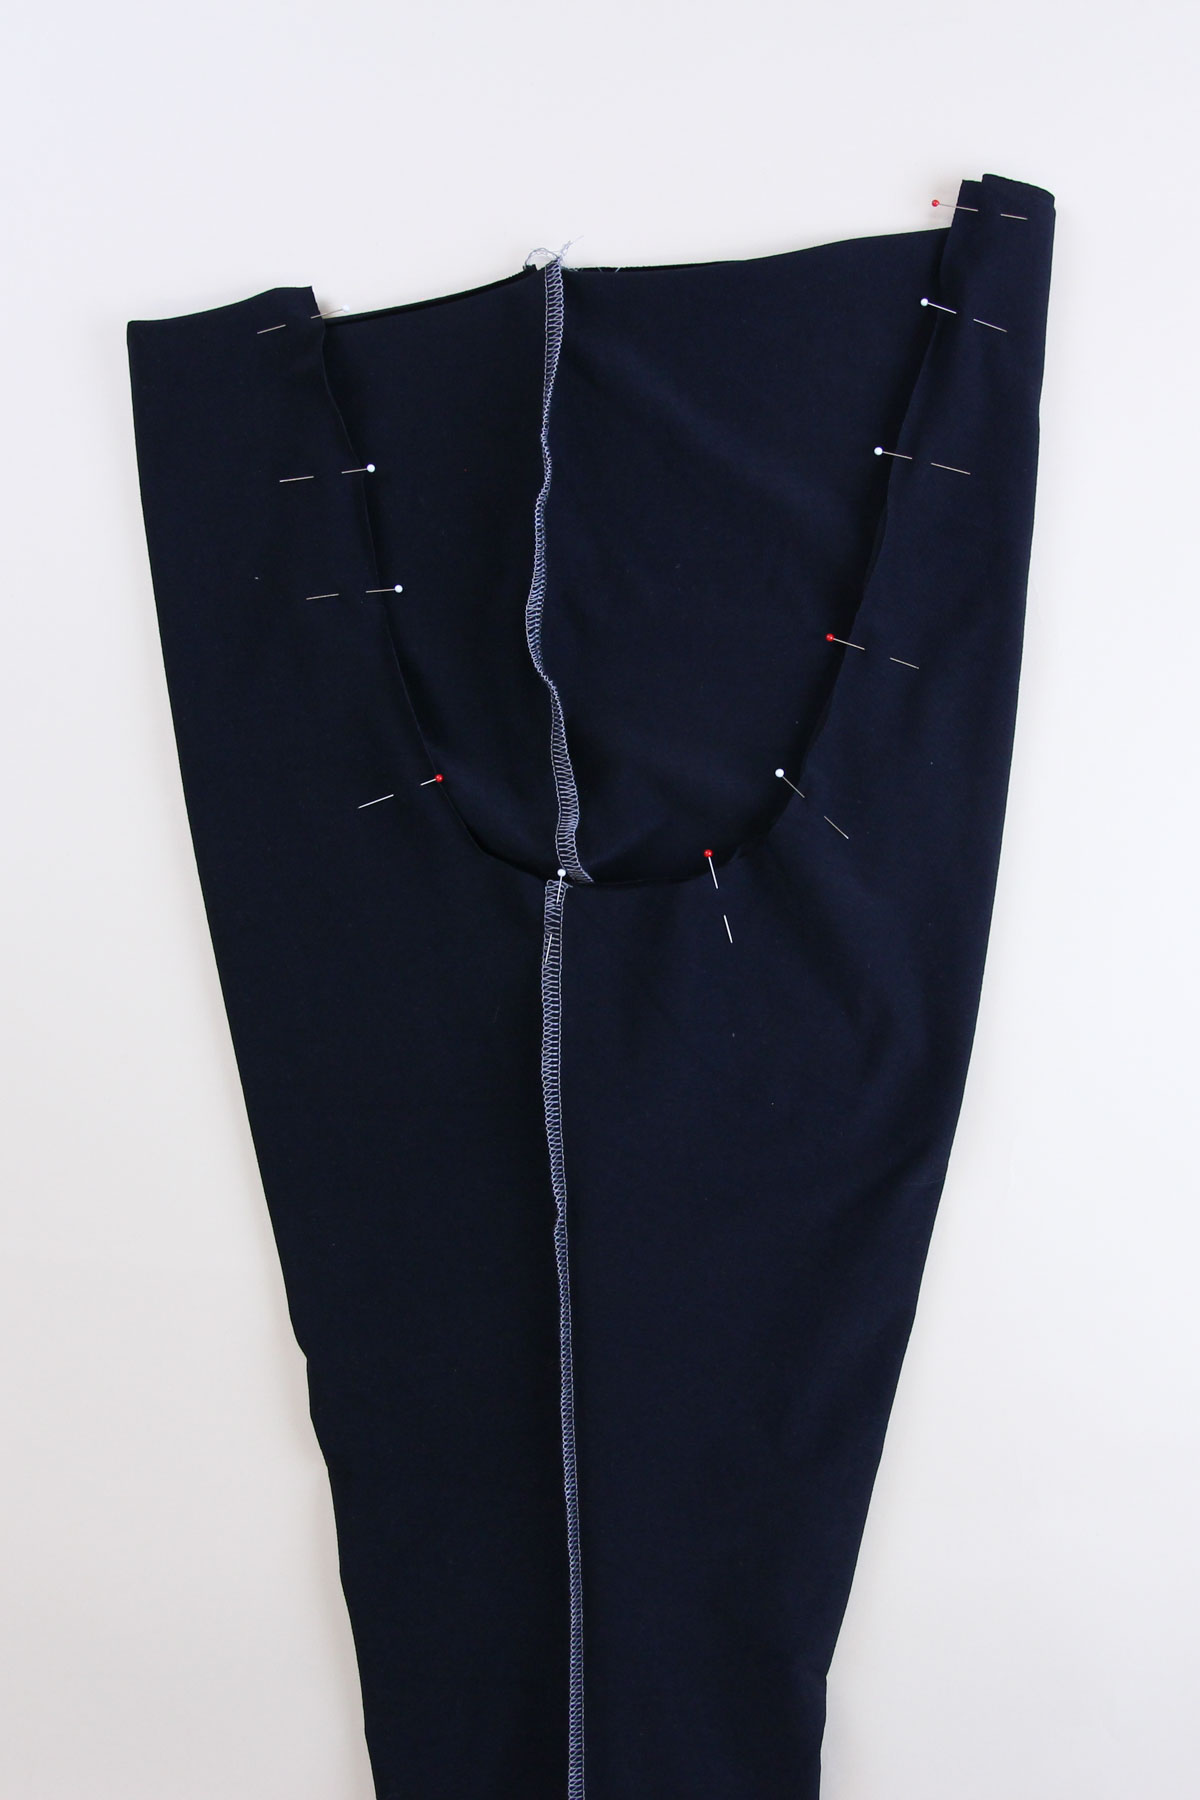
Pin the second side of the back gusset to the second back leg inseam, right sides together and matching notches.
Sew this part of the gusset, starting at the existing stitching and ending at the point of the V lined up with the inseam. Repeat with the remaining side of the gusset.
Pin the remaining crotch seam together, matching notches.
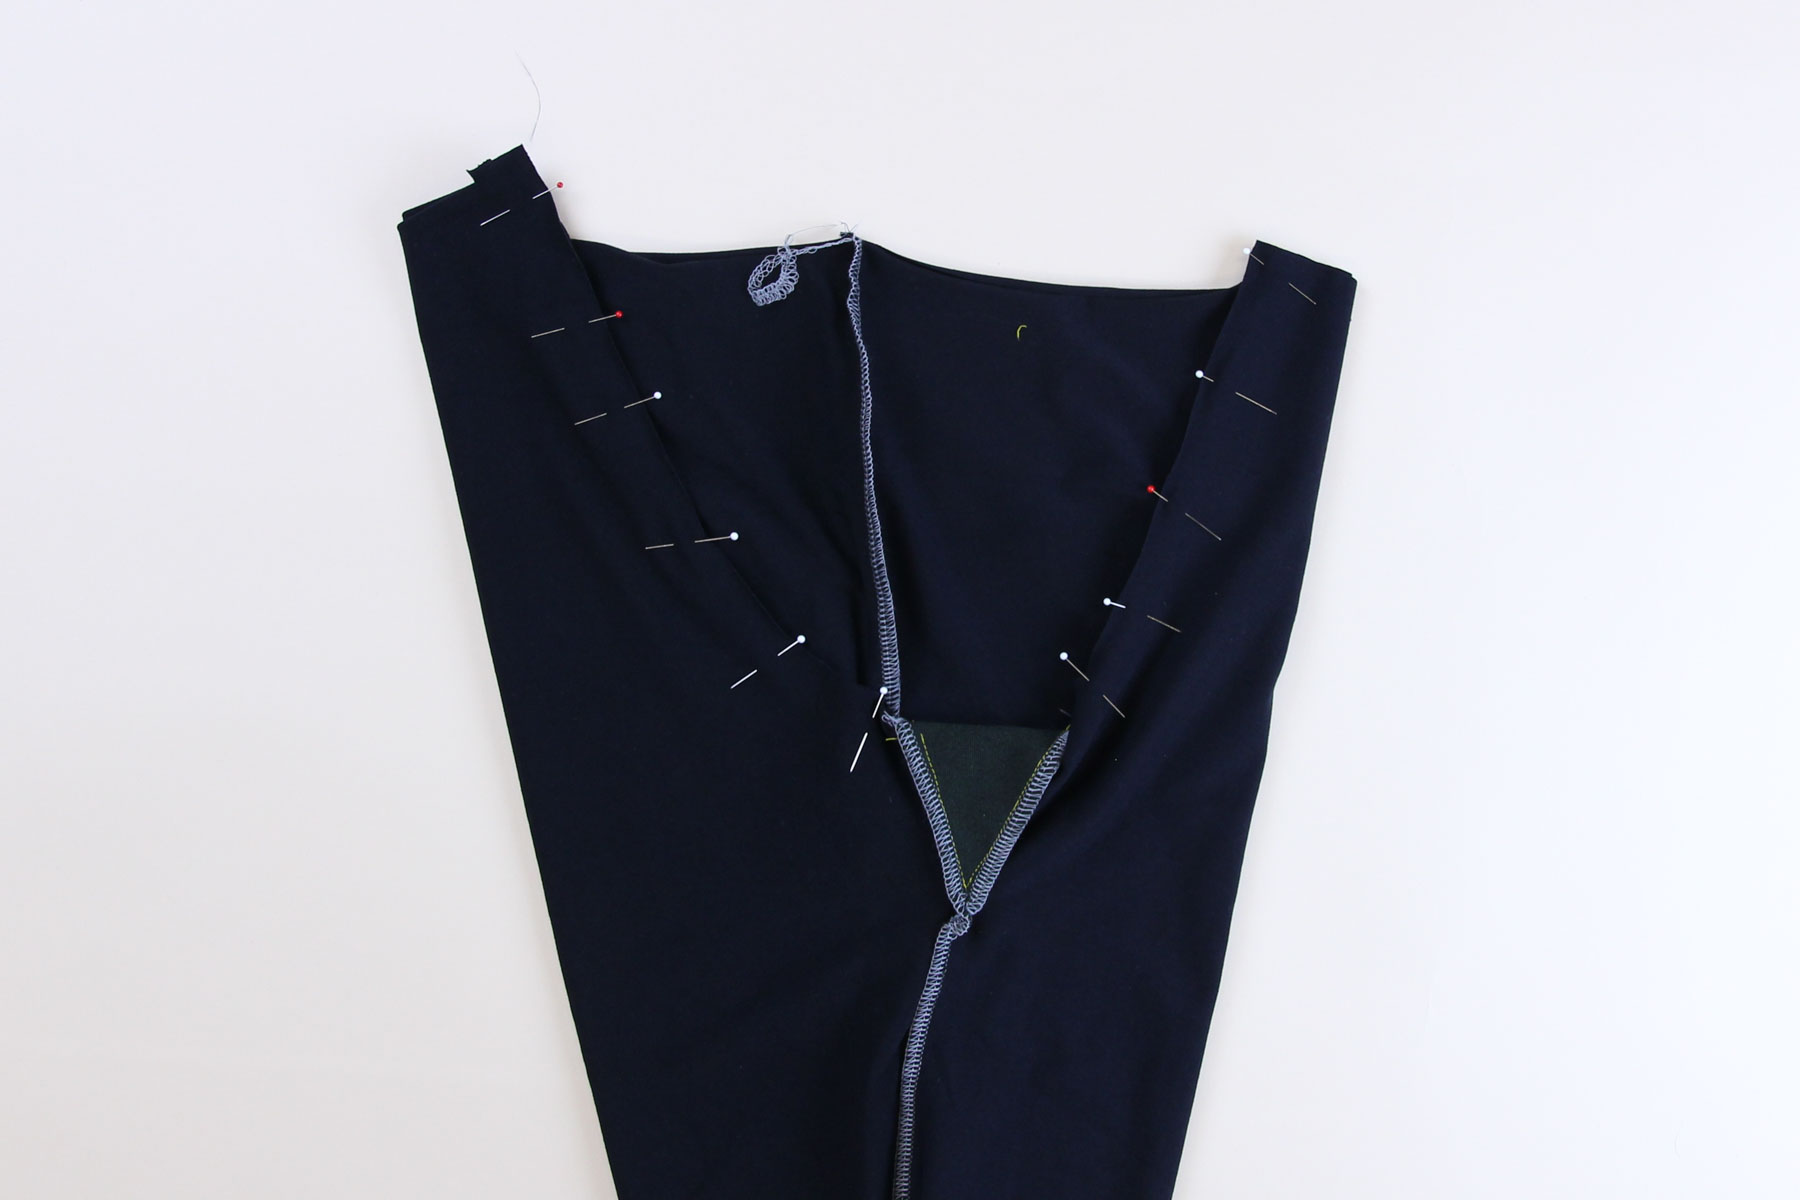
Sew the crotch in two passes, starting at the waistband and ending at the gusset on both sides. Press the seam allowance to one side.
If you are NOT including the optional crotch gusset,
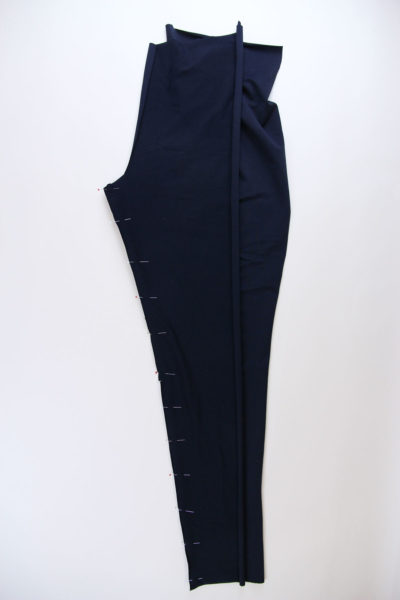
turn one leg right side out and place it inside the other leg, aligning the inseams and the crotches, matching notches. Pin around the entire crotch edge.
Sew the crotch seam in one pass, starting at the back waistline and finishing at the front waistline. Press the seam allowance to one side.
That’s it for today! Next time, we’ll be finishing up our Belmont Pants by assembling and attaching the waistbands and hemming the legs.

I love gussets. They make things fit. They can go into things that used to fit and make them fit. And because they are in your folded up places (crotch, armpit) they don’t Entirely Have To Match.
Me and gussets. We got a thing going on. Nice post, kids!
Best instructions I’ve found on sewing gussets, thanks
Thank you for doing this tutorial. I am finally starting my first pair of Belmont Yoga pants!
What stitch did you use? (I have a 3 year old brother sewing machine and I’m not used to all the selections.) Thank you.