Today, the steps are all the same for those of you making the Rivermont Dress and Top, so these pictures are all of the dress version, but the peplum version follows the same process.
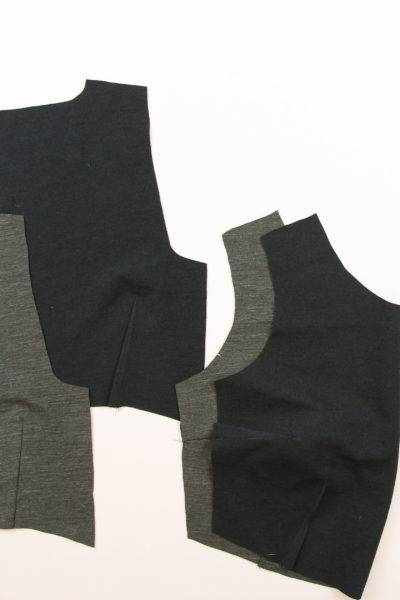
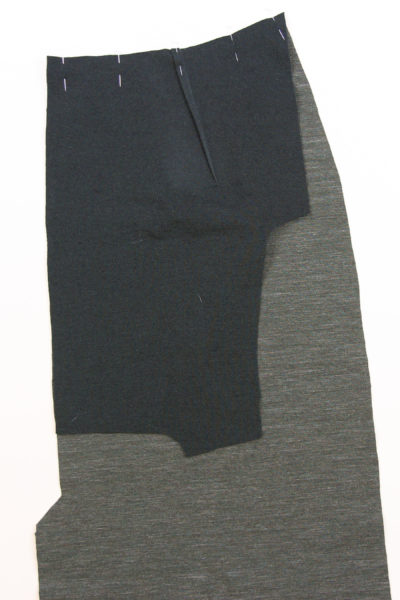
Start by pinning the shoulders of your top or dress together, right sides together. Sew both shoulders and press the seam allowance towards the back.
Repeat this with the front and back facing, but this time, press the seam allowance towards the front.
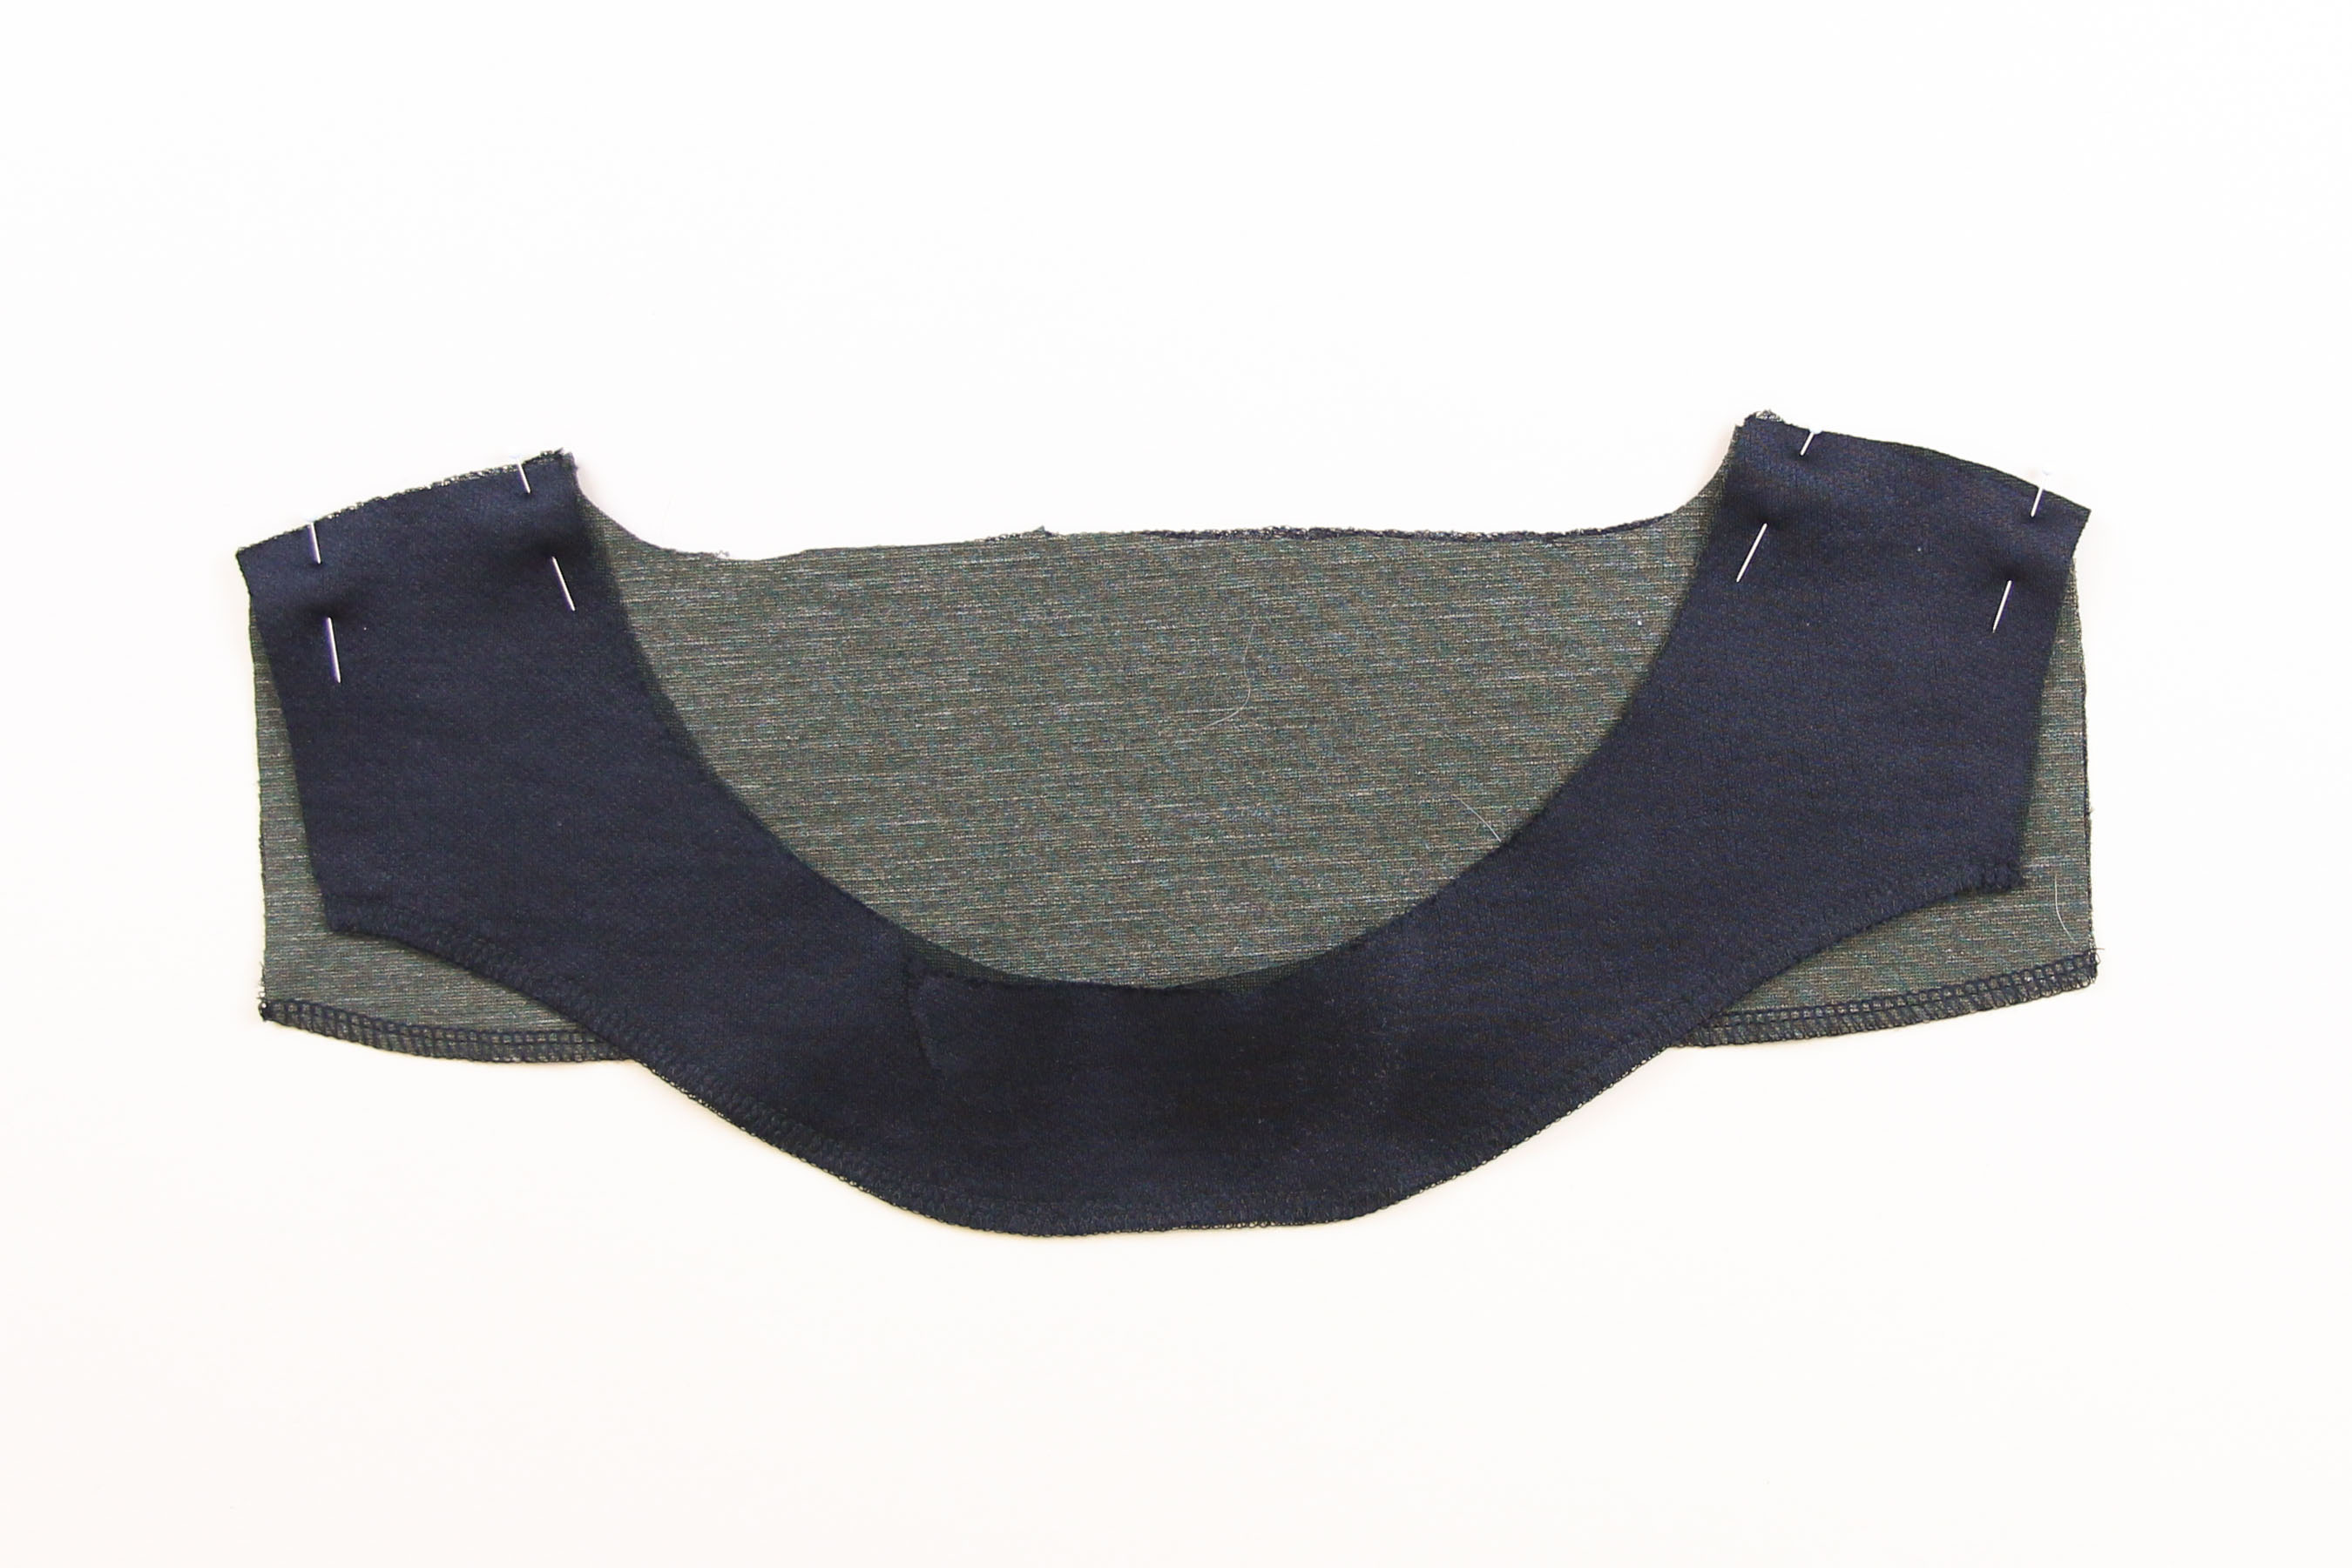
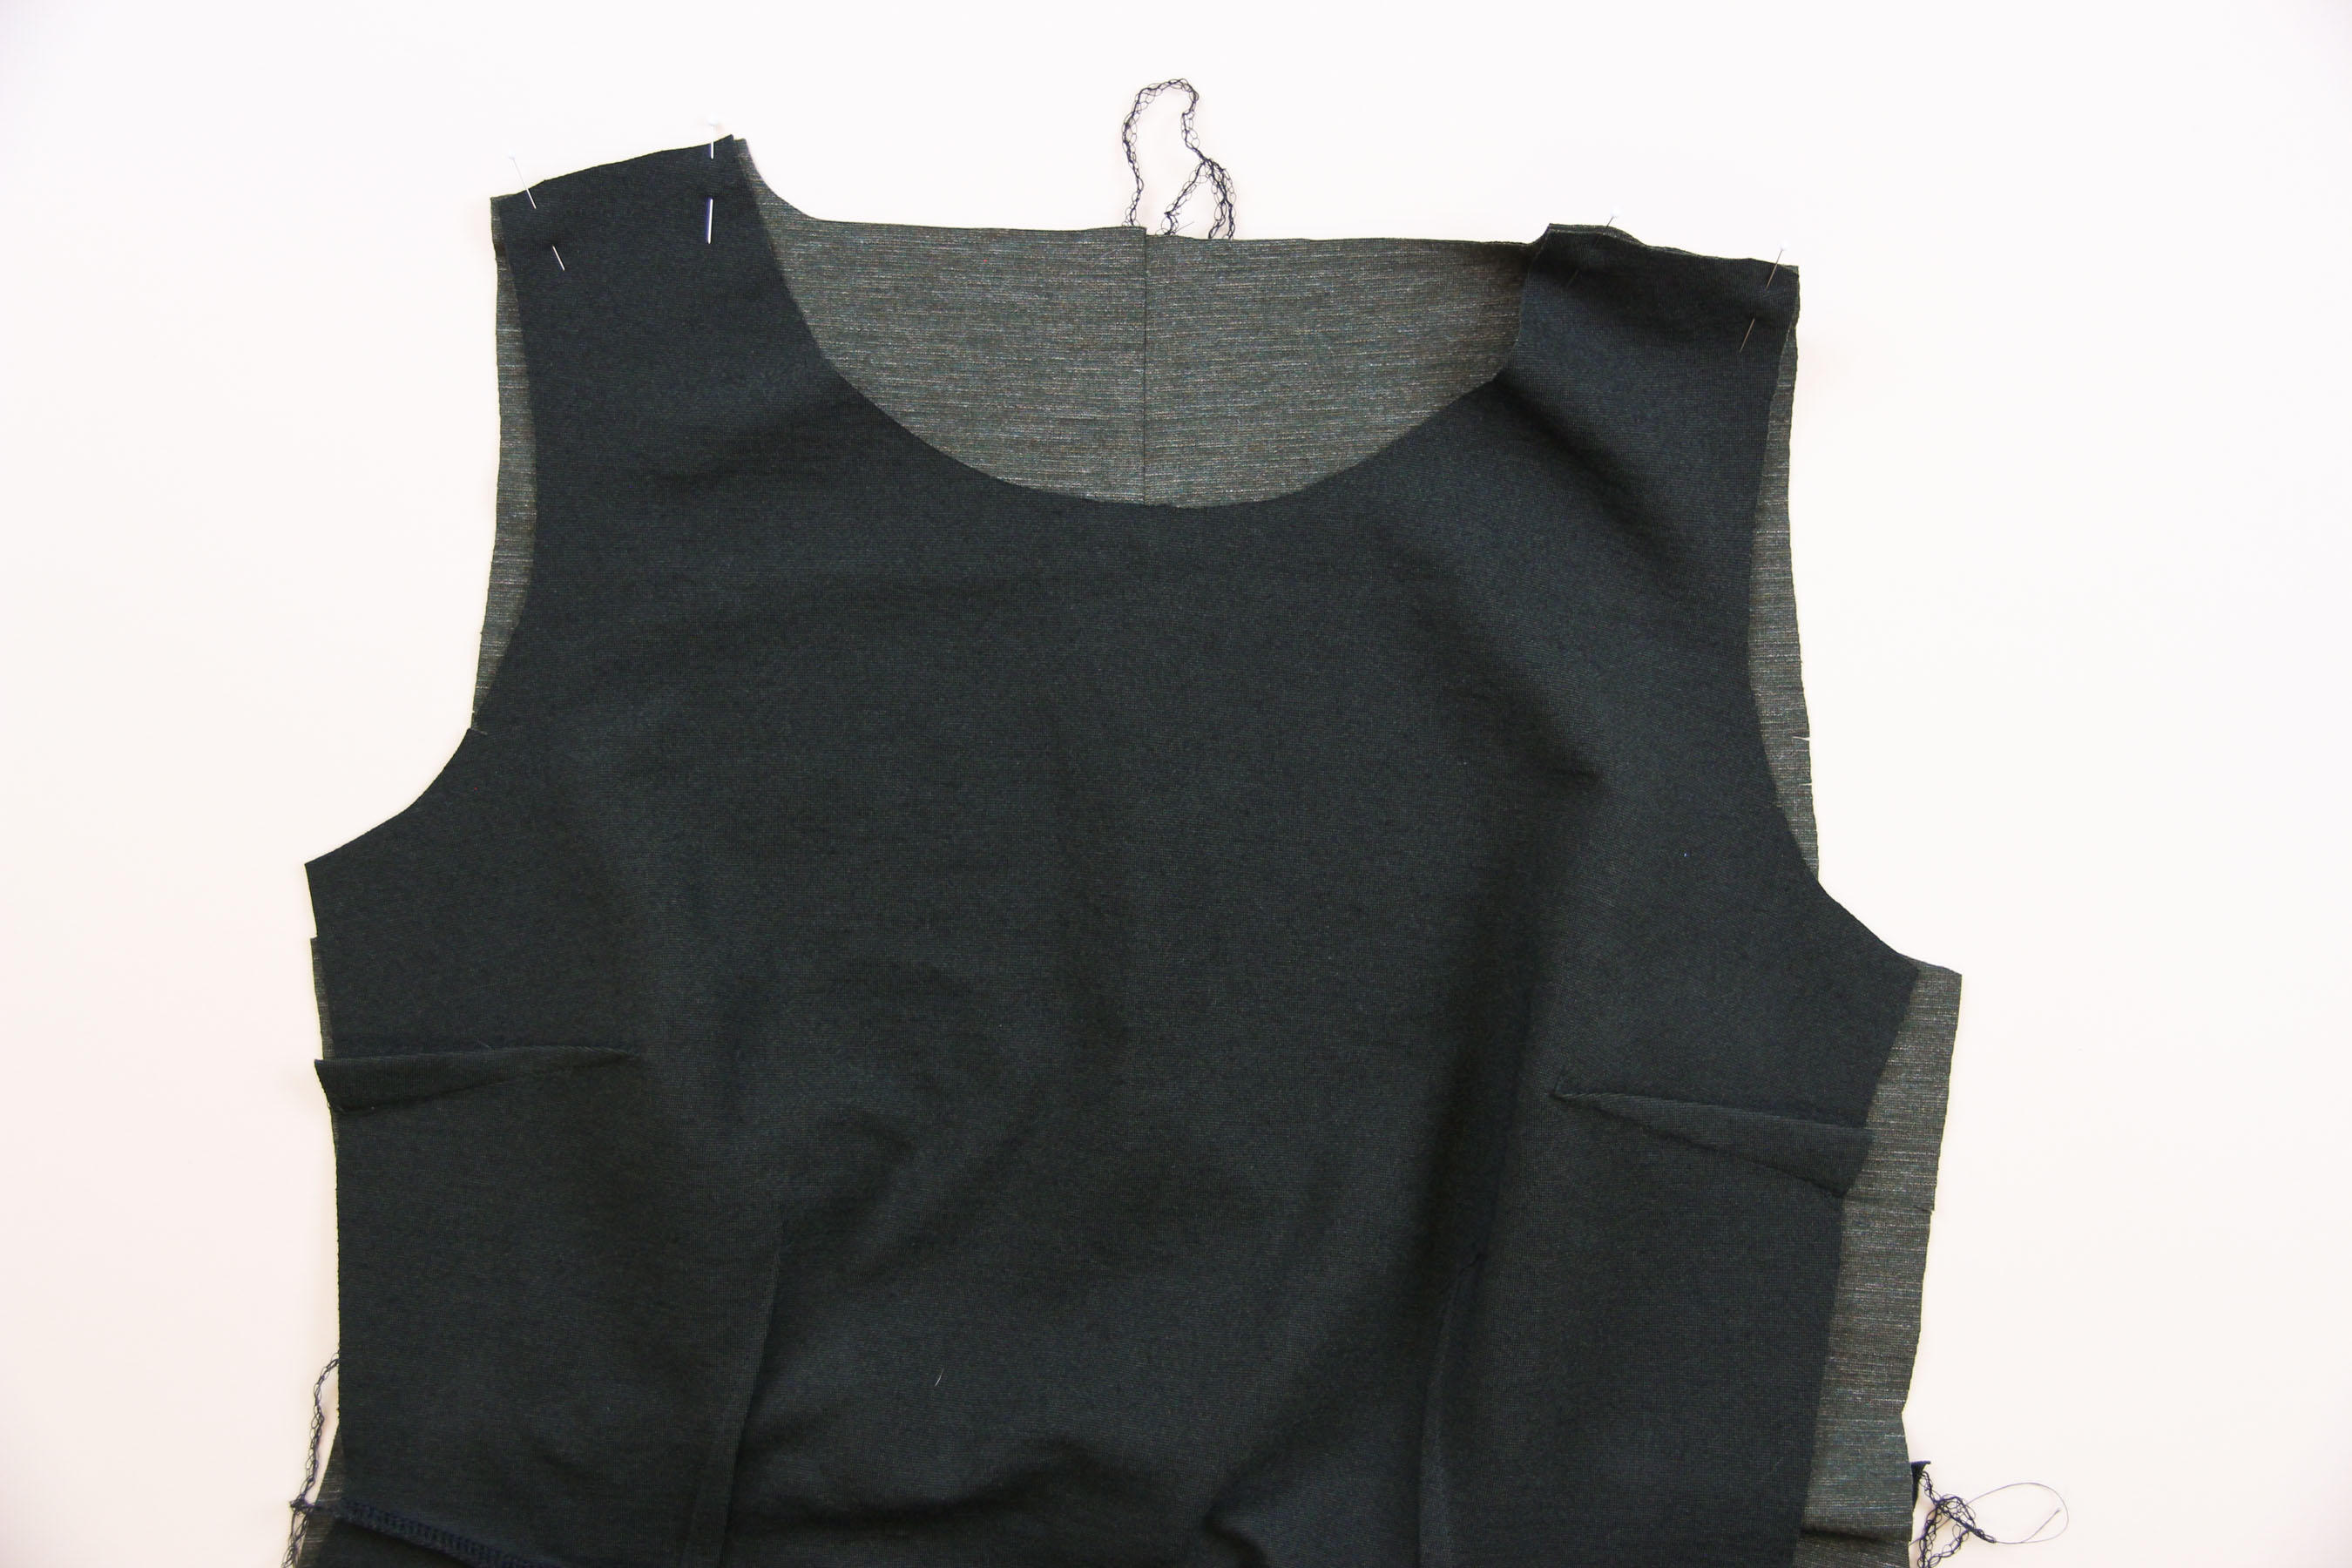
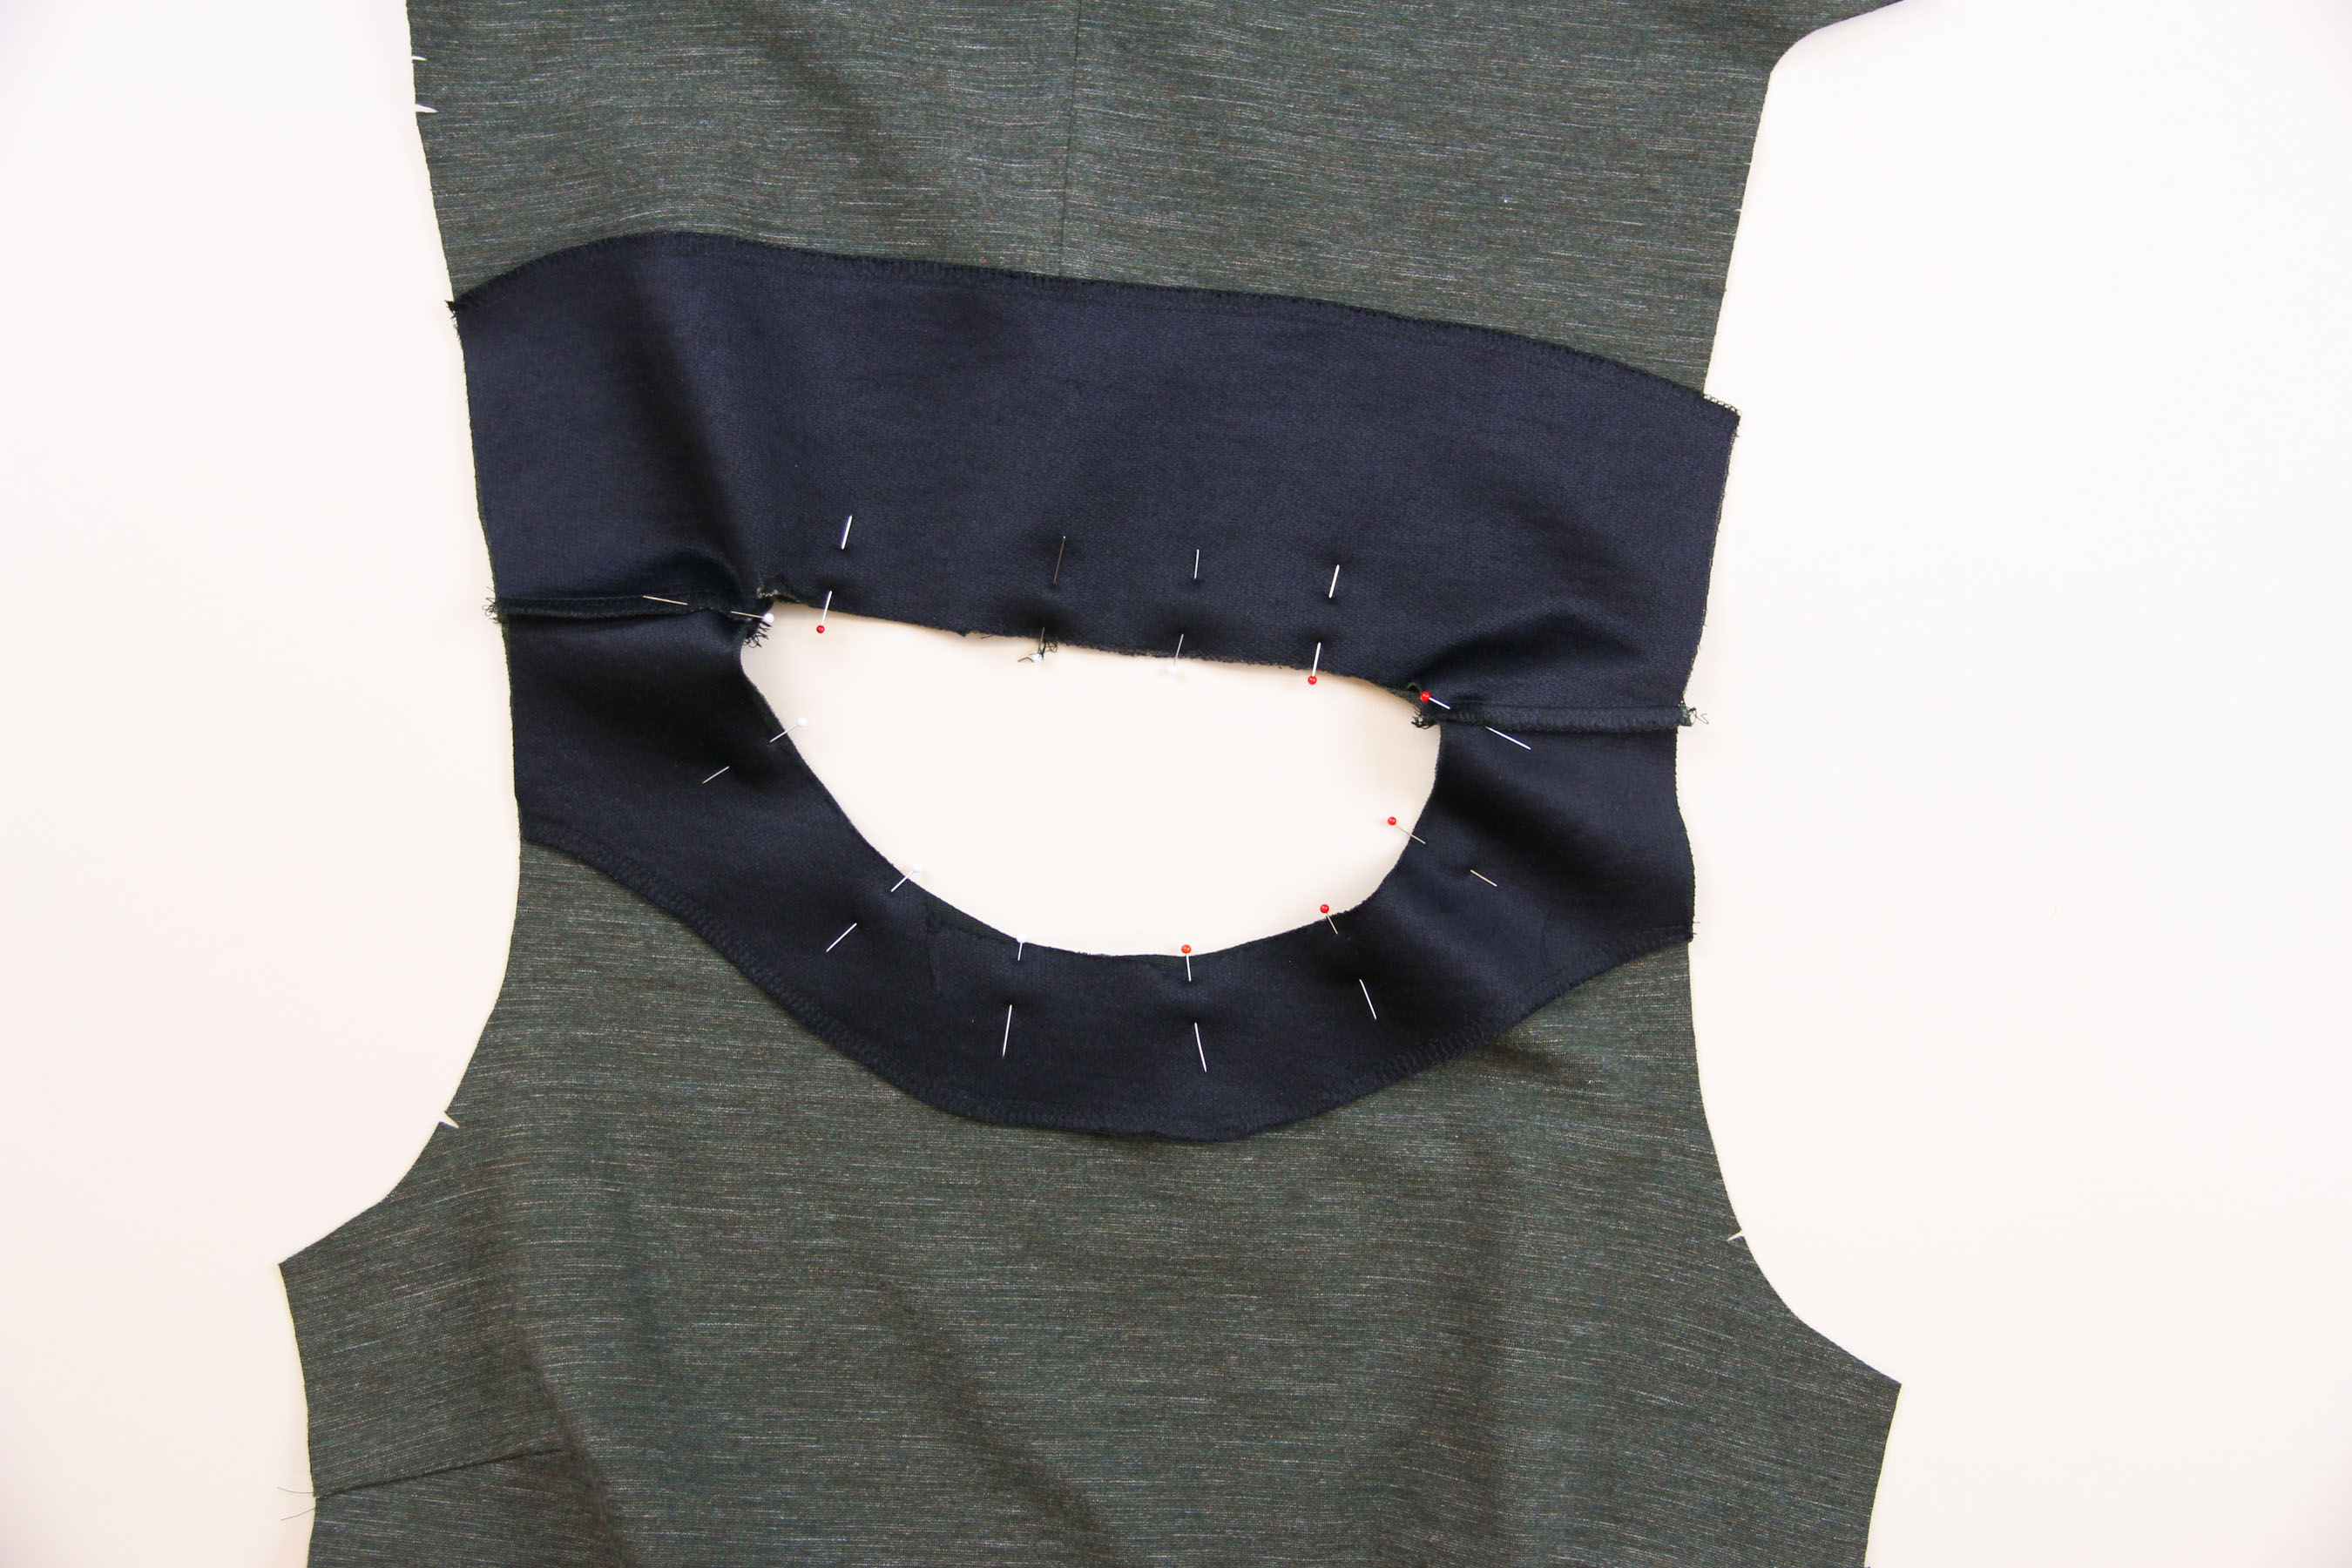
Lay your dress or top out flat with the right side facing up. Lay the facing on top of the body, right sides together, matching up the shoulder seams and the neckline. Pin all the way around.
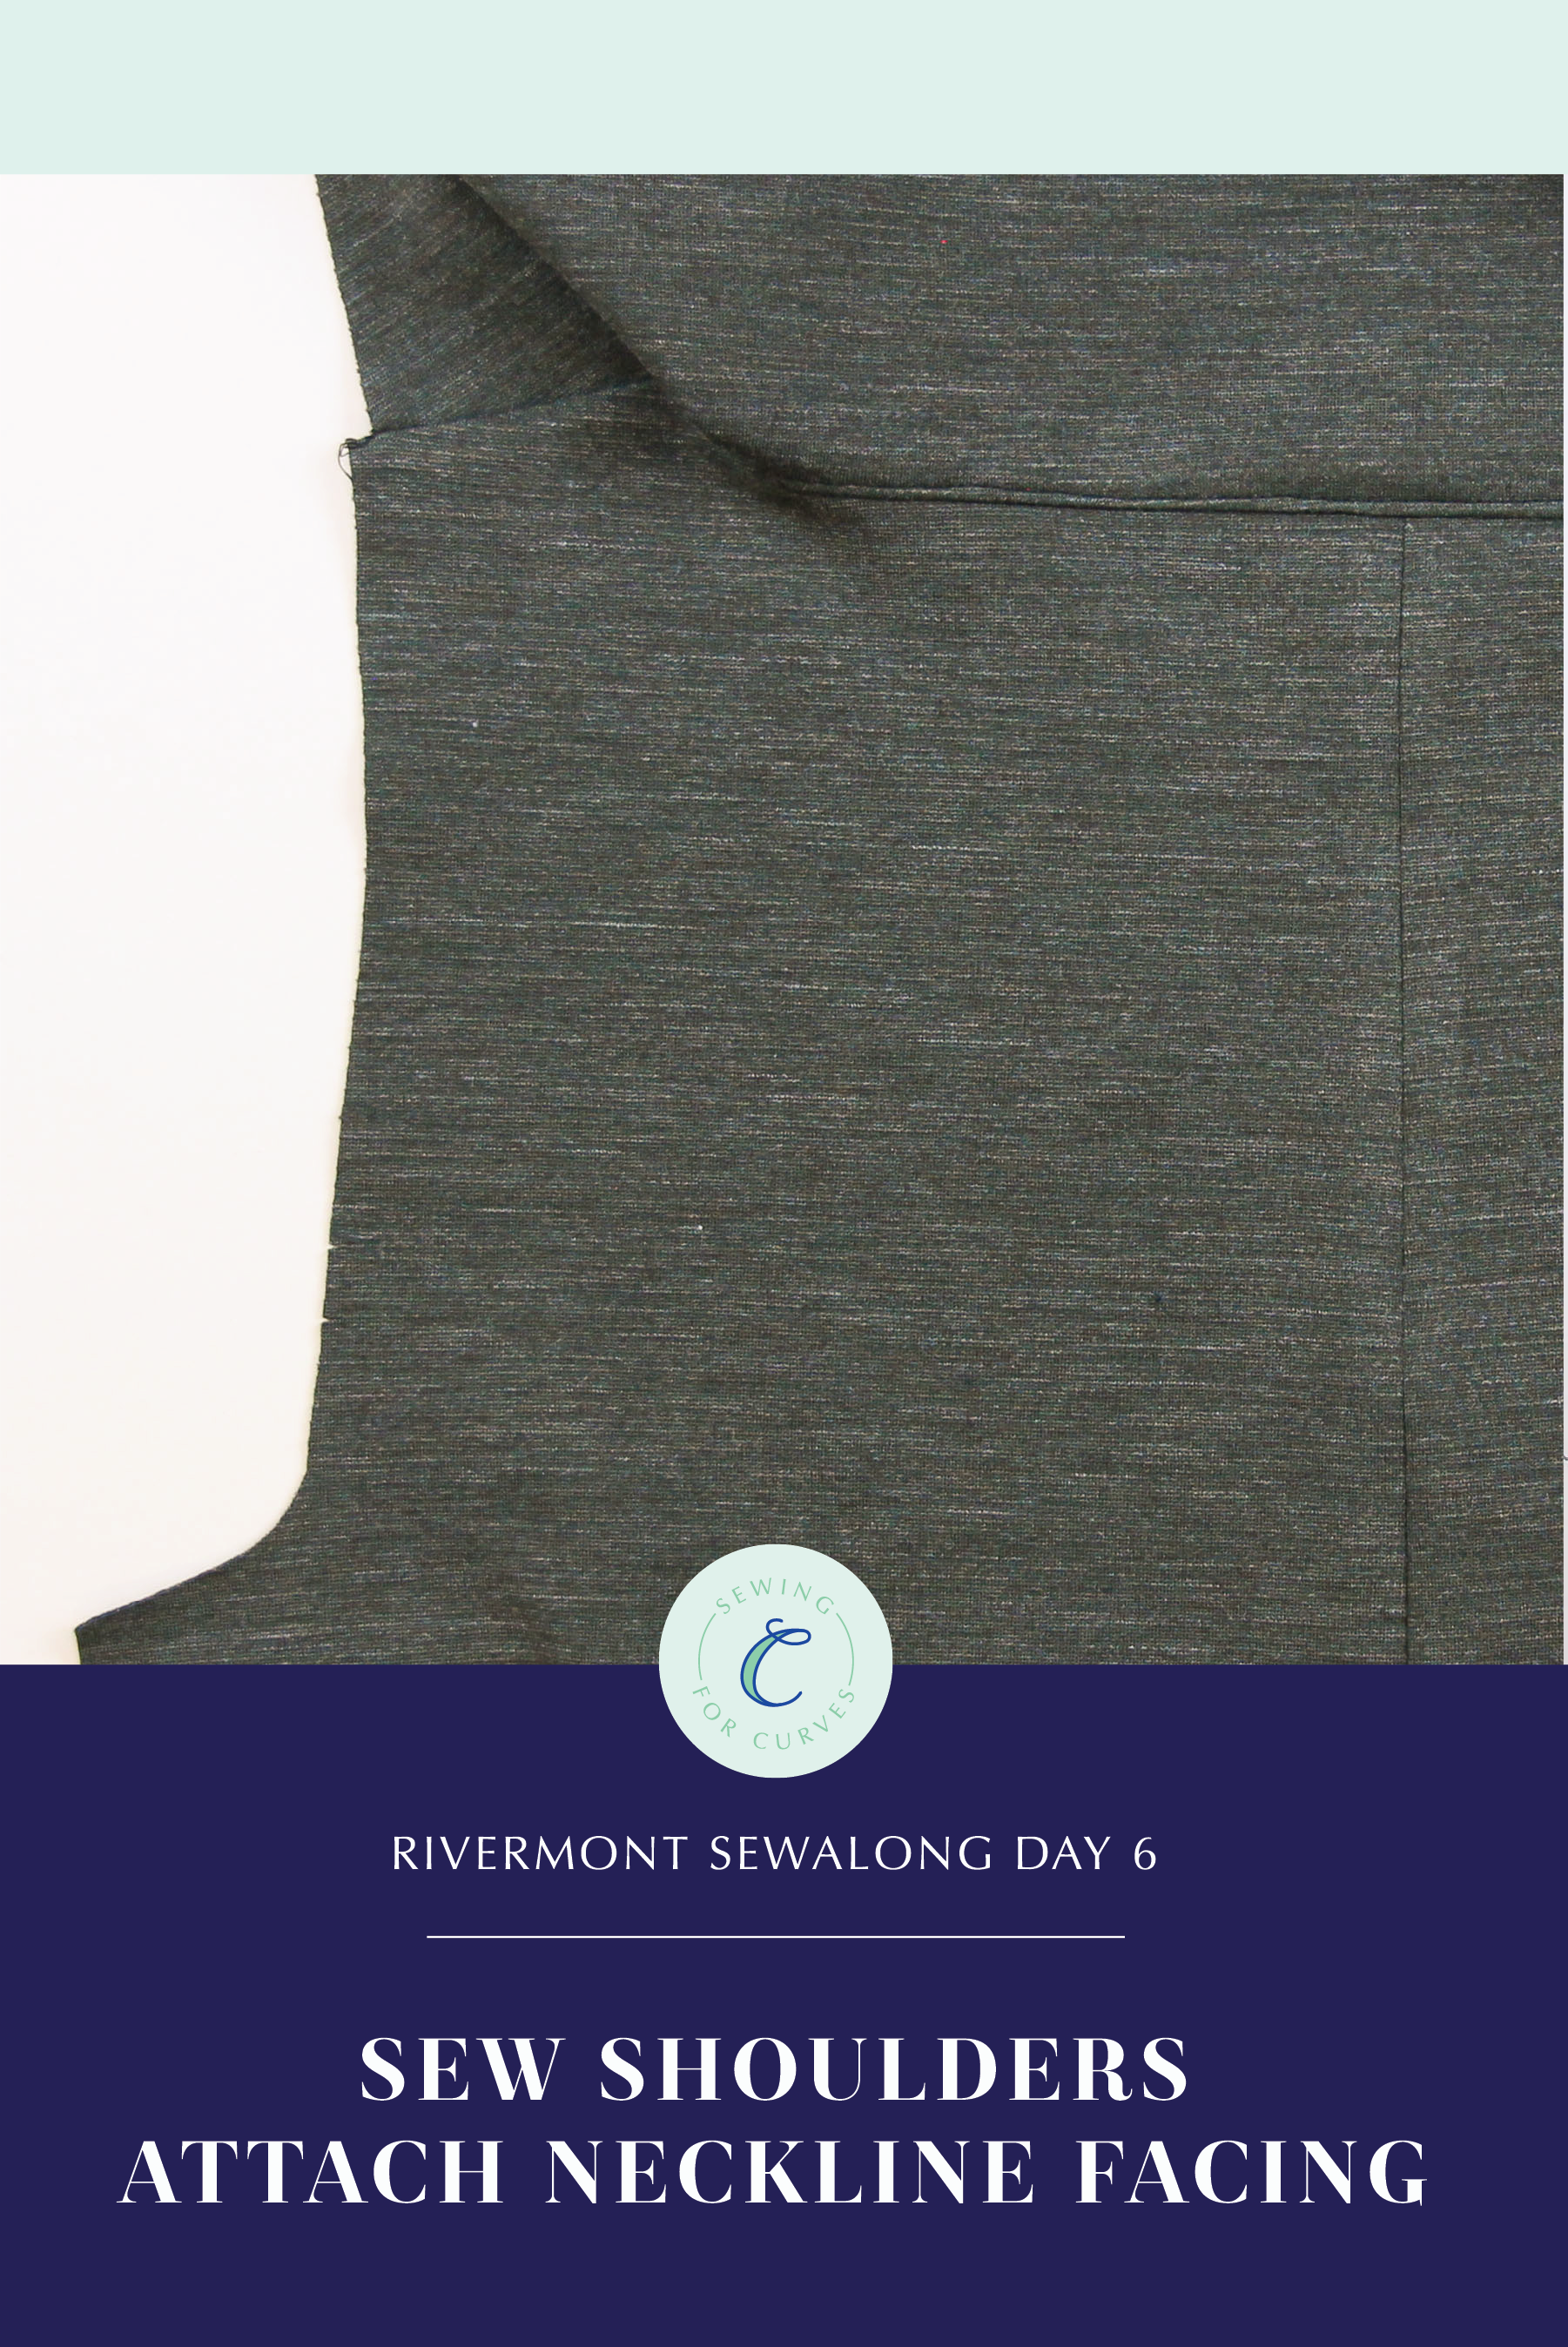
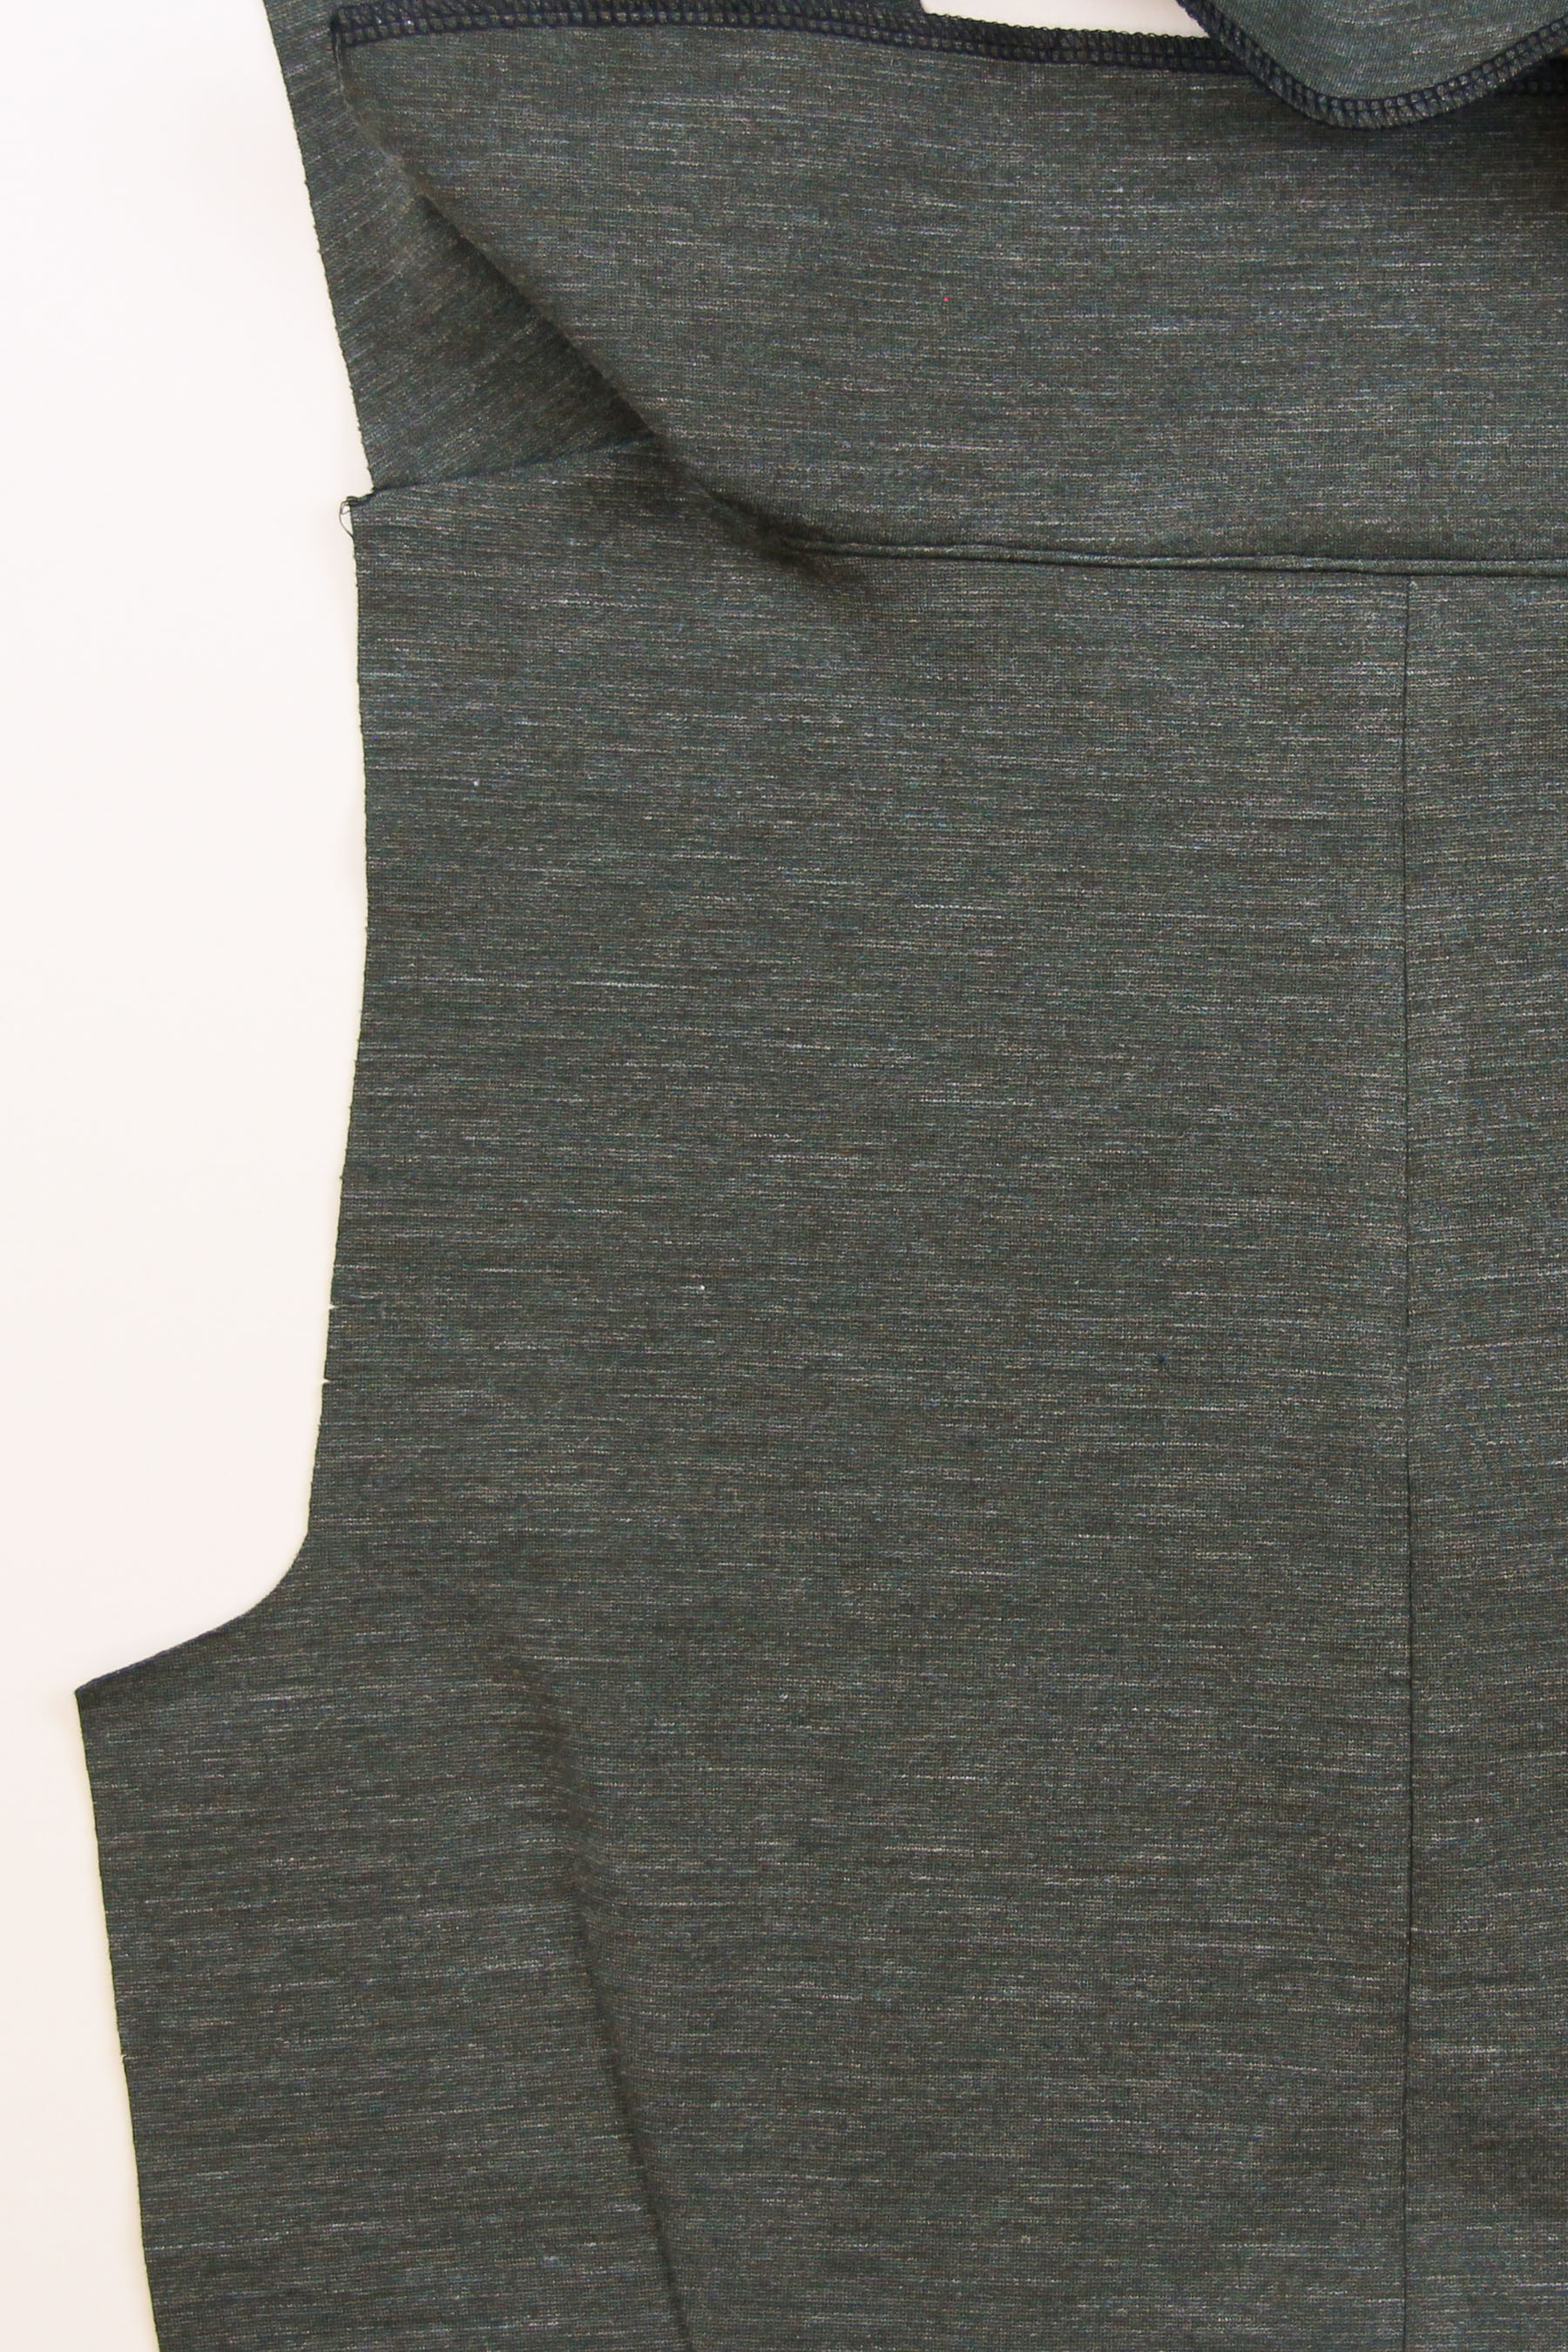
Sew the facing to the body at the neckline, all the way around the neckline opening. Press the facing up towards the seam allowance away from the body. Understitch the facing to the seam allowance on your sewing machine. This helps prevent the facing from flipping out while you’re wearing your Rivermont.
Turn the facing to the inside of the top or dress and press around the whole neckline, making sure the facing is fully turned inside. Baste the edges of the facing to the armholes at 1/4″ seam allowance. These will get trapped permanently when we sew the sleeves tomorrow.
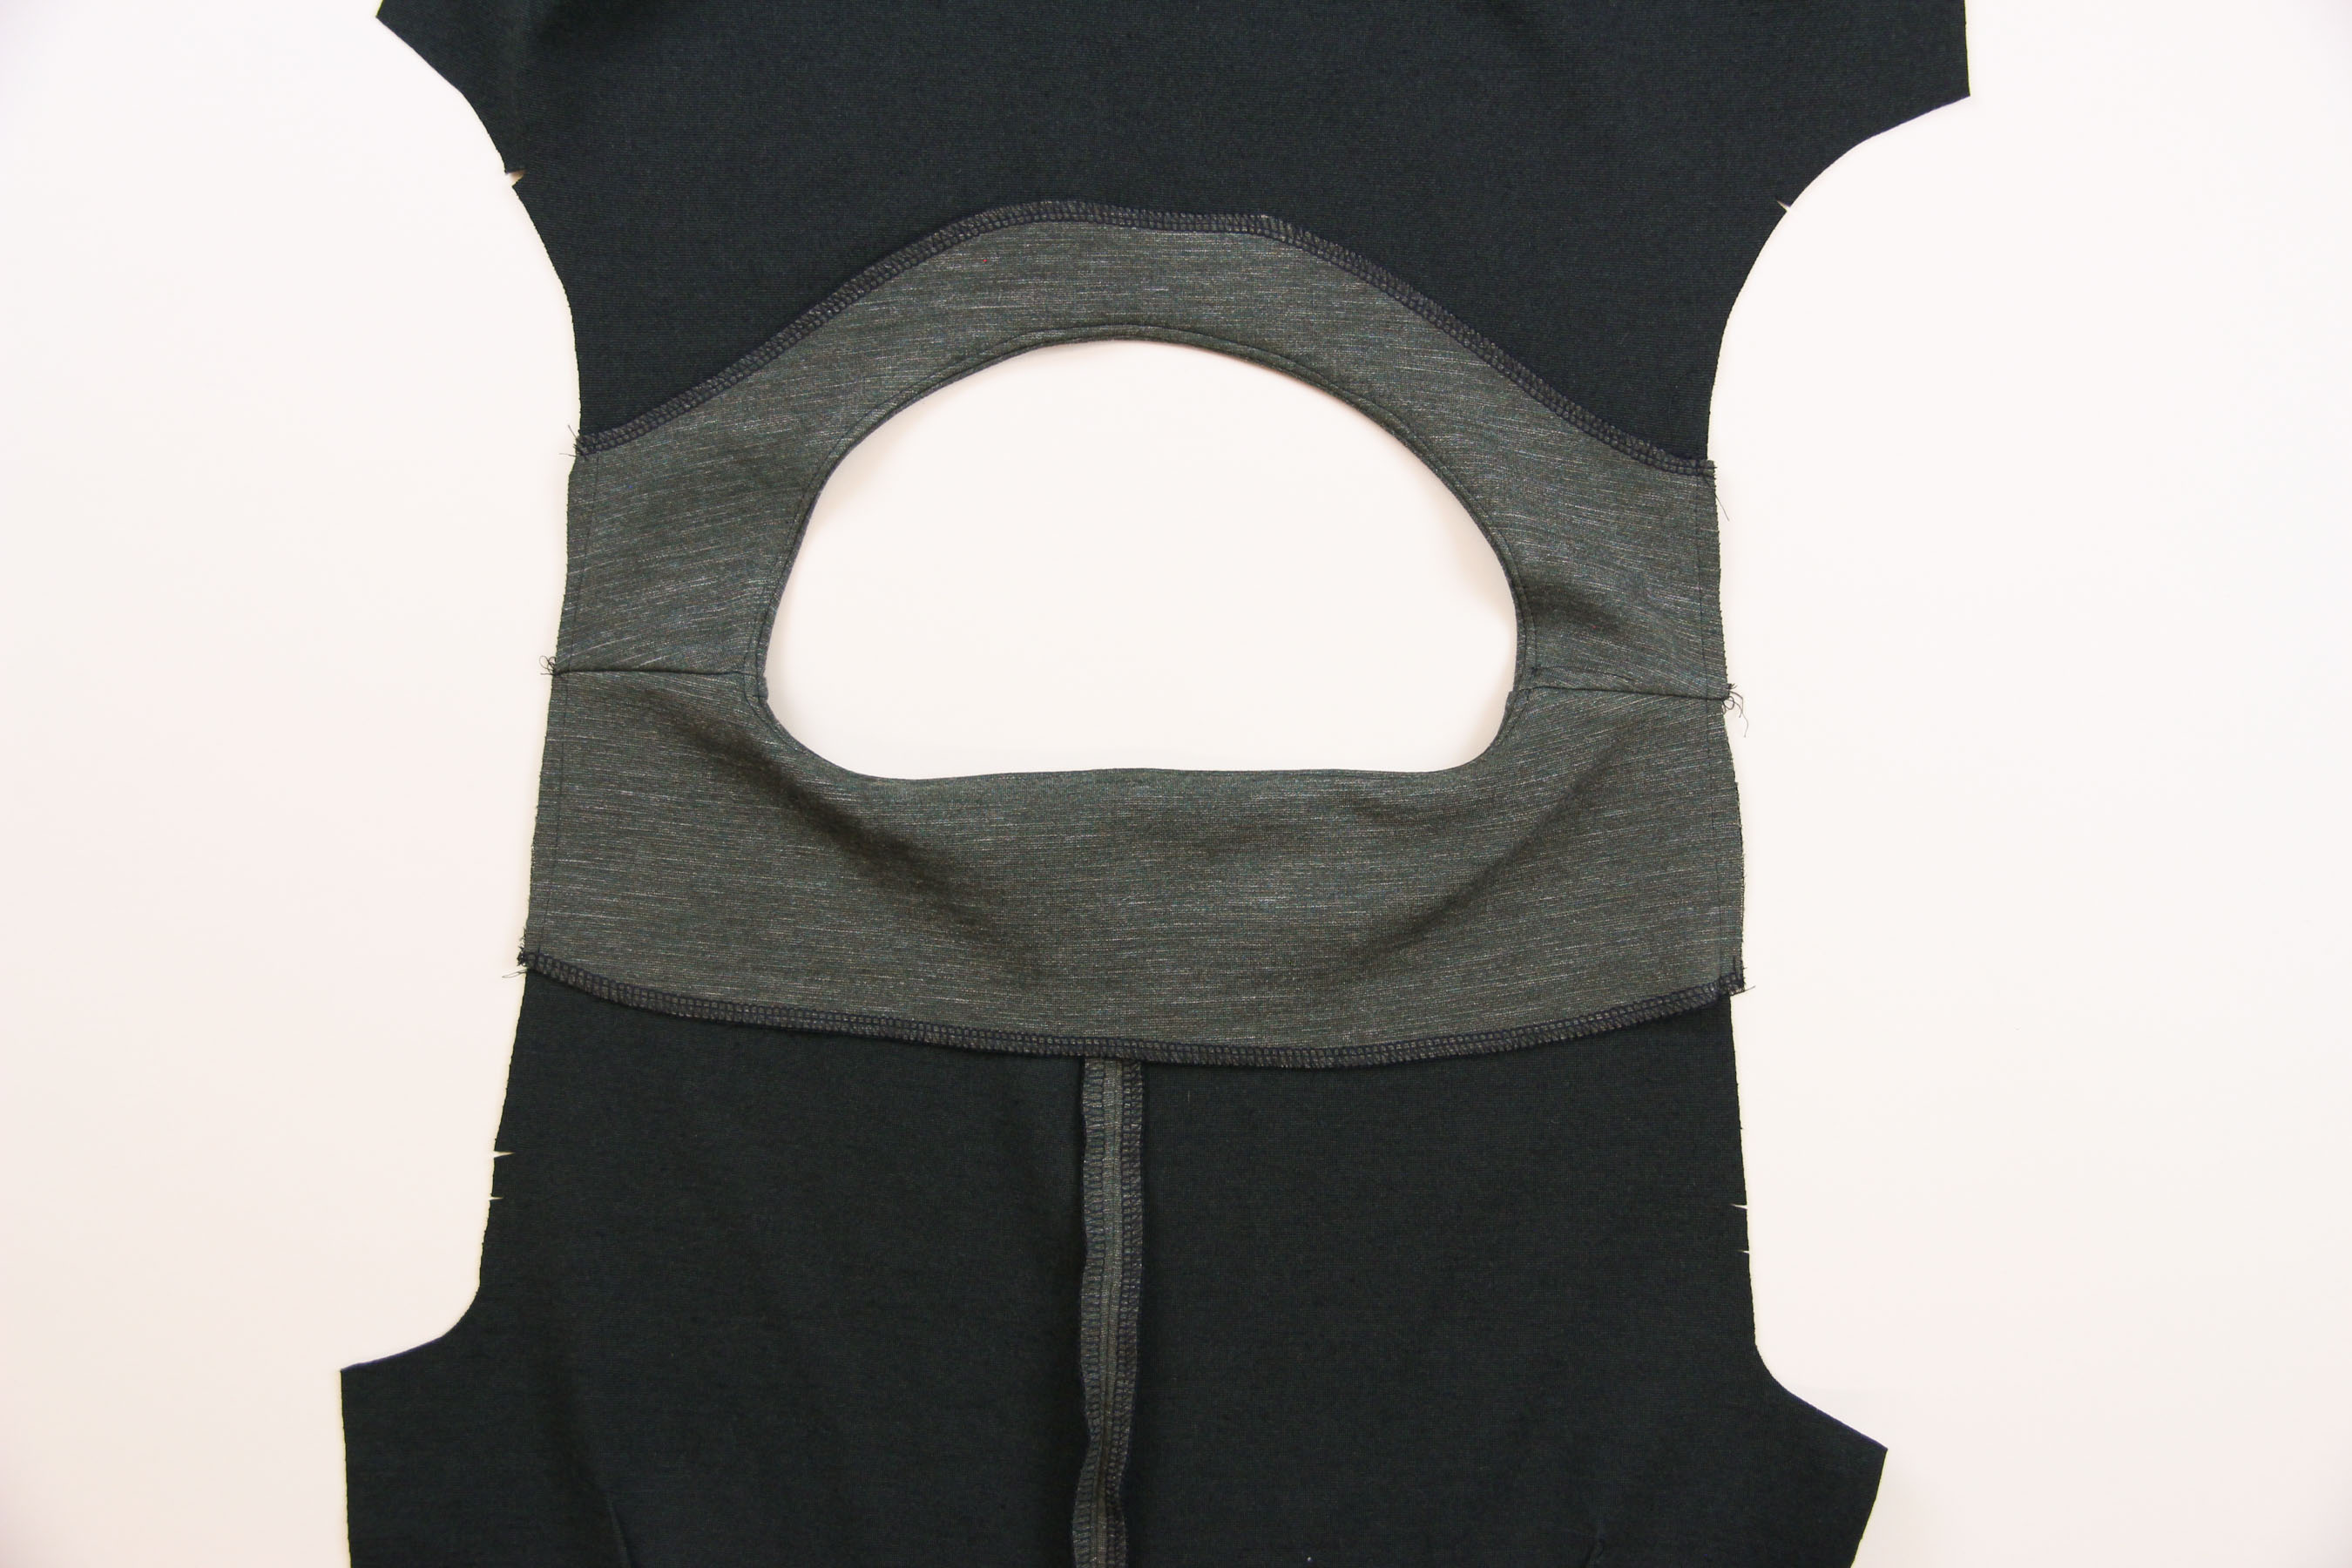
Give the neckline one more press and then we’re done for today! Tomorrow, we’ll set in the sleeves and sew the side seams.