Today, we’ll be prepping and attaching our sleeves. If you are not using the sleeve tabs (from view C), you can skip this first section and join back in when we’re ready to attach our sleeves to our shirts.

Make sleeve tabs
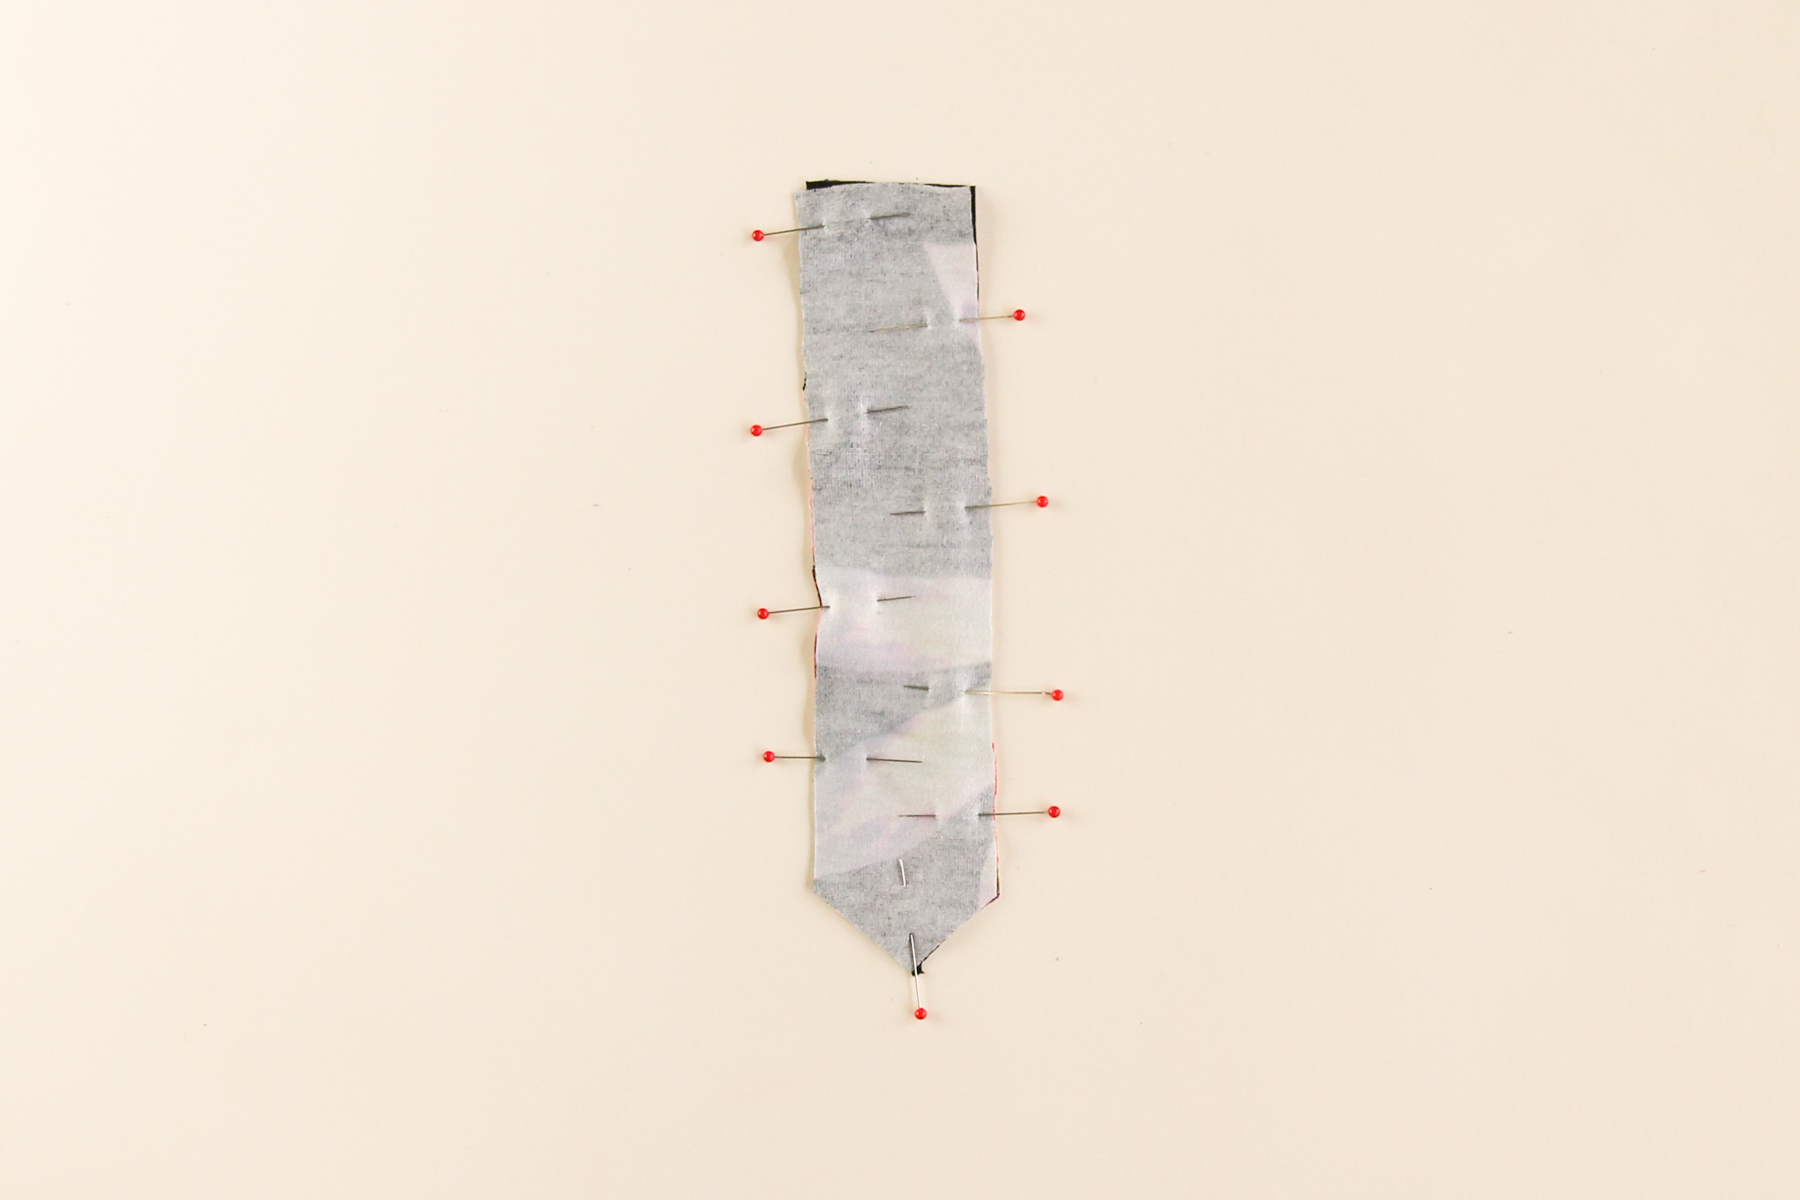
To prepare the sleeve tabs, place two tabs right sides together and sew down one long side, around the pointy end (leaving your needle down and pivoting at the tip of the point) and up the other long side, leaving the short straight side open.
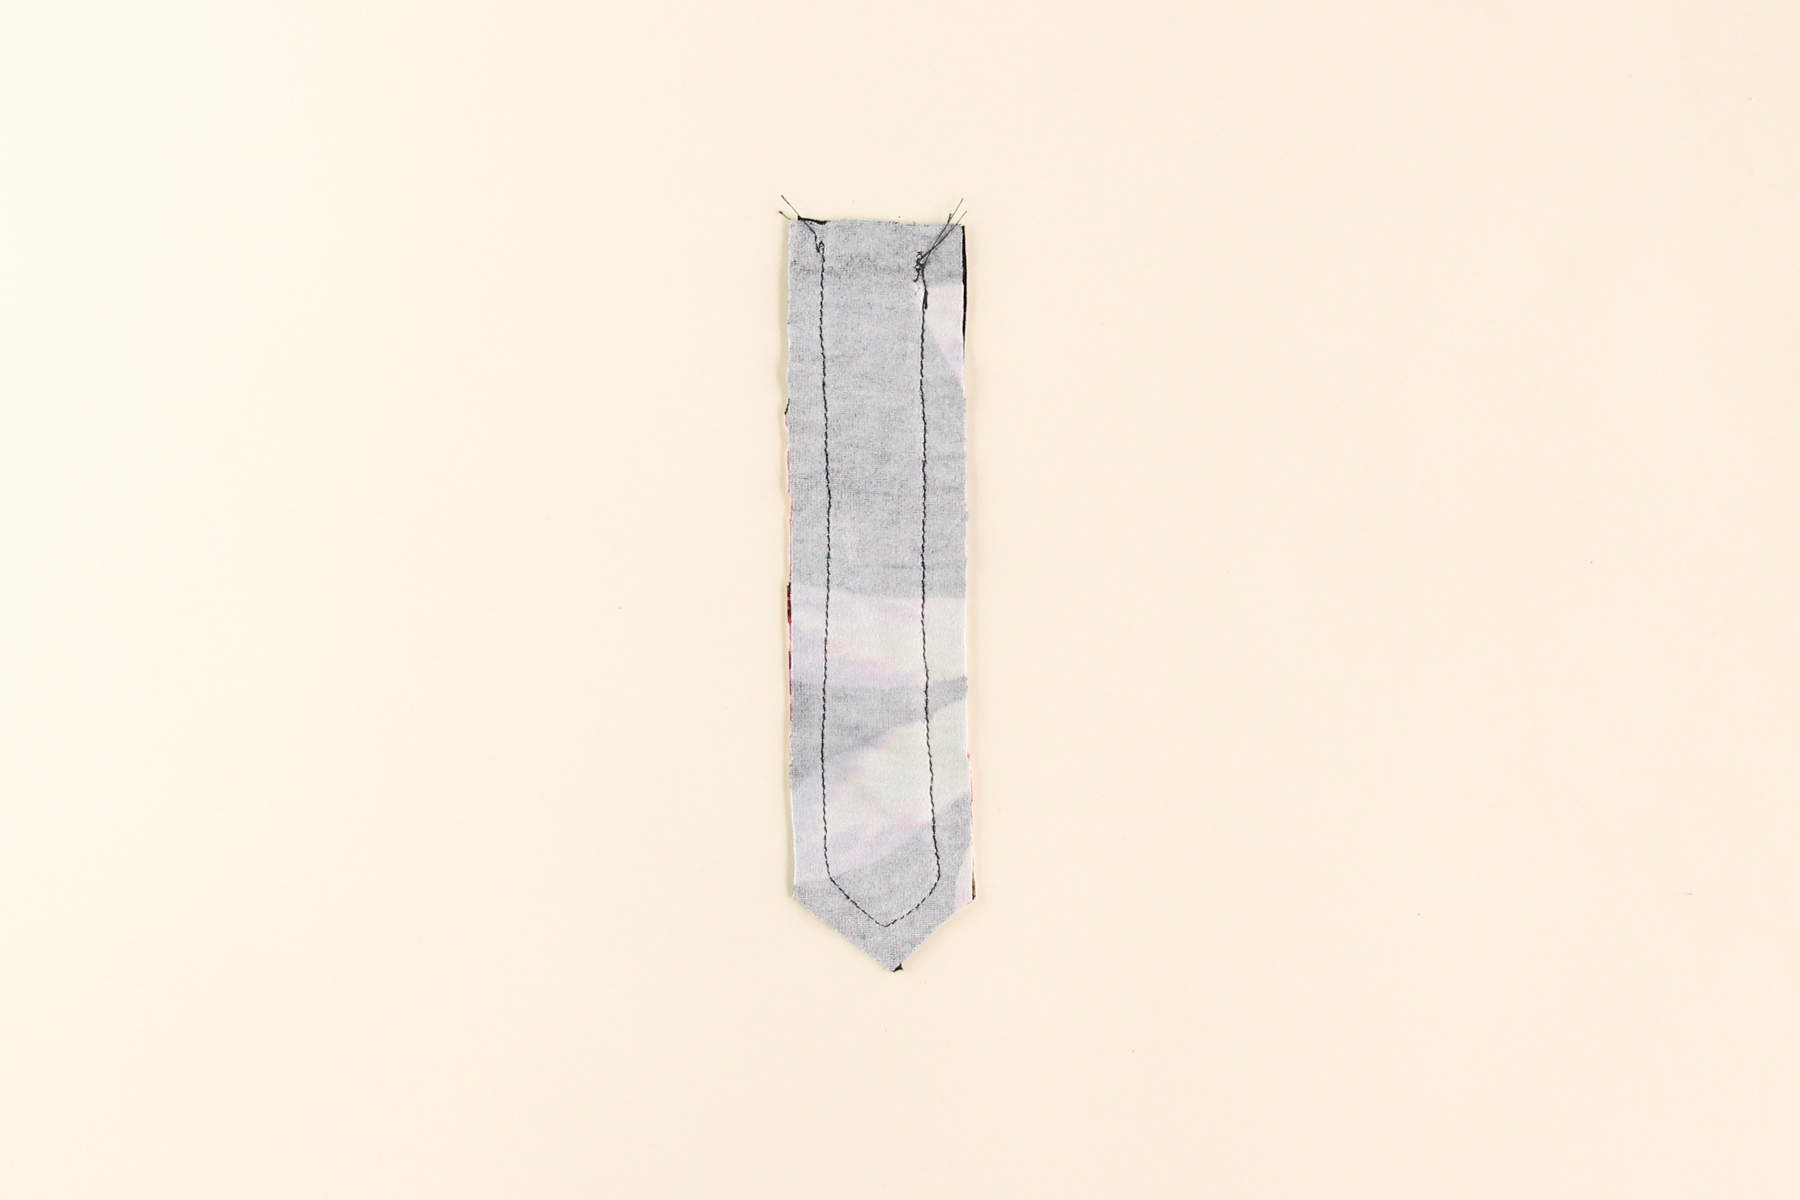
Repeat this with the second set of tab pieces.
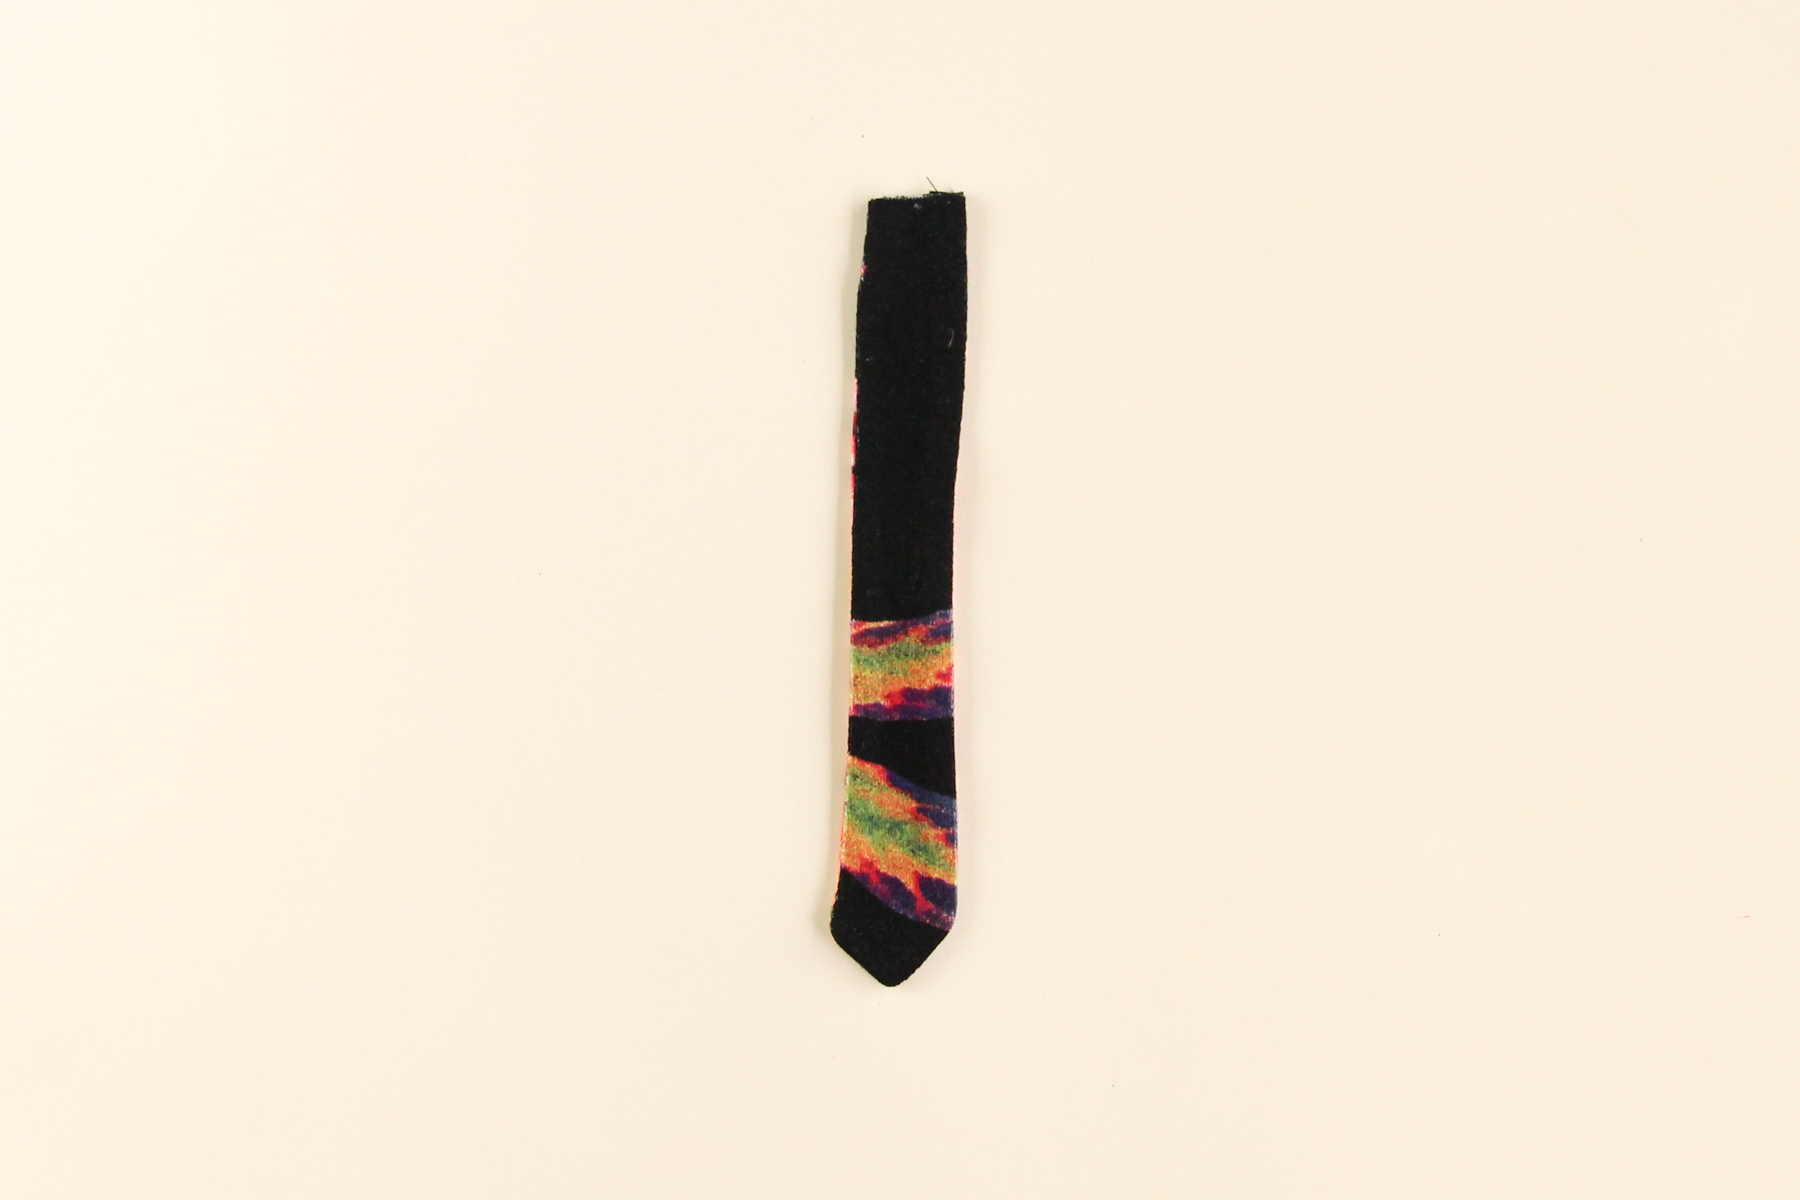
Trim the seam allowance (if using a sewing machine). Turn right sides out, using a point turner to get a nice tip, and press.
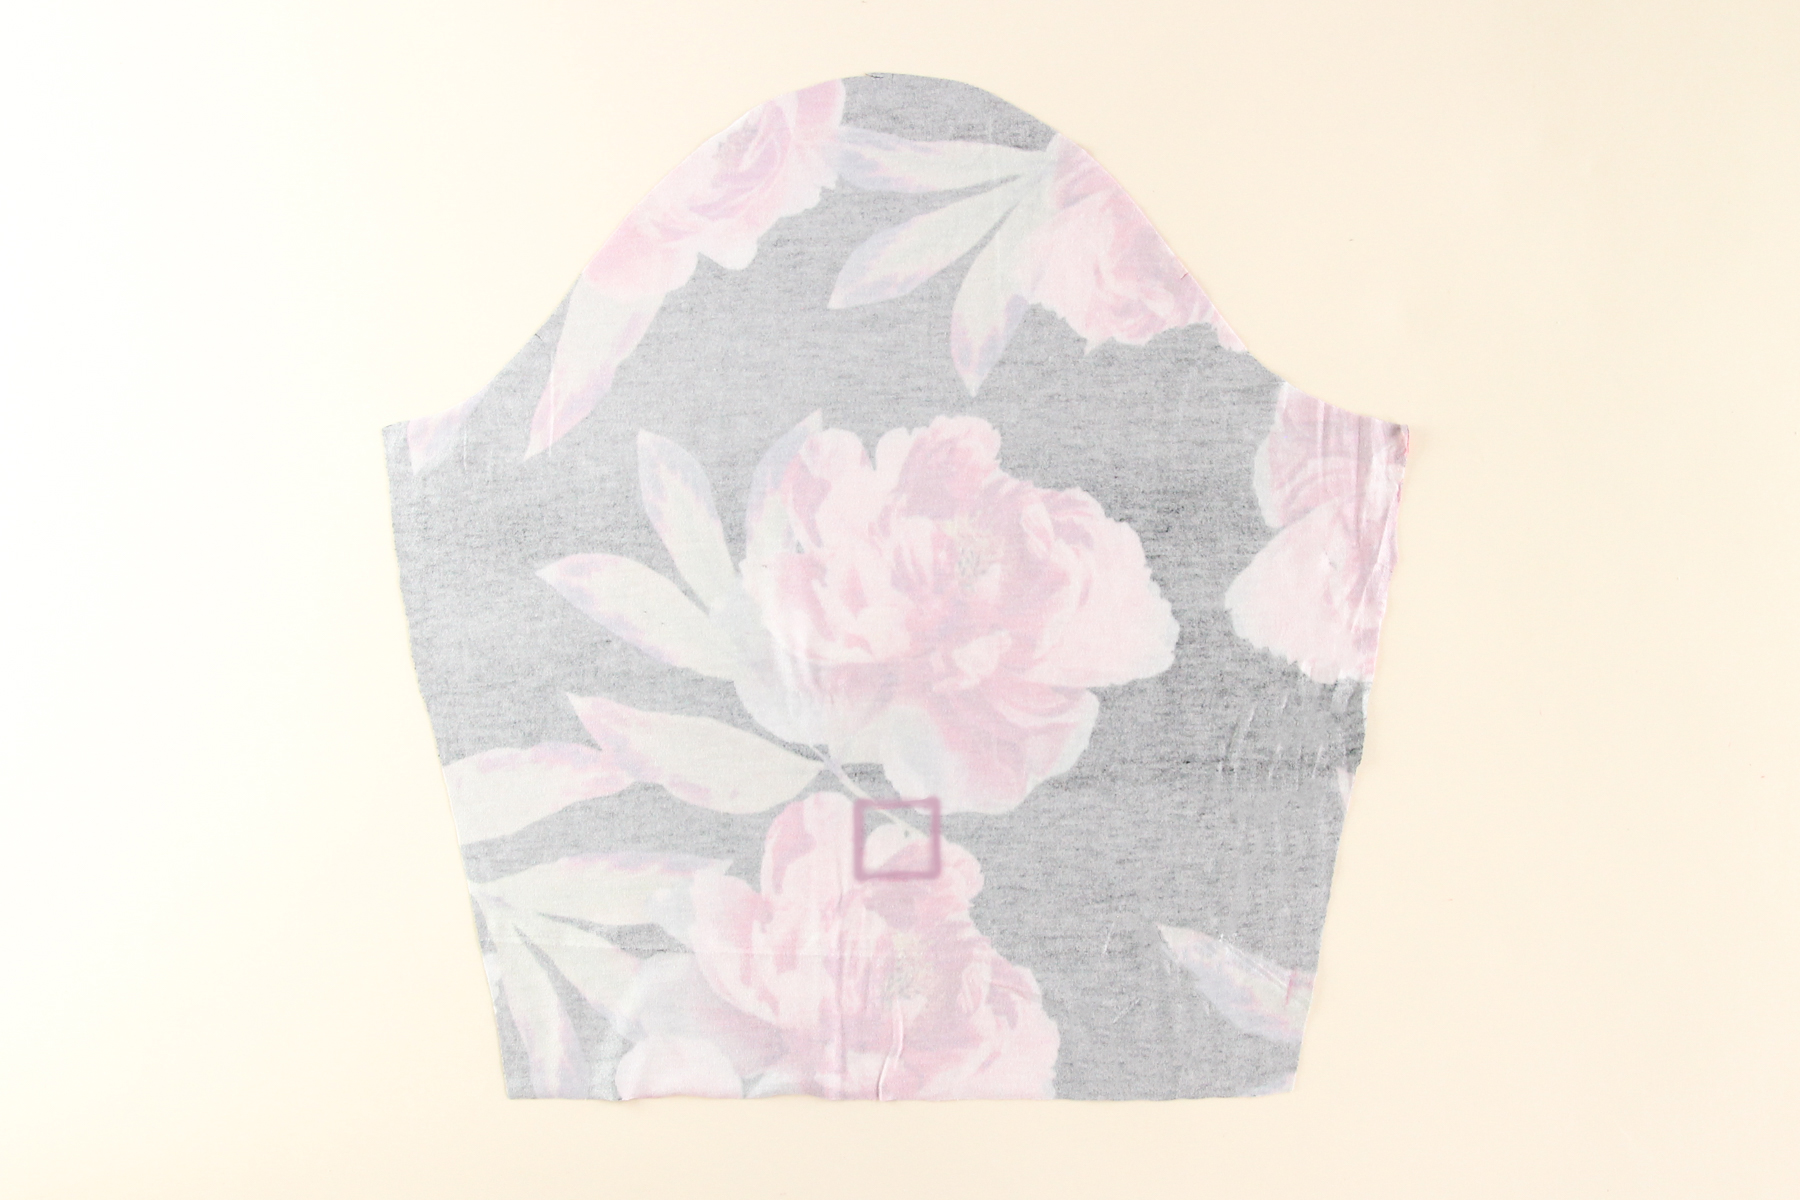
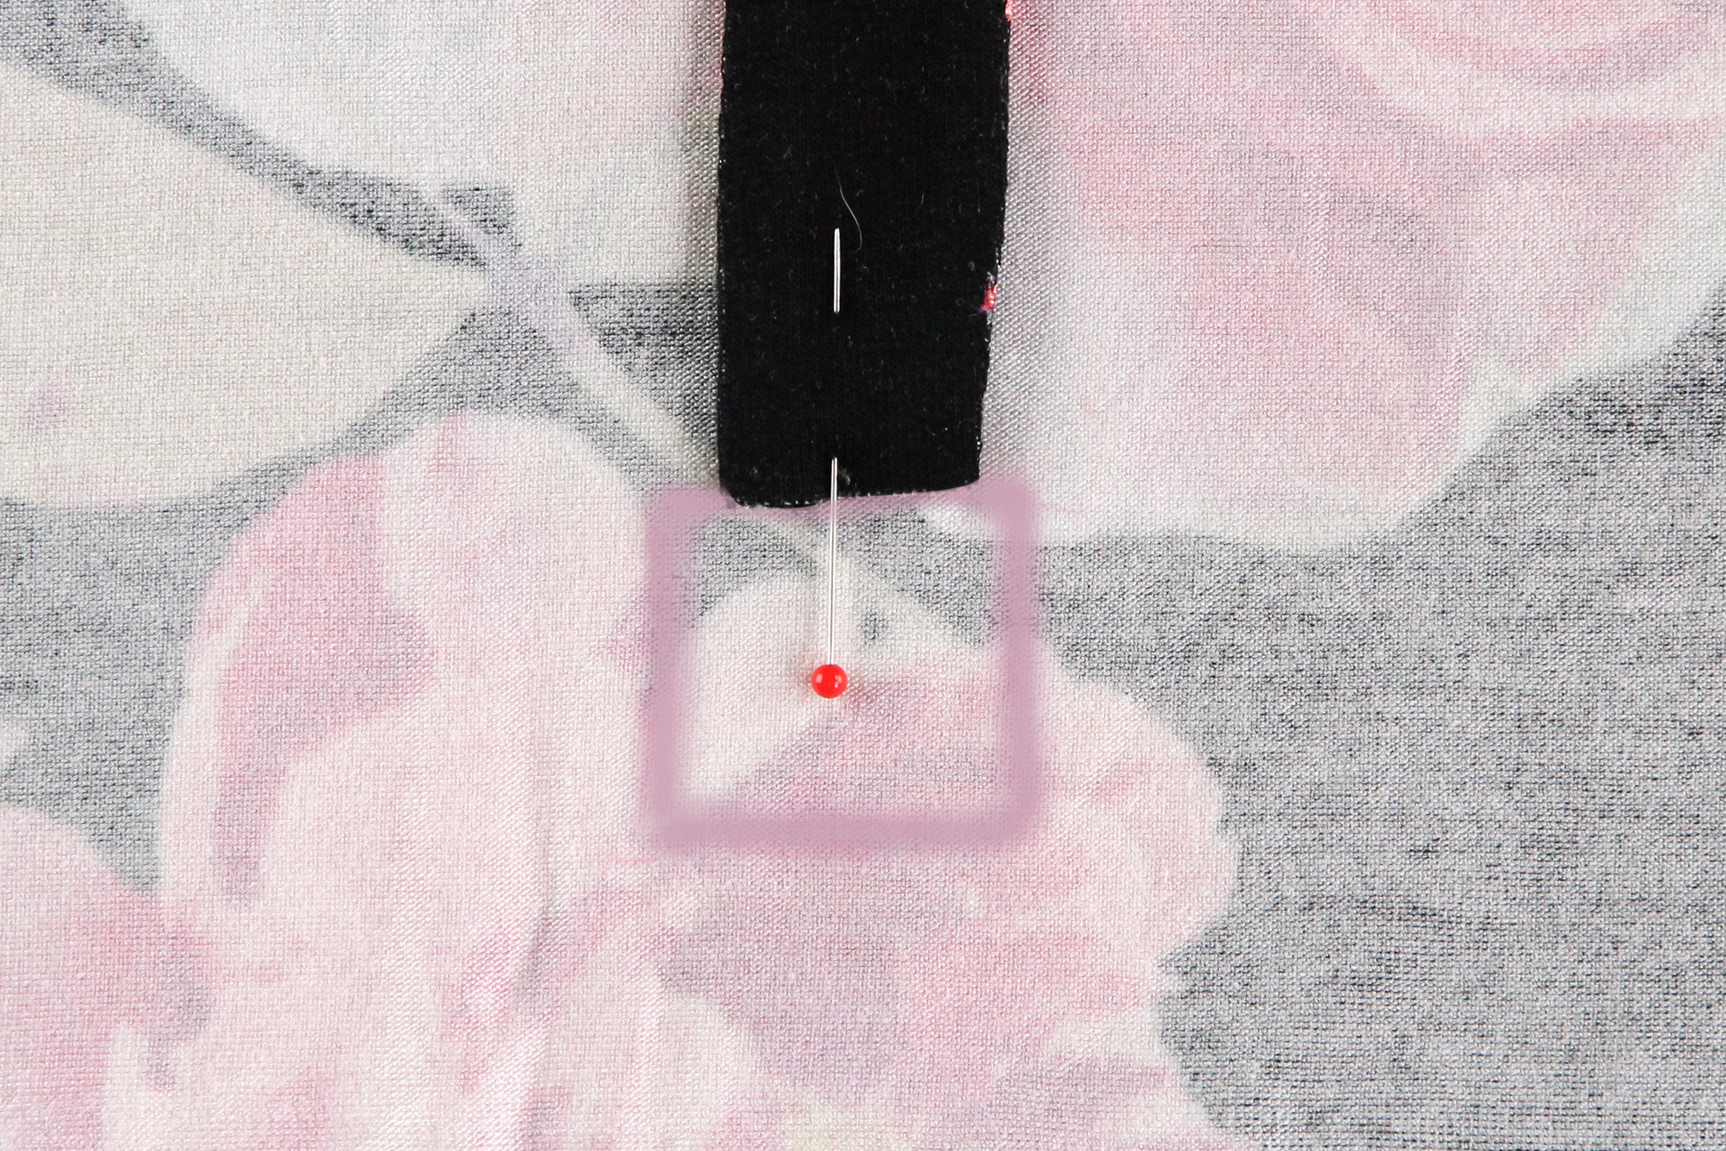
Now, on the wrong side of your sleeve, you should have a square drawn for your tab placement. If not, transfer the markings from your pattern piece now. (My chalk marking was a bit hard to see in the photos so I’ve darkened those lines digitally to make it clearer.)
Line up the open end of the tab with the top of the box, leaving the tab pointing up towards the top of the sleeve. Sew the tab in place with a ¼” seam allowance on your sewing machine.
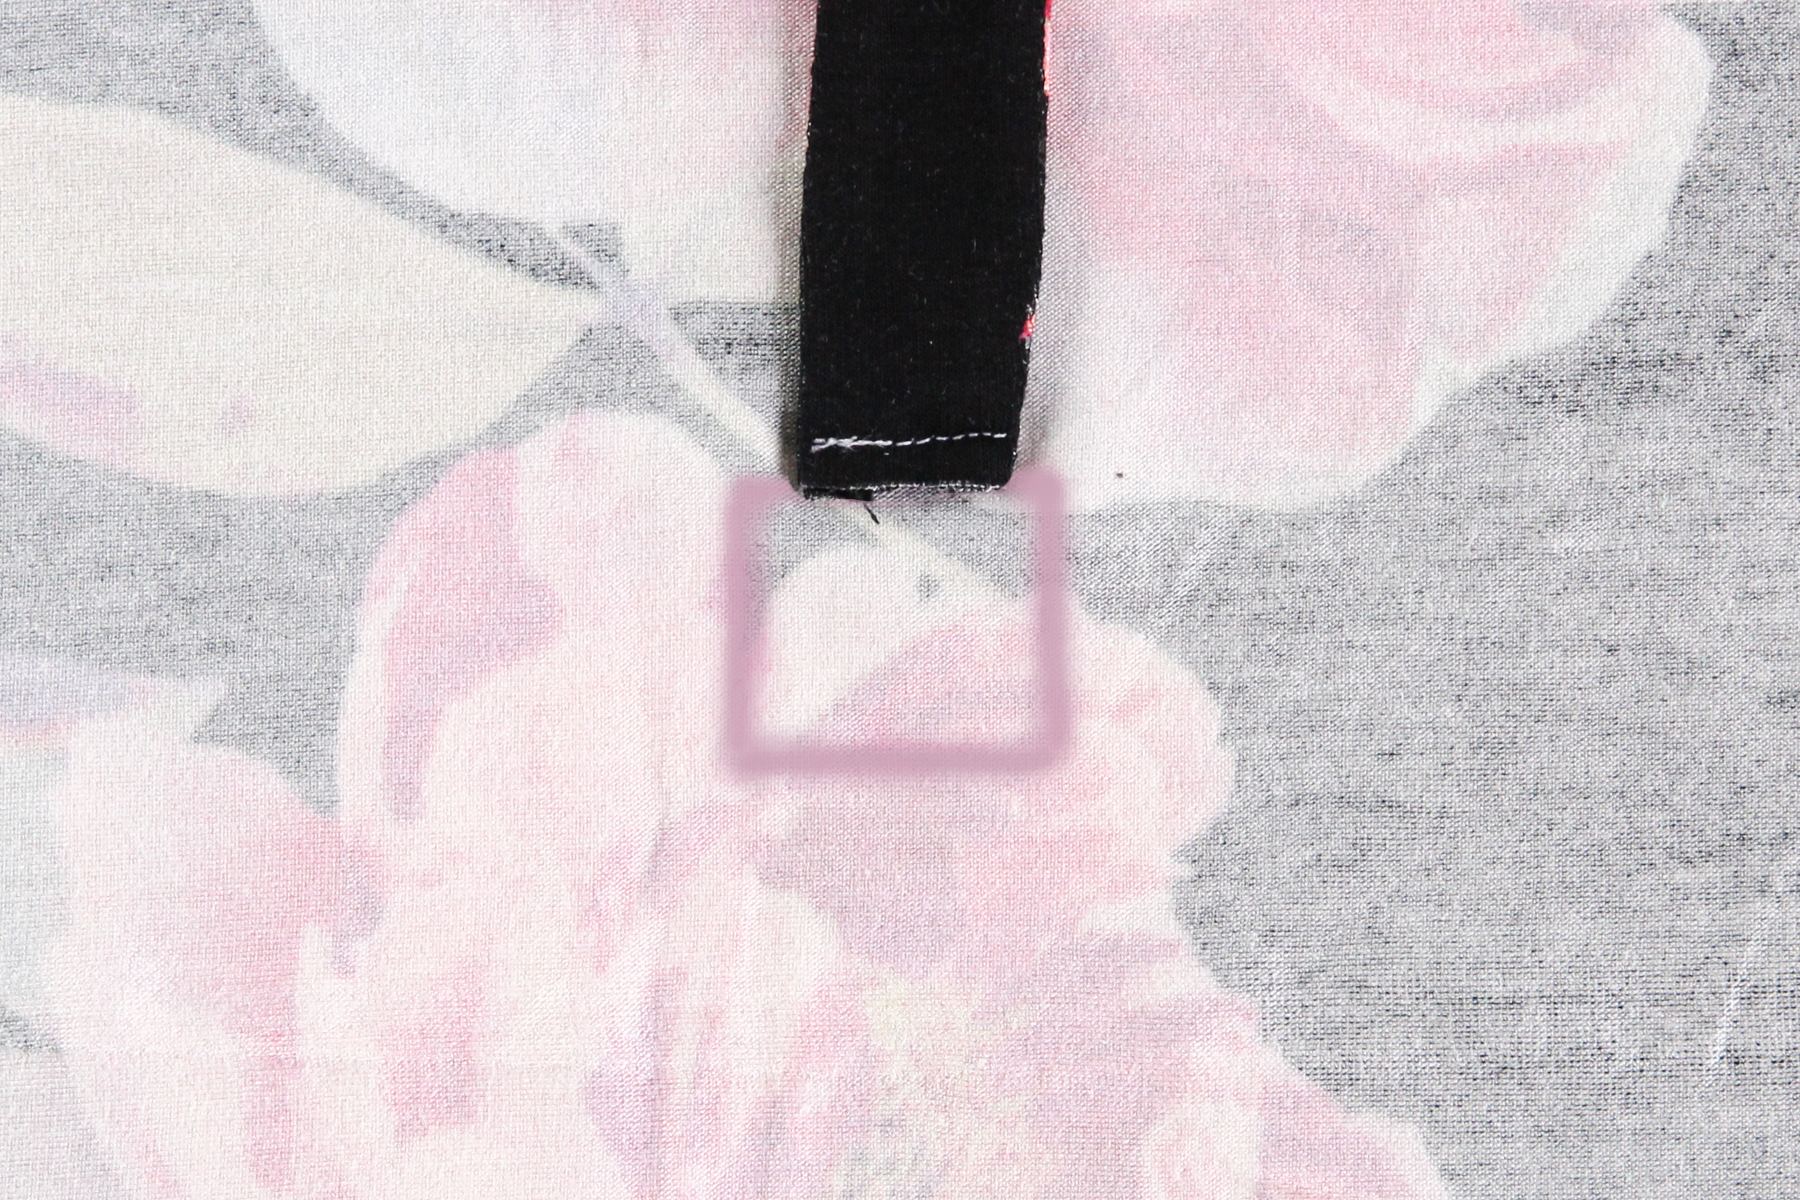
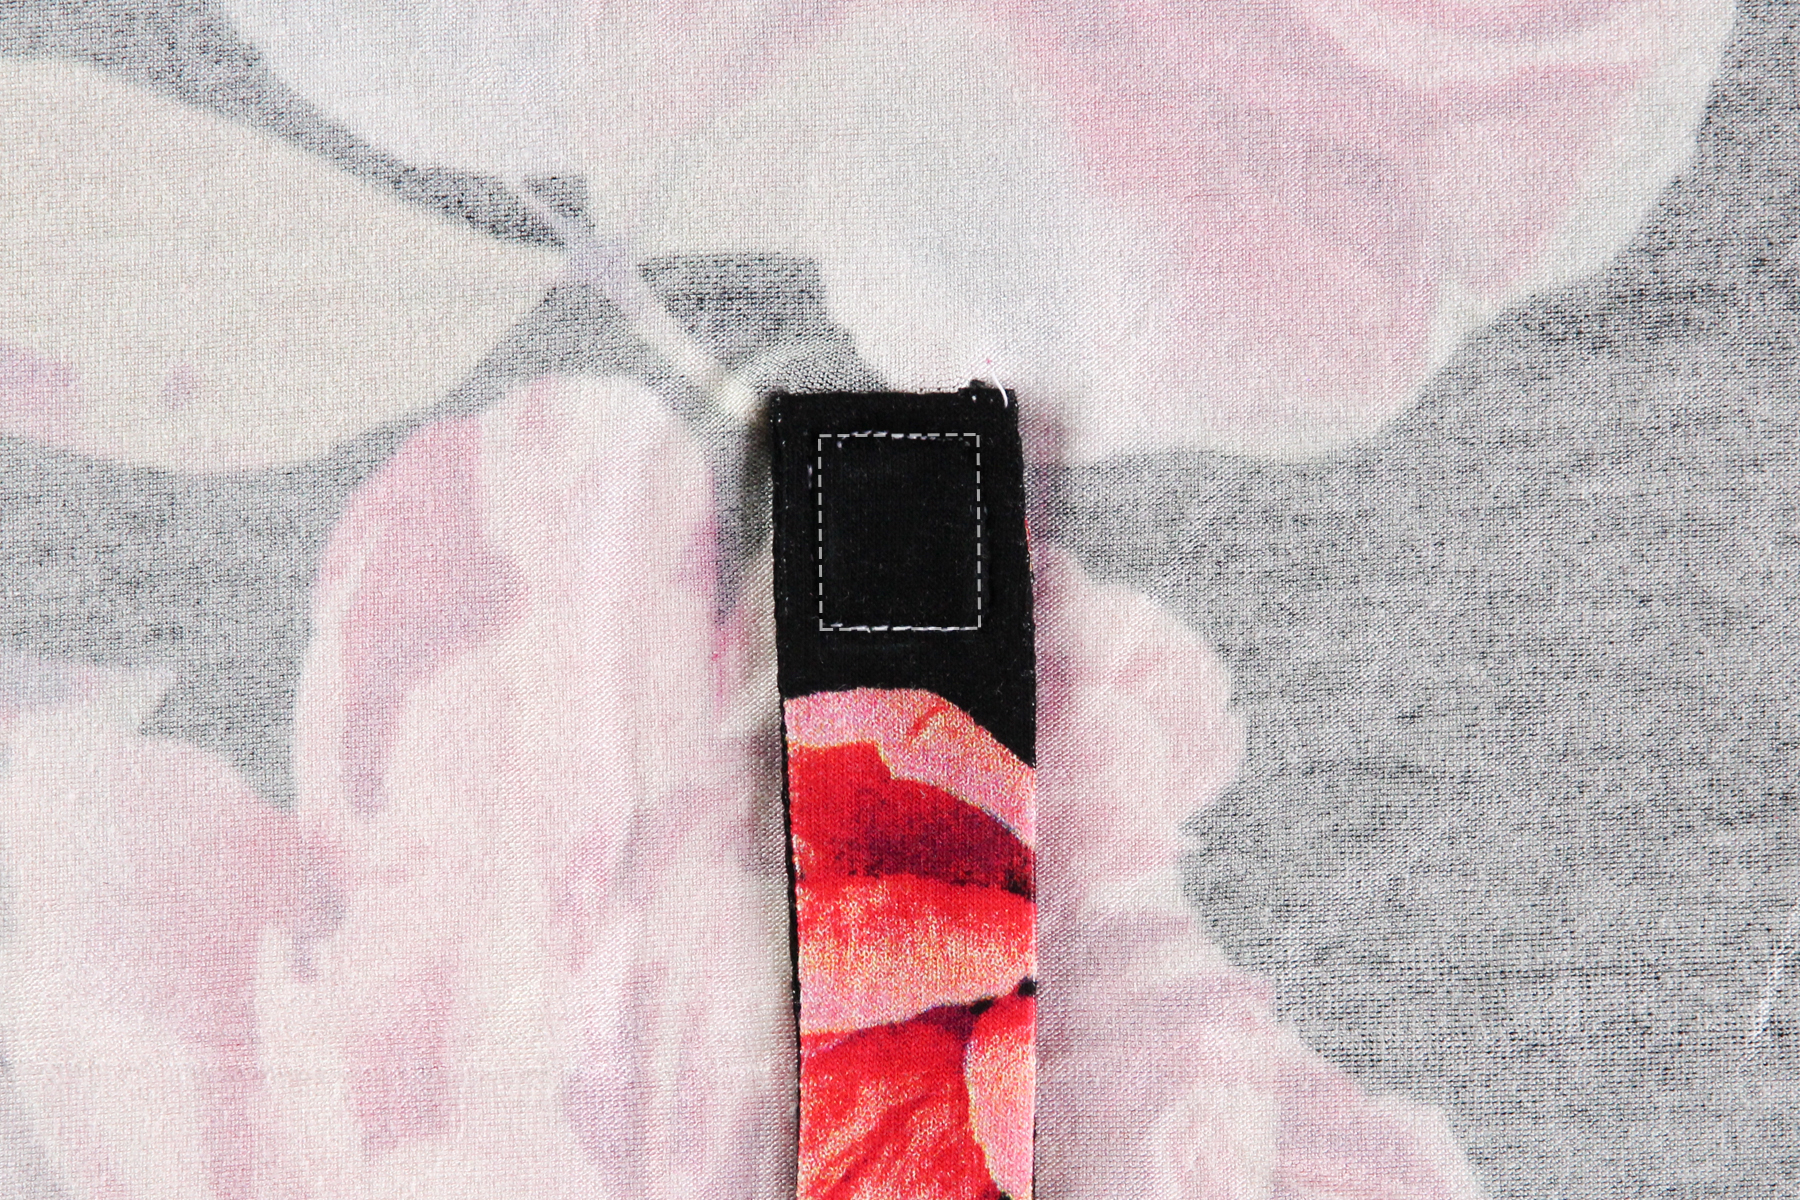
Fold the tab down and press. Now sew a square to secure the tab in place. You may want to draw this square on and be sure to sew carefully because this seam may be visible from the outside of the sleeve.
My stitches got a little buried in the fabric, so I’ve added a dashed line over the square to make it easier to see.
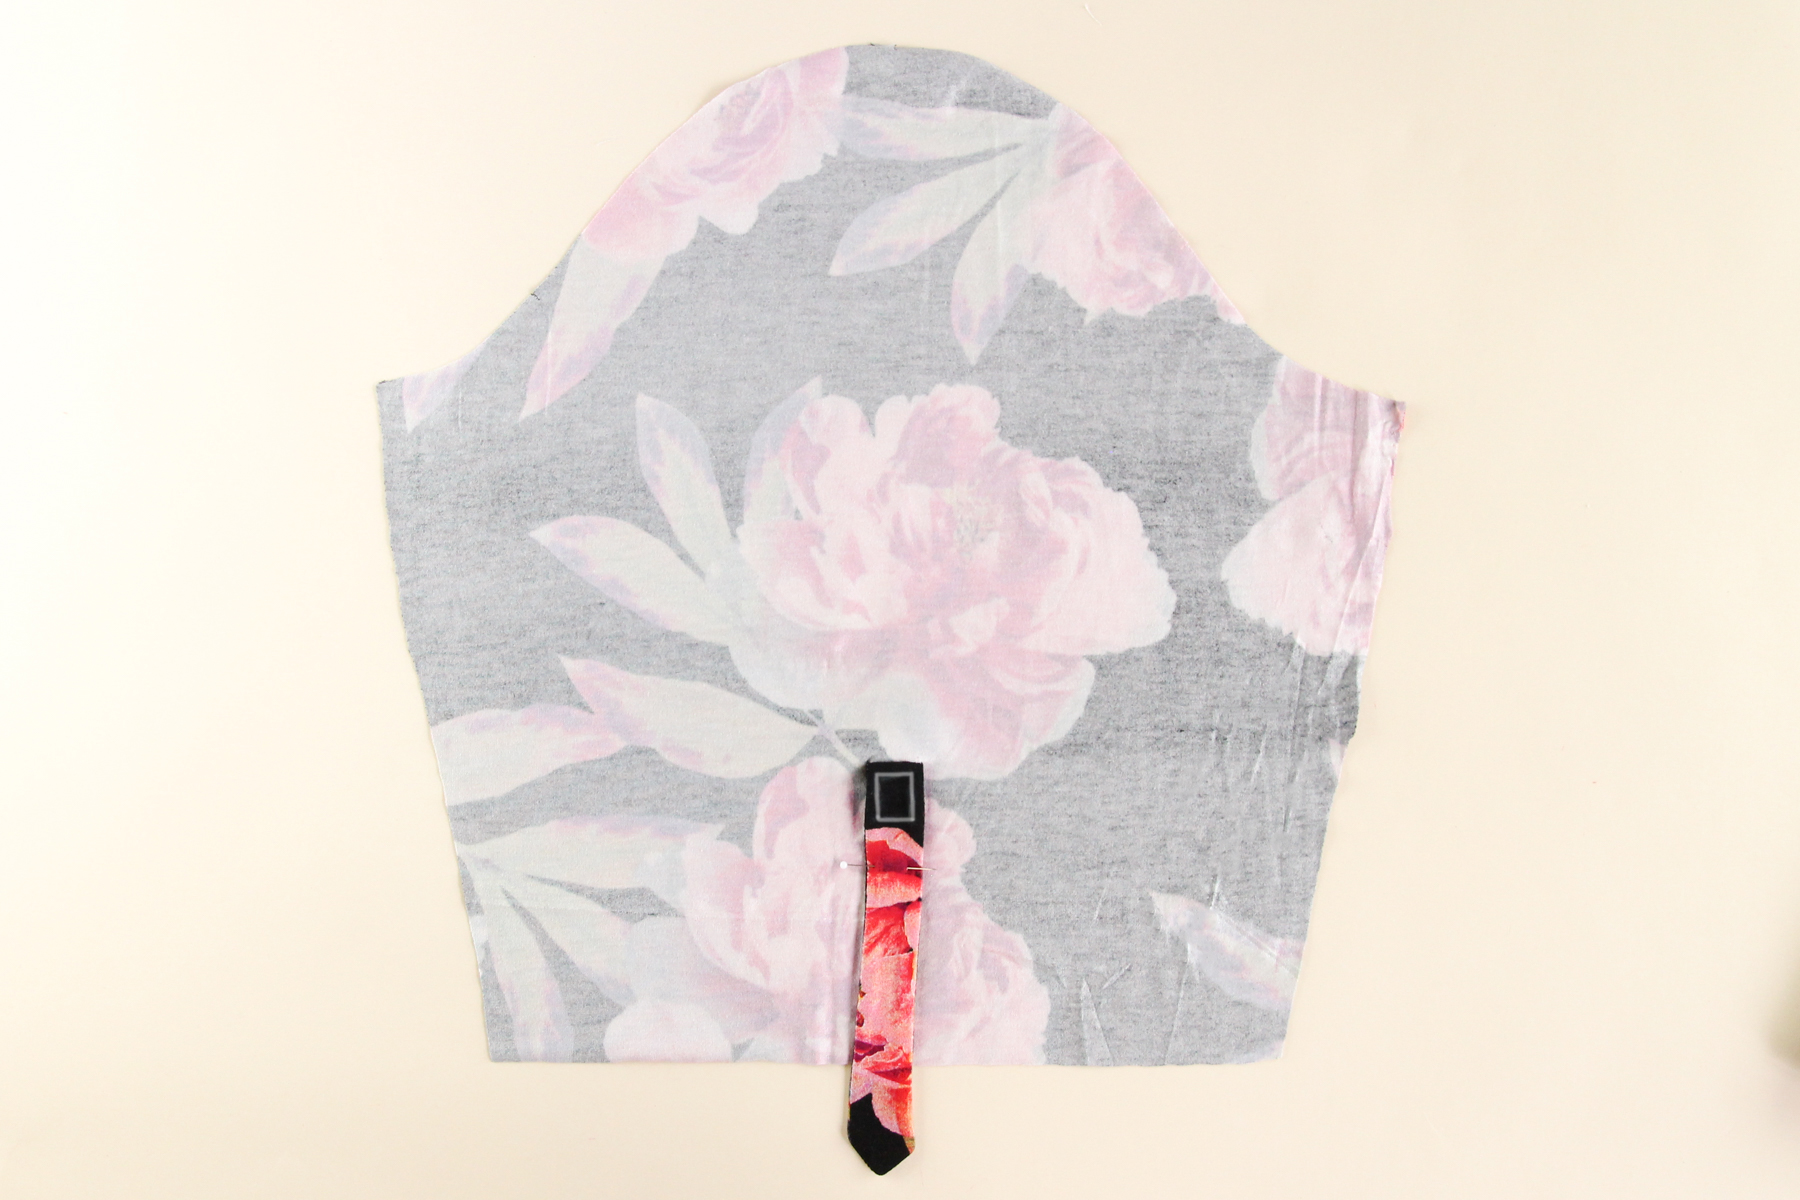
Repeat this for the second sleeve tab and check to make sure they look good from the right side of the sleeve.
Insert sleeves
Now we’re ready to attach our sleeves to our shirt, so if you skipped the sleeve tabs, you can rejoin us now. We’re going to be setting the sleeve using the “flat” method.
First, we need to make sure we have our sleeves in the correct orientation. The sleeve will be wrong side up, facing in towards the neckline. The single notch is the front of the sleeve and the double notch is the back of the sleeve.
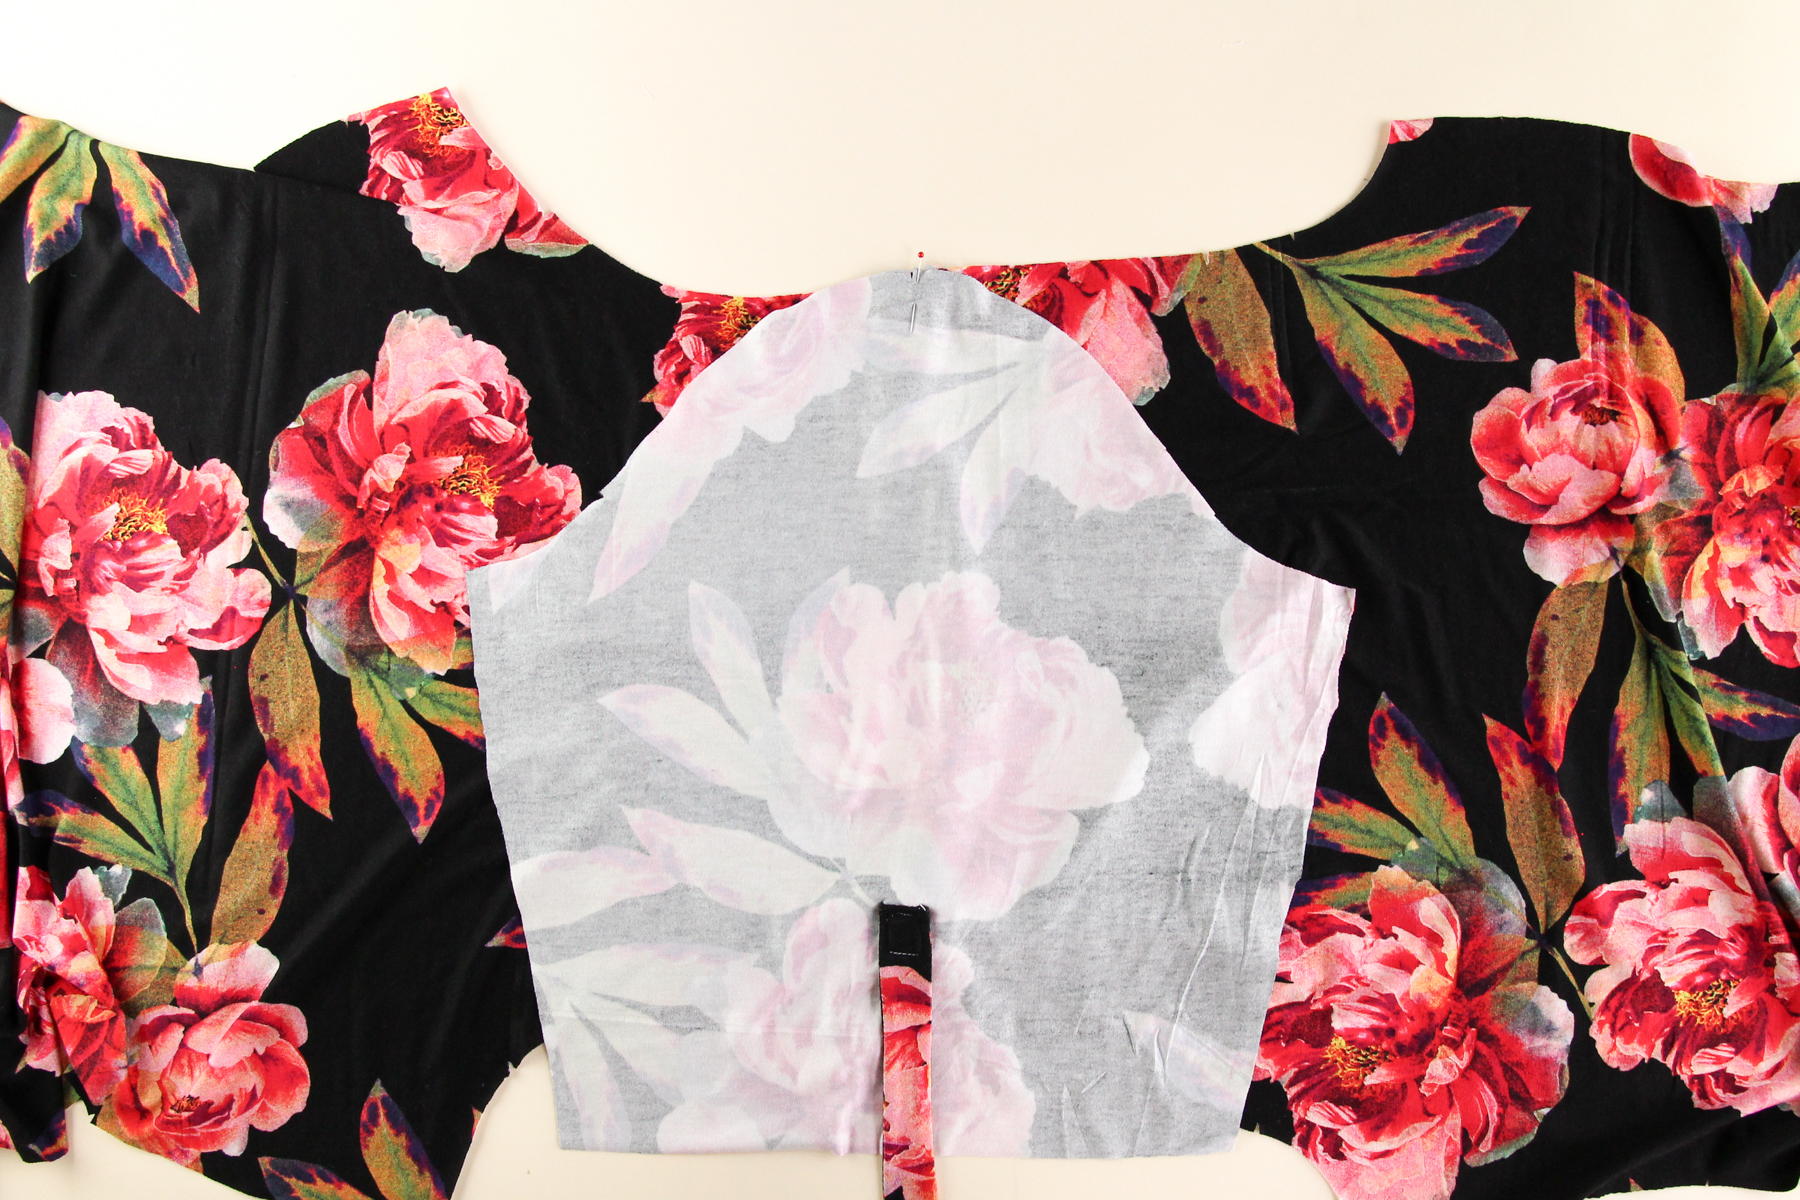
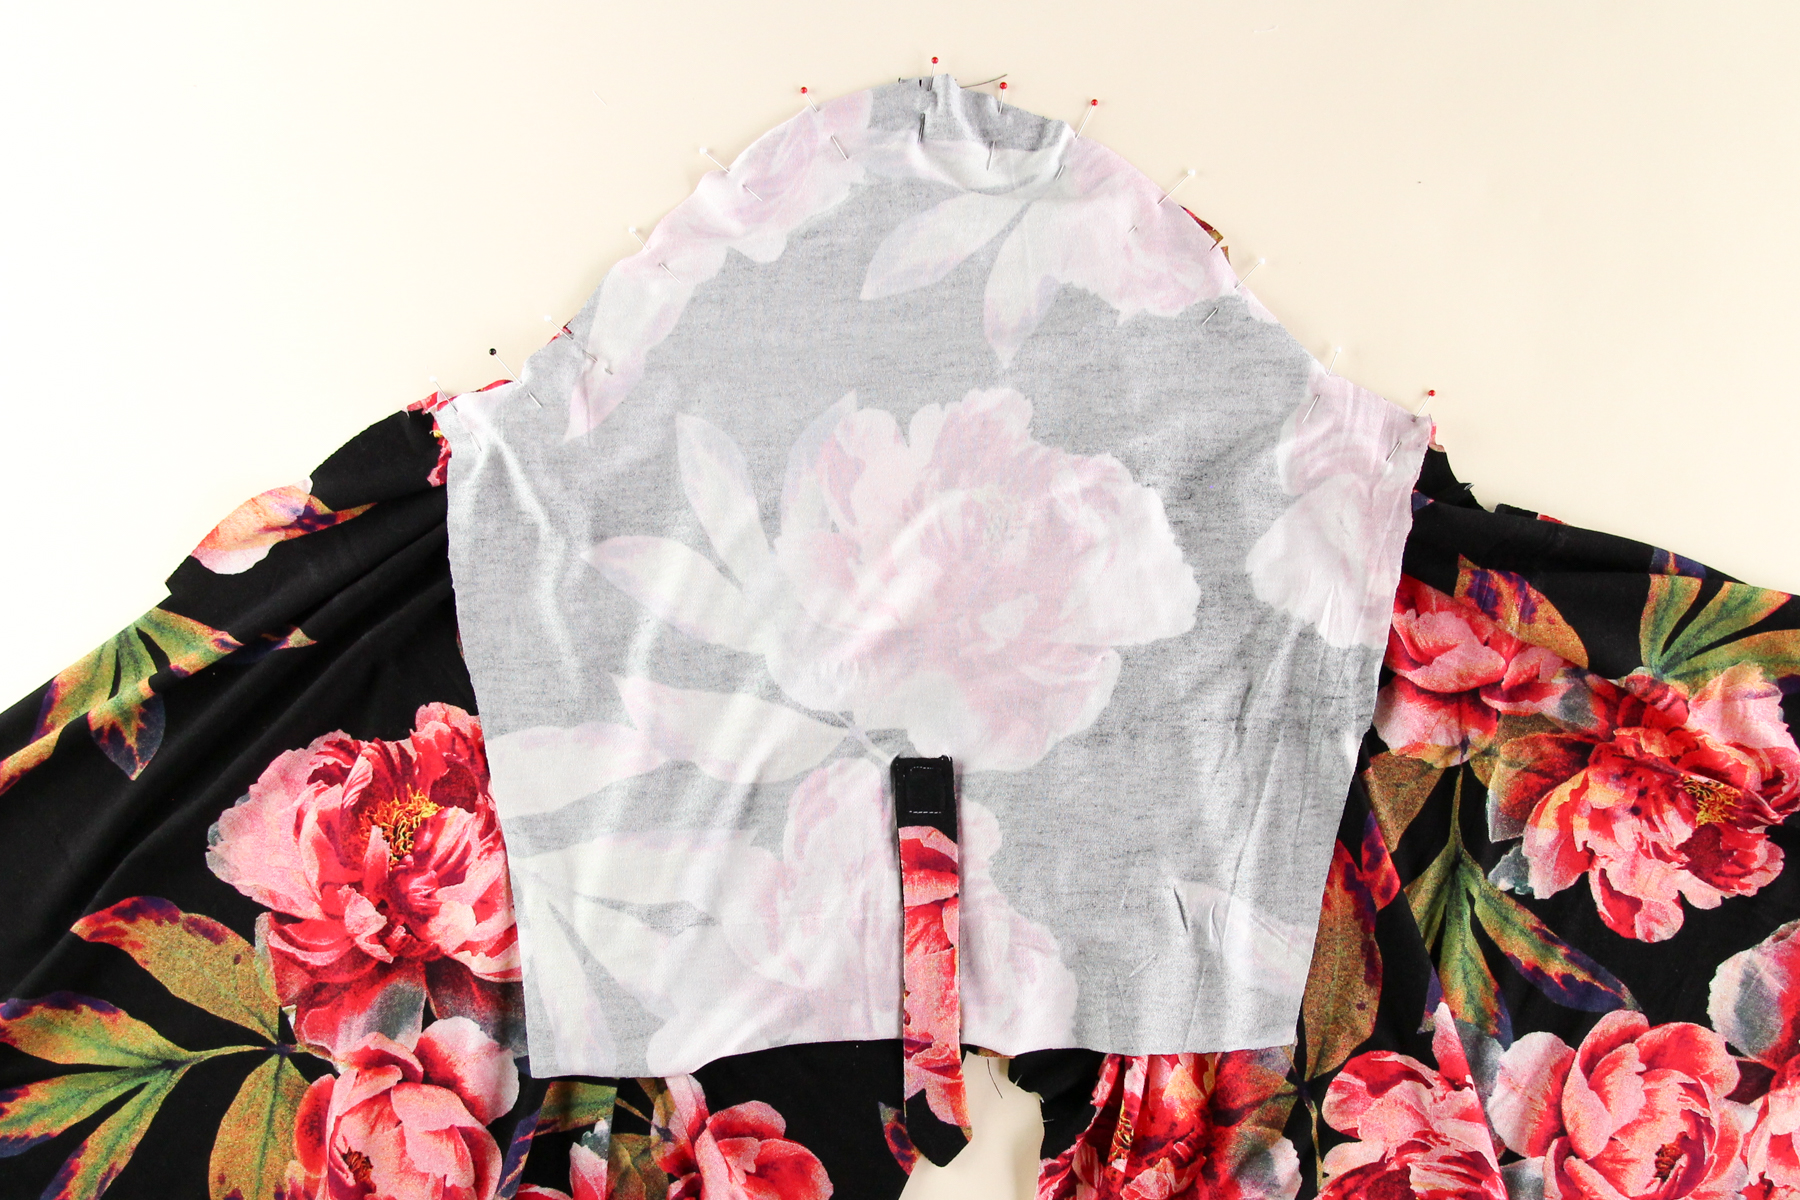
Start by pinning the center sleeve notch to the shoulder seam. Now match up the remaining notches and the ends of the sleeve and side of the shirt. Continue to pin the rest of the sleeve cap into the armhole, making sure the ends line up too.
Sew the sleeve carefully, with the sleeve side down against the feed dogs, stretching the armhole slightly to match the sleeve. It’s good to go really slowly to make sure there aren’t puckers – you can always unpick and re-do bits!
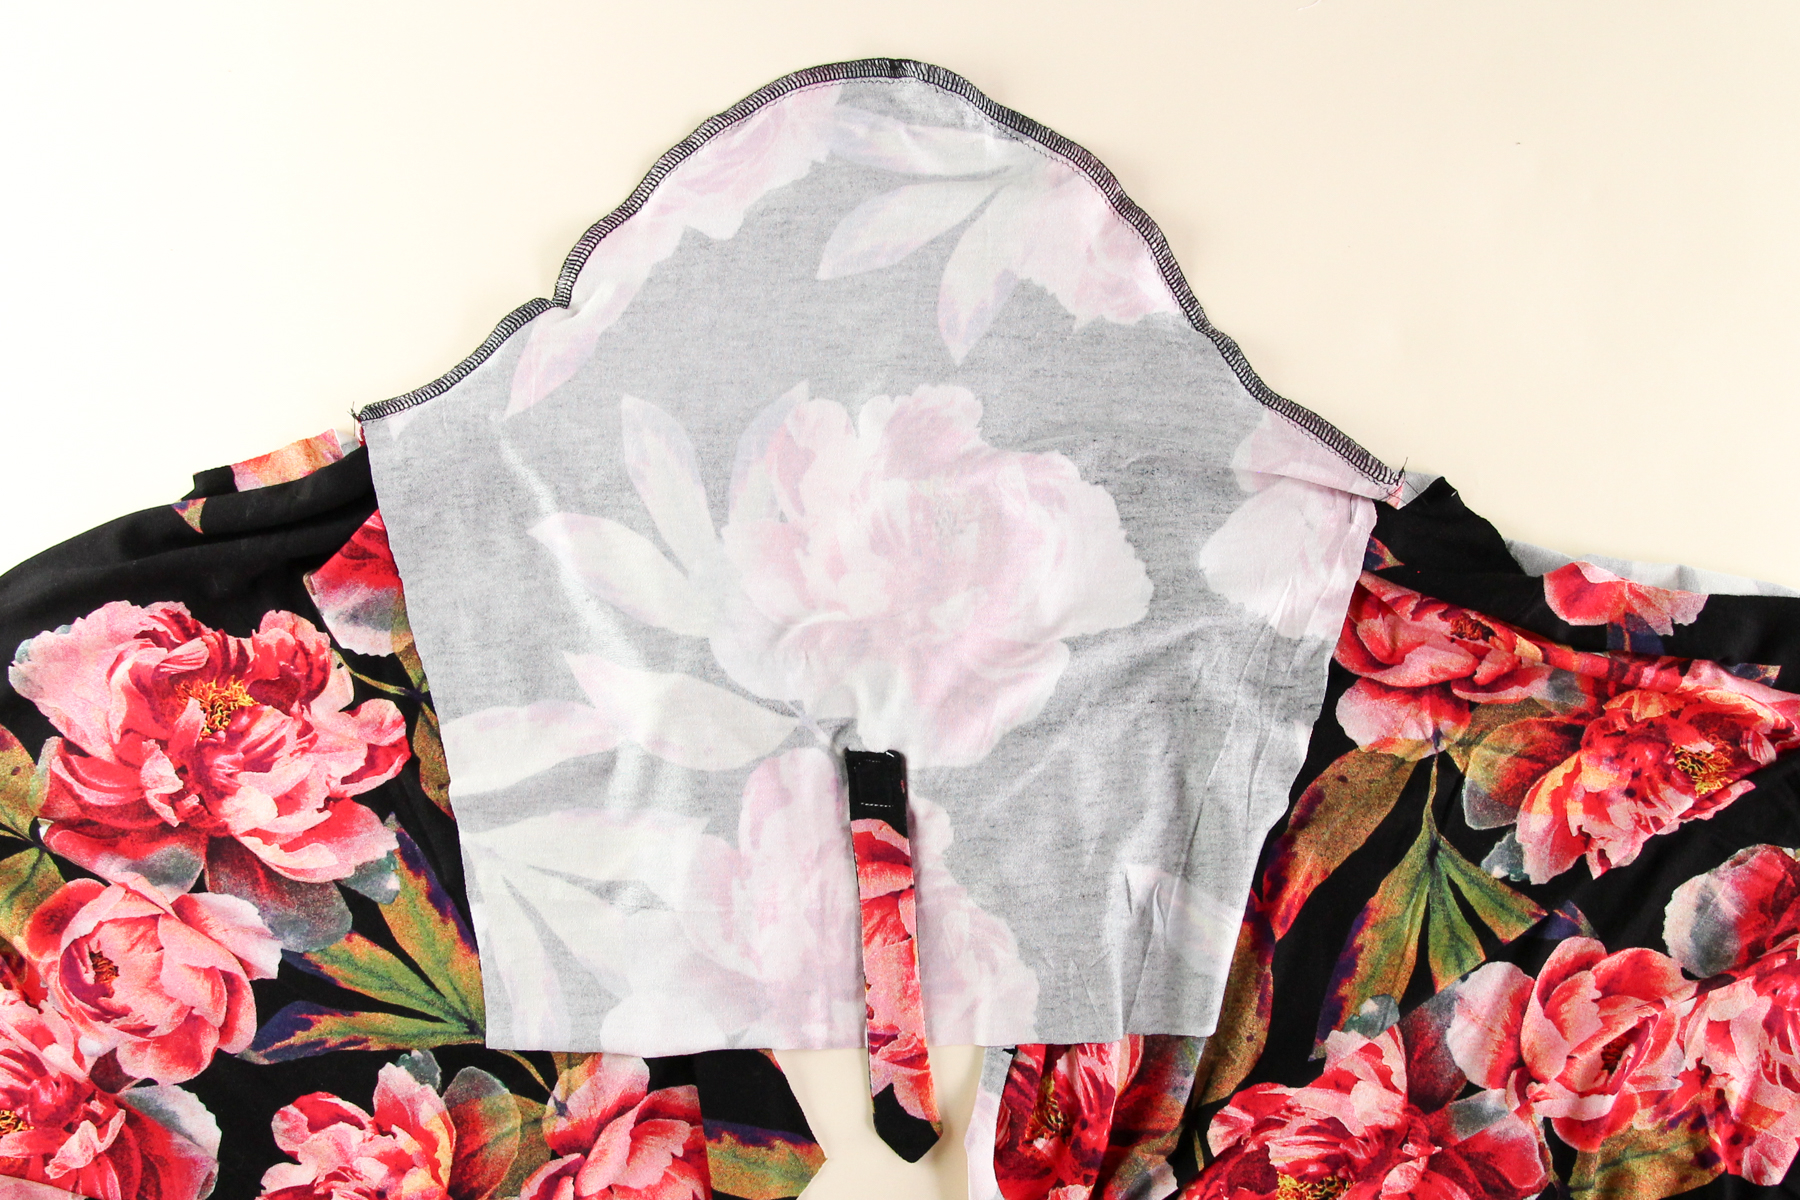
Repeat for the second sleeve. Press the seam allowance towards the sleeve.
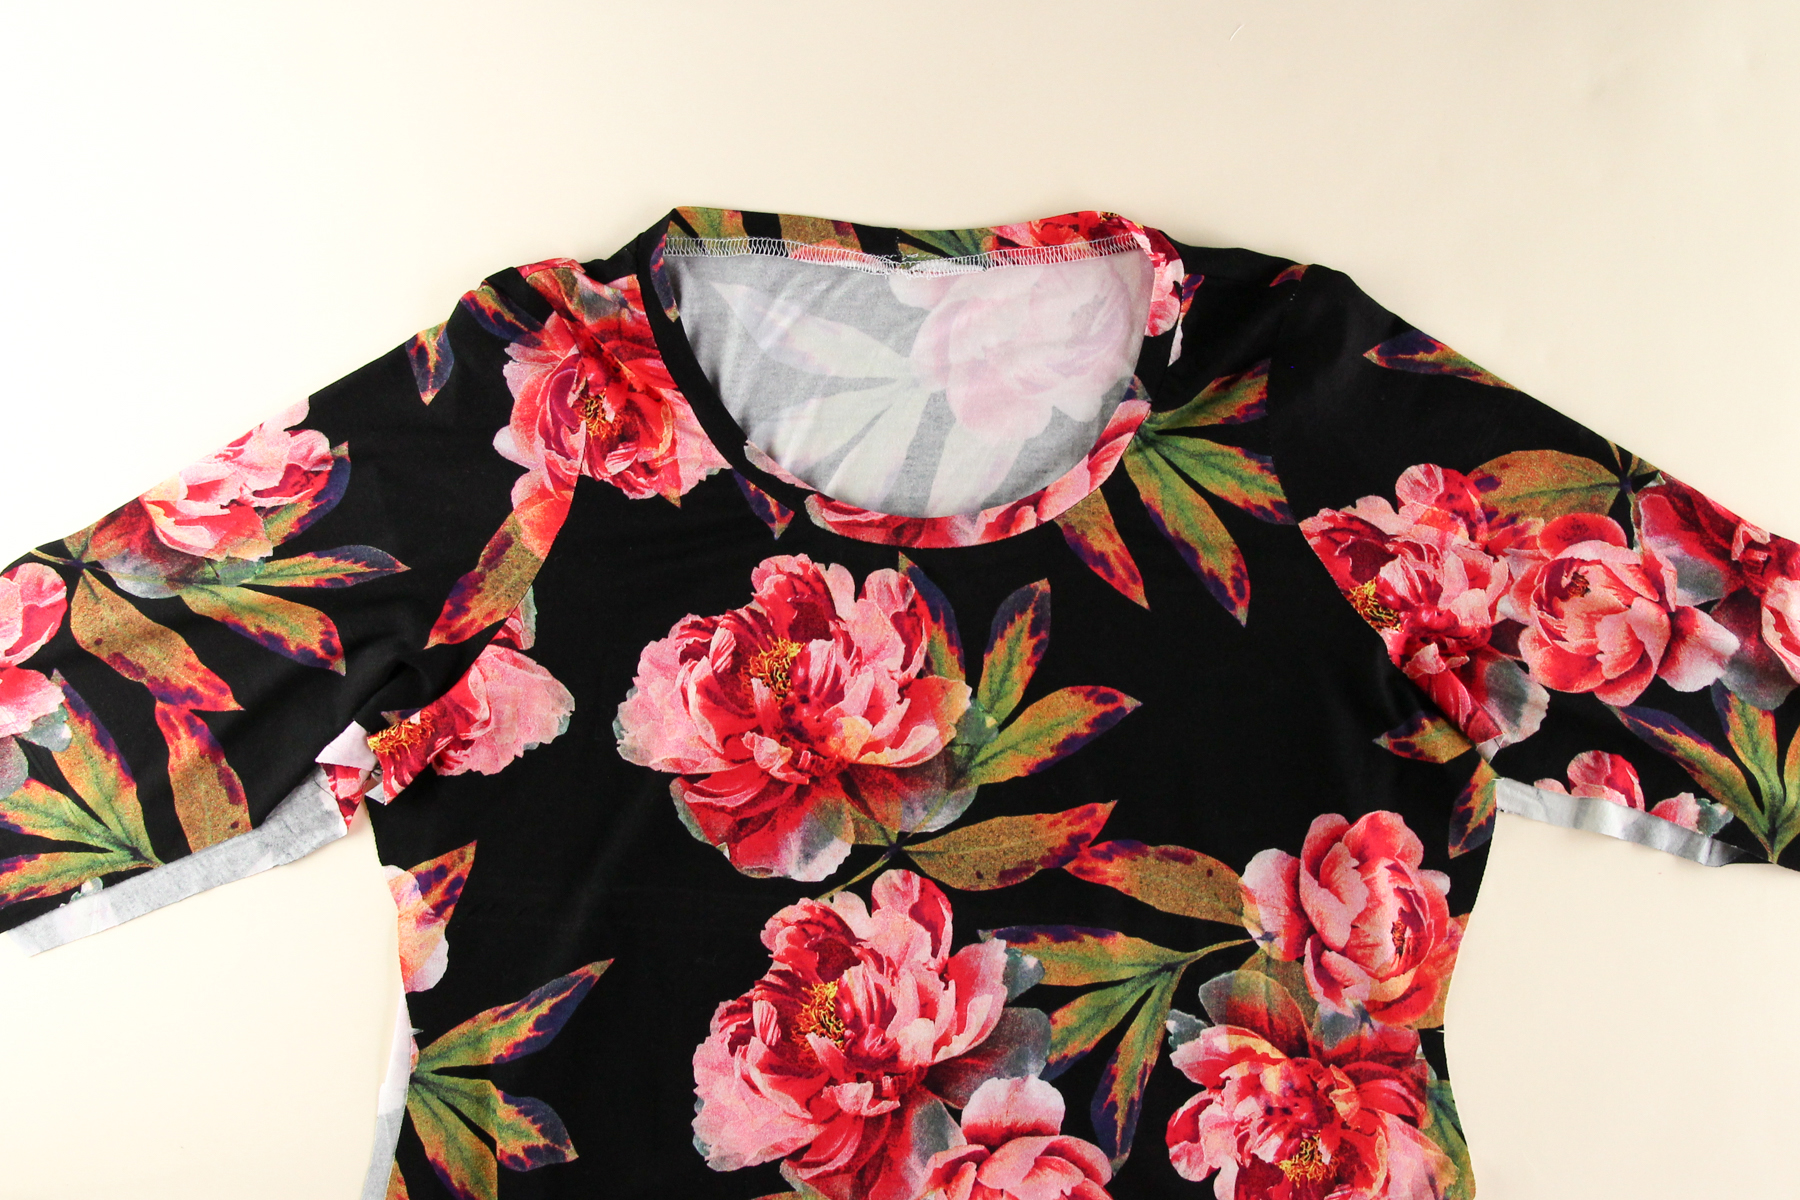
And that’s it for today. Do you have any questions about inserting sleeves?
Thanks for the lesson. It’s very helpful. I have received my pattern and will start work soon. I’m getting fabric tomorrow.