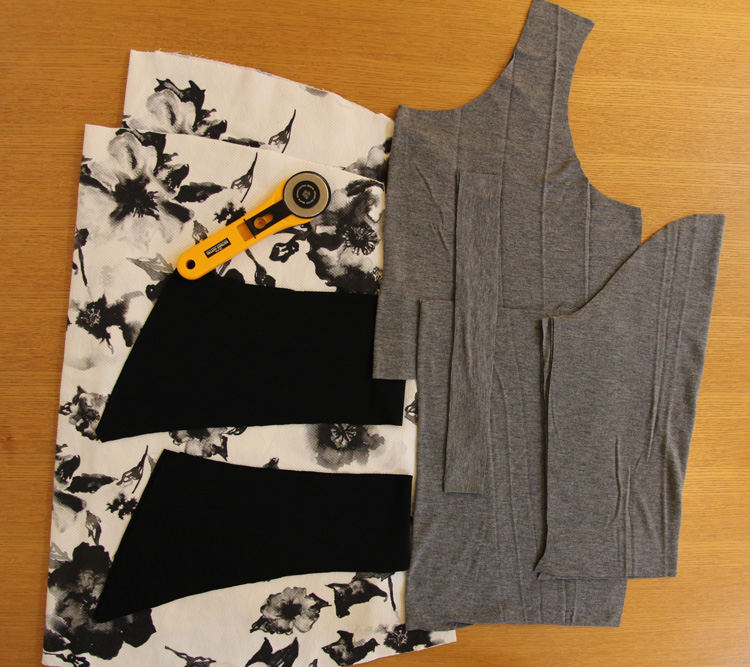
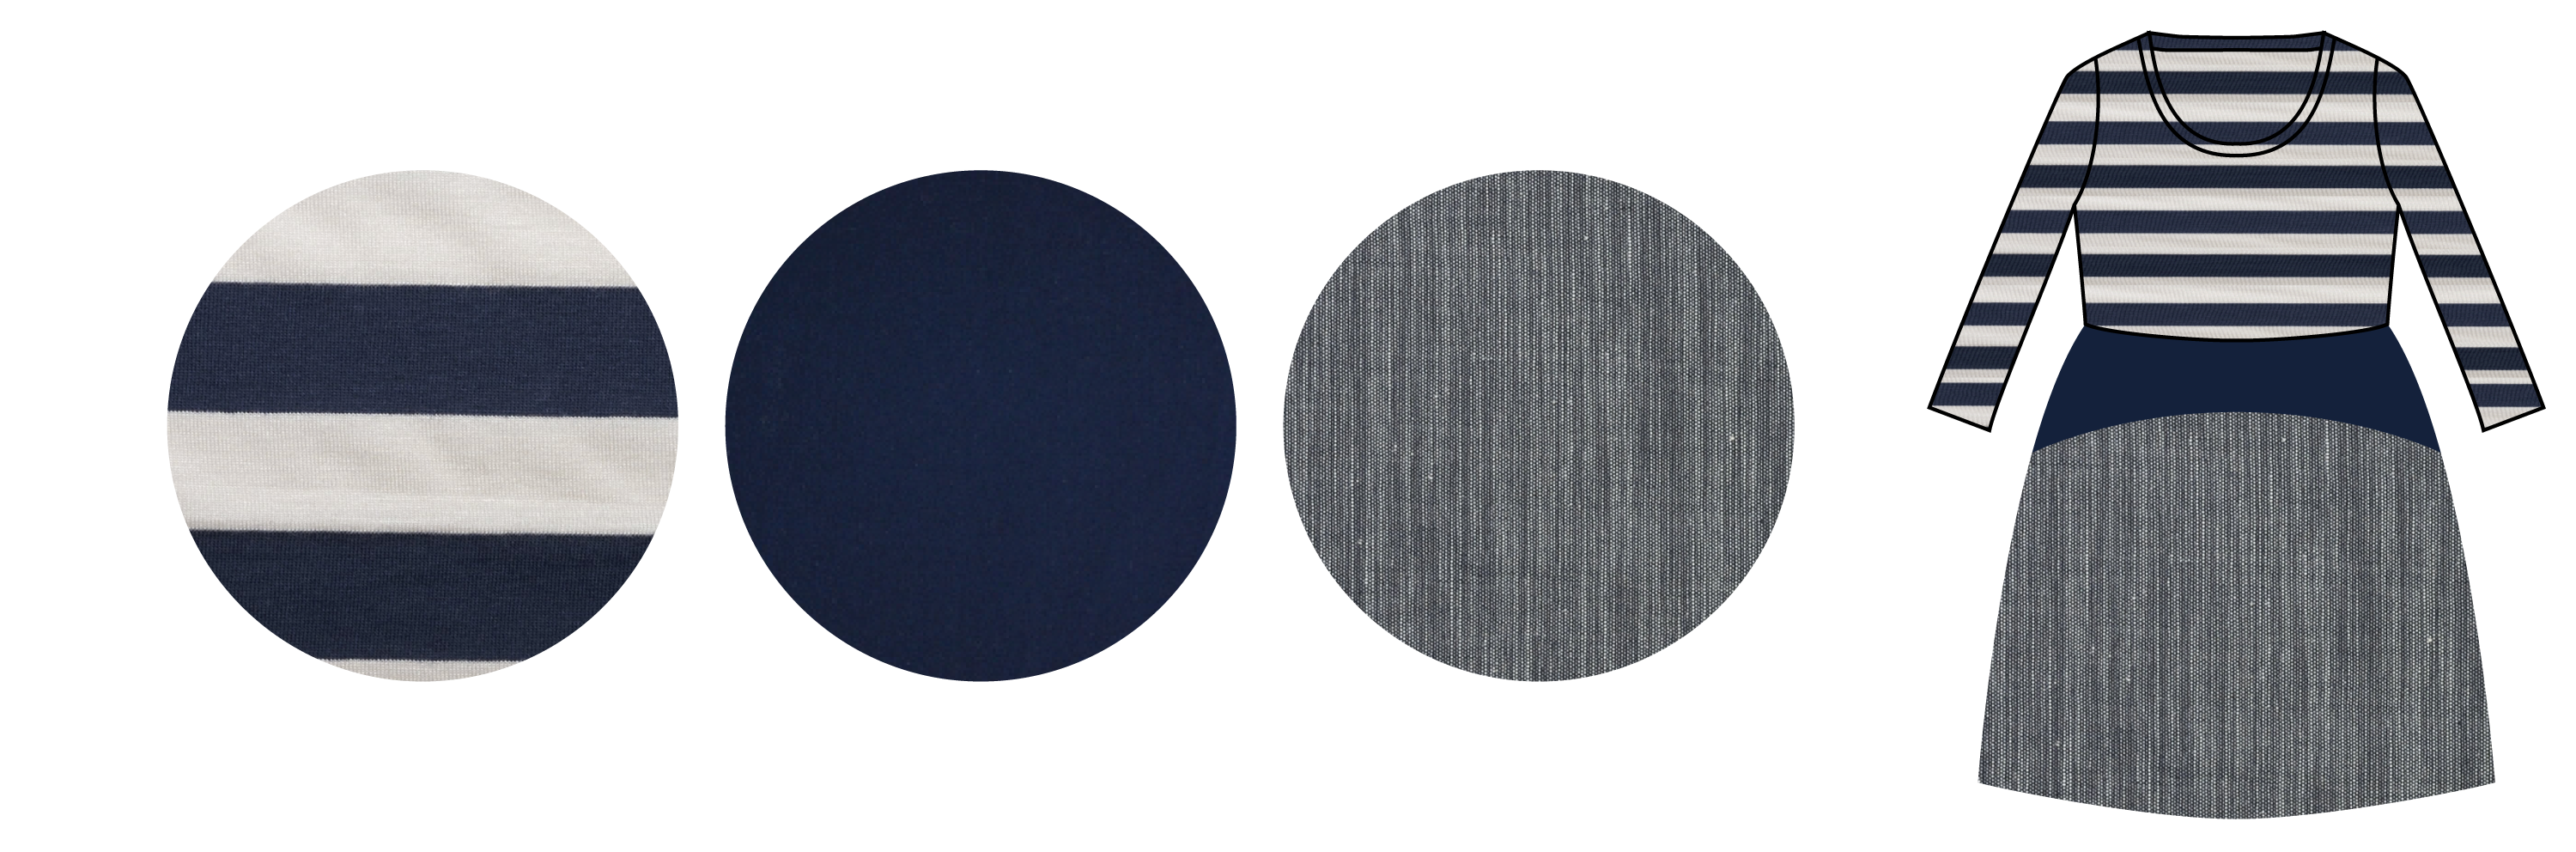
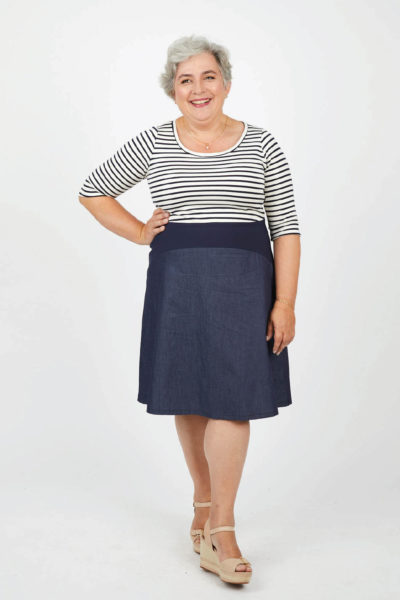
Today we’ll be cutting out our Washington Dress fabric pieces and notching them – an important step to get done really accurately so that the final dress will be a success.

Follow the cutting diagrams in the instructions, making sure you fold the fabric in the right way depending on the view you’re making and fabric size.
Cutting knit fabric can be a little bit tricky so here are a few tricks:
- Fold knit fabric carefully making sure that the tiny vertical ribs on the right side of the fabric are parallel with the fold.
- If your fabric is rolling a lot at the selvages, you can simply cut them off and it will lay flatter.
- Using a rotary cutter and mat is much easier than using scissors! It keeps the pieces really flat, and gives a sharp cut. If you’re using a rotary cutter you don’t need to use pins – I use washers from a hardware store, but you can use anything heavy. Be careful to keep your hands away from the blade at all times, and close it when it’s not in use!
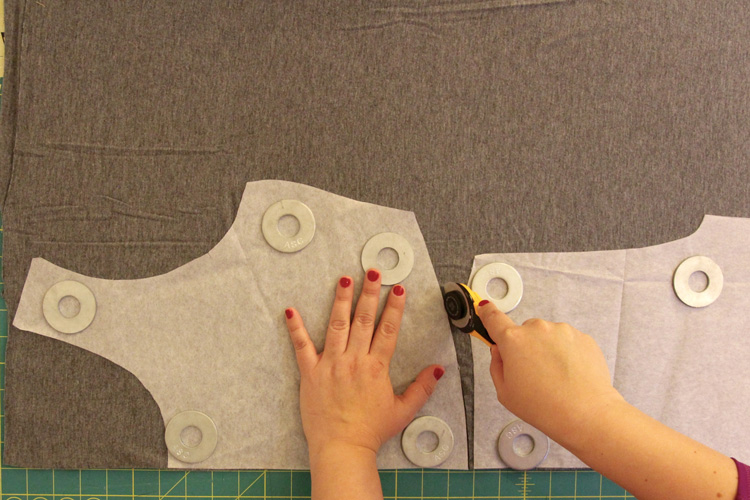
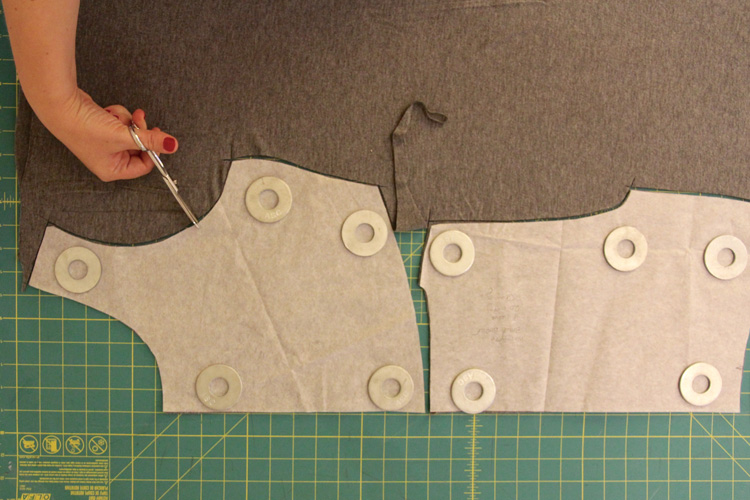
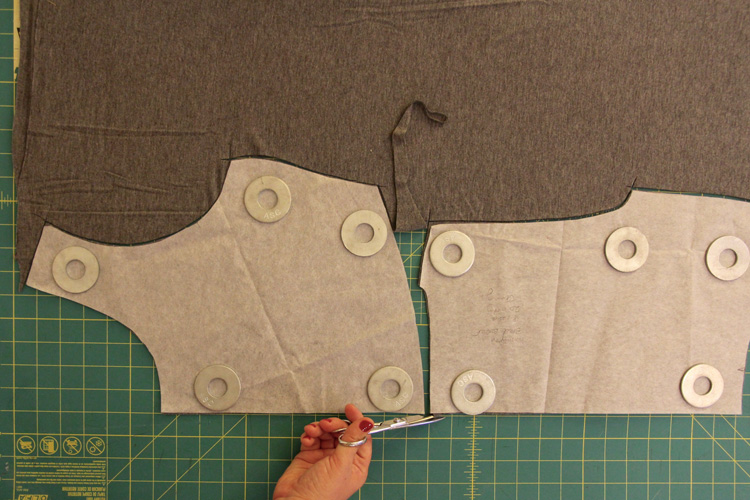
I like to do my notching as I cut so that I don’t forget. Make sure that in addition to making little snips (about 1/8th inch) at the marked notches you also snip at the center front and back on all the pieces.
As you have to look carefully to see the right side of a knit, it’s a good idea to mark the wrong side with a chalk mark so that you won’t have to keep on checking.
Once you have all the pieces cut you’re all ready to start sewing your Washington Dress! Do you have any questions on this stage?
That’s my dress! I wish my fabric was lying neatly cut on my cutting table! I think I’ll have time on Saturday.
Jenny, I am so in love with this pattern. Mine came quickly in the mail- and I want to thank you for that. However, I have one small delimna. I have not cut it out yet because I would like to make a higher neckline, if possible.
Can you please assist me with that as well as advise how much to add or take away from the neck band?
Thanks so much- I plan to make and wear this on Sunday for our family Christmas pictures.
Hi Angie – it’s pretty easy to change the neckline! Simply draw in a higher curve on the front piece, making sure that at the center front it’s totally horizontal so you get a nice curve and not a “v”. Sew the front and back together. Then, measure the new length of the neckline and multiply that by 0.85 – that’s the length of your new neckband.
Thanks so much Jenny. I will give it a try and once completed with be sure to post pics.