Today and Friday are quick and easy days for the Appleton Sewalong, then we can all go out into the world and rock our wrap dresses!
Today, we’re sewing up the side seams of our dresses and reinforcing the waist tie hole (if you want!).
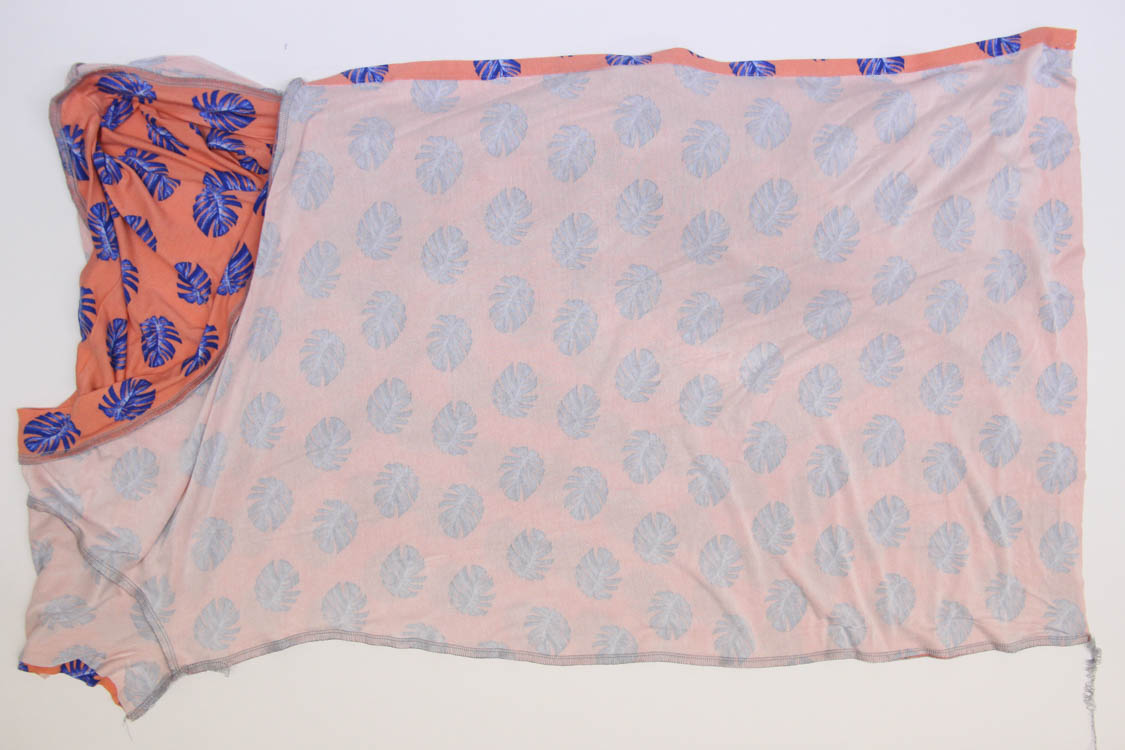
Turn your dress inside out with right sides together and the open side seams at the sides. Pin the left side seam starting by matching the underarm seams and the notches down the side of the dress. Continue pinning along the underside of the sleeve. Sew this seam all in one go, starting at the hem and ending at the wrist.

For the right side, we have to be a little careful, because we need to leave our waist tie hole open. Pin as before but mark the beginning and ending of the waist tie hole with double pins. The double pins serve as an extra reminder not to sew over the waist tie hole. We’re going to sew this side seam in two parts. First, sew up from the hem to the first waist tie notch. If you’re using a sewing machine, backstitch here. If you’re using a serger, simply sew off the side of the fabic. Finish the seam by starting at the end of the sleeve and sewing to the upper waist tie notch, ending the seam the same way as before.

Press the seam allowances open if you used a sewing machine or to the back if you used a serger. Also, if you used a serger, use the same technique to hide the serger ends as used in this post.
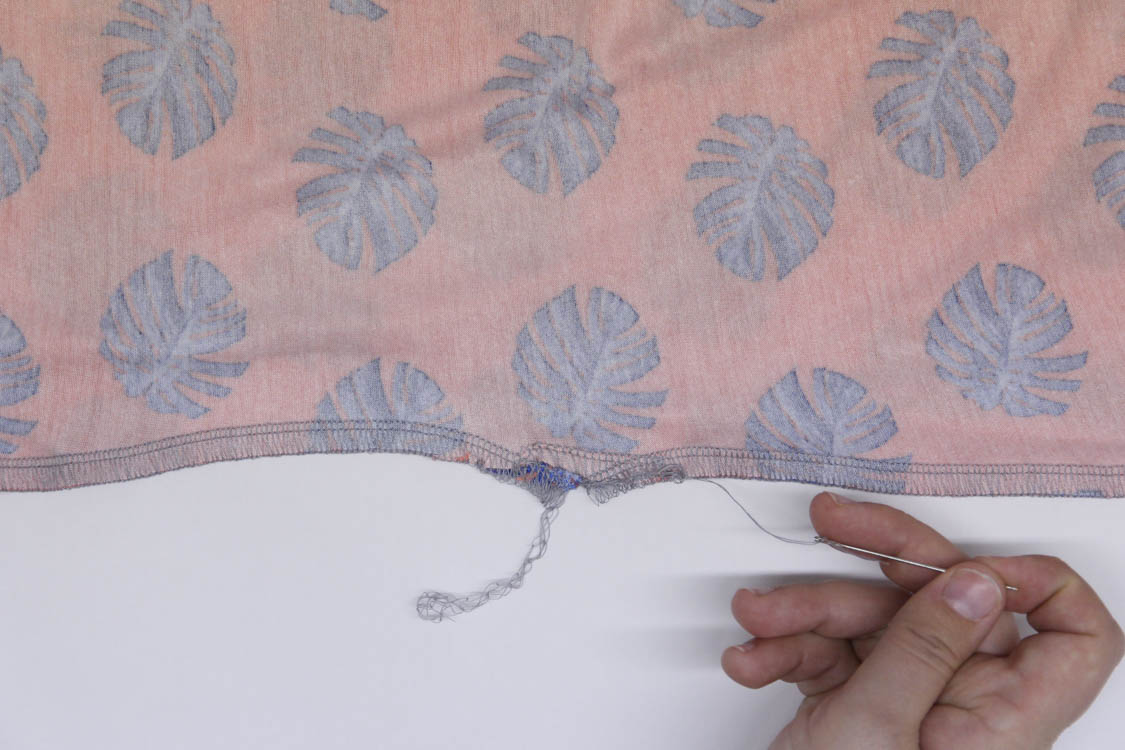
To reinforce the waist tie hole, you’ll need to use a regular sewing machine. Stitch around the outside edge of the hole using a narrow zigzag and catching the seam allowance on the inside. This will help strengthen the fabric at this point of strain.
On Friday, we’ll be hemming the sleeves and skirt and I’ll share my finished Appleton! See you then!


I’m glad I waited to see you do the side seams and the neck band/ waist ties in this sew along. Makes much more sense to me. – I have my pattern all cut out and now I just have to sew it up this weekend. Great tutorial so far.
I haven’t even bought my fabric yet, but I’ve been reading and living vicariously until I can make my own appleton! Thank you for the wonky stitching on the tie hole! It will make me worry less about my own sewing imperfections 🙂
I like to “cheat” and use Sticky Solvy wash-away stabilizer on tricky to sew areas like this. Otherwise my sewing machine just bunches the knit fabric up into a tangled mess.