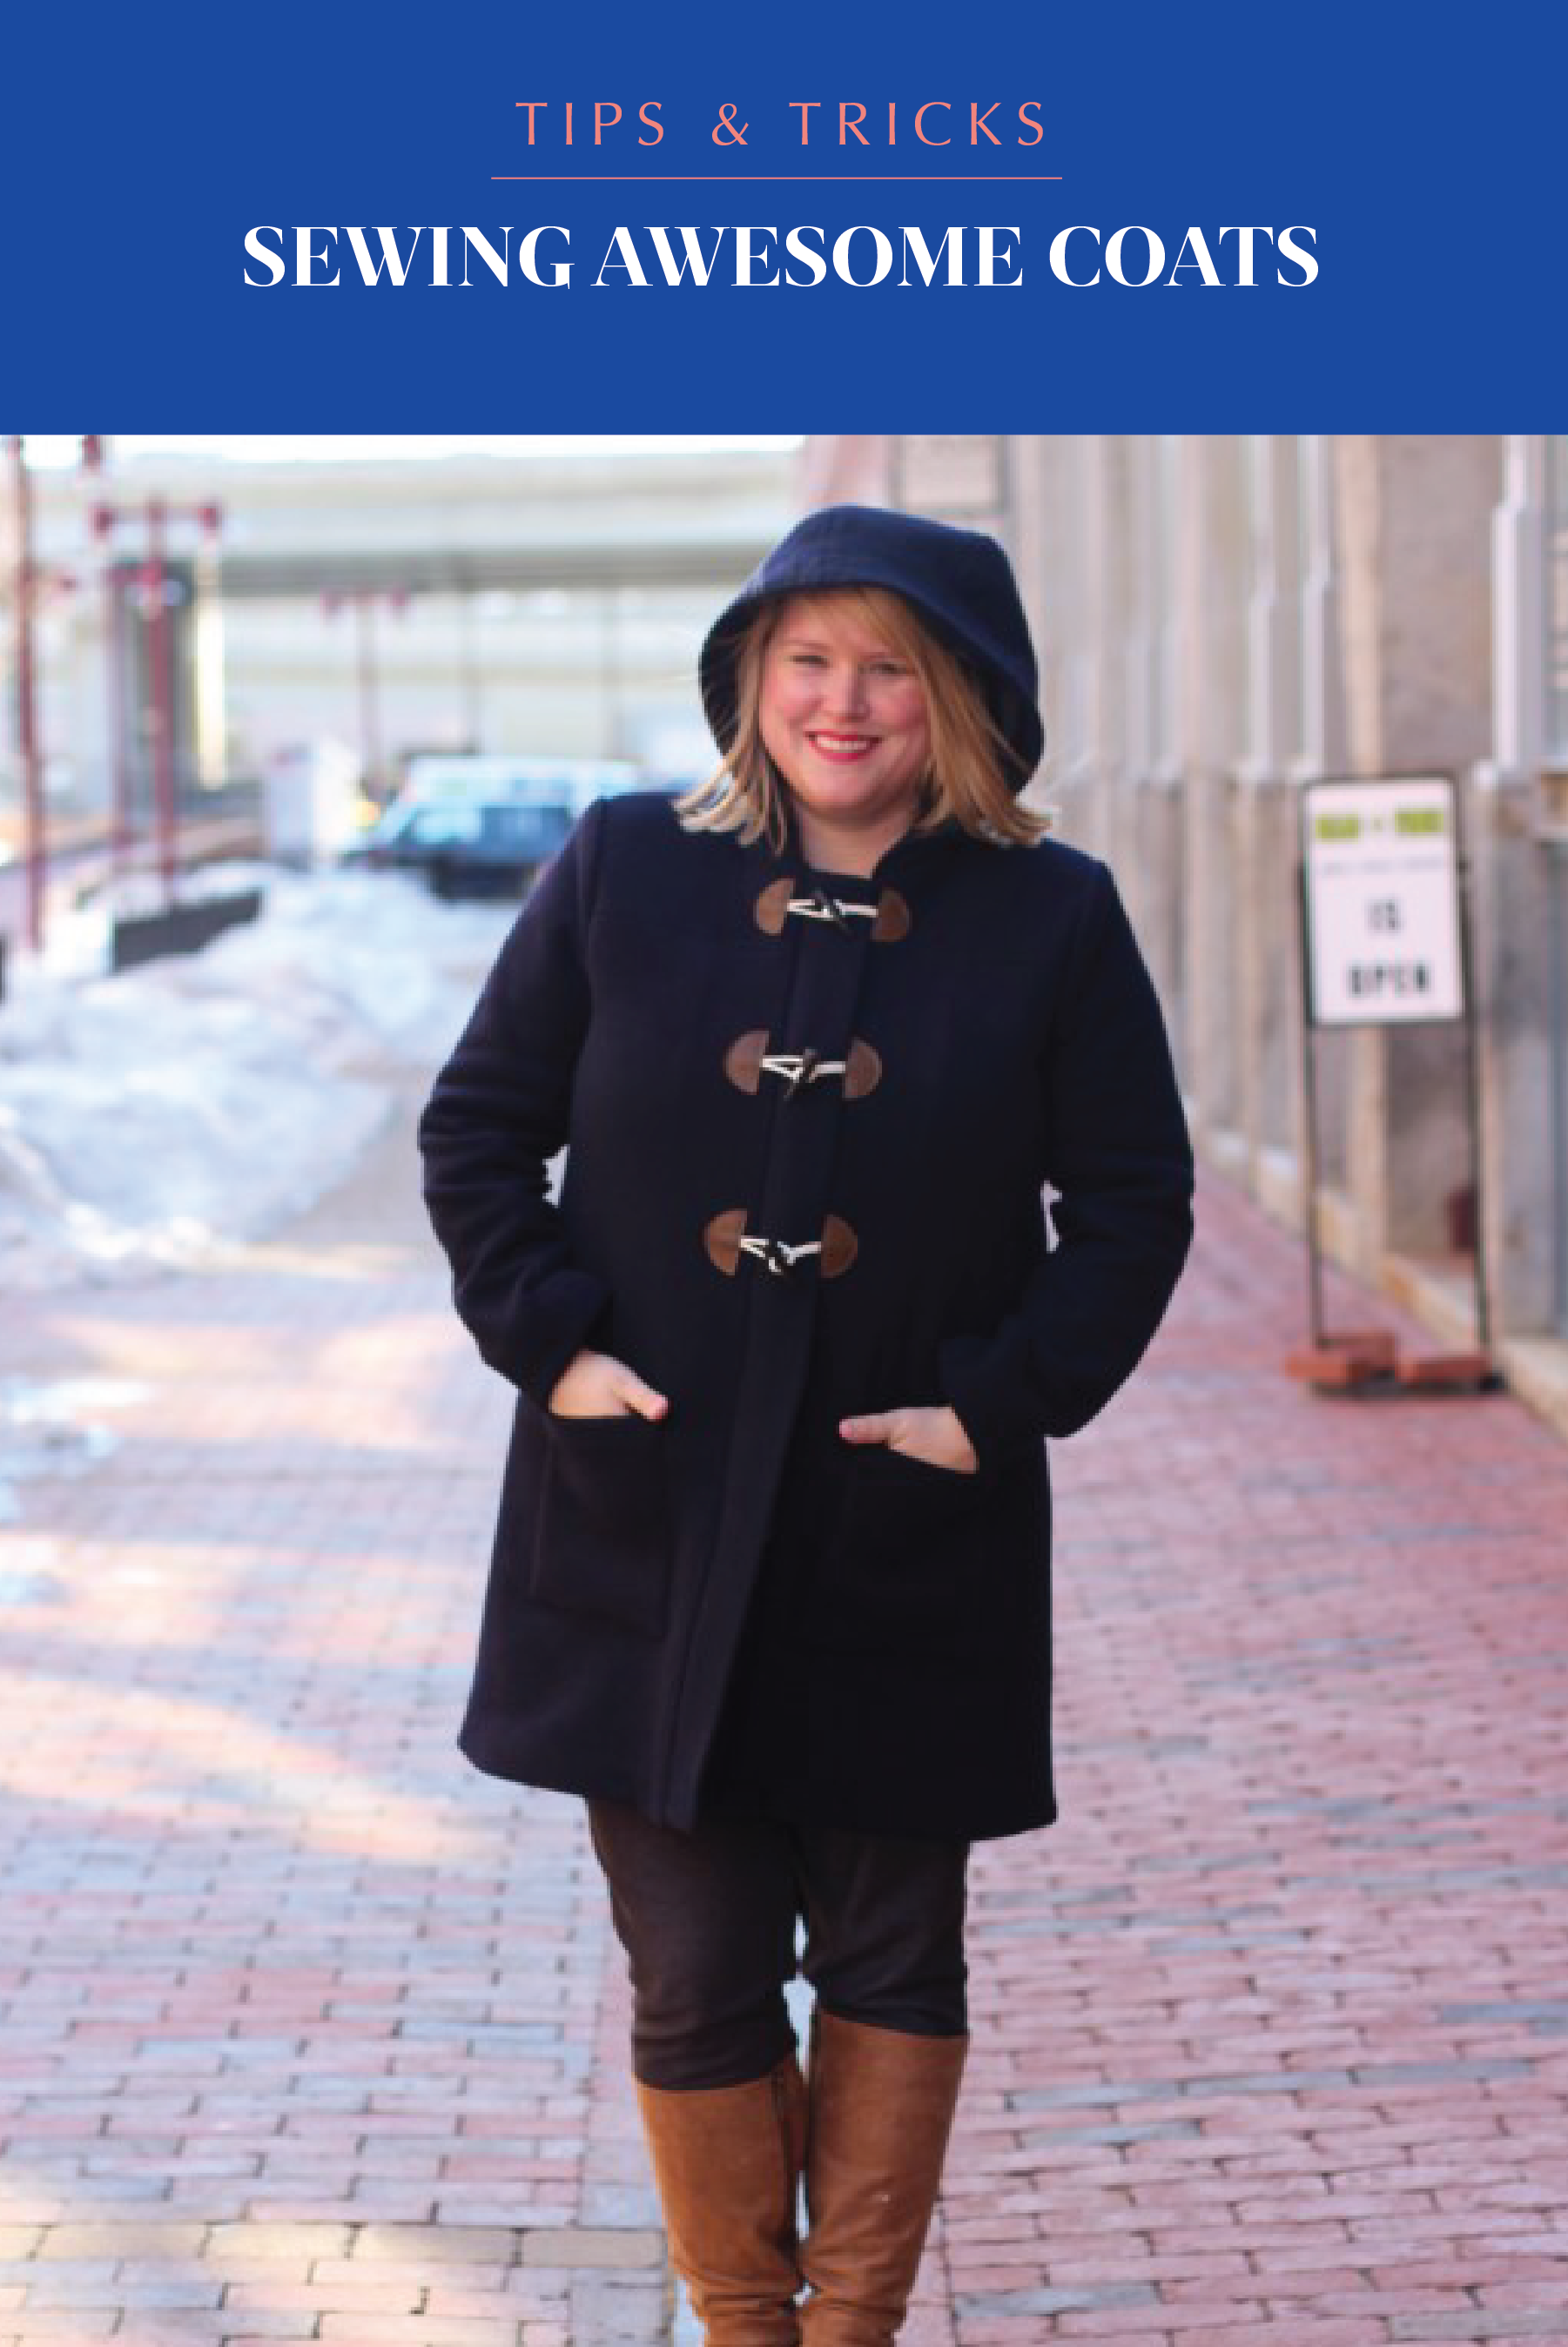
I love making coats! Whether it’s a classic trench or duffel coat, or a crazy massive-collared winter version, they’re fun to sew and incredibly satisfying to wear. The big secret with sewing coats is: it’s not that hard, there’s just a lot of steps. Yes, during the initial evening (or four) of cutting, interfacing and basting you may start to question the sanity of making your winter coat, but it becomes quite hypnotic and nothing beats the final results.
One thing I have noticed though is that the Big4 coat patterns are somewhat lacking – there are so many details that make a coat look professional, but they’re mostly absent from the instructions. So today I’m sharing a few tips which will take your coat from “hmmm did you make that?” to “WOAH YOU MADE THAT?!” If you’re just starting coat making, I suggest checking out my tips for making your first coat post first!
1. Perfection, thy name is topstitching
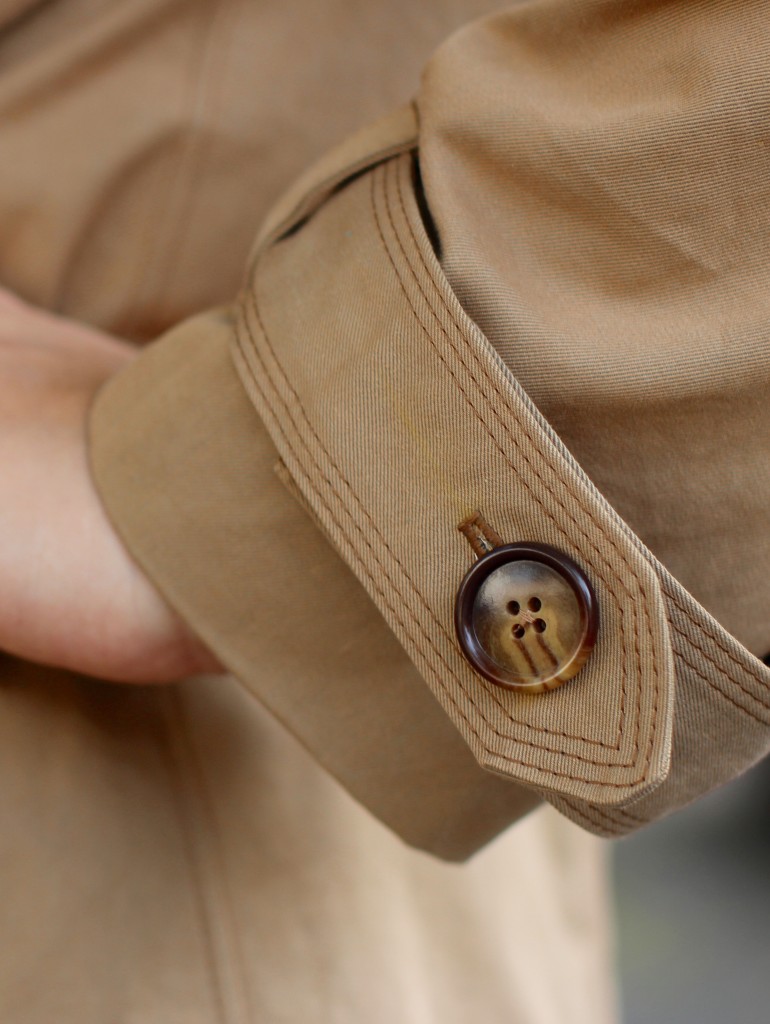
The first time I made a coat, I was pretty happy with it 90% of the way through construction. But then I topstitched it and: wowsers! It looked like a real coat! It’s worth considering topstitching your coat even if the instructions don’t suggest it, because it adds a really professional touch and makes the whole thing look a lot crisper. If you’re making a trenchcoat, you might consider triple topstitching, even if it does take a lot of patience and time. My top tip is to use an edge stitching foot, which makes even topstitching way, way easier. And if you’re going to go around tricky corners, don’t be shy of marking it with a chalk maker first.
2. Make it practical: pockets, hooks and more
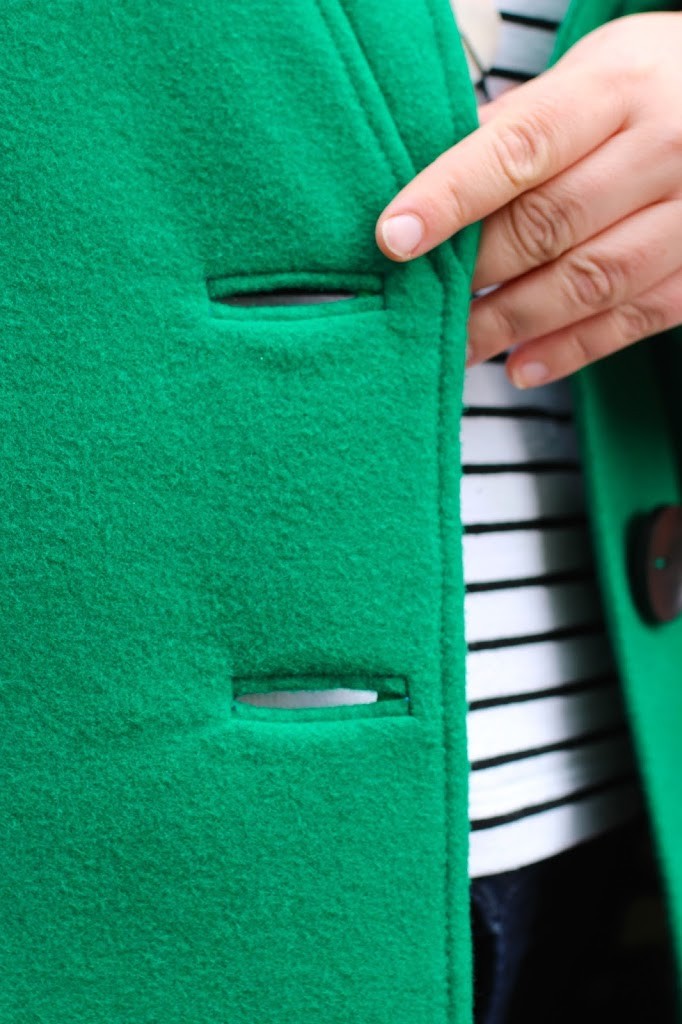
I’m always amazed at the lack of practical touches in some coat sewing patterns. Top on my list are having pockets big enough to put 1) my hands into (I have baby hands, and seriously, can’t get them into some pockets) 2) other things in! If a coat pocket can’t take my phone, forget it. Luckily, this is a super simple thing to fix: as long as you keep the pocket opening the same, you can make it as big as you want without altering anything else (just make sure it won’t peek out of the coat front), by simply drawing the curve you want.
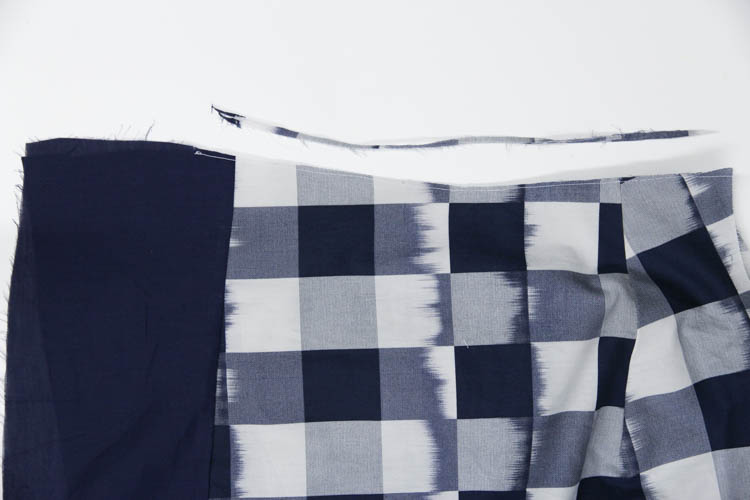
Another no-miss for me is a hanging hook. I usually make a short topstitched band from my coat fabric, fold it into a “U” and sandwich it between the collar and lining when I’m bagging the lining. Talking of bagging a lining, for some reason the Big4 don’t seem to explain it well – I recommend checking out Jen’s tutorial instead.
Other features you might want to consider adding to your coat are a hood, or a walking vent at the back. Start with how you’re going to use it and what your favourite coats have, and pick and choose! Ah, the joy of sewing.
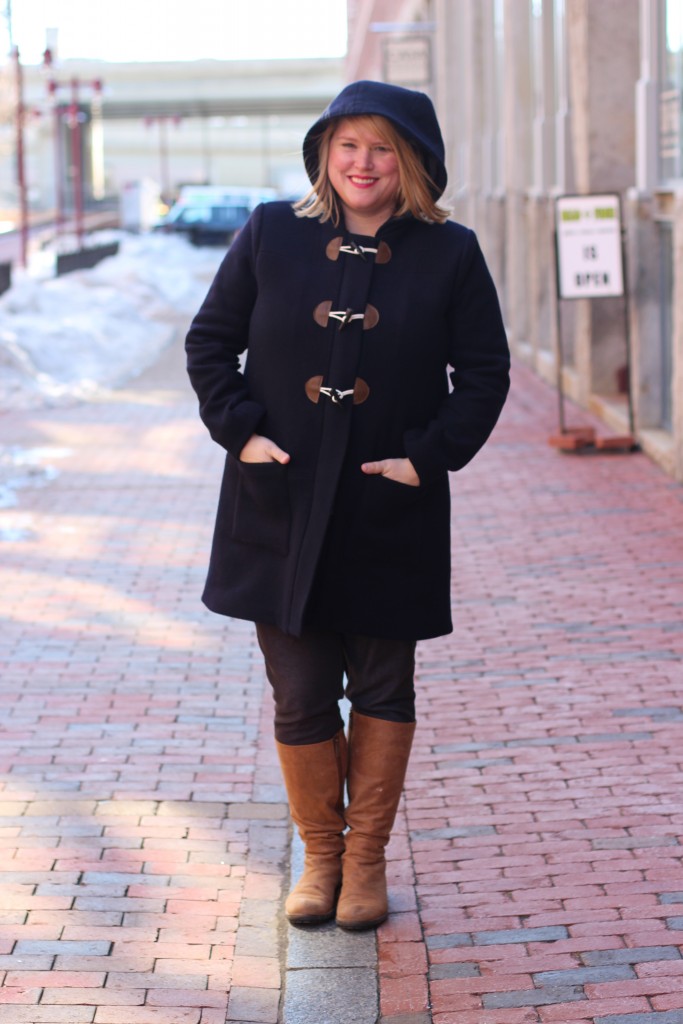 My Grainline Cascade Duffel Coat, with a hanging hook and practical pockets
3. What’s inside matters.
What’s inside makes a HUGE difference in how professional your coat will look. Even if it’s not mentioned in the instructions, I highly recommend interfacing the front and collar of your coat, at the minimum. You can go the fusible or sew-in route (I’ve used both to good result), and you may want to use different types in different parts of the coat – for instance, hair canvas in front panels, and stiffer sew-in interfacing in a collar.
Beyond interfacing, adding fleece sleeve heads and shoulder pads looks awesome on a lot of people – I have put them in all my coats, regardless of whether they’ve been suggested, and they make a subtle but great difference. If you’re pretty rough on coats, you might also want to put a back stay in, which keeps it stable – I have more info on them here. Finally, if you’re going to be wearing your coat in a cold climate, consider interlining it with a thermal lining like Thinsulate. It’s a very thin sandwiched lining which adds little bulk but tons of warmth – well worth it.
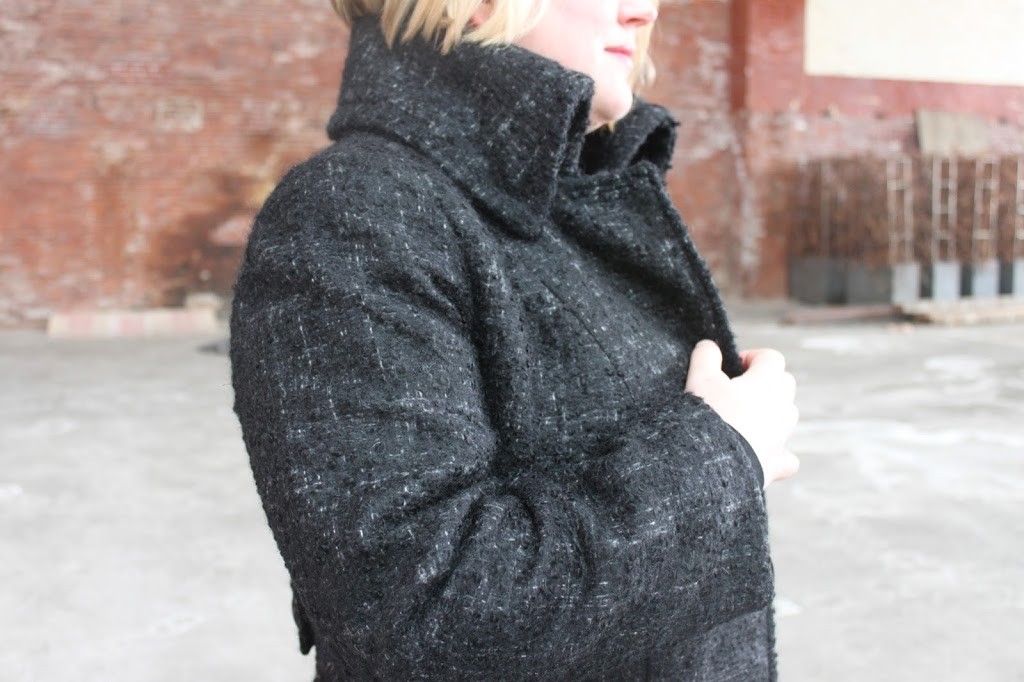
My first coat had interfacing throughout, a back stay, and fleece in the collar
4. Add a touch of flair
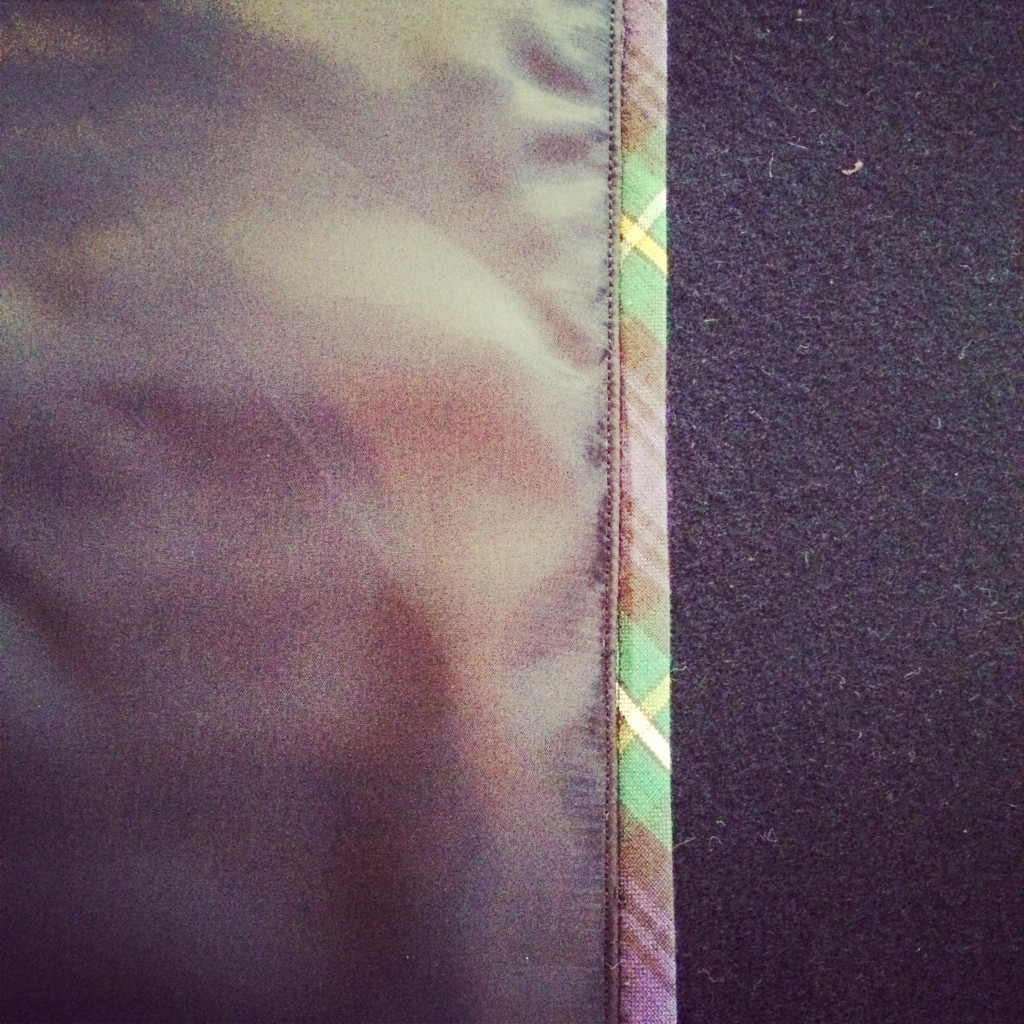
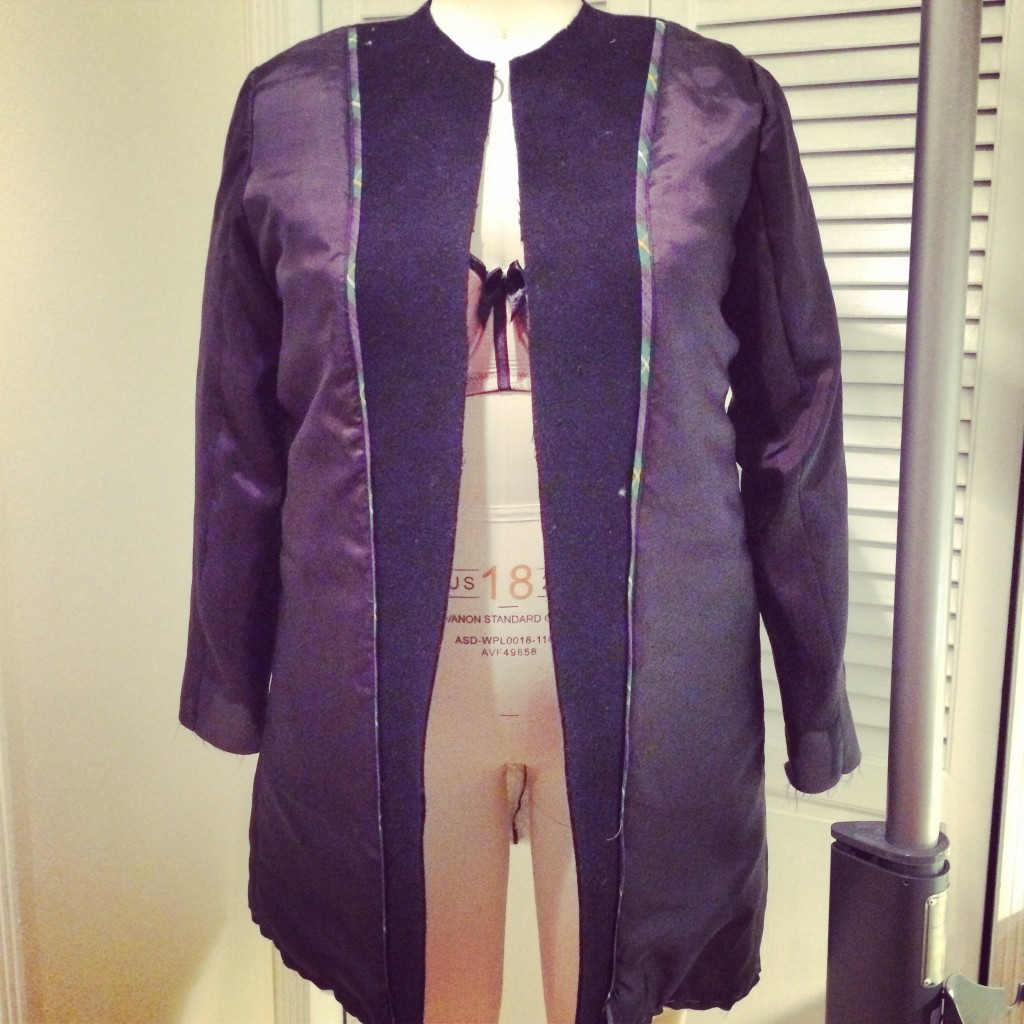
Coats are fantastic for adding tiny personalised fun touches. One of my favourites is adding a strip of bias binding between the lining and facing for little colour pop. So fun, and so easy! Simply fold the bias strip once down the middle, and sew to the facing with raw edges aligned. Then sew the lining on top so the bias is sandwiched, and voila. If you want, you can also do a little bit of topstitching to keep it in place.
Other fun touches are contrasting colour buttonholes, or adding interior welt pockets.
5. All about the buttonholes
Finally, let’s talk buttonholes! Sure, you can use the buttonhole setting on your sewing machine, assuming it’s strong enough to get through all the layers (I’ve resorted to hand-cranking mine a number of times…). But a fun alternative is making bound buttonholes – yes, you need to take it slowly, but the finish is beautiful and makes your coat stand out from Ready to Wear. I highly recommend Karen’s eBook on bound buttonholes which hasn’t let me down yet.
So those are my tips – do you have any to add? I didn’t go into tailoring techniques much here, but that’s a whole world I’d love to learn more about – check out Gail’s awesome blazer sewalong for tips. There’s something so addictive about making coats, and I’m always on the hunt to find new ways to get better!


I’ve been making my coats for years and it is very satisfying and practical, especially monetarily. There is always some new sewist asking if its cheaper to sew than buy, and honestly coat making is one of those things that really saves you money, especially if you are aiming for a high end rtw coat. I stash coatings when they are on sale, same for linings.
I absolutely love this post!!!! Jackets are such a rewarding garment to create. The entire process is amazing and beautiful! I just started walking my readers through how to create their own rain coat using a jacket they already have for the pattern! 🙂 The touch of flare you mention is going to be such an important part of this :))
I would love to do some sort of jacket type mini collab with you on the art of jacket making if you are interested!!!
Great post – love the bias binding tip. I first started following you when you were making your green coat – your commitment and determination to improve is inspiring.
Great post! My only add would be to test the pattern first by making a test coat using a heavy weight Muslin or fleece. Check the fit with shoulder pads in place and clothing beneath that will be similar to what you’ll be wearing when using your coat. It would be awful to get done with your beautiful coat and not be able to wear it.
Your coats are beautiful! I made a coat once a long time ago that no longer fits. I have ready to wear ones that make me feel like a stuffed sausage across the chest. I really need to make some time and sew another one. One of these days! Whenever I get around to it, I will refer to this post. Thanks!
I’ve been wanting to make a coat for a while now. The problem I have is finding fabric. I have to purchase my fabric mostly online. I can’t figure out what would make a good coat fabric without seeing or touching it. Does anyone have any coat fabric buying tips?
Request samples. Or buy tiny thin cuts. Worth it.
I started making hanging loops in coats for my boys- who are now men! I wanted to identify their coats as many kids all have the same one. Their name inside was key. And I found the loop is important in an office- not a lot of closets in offices now. Anyway, I use the lettering function on my machine and program in their name. I stitch the name on ribbon or twill tape and use that as the hanging loop. You can have fun with this, adding designs from your machine, color coordinating it, etc. Simple detail but useful.
Great tips Jenny!! Thank you. I plan to conquer the bound button holes one day!!
Sandra Betzina’s older books have information about including extra fabric so the fronts overlay nicely without gapping.