
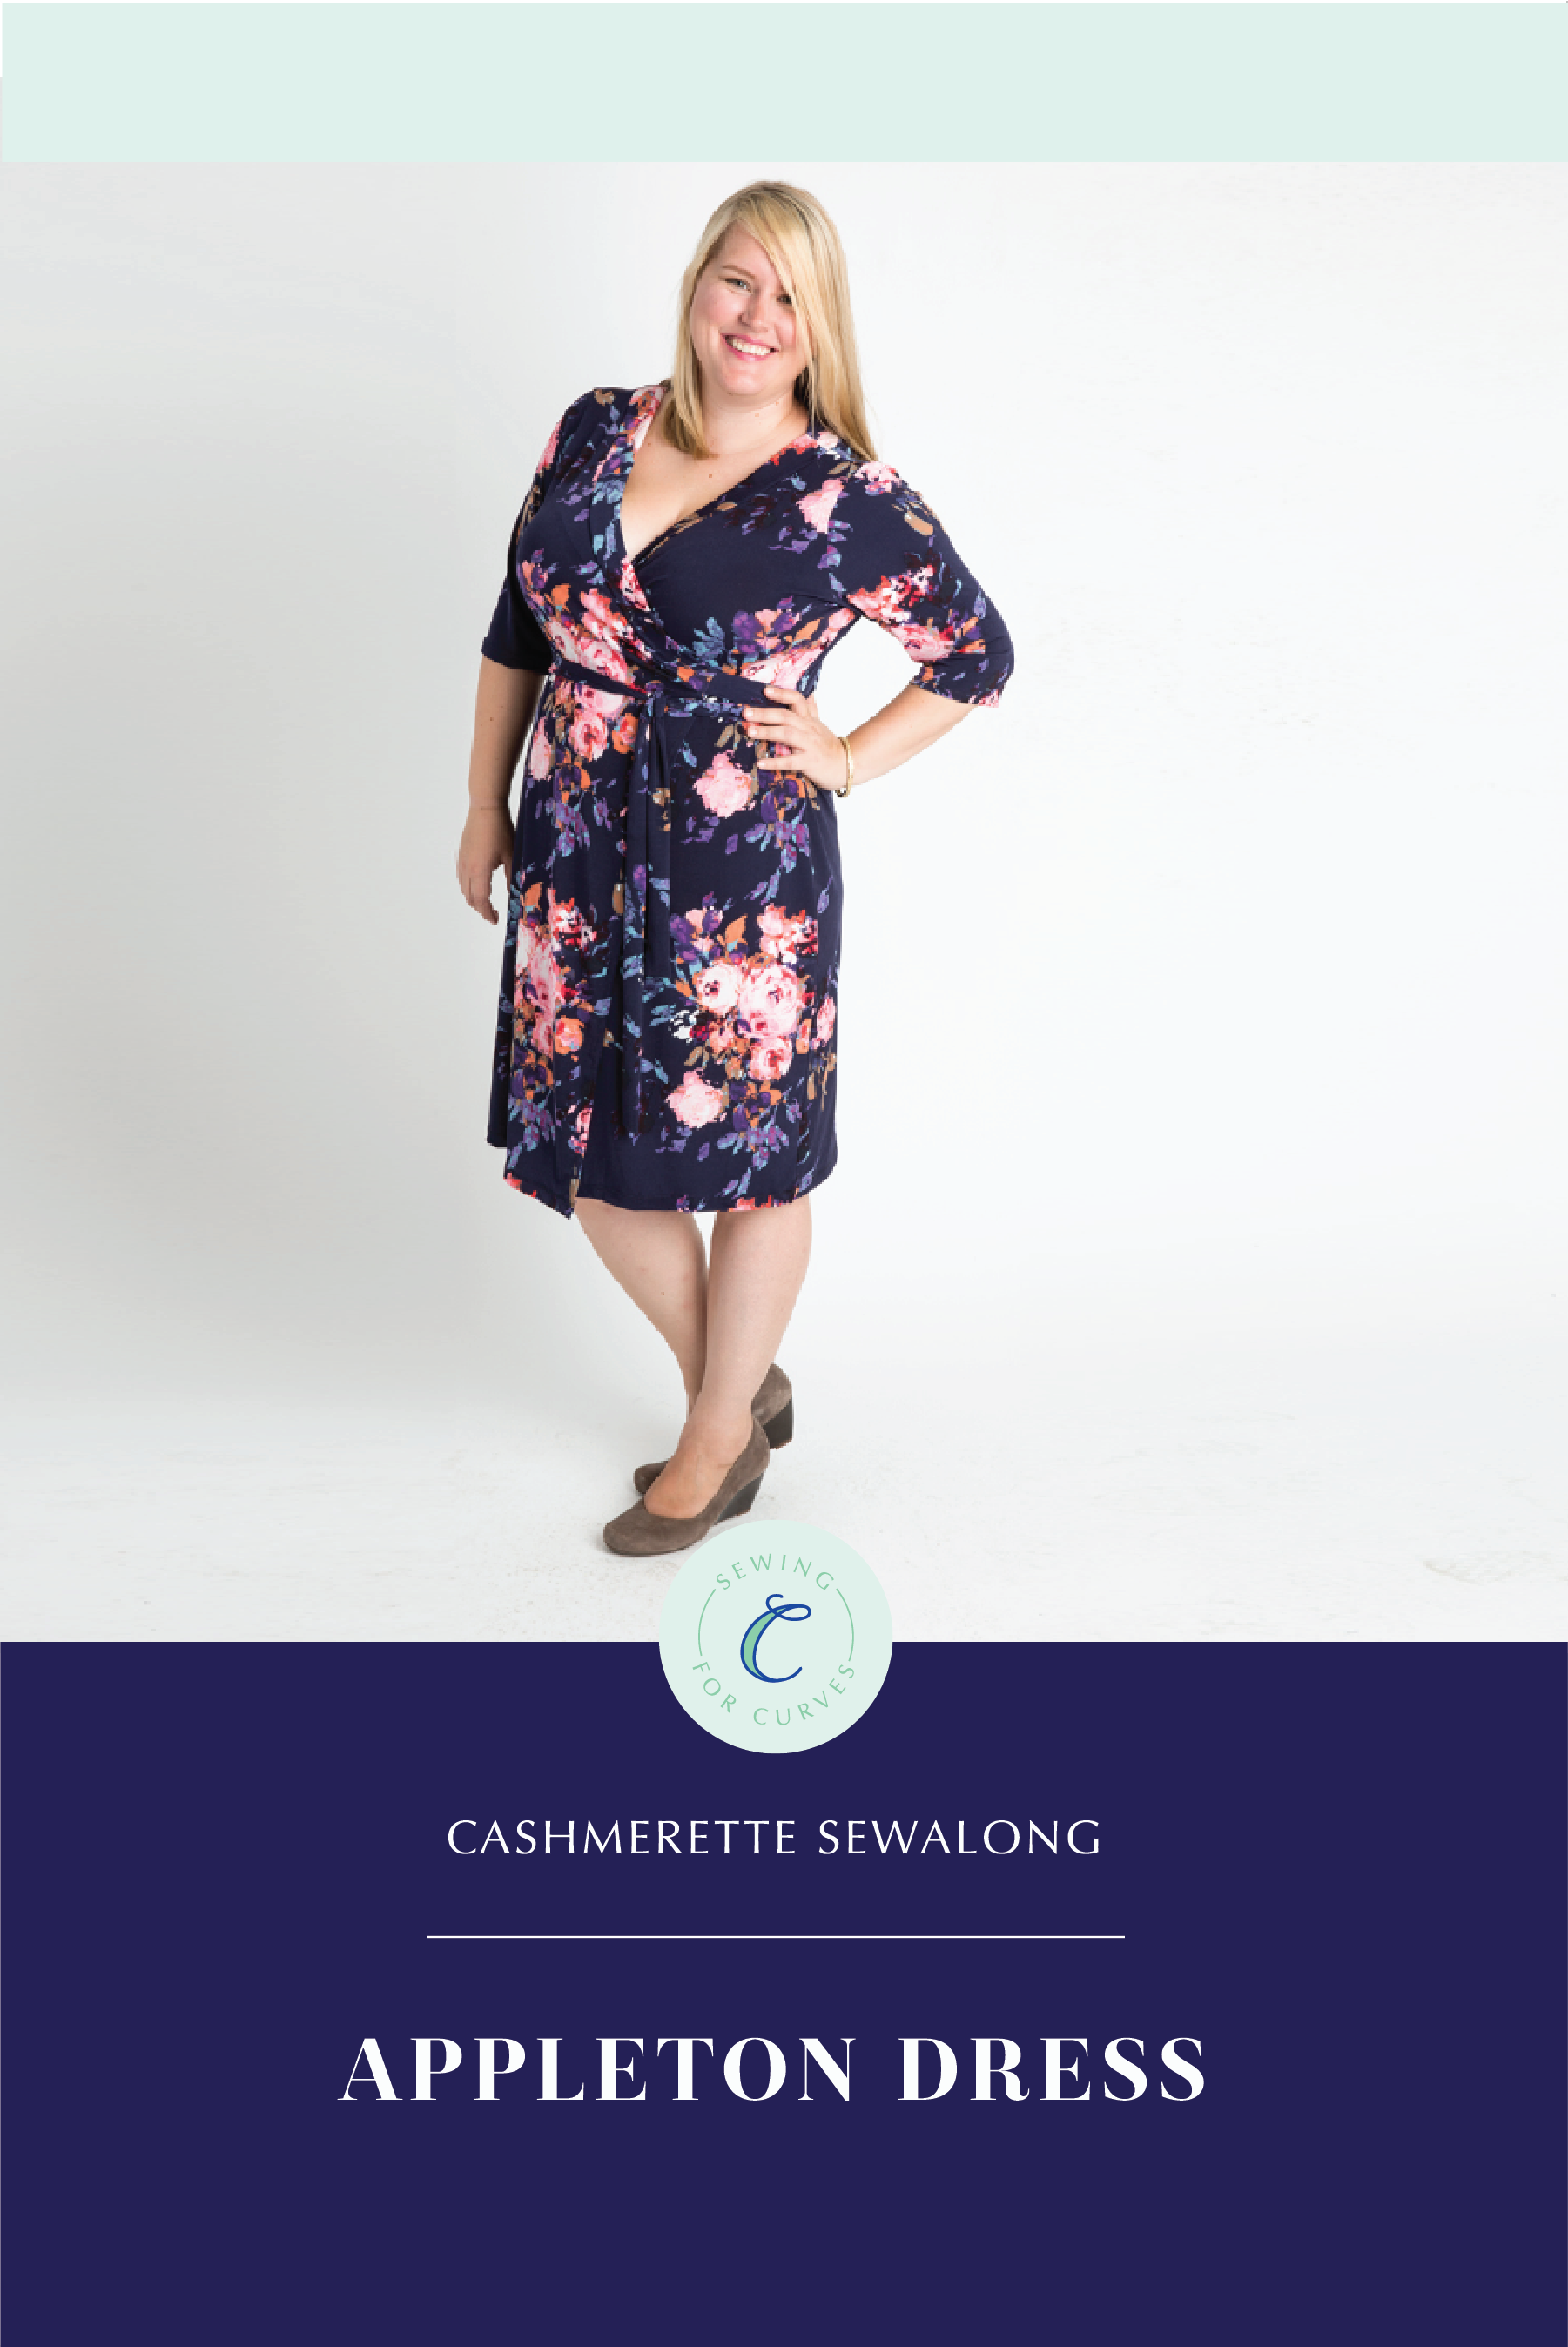
Now that we have our pattern prepped and my small-busted ladies are all set, let’s dive into the Appleton sewalong! Today is a pretty easy day, just getting everything cut and notched so we’re ready to start sewing.
Depending on the knit you chose, this may be a little tricky – slippery or super stretchy knits are more difficult to cut than your average woven. Take your time and lay out the fabric carefully ensuring that you are squaring up the selvages (the edges of the fabric). My preferred way to cut shifty fabric is to use pattern weights and a rotary cutter, but if you prefer using scissors, make sure to minimize the shifting of the fabric when you pin your pattern to the fabric. Line the grainline on the pattern up with the grainline of the fabric, making sure it is parallel to the selvage. Keep this consistent for each piece to ensure your stretch is running the correct way.
To get the most from your yardage, cut your fabric on the flat instead of on the fold, following the cutting diagram that’s in the pattern instructions. The only piece that is drafted to be cut on the fold is the back of the dress. When cutting this piece, trace or cut the outside edges, then flip the piece over, lining up the center back and trace or cut the outside edges again. In addition to notching your fabric at all the printed notches, notch the center back of the neckline and the neckband pieces.
TIP: If it’s difficult to tell the right side from the wrong side of your fabric, mark the wrong side with a chalk X or a pin as you cut your pieces. The final step to prep our pieces is to trim the right front wrap at the “Trim here for right hand side” line. This makes the right front wrap slightly shorter than the left front wrap.
Next time, we’ll start our sewing!
Do you have any questions about cutting and notching?
What’s the best way to determine the right side of a knit? Thank you. (Very excited- my first sew-a-long)
Hi Martha! The right side of a knit has tiny parallel lines on it – you might have to look pretty carefully in good light to see it! The other side won’t have defined lines.
Could me me… but does the pattern INCLUDE seam allowance? Being used to European patterns, I don’t expect the allowance to be included in the pattern. Is it?
I really looked hard in the booklet and on the pattern but it is still unclear to me.
Thanks!
Hi Monique – yes, it includes a seam allowance of 3/8 inches on all pieces. Thanks!
Thank you very much !
I just finished cutting out my dress, and I had some tool problems. I do have questions. I bought Dritz pins for knits, and they were hard to get through the fabric. I had to drive them around a bit and sometimes they would force the fabric to make a hole in the pattern paper on the way up because the tip wasn’t piercing the fabric. Do you think that’s because of the Walmart fabric, or is this common? Or are the pins not good enough?
Also, do you cut knits with a rotary cutter or scissors? I bought a cutter and mat just for the Appleton, and I got a bad cutter. It left an uncut spot on every revolution. That’s probably what got me annoyed to start with. I had to ditch the mat and cutter and get my scissors.
I do have some nicer fabric to make a second version, but I thought I’d try it on less expensive fabric first. I’m not sure that was the best idea, we’ll see.
Hi Carla!
– so on the pins, it could be the pins and it could be the fabric if it’s really tightly knit.. I actually use silk pins on almost everything because they’re really sharp.
– I always use a rotary cutter – if you get a little uncut spot that means that the blade got damaged, probably from running over a pin. Happens to all of us sometimes! You can get rotary cutter sharpeners, or you can just put a new blade in.
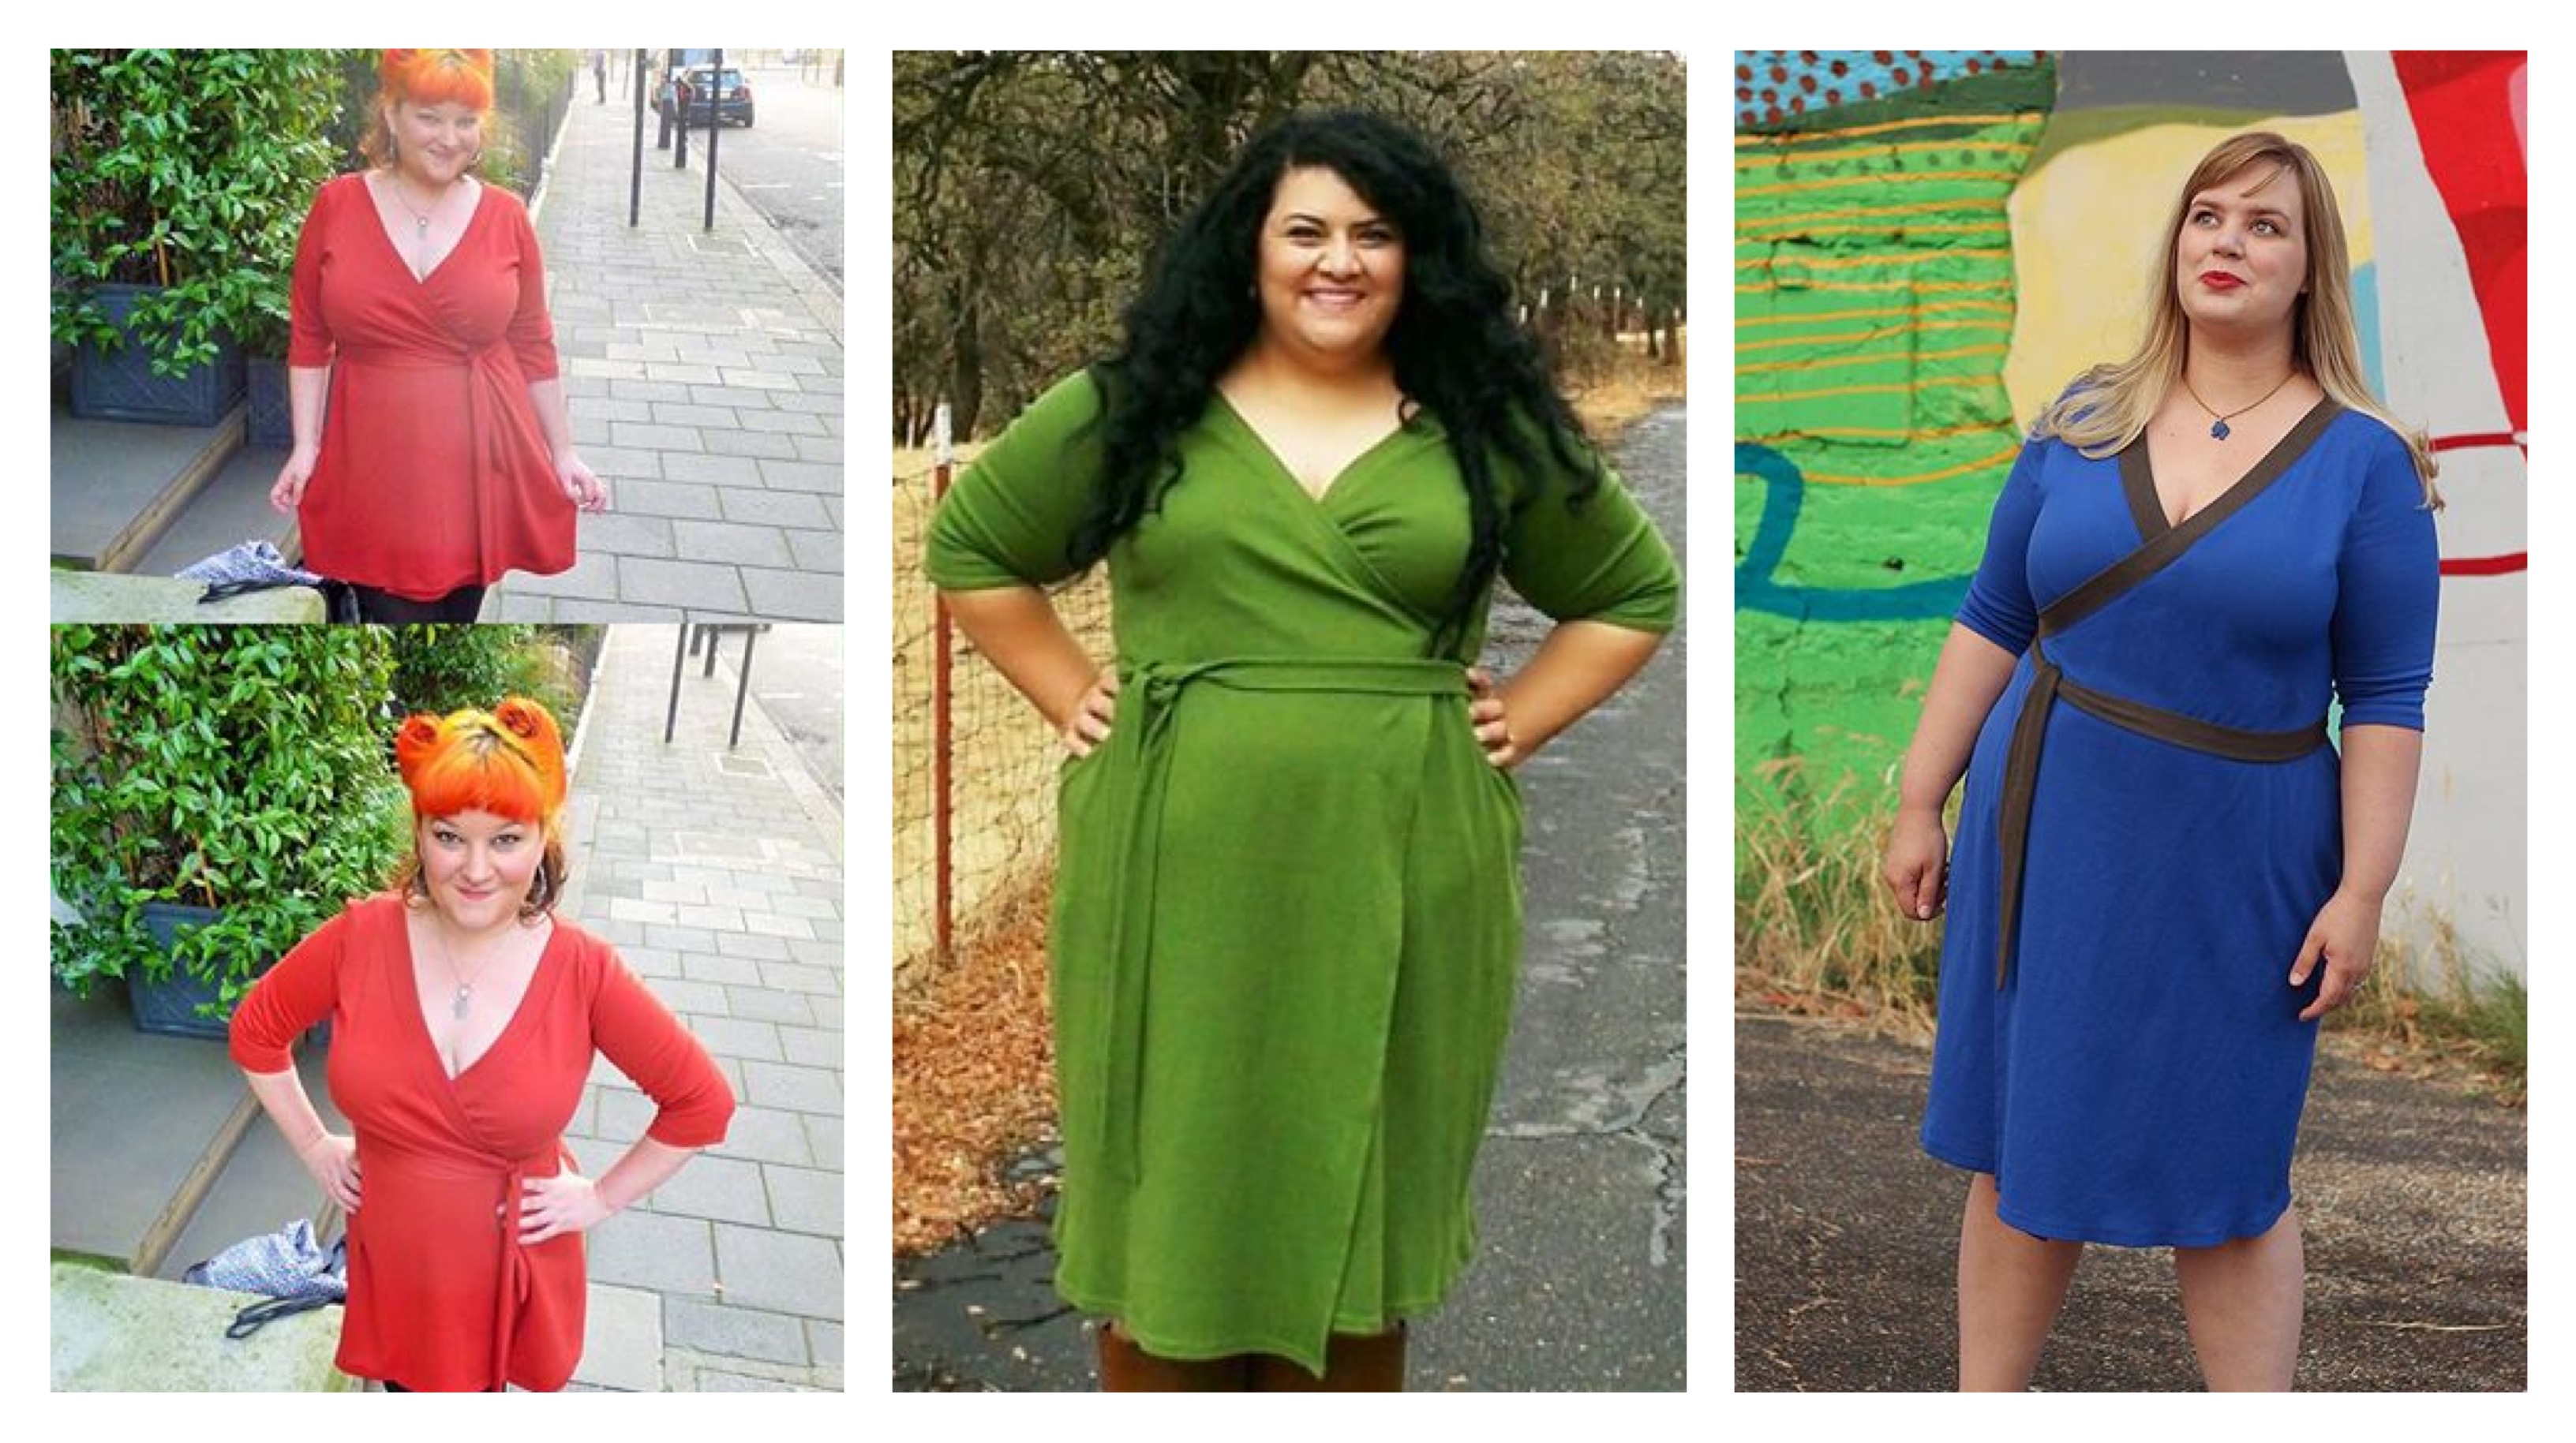
Thanks Jenny! I made the dress today! I am VERY pleased with the way it turned out, even on my cheap Walmart knit. My sewing machine was giving me fits, but it’s new, and I realized about 70% of the way through that I must have wound and inserted the bobbin thread incorrectly. However, even though I was plagued with machine issues, the dress looks good, and there are no mistakes in it. It’s not perfect because I’m out of practice, but maybe next weekend I’ll make an even better Appleton.
I think it took me about 8 hours start to finish. I’ve just recently started sewing again after a 20 year break, so I’m pretty slow right now. On the other hand, I enjoy taking my time. Sewing is fun and relaxing for me, and it might not be if I was trying to be super fast about it.
So glad to hear it! 8 hours is pretty good if you just started sewing again, and particularly if you enjoy the process 🙂
That’s impressive. It took me 5 hours to trace, grade and cut out. Sewing for another day!
Help! Why am I having such cutting confusion? The layout diagram on page 6 in the instructions shows the two 1 pieces, one up and one down. From the diagram it appears that the Left side piece is face up and the Right side face down, but based on the arm scythe that seems opposite to me of what actually needs to happen. Am I missing something? Does the diagram assume cutting on the wrong side of the fabric? Should I just follow my own logic on this one 😉 Thanks!
It is a pity Jenny never answered this one. I’m cutting my first Appleton dress and I’m stuck with the same problem, so I came here for help. Unfortunately no help was to be found, so I guess I have to follow my own logic, too. My logic says the left and right front pieces are coloured wrong in the instruction booklet. It would be nice to have this confirmed, though.
I saw you mentioned that the right side is narrower than the left but I can’t see where on the pattern it shows this.
You have the option of cutting the right side narrower than the left but, after reading comments on the Facebook Cashmerette page, I opted to cut *both* sides wide (the left side dimensions) to provide me with more of a more modest overlap.
You’ll also need to cut *two* of the piece #5 (left neckband) instead of one each of pieces #4 and #5. Having both sides symmetrical made assembly go much easier.
I think this might be a change with the new revision of the patterns. I don’t see this, either, on a paper pattern purchased in 2021. I just did a quick check in the mirror with the shoulders and armpit seams pinned, and I like it the way it is (without narrowing the right side). Could be they responded to feedback on the Facebook page that Etarnove mentioned, and have incorporated it into the new versions of the pattern.