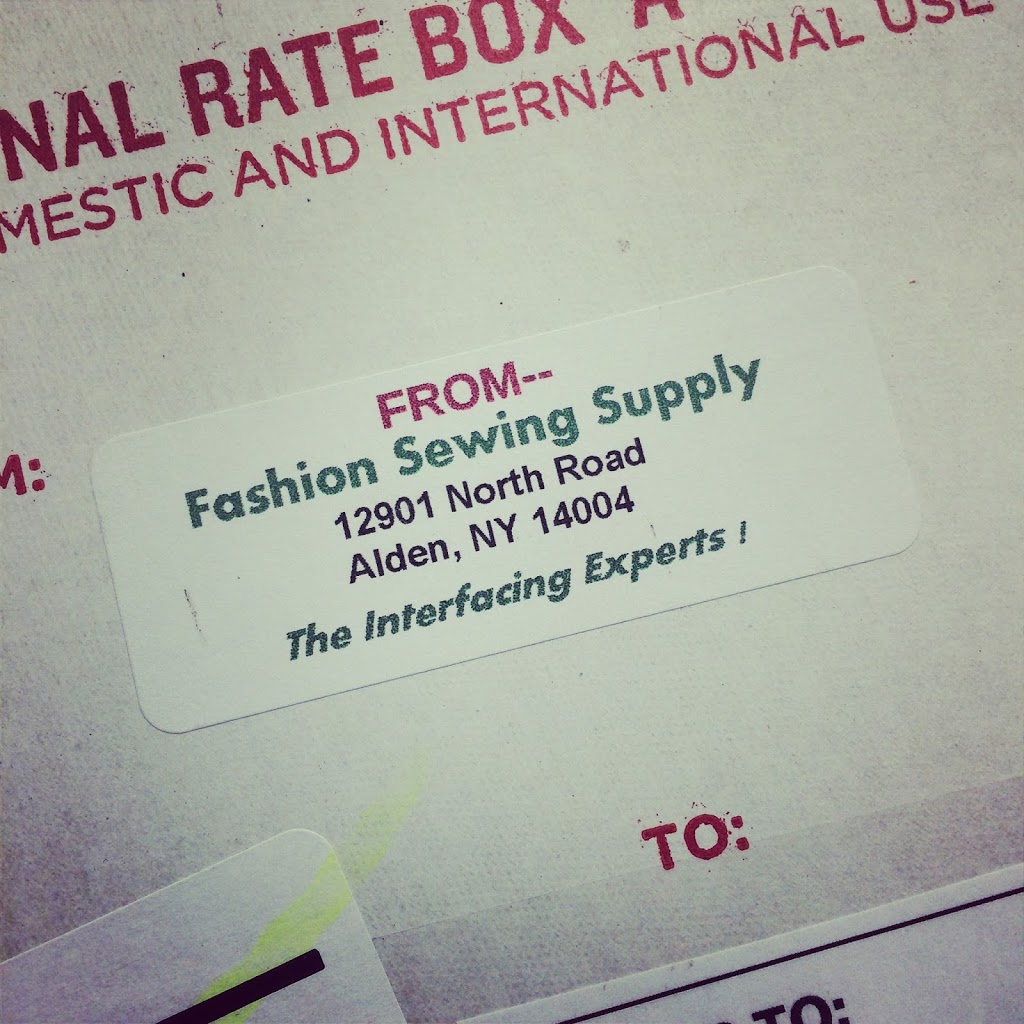
My Fashion Sewing Supply weft interfacing arrived (this one)! And so the coating continues apace.
One thing that continues to perplex me is why pattern instructions don’t explain all the steps needed to achieve a high quality garment. In the case of coats, the Big 4 barely mention interfacing, let alone taping roll lines, hair canvas and padstitching or any of the many other tailoring tricks. Last year I did tons of research to try to figure out the right amount of tailoring to make a RTW level coat, without spending a thousand years doing it. Using fusible tailored techniques seemed like a great option, and indeed it did give a really solid result.
The other technique I used last time and am repeating again is block interfacing. Normally when you interface a pattern piece, you use the tissue piece to cut out a piece of interfacing, and then fuse the interfacing to the main fabric. The problem is, it’s really hard to do this accurately, and interfacing often shrinks a bit when it’s pressed, so the result can be wonky. The alternative is to do block interfacing where you interface a larger piece of fabric first, and then cut the pattern piece out of it.
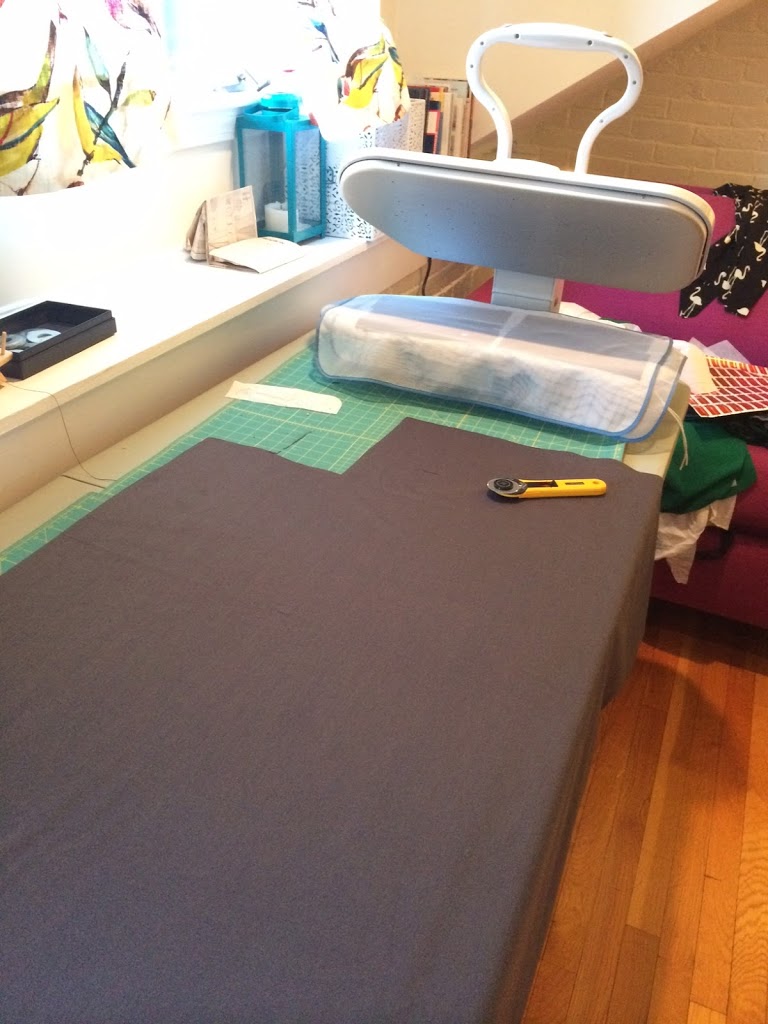
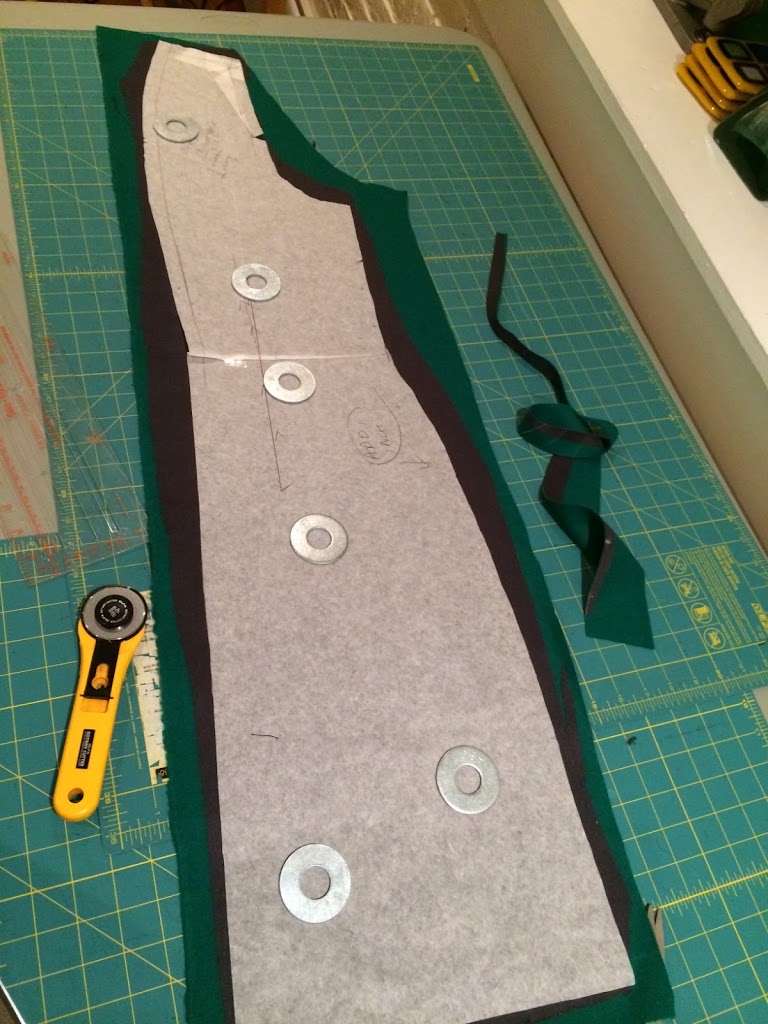
Last year I interfaced the entire 4 yard length of fabric first… and that was incredibly hard. I have a Singer Press which helps enormously because it presses a much larger area than an iron, but it’s very hard to run a continual piece of fabric through it because it hits the back hinge of the press. So this time I took a new approach: I first rough cut the fabric around the pattern piece (leaving a good 2 – 3 inches all around it), then rough cut the interfacing, and fused them. The good side to this: much easier to handle through the press. The bad side: I totally lost track of the grainline! Doh! With no visible grainline and no reference to the selvedge, well, it’s gone. Hopefully this doesn’t turn out to be a disaster, but time will tell. Learn from my mistakes, people.
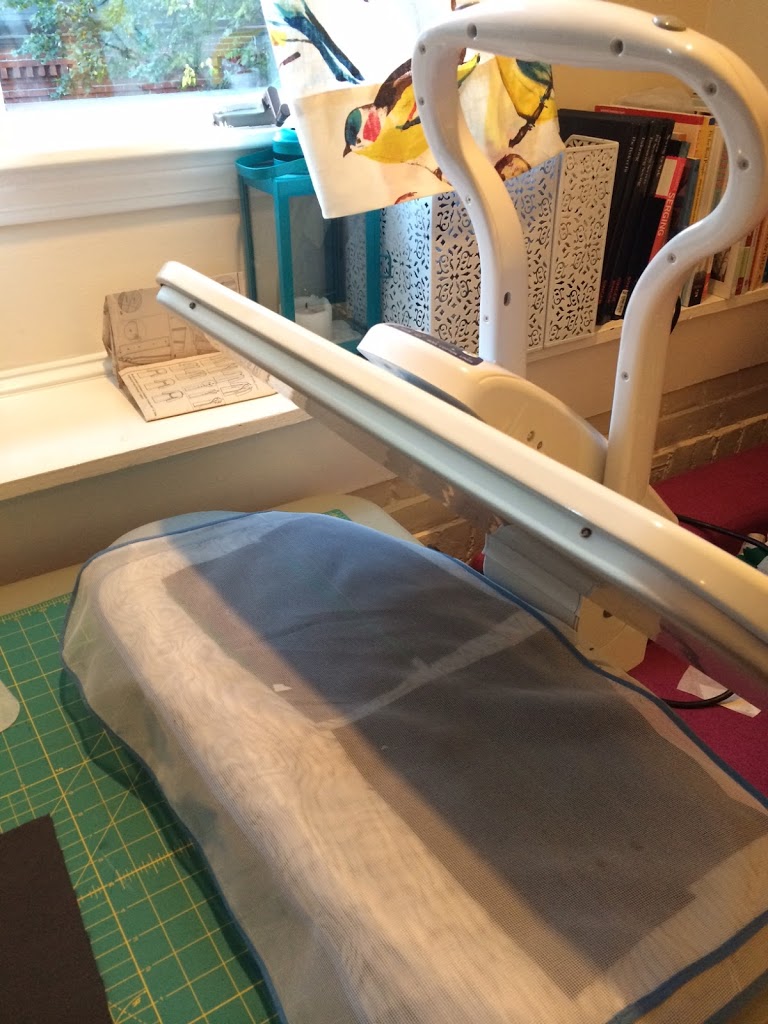
As chance would have it, I interfaced the pocket tabs first, placing them between two press cloths to protect the press from little bits of interfacing.
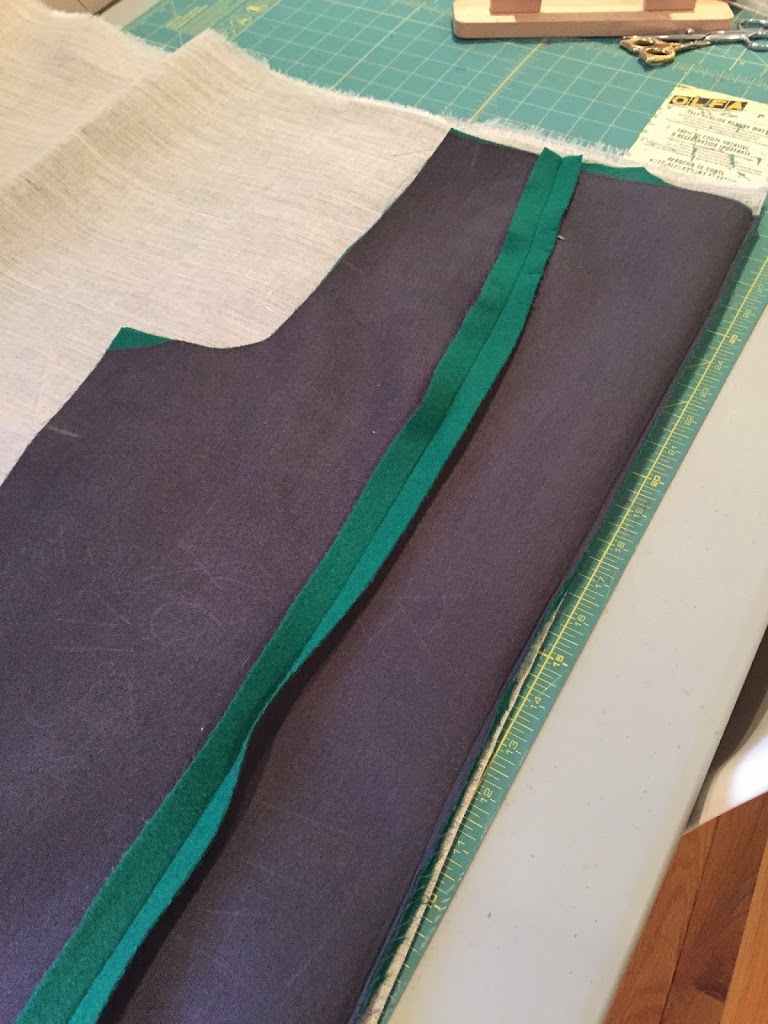
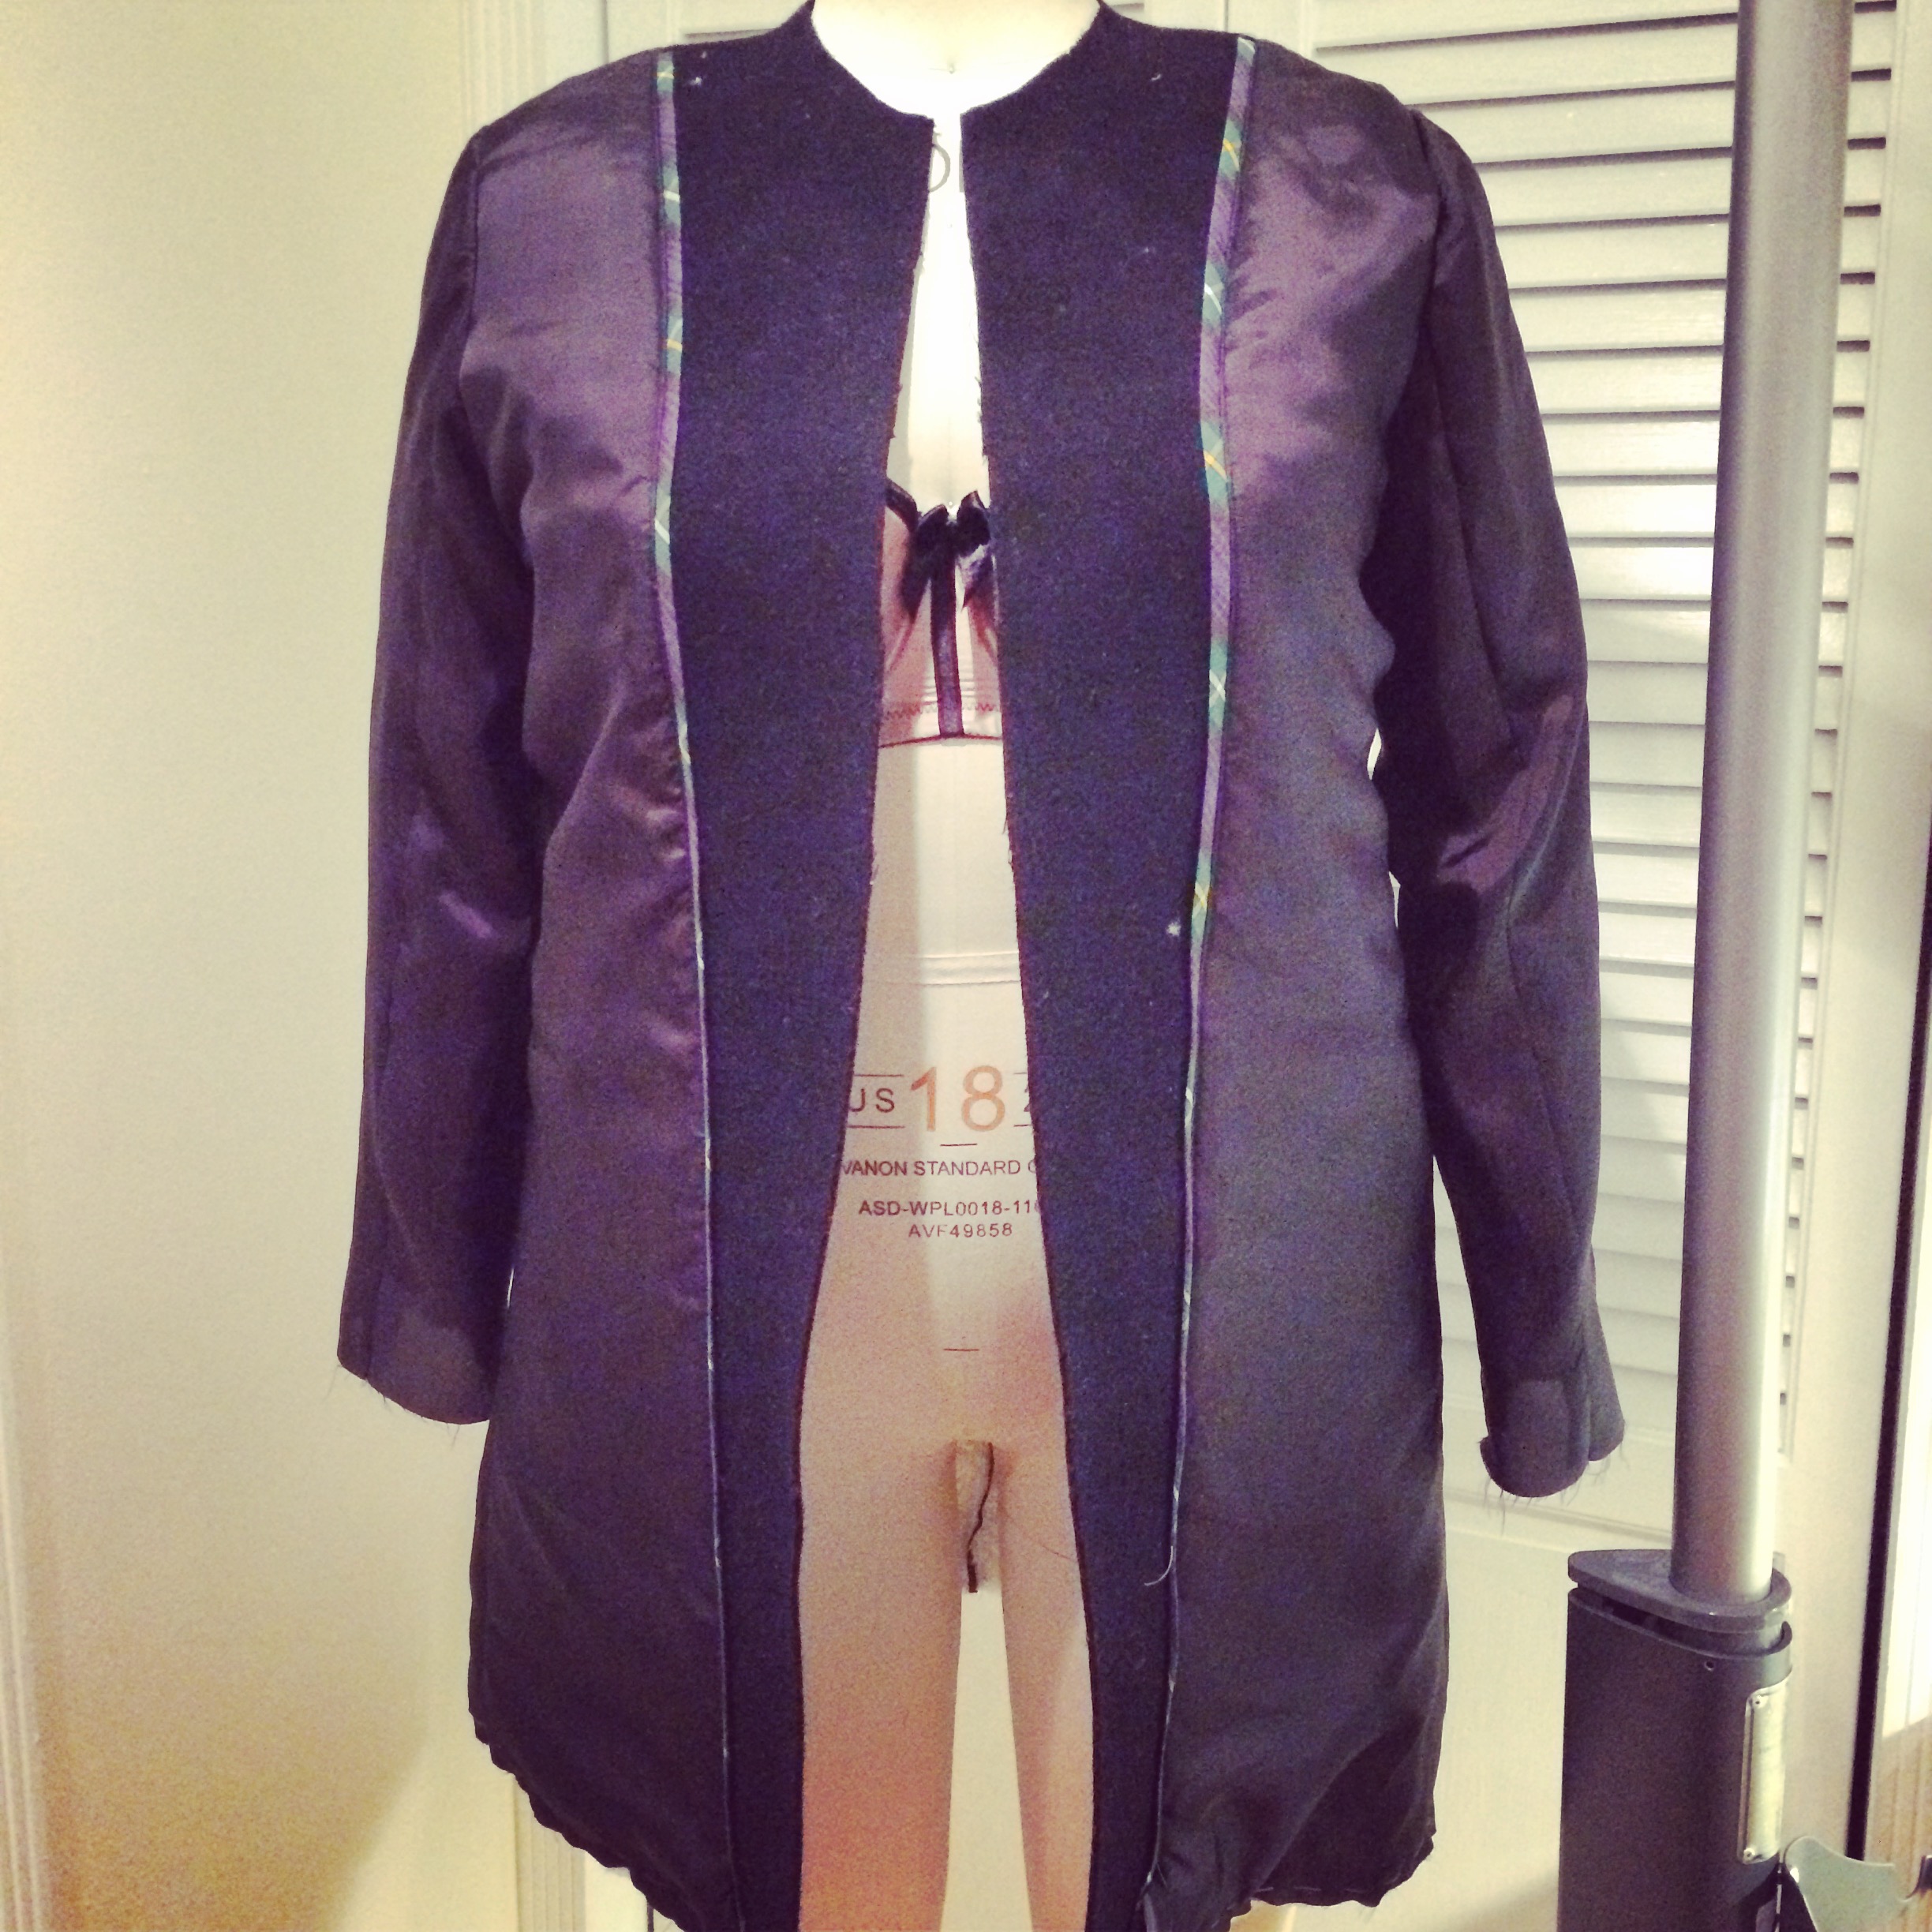
Aaaaaand that was a fail. The press cloth left a mark on the cashmere – you can faintly see the grid in the image below.
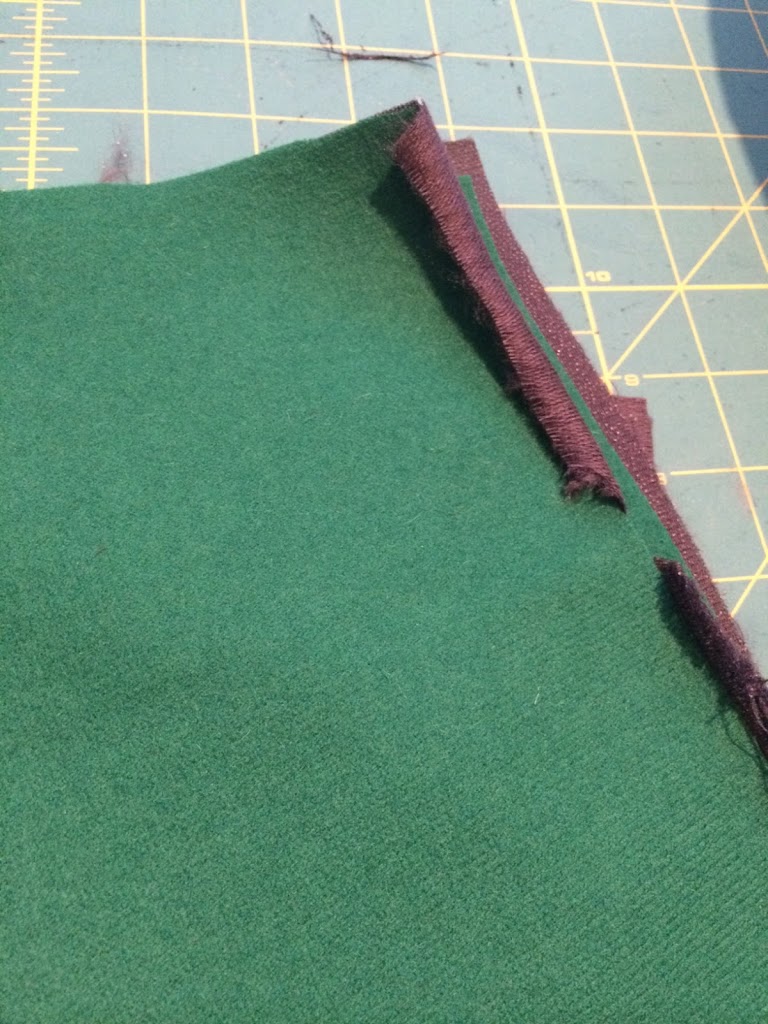
So, I decided to first trim down the interfacing a lot, and then fuse, which means I don’t have to use a press cloth. I could have found a piece of organza but I was being lazy (STOP BEING LAZY WHEN YOU’RE MAKING A COAT, SILLY!). Luckily, it worked. One tip: after you do the interfacing, make sure you place the pattern pieces totally flat (I put mine on the floor), because if you leave them at any kind of angle it will “set” in to the wool as the piece cools.
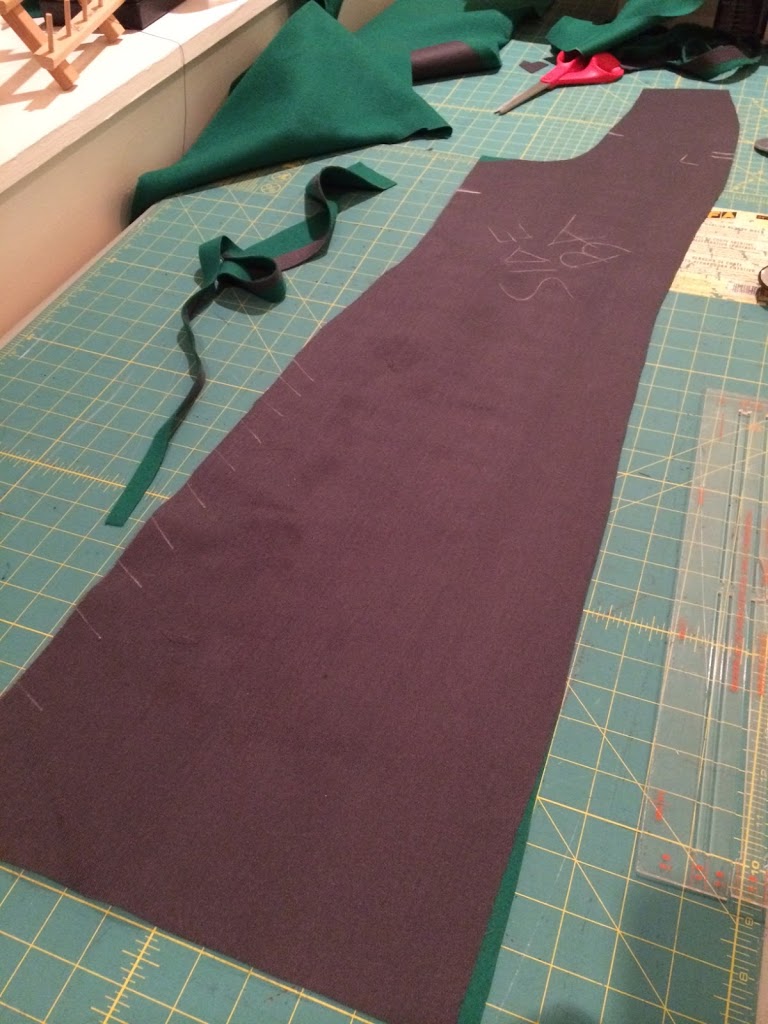
Then, on to cutting it out without the benefit of a grainline.
One of the nice things about using interfaced pieces is you can then scrawl on them to your heart’s content. This is the side back.
So, now I just have to cut all the other pieces, and then I have the *next* interfacing step. Stay tuned for more inevitable blunders!

block fusing, while super smart, is such a pain! all i have is a regular iron and dinky ironing board… i spent hours on that step when i made a coat. bummer about losing the grainline though!
Fusing is definitely a trial whatever way you do it!
What kind of interfacing are you using? I’m gonna order some.
To be clear, since I can google, is it this stuff: https://www.fashionsewingsupply.com/product_info.php?cPath=22&products_id=78&osCsid=e0d0efaf6bf8d24de93be444ac2fe7ce
Yep that’s the one!
Did you look at this book: http://www.amazon.com/Tailoring-Classic-Sewing-Perfect-Jacket/dp/1589232305/ref=sr_1_9?ie=UTF8&qid=1411655498&sr=8-9&keywords=tailoring
I kinda love it, in all it’s expensive glory (though, in all fairness, mine was a gift).
Grainline: chalk line your pieces next time as you cut them . . . just draw a line for the grain.
My interfacing comes next week . . . seams we are all copying you. Though, I think I”m going to double copy you and serge my lining . . . it is silk, and me thinks that would give me ease of mind.
Unfortunately that tip doesn’t work for me Annessa because once you put the interfacing on top you can’t see markings on the fabric any more! I have the Singer book on tailoring which I like – lots of very big photos 😀
Though I guess I could have marked it on the right side…: d’oh! Sewing: I’m an amateur
😉
You could also just mark each end of the grainline, rather than the whole line, then make sure the fabric is flat and not warping) which you would do anyway!), then match the ends of the grain line to the pattern piece when you cut- potentially easier to remove once you’re done! I had thought you could use tailor tacks at each end, but then realised it would be nearly impossible to remove once you fused interfacing over it.
I love the interfacing you’re using! Keep these posts coming. Totally digging it right now.
After trying Pam’s interfacing from FSS, I can’t go back to using cheapo interfacing for my own clothing. BTW–thanks for sharing your bumps in the road with your coat making! As you’ve said, there really aren’t any good instructions out there for how to do this from start to finish, so tips on what not to do are just as important as tips on what we should do.
You are welcome – now I reflect on it it’s true that you don’t often see mistakes on sewing blogs… I guess its hard to admit you screwed up! Luckily I know I’m a rank amateur so I have no qualms 🙂
Pam’s interfacing is the very best!
As to the book Anessa Babic mentions, it;s the best resource in my opinion on methods of constructing a jacket (or coat). I’m using parts of it myself right now on my coat.
The original one is rather expensive but there is a new edition of it (a sewing friend bought it and said it’s the same): http://www.amazon.com/Tailoring-Classic-Sewing-Perfect-Jacket/dp/1589236092/ref=pd_sim_b_3?ie=UTF8&refRID=03REZ9YPCW0V2870PP04.
More reasonably priced.
Good luck with your coat, looking forward to seeing it.
I have the old tailoring book from Singer and from the Amazon reviews it looks like it’s the same thing! I do really love it, so makes sense 🙂
Hey jenny. Interesting watching your progress. Maybe you could try this approach next time, cos it lets you keep the grainline? http://off-the-cuff-style.blogspot.co.uk/2011/01/tutorial-spot-fusing-vs-block-fusing.html?m=1 looking forward to seeing your finished coat.
Jenny, thank you for sharing your coat-making process. I’m making a coat for the first time, starting this coming week. Yikes!
I’m doing the Vogue 1419 sewalong (http://lladybird.com/2014/09/17/announcing-the-vogue-1419-sewalong/). There’s no mention of interfacing anywhere on the envelope or in the directions. Which parts would you recommend interfacing?