One of the joys of making clothing for little kids – and let’s face it, particularly for little girls – is you can do ridiculously cute things that may not be entirely suitable for adult clothing. Like contrast smocking on gingham! (No judgement on any adults who are wearing smocked gingham dresses… You go, cuties).
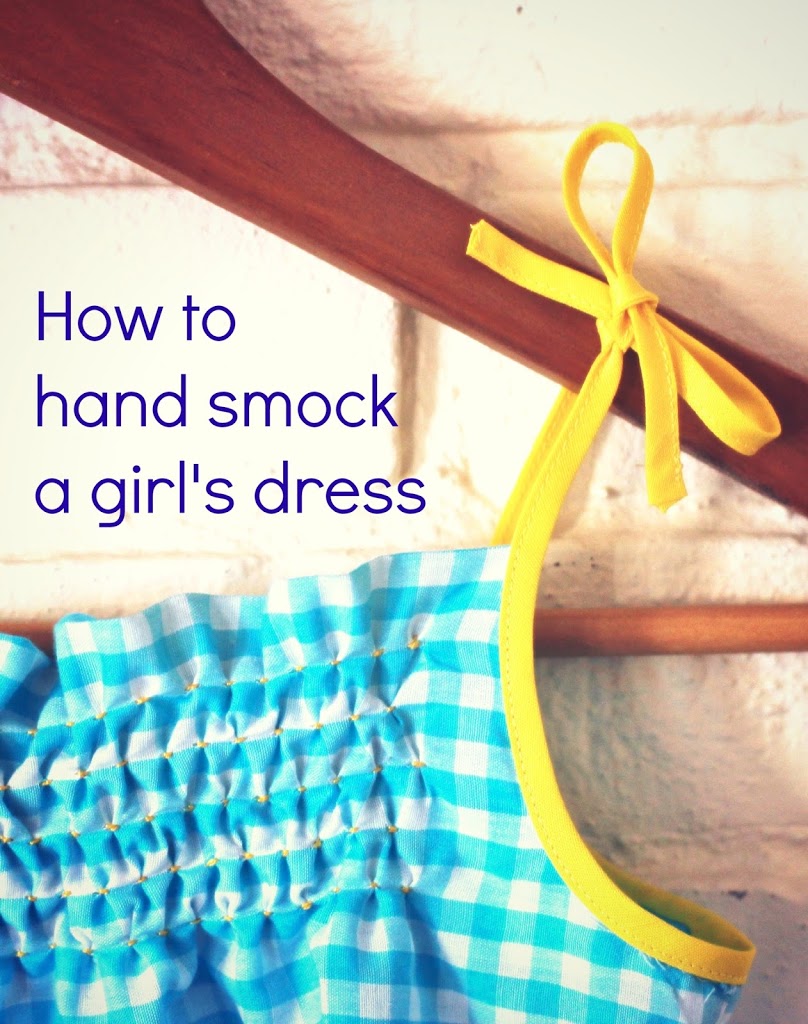
I recently learned how on my summer smocked dress, so I thought that in true sewing blogger style I would take something I’ve only done once and show everyone else how to do it 🙂 To wit: ignore my not so accurate stitching, but follow the instructions because I swear they’re correct!
I did this on gingham, which seems approximately 125% easier than using plain fabric and marking on all the dots and not immediately rubbing them off again. However, I am led to believe it’s possible.
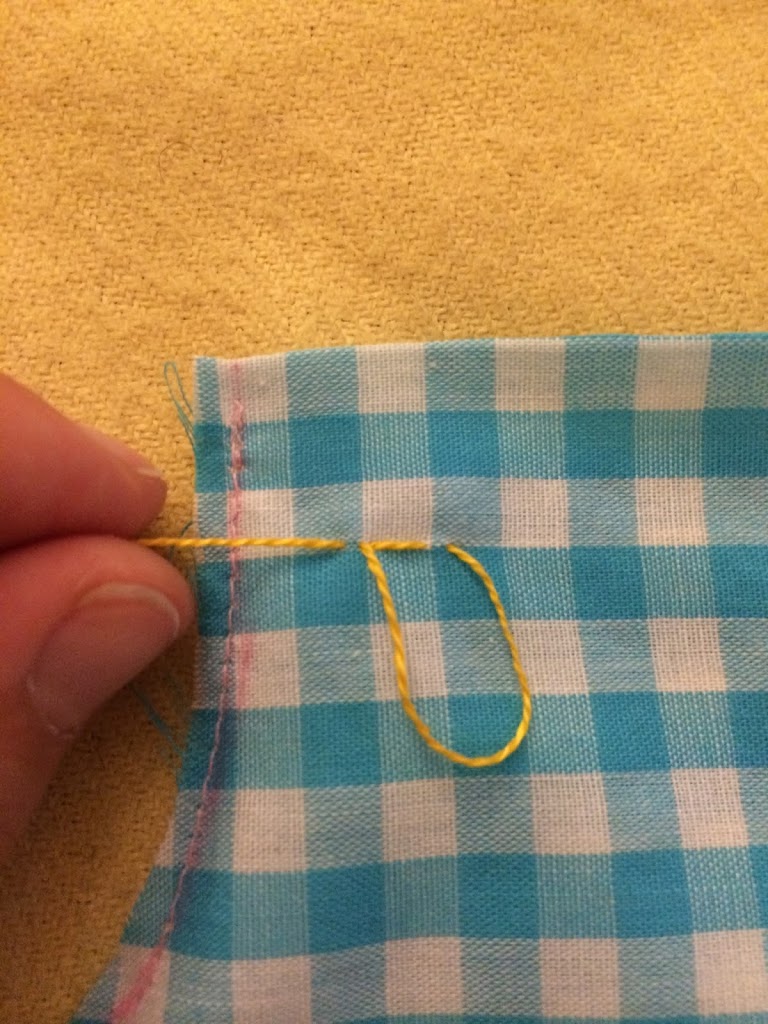
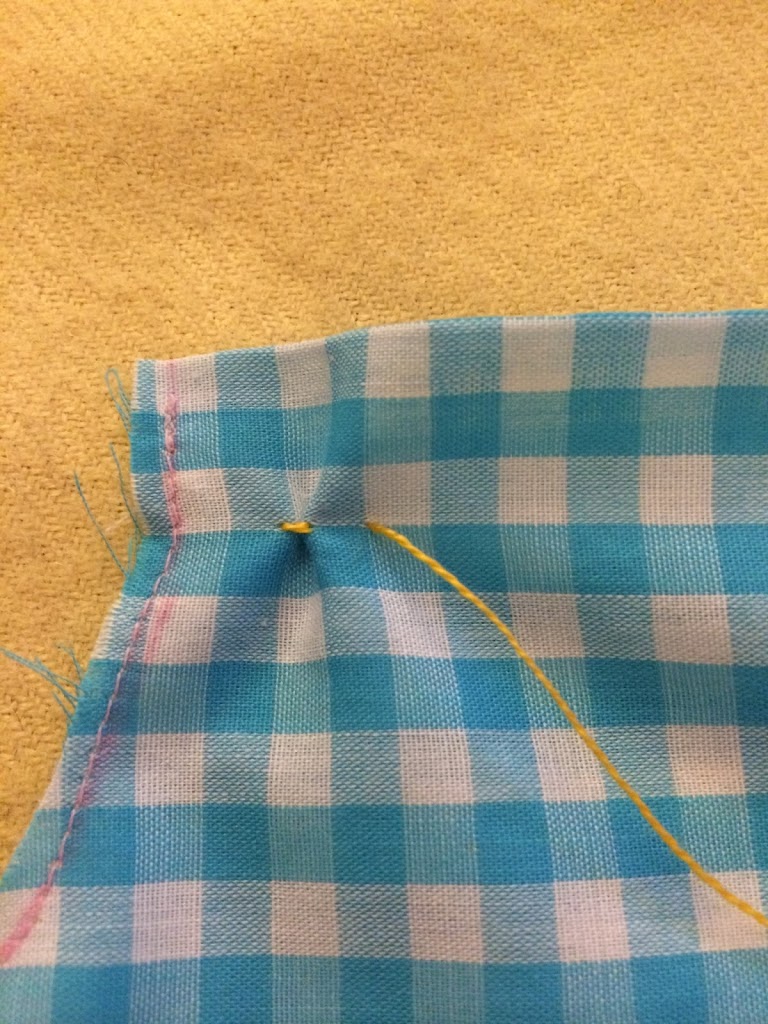
1. Start with your thread behind the fabric, and come through at the corner of a gingham square.
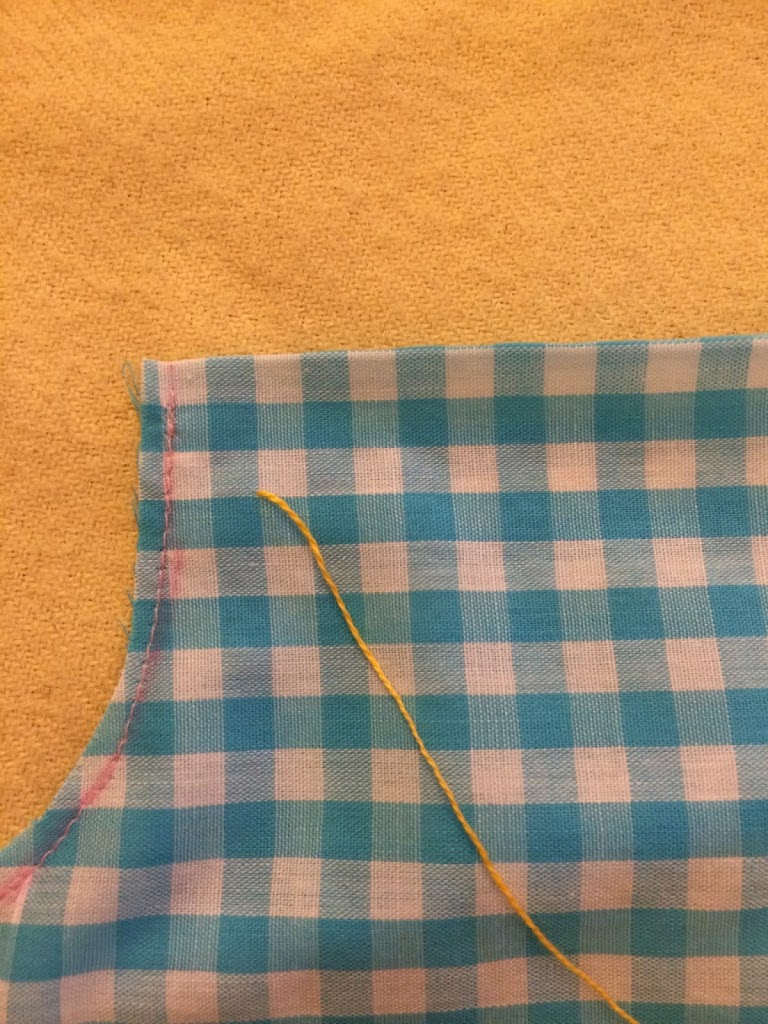
2. Go along to the next square to the right, and take a very small stitch
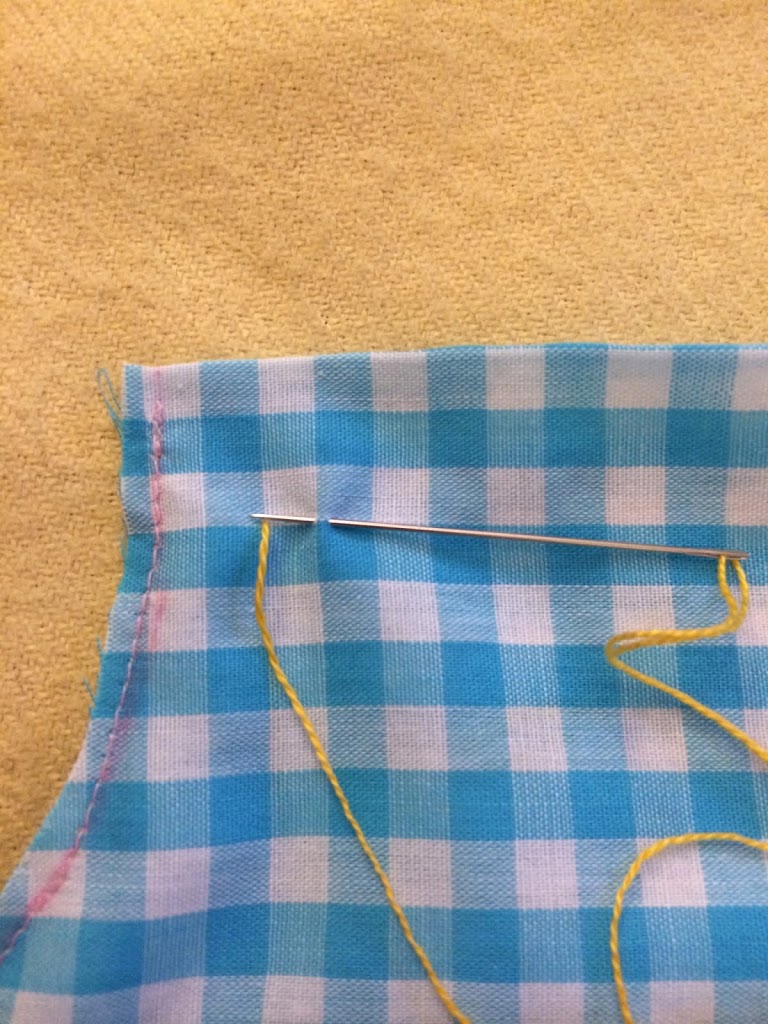
3. Continue moving your needle to the left, and take a tiny stitch under your first one
4. Pull!
Magic smock!
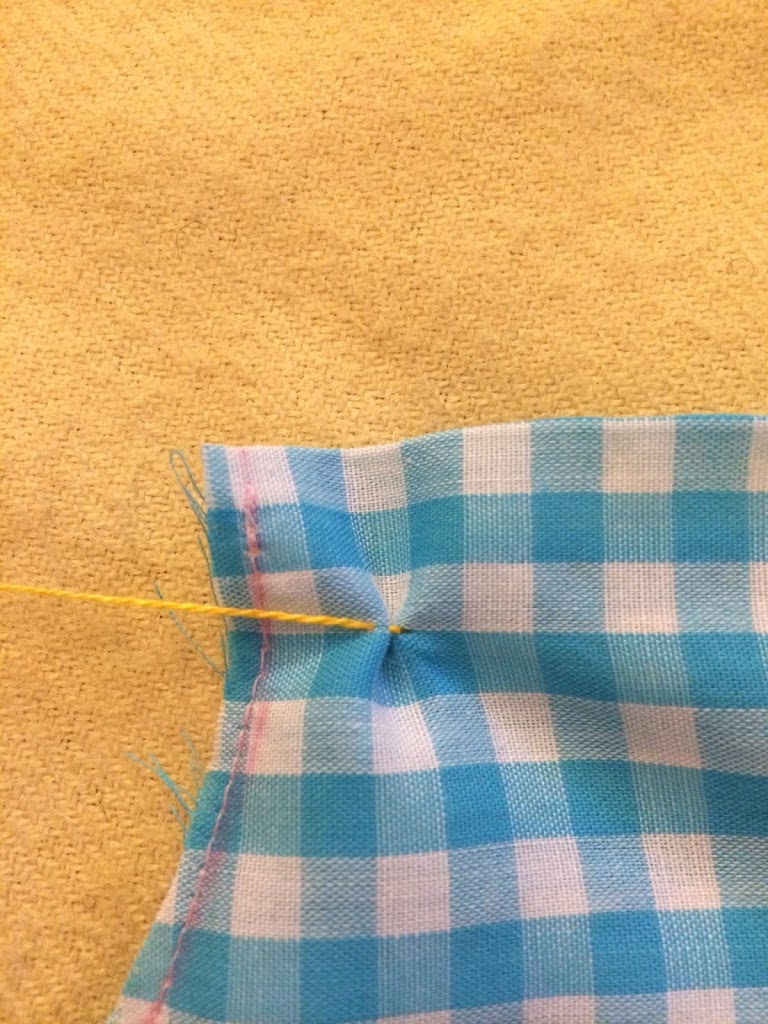
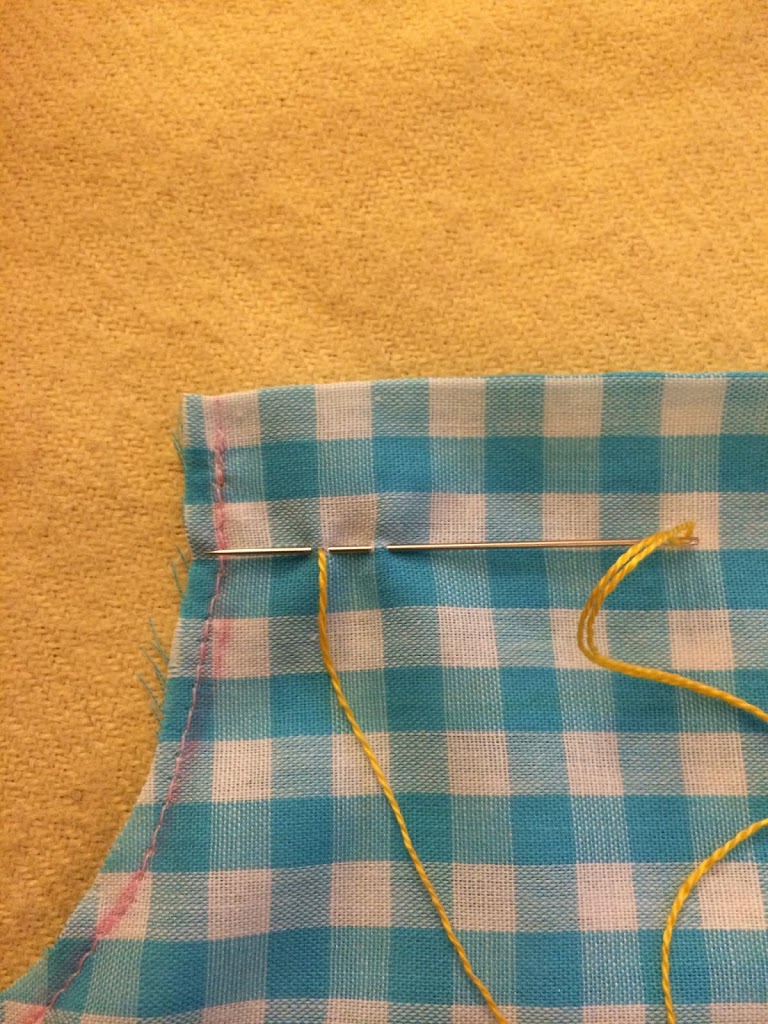
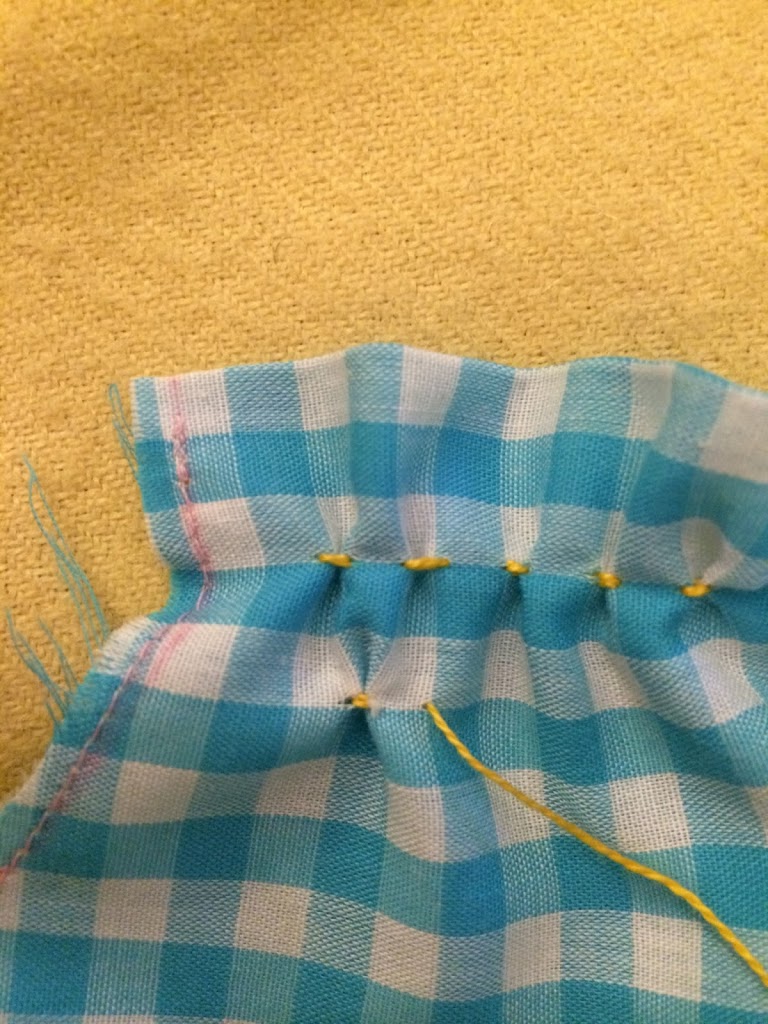
5. Go back over to where you made the stitch on the right, and make another stitch. Basically you’re re-stitching over the stitch you just did, and this is what will show on the front of the garment so try to make it neat
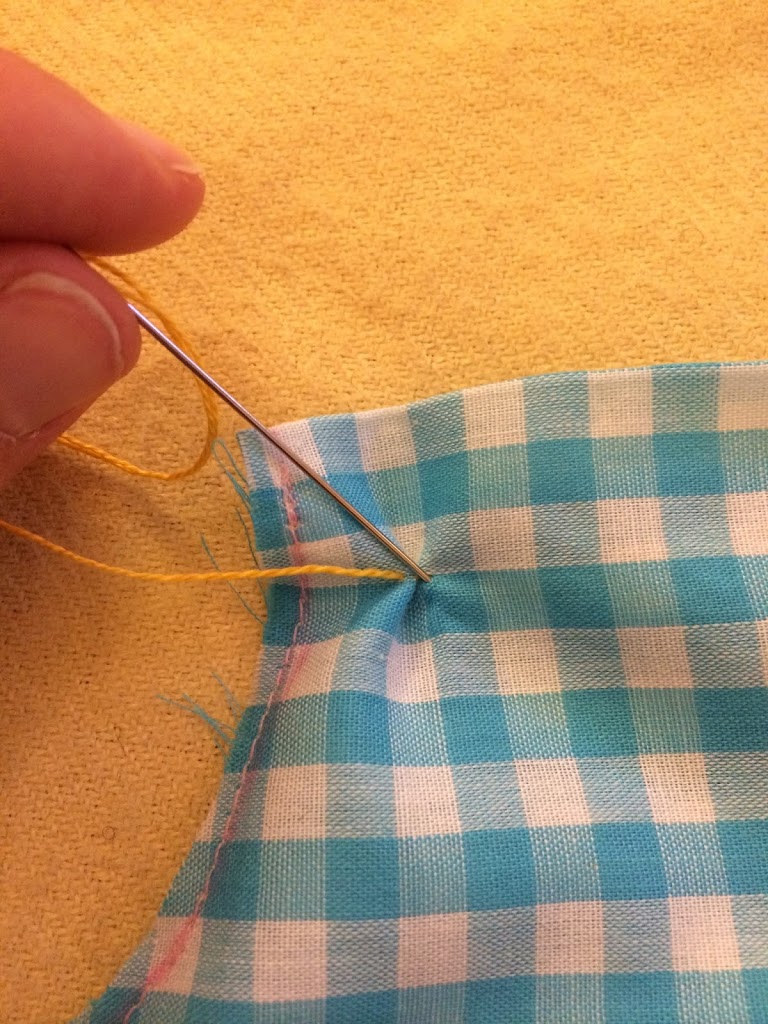
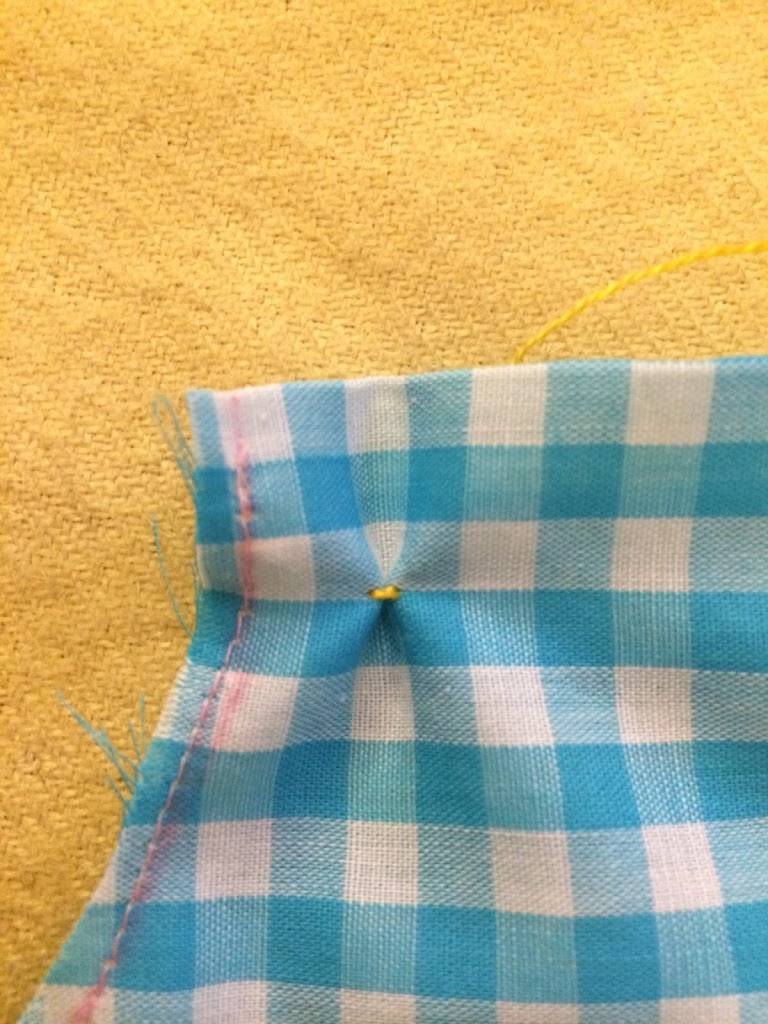
6. Repeat over at the next square to the right
7. Once you’ve finished a row, tie off and start again at the left. This time, stagger in one square so that each stitch is between the two stitches above. Below I also went *down* two stitches, but you can just do one if you want.
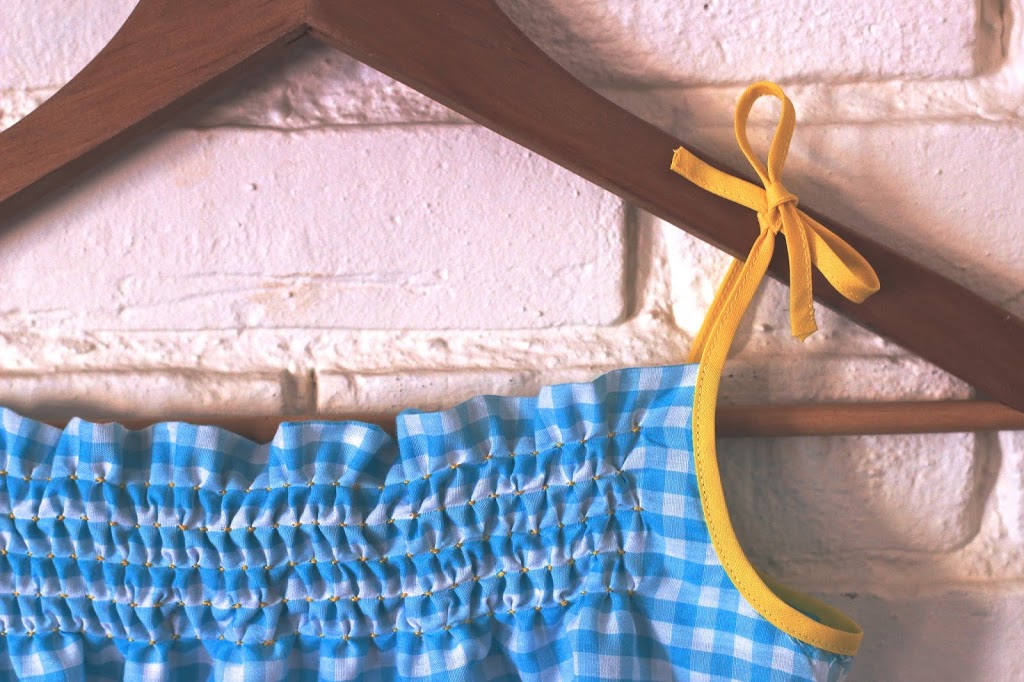
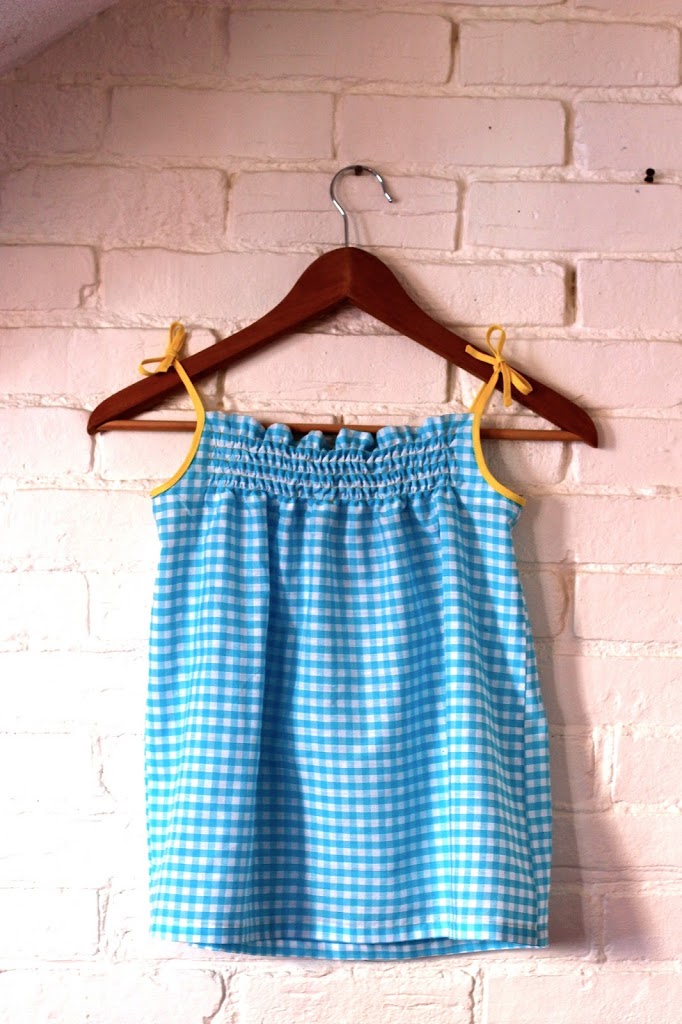
And there you have it! A cute little smocked dress for a special little lady in your life.
This is really cute. I love the contrasting thread. 🙂
Super cute! Great tutorial.
That’s adorable, now I jsut need to find a little girl to sew for…
I got a vintage 1940’s smocking booklet recently, in great condition considering its age
http://www.calascrafts.blogspot.com
I can’t thank you enough for the tutorial. I think I finally understand how to do this.
How much extra fabric did you need?
It should be double, right?