As previously mentioned around these here parts, one of the greatest challenges – and opportunities – of sewing is fitting. Indeed, it was one of the main reasons I started out: the holy grail of the dress that fits all bits of me, and not just some! However, it’s also not easy, because there are so many variables. The pattern, the fabric, your own skill, the temperature, the position of Saturn etc. You get the idea.
I recently faced two more fitting challenges, which I’m proud to say that I persisted with, and even if the end result isn’t perfect, it’s a whole lot better than where I started out.
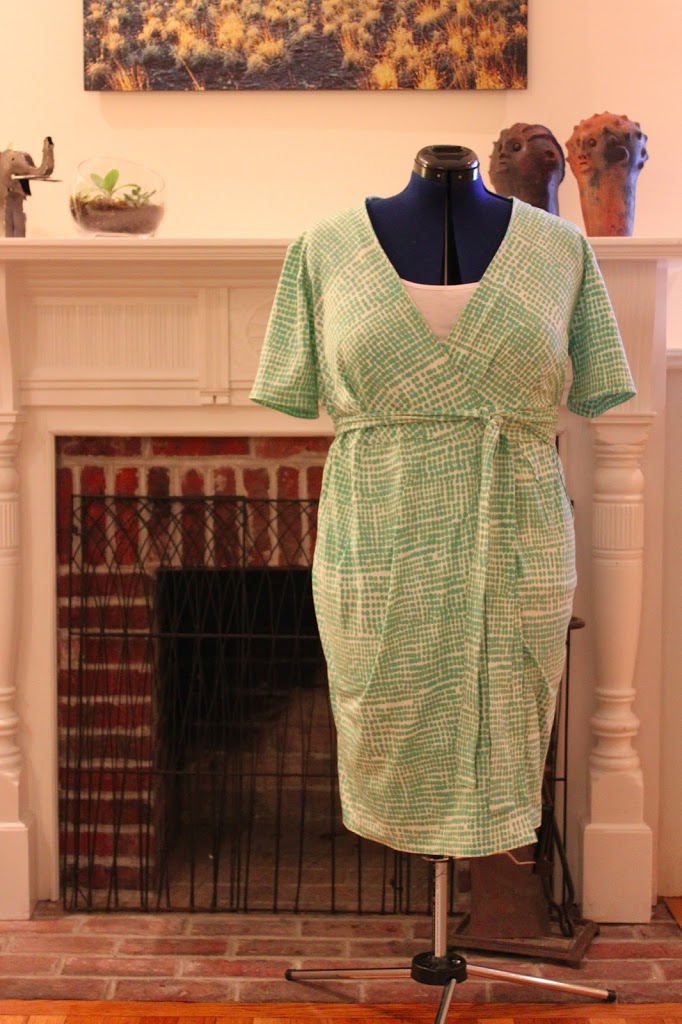
First up, a wrap dress I made at a class at the ever wonderful Gather Here (now with an upstairs annex!). The fitting challenges were thus:
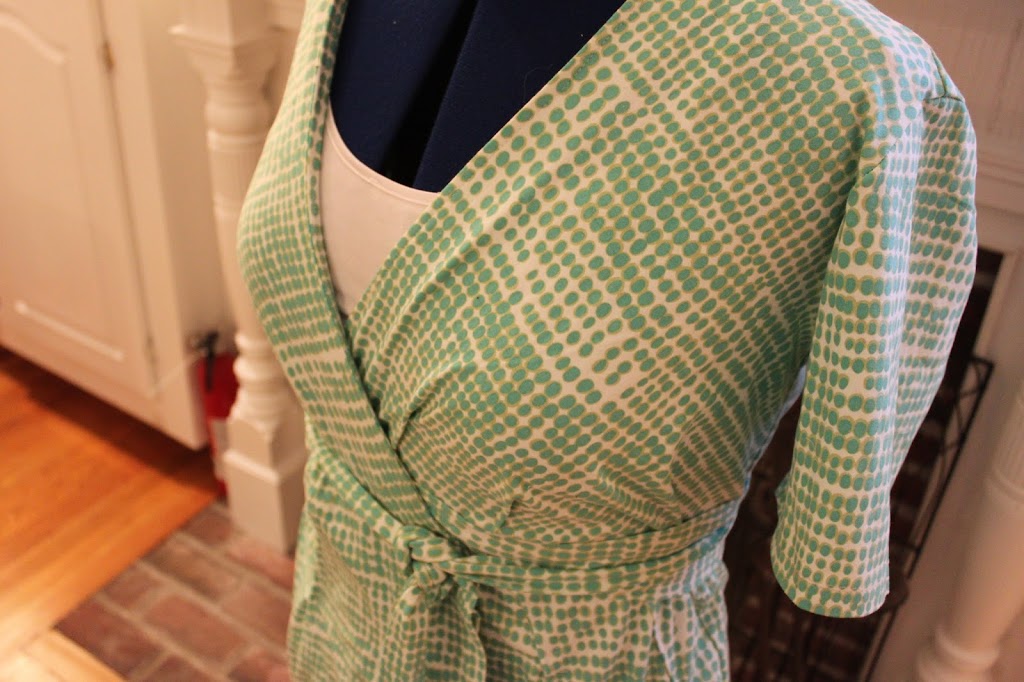
1. The pattern has a bunch of pleats which make the fabric “poof” out above and below the waist
2. Clearly the sizing is a bit off, as my usual size was enormous on me
3. The fabric was a stiff Liberty jersey – alas one of the perils of buying fabric online is you don’t know how it will feel, and I probably wouldn’t have chosen this if I’d felt it in a store. It’s also oddly grippy, which makes it hang a bit oddly (I may need to whip up a half slip to go underneath it).
As a result, once I’d made the dress up (learning multiple things along the way including how to make facings, the best approach for setting in sleeves – flat! – and how to use the serger to gather), it looked…. pretty terrible! Like an oversized hospital gown. Not helped by the fabric pattern, admittedly.
Deploying my new approach of…. patience… I waited until a week later when my frustration had subsided and I was feeling a bit calmer. Oh! And it was a snow day here in Boston due to the snowpocalyseaggeddon of 2013.
I did the following:
– Widened the neckline to be a more flattering “open” shape – I measured from the shoulder to the front neckline of a favourite dress and used that measurement, reducing this one by 1 inch
– Took a whopping 6 inches out of the middle, moving the skirt waist line up 3 inches, to where my actual waist is (vs. the optimistic waist we all have).
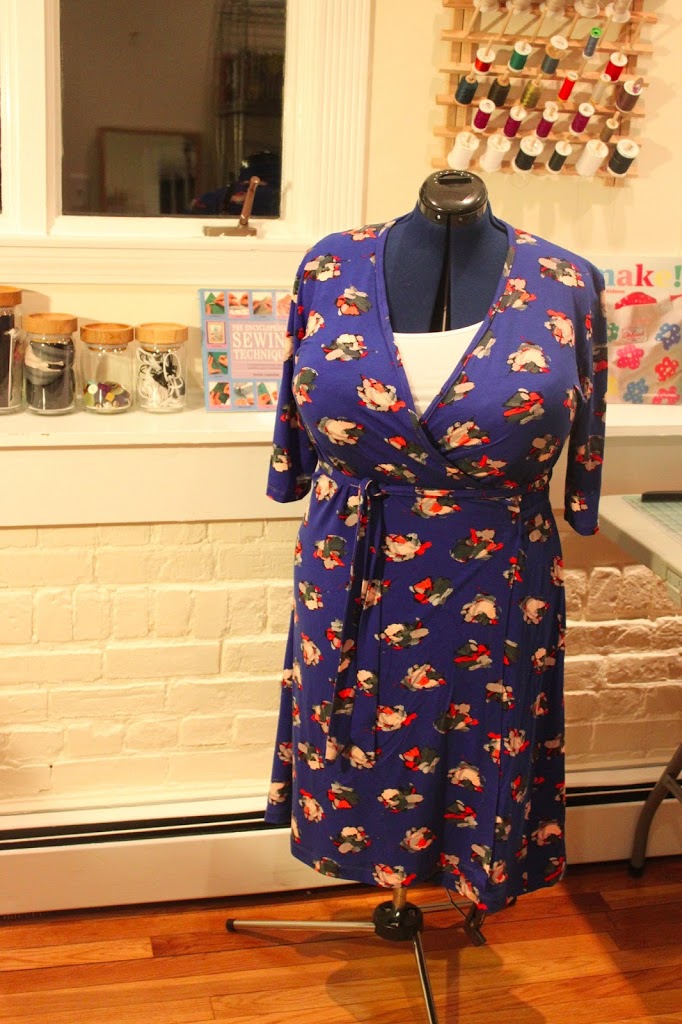
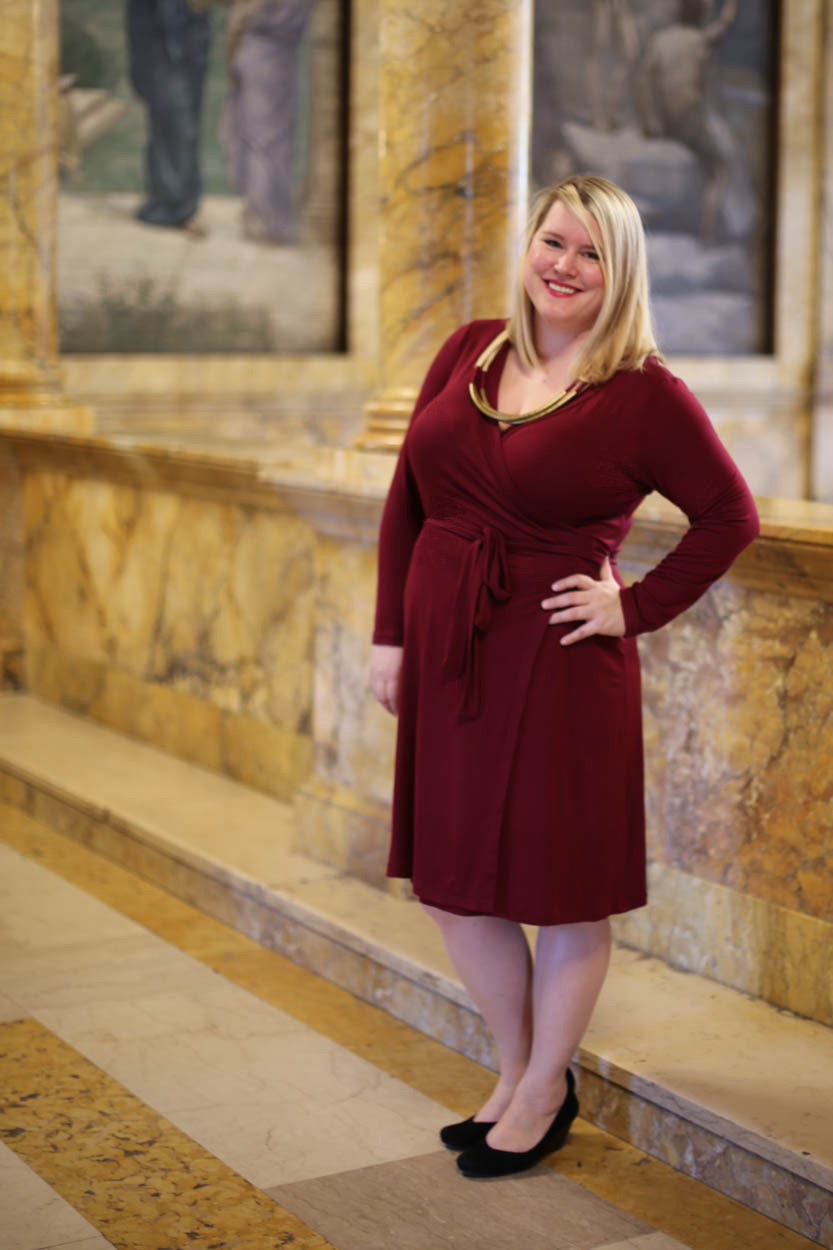
– Sewed down the pleats – this was an attempt at reducing the poofiness, though as you can see in the picture below, it didn’t entirely work.
The final result isn’t too bad! Perhaps not my favourite wrap dress ever – partly because of the pattern, partly because of the fabric – but no doubt the one I learned the most from, thanks to Virginia’s teaching tips, and my own perserverance on the fitting front.
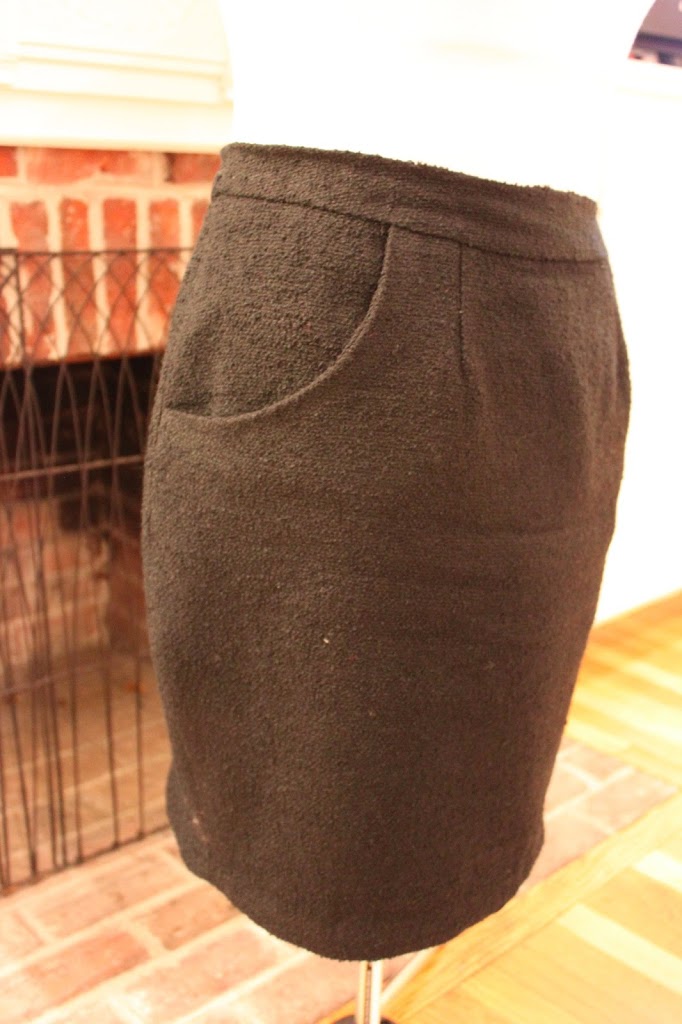
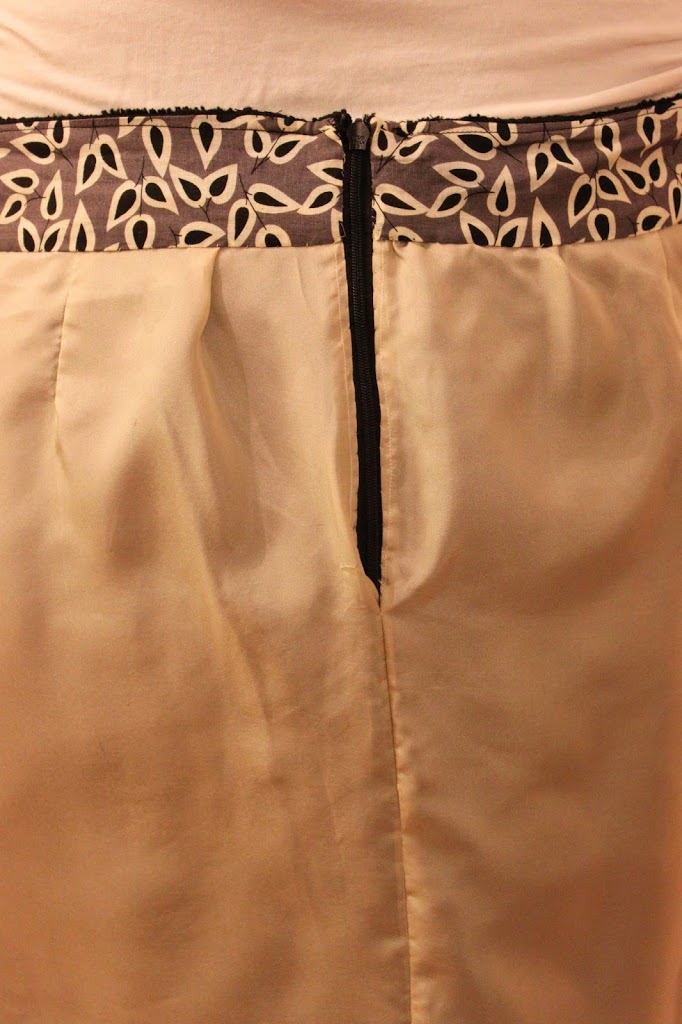
And, there was one more fitting adventure. I made a second version of my pencil skirt, this time with a bolt of GBP 6.00 black boucle that I got at John Lewis over Christmas. As this was my second shot, I managed to do a better job, including adjusting the front gathers to be pleats instead (much more flattering!). I also narrowed it towards the hemline to make it more pencil-y.
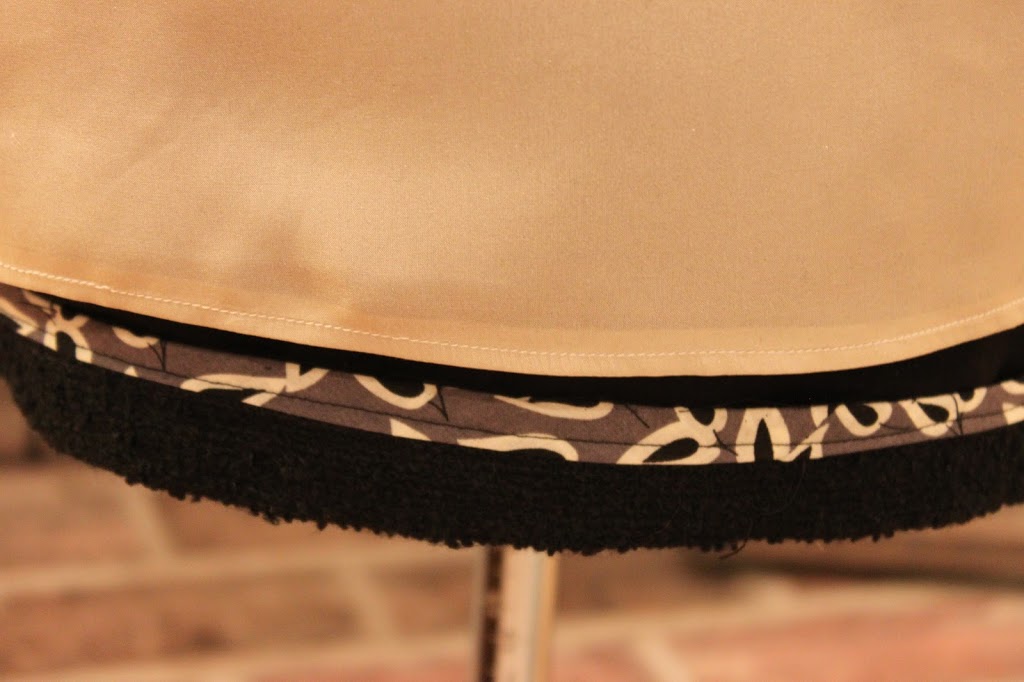
Alas! On *literally* the final pressing I managed to iron straight through the lining – my fault for using meltable acetate. Again, I decided to pause. And then I swallowed the price tag of some champagne silk from Gather Here and did lining #2, this time, unmeltable. I was pleasantly surprised at the ease of putting it together – I did use the trick of cutting it on top of some butcher paper, with a rotary cutter, which worked well. Then I finished it off with a baby hem, and let it hang, attached to the main fabric with a couple of crocheted thread tags (as taught on my Couture Sewing course last summer).
So! Perhaps not my best final work, but certainly a worthwhile exercise in my pursuit of the ultimate non-homemade-looking wardrobe!
Share: