Warning: this post may be a little dull for those of you who aren’t sewists (I can’t say “sewers” because that’s just an entirely different thing).
As I mentioned, one of the great things about my new sewing class is all the little tips and tricks. So I thought I’d write about some of them here so 1) I don’t forget 2) everyone else can benefit from my MassArt tuition fees.
Here goes!
Buying supplies:
– When you’re looking at fabric in a store, check if there are any numbers or twisted threads on the selvedges – that means they found a fault when they were manufacturing it.
– To find the grain, either rip the fabric, or press a pen or pin into it, and pull it along – that separates the grain and shows the grainline.
– If you want to make a camisole without darts, cut on the bias and it will stretch where it needs to.
– When you see needle numbers like 70/30, the 1st number is the European number, and the 2nd one is the American one (I always wondered about that!). The higher the number is, the bigger the needle, and the heavier the fabric.
– Microtex needles are for microfiber synthetic fabrics like raincoat or sailcloth material
– Always use cotton thread if you’re going to be dyeing the garment.
– Watch out for thread with a green label on the end – that means it’s for hand sewing only.
Interfacing special
– You must always use interfacing for collars, buttonholes and waistbands, and often for other areas.
– Fusible is the type with little dots of glue on which you can iron onto fabric. Pellon “sprayed” interfacing (which is the thin, almost cobwebby type) is rubbish – don’t use it!
– Woven interfacing has grain, and comes in light, medium and heavyweight
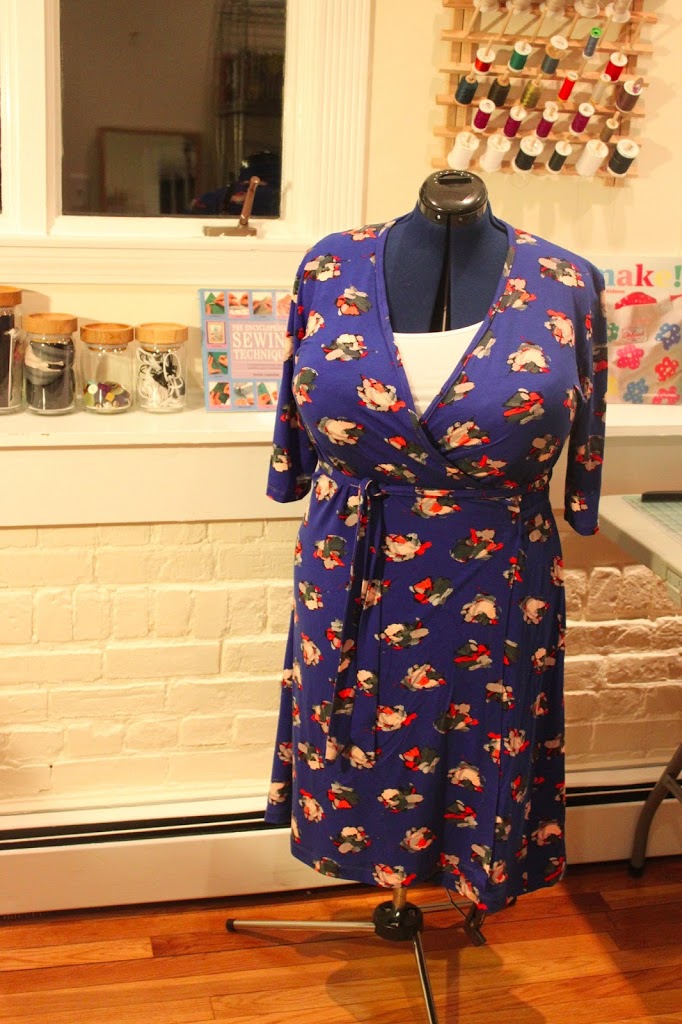
– Tricot is for knits – use it for wrap dresses! It comes in different weights – the heavy stuff is good for “hold everything in” lingerie.
– Silk organza works well for underlining and interfacing – though it’s never truly bright white, so if they claim something that colour is organza, it isn’t really….
– Horsehair canvas is for inside tailored jackets and cuffs.
– Wash-off stabilizer can be used on silk – iron it on, sew, and then wash off later.
Still with me? Here’s a picture of a suave dog as a reward:

Pre-treating fabric
– For cottons and wovens, cut a 1/8 yard strip for testing. Make 4 squares, and draw around one of them on paper to make a template. Wash square 1 in cold water and air dry; square 2 in cold water and iron it to dry it; square 3 in hot water and then iron; square 4 wash and then put on a towel to see if it bleeds. Then, check all the pieces against your paper template, to see what shrinkage there is.
– Before washing, hand-baste the selvedges together to make sure the grain doesn’t slip!
– If you are going to dry clean the fabric you don’t need to pre-treat it. However, test the heat resistance with an iron and if necessary tell the dry cleaners not to press it.
– Linings often have a lower temperature tolerance than the outside fabric, so watch out not to burn it when ironing. Use silk instead of acetate for the lining if you want to be able to iron it.
Organization
– Put your pattern pieces into a plastic ziplock bag and leave the instructions in the pattern envelope. Then put the interfacing, zippers and other notions in the ziplock with the pattern.
Did you learn something? Something useful? I hope so. Watch this space for lesson #2!