At this point we have a new pattern made out of muslin that’s been really tailored. Next step, cutting!
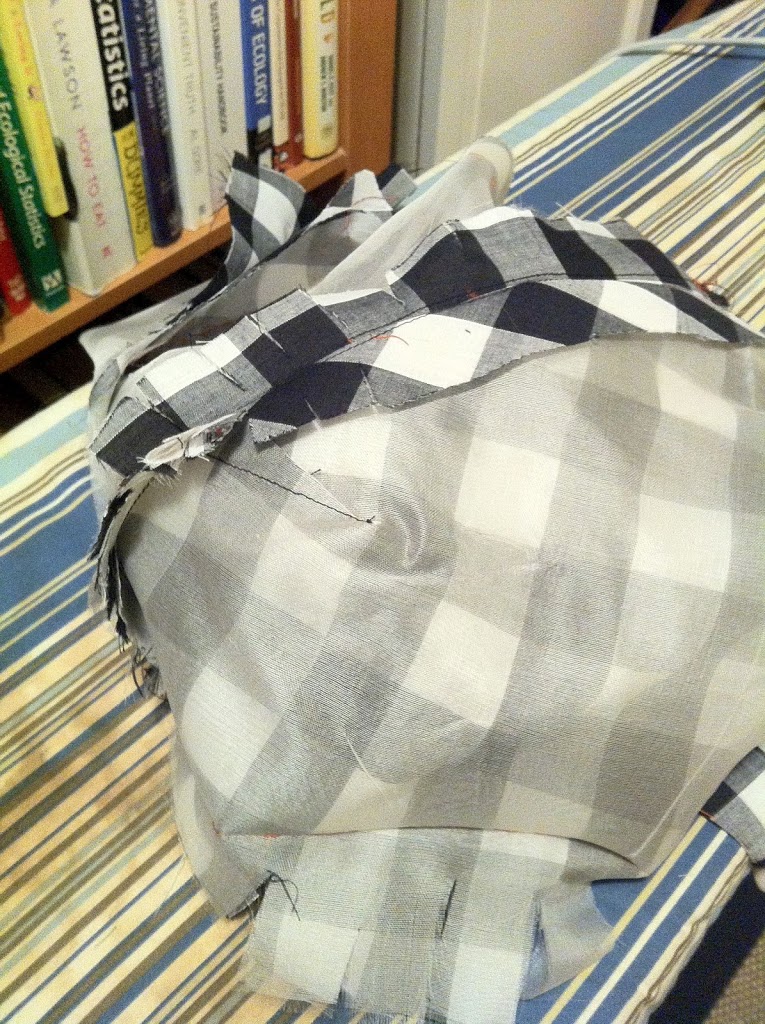
– Cut out your fashion fabric (gingham) pieces, then cut out pieces of silk organza which will be used as an underlining. An underlining gives more body to your fashion fabric, can help make it less see-through, and is very useful for making a very professional looking garment with no stitches visible on the outside, because you can do all the seam finishes, hemming and so-on to the organza.
Here you can see the organza on top of the fashion fabric:
– Hand-baste together the fashion fabric and underlining pieces, and then hand-baste the ENTIRE DRESS TOGETHER. Yes, people, this takes a long time. But it’s worth it because you get to fit *again*, and when you take it apart you’ll have a lot of control over how it’s constructed.
– Now you finally get on your machine! Sew together the seams, going over the basting stitches. Then pick all the basting stitches out. Yep, this takes a *while*.
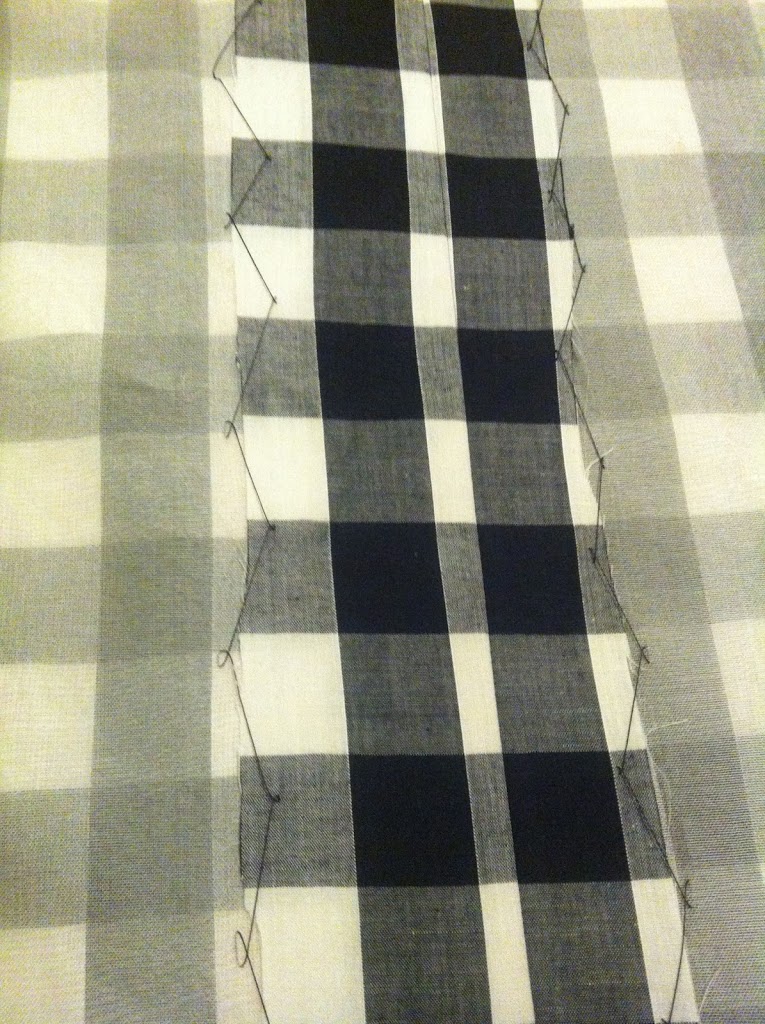
– To finish the seam allowances you trim them to be tidy but still leave them at about 2 inches. Then after an intense pressing (four times for each seam) you “catch-stitch” by hand, which attaches the fashion fabric in the seam to the underlining – so the stitches don’t show from the outside at all and the whole thing is *very* flat. Here’s my catch-stitching: not too bad!
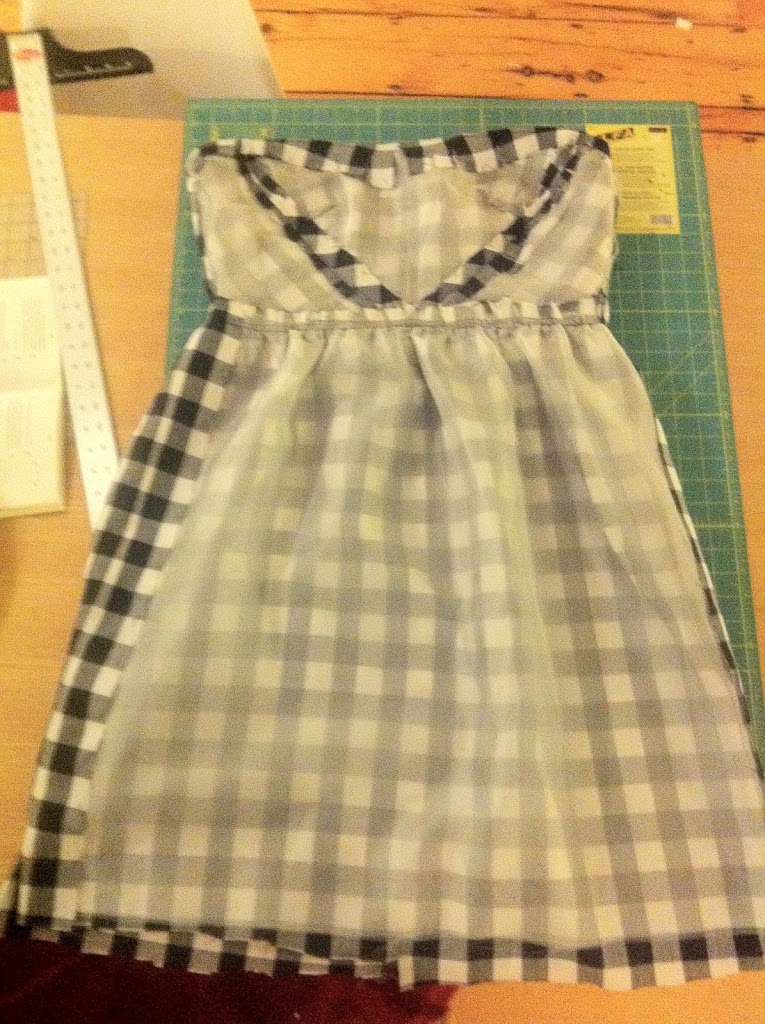
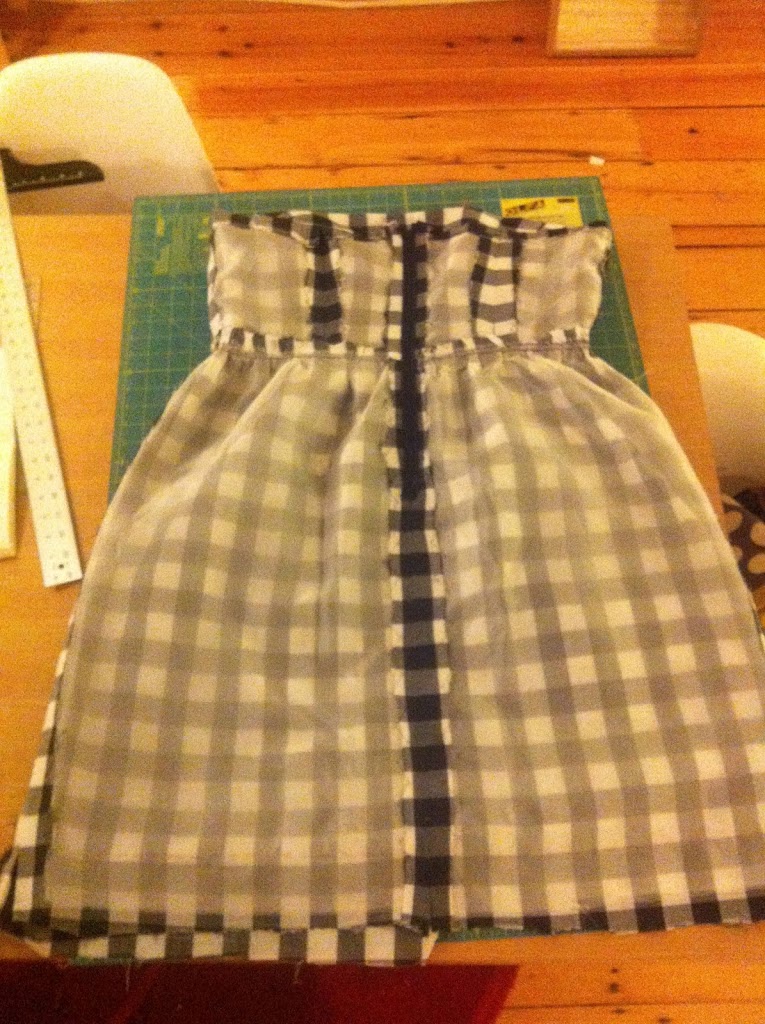
And here’s what you’re left with! The guts of a “couture” dress (before I put the straps on):
Front:
Back:
The nearly-final stage is to make the lining. This involves cutting out all the pieces of the muslin one more time from lining fabric – I used cotton batiste which is a very lightweight cotton, appropriate for my summer dress. Then you basically re-make your dress in the lining, but leave the bodice and skirt separate. I did a
baby hem at the bottom of my dress, which was recommended as a good method for full skirts.
You attach the lining to the dress, by, you got it, hand. This time you use a “fell stitch” which becomes almost invisible. First you baste the skirt to the waistline, then put in the bodice along the top of the neckline. Then, you fell stitch the bodice to the skirt lining along the waistline.
Finally it’s just a few minor finishing touches. I chose to:
– Put in “bra holders” in the straps to ensure that they always remain in the same place. I used little snaps, and a “thread crochet” technique shown in the class which makes a tiny but strong thread rope to use.
– Put in little thread rope connectors between the lining and the outer fabric to keep them close together. I think this was especially important because you don’t want to see or feel the organza.
And that’s it! It probably took about 3 weeks beginning to end but the final result is really lovely. Photos to follow SOON!
Share: