Coverstitch is the stitch you see on the hems of t-shirts, and clothes made of stretchy material: in my case, the wrap dresses which form my uniform. Typically you see two parallel stitches on the outside of the garment, and on the inside it’s a little web of stitches. The big benefit to it is that it stretches – if you tried to sew a regular seam on these materials, every time the material stretched the stitches would all break. You either need an overlock/coverstitch serger or a separate coverstitch machine to do this, though there are great “cheat” methods using a twin needle on a regular sewing machine. I’m using my Bernina 1300dc convertible machine.
Here’s how I do it:
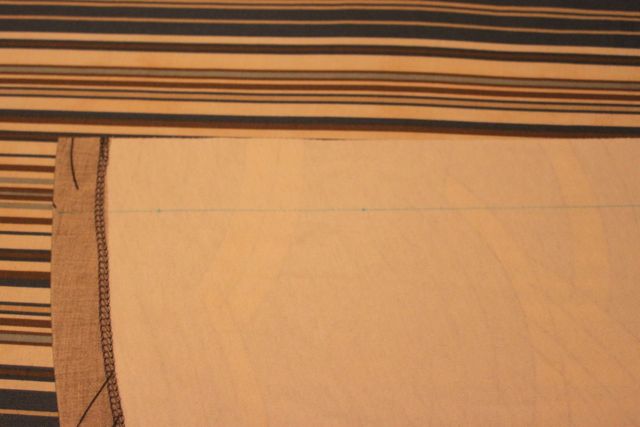
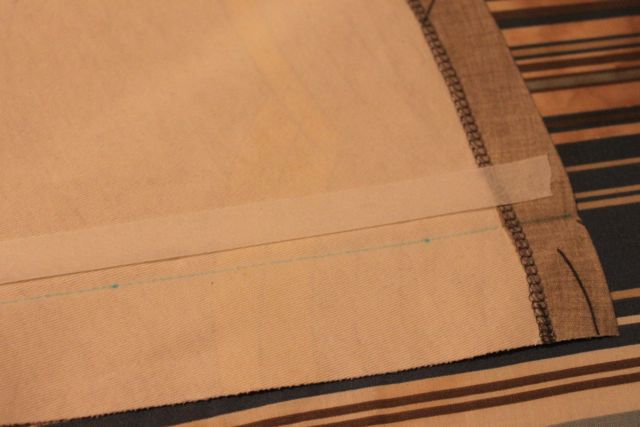
1. Mark the *fold* line with a Mark B Gone washable marker.
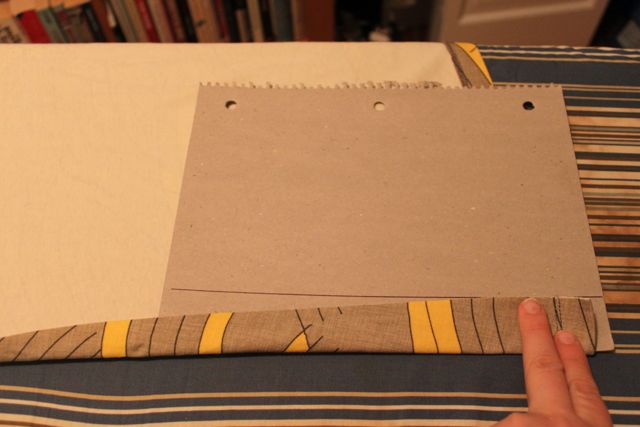
2. Mark the same width onto a piece of cardboard….. Mysterious, eh?!

3. Use said bit of cardboard to help iron an even fold in the fabric: put the card on the blue line you just marked, fold over the material to the line on the cardboard, and iron away!
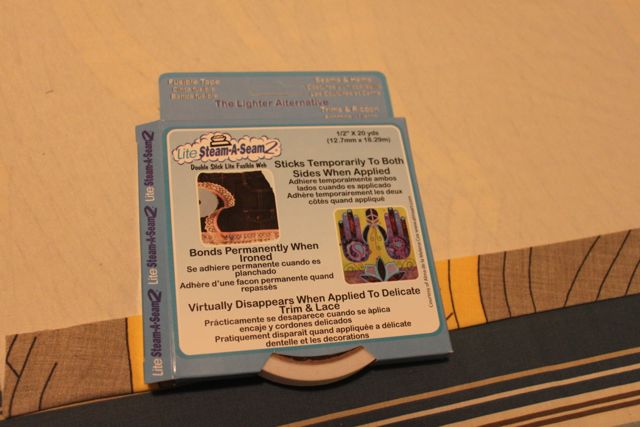
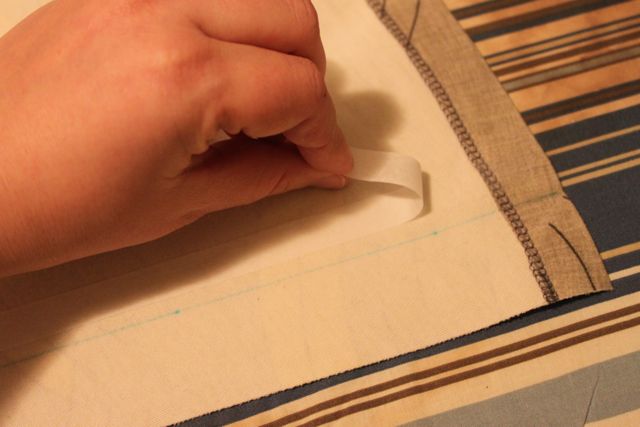
 4. Get yourself some “Lite Steam-a-Seam 1/2″ ” tape. Basically it’s an iron-on interfacing tape, which non-sewers can use to fix hems. However, it also serves a very useful purpose in keeping material stuck together before you sew it (otherwise, especially in the case of doing coverstitch, the fabric often slips as you’re trying to sew).
5. Unfold your fabric, and place the tape just above the fold line: there will be a sticky side you put on the material, and a paper tape on the top. Iron very lightly to make it stick.
6. Gently peel off the paper backing, leaving the (almost invisible) interfacing on the fabric. Then, fold the fabric up, press to stick the hem together, and iron again on the top to make the bond stick.
7. Put a colourful thread into your bobbin, and then using a regular sewing machine, baste stitch on the wrong side of the hem, as close as you can get to the edge of the fabric. If anything, you want to be slightly on the double-fabric side rather than the single fabric side.
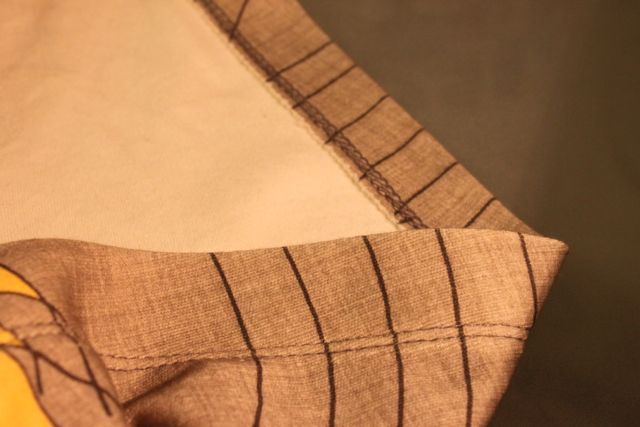
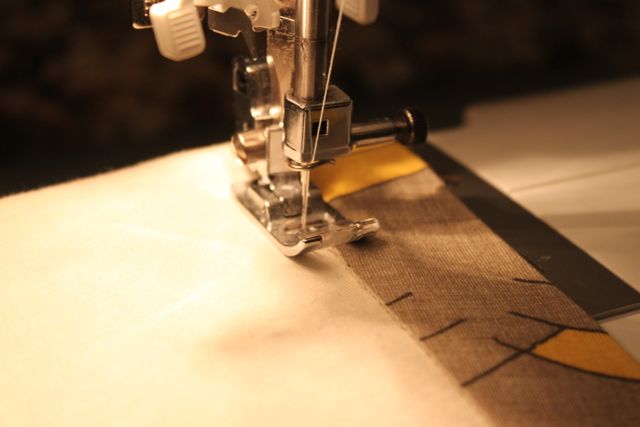 Here’s what it looks like: I used purple thread in my bobbin and white in the needle. You can see that on the right side of the fabric you now have a purple line which is showing exactly where the folded over fabric ends… (clever, eh?)
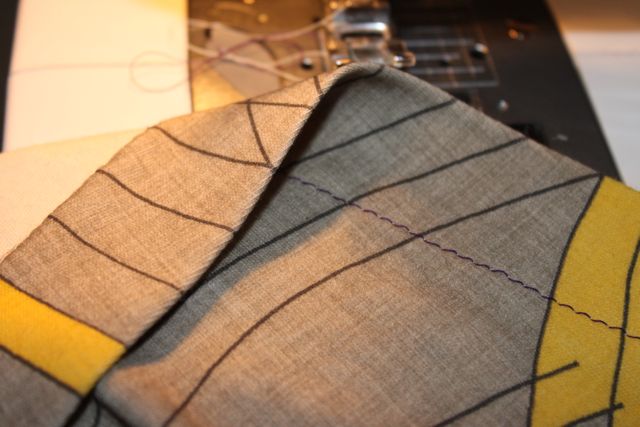
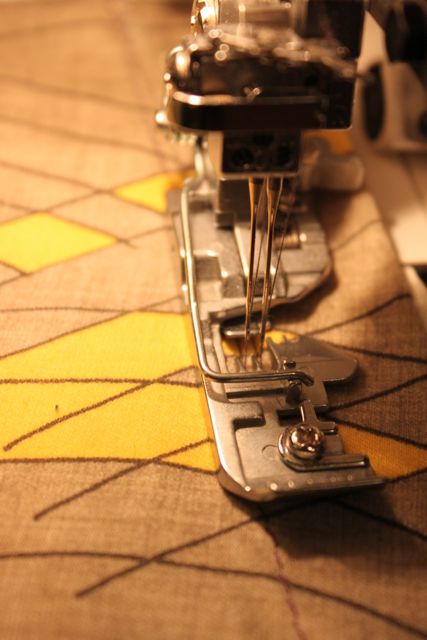
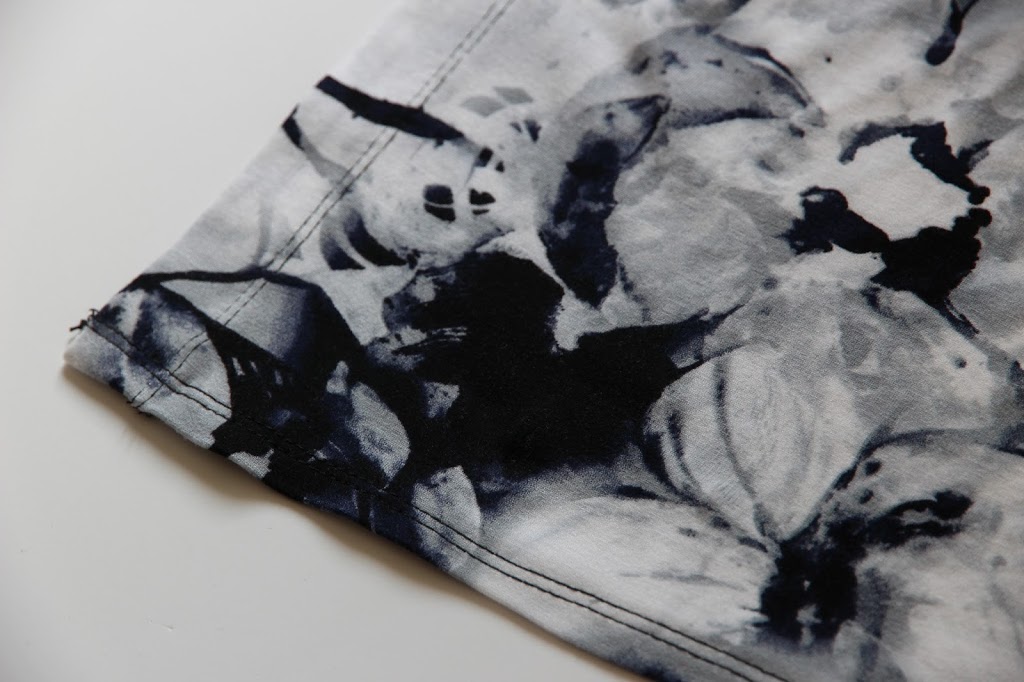
8. Now, use the purple line as a guide to get the coverstitch in exactly the right place (if you don’t do this, it’s incredibly difficult to blindly sew in the right place). You want your serger left needle to be just *slightly* to the right of the purple guide line.
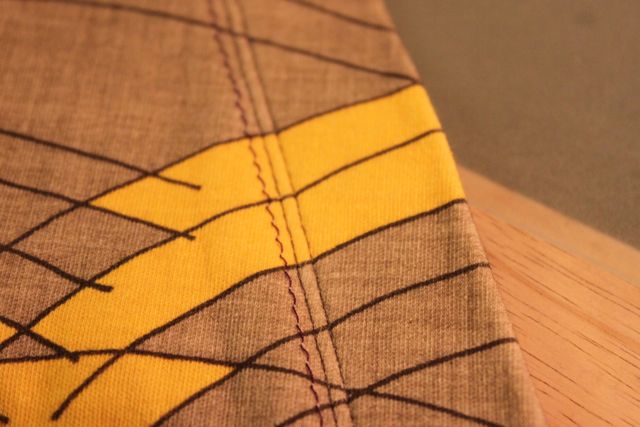
 This is what it will look like: the purple guide line and the double coverstitch serger lines
9. Finally, rip out the purple basting stitch, leaving you just with a perfectly placed coverstitch!
Yes, it’s a little intensive, but it works well and gives a professional finish, so in my opinion, well worthwhile!
*UPDATE!* I thought I’d share a little tip that I’ve learned from another 2 years of doing coverstitch 🙂 It’s quite hard to hit the exact edge of the turned up hem, so sometimes you end up having a little raw edge, which while it doesn’t unravel, it doesn’t look great. Solution? Serge the hem first (without trimming any fabric) before you turn it over! That way, even if you don’t hit the hem perfectly with the coverstitch, it’s still all finished.

Very useful and practical tutorial: thank you! I’ll try this on my next (read *first*!) knit project – tomorrow.
Hope it works!
Hi, I found this through Pinterest and am curious.. are you coverstitching with a serger? did you disengage the blade? I am too lazy to hook up a double needle and this interests me 🙂
Hi Katie! I have a Bernina 1300DC which is a covertible serger-coverstitch machine, which basically functions the same as a coverstitch machine.
oh thanks! that makes sense. Nice tutorial – thank you
Thank you so much for this. I have a new CoverPro 1000 CPX, and nobody offers any support, including the dealer. I will definitely use this.
serging the edge first is a good idea for the reason you gave AND it makes the edge thicker so you can feel exactly where the ridge is and guide it between the 2 needles.
I hadn’t thought about this. Having that basting line should really make a difference when using the coverstitch machine. I am tired of wearing my t-shirts that are all too long for a best fit. I am going to use this technique today to hem those shirts. Thanks.
Great suggestions! I have a Baby Lock convertible serger/cover stitch and struggle with coverstitching over seams. I can’t stitch smoothly over seams. Do you have any suggestions for that?
This is an excellent tutorial. Well thought out, especially the purple thread basting stitching. Keep up the tutorials please!